Computer-Controlled Machining
8.3.17Task: Make something big (on a CNC machine)
For this week's assignment I wanted to create something useful for me which I can use daily and something Innovative and not available easily in the market.
Also my goal was to make something which more than one people can use it.
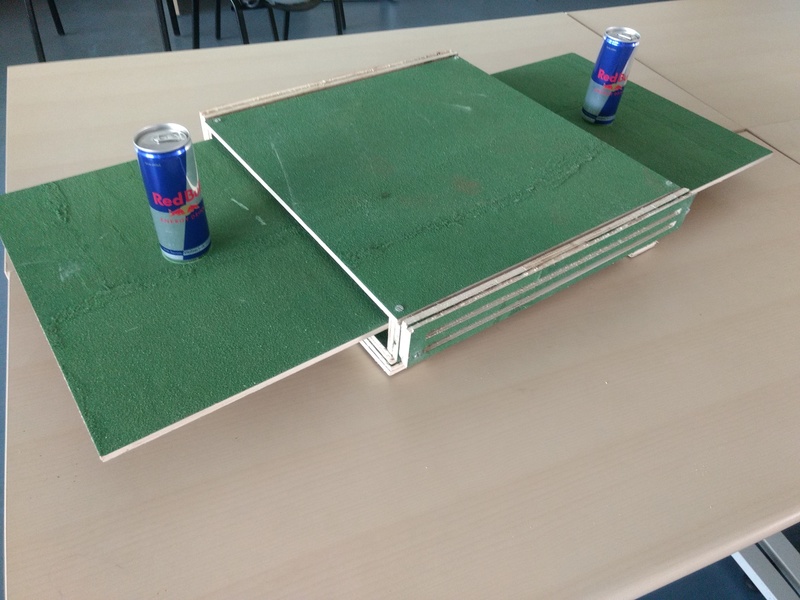
So after searching about an hour on the internet about the creative ideas of furniture. I finally found one coffee table which can be used by 4 people and is a space saving design.
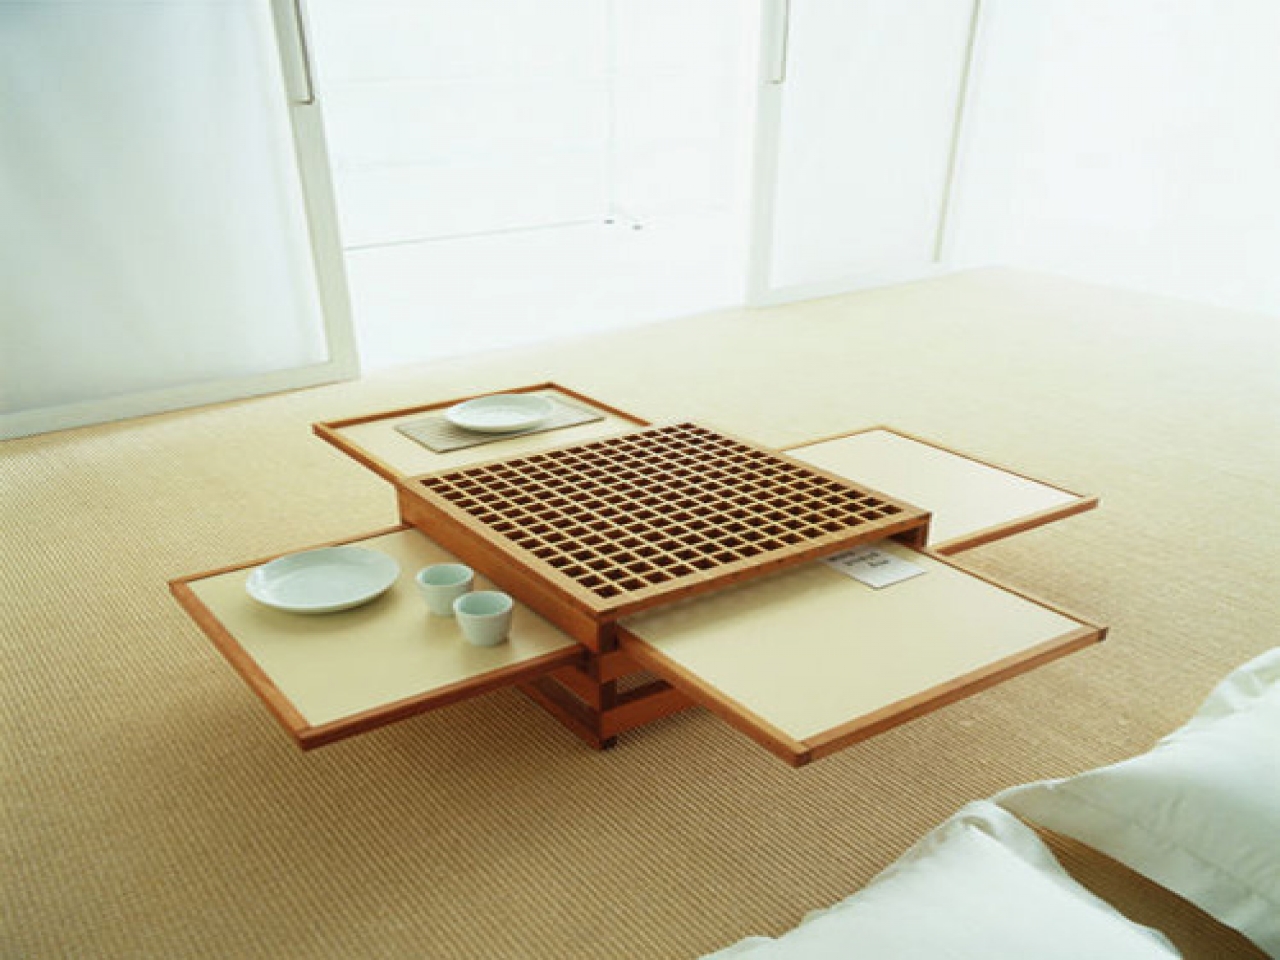
Later I figured out that this can also be used to play cards and as a laptop table as well. Also I added my own creativity and added a design of chess board on to the top surface of the table. So I can also play one of my favourite game chess on it.
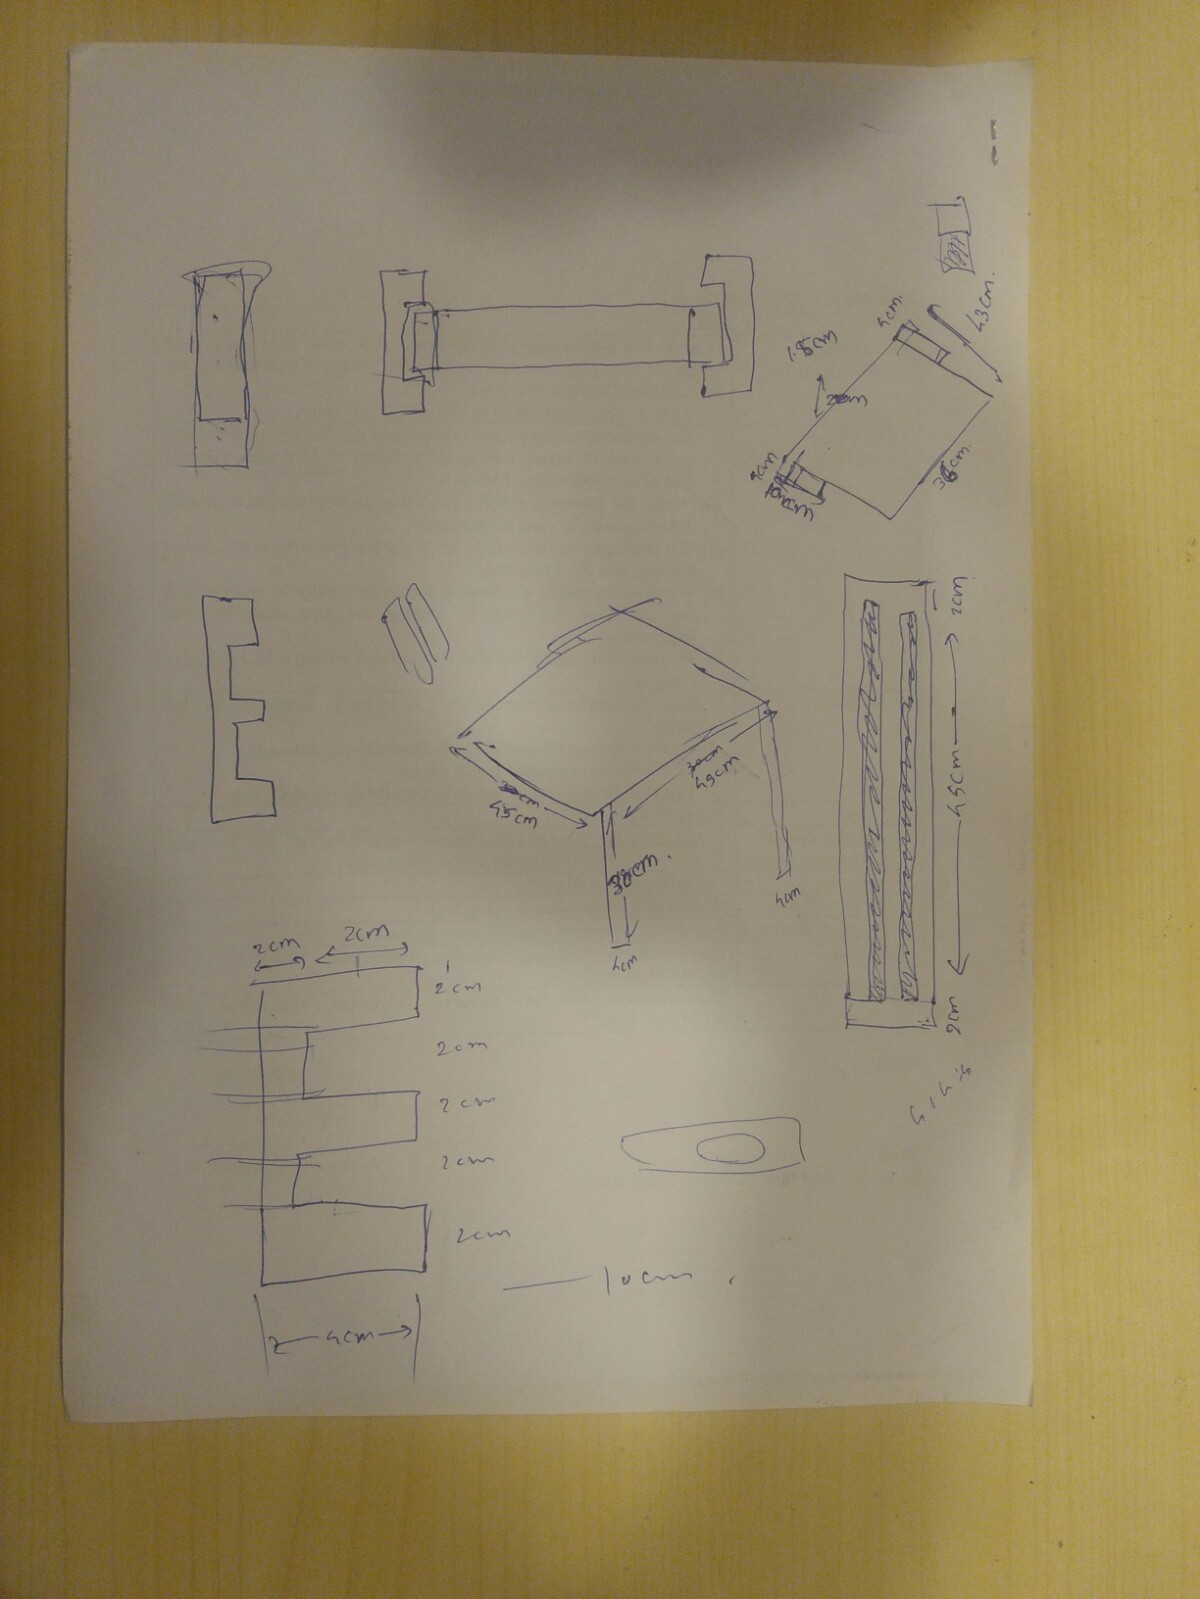
Step 1: Looking at the design. As simple as it looks but it’s difficult to decode the same. So rather than starting with the digital design directly, I started with planning the entire layout on a paper as sketch. Defining the dimension and all, I used Ruler scale to define the exact amount of width and height required for a person to be comfortable with that table.
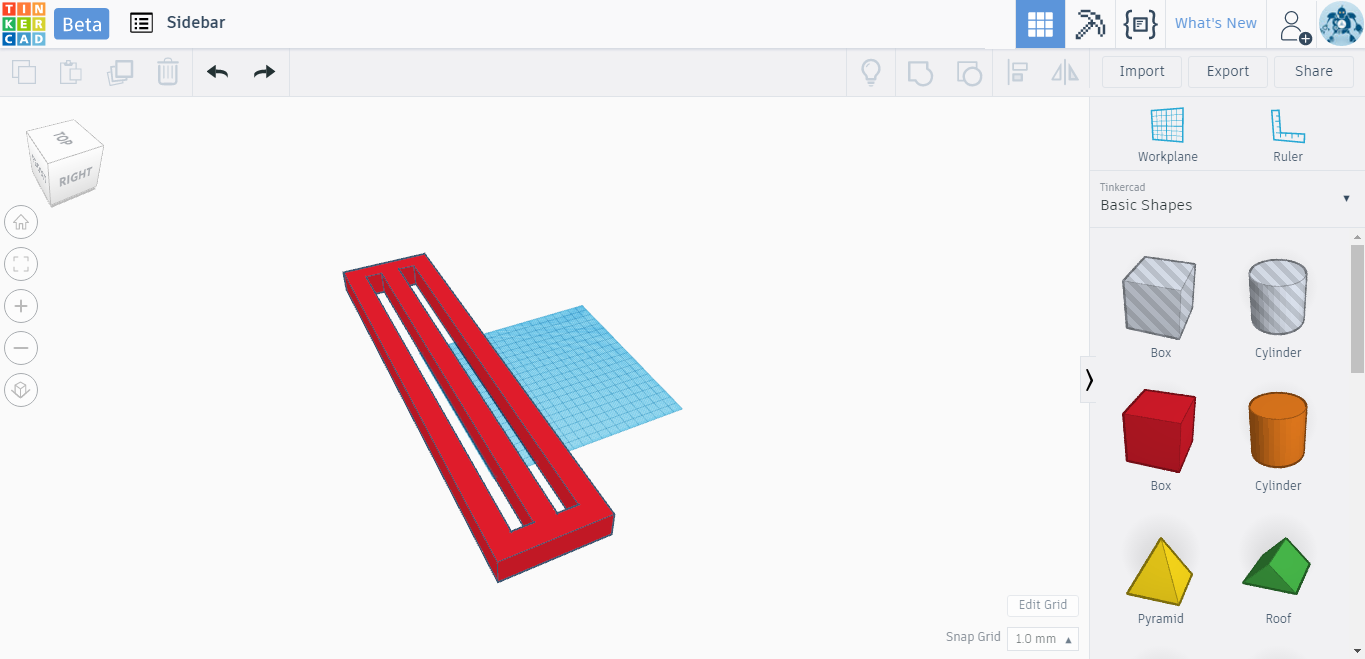
Step 2: The next step was to implement the same in the digital. Converting to the machine readable format that is .DXF for this assignment as we are using the CNC machine which reads .DXF format. I wanted to go on with my favourite cad tool http://tinkercad.com and figured out it can export .SVG format. Whereas tools like fusion 360 directly gives option of .DXF format. So I was little confused on which tool to select. As using the Fusion 360 will take lot of time where as tinkercad can pull out exact similar job in the one third of the time for me.
Step 3: I searched on the internet about .SVG to .DXF format online converter and I got quite a few websites to help me with. So I took the test run on it. Created a small design of my overall object and exported into the .SVG format and converted from .SVG to .DXF file.
Step 4: I then imported that .DXF file into the RD Works and adjusted the setting of the machine according to the cardboard I was using. And gave command to laser cut the design. Now design came out well and I was sure that this will work perfectly in CNC machine as well. So went on completing my design.
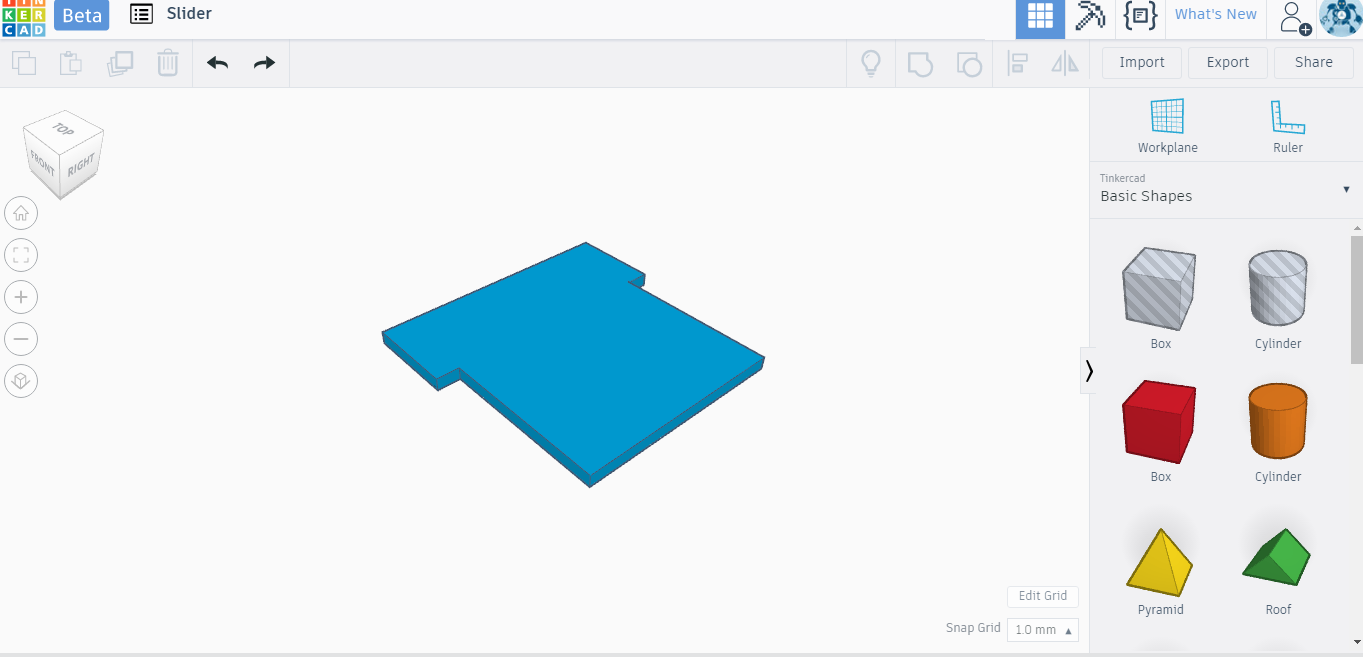
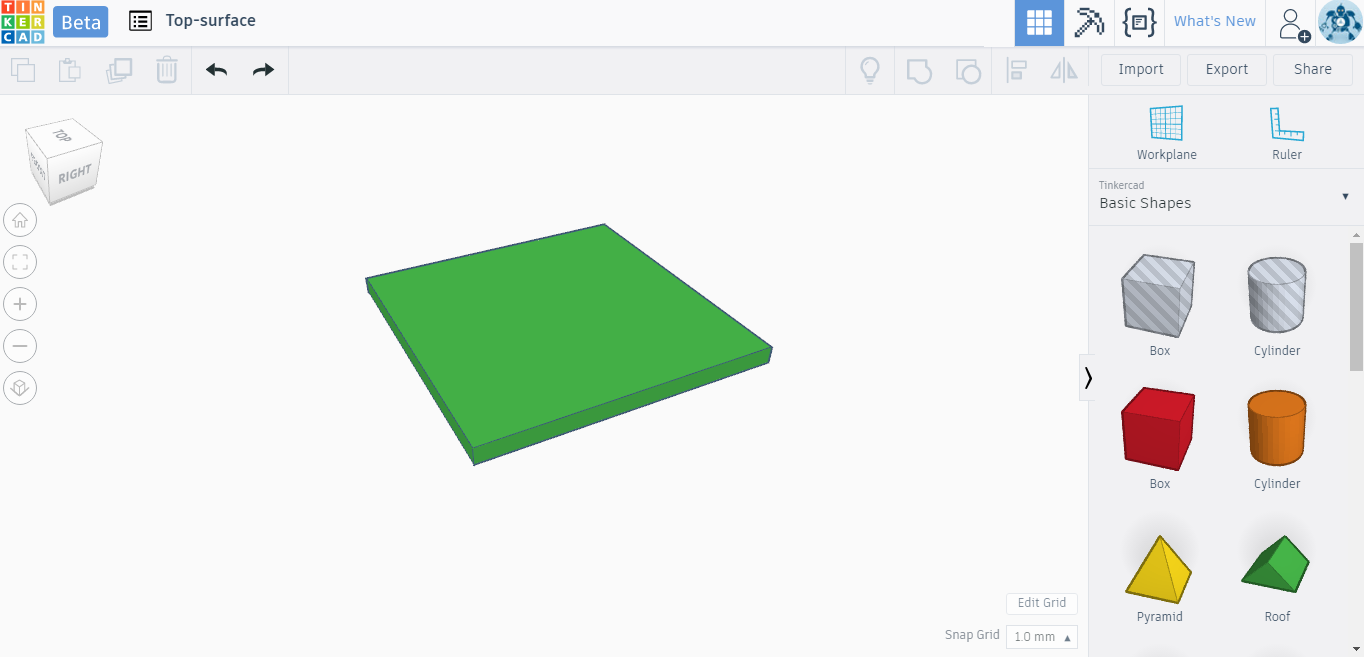
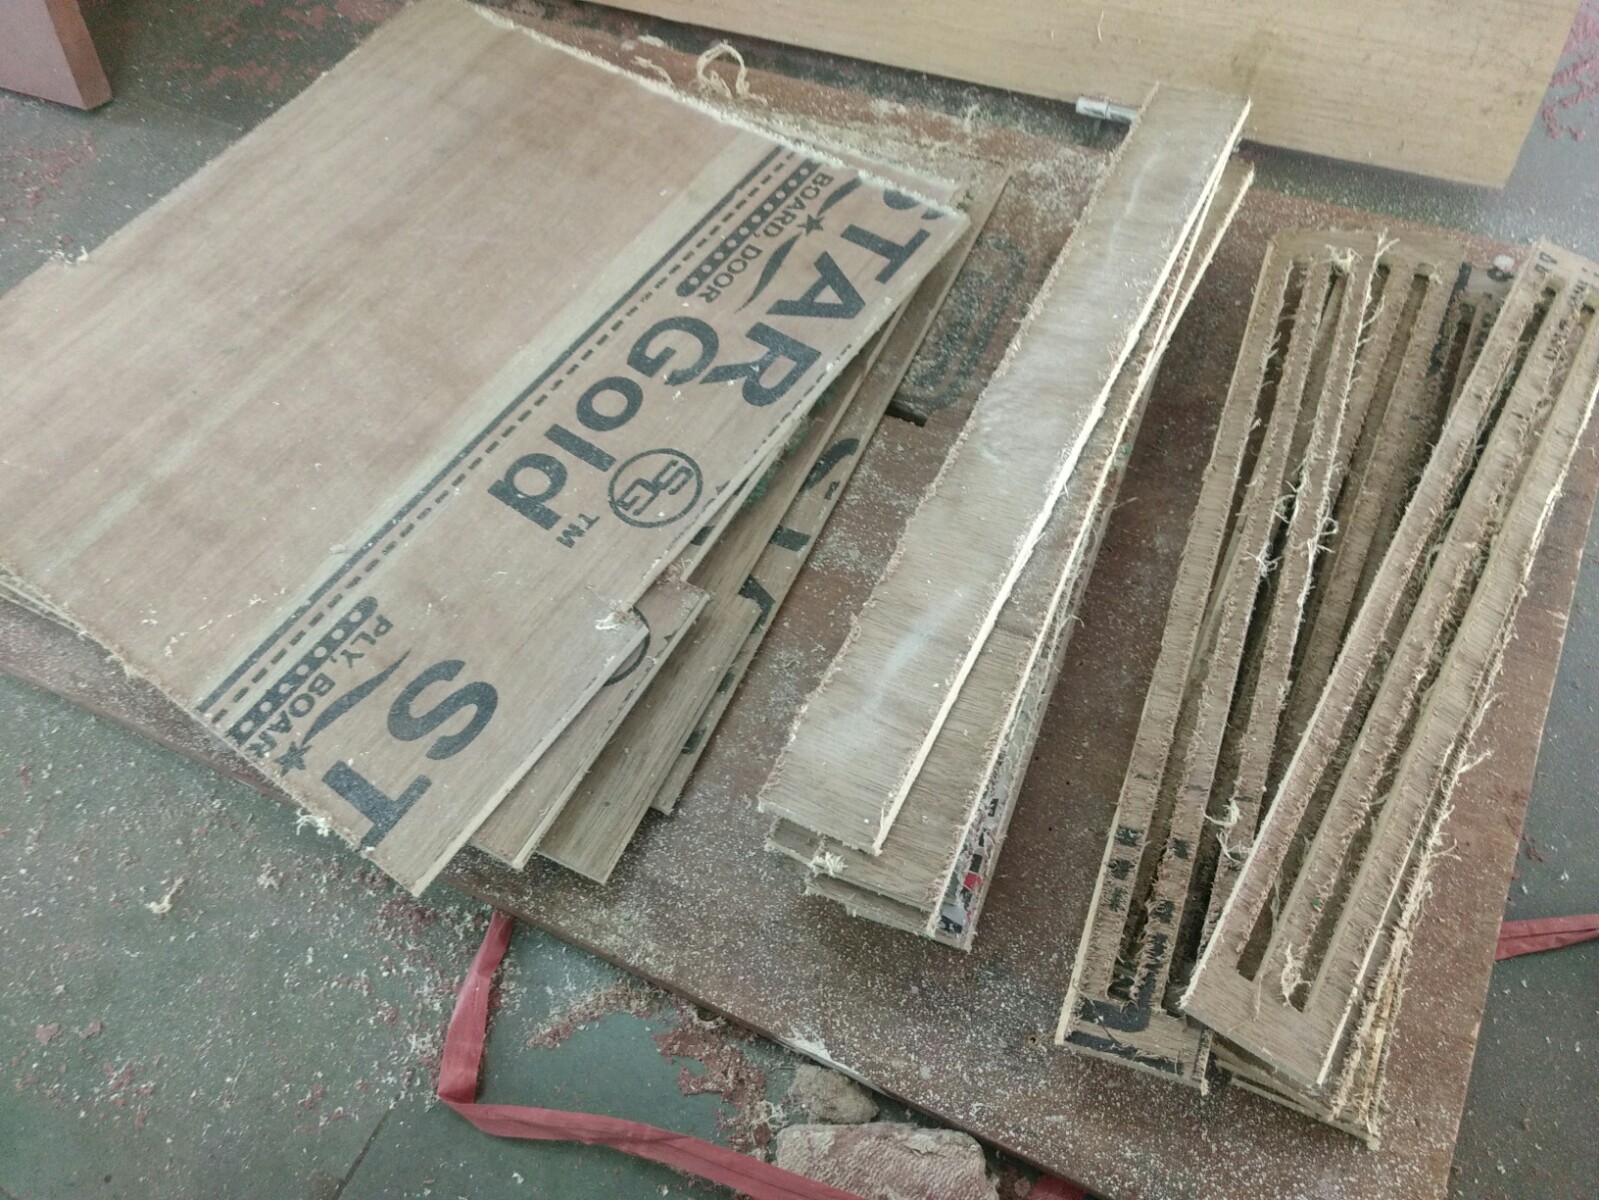
Step5: In my design there are 5 parts and I choose to design them separately in separate file. Designs included:
1. Top surface of the coffee table
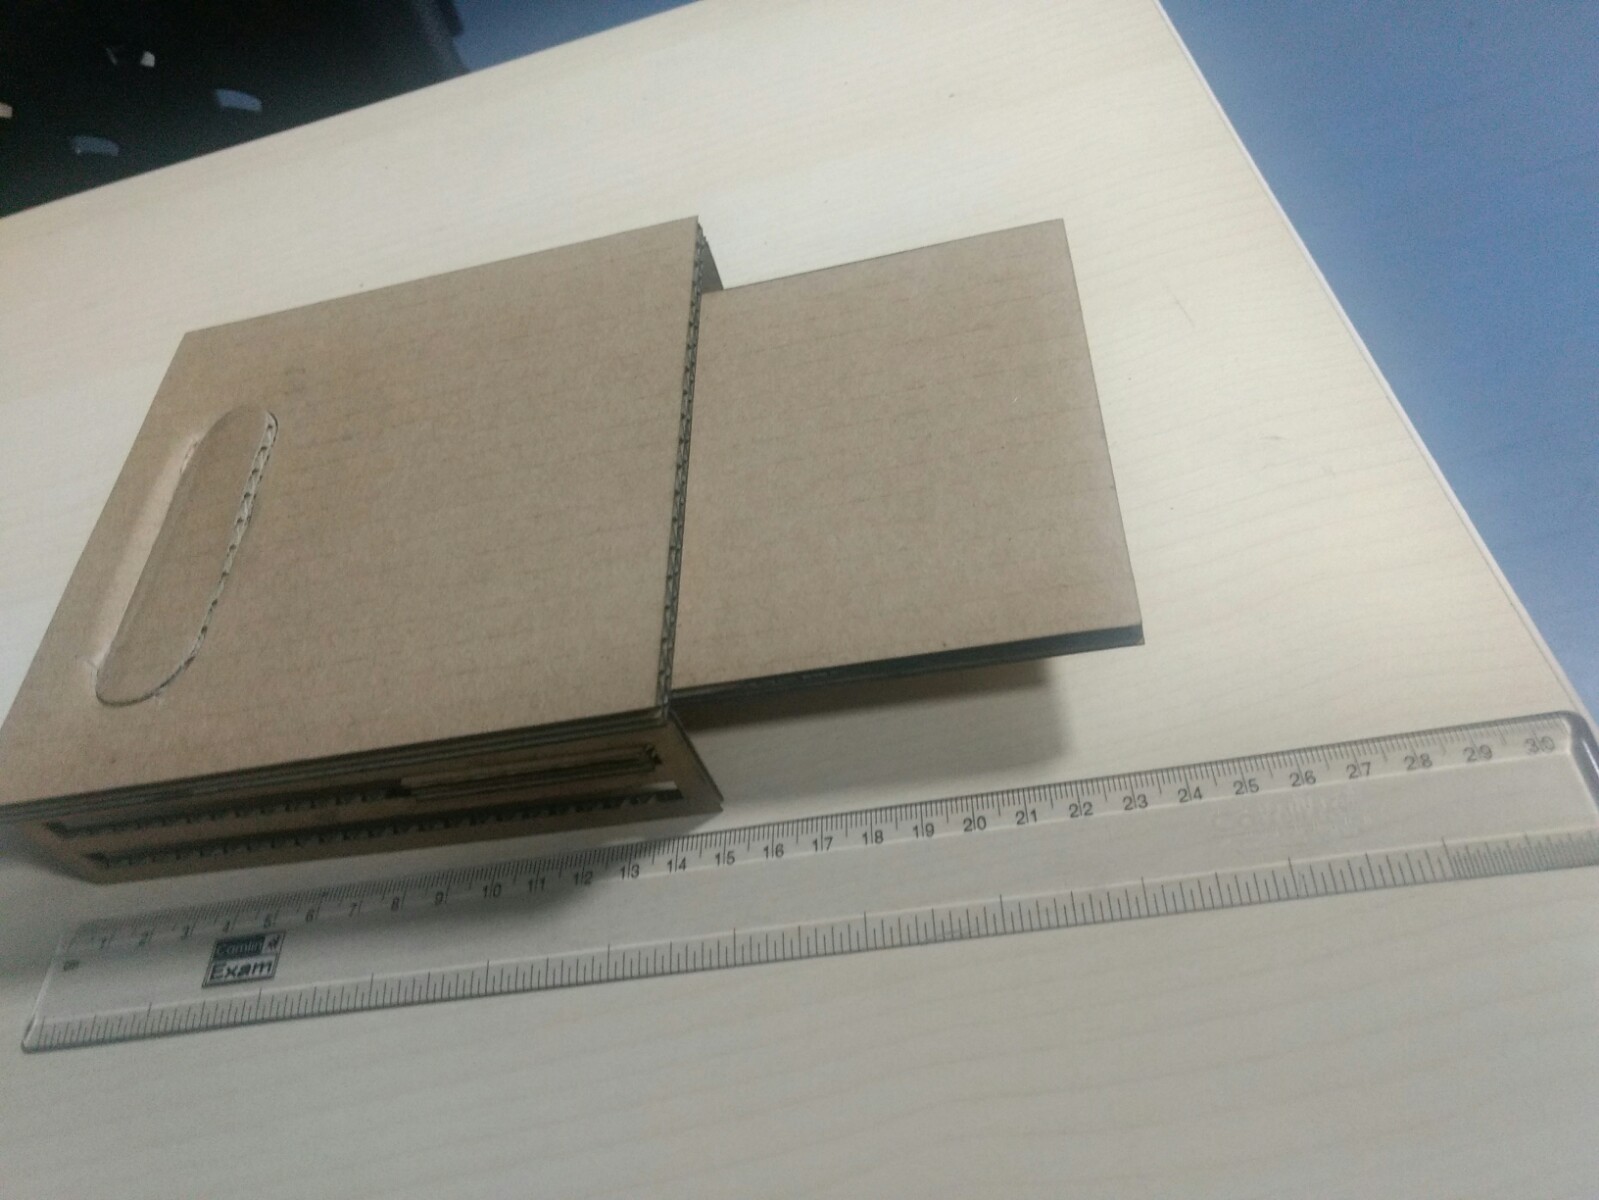
2. Sliders which can be pulled out to place the coffee mug.
3. Hollow Side bars which forms the body of the entire table and had holes in it to make the slider move in and out.
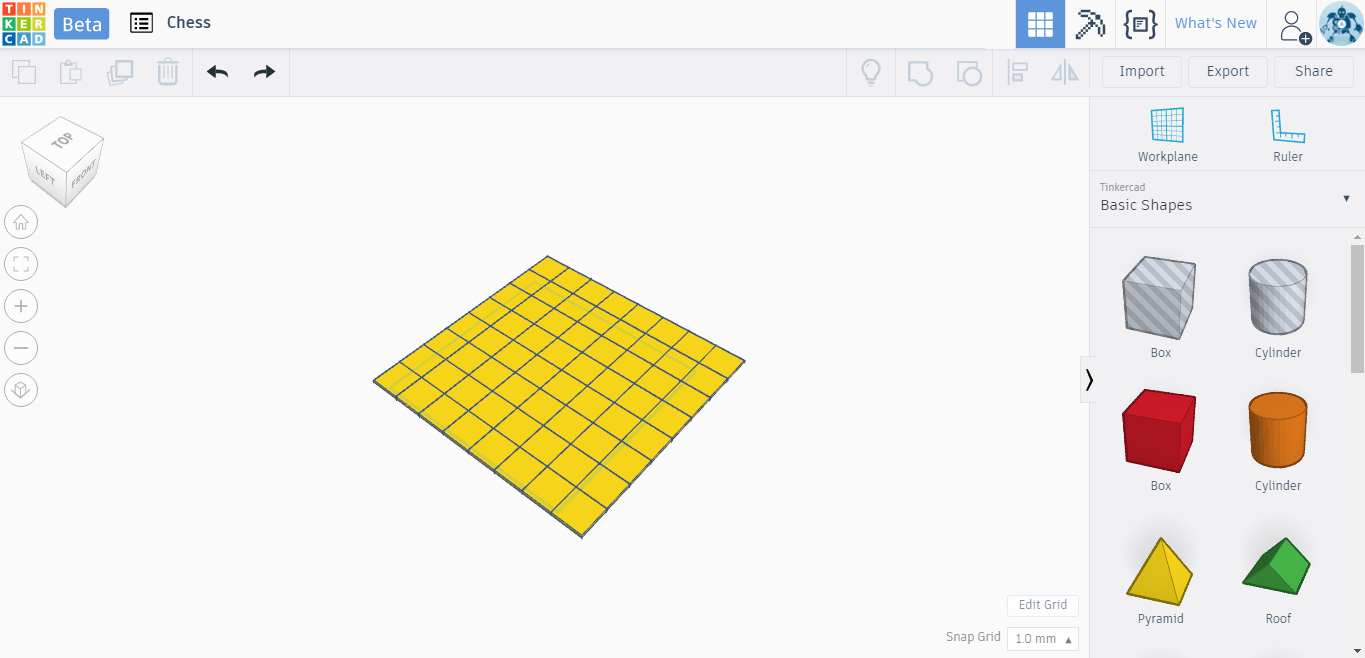
4. Chess design to be printed on the top surface of the table.
5. Solid side bars to make the bottom of the table.
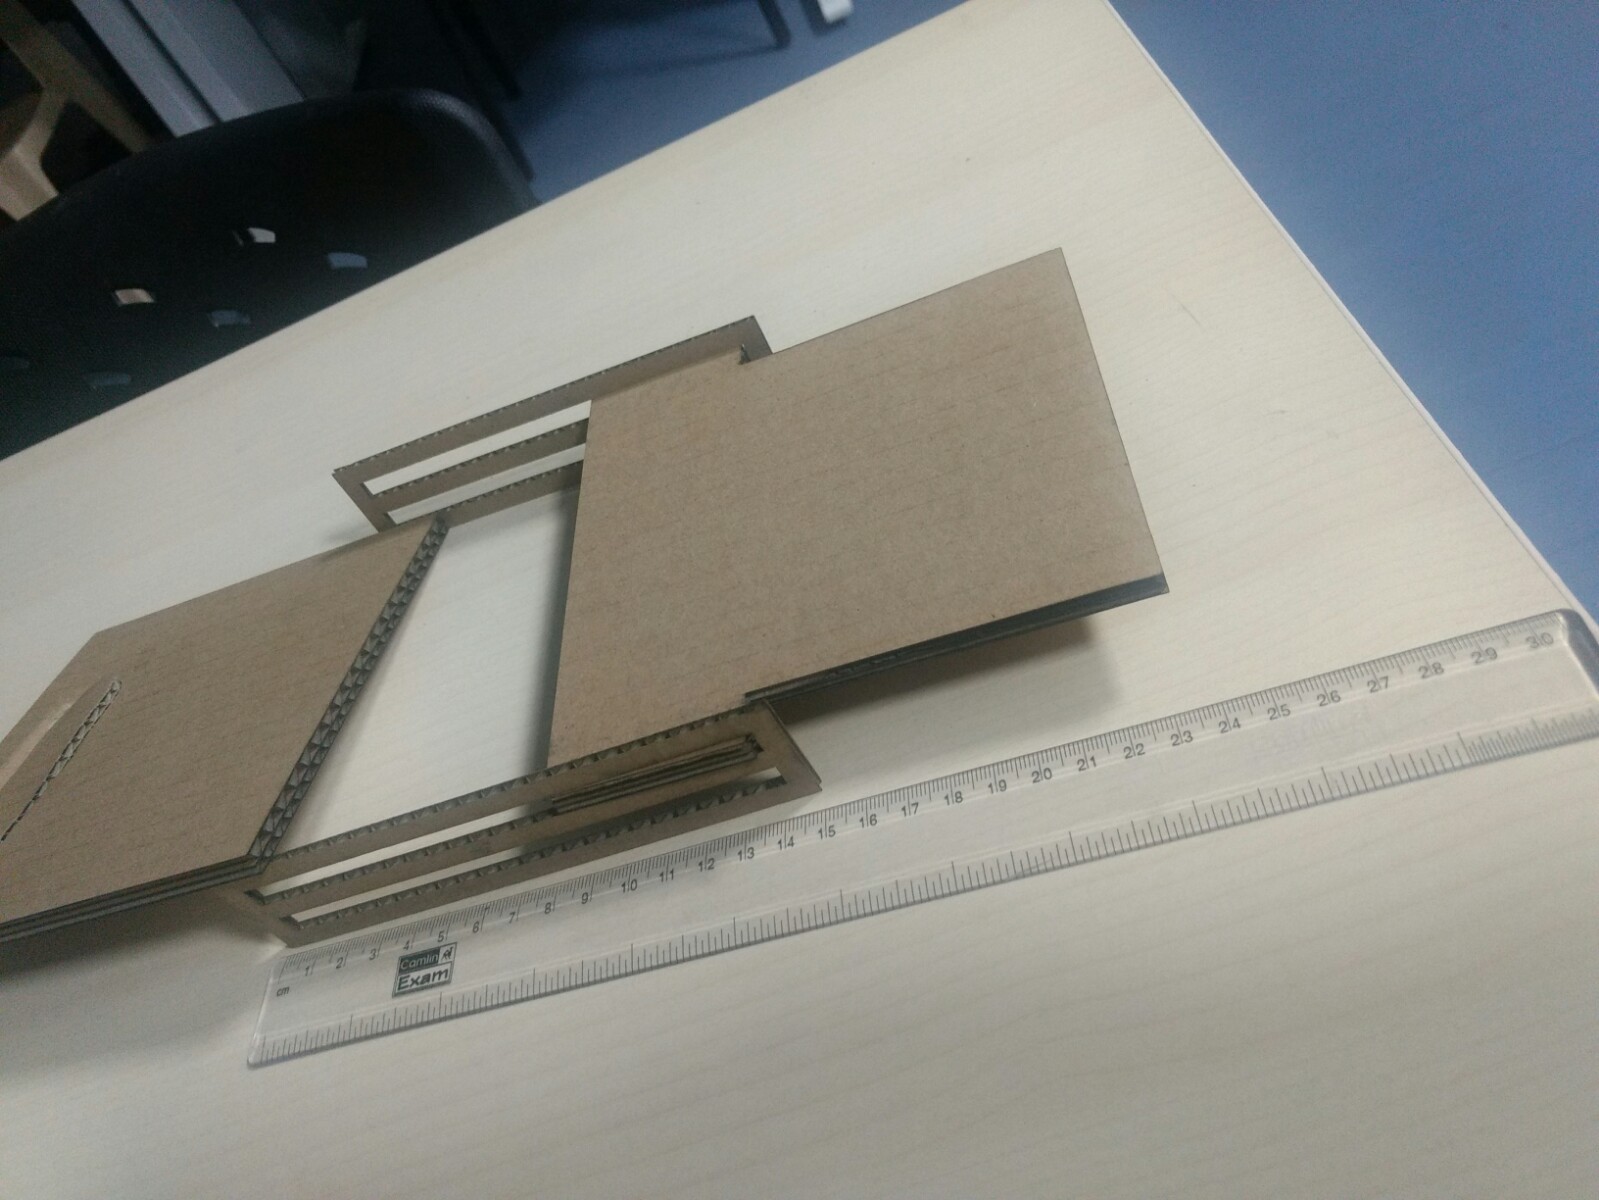
Step 6: I created the design in small scale and decided to create the prototype first using cardboard in laser cutting machine. Using same steps:
1. Exporting Tinkercad design in .SVG format
2. Converting .SVG format into .DXF format online (https://convertio.co/svg-dxf/ ).
3. Importing .DXF format into the RD Works software for laser cutting.
Step 7: After checking the scale of the prototype. I increased the scale of the design to real size. And I am all set to create my coffee table in CNC machine.
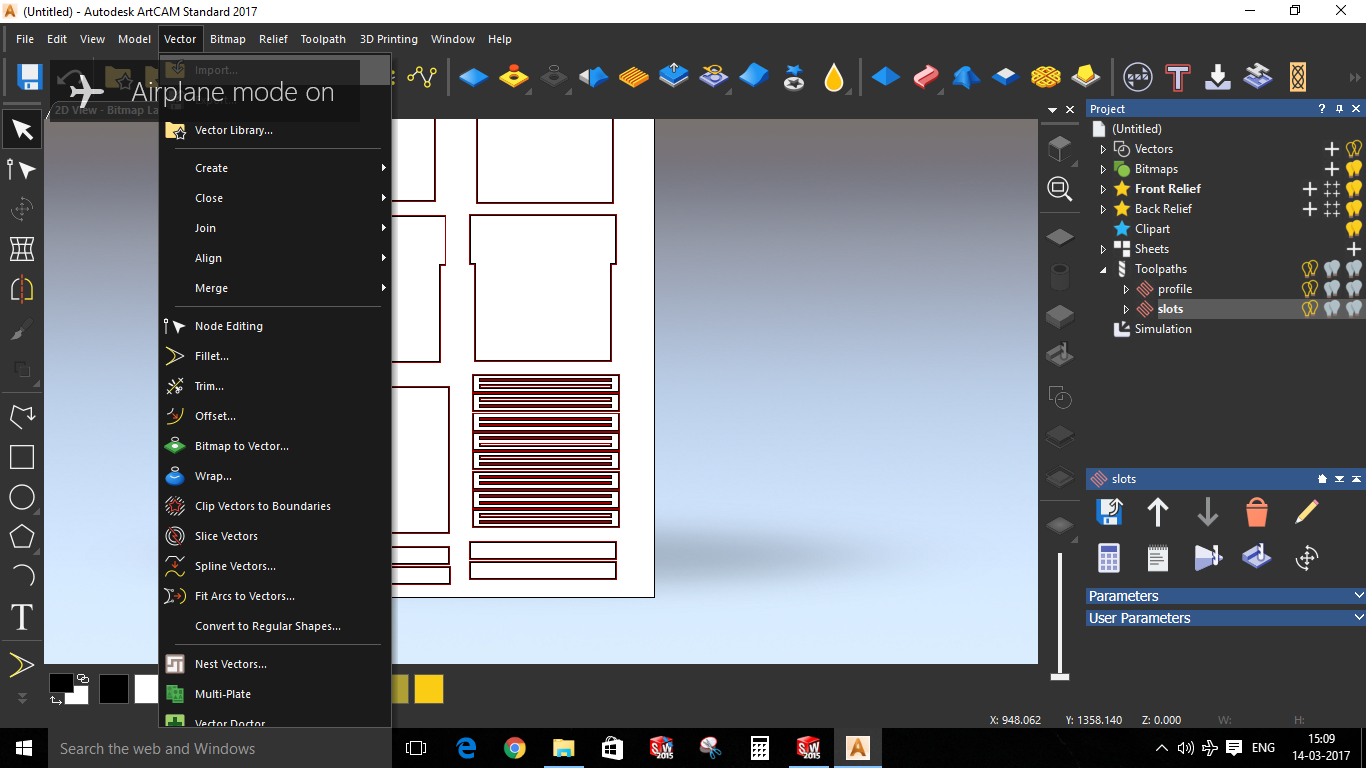
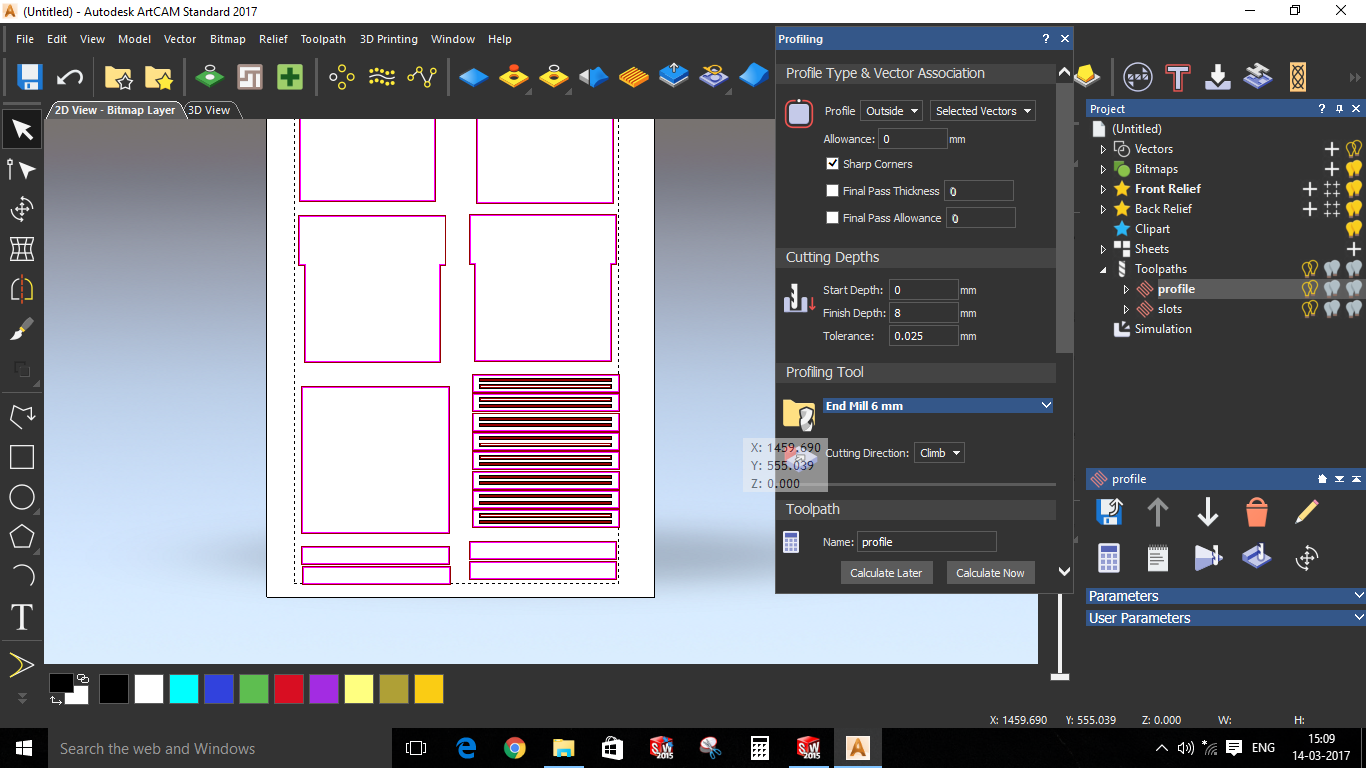
Step 8: Next step is to use the .DXF file into Artcam software and do cutting.
1. Import the all the .DXF file into the Artcam software.
2. Define the canvas size.
3. Do the arrangements according to the sheet to utilize the space. Now according to the plywood available with my lab I had to adjust my design a bit in order to complete my design. The plywood that I was using was 6mm thick. So had to rework on my design to fulfill the need.
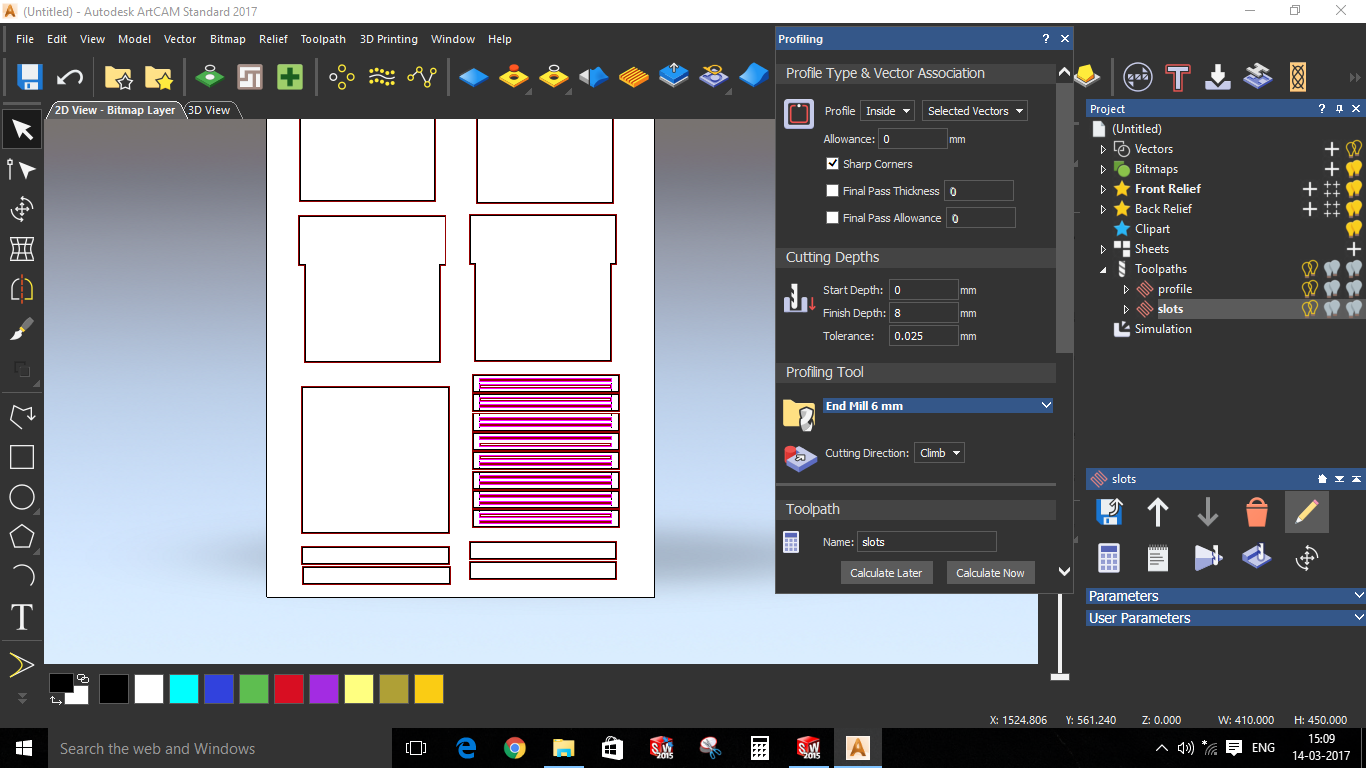
4. Select Shapes and do profiling either Inward or Outward.
5. Select the End Mill that you are using (in my case I used 6mm).
6. Check the paths in simulation
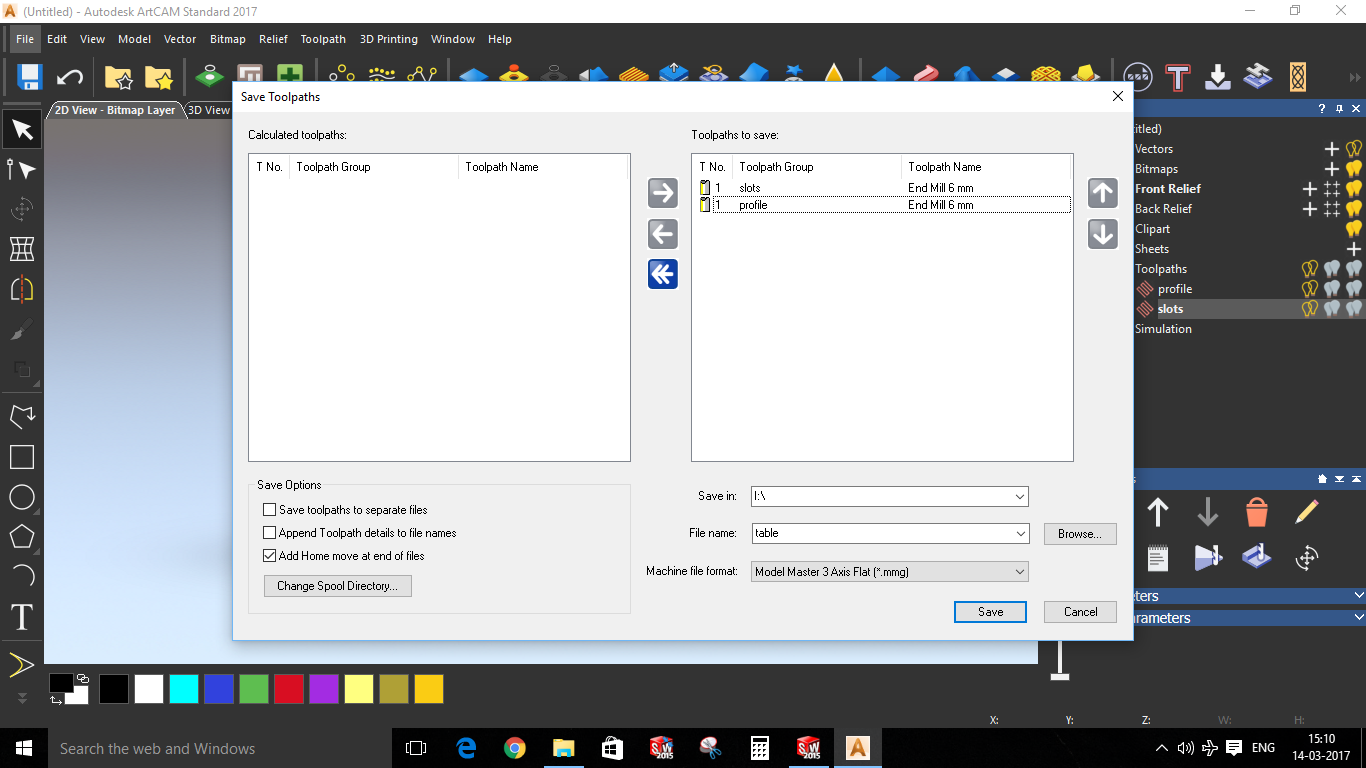
7. Save toolpaths
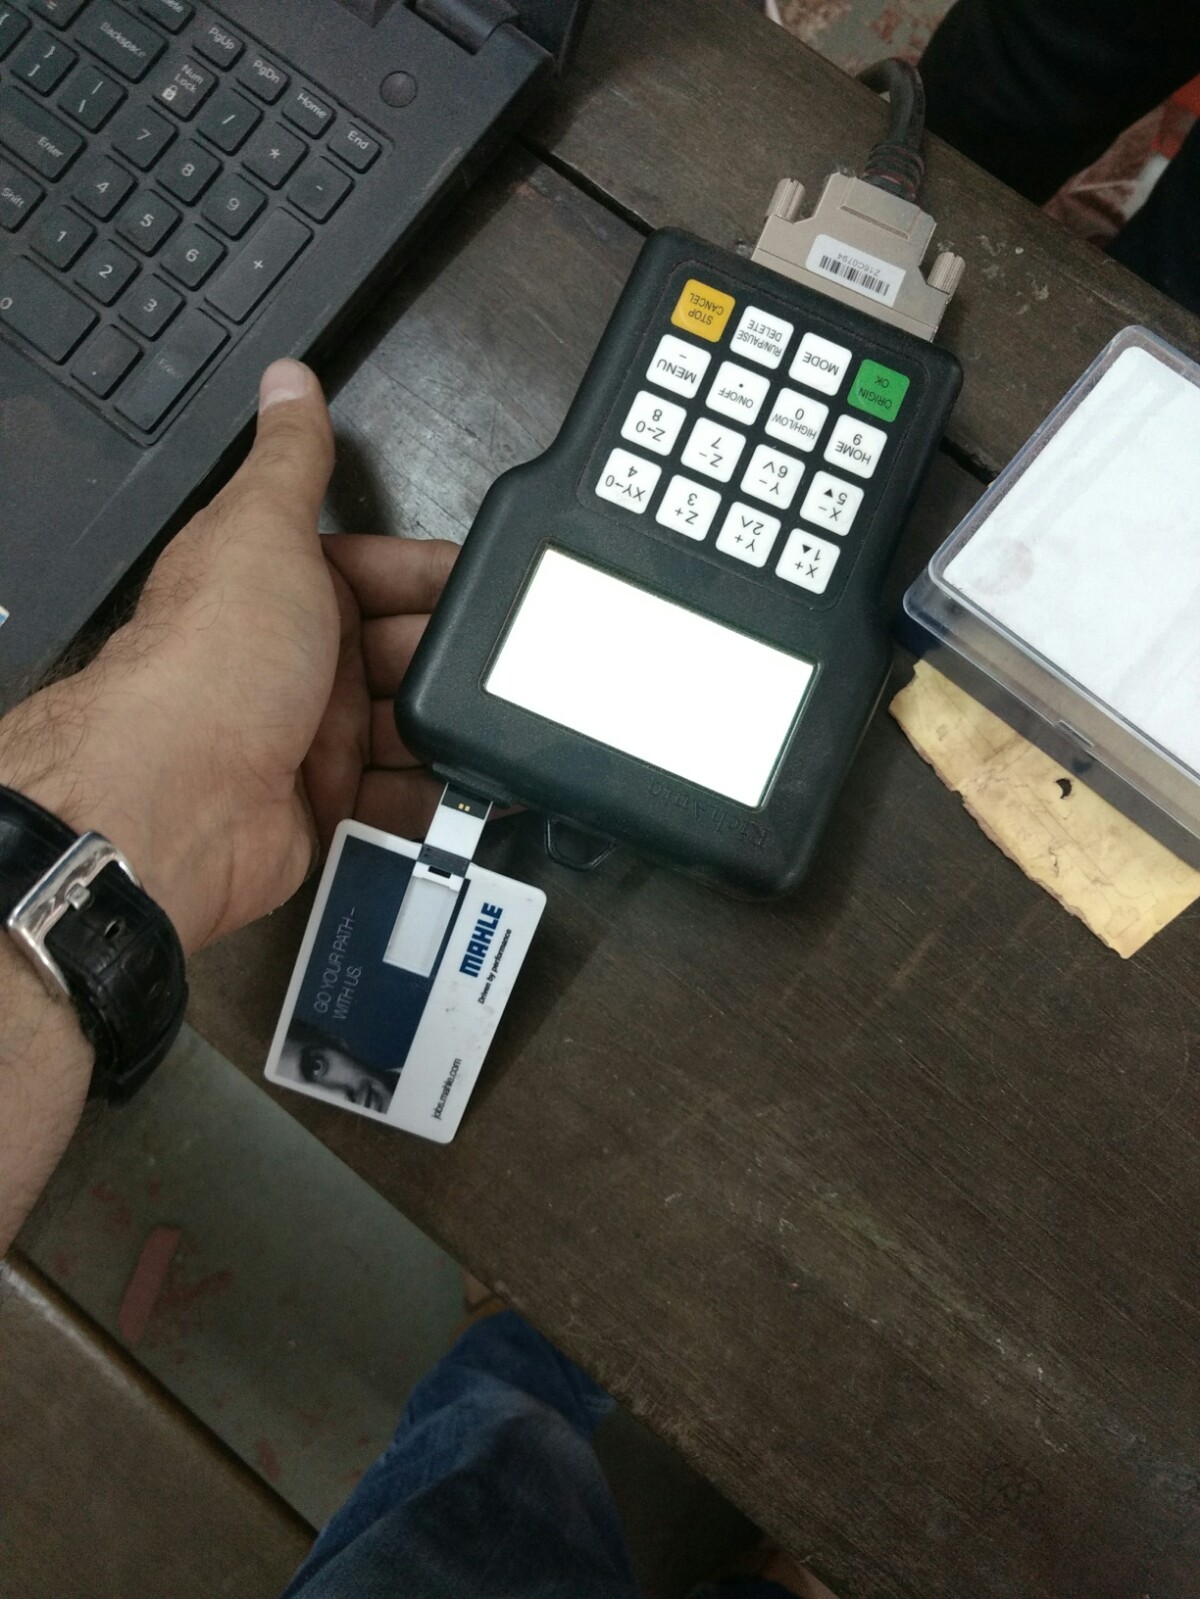
8. Transfer the .mmg file into the Pend drive

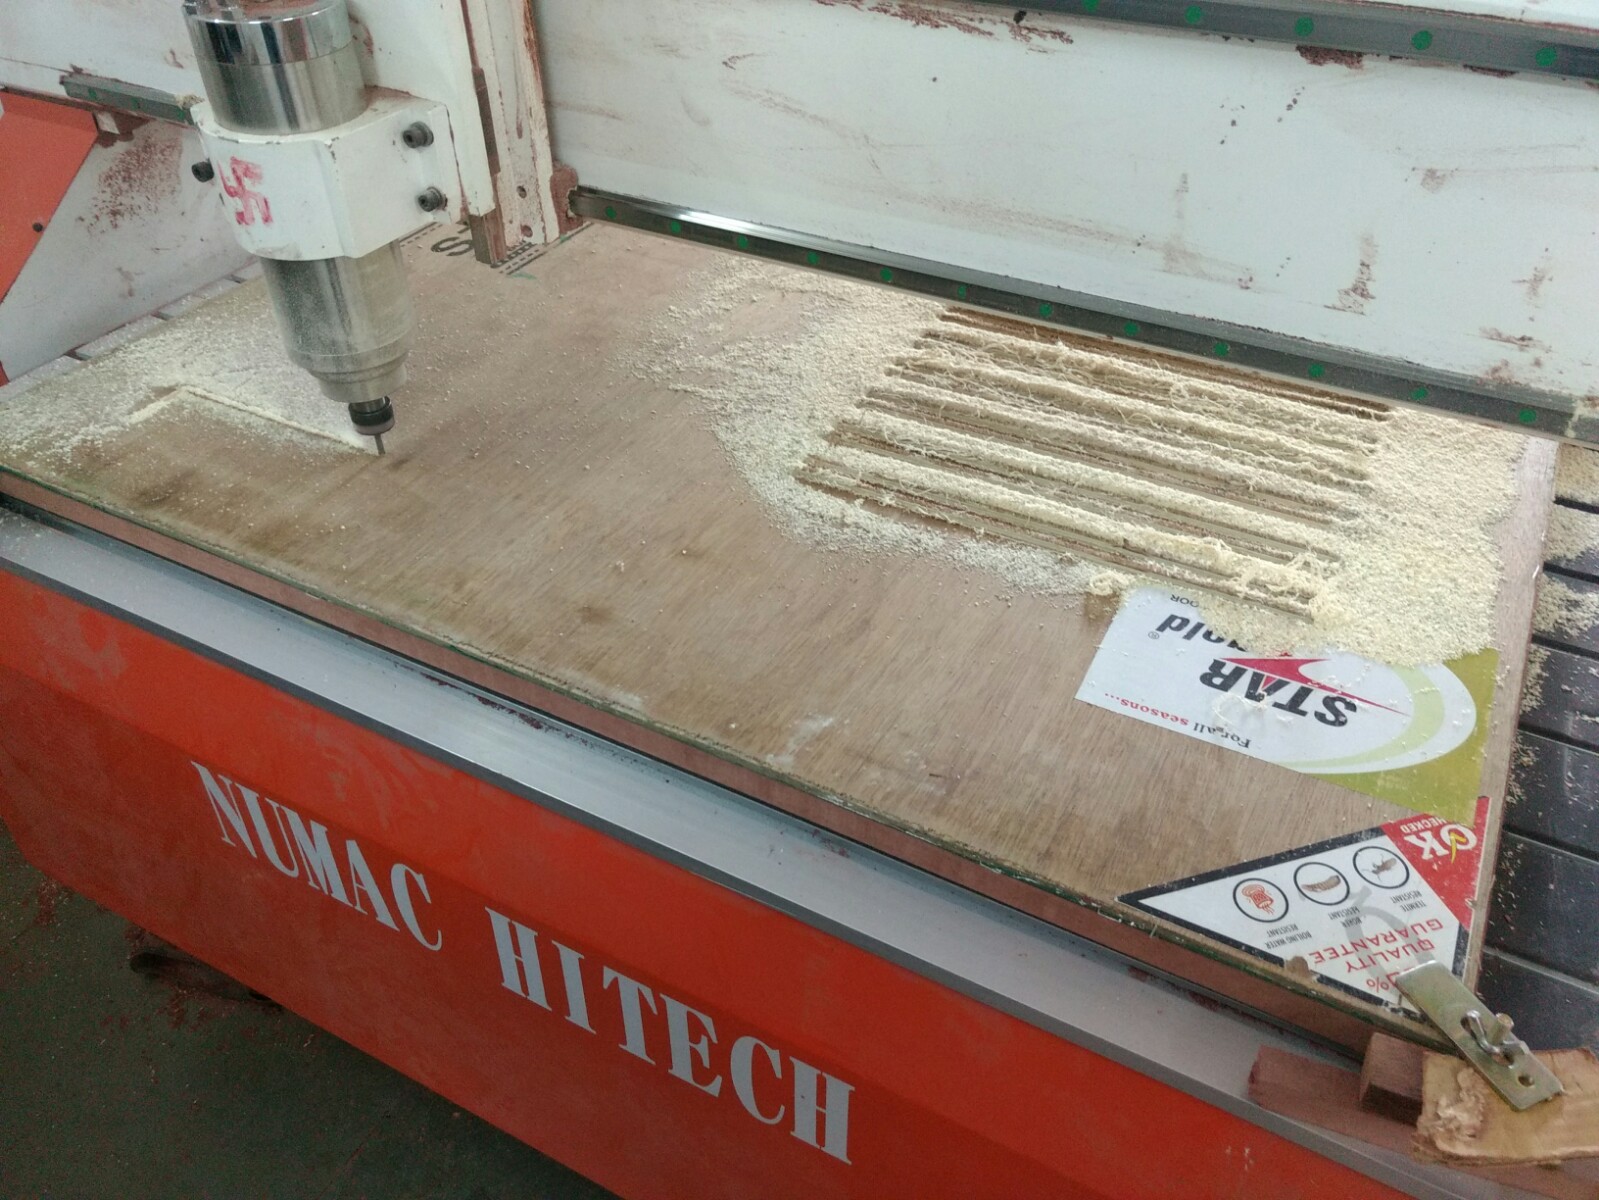
Step 9: Attach the pendrive to the controller of CNC machine.
Select the .mmg file and set the origins in the machine and set Z position (very important).
Make sure the sheet is not moving. Attach the support to the sheet and Select the depth 1mm more to make sure the cutting goes smoothly.
Attach one more scrap sheet below your sheet.
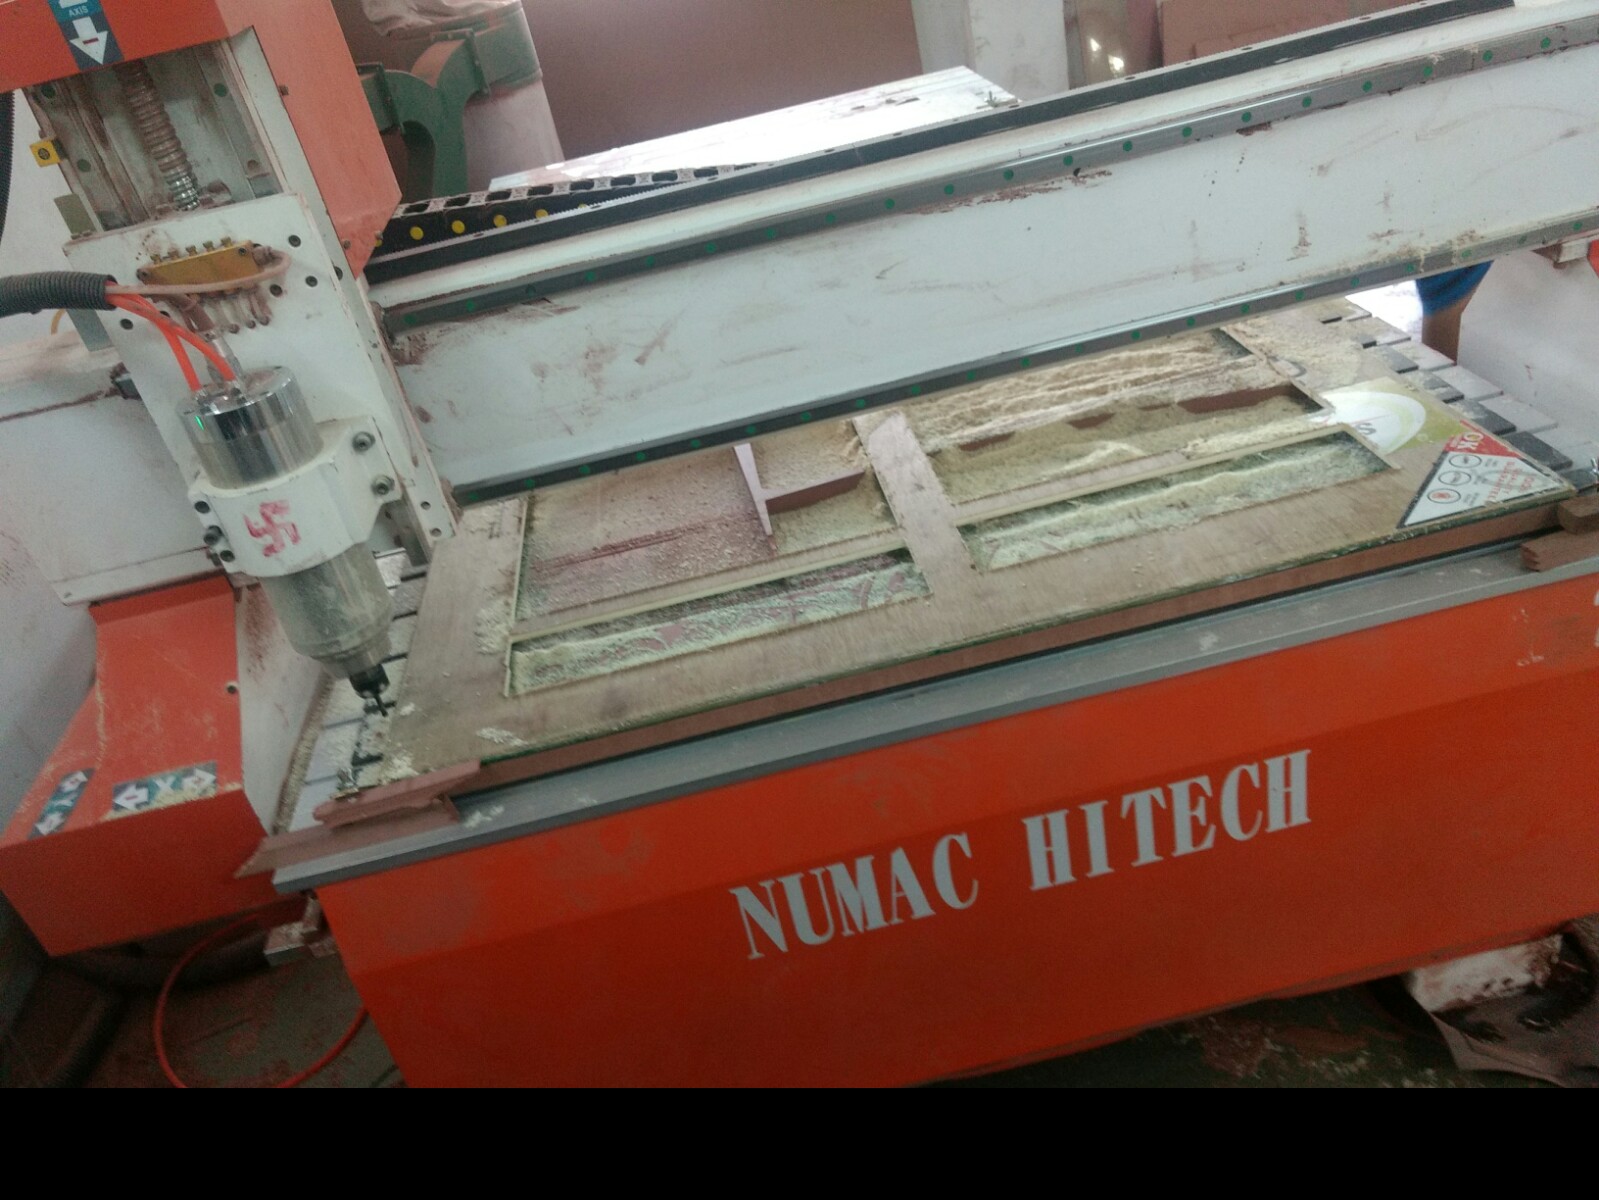
Start the cutting!
Step 10: In my case during one cut. The object was not cut properly. In this case if the cutting process is less use hand tools but if there is a bigger part to convert you can use the same controller to do the cutting manually.
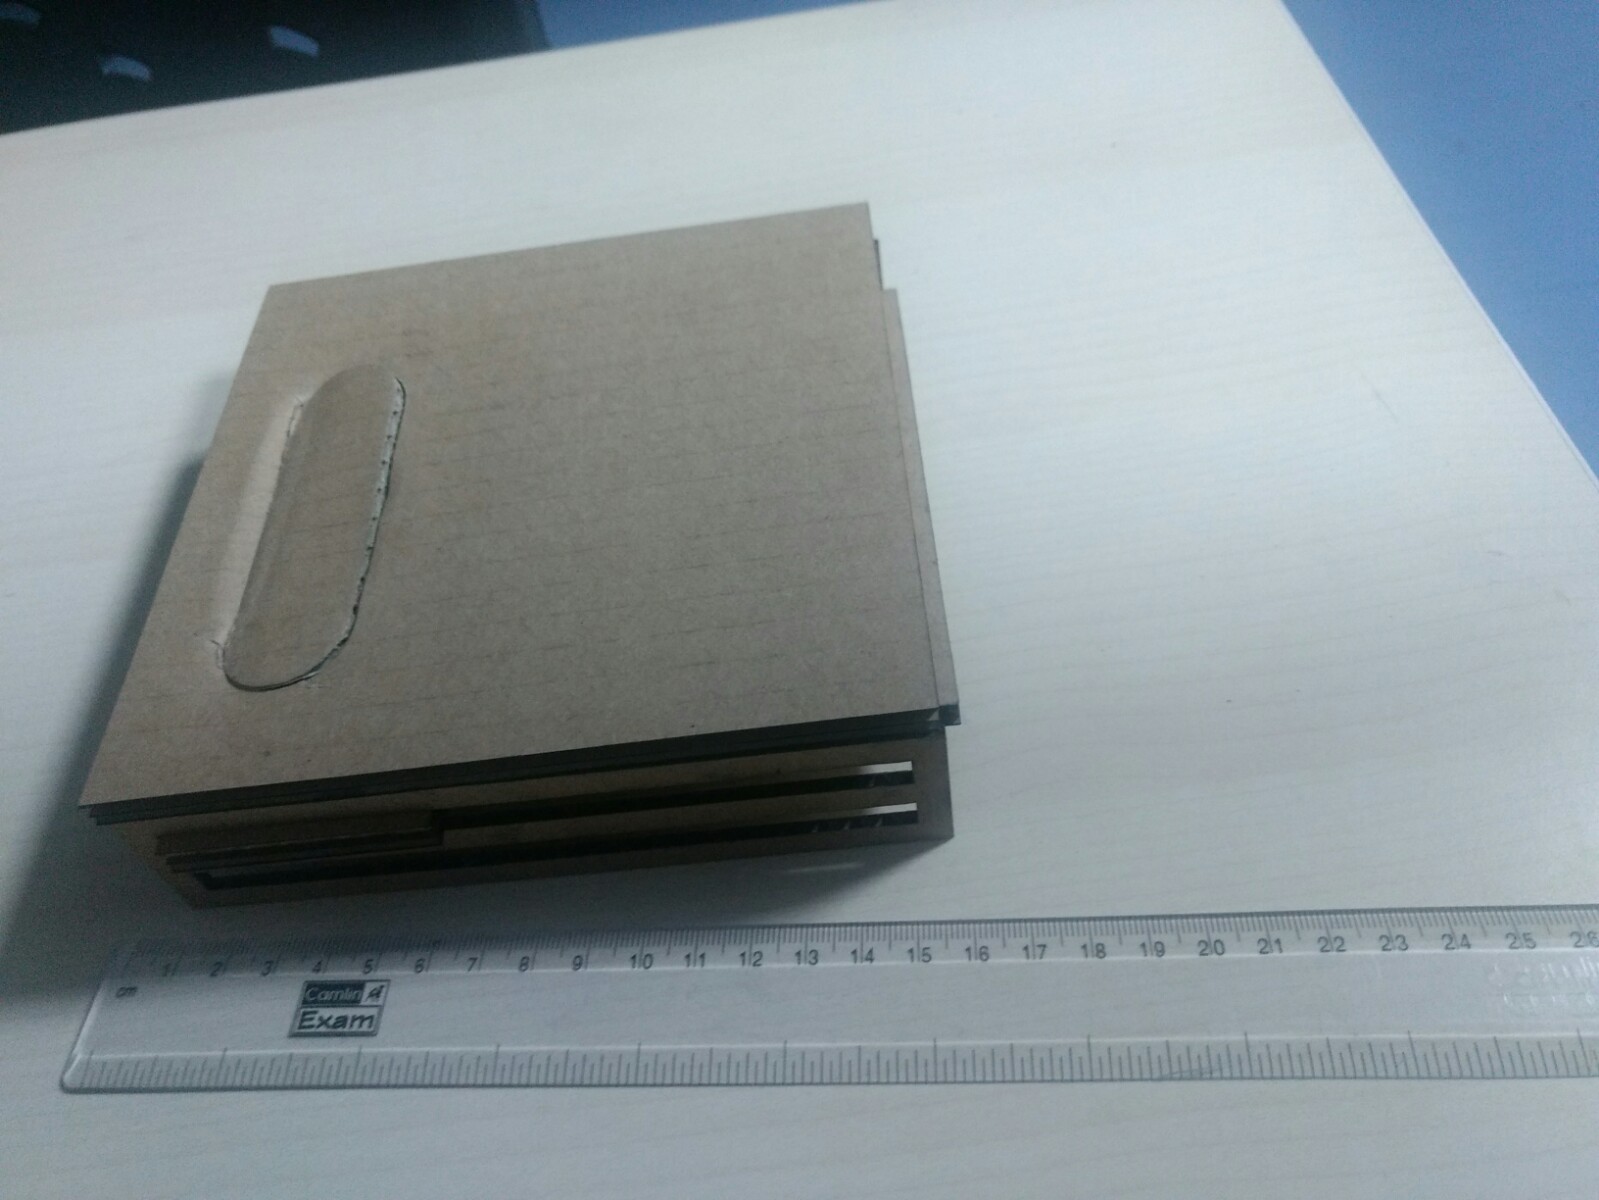
Step 11: After the filling, Gluing, and screwing the product is ready.