3D Scanning and Printing
22.2.17Task 1 : 3D scan an object (and optionally print it)
To do 3D scanning there are 2 important things:
1. How you will do scanning ( HARDWARE ).
2. How will you process the scanned image (SOFTWARE).
Choice of Hardware : There are multiple options in hardware when it comes to 3D scan an object like 3D Sense, Microsoft Kinect XBOX 360 sensor, Smart phone.
Choice of Software : There are multiple options in software as well when it comes to 3D scan an object. The choice of software depends largely on the kind of hardware you are using.
For 3D Scanning I will be using 2 Hardware :
1. Microsoft Kinect
2. Android Smartphone (Moto G4 Plus)
1. Using Microsoft Kinect
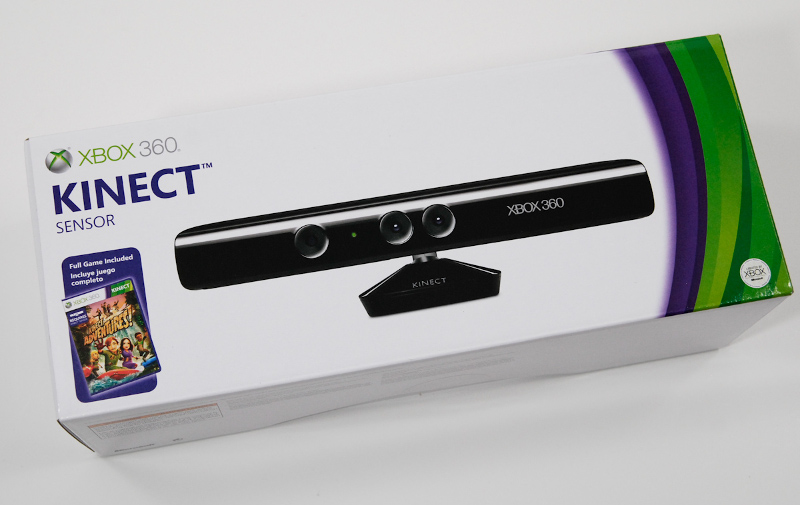
Step1: You will be needing Microsoft Kinect Sensor. Kinect is a line of motion sensing input devices by Microsoft for Xbox 360 and Xbox One video game consoles and Windows PCs. Based around a webcam-style add-on peripheral, it enables users to control and interact with their console/computer without the need for a game controller, through a natural user interface using gestures and spoken commands.
Step 2: Connect Kinect to the Windows laptop (Minimum operating system requirement : Windows 8). A message will come saying device drivers not found. You can install the required software drivers for the Kinect by downloading from the internet. Those are :
1. Kinect NUI Motors
(Note: Kinect drivers works on Microsoft .NET Framework and hence you need to install that as well if its already not installed on your system.)
Step 3:
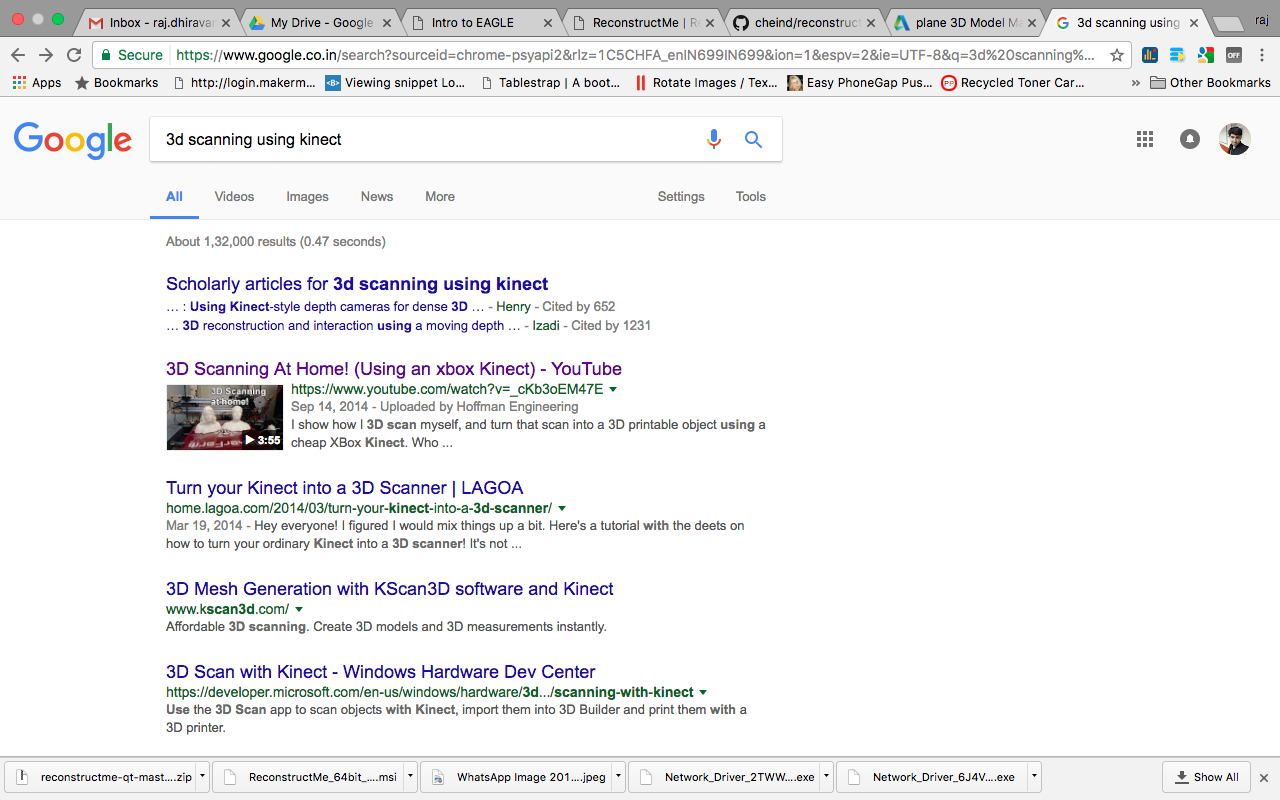
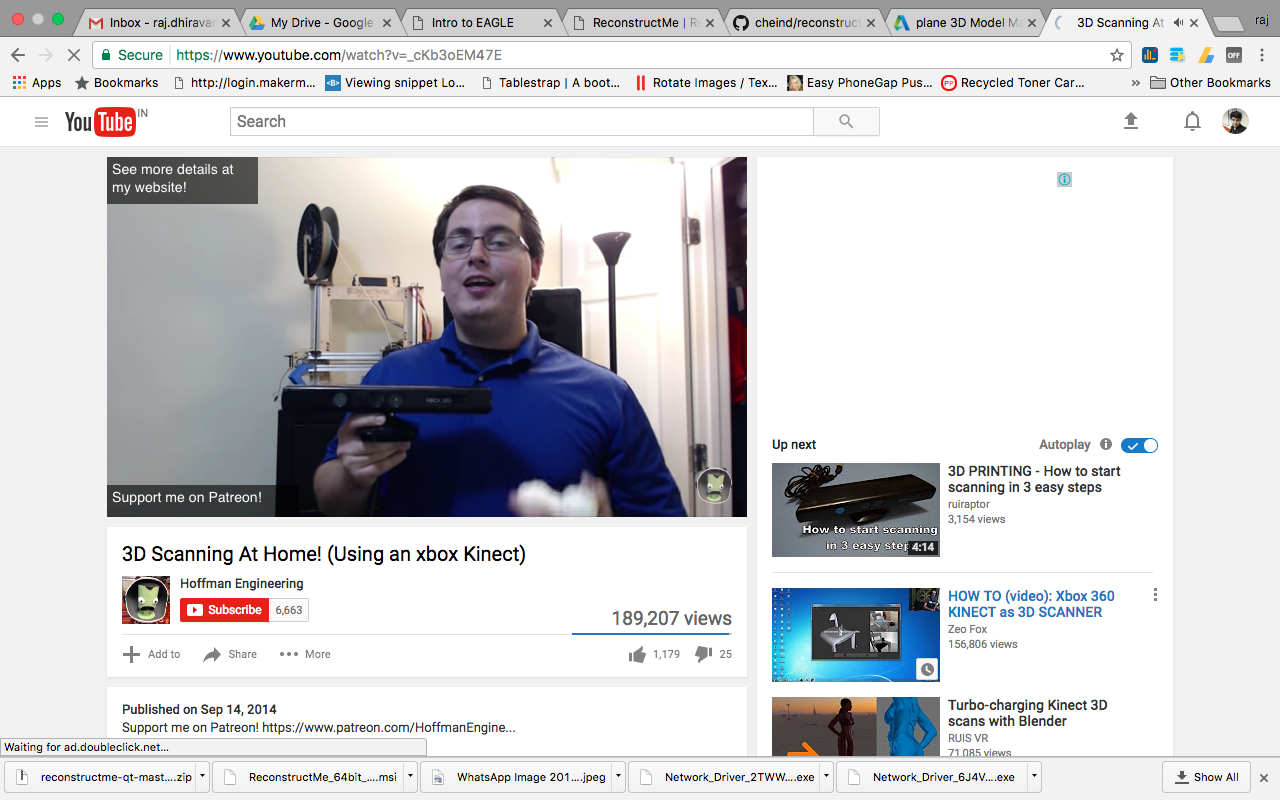
After connecting Kinect and installing the required drivers. Need 3D scanning software for the assignment. For that I did a google search and found a video link stating Skanect. Skanect can acquire dense 3D information about a scene at up to 30 frames per second. Just move around your Structure Sensor i.e. Kinect to capture a full set of viewpoints, and you will get a 3D mesh in real time.
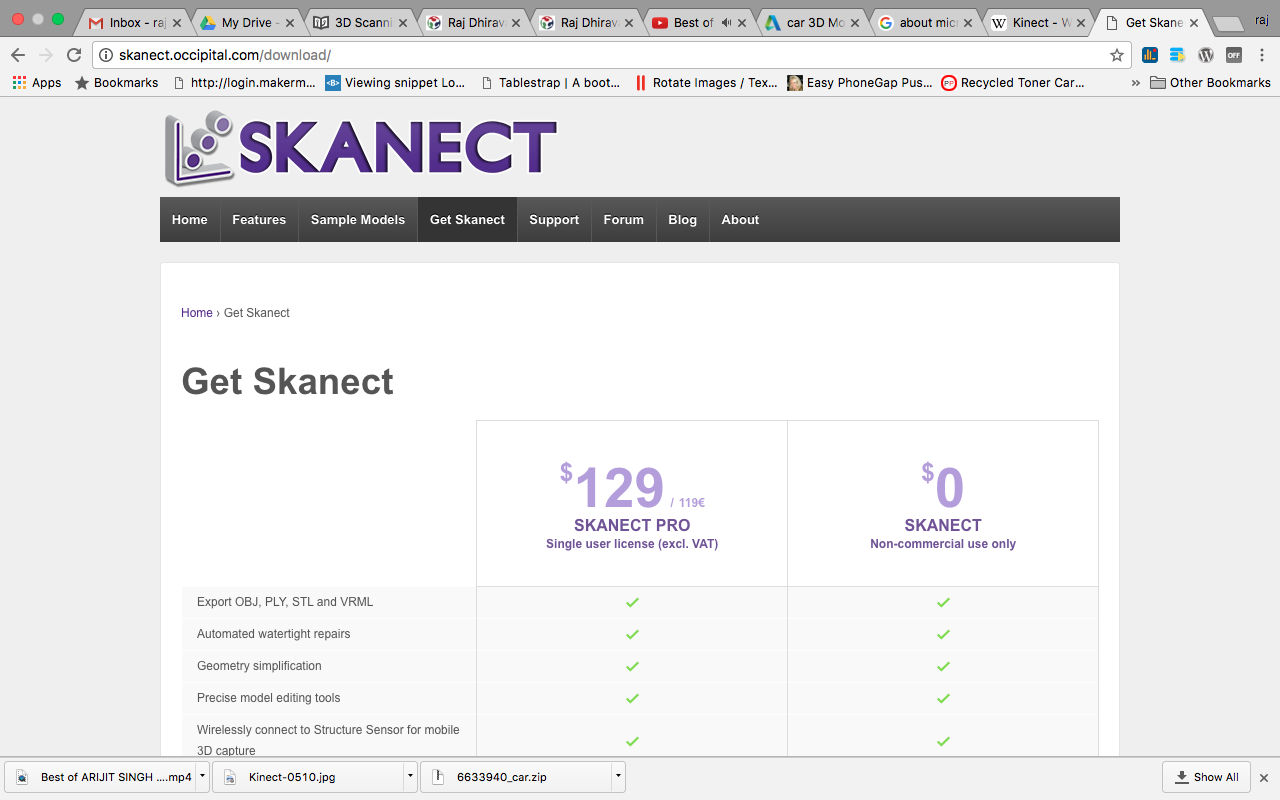
For the assignment purpose I have downloaded the free version of the Skanect and its almost as good as Paid version. The features which are required in this assignment are given in the free version.
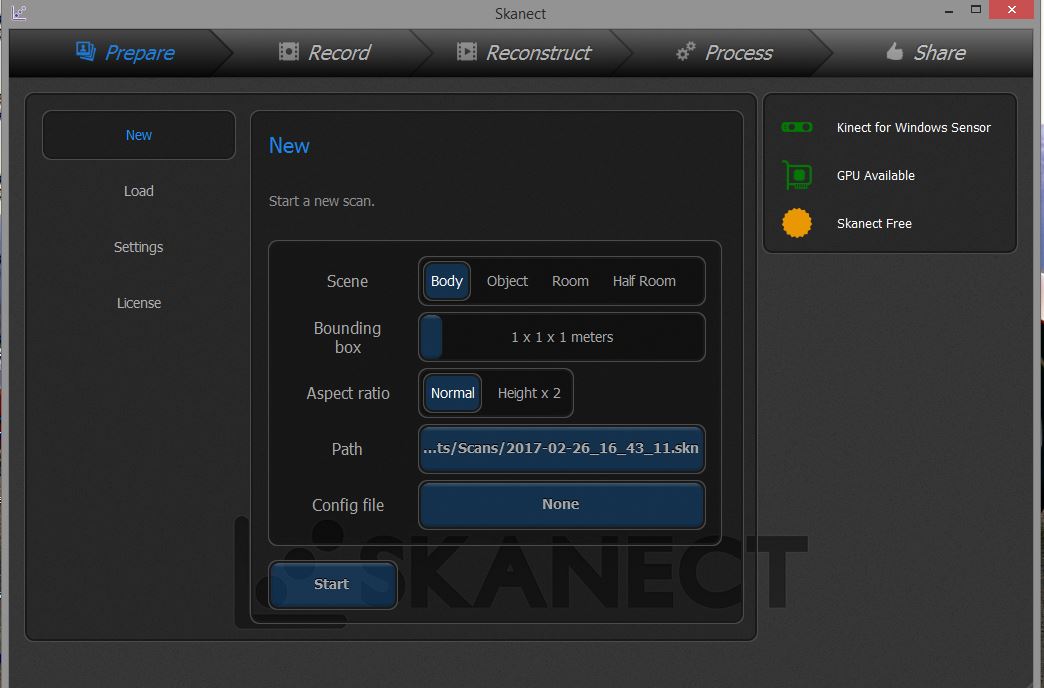
So after Installing the Skanect I opened it while Kinect was connected to the PC. The first screen that opens up includes options like New, Load, Settings on the left hand side and on the right hand side it shows the status like : Sensor connected (in my case Kinect sensor), GPU Available, and Free/Pro version of the Skanect.
I selected new scan to scan my face. Clicked on New Scan -> Selected options : Scene - Body and other configuration parameters kept as is.
After clicking on the start button, it showed various windows on the right side to display what will be scanned in the scanner. 1st is RGB Camera, 2nd is Infrared camera giving the depth information and below shows what object will be scanned.
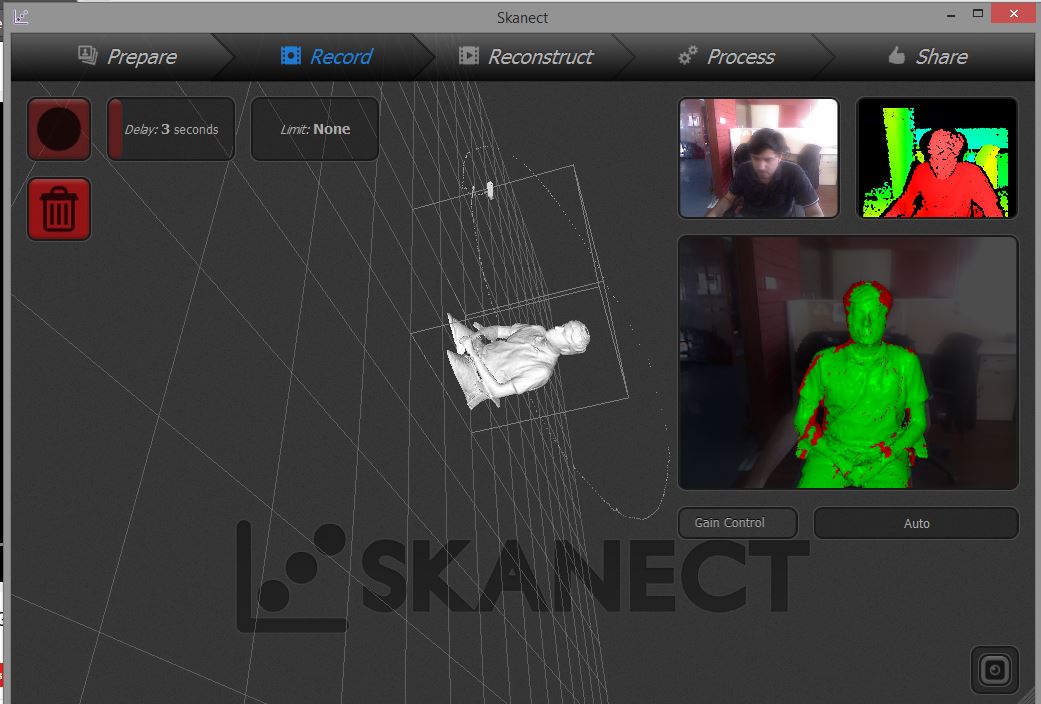
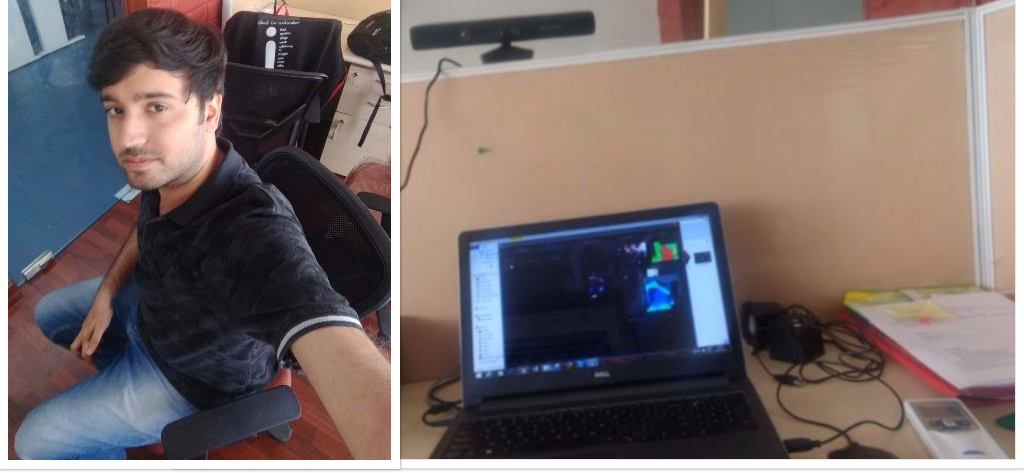
To start the scan I set the delay to 3 secs to adjust my body into the proper position. To scan my entire face I sat on the Wheel chair so instead of rotating kinect around me I did rotate my chair to get the scan. To capture the maximum information I figured out if I can place Kinect on some height it will also capture the head perfectly. So I placed it above the the head height and tilted its direction little downwards to have a good scan.
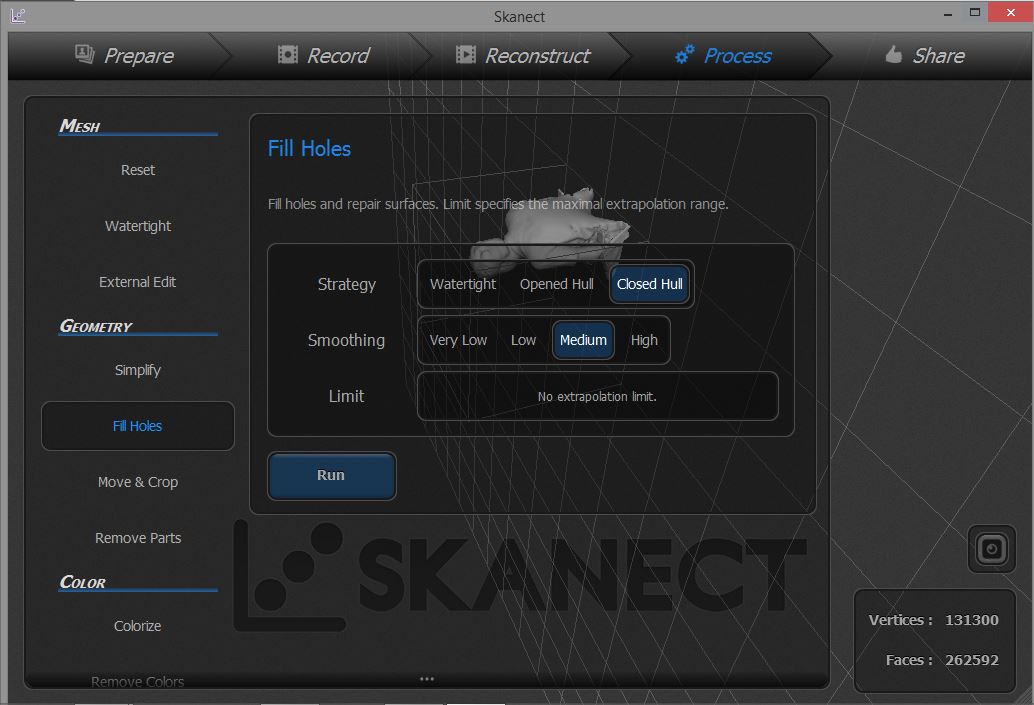
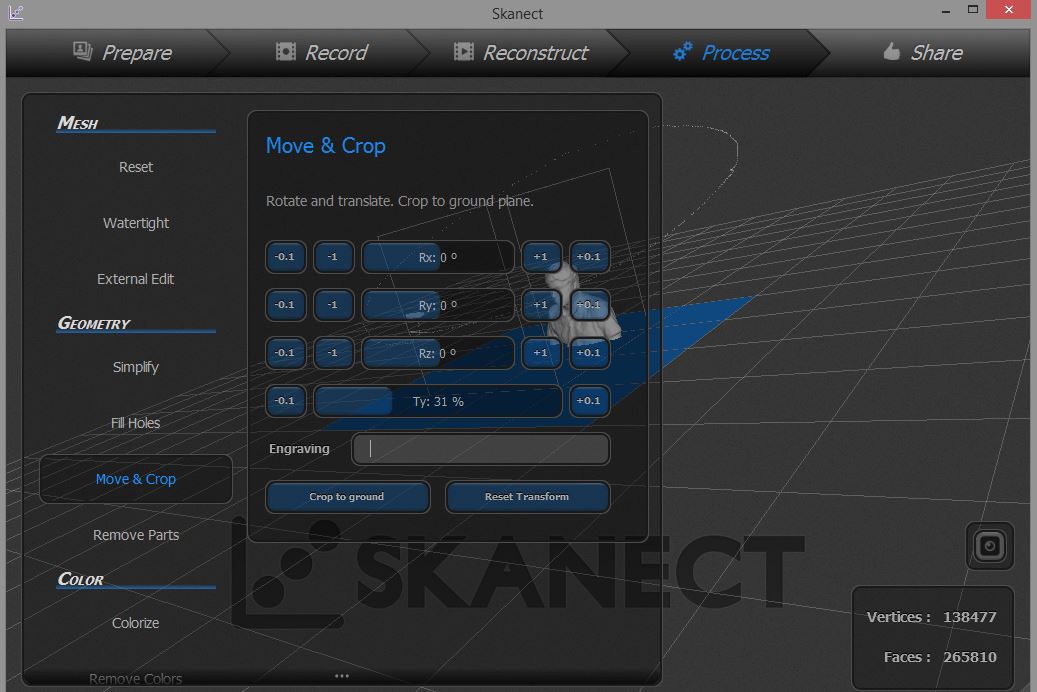
After doing the scan. It showed the scanned 3D image, which was not the final output that I wanted It had lot of holes in it and needed the processing to complete the image before I can 3D print it. In Skanect there are options to fill holes in the scanned image. So I selected fill holes in that there were varius options after trying all the options I selected Strategy : Closed Hull, Smoothing : Medium (If I select High smoothing then small shapes like ear and nose will not come properly) and applied the changes.
After that to get the required scanned model I did some cropping of the model. By adjusting the Ty axis of it to crop the unwanted design.
After finalising everything I exported the model for 3D printing. Exported file format is .stl
Final output after cropping :

2. USING ANDROID SMARTPHONE
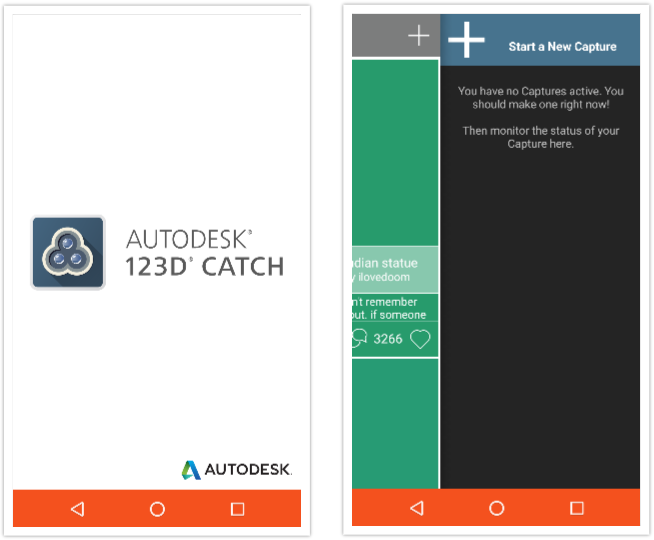
To do the smartphone scanning, All I had to do was downloading 123D app. Inside the app there is a simple process of creating 3D scanned model.
First of all you have to create the Autodesk id for that if you havent created one. After creating the Id you have to login into the app to do scanning. After clicking on the scan you have to move around the object 360 degree to properly scan the image and click photos and after clicking the photos it shows the screen of selecting the photos after selecting the photos. It will upload all the pictures on the cloud and will create 3D model on the go for this you will require an internet connection (preferably wifi, because of lot of images). After some 15-20 it will show the output and will publish your scanned image on to the 123dapp website.
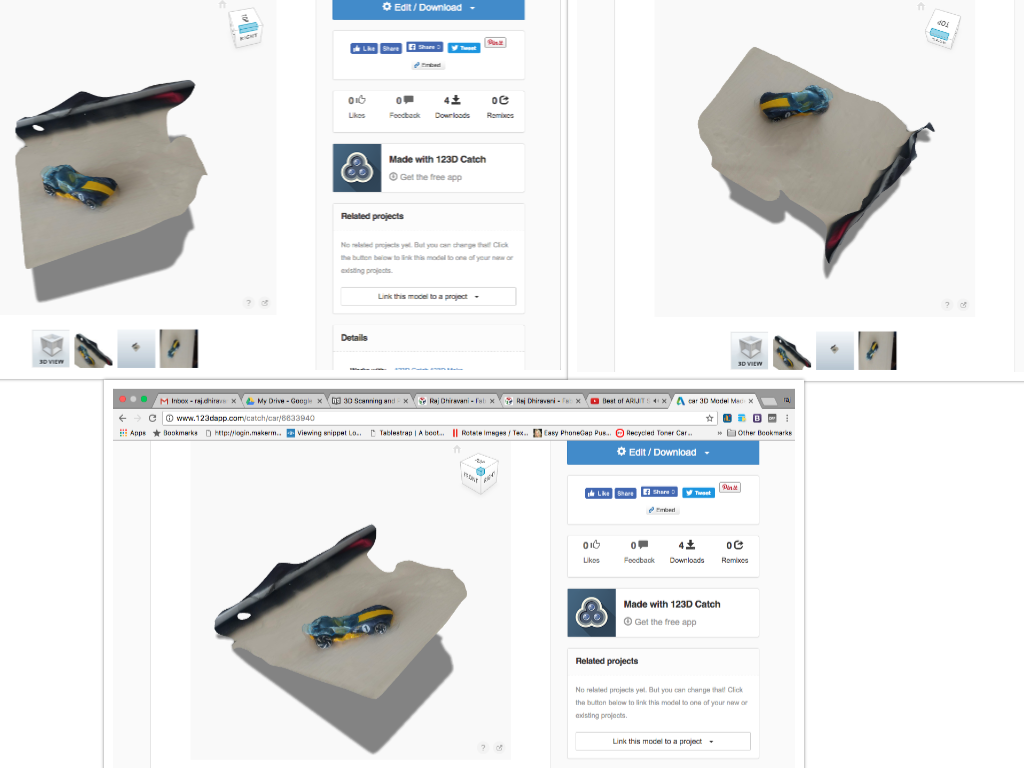
Source files : 123dapp.com/catch/car/6633940
Task 2 : Design and 3D print an object (small, few cm) that could not be made subtractively
For designing an object I have used Tinkercad.
For creating design that cannot be made subtractively I have referred tutorials at fab academy website.
Ref:
1. http://archive.fabacademy.org/archives/2017/doc/3D_printing.html
2. http://www.thingiverse.com/thing:36097
Creating Finger Rings
Step 1: Login to Tinkercad website. Create new design.
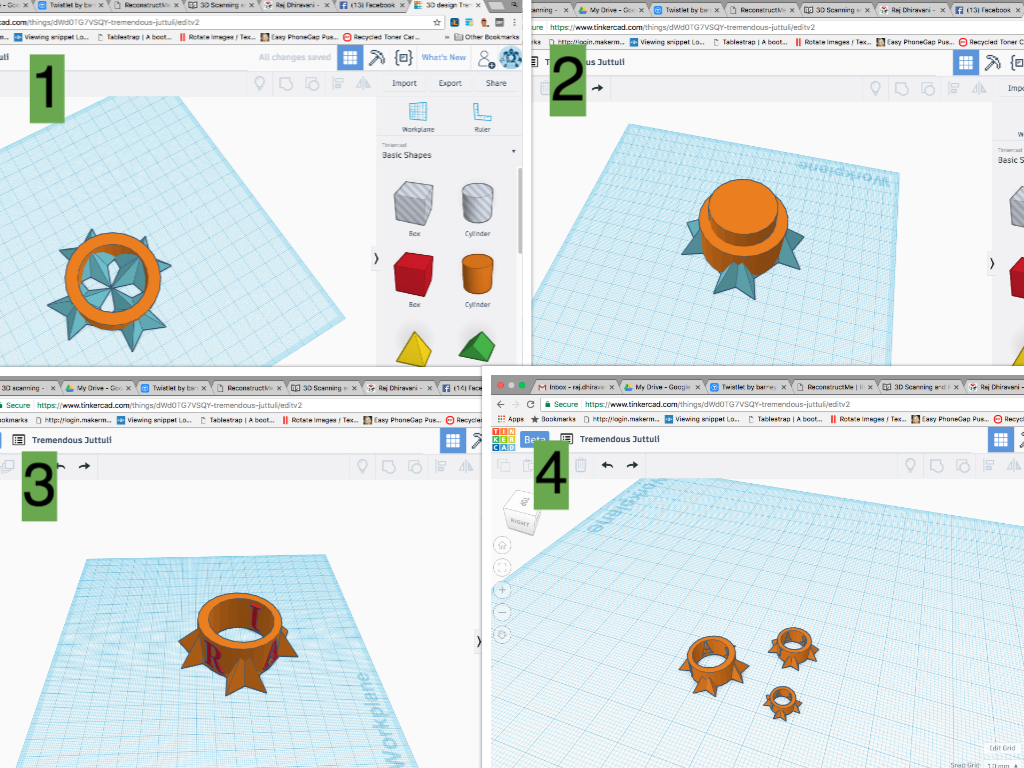
Step 2: To create finger rings I selected 4 shapes :
1. Tube
2. Star
3. Cylinder
4. Text
Step 3: Placed 1 tube and 4 stars and aligned them properly. After that used Cylinder to eliminate the center part to create the ring. And placed text to create hollow effect. Grouped all the items and created 2 copies of it with different sizes.
The text hollow effect is something that cant be made subtractively.
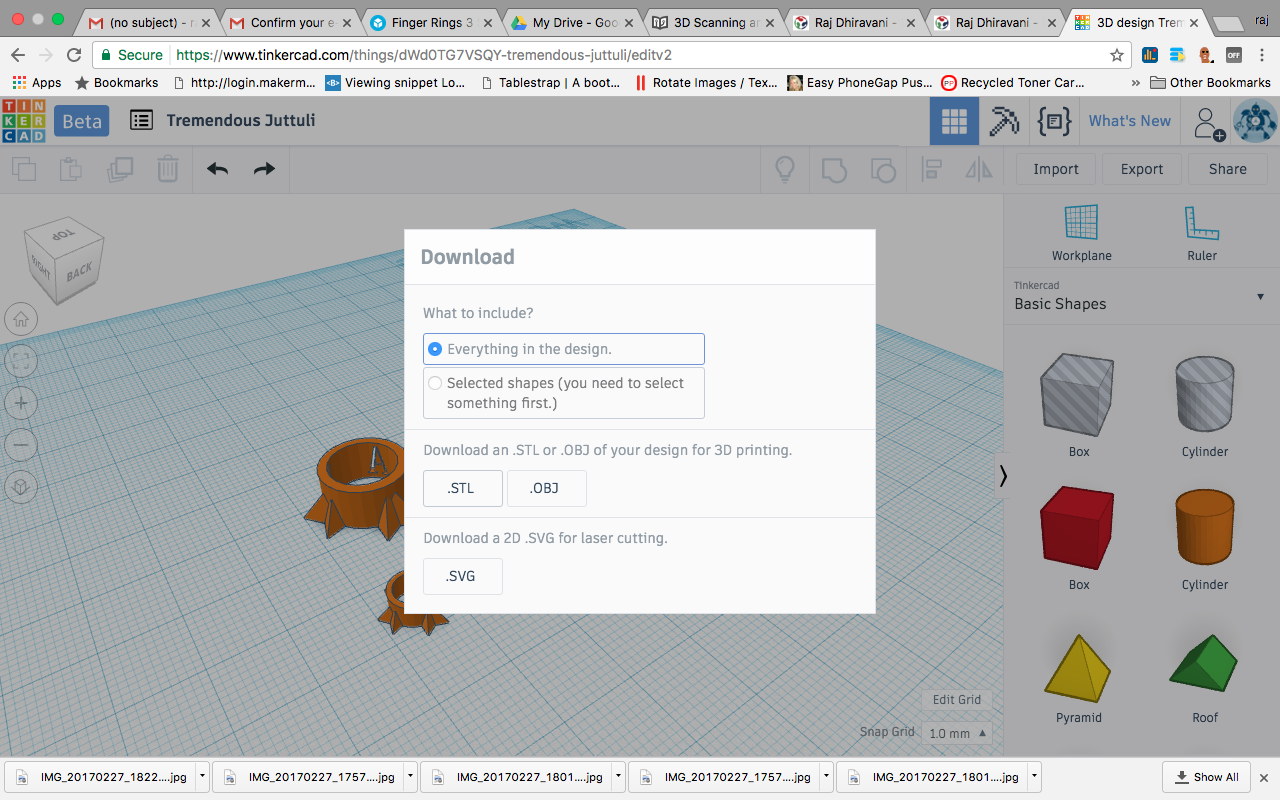
Step 4: After finishing with design, you can export it in multiple file formats, in the earlier assignment I exported the design in to .SVG for Lasercutting but this time I will Export the .stl (STereoLithography) file for 3D printing.
Preview using Sketchfab
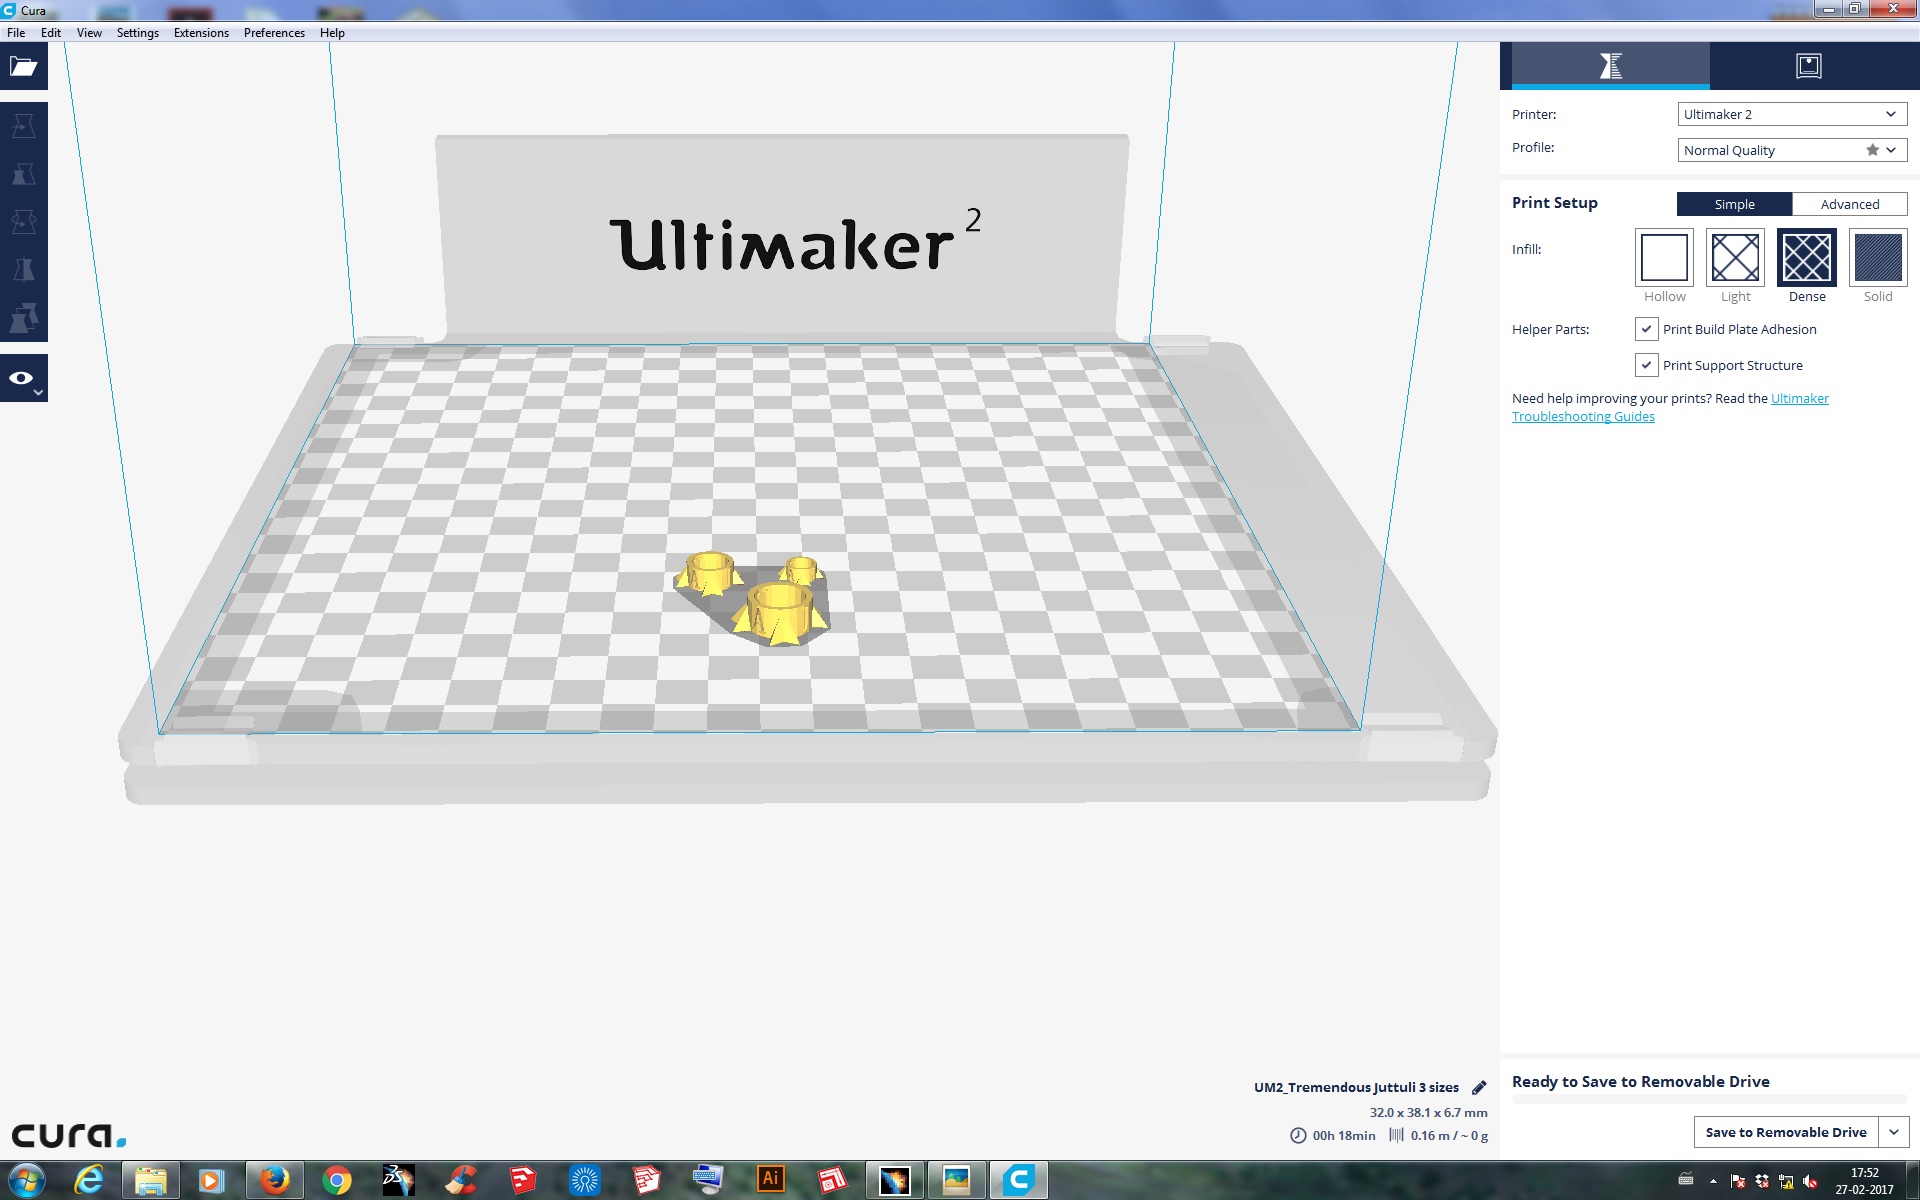
Step 5: I am using Ultimaker 2 and PLA (PolyLactic Acid) for 3D printing. So I have to Import the file in the software called CURA. Which acts as an interface between design file and 3D printer. Apart from assigning design file to printer it also has some capabilities such as Scaling, Rotating object. It also helps in calculating the estimated time to print the design. And shows the layer as in how it will be printed. For Infill I selected Light. There are 4 infill options 1. Hollow, 2. Light, 3. Dense, 4. Solid.
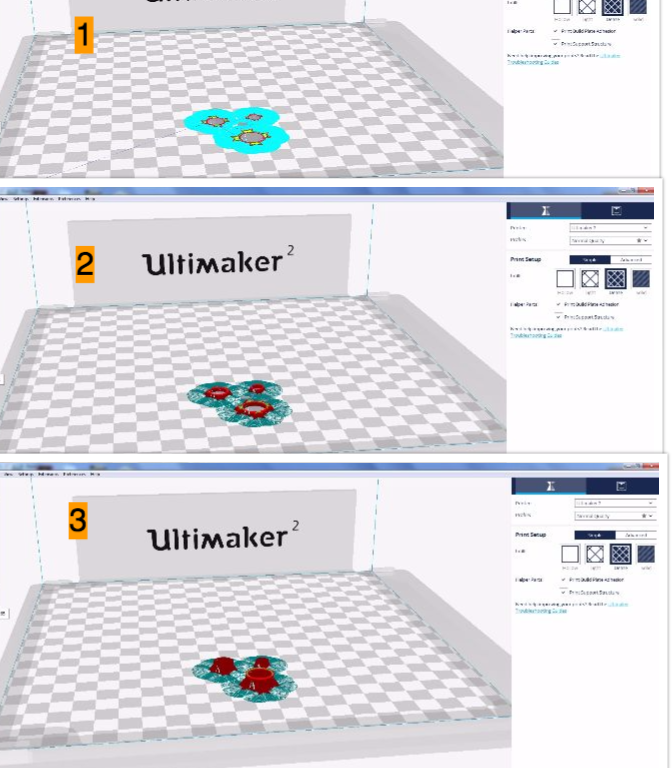
Step 6: Checking the layers of printing. And Click on "Save to File" and it will be converted in to .gcode file. Transferring that file into SD card for 3D printing.
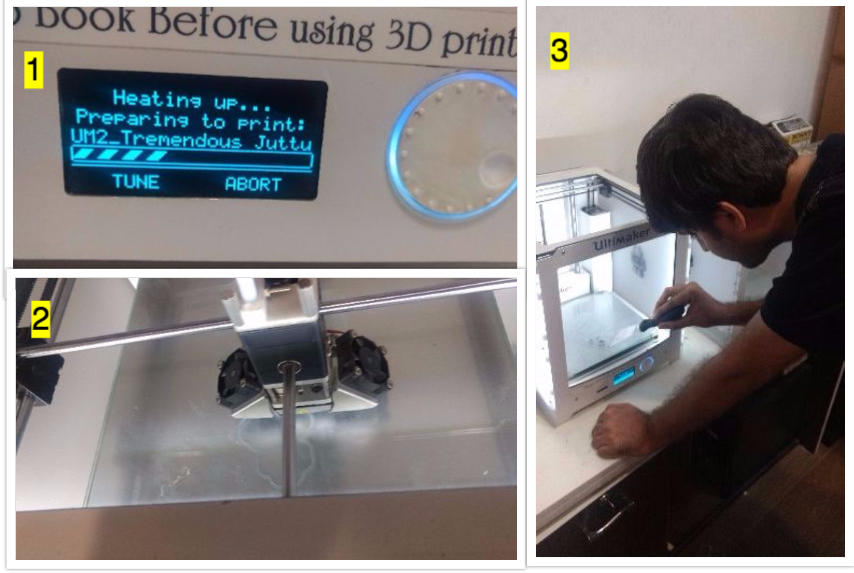
Step 7: Getting hands on at 3D printer! Insert the SD card into the 3D printer. Select the file to be 3D printed.
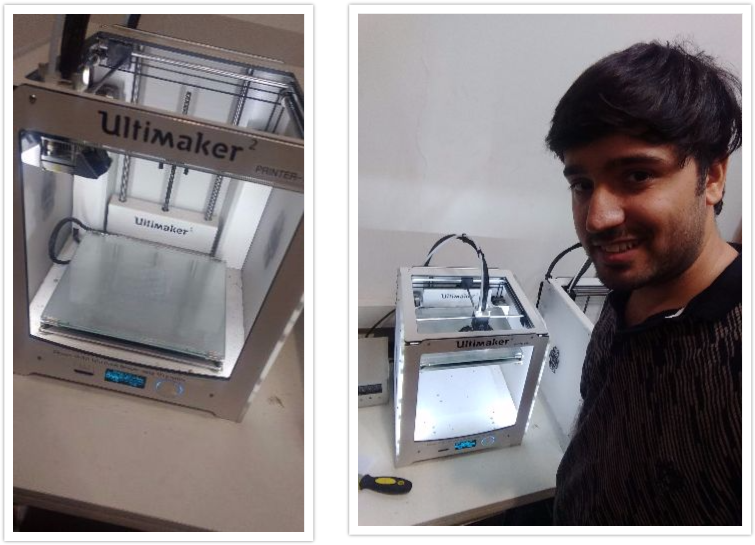
Step 8: After giving the print command first thing that happens is heating up the bed and after sometime the printer nozzle will start moving and 3D printing process is started. It will display the amount of time remaining and amount of processing done. After completing the print remove the object carefully with Spetulla. Remove extra printing with cutter if any.
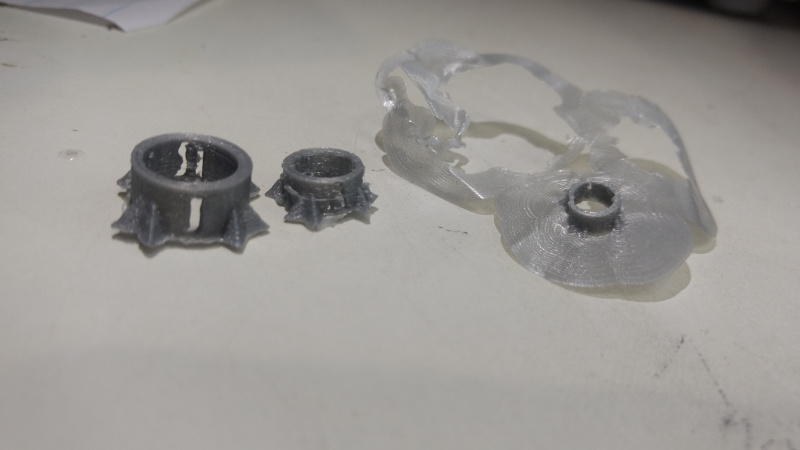
Final Output: After completion of the process below is the output that was created.
Observations :
1. The smallest Ring was not printed properly and could not be recovered properly.
2. The Medium Ring was printed but not with good accuracy as it was also small in size and couldn't see the hollow letters properly.
3. The big ring was printed properly but still was small in size for the fingers so my calculation of size went wrong with it.
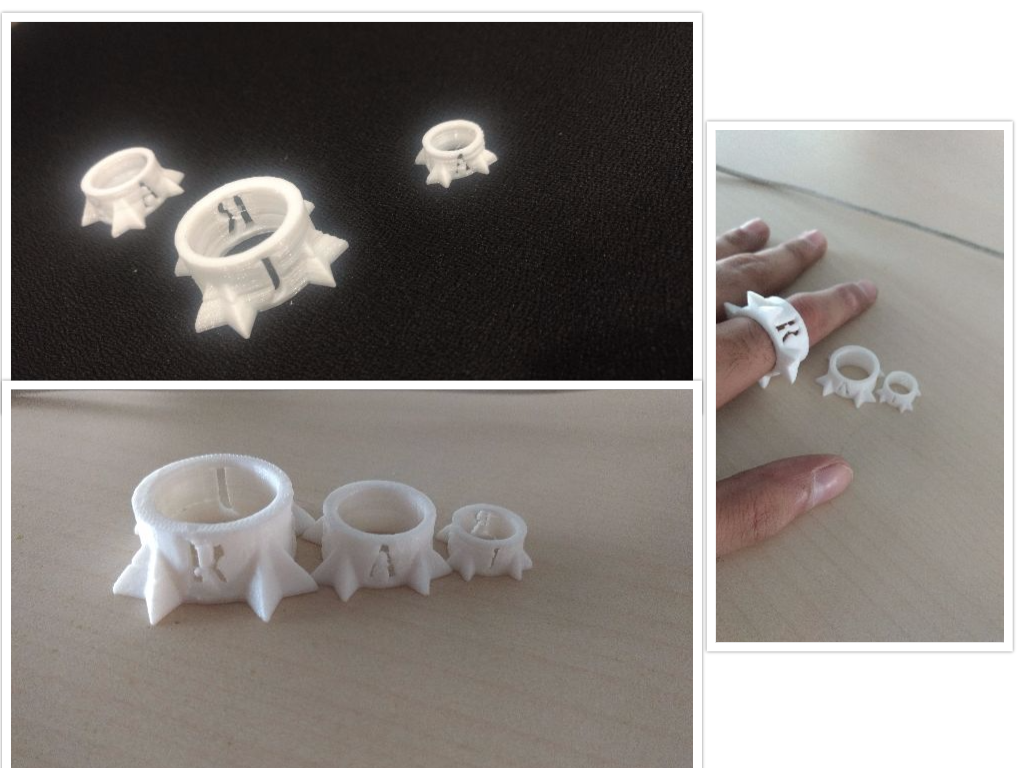
After Scaling the design by 200% Finally I got the desired result.
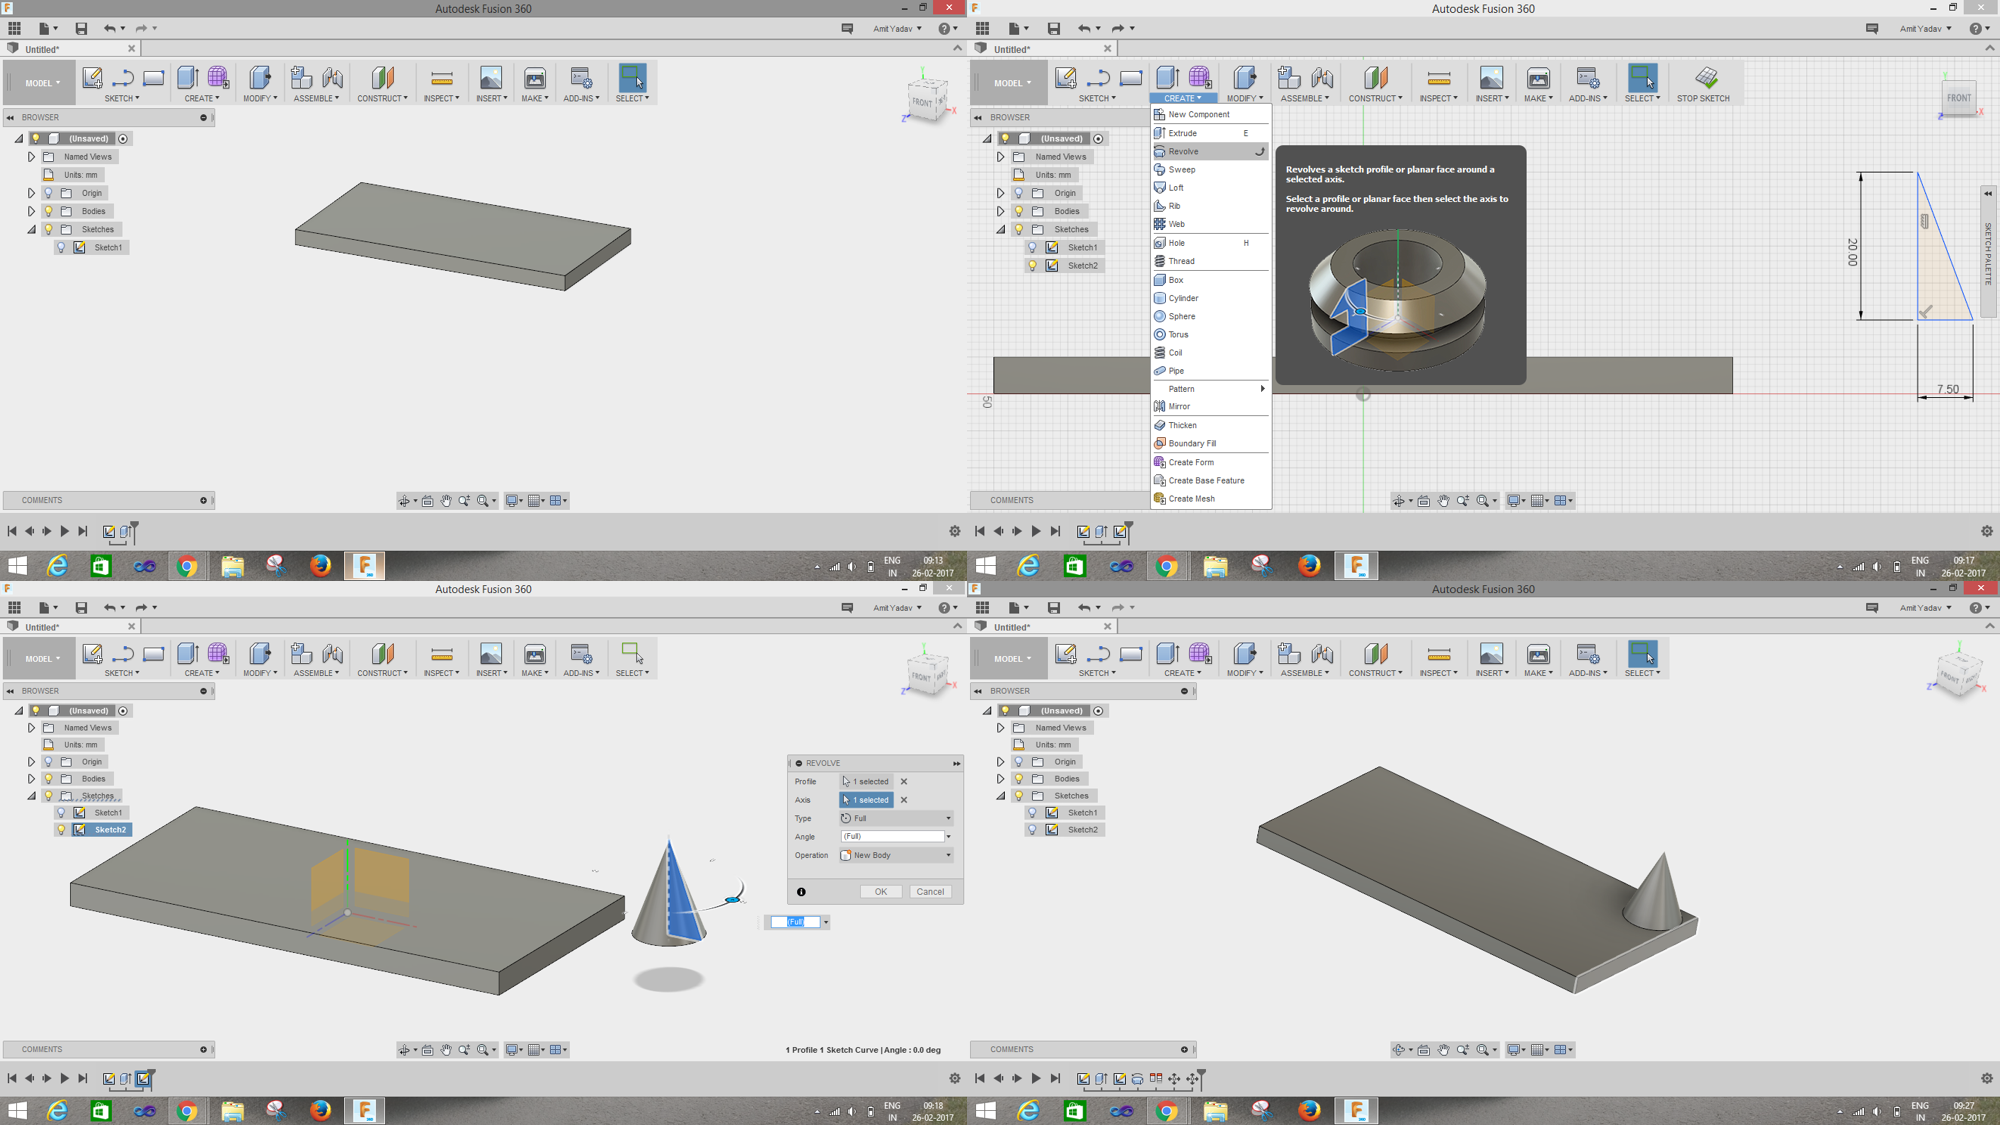
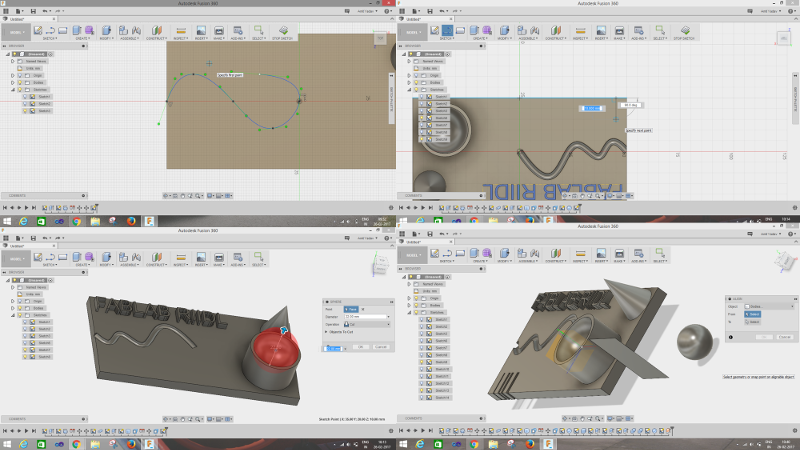
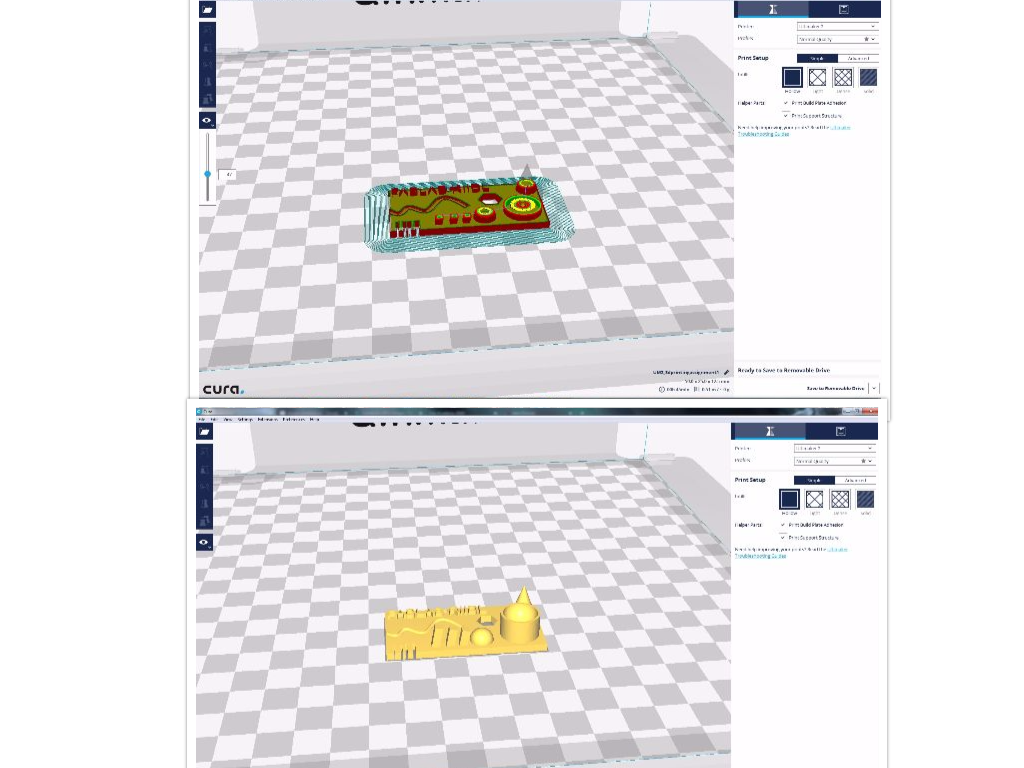
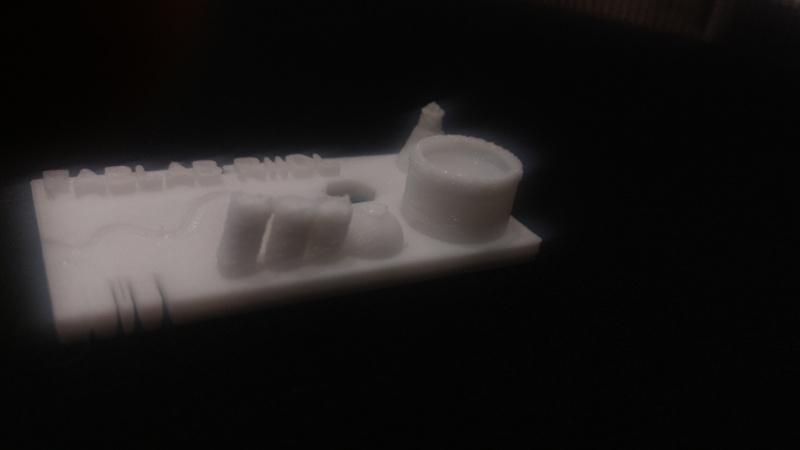
TASK 3 : Test the design rules for your printer(s) (group project)
For the group project we decided to make different cutout shapes, extrude, hollow, sharp things to know how 3D printer performed.
Sketch is shown in the below image.
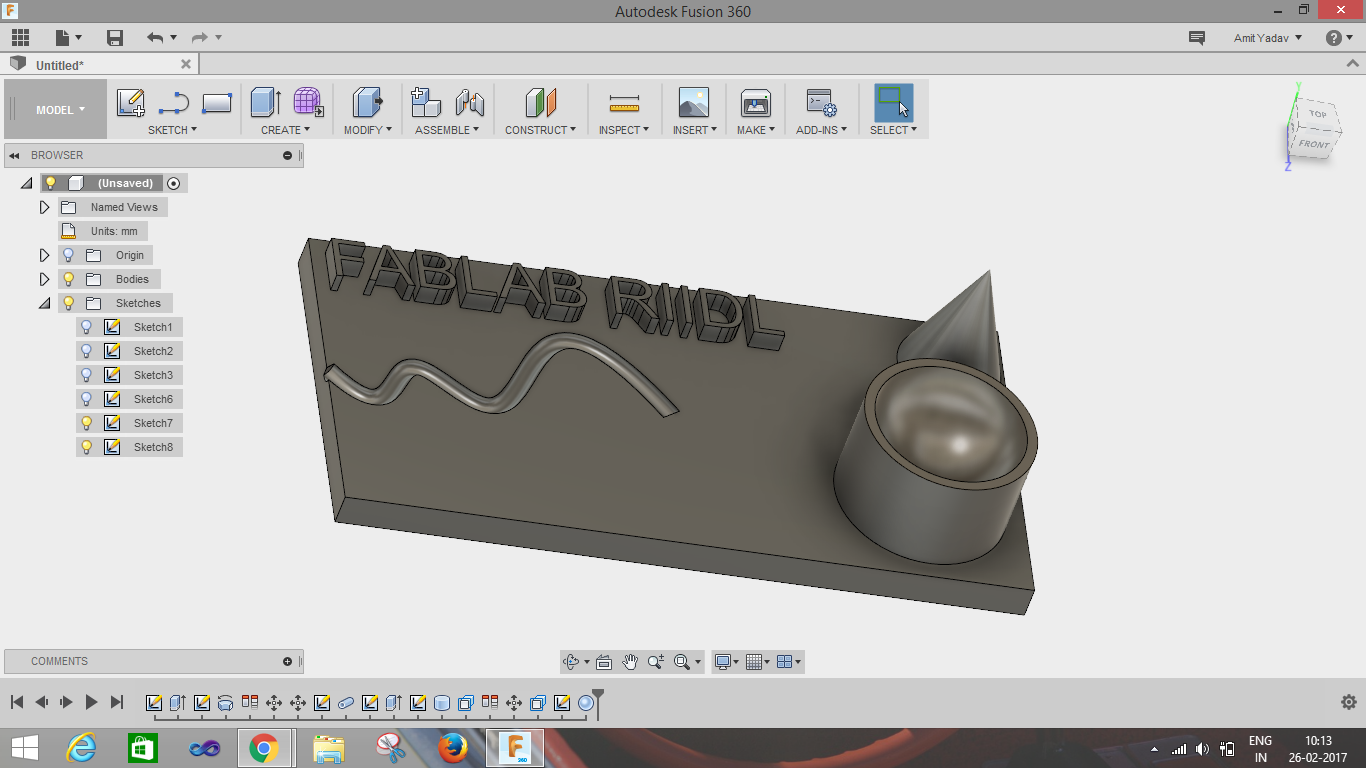
Images shown below describe how the sketch is constructed.
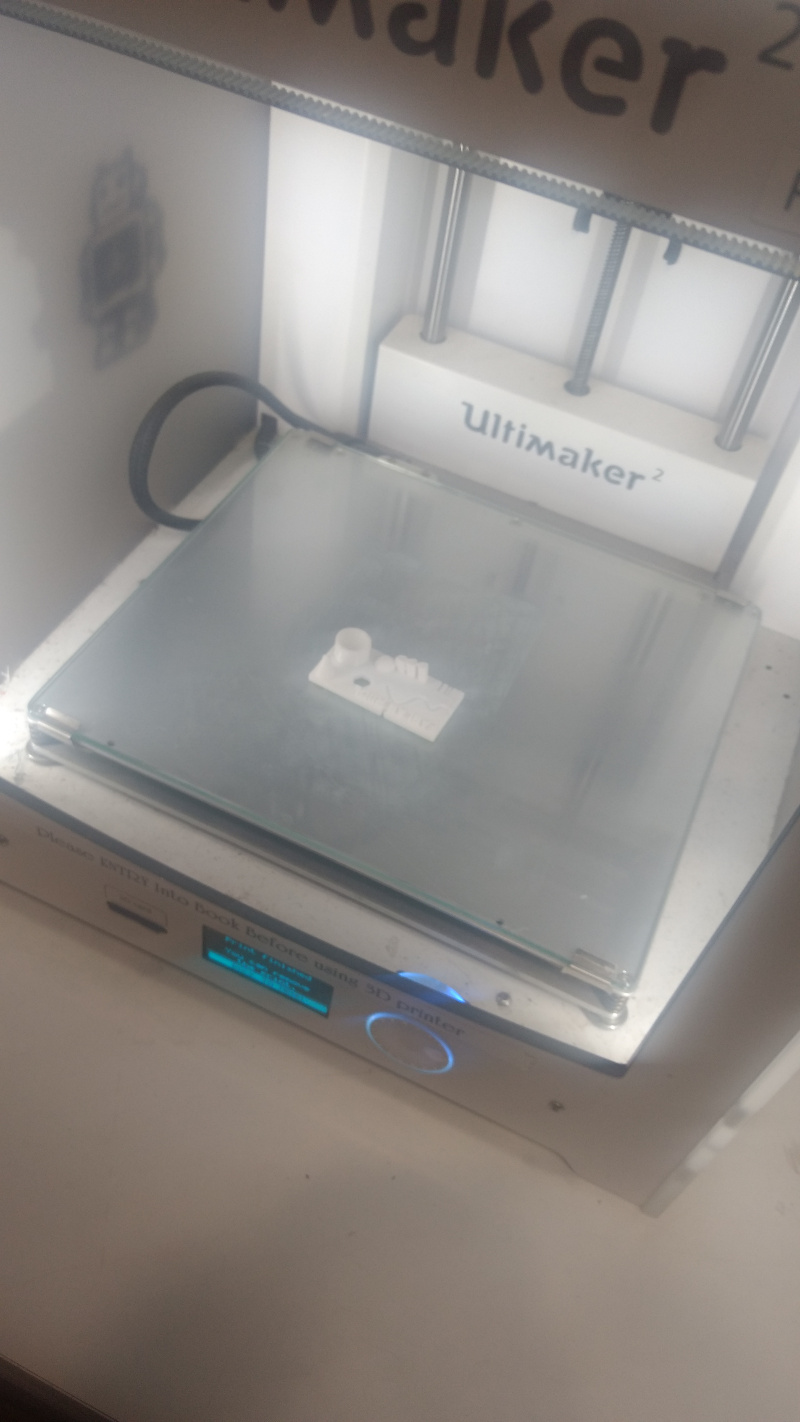
After 3D printing :
Sketch fab preview :