Computer-Aided Design
1.2.17Task 1 : Make 2D Design - RASTER
Software used
- GIMP
I will be using GIMP Editor for 2D Raster image editing. I previously had an experience with GIMP when I used to work on Ubuntu.
Turend out GIMP was available for MAC, so I selected to explore more on my favourite Ubuntu image editor tool.
Soon I experienced there were lot of features I was not aware of. I always used to edit existing images, which was easy. But Creating a new image from scratch was a whole new journey. Sharing my experience :
Downloading GIMP for MAC. Go to https://www.gimp.org/downloads/

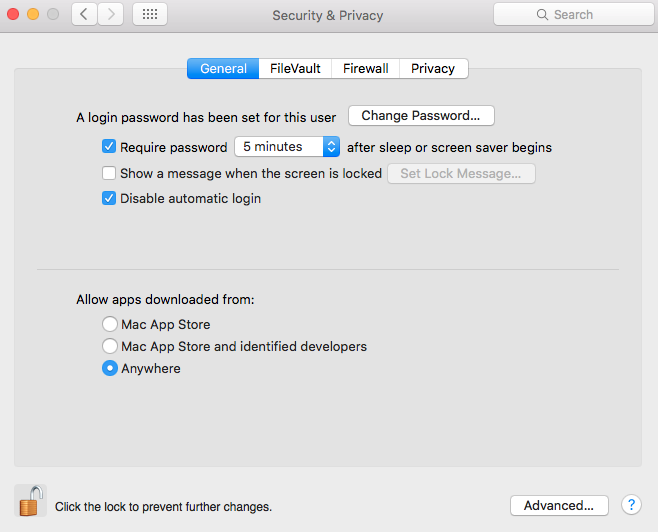
After downloading .dmg file. Install the GIMP. However GIMP is not the verified developer for MAC OS. You may have to change the security preferences to complete the installation of the GIMP.
I did that by clicking on the System Preferences and selecting the Security Tab.
Under the security tab select Allow apps downloaded from Anywhere.
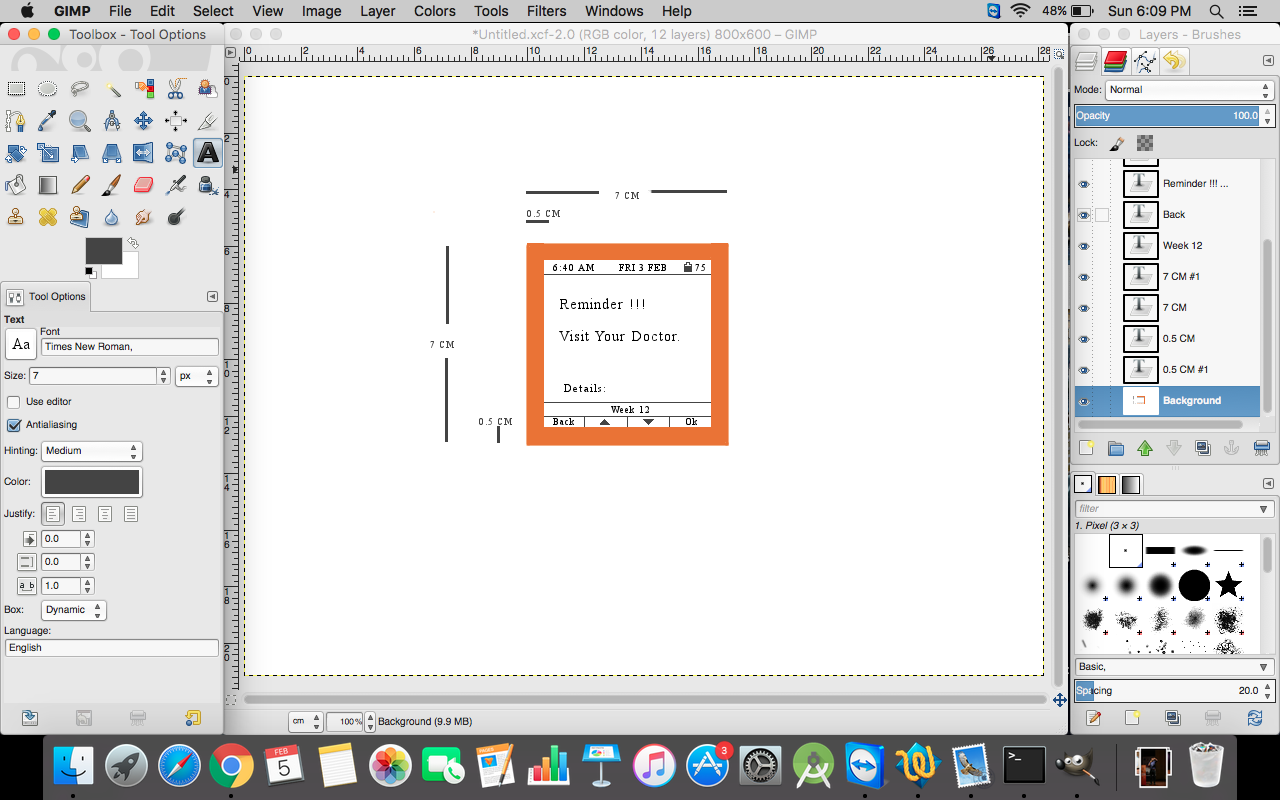
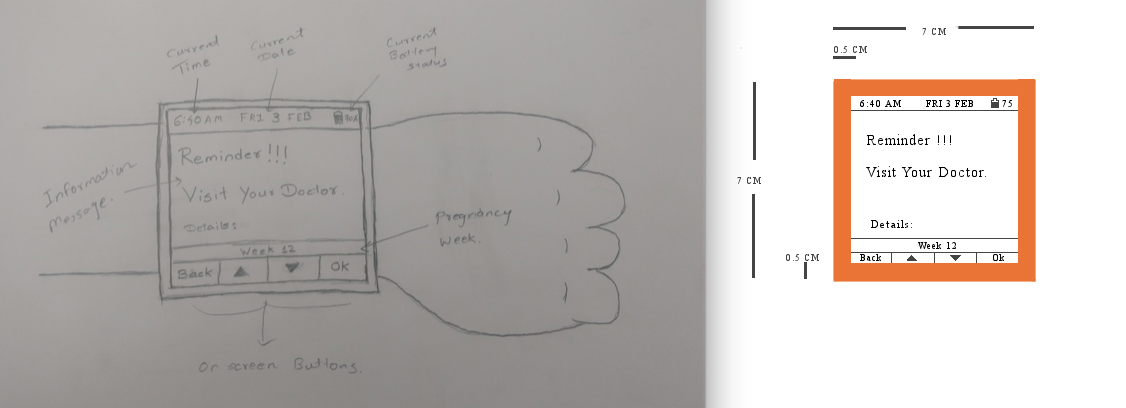
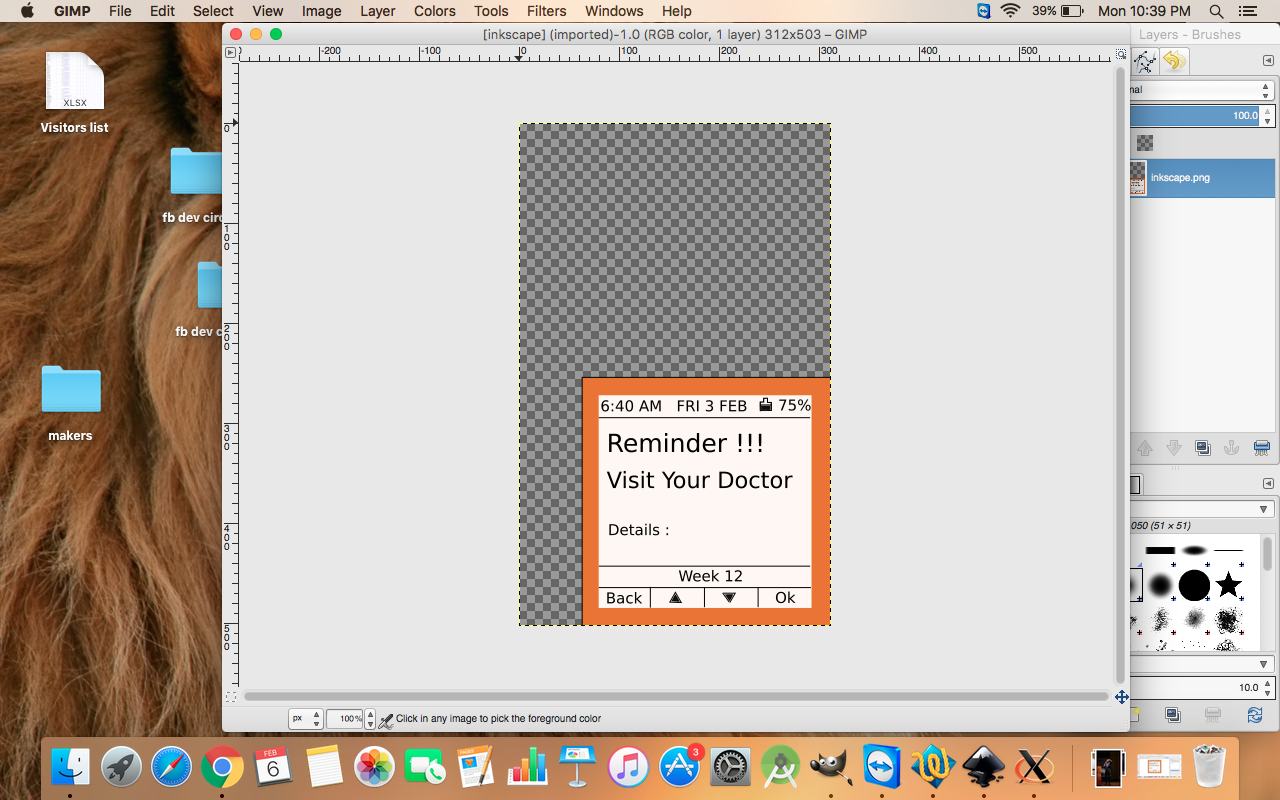
I am creating the 2D design of my final project : Prenatal Caring Device.
I Created New file and selecting 800*600 as Dimension of the image canvas. There are various toolbar available in GIMP such as :
1. Toolbox and Tool Option
2. Layers and Brushes.
Note: If you accidentally hide toolbars press "Fn" + "tab" key together to bring back the toolbars.
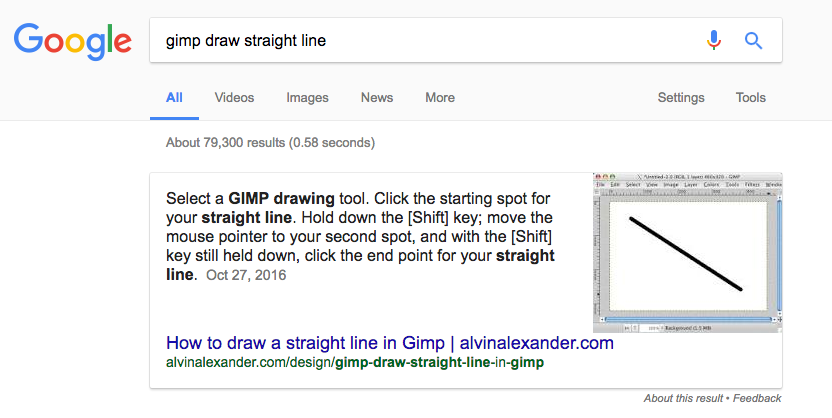
The most difficult part to understand was how to draw straight line as there are no direct line drawing tools available in the GIMP. So I searched on the internet for the same. The GIMP has very good community support as I got my answer in less than a min.
As I progressed in creating my design I explored various tools. Tools are very helpful and provide complete control of the design.
Tools such as :
1. Color tool
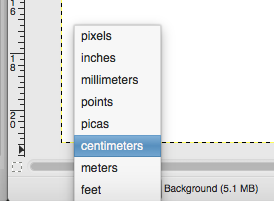
2. Metrics change tool. I changed my metric for the drawing from Pixel to Centimeter
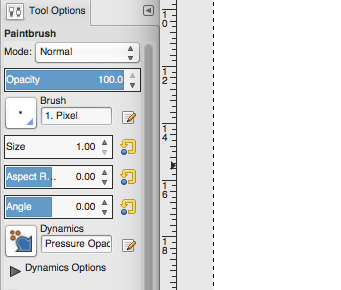
3. Paintbrush tool. Here one can change the brush properties such as brush size.
4. Text Selection, Move, Edit is very difficult to understand and implement in GIMP. Follow the instructions to understand the flow:
i. Select the "Action" form the toolbox first. e.g. if you want to move the text select the MOVE tool.
ii. Select the desired text from the Layer box.
iii. Hold down "SHIFT KEY" while you drag/move your text.
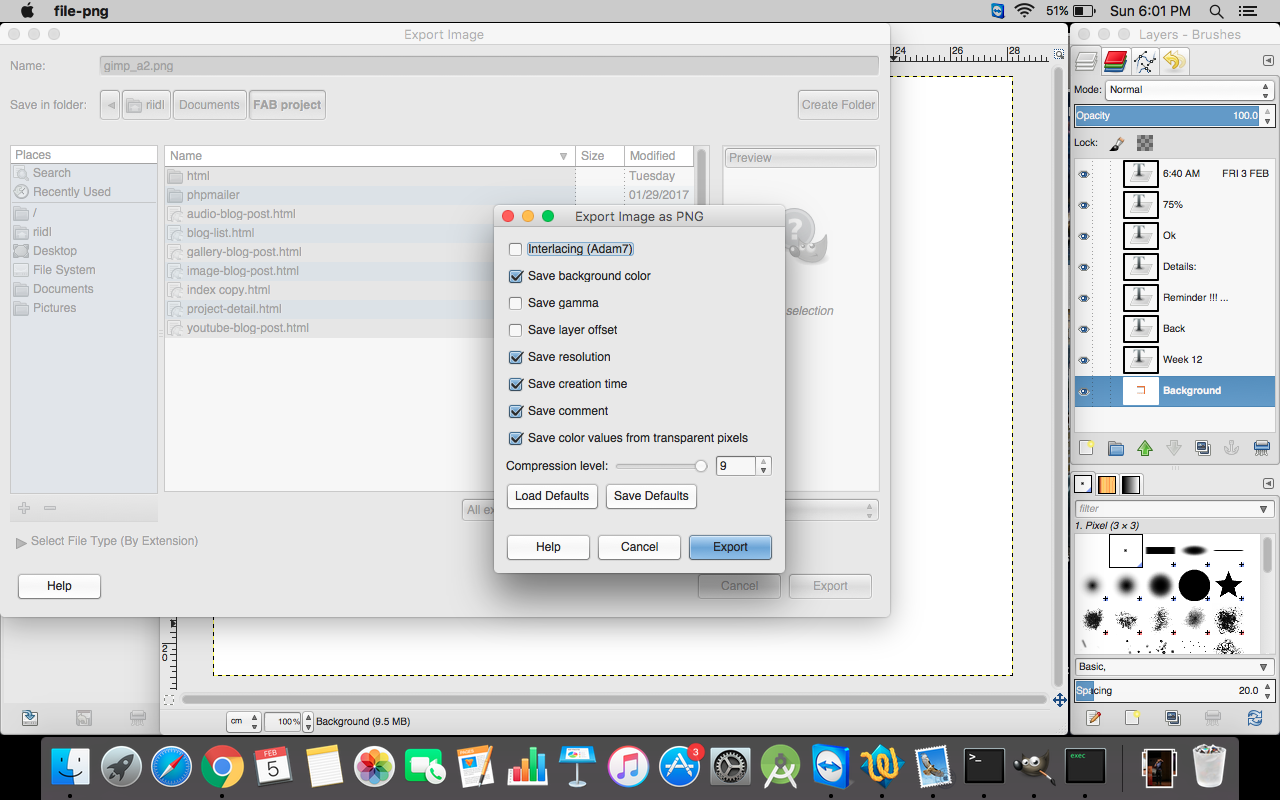
5. Save the changes. The changes will be saved in .xcf format and Export the image in .png fromat.
Sketch -> 2D design
Task 2 : Make 2D Design - VECTOR
Software used
- INKSCAPE
Inkscape is the editor I used for 2D Vector image editing. I had no previous experience of using it. Downloaded the software from the website : https://inkscape.org/en/download/mac-os/
Inkscape requires XQuartz from xquartz.macosforge.org. Specific instructions on installing XQuartz and support are found at the XQuartz web site.
Downloading Inkscape for MAC. Go to https://inkscape.org/en/download/mac-os/

After downloading .dmg file. Install the Inkscape. It will ask for the location of XQuartz, so you have to install it first and provide the installed location of XQuartz to Inkscape. After the installation of XQuartz you have to restart your MAC and then you can proceed with the installation of Inkscape.
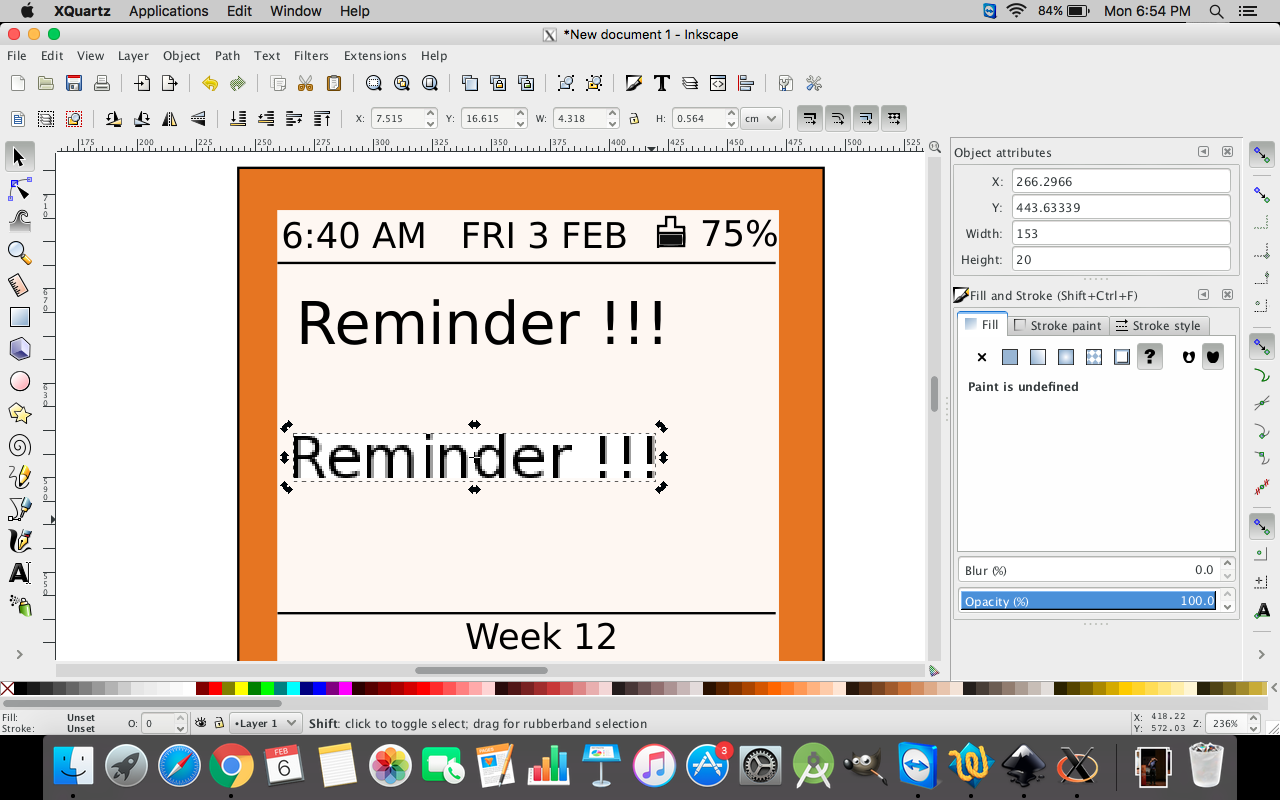
Tools of Inkscape are similar to GIMP Editor and its easy to use for the beginners. The difference between GIMP and Inkscape was Inkscape's basic functionality are dependent on "control key" rather than "command key". For example to copy one object, as a regular MAC user one will press " command + C " but in Inkscape it is " control + C ". So it took some time for me to adjust my fingers. Apparently everything is based on control key.
Also, the biggest change of I observed was while copying text, it copied background as well. So the text was very distorted. So every time I had to Add new text from the toolbar. I have attached the screenshot to explain the same :
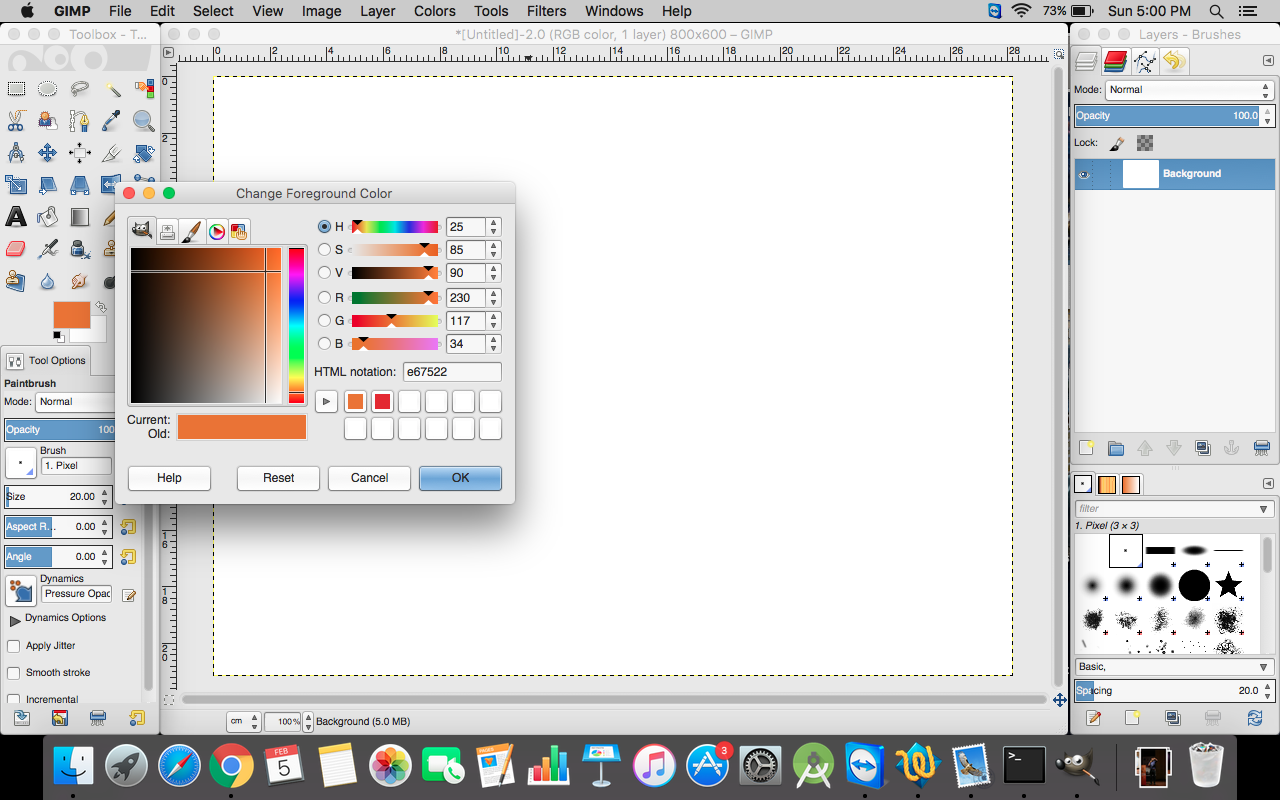
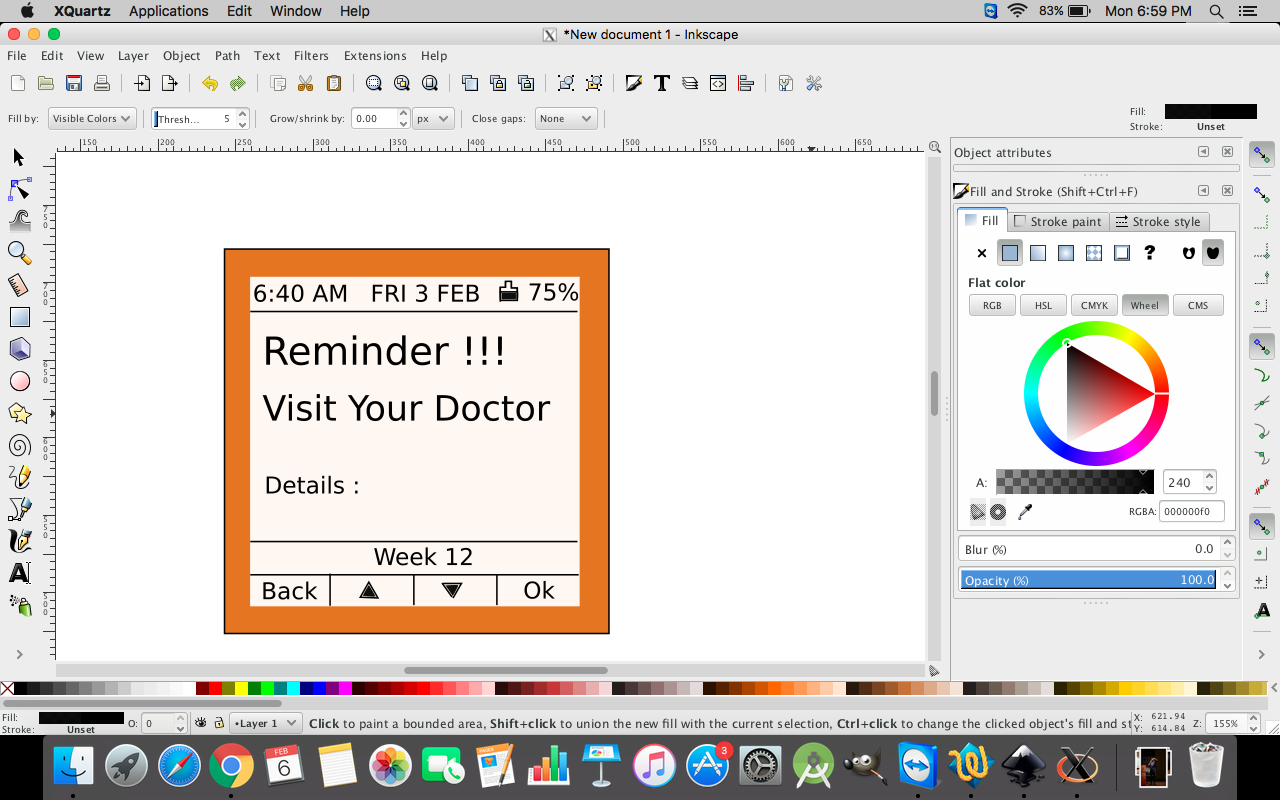
Color tool is very detailed, one can choose the coloring methodologies such as RGBA, CMYK etc. to select the color. I struggled to provide hex code of my color #E67522. In the end I saw a "Wheel" section in color tool where I provided my color code.
Color tool :
There are lots of options such as changing the scale, zoom in and out, line drawing etc. Line drawing was slightly inconvenient than GIMP. Also Pain bucket tool (one of the commonly used tool) was not directly given. It was visible when I selected on the more tools arrow.

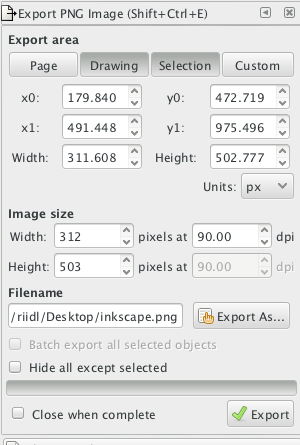
Save the changes in .svg format and Export in .png. Very Easy!
Final design was ready but had lot of white spaces, so I cropped the image in GIMP editor ( just to experiment with both the tools together ) which was exported from Inkscape :
This is the final cropped image :

Task 3 : MAKE 3D DESIGN - ONLINE
To make quick design in no time and without installing any softwares, Tinkercad is one of the best online solutions to create 3D designs. Right from the Signup to Export the 3D design.
URL : tinkercad.com
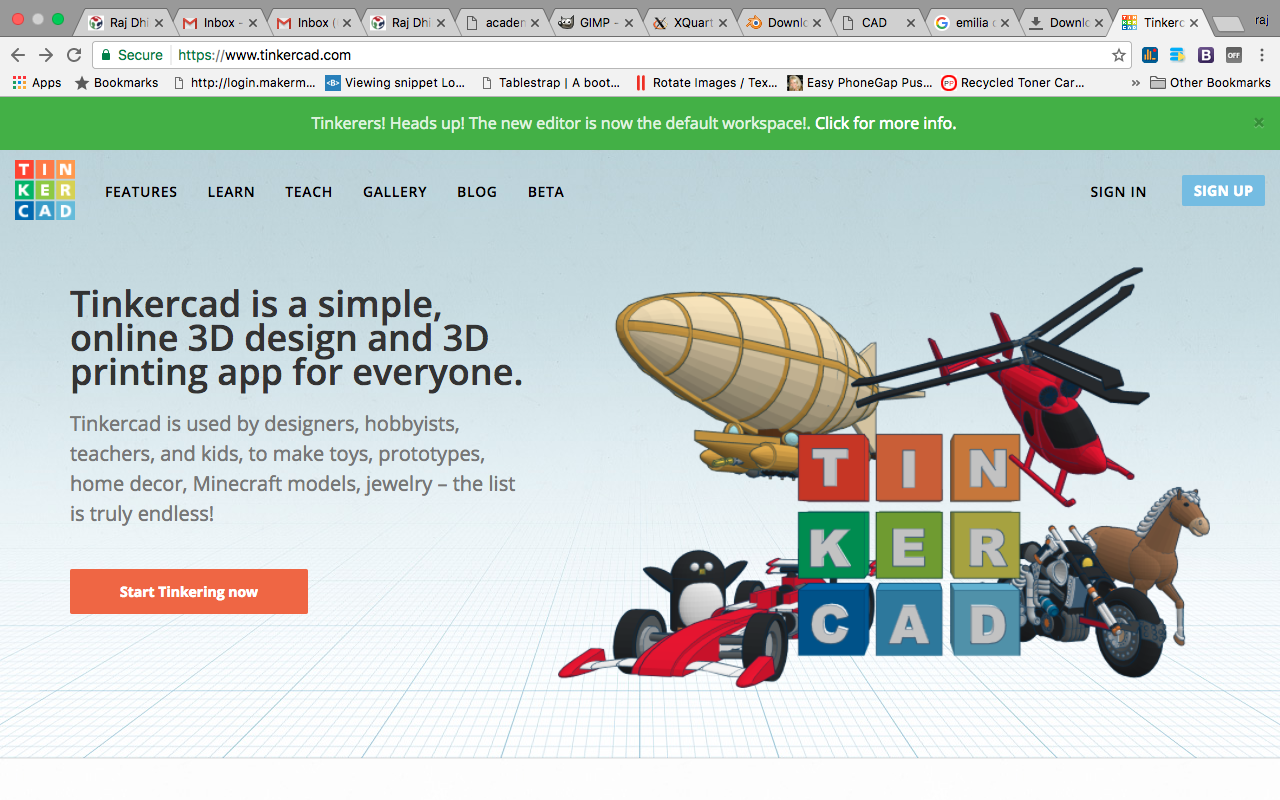
You just have to signup via available options, I selected Signup via facebook (easy and quick)
After the successful signup you will be given a plain where you can create your 3D design. With the lots of available shapes and tools ready to kickstart the design. Tinkercad has community of designers who submit their work which can be used by anyone easily. One can easily get the developed design and add them in their design, all one has to do is search. For example I want to add Batman logo in my design, I have to spend at least 10-20 mins to create a good logo, but no with Tinkercad. All I have to do is search in the repository to find the batman logo and with a single click I can easily use the logo in my design.
I started developing the design of my final project. I started with making the square design of size 7CM * 7CM
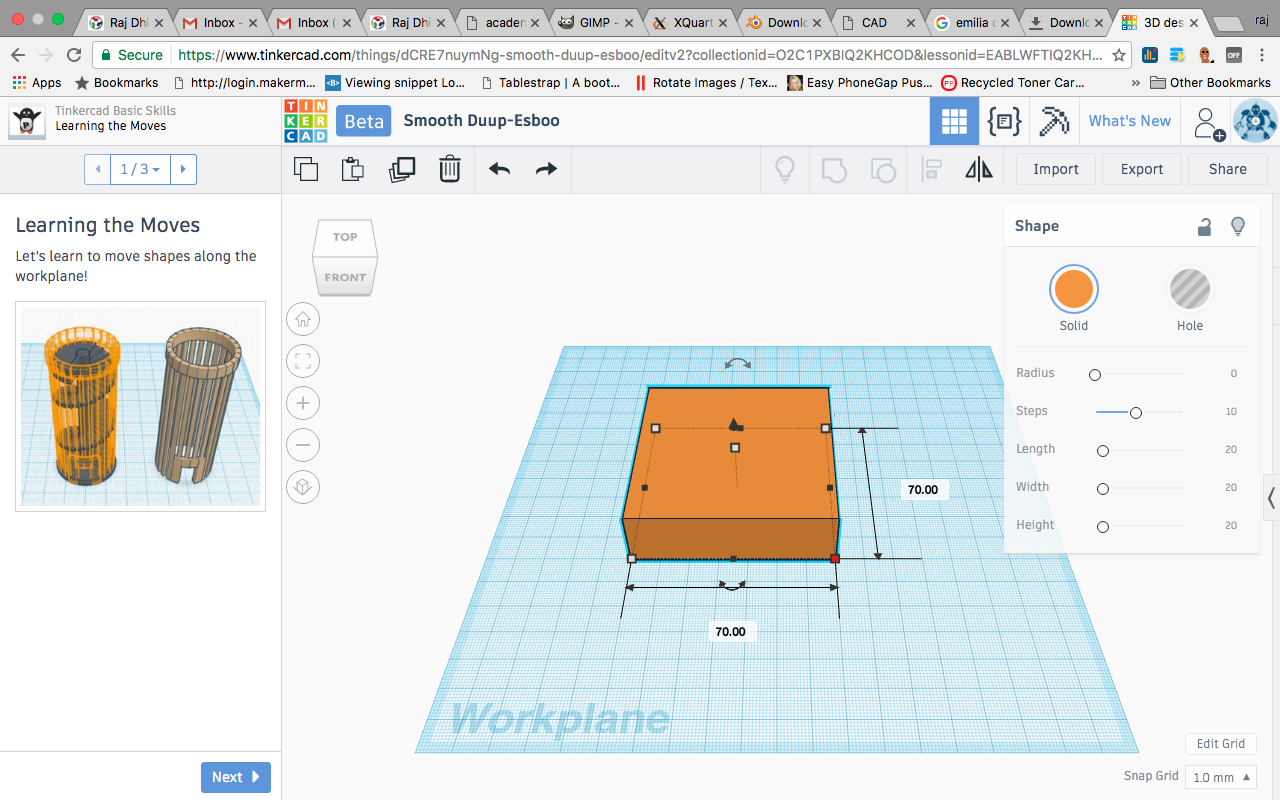
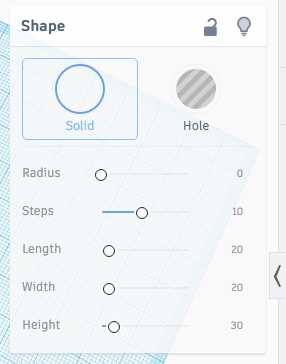
There are lots of options available with the particular shape, a special panel is given with the transformation options such as Radius, Steps, Lenght, Width, Height
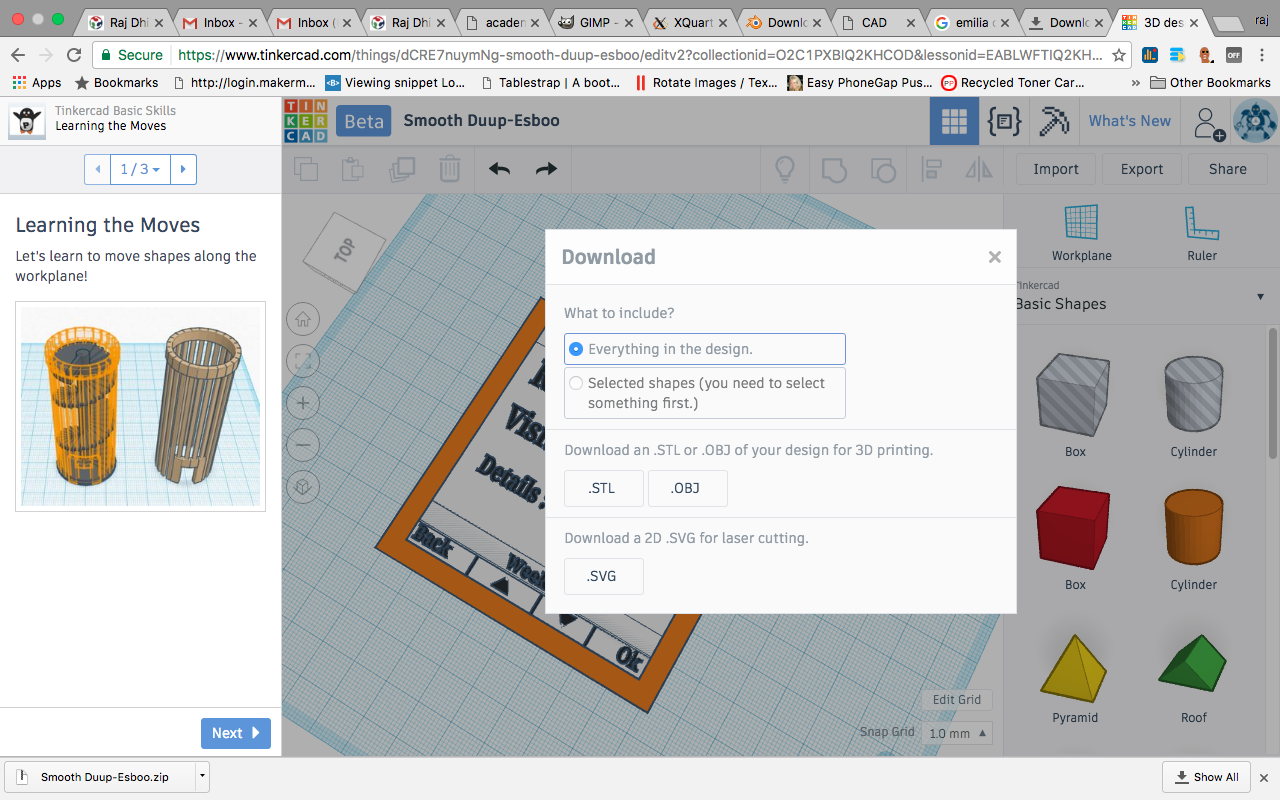
After completing the design, one can export the files. File format supported are :
.STL and .OBJ for 3D printing and for laser cutting .SVG
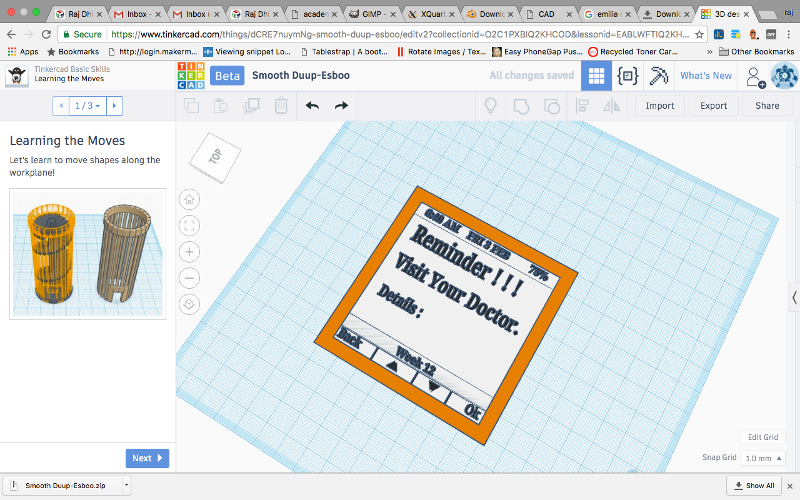
Final Design :
Task 4 : MAKE 3D DESIGN - OFFLINE
Software used
- Blender
Choosing Blender over other tools is 1. It is free and there are some functionalities which are superior than other tools such as 3DS MAX and Maya. The reference of the same is : http://blog.digitaltutors.com/where-blender-functionality-is-better-than-mayas/ and http://blog.digitaltutors.com/where-blender-functionality-is-better-than-mayas/
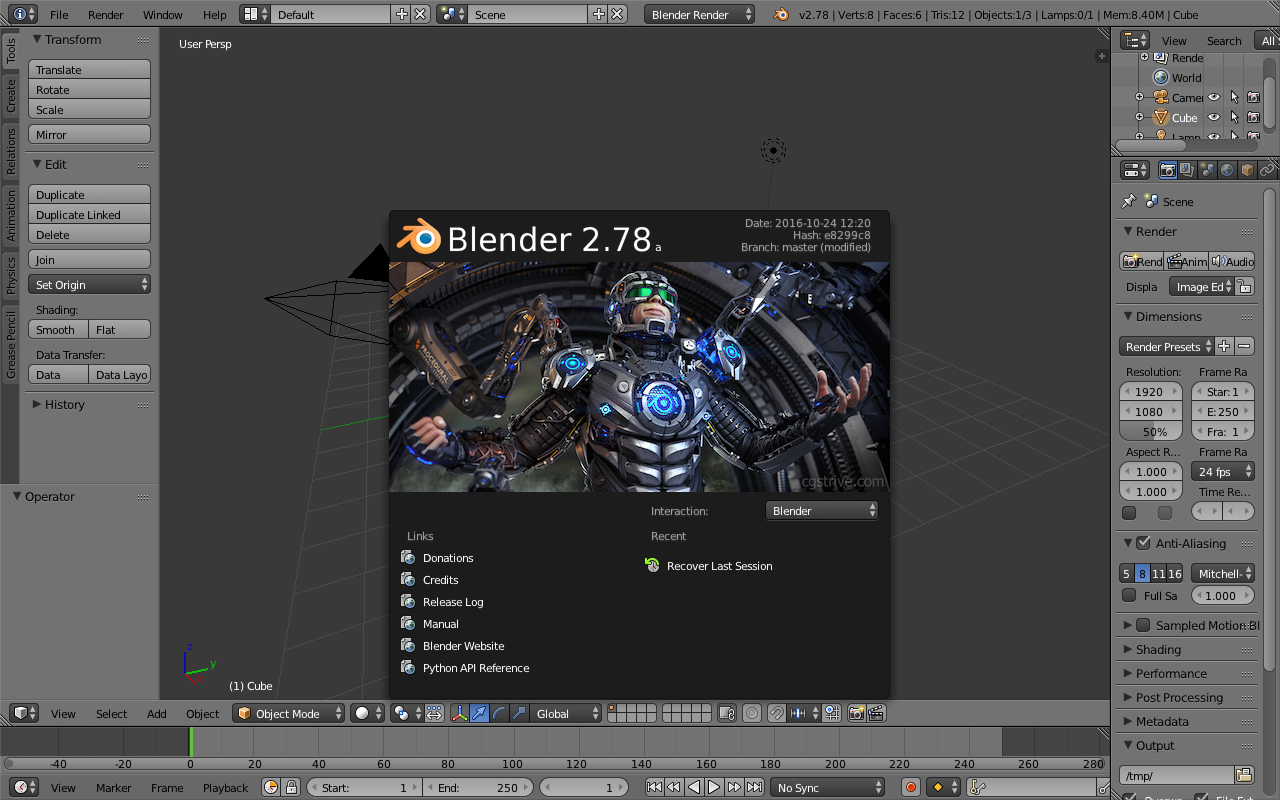
Step 1 : Downloading Blender from the website : https://www.blender.org/
Downloading and installation is very easy. Its .dmg file is 151 MB, one of the biggest software in the terms of size.
Step 2 : After the installation, when you open the Blender this is the screen you will be starting with click on the blank area to start the work :
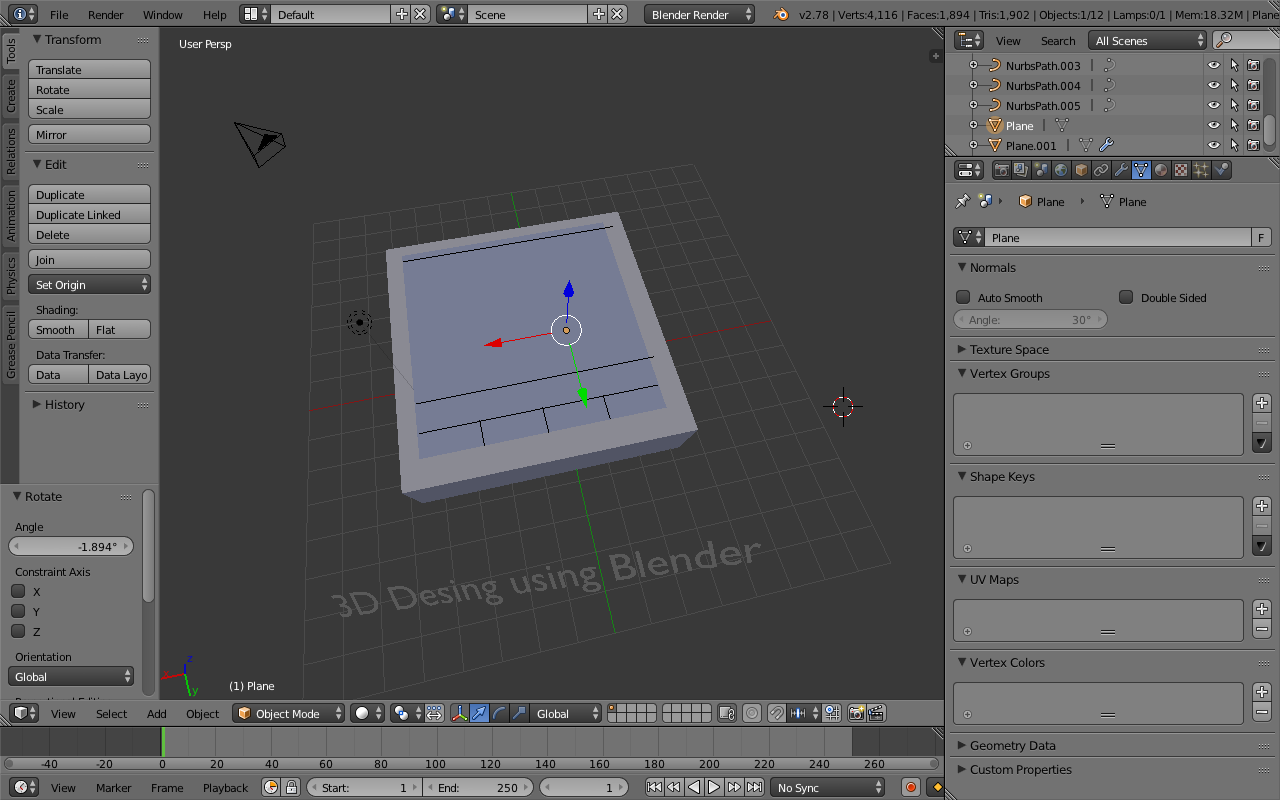
Step 3 : I am drawing my final project's 3d Model into this, starting with the Cube, I tried to scale it and its not easy. Blender in comparison with Tinkercad is very difficult to understand. It requires extra expertise to handle. So many options are given all at once which are useful for professional designers, for beginners I will not recommend this tool as it takes lot of time to understand the project and lot of time to design as well. No question that number of tweaking options available to modify the objects are plenty. I took lot of help from the Google and youtube to complete my journey on the Blender.
For example : Its very difficult to understand the working of a particular tool. Lets say text tool, it was very difficult for me to understand on how to change the value of text, there were 100s of options available for the text like translate, rotate, scale, color etc. but not a single one for changing the text. In the end I took the help of a Youtube video to understand it. Eventually task was done by the help of
1. Selecting the text object.
2. Pressing "TAB KEY" to change the mode to text editing.
Step 4 : Using various toolbars to add, modify, scale, transform objects.
Step 5 : Export is very easy! Just one click and there are multiple options available for exporting the design.

Final Design :