Assignment 12
10.4.17Molding and Casting
Objective of this weeks Assignment
Design a 3D mould, machine it, and cast parts from it.
Getting started
I was excited about this assignment, I started to read more about molding and casting & the processes involved. According to me they can be written as mentioned below:
Molding -
Molding is the preferred process for manufacturing plastic parts. I have seen an injection molding machine; Injection molding is used to create many things such as electronic housings, containers, bottle caps, automotive interiors, combs, and most other plastic products available today. It is ideal for producing high volumes of plastic parts due to the fact that several parts can be produced in each cycle by using multi-cavity injection molds. Some advantages of injection molding are high tolerance precision, repeatability, large material selection, low labor cost, minimal scrap losses, and little need to finish parts after molding. Some disadvantages of this process are expensive upfront tooling investment and process limitations.
Casting -
Casting involves pouring specific liquids into a mold, which contains a hollow cavity of the desired shape, and then allowing it to cool and solidify. The solidified part is also known as a casting, which is ejected or broken out of the mold to complete the process. Casting is most often used for making complex shapes that would be difficult or uneconomical to make by other methods.
Next steps:
- Design appropriate objects within the limitations of 3 axis machining.
- Demonstrate workflows used in mould design, construction and casting.
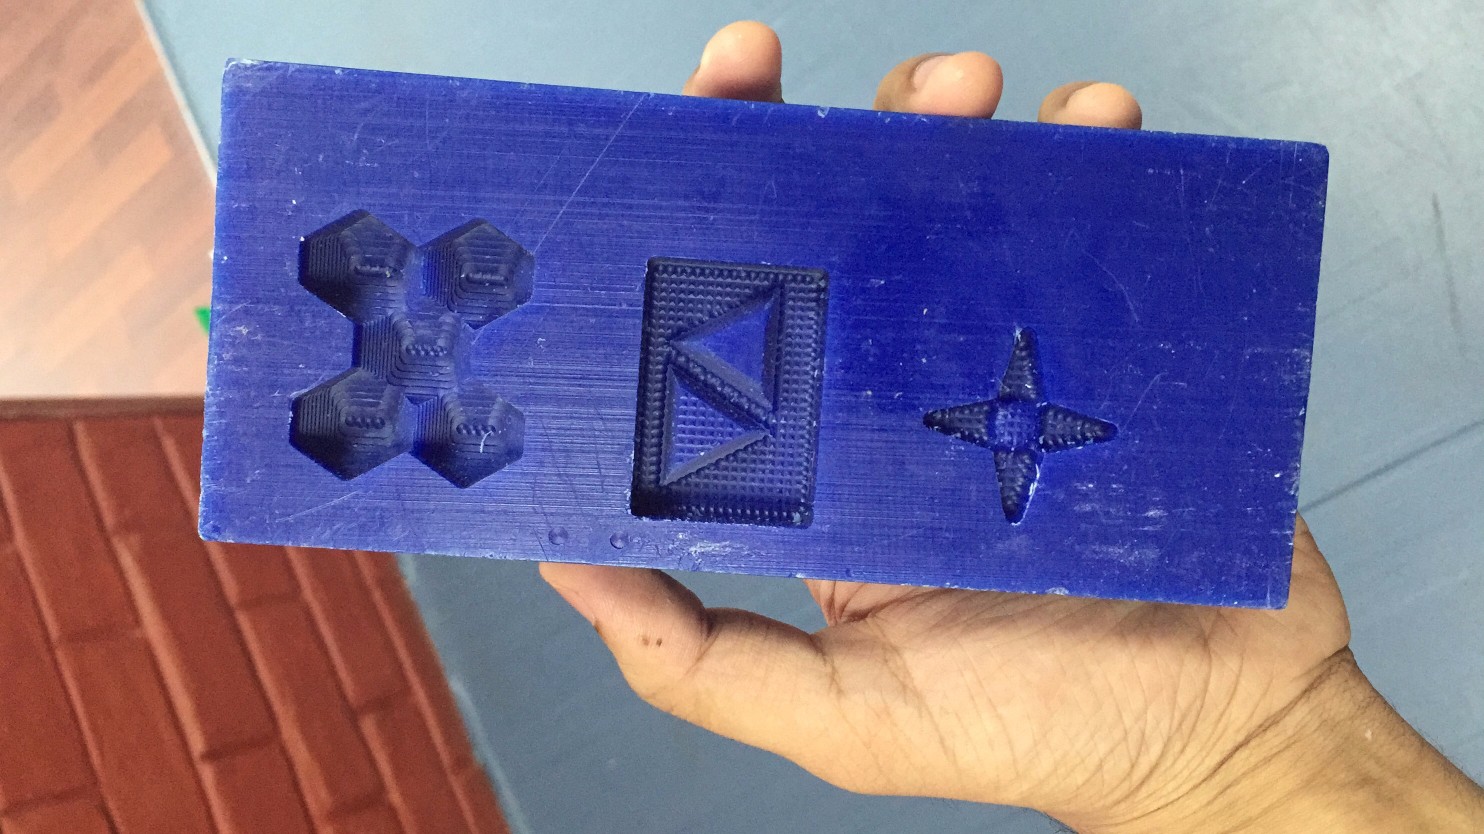
I used a blue machinable wax for my assignment. Machinable wax is ideal for verifying CNC machining programs. Machinable wax is often used for precision lost wax casting. Machinable Wax is available in both blocks and cylinders.
Machinable Wax:
Extremely hard, hybrid plasticized wax blend. Recommended for high resolution CNC milling and turning. This wax is somewhat more flexible than our green or purple blend. Available in small, medium and large pieces. Excellent choice for parts with high but delicate components such as turbine blades. This wax is too tough to be considered carveable. Usually the first choice for lathe or turning applications.
Safety Data Sheet
Milling with Modela MDX-20
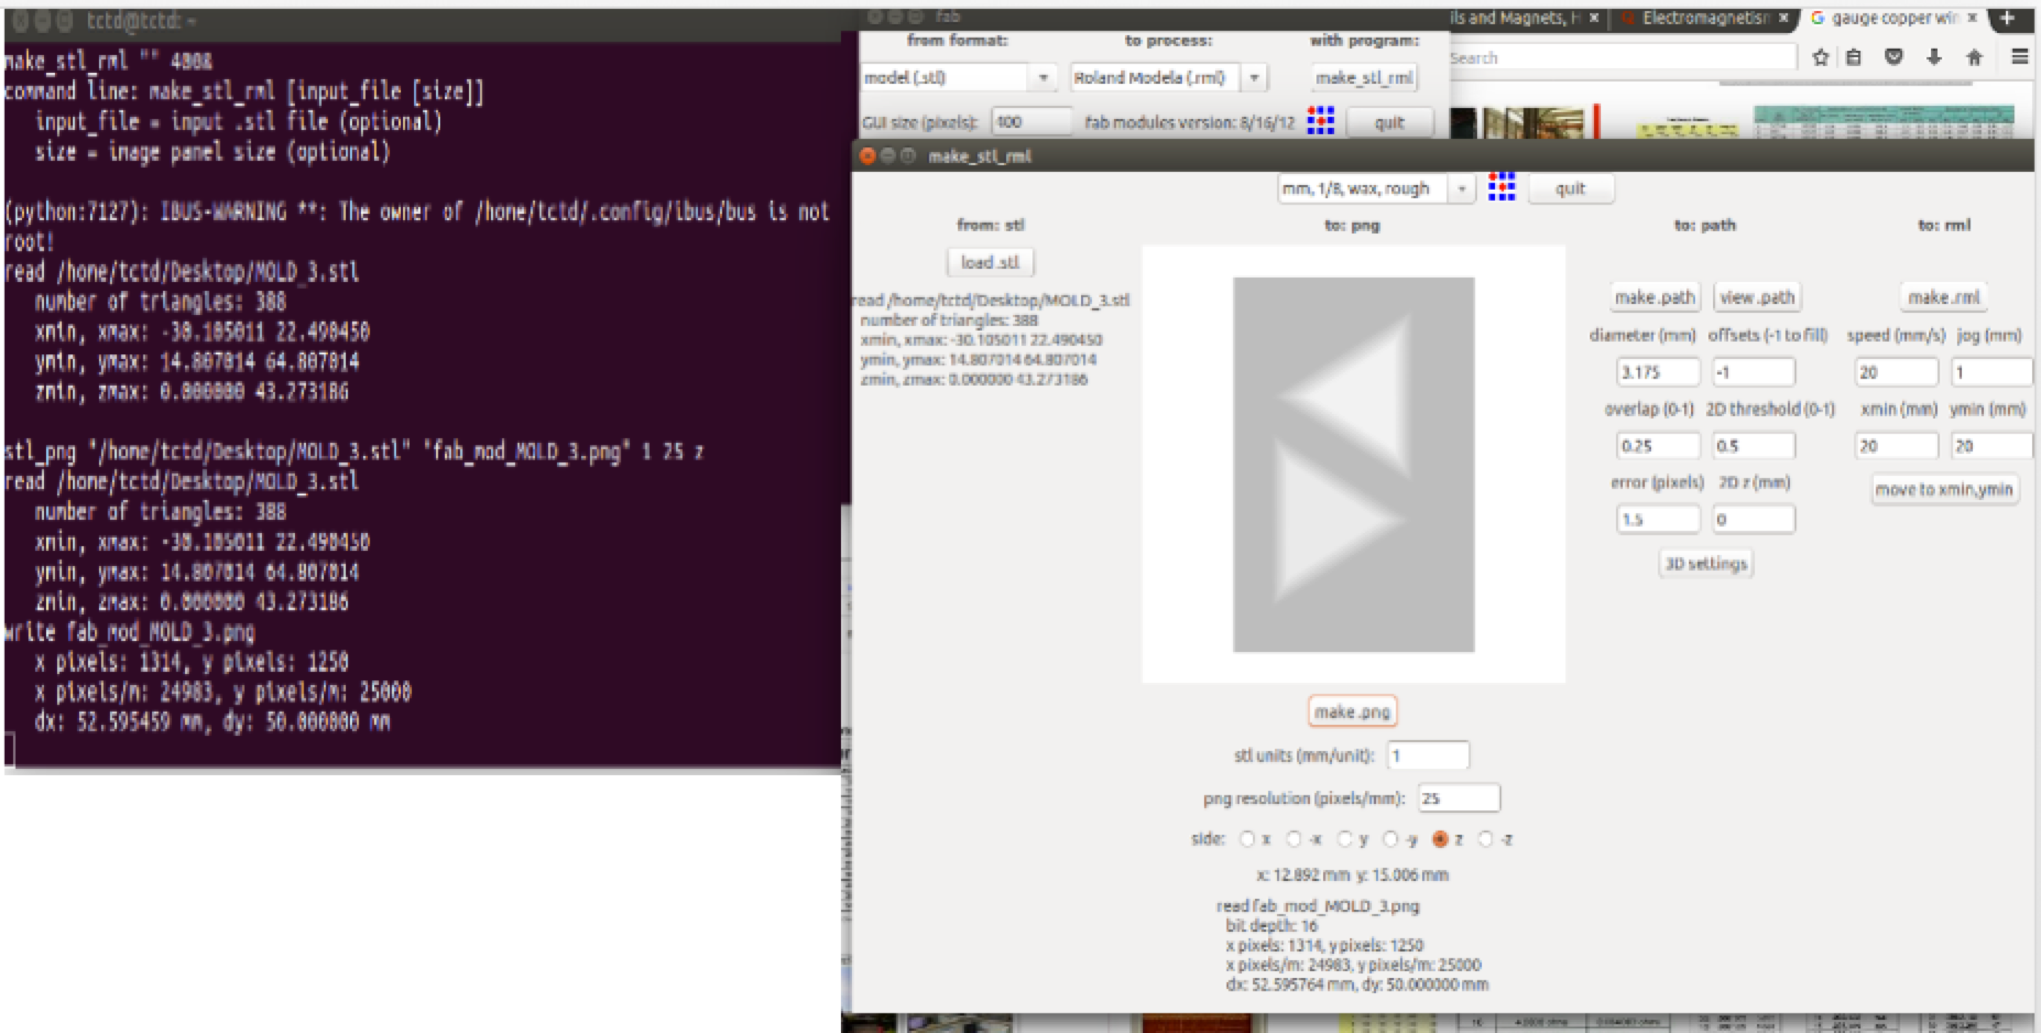
I can directly import the .stl file in the fab modules and can be directly milled with 1/8 inch modela bit.
The FAB Modules has two types of the processes which are listed.
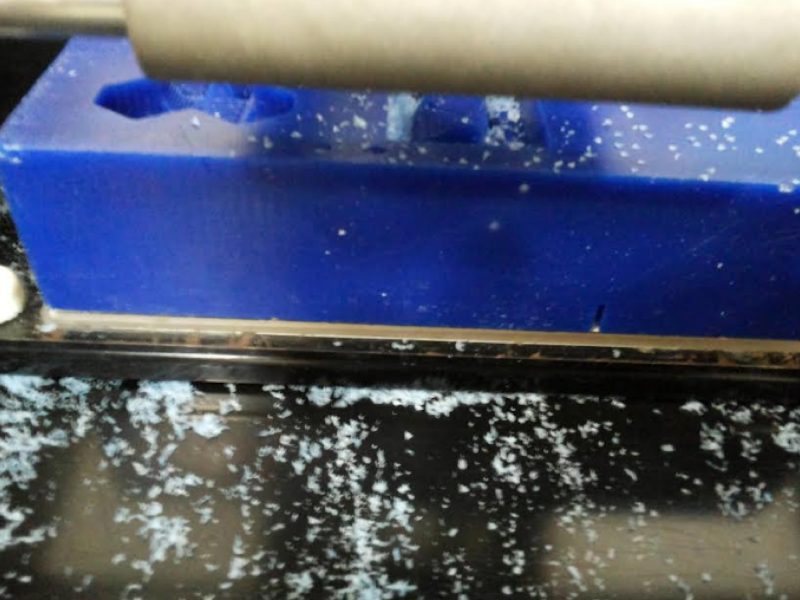
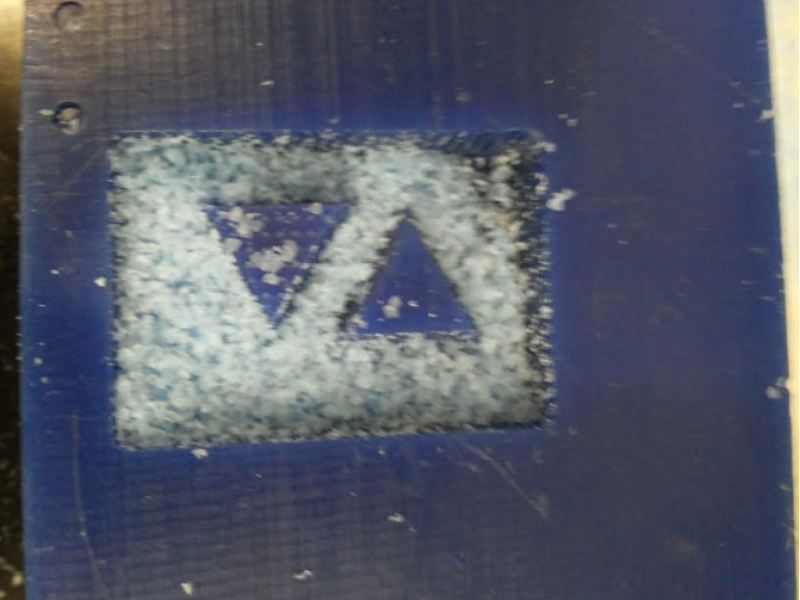
First I did the rough cut and then we should go for the Finish cut, The ball nose bit is made to provide finishing to the part and making the surfaces smoother.
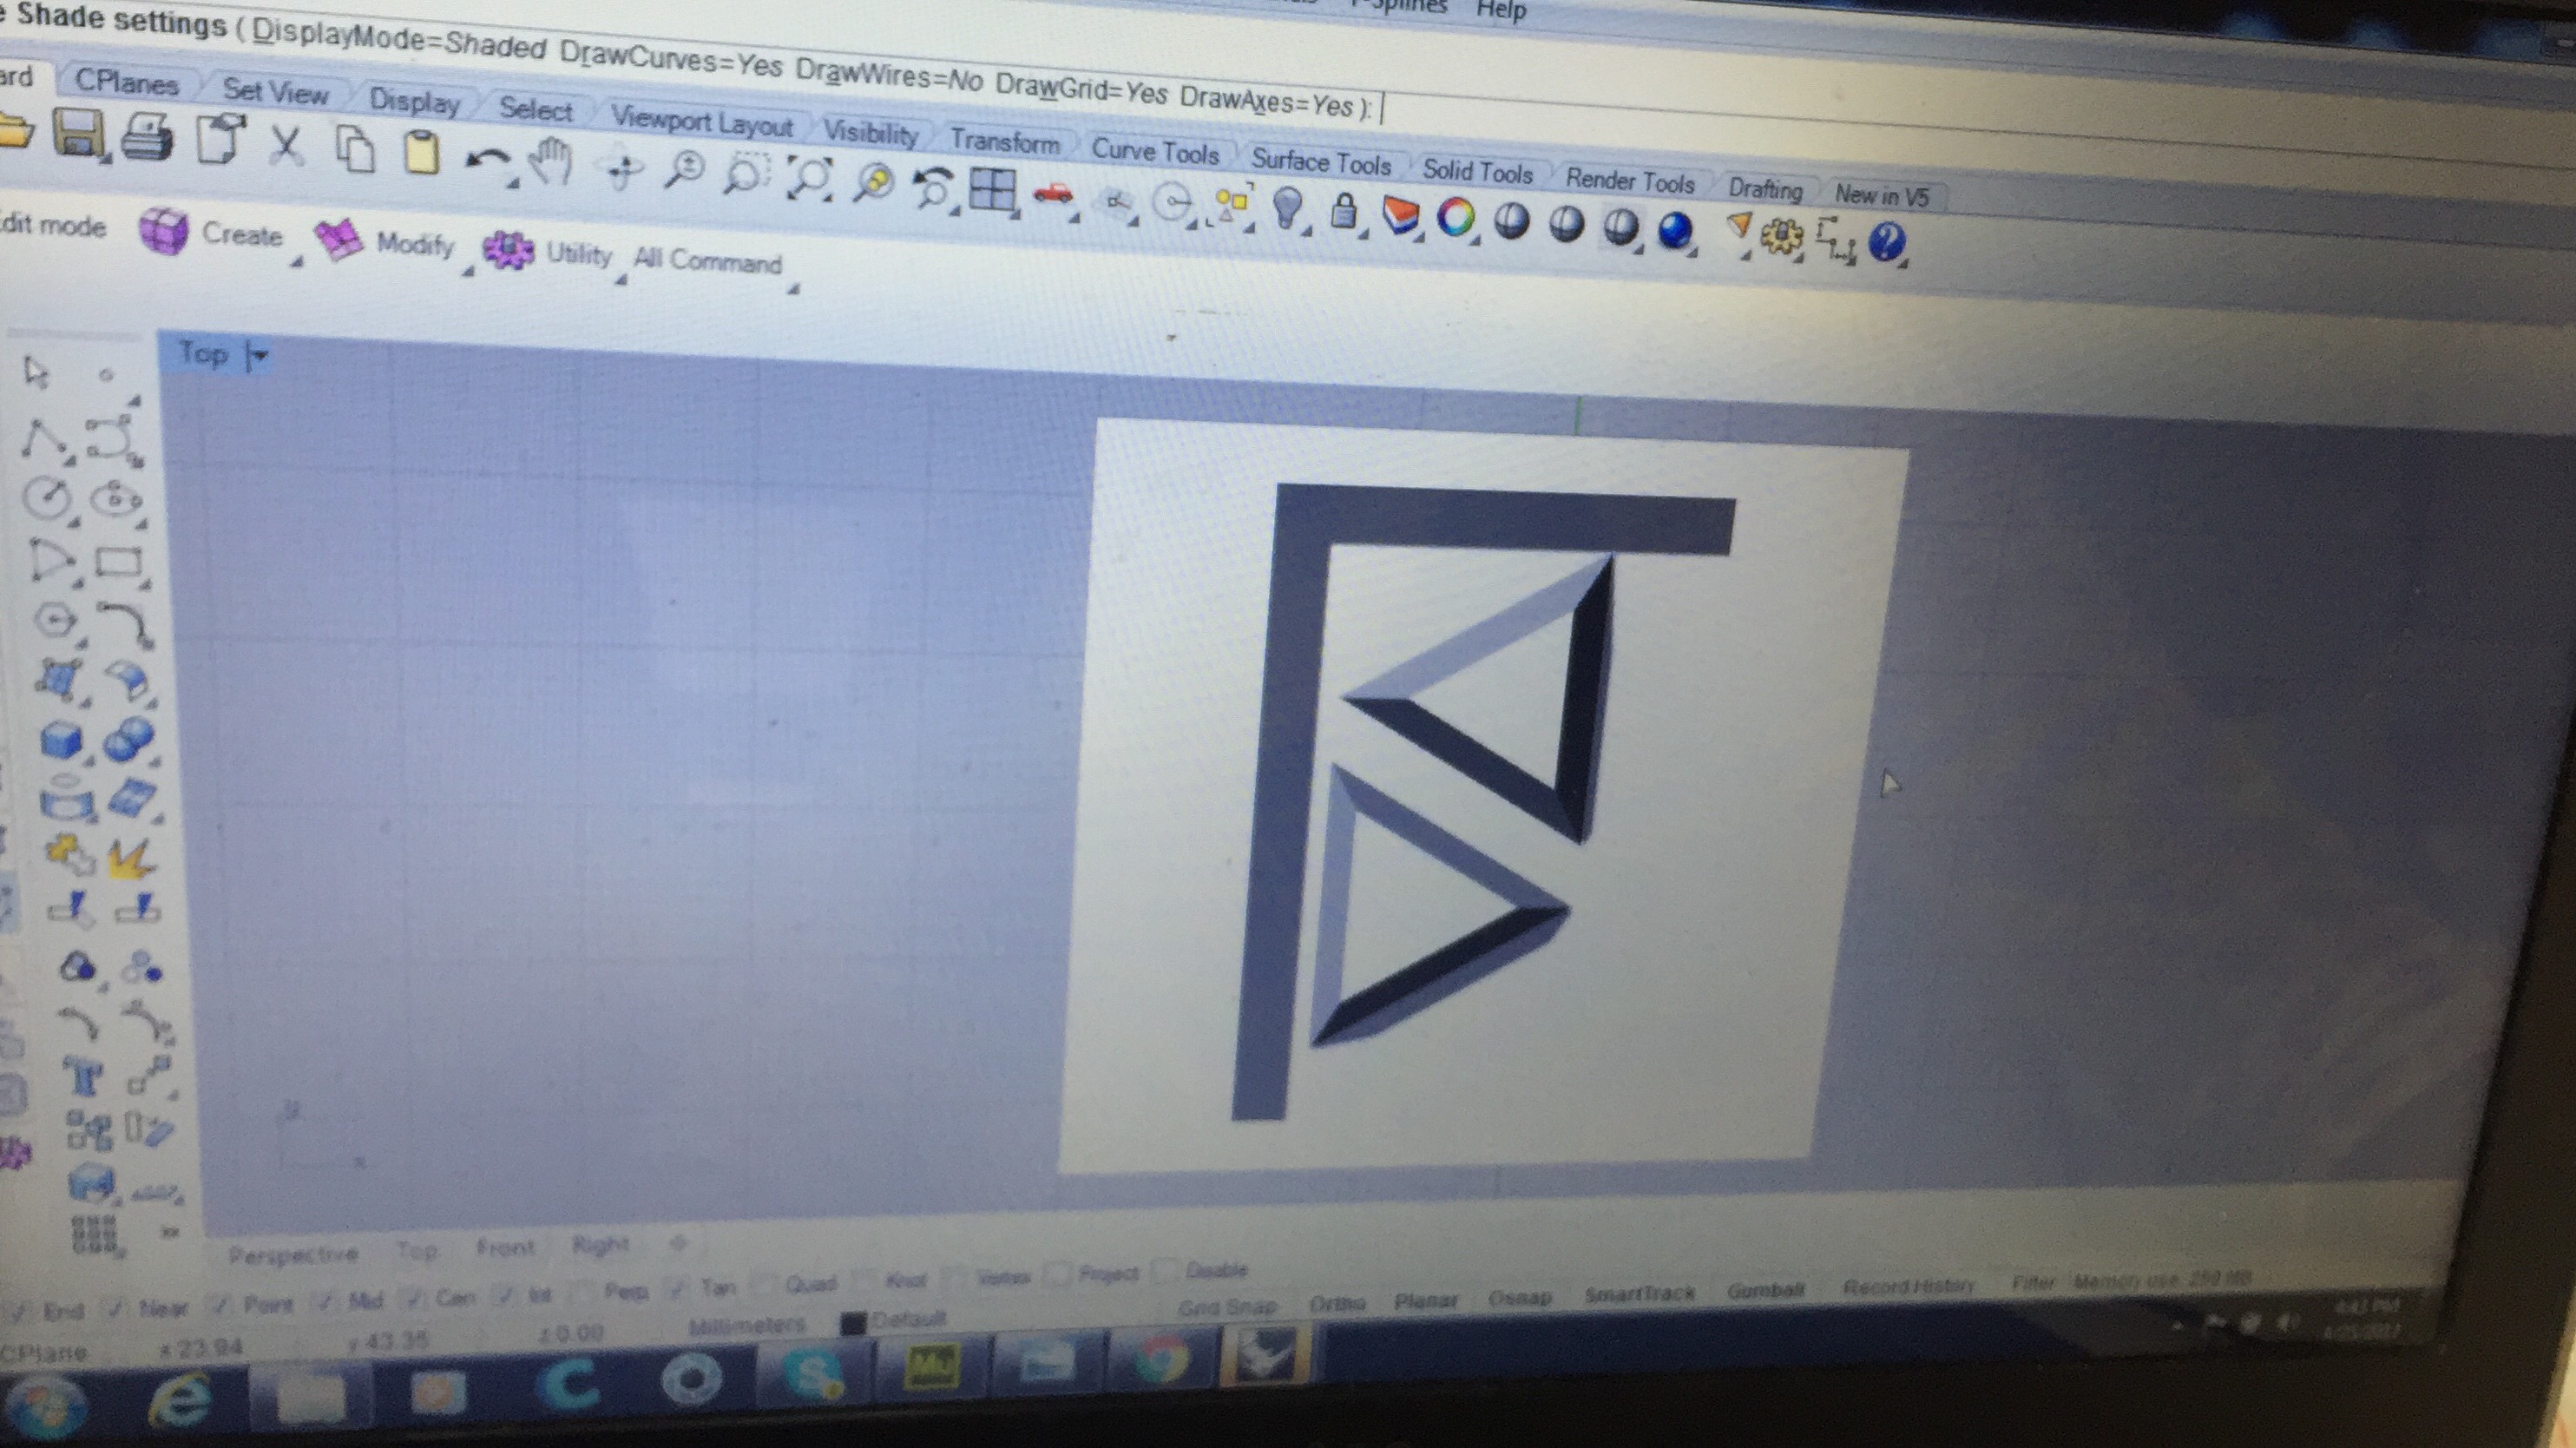
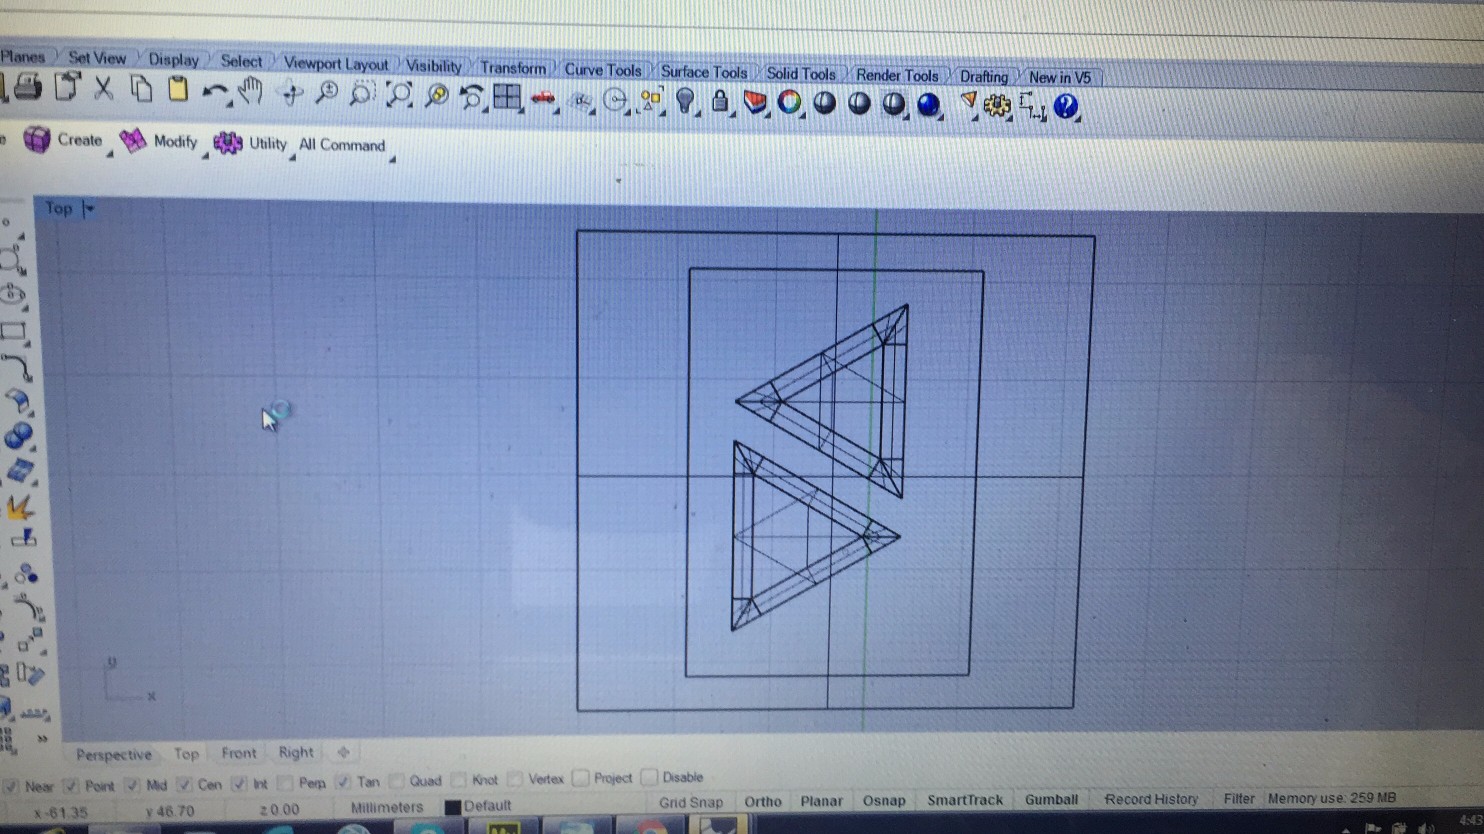
I used Rhino to design the files. I wanted to test the various angles related to milling.
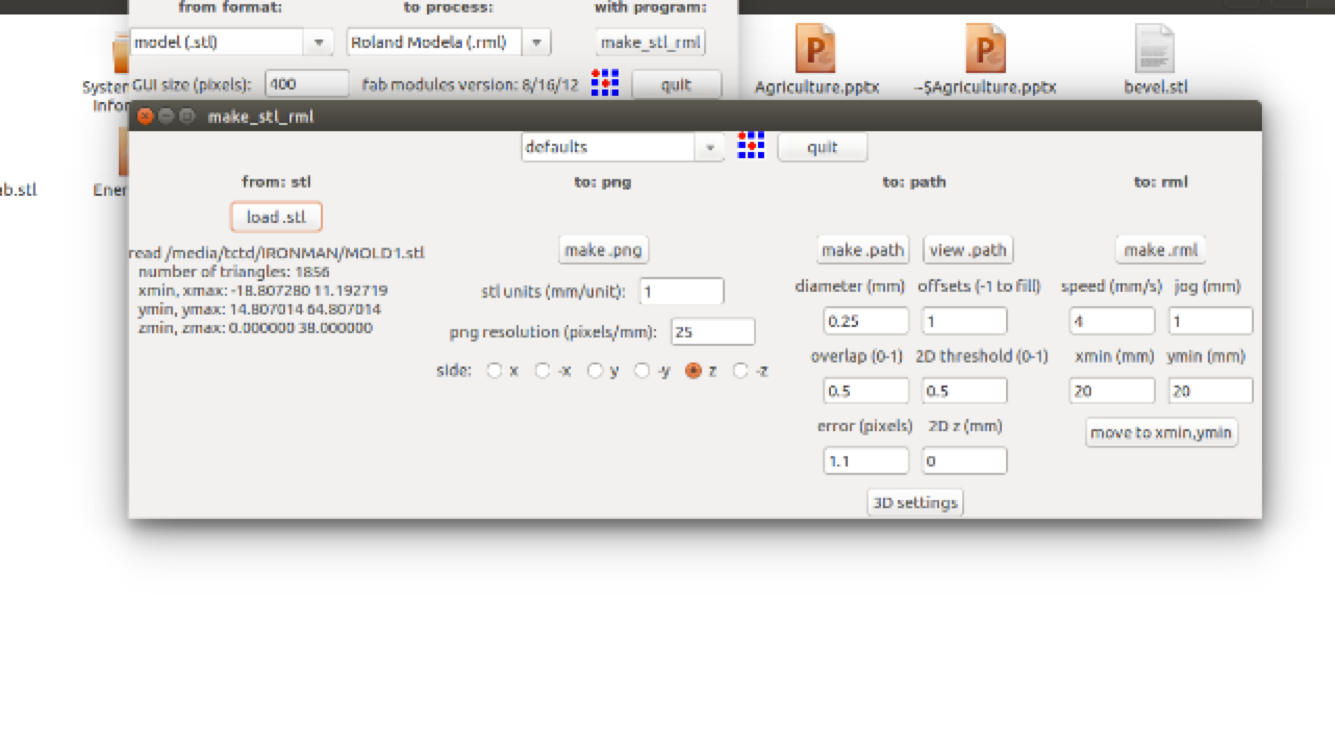
Details are as listed below:
Diameter : 0.25, Offsets (-1 to fill) : 1
Speed : 4, jog(mm) : 1
Overlap(0-1) : 0.5, 2D threshold (0-1) : 0.5
xmin (mm) : 20, ymin (mm): 20
error (pixels) : 1.1, 2Dz (mm) : 0
png resolution (pixels/mm) : 25
stl units (mm/unit) : 1

Downloadable file: Wax block .3dm
Downloadable file: Wax block .stl file
I used two bits for milling process one is 1/8 flat bit for rought cut & 1/16 ball point for finishing.
- Bit Adjustments:
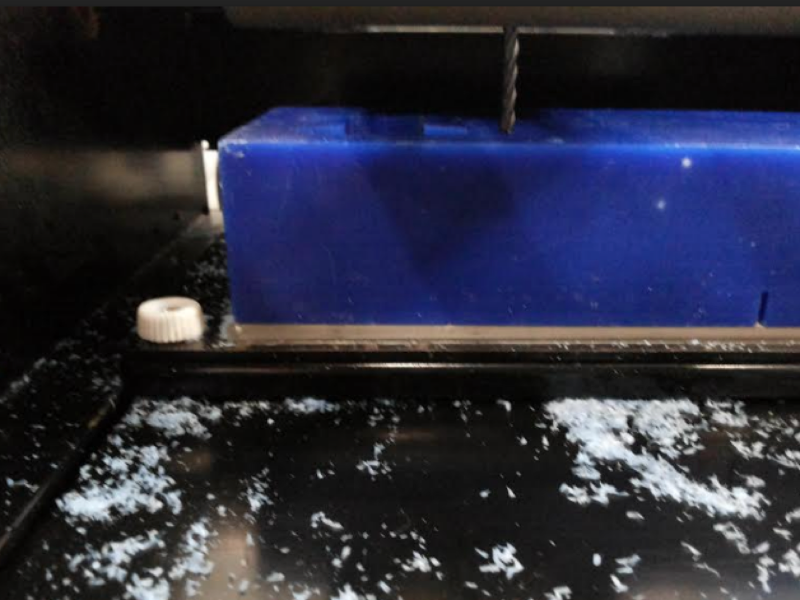
For getting better results, proper arrangement of the bit must be done on the surface of board. I make the bit fall on the job and then use the Allen key to tighten the screws. I used a modella machine to make the mould. The rough machining process started first with the depth in each pass being 3.125mm Also, I decided to pause the machine ,whenever wax starts buiding up on the bit, and clean the bit before restarting.
- I used a modella machine to make the mould.
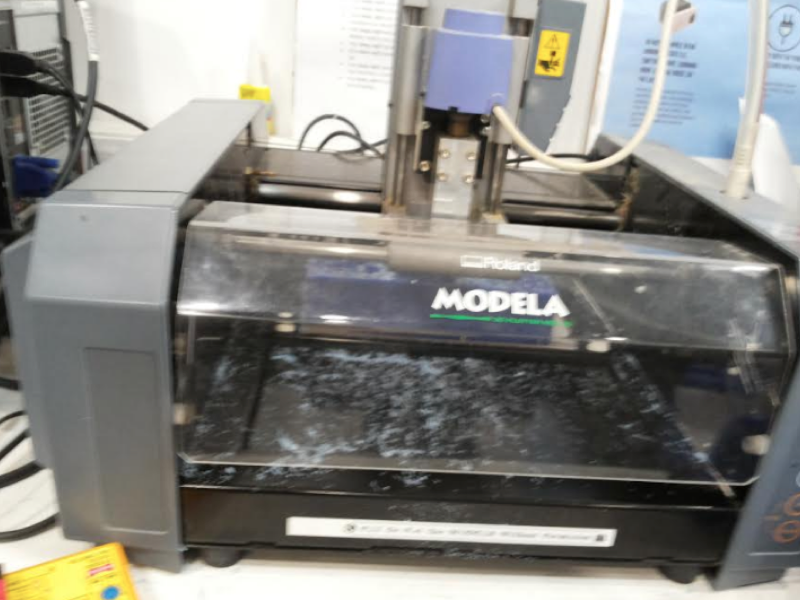
I have shown an image of the table on which I did my first try, below:
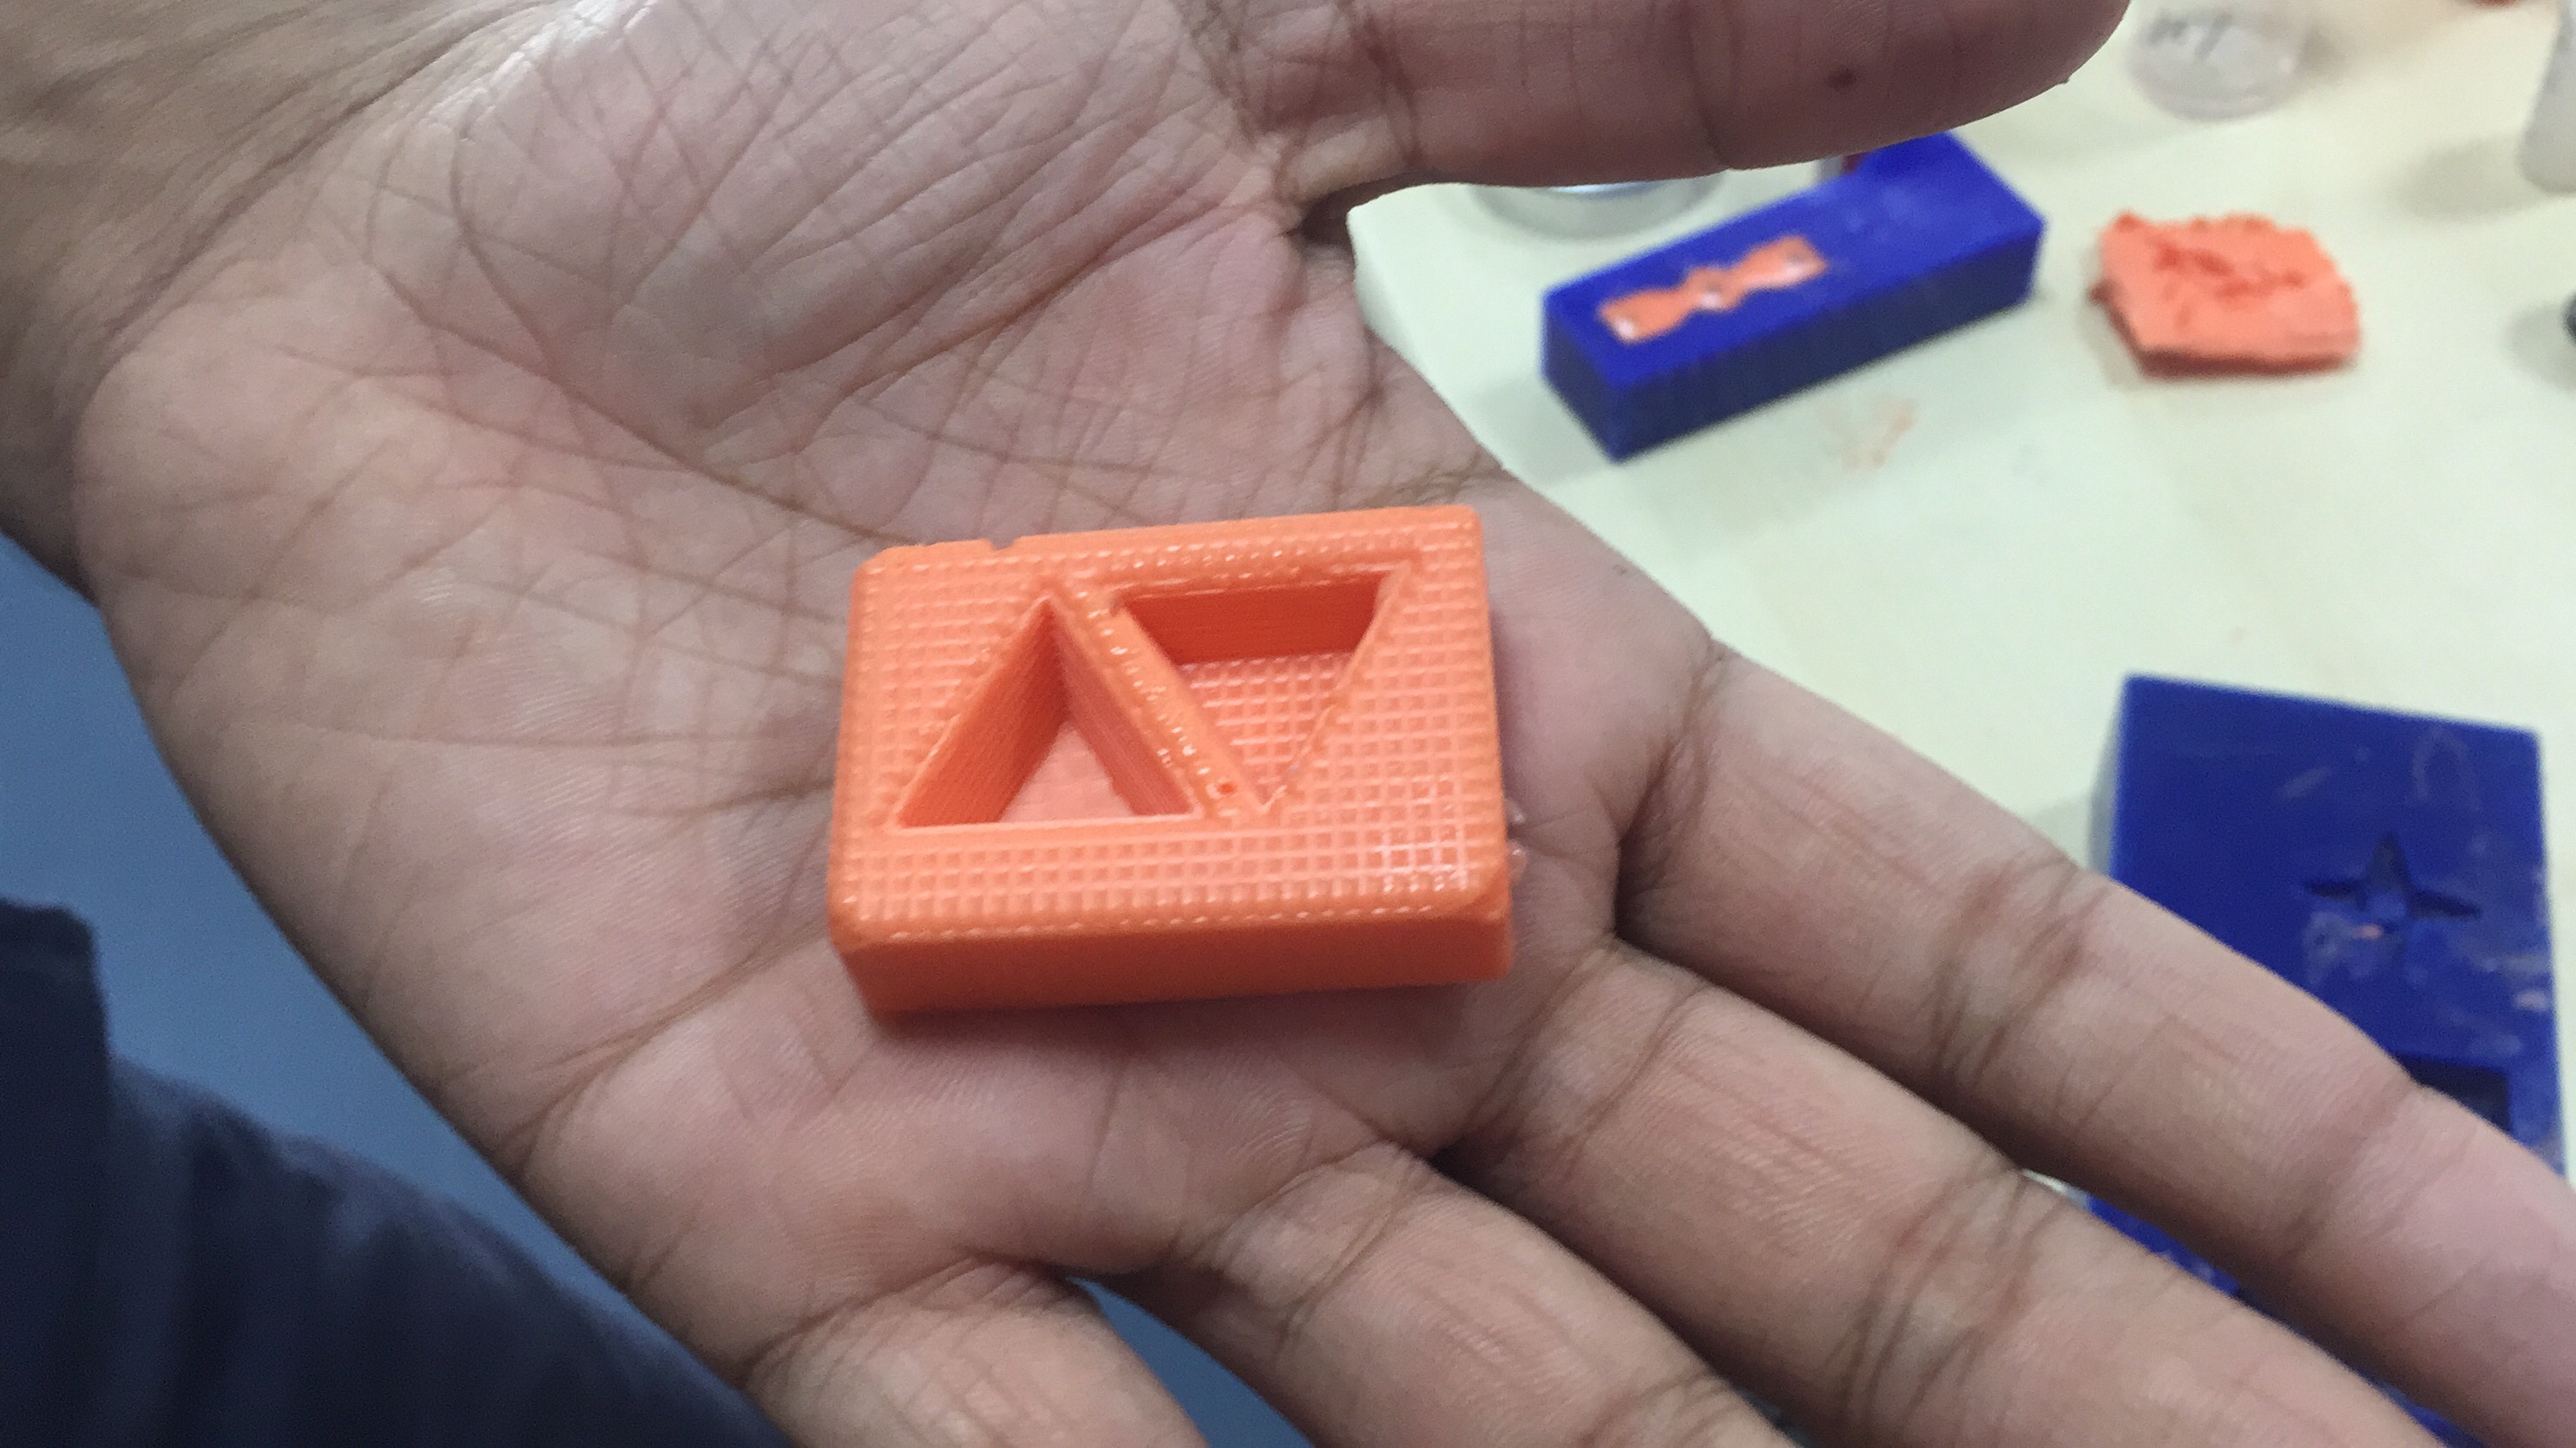
Before adding the hardener, I coloured the rubber and add 10% of the hardener. The pot life of this compound from Murtisil is around 10 mins. So take care that you don't take long time in mixing and pouring the rubber liquid into the mold.
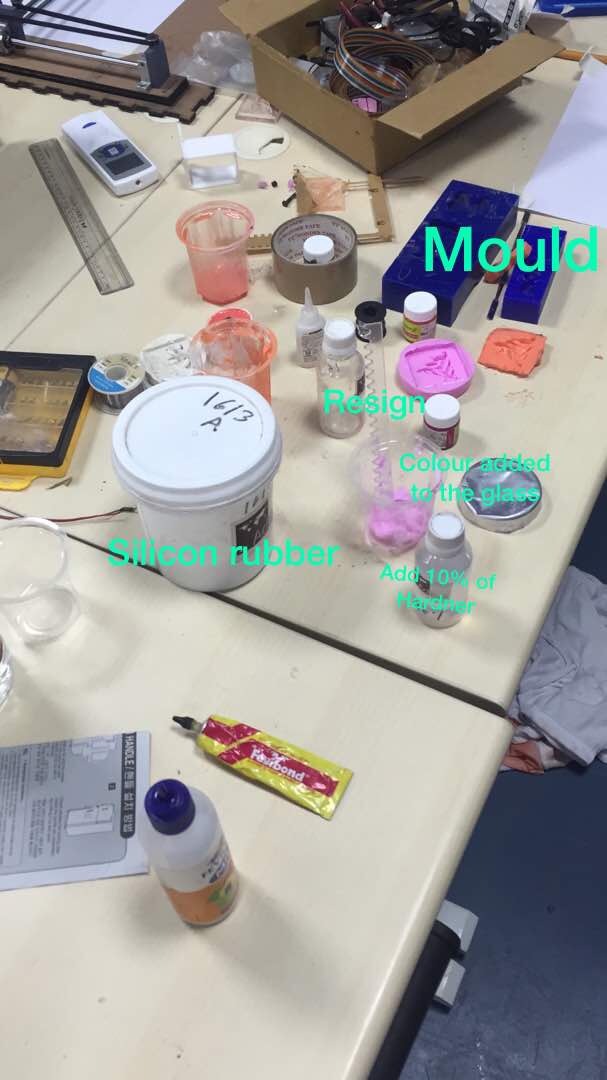
I used acrylic colours for making my mould "Orange".
I used a hardner and resign to cure the silicon. If silicon is 100% then we can add 10% of the hardner to cure the silicon. The ratio of this can be approximately 1:10
Mixing Procedure:
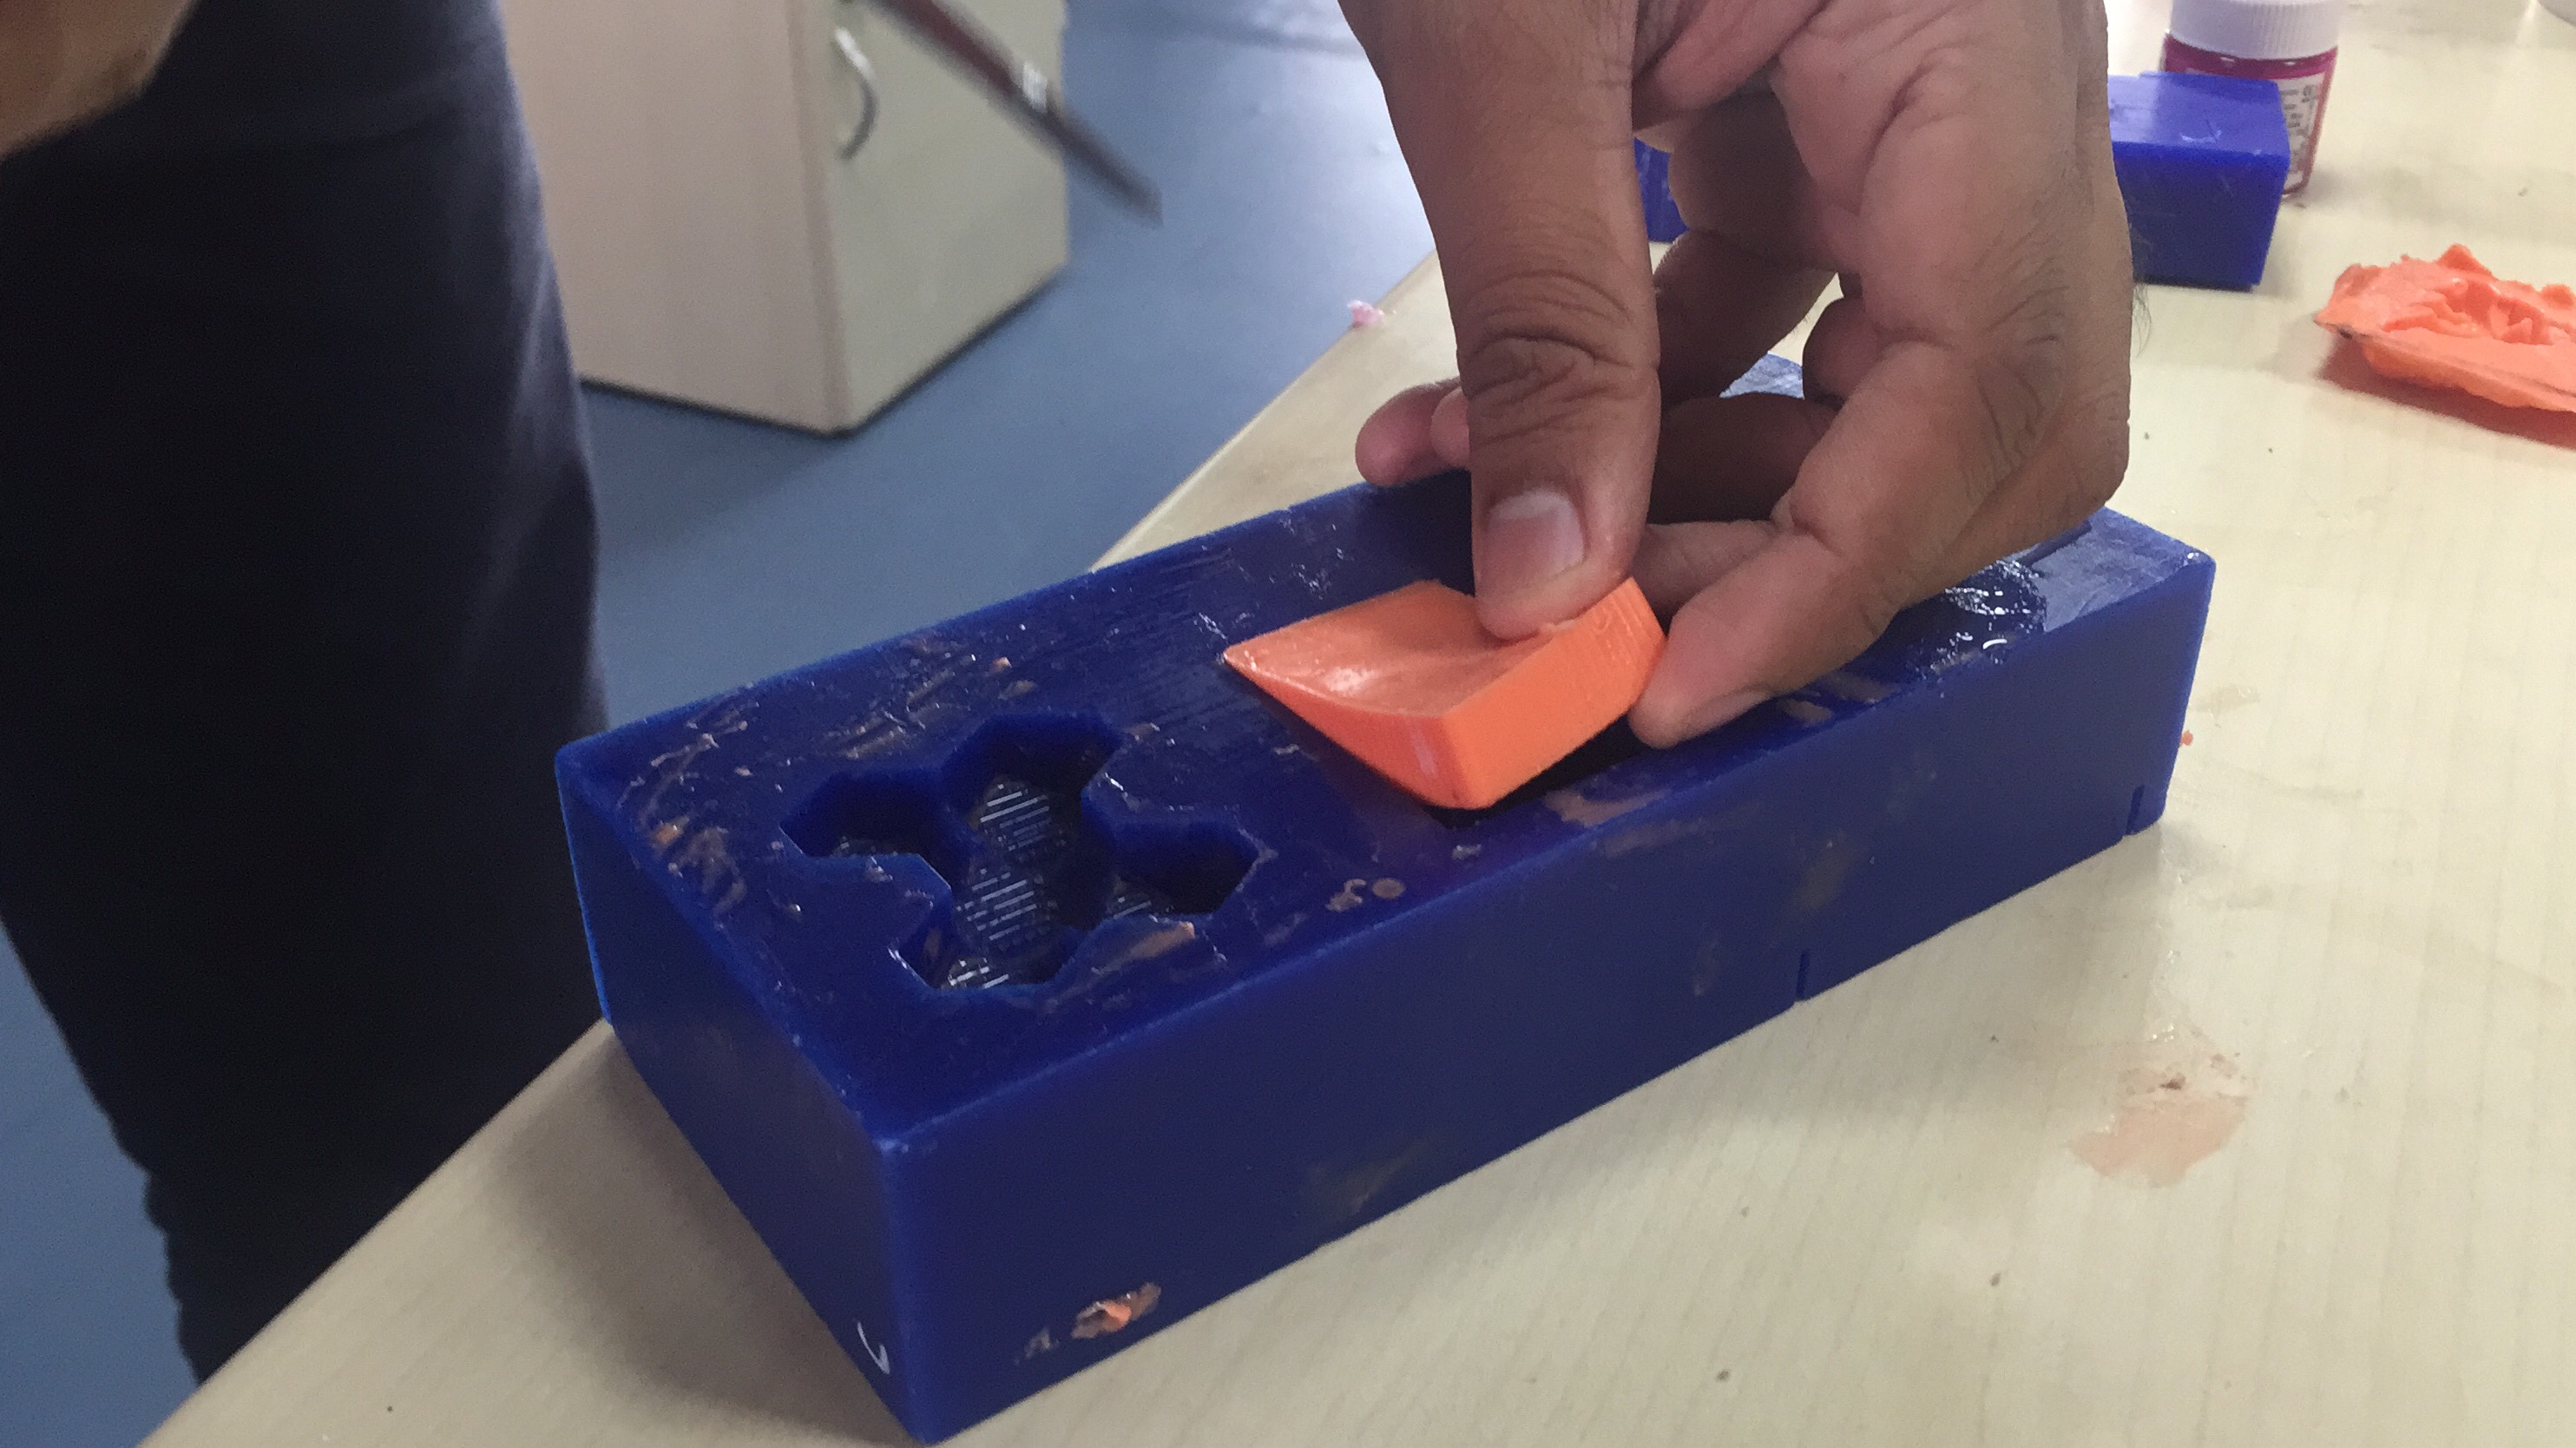
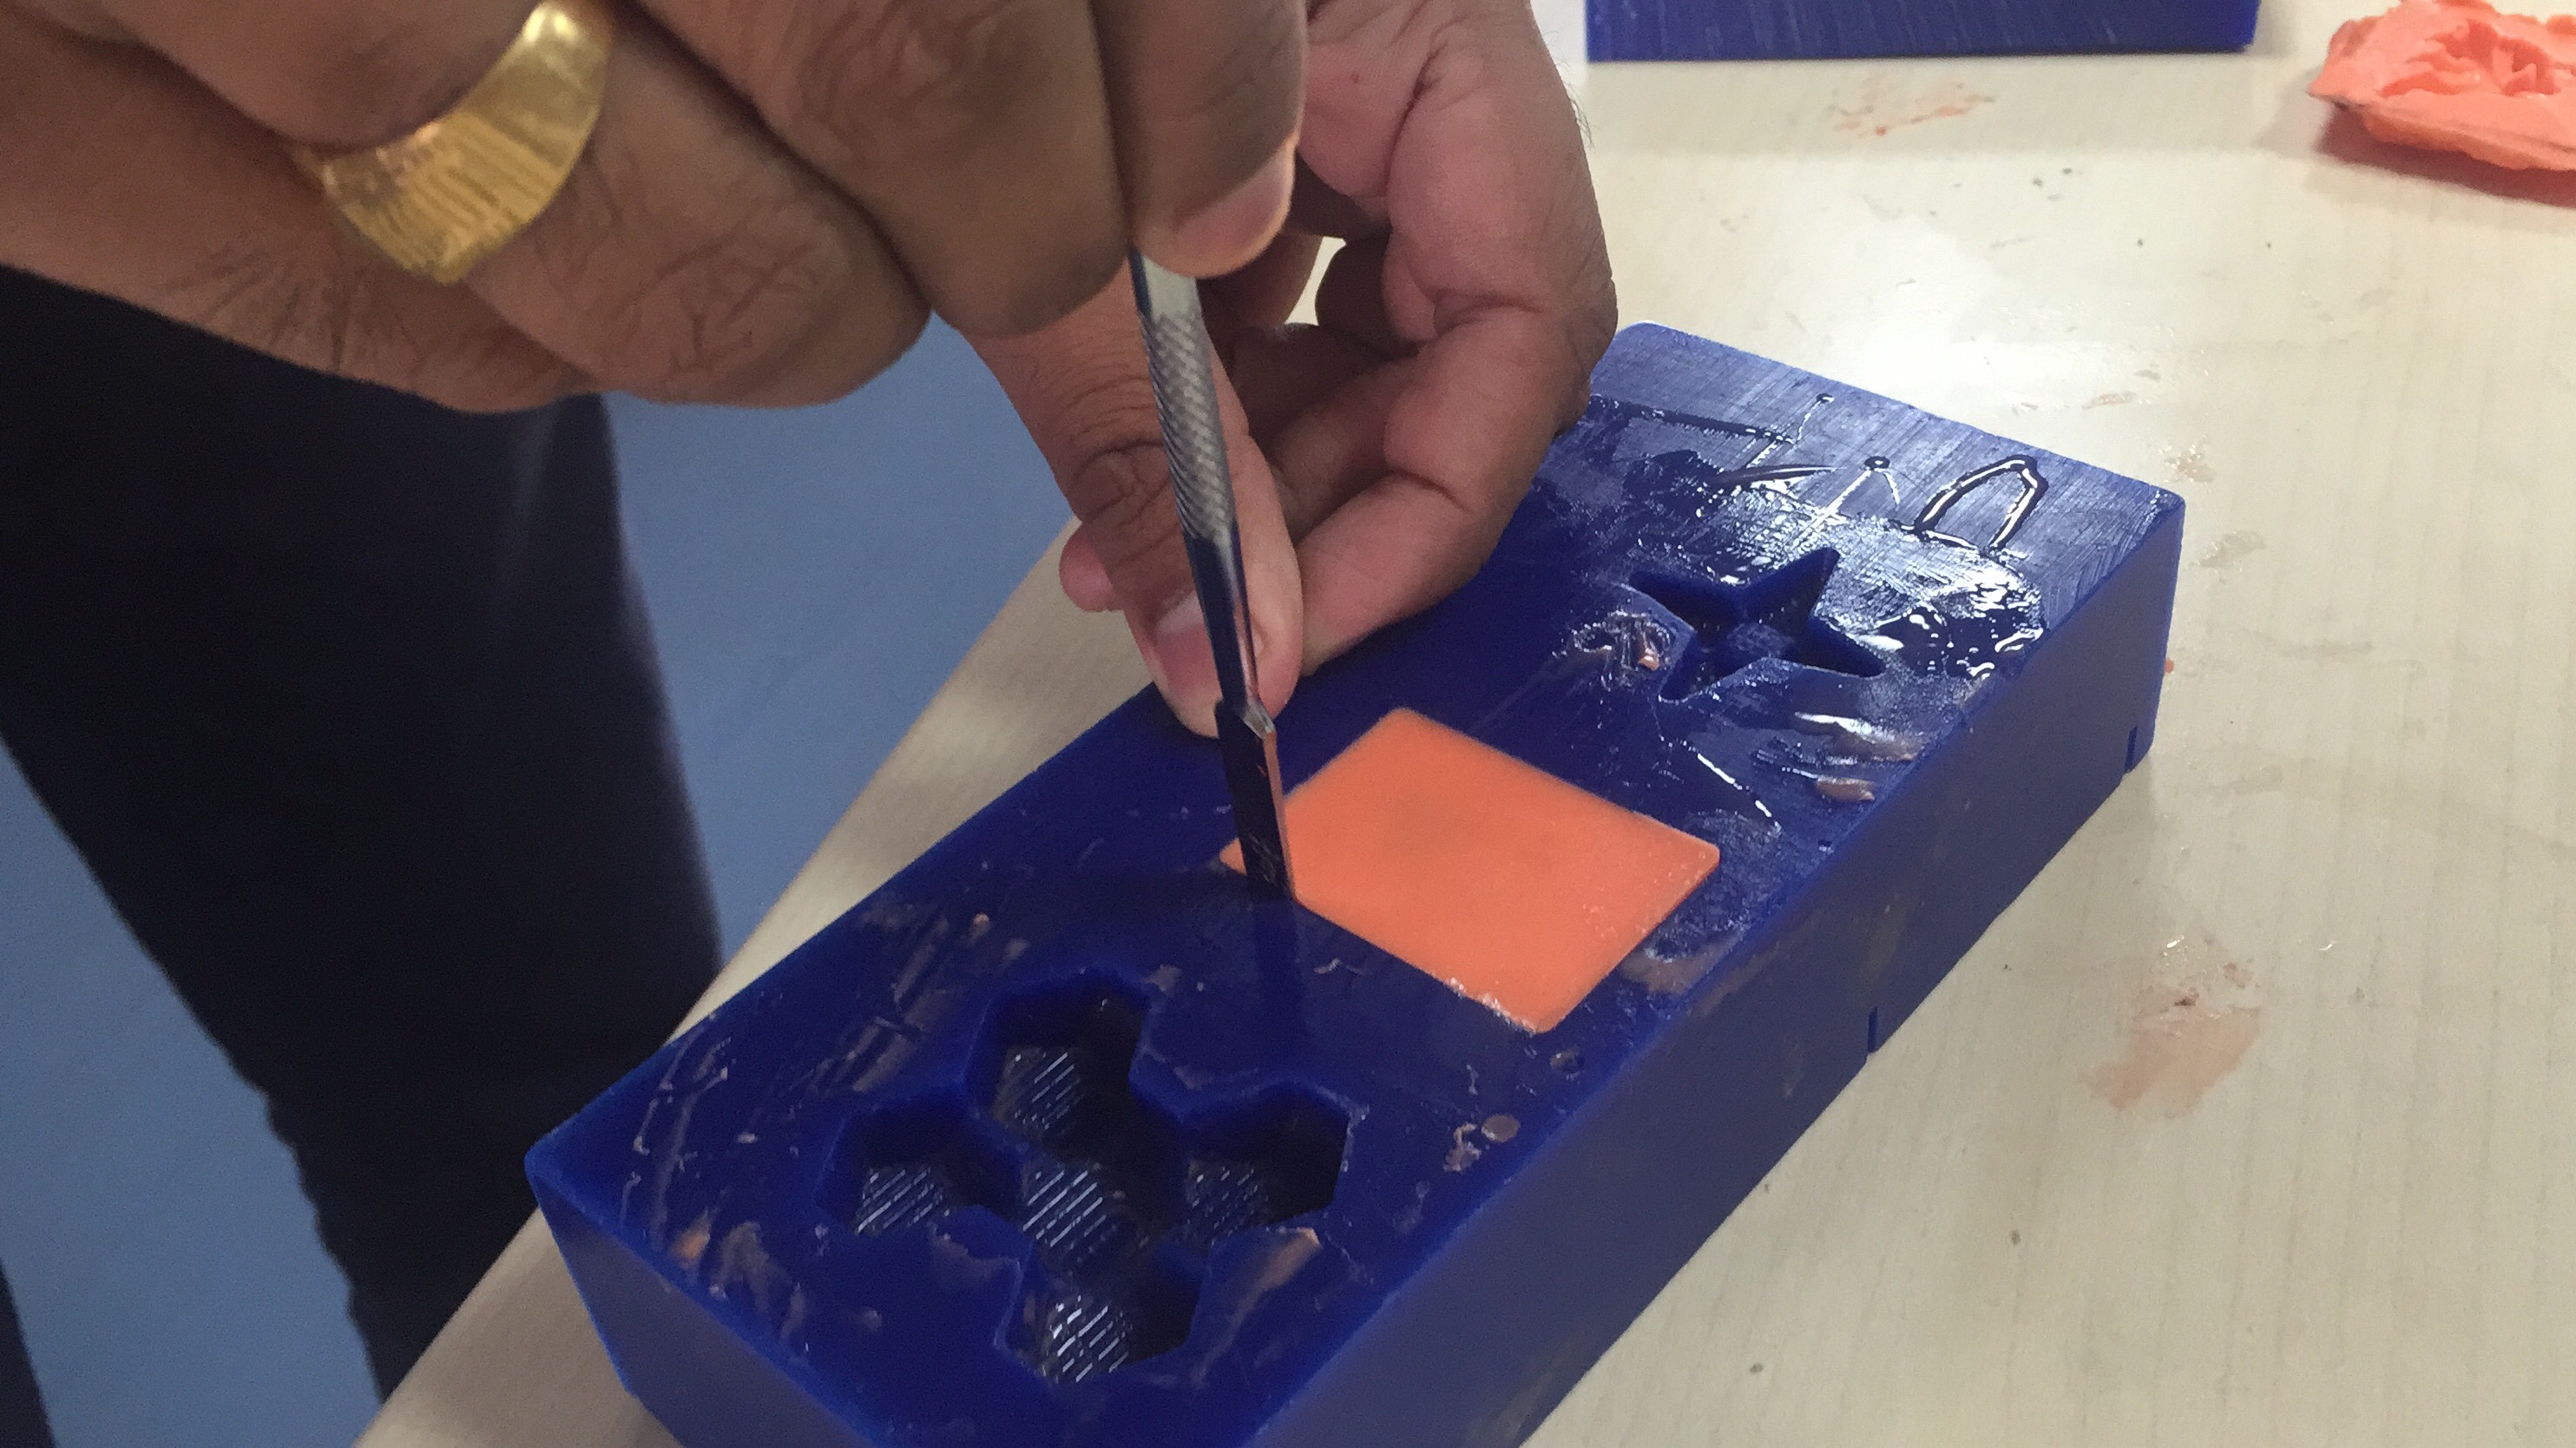

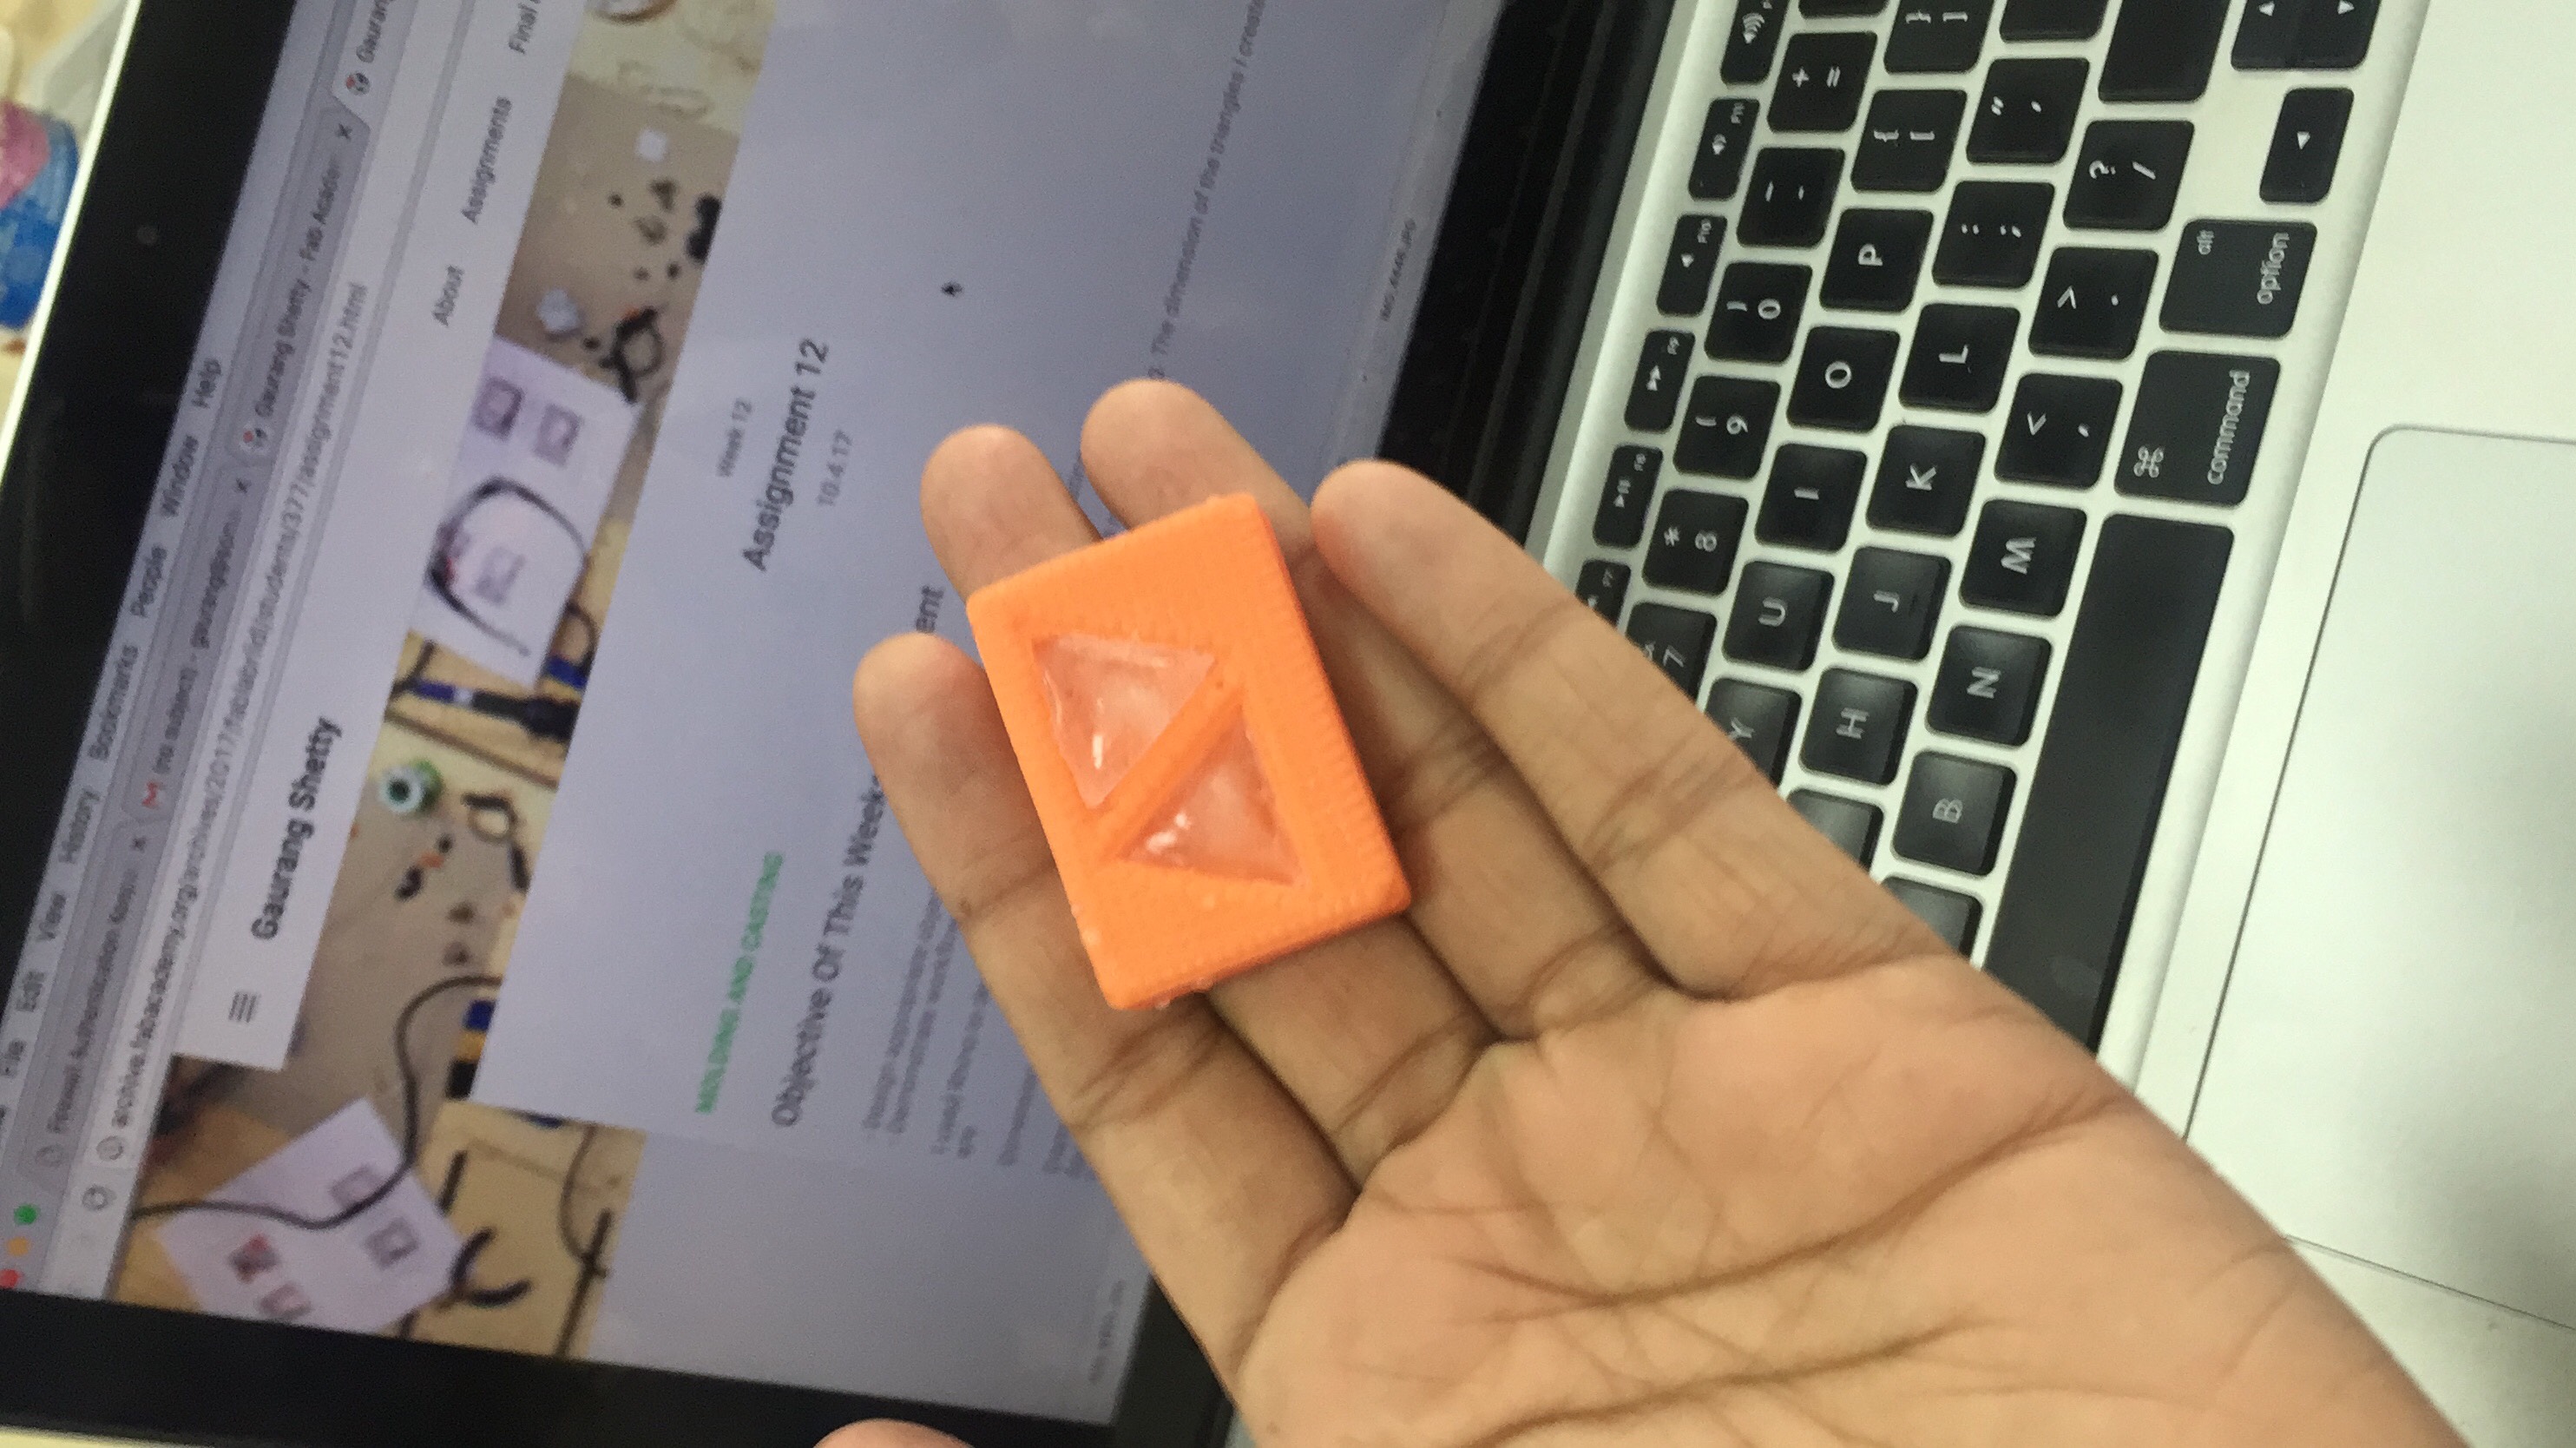
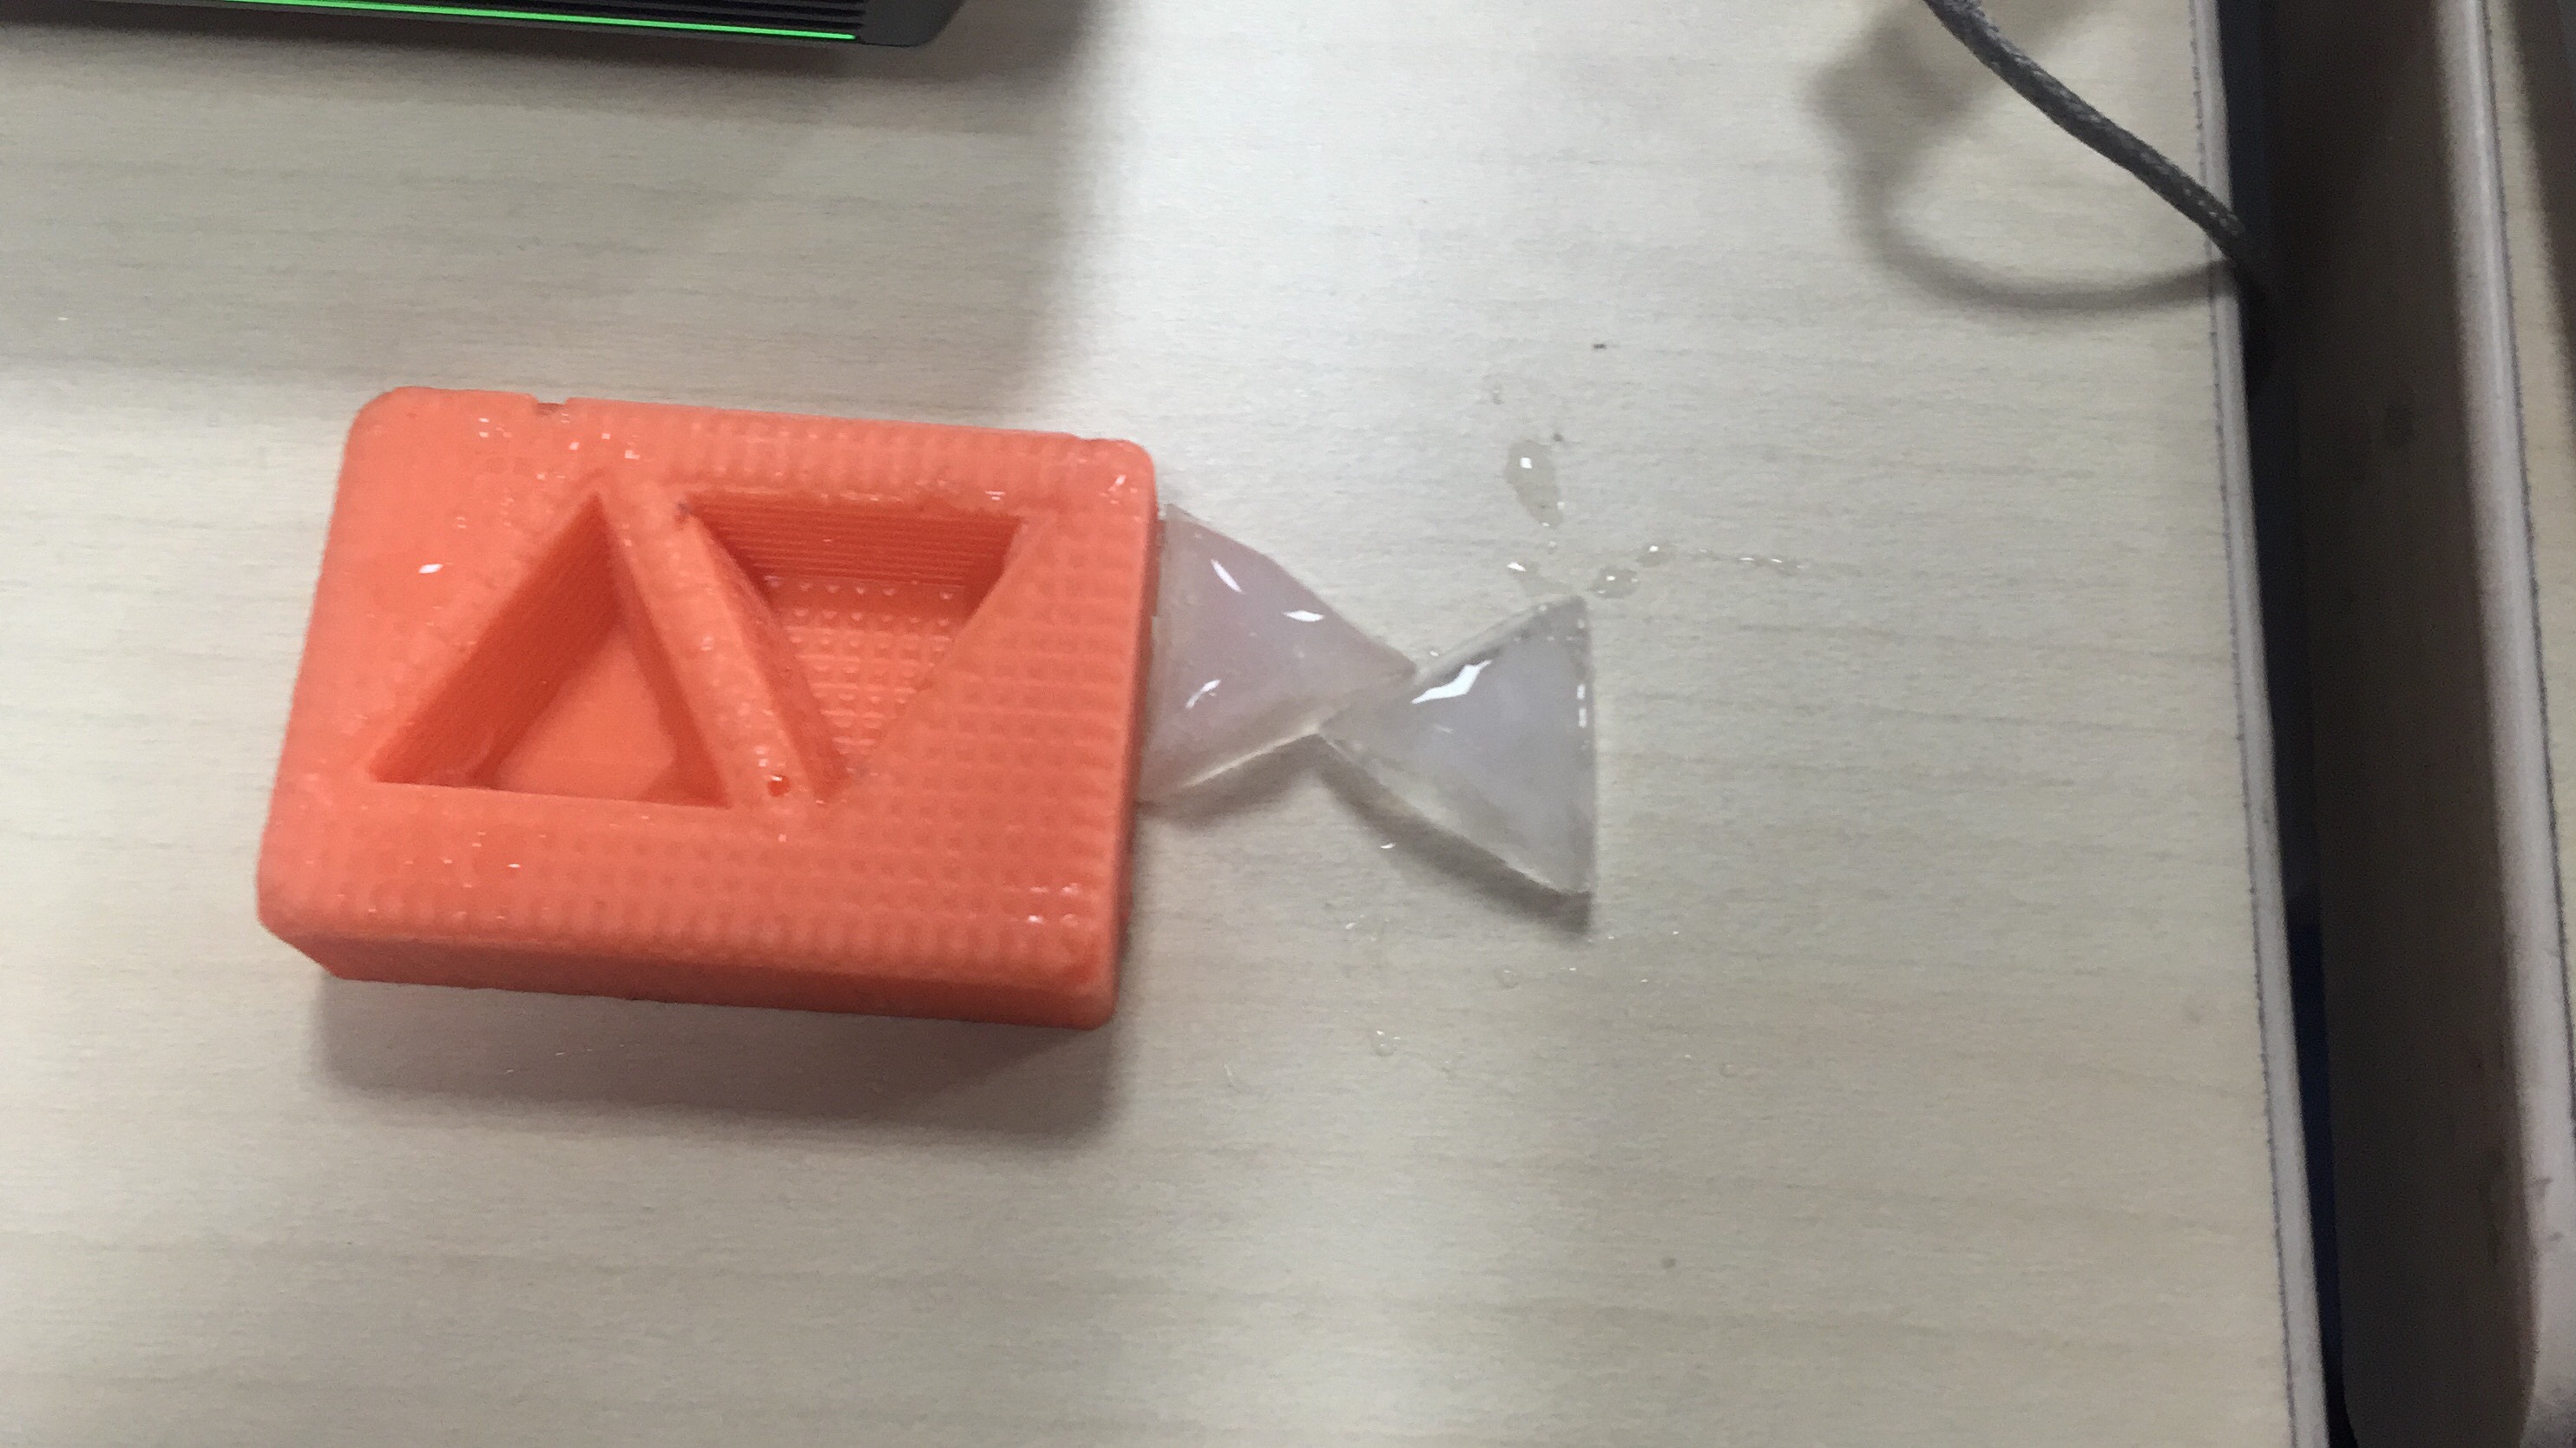
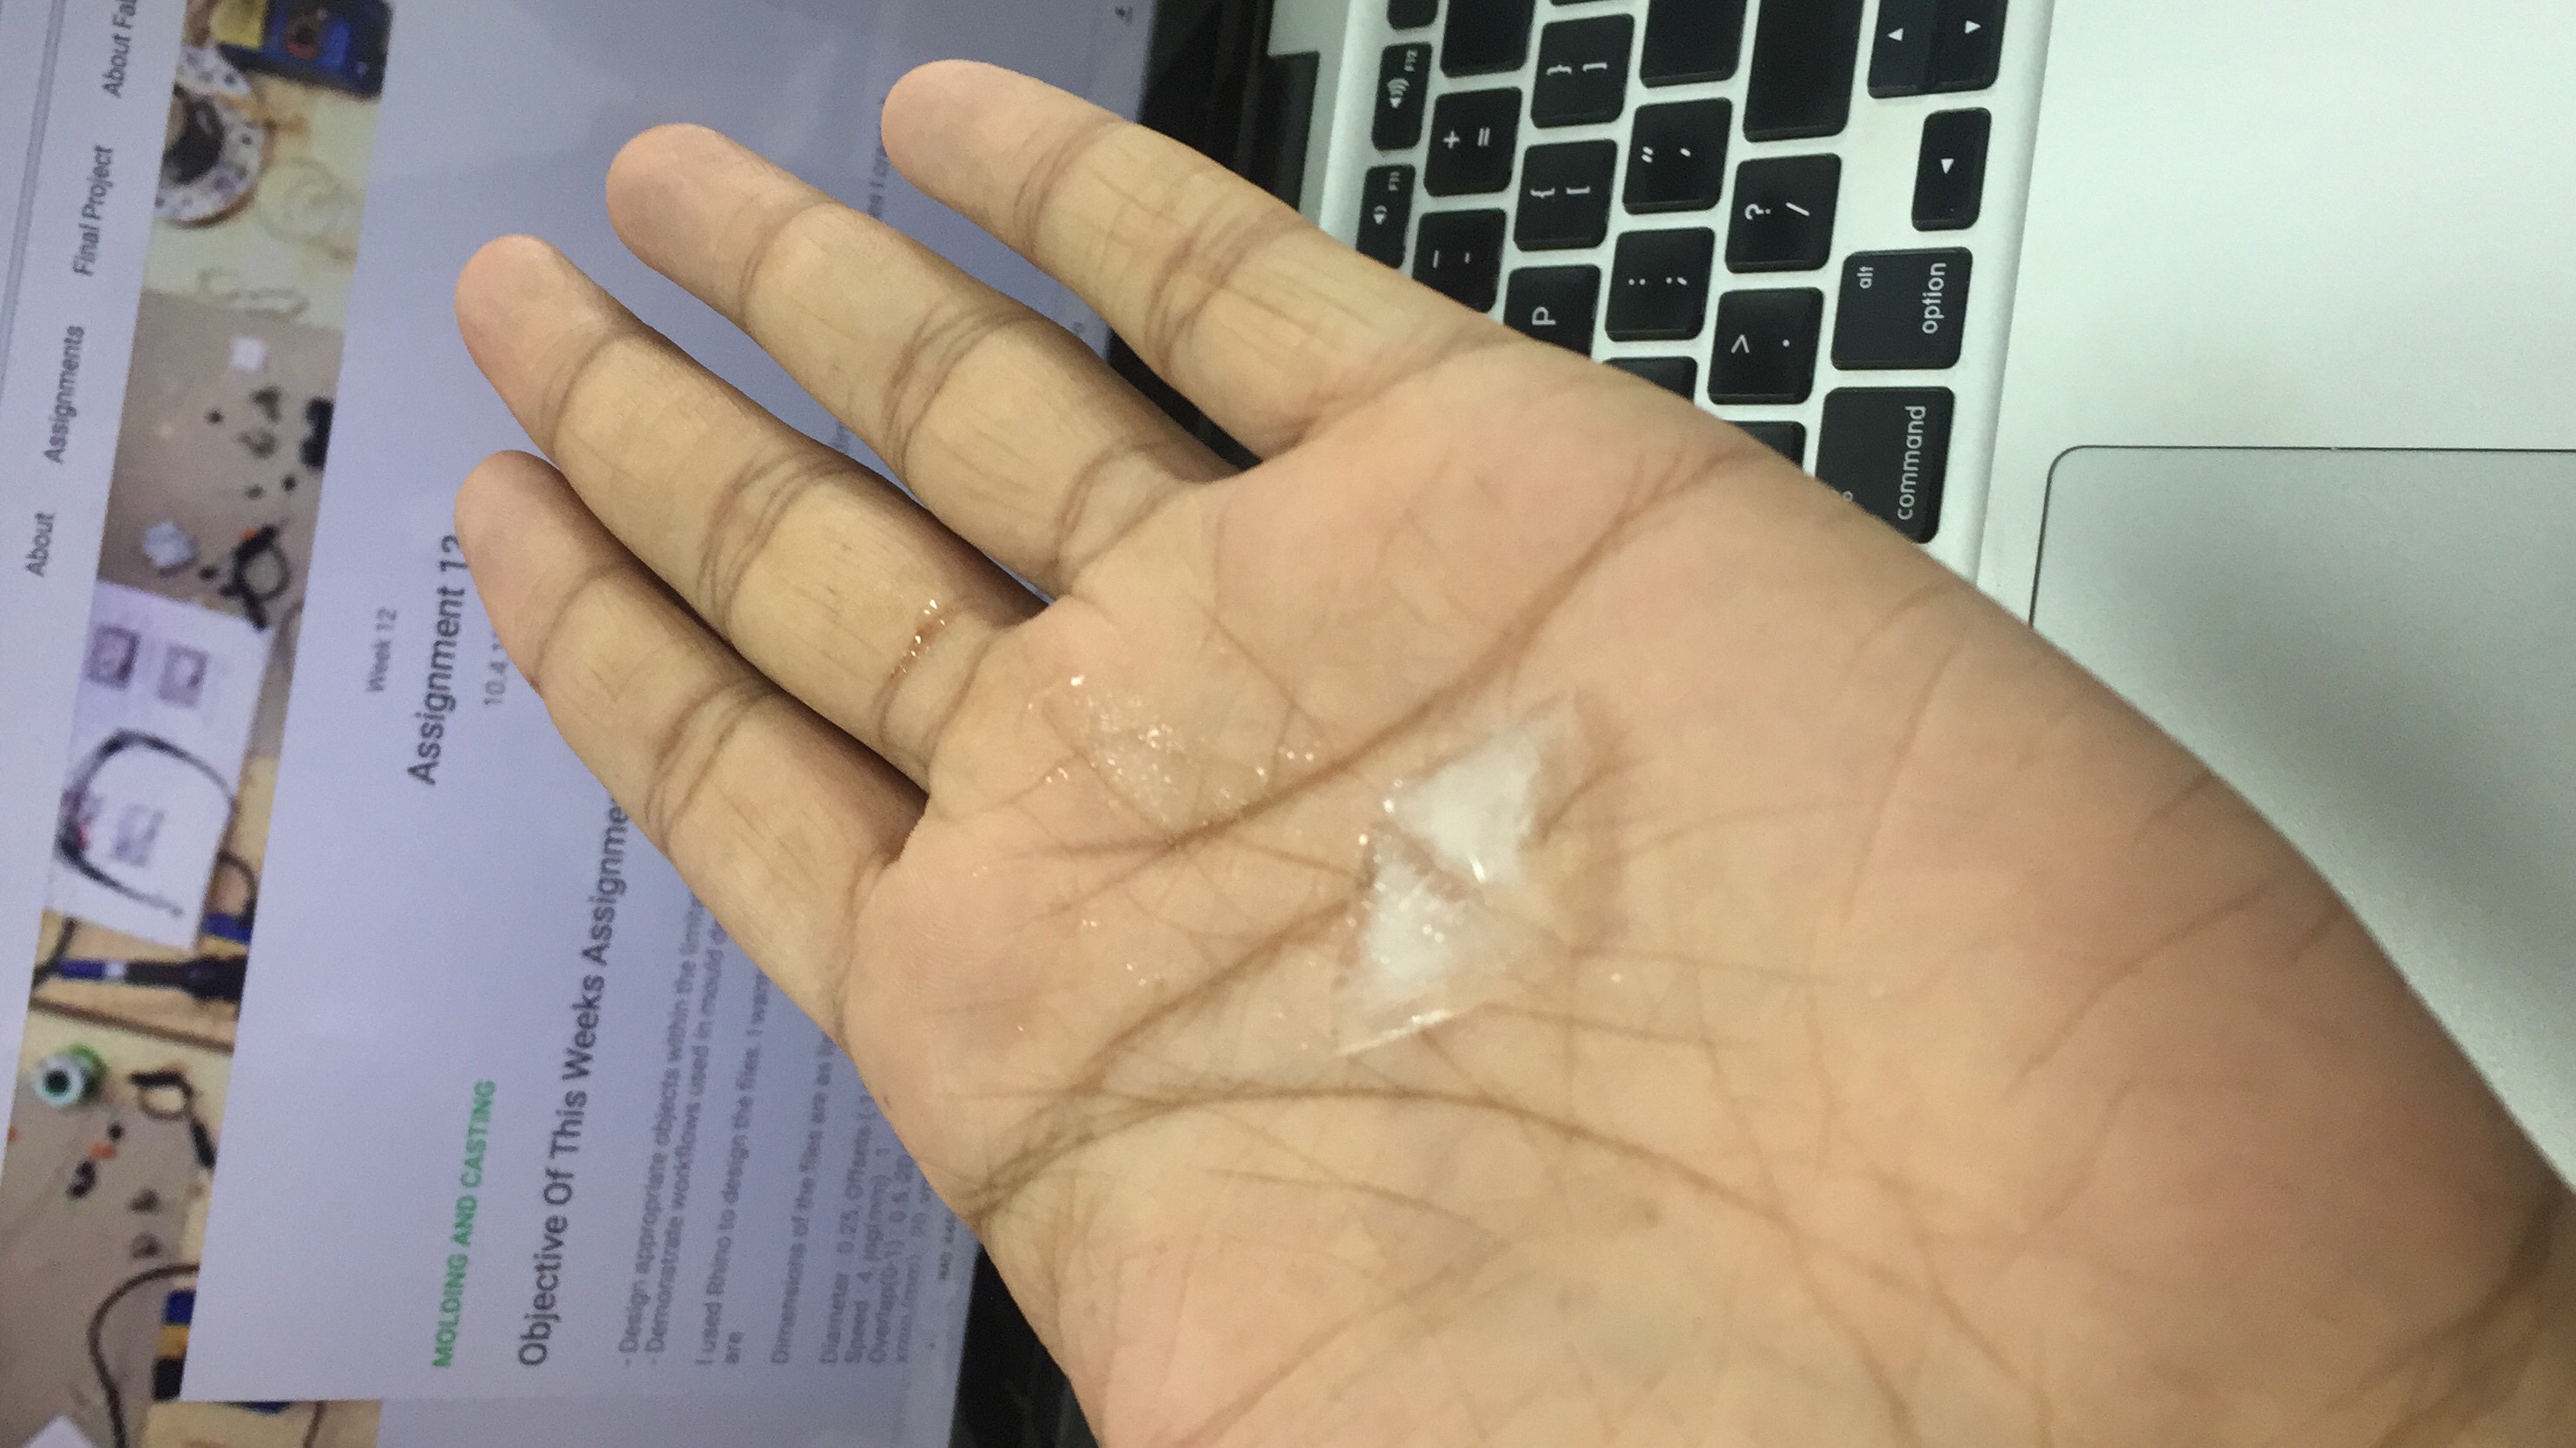
I tried to cast ice cubes out of the silicon mould. The ice cubes
Reference link:
Guide for molding and casting
Amazon link to buy rubber