Assignment 2
5.2.17Computer Aided Designing
About Inkscape
Inkscape is a free and open-source vector graphics editor; it can be used to create or edit vector graphics such as illustrations, diagrams, line arts, charts, logos and complex paintings. Inkscape's primary vector graphics format is Scalable Vector Graphics (SVG), however many other formats can be imported and exported.
Every object in the drawing can be subjected to arbitrary affine transformations: moving, rotating, scaling, skewing and a configurable matrix. Transformation parameters can be also specified numerically in the Transform dialog. Transformations can snap to angles, grids, guidelines and nodes of other objects. Grids, guides and snapping properties are defined on a per-document basis.
A few details about Styling objects in Inkscape.
Each object in Inkscape has several designs which determine its style. All of the designs can generally be set for any object:
- Fill: Can be a solid color, a pattern, a linear or radial gradient, custom swatch, inherited from a parent object.
- Stroke fill: Can have the same values as fill, but is applied to the object's stroke.
- Stroke style: Width can be set by 9 different measurement (pixels, inches, meters, etc.) settings; join (corners) styles featured are miter, rounded or bevel joints; cap styles available are butt, round or square; dash strokes of 35 (and custom) styles with configurable offsets are available; markers for start, mid and end of various (over 65) types (arrows, dots, diamonds, etc...) are supported.
- Opacity: Specifies alpha value for all fill colors. Each object has a distinct opacity value, which e.g. can be used to make groups transparent.
- Filters: The fill & stroke menu has an easy-to-use slider for Gaussian blur of each object; there are hundreds of categorized filter options under the SVG filters can be constructed using the >Filters menu.
- Appearance of objects can be further changed by using masks and clipping paths, which can be created from arbitrary objects, including groups.
- The style attributes are 'attached' to the source object, so after cutting/copying an object onto the clipboard, the style's attributes can be pasted to another object.
File formats
Inkscape's primary format is Scalable Vector Graphics (SVG)
Getting started with Inkscape
- Download and Install XQuarts from https://inkscape.org/en/download/mac-os/
- Restart the computer
- Download Inkscape and add it to application folder
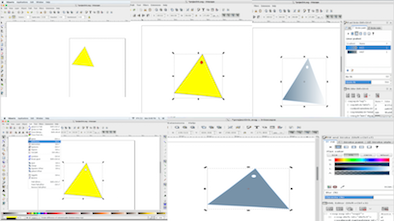
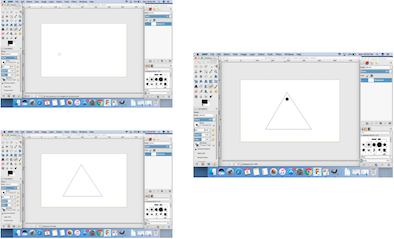
- Upon opening the Inkscape we can see the screens like shown in the above screenshot. The area with the black boarder is our page, which is our stage to setup the objects.
To place and create object there are bunch of tools available, at the left hand side of the window, includes primitive shapes and freehand tools, crop, pain, eye-dropper and various other tools which are required during destining. At the bottom there are color swatches and layer controls.
- I selected the create start & polygon tool and changed the number of corners to 3 so that I can get the desired triangle shape.
- I wanted to create a hole so that I can hang the box on the IV stand.
- I clicked on the circle tool and drew a circle on the triangle.
- I selected both the triangle and the circle, using shift key on my computer. I clicked on the difference tool on the path menu to get the desired shape
- I changed the colour of the triangle using the edit object's colour gradient,etc. tool on the top.
- I changed the colour of the triangle using the fill tab and changed the border colour using the stroke paint tab.
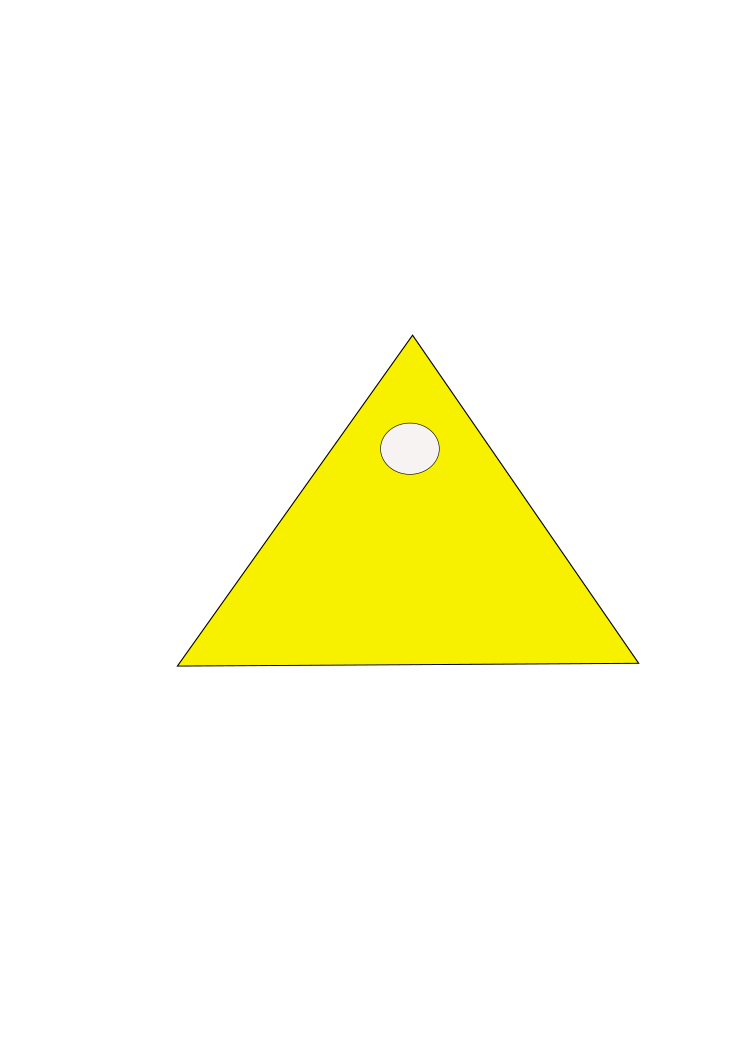
- I saved the file in png format, which is attached below.
Downloadable Inkscape file: png format
About 123D* Design
Autodesk 123D was a suite of hobbyist CAD and 3D modelling tools created by Autodesk. It is similar in scope to Trimble SketchUp and is based on Autodesk Inventor. Autodesk 123D Design is one of the most popular 3D modeling programs for beginners and advanced 3D designers. 123D Design is good for creating functional parts and geometric designs like smartphone cases and train models.
Getting started with 123D* Design
- After the installation of the software. We can open the gimp by double clicking on the gimp icon. Its similar to tinkercad but with advanced features.
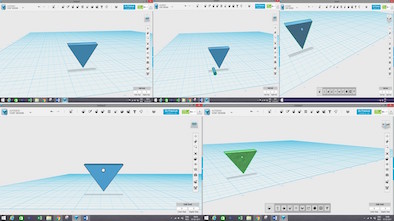
- Go to primitives button (which looks like a cube attached to a circle) and select Wedge button. Creating the triangle
.png)
- Click on the move button to place the triangle in the desired location by changing the angle.
- Click the triangle and a tool tab will appear at the bottom, which will comprise of a smart scale.
- We can click on smart scale and resize the triangle.
- Click primitive button again and make a cylinder.
- Now again click a cylinder to resize and change the orientation. Use the smart scale button in the tab to resize it.
- Click the tick mark icon once you are done sizing it. Place the cylinder in the triangle according to the dimensions.
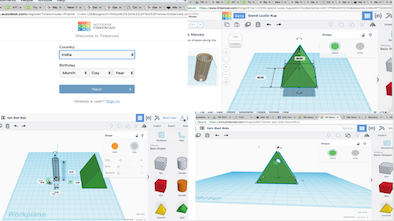
- Select the combine option (looks like: two cubes attached to each other) in the top tool bar. Click the subtract icon. select the target solid in which you want a through hole.
- There will be two options to click, "Target solid mesh" and " Source Solid Mesh".
- Select the target solid in which you want a through hole. Once you click the triangle, the cylinder automatically becomes a source solid mesh and gets subtracted.
.png)
- Click the triangle and select Material effect icon at the bottom tool bar.
.png)
.png)
- Select the desired material you need for your project. I selected Matte Plastic material, to see the output.
- It looks fantastic. One can choose the desired materials from the material list and see how their product would look like. If needed, you can change the colour after selecting the material.
Downloadable 123d file: stl format
Tinker Cad
Tinkercad is an easy, browser-based 3D design and modeling tool. I think this is the most user friendly software on the web to design things. It is easy to use and anyone can start using it for free.
Getting started with Tinker Cad
Step 1: I searched tinker cad on google, click on https://www.tinkercad.com/
Step 2: Signup using facebook or create an account
Step 3: Drag and drop shapes on the right to the drawing area and resize it accordingly
Downloadable 123d file: stl format
Comparsion between TinkerCAD and Autodesk 123d Design
* In TinkerCad, mouse movement rotates the viewpoint, and Shift + mouse movement pans the camera. In 123D Design, holding down Shift does nothing; mouse movement still rotates the viewpoint.
* In TinkerCad, F is Focus: selecting a model and pressing F locks the viewpoint focus on the model, and rotating the camera orbits the model. In 123D Design, F is merely Fit: it zooms in on the model, but apparently doesn't lock the focal point. Very soon after focusing on an object, you're no longer focused on it; you're instead focused on some completely random point in space. Very frustrating.
* In TinkerCad, selecting a model immediately shows a bunch of handles that you can drag to move or resize it. In 123D Design, selecting a model simply selects the model - you then have to choose Scale from the pop-up toolbar, and use the UI of the tool to scale the model. I don't even know how it works yet, but it's very different, and more cumbersome, than TinkerCad's model.
* In TinkerCad, the right-side pane features a hierarchy of drawing primitives - not just basic primitives, but community-generated tools that enable parameterized shapes: not just a cylinder, but a cylinder with a top radius (x) and a bottom radius (y) and a radial segmentation of (z). Very useful! In 123D Design, the primitives are jammed into an option in the top toolbar, while the right-hand pane includes a whole bunch of highly specialized finished models and model parts: Battleship, Bicycle, "Gadget" which features custom-made cases for the Galaxy III and iPhone 5... what in the world?! Why would you choose to cram spheres and rectangles into a multi-click option at the top, and use the entire right-hand pane for a massive library of completed models? Is this a design tool or merely a front end for Thingiverse? Very weird design choices here.
* I designed a model in TinkerCad that's a simple set of geometric shapes. When I open it in 123D Design, I see the same shapes, but there are all kinds of haphazard sketch lines shown on it. I have no idea what they're called or what they're for, and I can't find any way to turn them off.
About GIMP
GIMP is an acronym for GNU Image Manipulation Program. It is a freely distributed program for such tasks as photo retouching, image composition and image authoring.
Getting started with Gimp
- While installing gimp, we opened system preferences in our macbook and allowed 3rd party software to run on Mac.
- Click the pencil tool and draw a line
- Press the shift button while you draw the line, till you draw the triangle.
- Use the command button to draw a straight line.
- Use the pencil tool and change the size by 20.
- In the layers window click a circle in the Hardness window and make a circle.
Downloadable 123d file: svg format