ASSIGNMENT
1. To make something Big
Designing
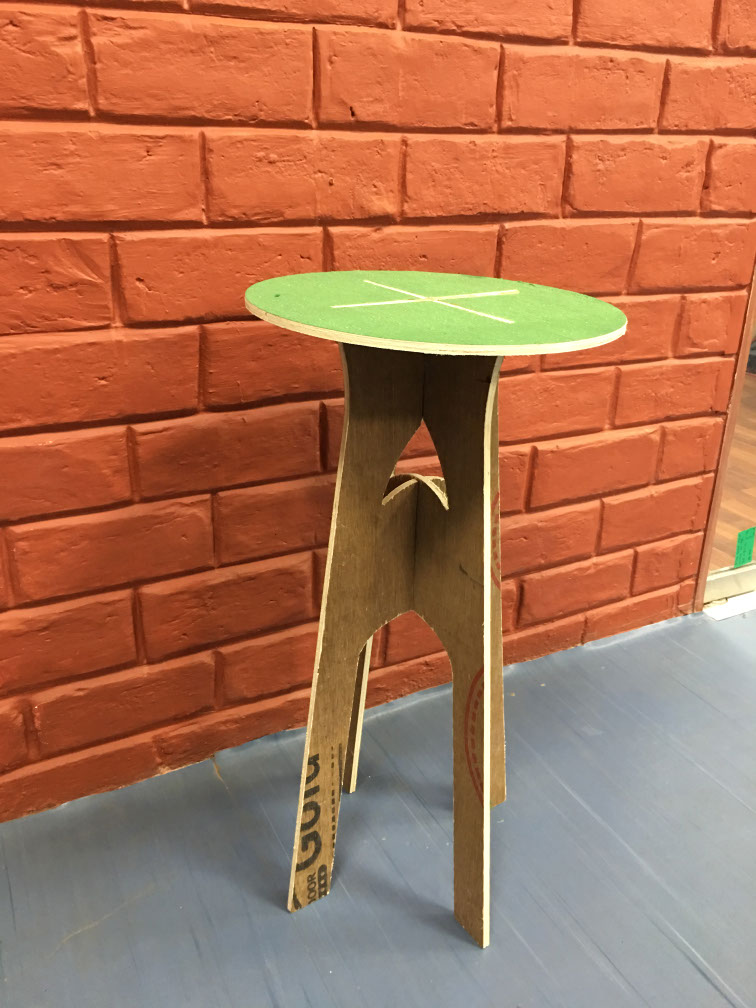
For this week, I thought of making some furniture like table or stool. Round seating stool was what I liked from the net references so designed something on similar lines using Rhino balancing weight and structure. he stool is design with simple round seat with a cross at the centre of pressfit the stool stand
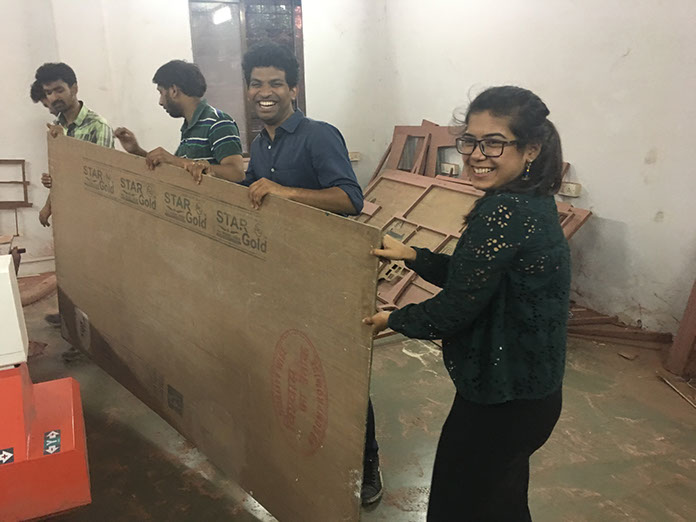
Material - Plywood from campus was used to create the stool designed by me exploiting the available resources.
These are the exploration for the form that I worked out in rhino modeling.
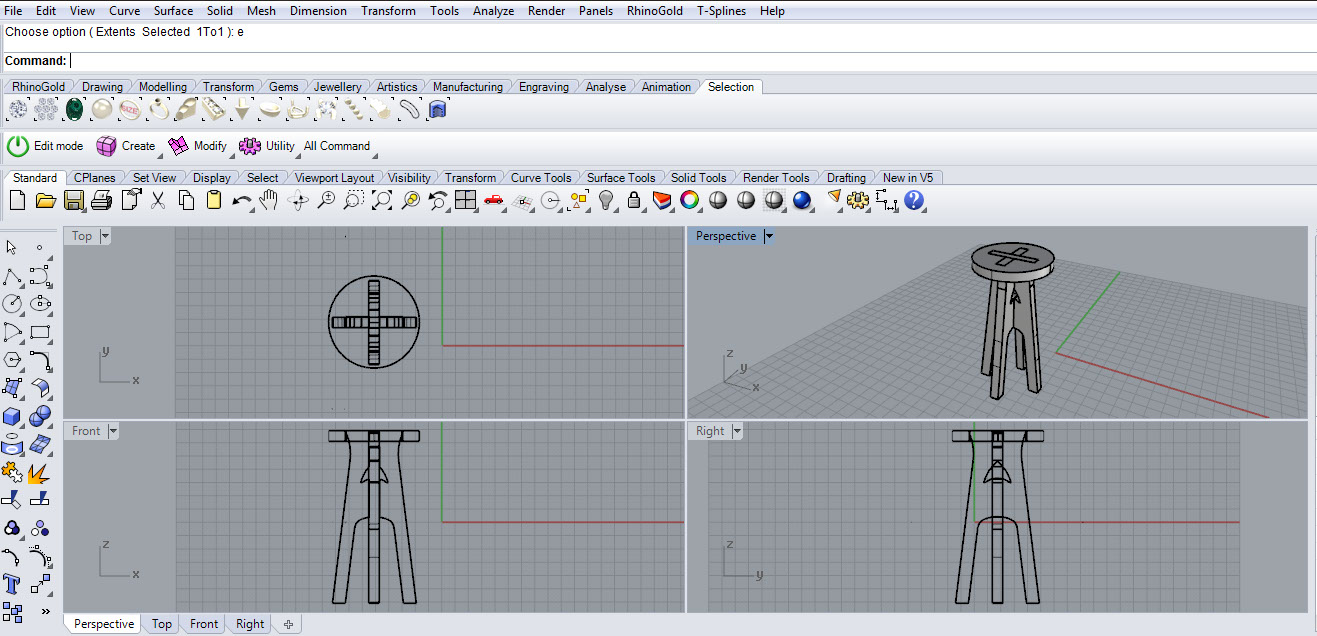
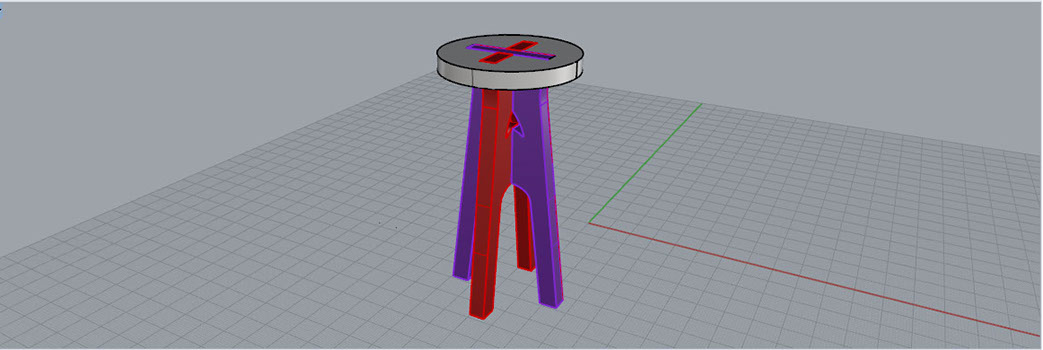
The model was assembled and checked to see the assembly
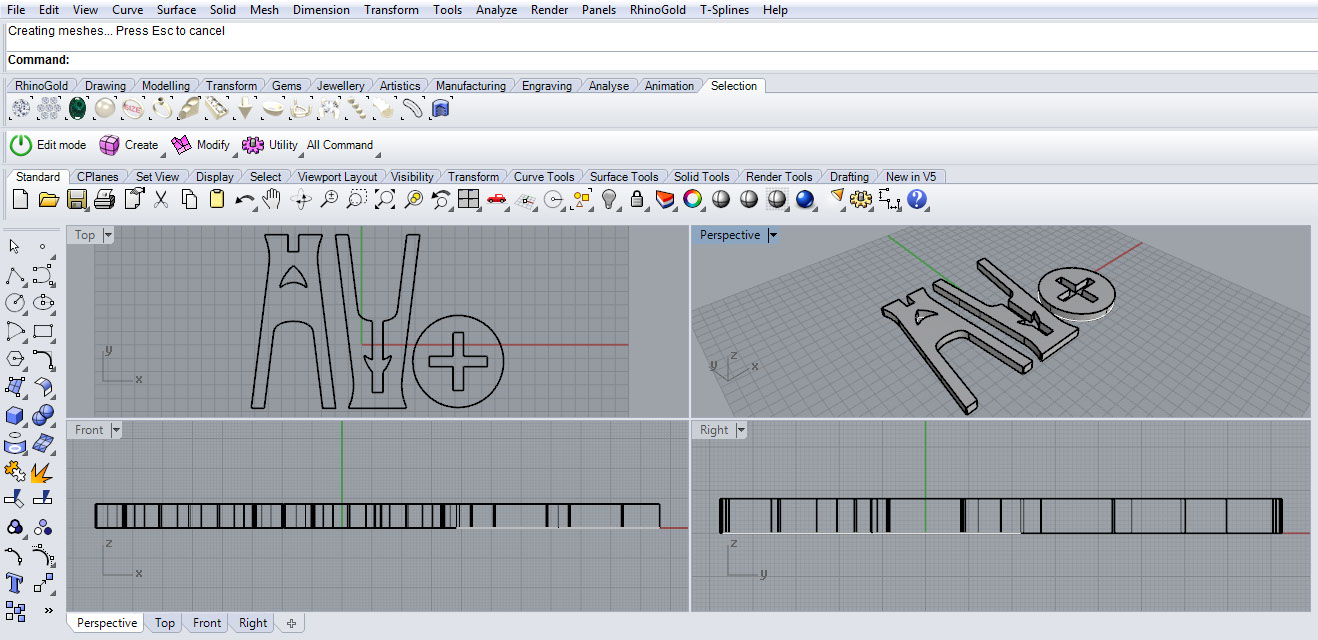
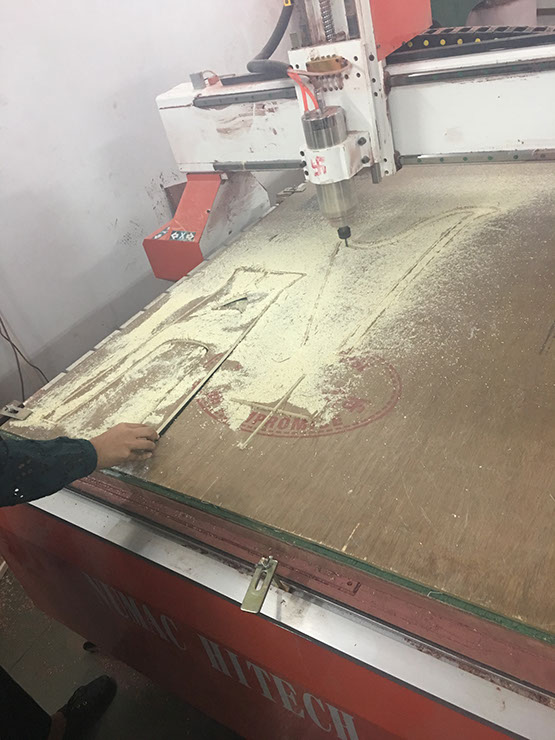
Then the parts were arranged next to each other for the file to be created for CNC rotuing
Autodesk ArtCAM
ArtCAM is a single solution for designing and making in the woodworking industry. Its simple interface and
easy to use tools allows hobbyists and independent designers to produce high quality decorative woodwork.

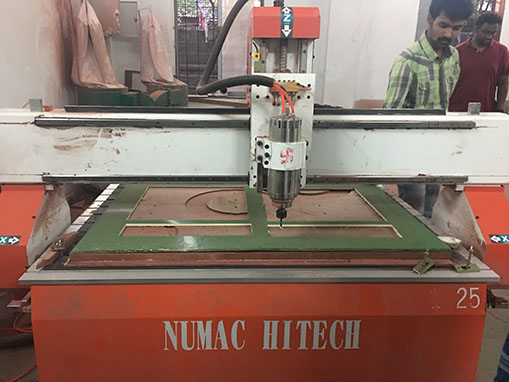
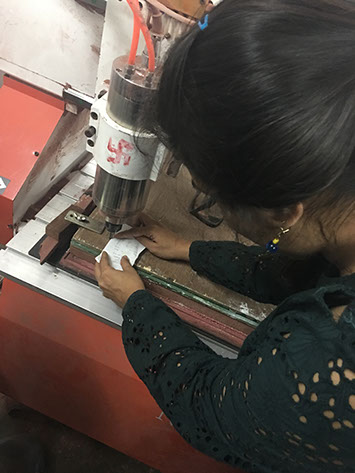
A sacrificial board was layed on the machine bed before starting the process of machining. This board acts as barrier incase of some settings done incorrectly
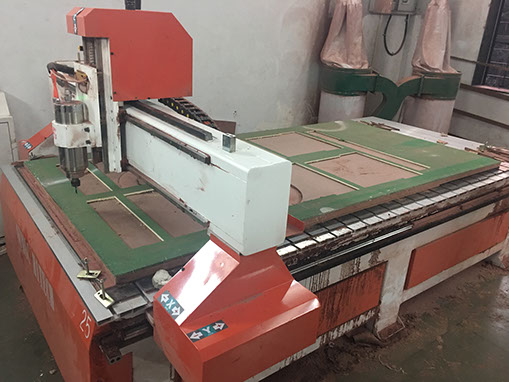
Now setting up the plywood sheet on the machine bed
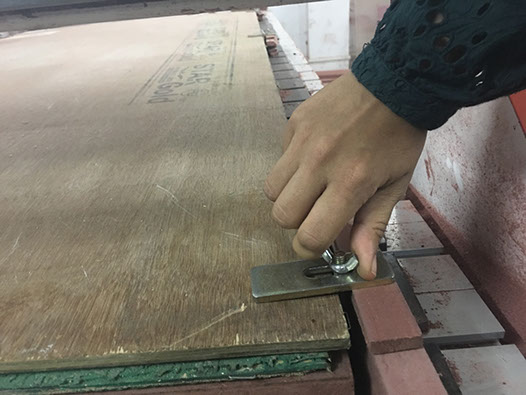
Using G clamps the plywood sheet was clamped to start the work at 9 points on the sheet to prevent any part from getting raised

Z Zeroing
- The machine has to be aware about the Zero position, before we start the cutting. - Also we must know, what's the position of the tool with respect to material thickness - How much depth it has to reach for cutting/engraving. - When I gave a command for zeroing the Z, the software makes the tool to go and touch the plywood. I used a paper sheet between the tool and the plywood and made sure that the bit touched the plywood.

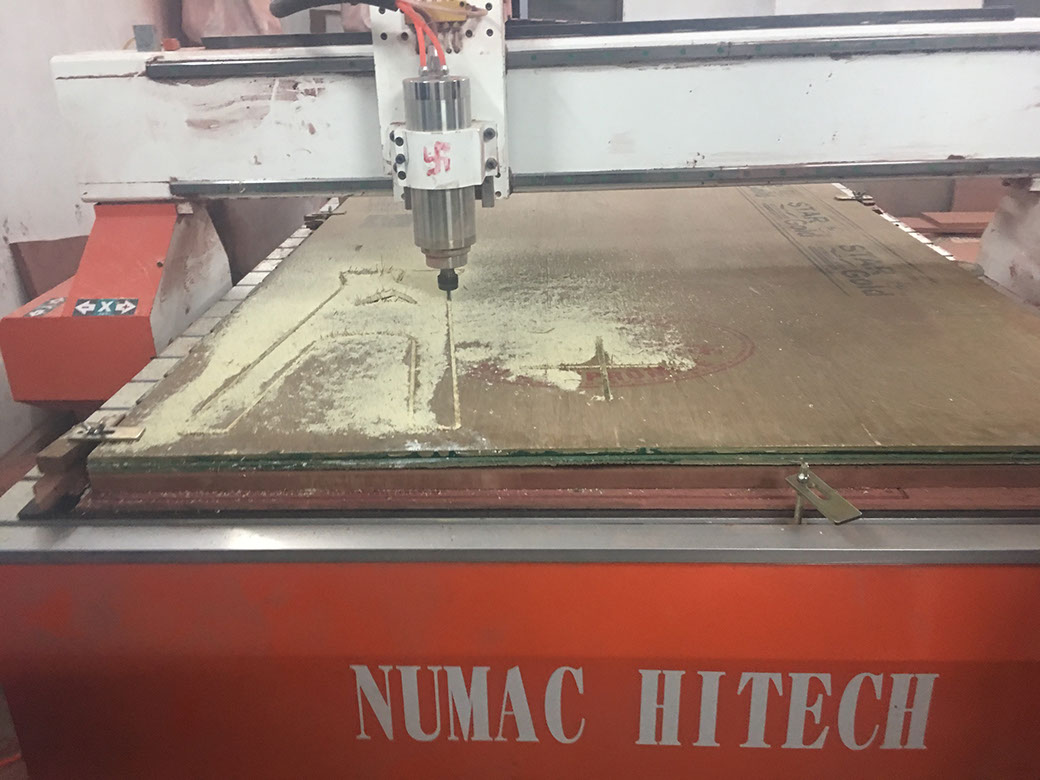
Machine controls
I used an end mill 6mm which is a type of milling cutter, a cutting tool used in industrial milling applications
The dimension of the plywood is 3 ft* 4.5 ft
Thickness of the plywood used is 10mm
Z Zeroing
1) The machine has to be aware about the Zero position, before we start the cutting.
2) Also we must know, what's the position of the tool with respect to material thickness.
3) How much depth it has to reach for cutting/engraving.
4) When I gave a command for zeroing the Z, the software makes the tool to go and touch the plywood.
5) I used a paper sheet between the tool and the plywood and made sure that the bit touched the plywood.
Software used : Autodesk Artcam 2017
I imported the files (dxf format)
- Select: Create tool path "T"
- Select Outside for outer profile and inside for slots
- Finish depth must be as per thickness of the sheet i.e 10mm
- Select end mill 6mm tool from the library
- Select calculate now
- Format of the tool path file is Model Master 3 axis flat (*.mmg)
- Save the tool path
- Select the file in the pendrive
- Choose the stroke (outer, inner, on contour)
- Select the layer to take vector primitives; to make different trajectories, I put the details on different layers
- Choose the cut depth (Thickness of the plywood I used it was 10 mm)
- Choose the type of tool, it's diameter and other parameters, like feed for example
- Chose the way the tool will get into material. It can get down vertically, or be moving on it's trajectory at the same time.
- At last we can push the button "Calculate now". The trajectory for the tool will be made.
- After that I selected "trajectories" -> "save trajectory as" from the upper menu. Set the origin and tighten the screws to lock the plywood on the CNC bed.
1. Wear safety glasses and hearing protection when the router is in operation.
2. Check wood stock for defects before cutting, such as knots, cracks, and foreign objects.
3. Never leave the machine unattended while it is in operation.
4. Never reach into the working envelope of the machine while it is running.
5. Never perform any maintenance or cleanup without lockout power switch in off position.
6. Visually ensure that all tools and bits are completely stopped before removing guards or performing any clean-up or maintenance.
7. Avoid unsafe hold down practices that can shatter a bit or allow parts to move during cutting.
8. Create cutting files that avoid small parts flying out when being cut.
9. Be within reach of the e-stop or pause button when the machine is in operation.
10. Turn on the dust collection system and close all gates, except that for the CNC Router.
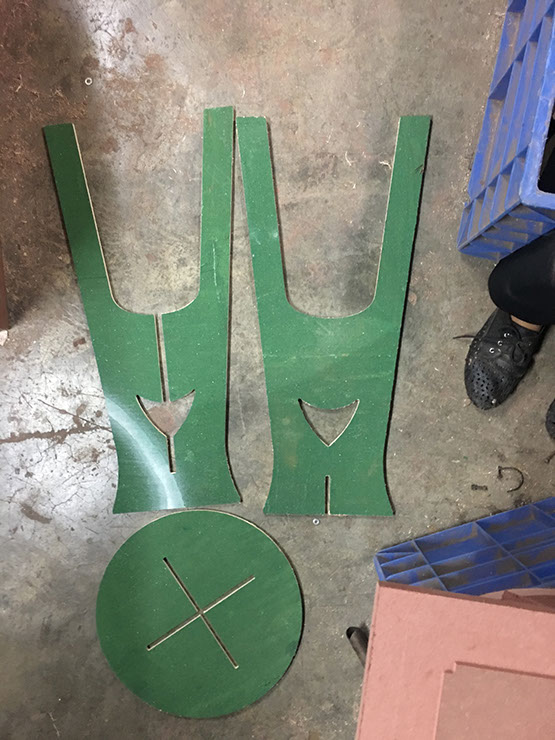
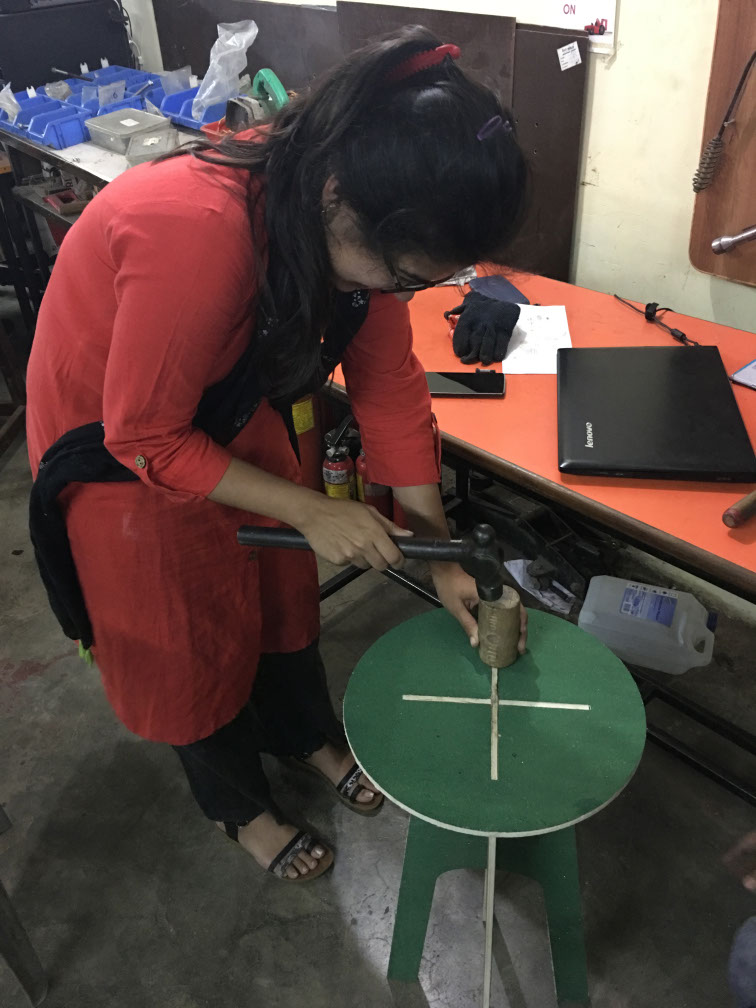
Assembling the parts of the table
The final Product is ready now !!
Site created by Lavina Utamani using Adobe Muse | fabacademy 2017