
ASSIGNMENT
Explore the 2D and 3D designing Software and explain our thoughts regarding the same. And try to make your final project design with the help of this software’s. We need to try atleast two software from 2D and 3D designing section each
2D Concepts
Before exploring the tools, I wanted to quickly understand what’s possible with image editing.
Raster graphics: bit-mapped, dot-matrix pixel structure
Color Model: RGB (additive) used in digital displays, CMYK (subtractive) used for printing
Colour depth: number of bits per pixel, which can be from 2 - 48 bits. 24 bits is true colour, supporting ~16 million colours.
Colour channel: components of an image, e.g Red, Blue and Green channel in RGB
Alpha channel: used to indicate transparency
File formats
GIF:
8 bit palette from 16m colours
LZW lossless compression
Good for sharp-edged lines with limited colours e.g. logos, icons; but not for photos
Support for sub-images, which can be changed with time delays like frames to produce animation
Supports interlacing (progressive rendering from low-res to higer-res as image download proceeds)
PNG
Was developed to avoid the patent-issues in GIF’s use of LZW
Supports palette based 24-bit (RGB) or 32-bit (RGBA) images, grayscale images and full-colour non-palette based images
Lossless compression using DEFLATE algorithm
Good for logos / icons, not for photos
JPEG
lossy compression
great for photos, can compress 10:1 with little perceptible quality loss
supports interlaced progressive display
As I belong to design background I could sketch my ideas for the final project kept easily and had finalized on the star shaped design for my final project Twinkle tricks
The drawing are done in the form of basic 2d sketches considering the element of Surprise. The design was then decided to be split in the following ways so that a lego toy could be created and can perform its activity radially. The sketches done accordingly to the concept and led to creating a magnetic lego
For necessary dimensions and basic elements needed for the drawing I performed a small ergonomic study (particular of hands) for kids aged 4 to 8 yrs. Sketches of the final project for deriving the dimensions and creating the final form.

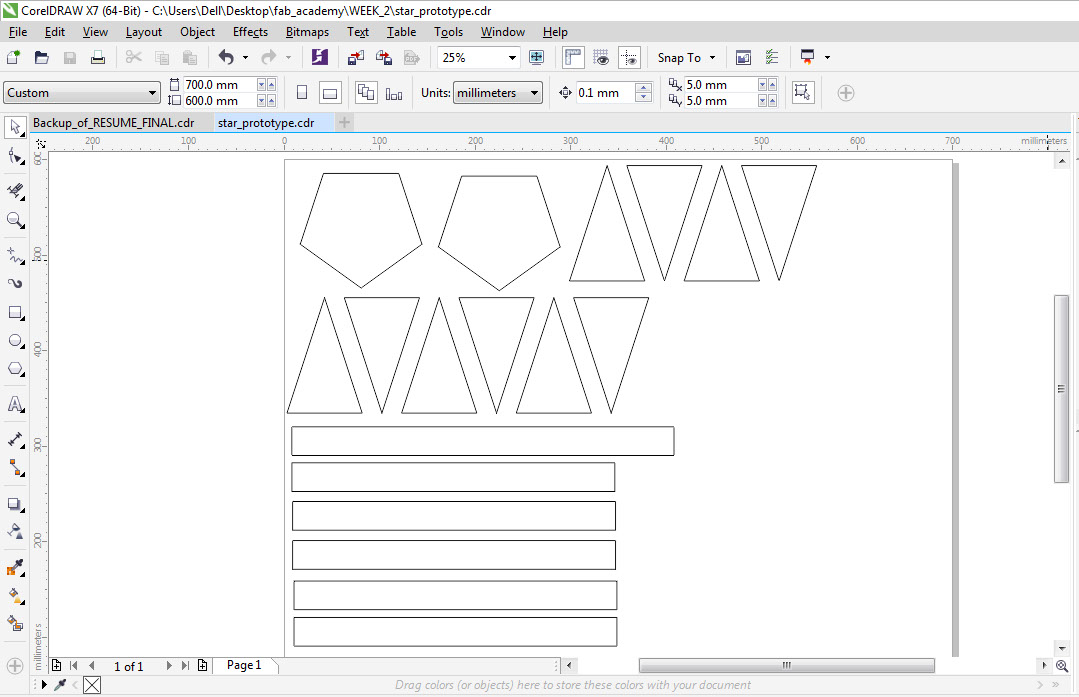
ABOUT CORELDRAW
CorelDraw is a vector design program that is compatible only on the Windows Operating System. It is recommended that you design outside of CorelDraw and import your design. CorelDraw is only a means to job setup and printing, please avoid designing with it. Our laser cutter computer is located directly to the right of the machine, you will find the software shortcut on the desktop on the computer, double click on it to openFor 2D modelling I used Corel Draw . I made a file for laser cutting a prototype of the above designs so that I could test my concept.
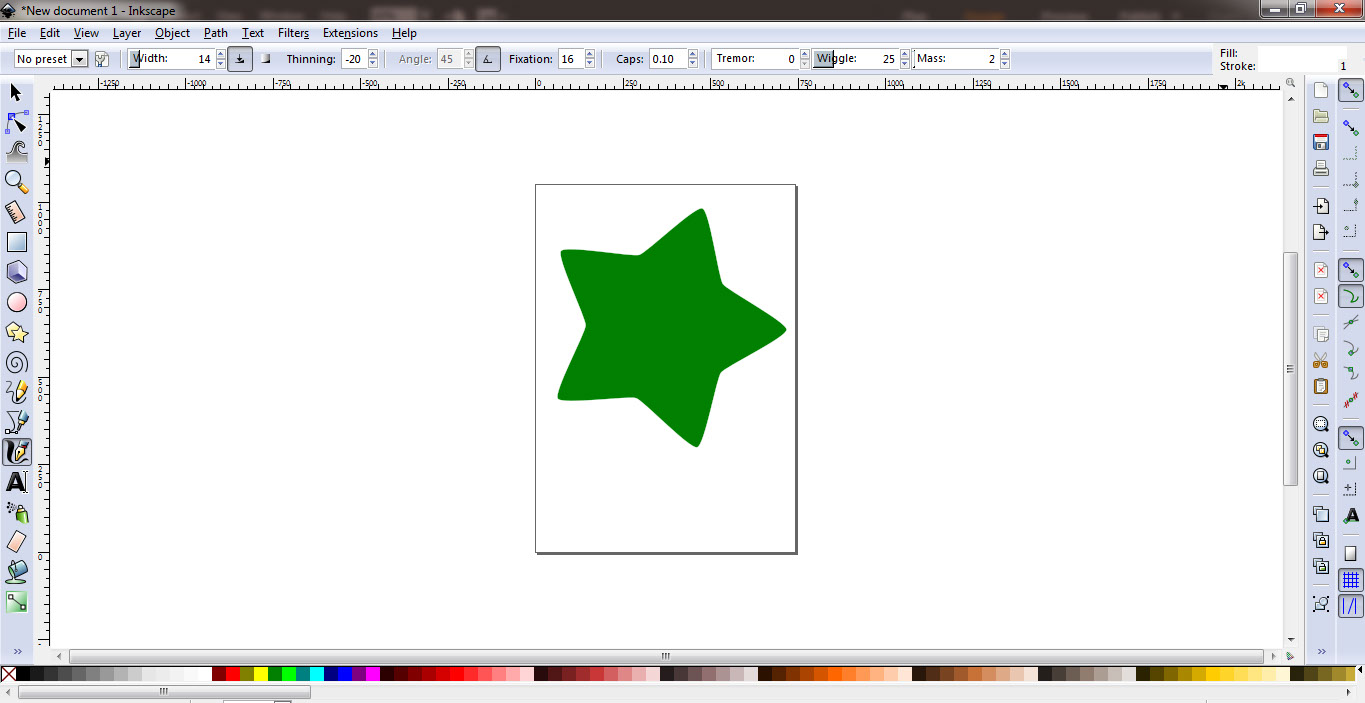
ABOUT INKSCAPE
Is a vector graphics editor. I installed it using apt.
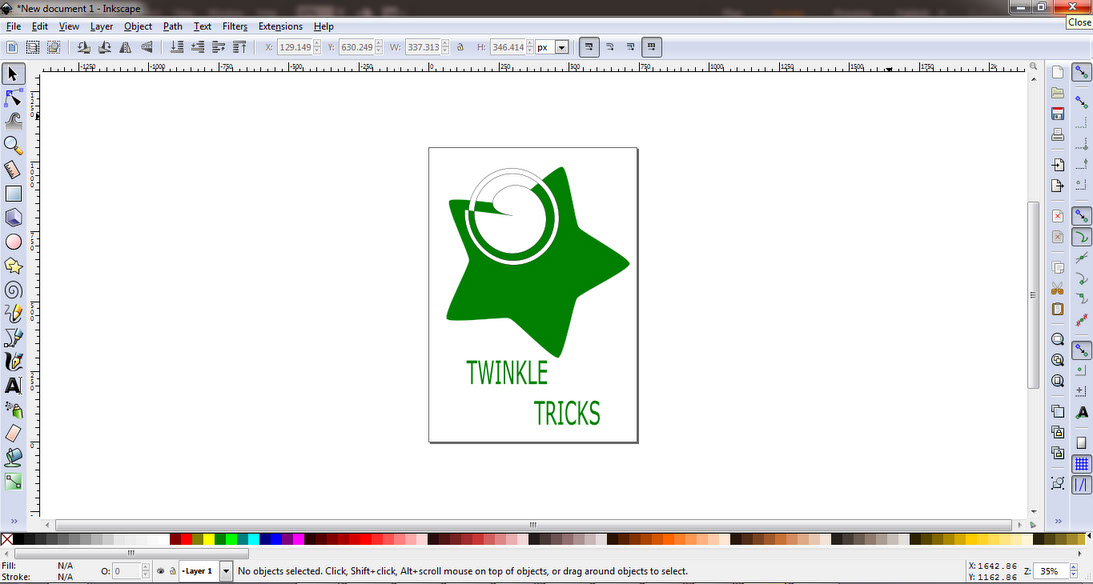
I created this logo for twinkle tricks and by using drawing out the rest using simple primitives like
lines, rectangles and polygon tool. Here is a screenshot of the image being edited in inkscape.
Inkscape could to create layers and had more tools than corel draw. It is similar interface so comfort is managed. Fabacademy learning made me realise this and move to Inkscape instead of using corel
The text tool allowed me to insert the name to the logo generated. I will use this for my final Project
3D Concepts
3D modeling: process of creating a mathematical representation of a physical body as a 3D surface.
Representation could be either as a:
Solid: based on the volume of the object. More realistic. Used in CAD, Constructive Solid Geometry, which involves boolean operations like union, intersection, difference.
Shell / boundary / surface: based on the surface of the object. Commonly used in games and films.
3D rendering: conversion of a 3D model into a 2D image.
Methods: wire-frames, ray tracing, etc.
Modeling process:
Polygonal mesh: points / vertices representing the surface of a body connected into non-overlapping polygons (often triangles).
Curves: using weighted control points to guide a curve e.g. NURBS
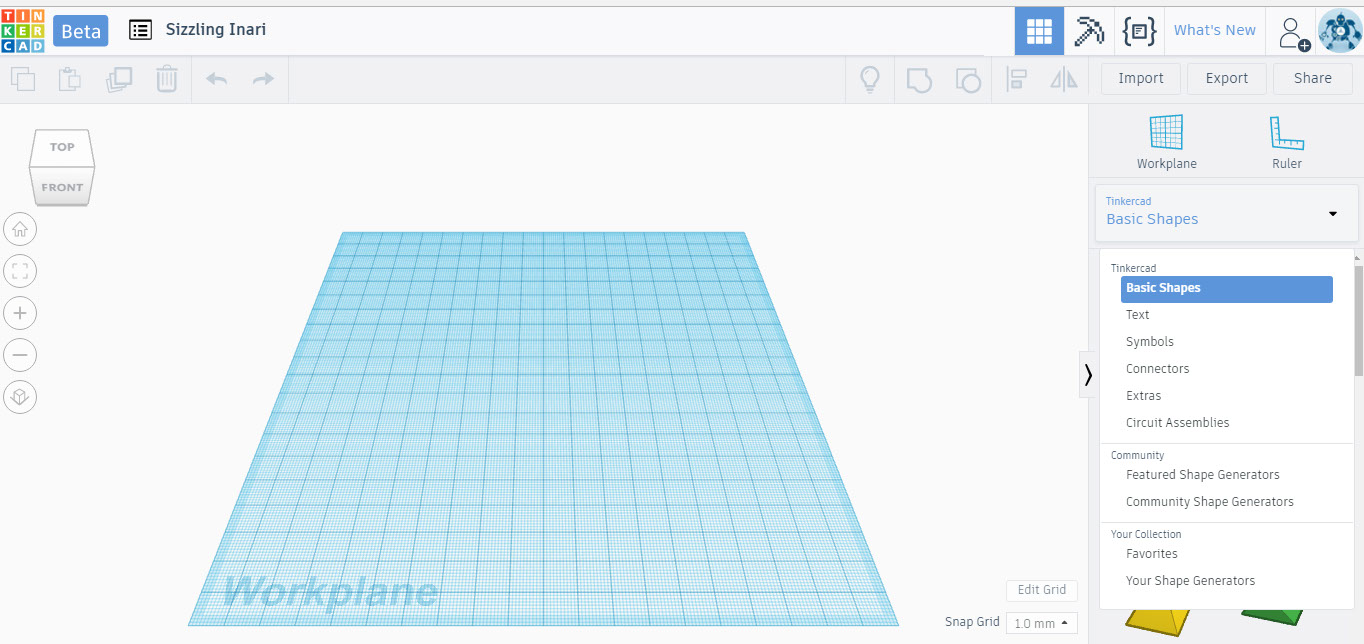
ABOUT TINKERCAD
Tinkercad is a simple, online 3D design and 3D printing app for everyone.
Tinkercad is used by designers, hobbyists, teachers, and kids, to make toys, prototypes, home decor, Minecraft models, jewelry – the list is truly endless!
Use the link her to explore:https://www.tinkercad.com/
I have attached images of the few exploration I did with this software online by creating some joinery structure to trying weaving patterns while tinkering
From the basics shape menu, can easily create any required geometric shape, solid or hollow and could generate the required complex form. the parameters of the shape appear while creating the object which could be adjusted like the required radius and height for the cylinder, side length for cube etc
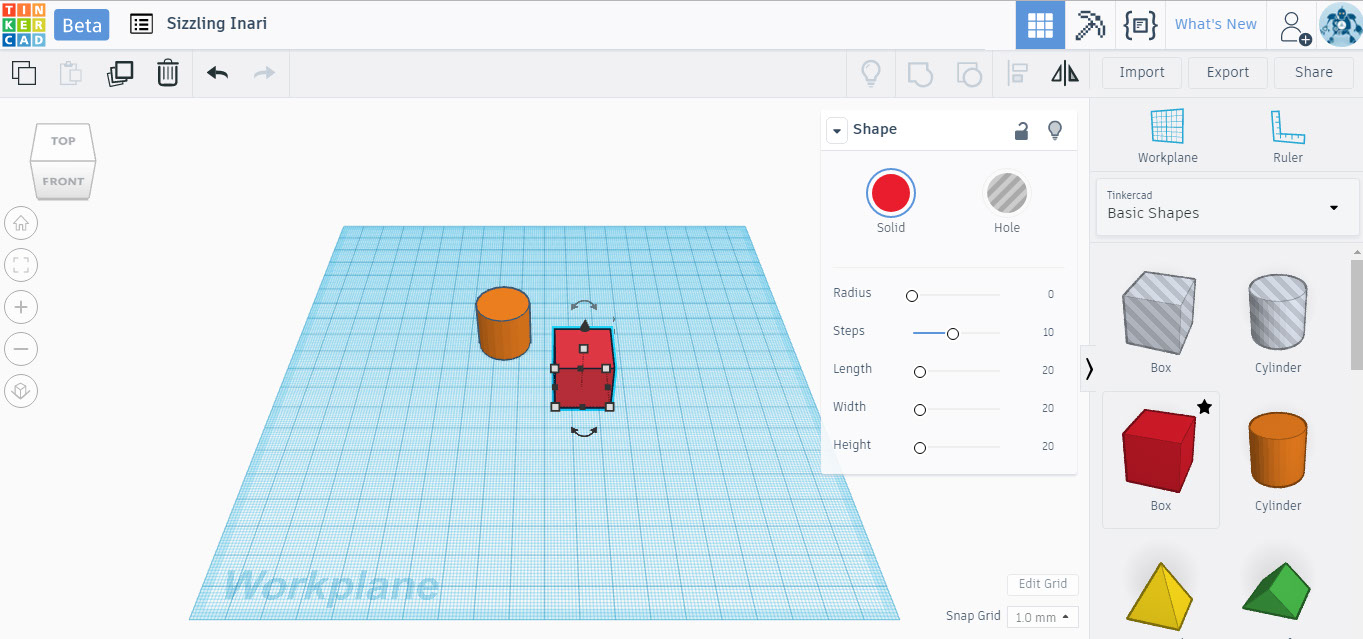
Tinkercad has some amazing features where you could add or subtract different shaped together and to achieve that shape
the objects as required in the geometry specified by you

The most beautiful feature of TInkercad that I enjoyed was the availability of the connectors and the variations one can achieve in the software. This is super friendly and useful feature I found in the 3D software saves time brilliantly
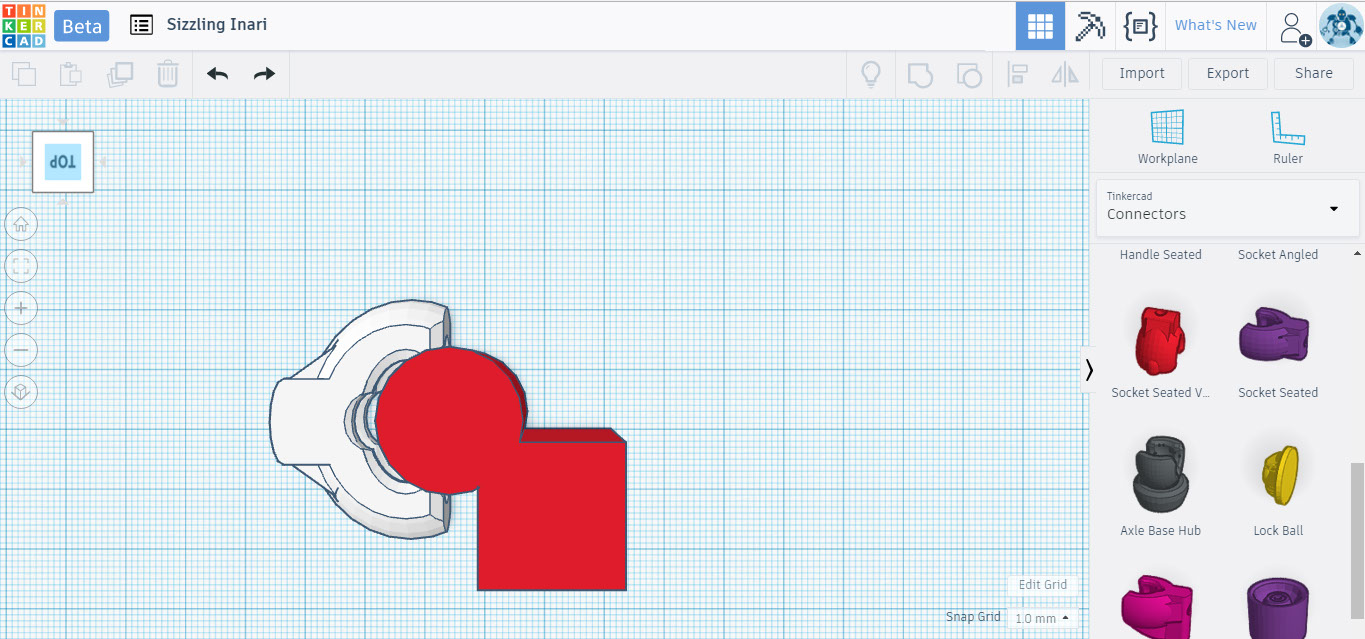
Adjust and check the connectors in all views to create good grip, connection etc

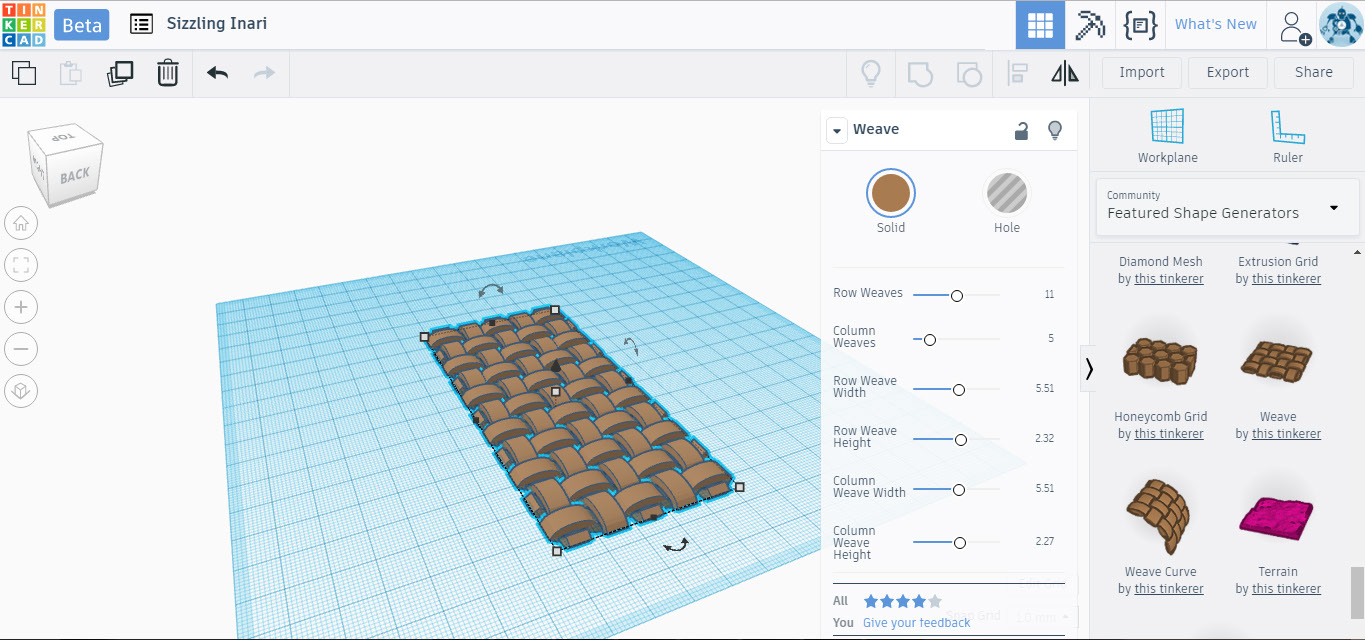
Tinkercad has many featured shape Generators with many in built designs which work like annotations in other software. They have parameters which could be varied and desired result be created
I choose something called Weave from the featured shape generator tool and created a solid weave pattern

By varying the weave parameters like row weaves, columns weaves, height, width the results could be manipulated as per
requirements.
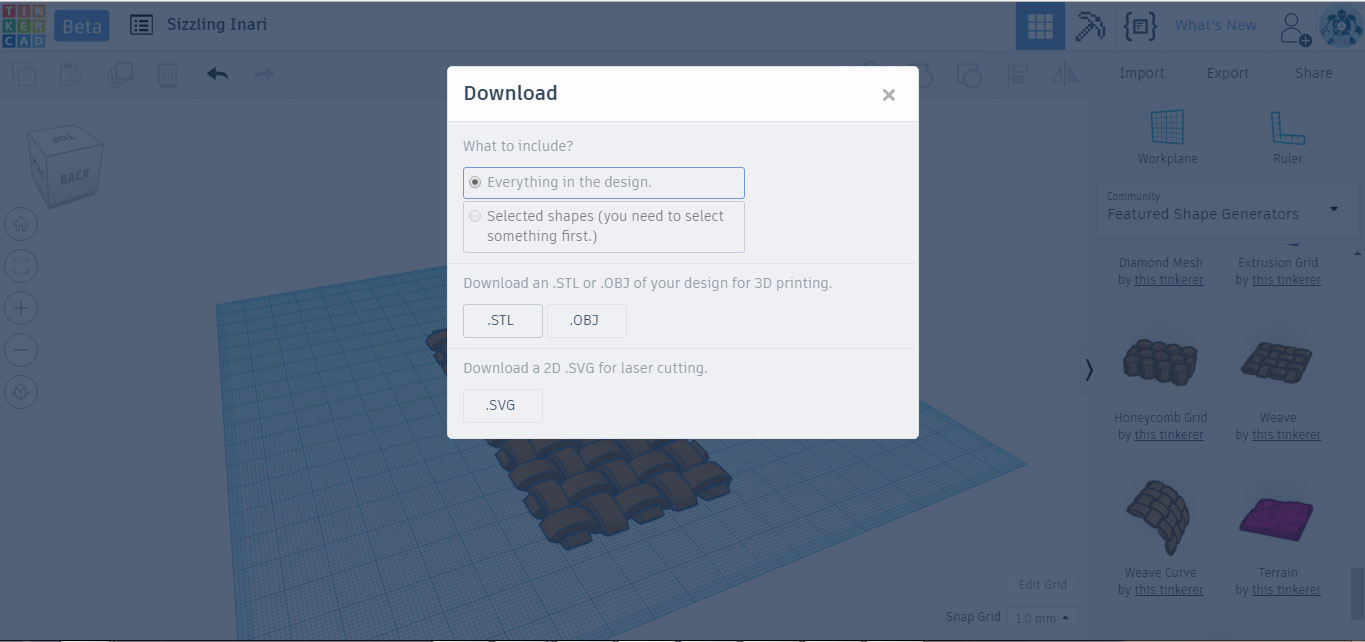
One can easily download the file generated in tinkercad by downloading it in the given stl or obj
If a 2d is required SVG files could be generated
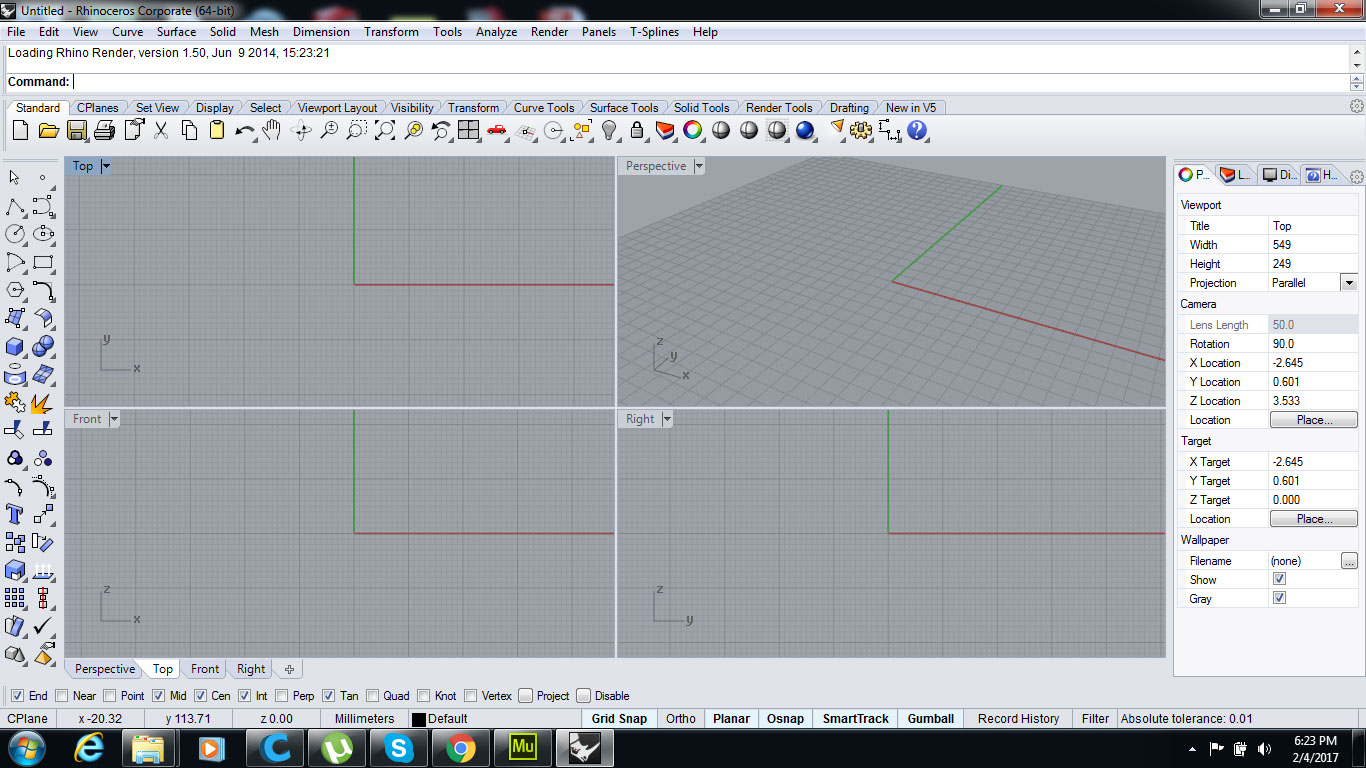
ABOUT RHINO
Rhinoceros (typically abbreviated Rhino, or Rhino3D) is a commercial 3D computer graphics and computer-aided design (CAD) application software developed by Robert McNeel & Associates; founded in 1980. Rhinoceros geometry is based on the NURBS mathematical model, which focuses on producing mathematically precise representation of curves and freeform surfaces in computer graphics (as opposed to polygon mesh-based applications).
Rhinoceros is used in processes of computer-aided design (CAD), computer-aided manufacturing (CAM), rapid prototyping, 3D printing and reverse engineering in industries including architecture, industrial design (e.g. automotive design, watercraft design), product design (e.g. jewelry design) as well as for multimedia and graphic design.
To type Commands and find similar group commands
tools for curve generation and
manipulation
Toolbar
include drawing tools like lines, circle, trim, split etc
tools for surface and
manipulation
Features to view object in different modes like shaded, rendered, ghosted, wireframe and other features to modify viewports
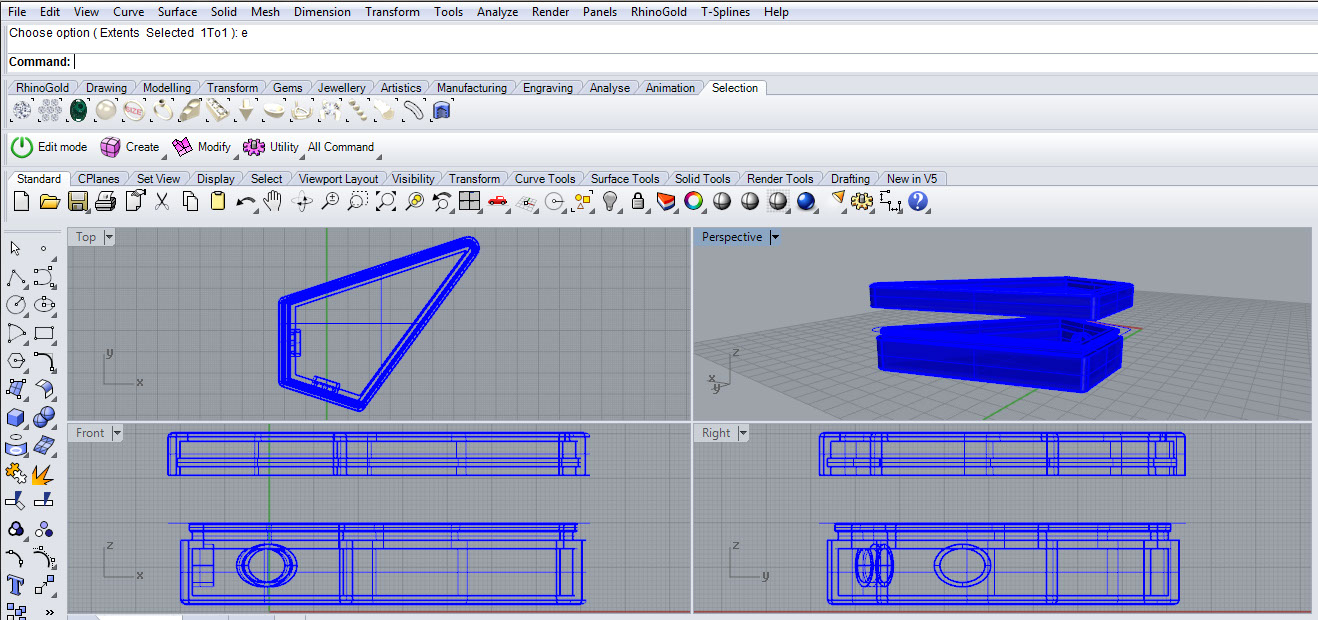
Drawing space in rhino has 4 viewports- TOP FRONT RIGHT AND PERSPECTIVE
Objects could be color coded into different layers
which will help in hiding them when not required , makes rendering easier
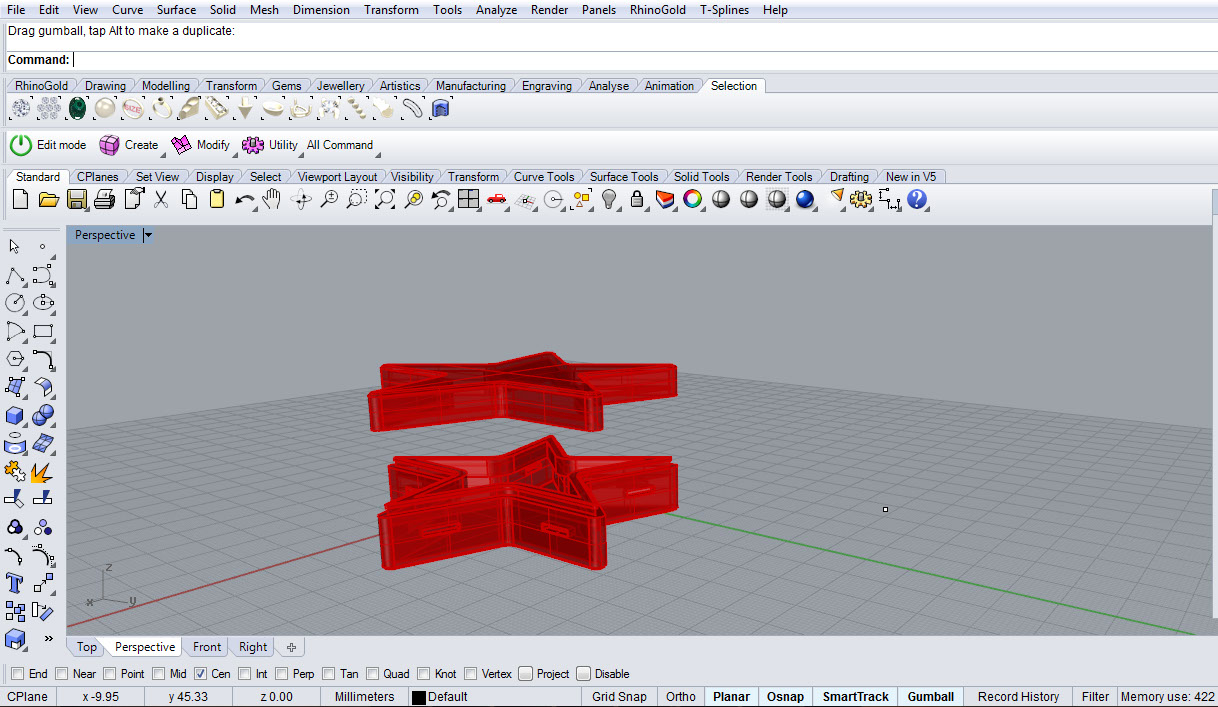
To begin with the 3D modelling in Rhino for my final project, the dimensions were calculated and star was drawn from the toolbar option of drawing polygons, the command window showed the setting you try before drawing like setting the length, Inscribed and others which could be modified and 2d drawing was made in the top view
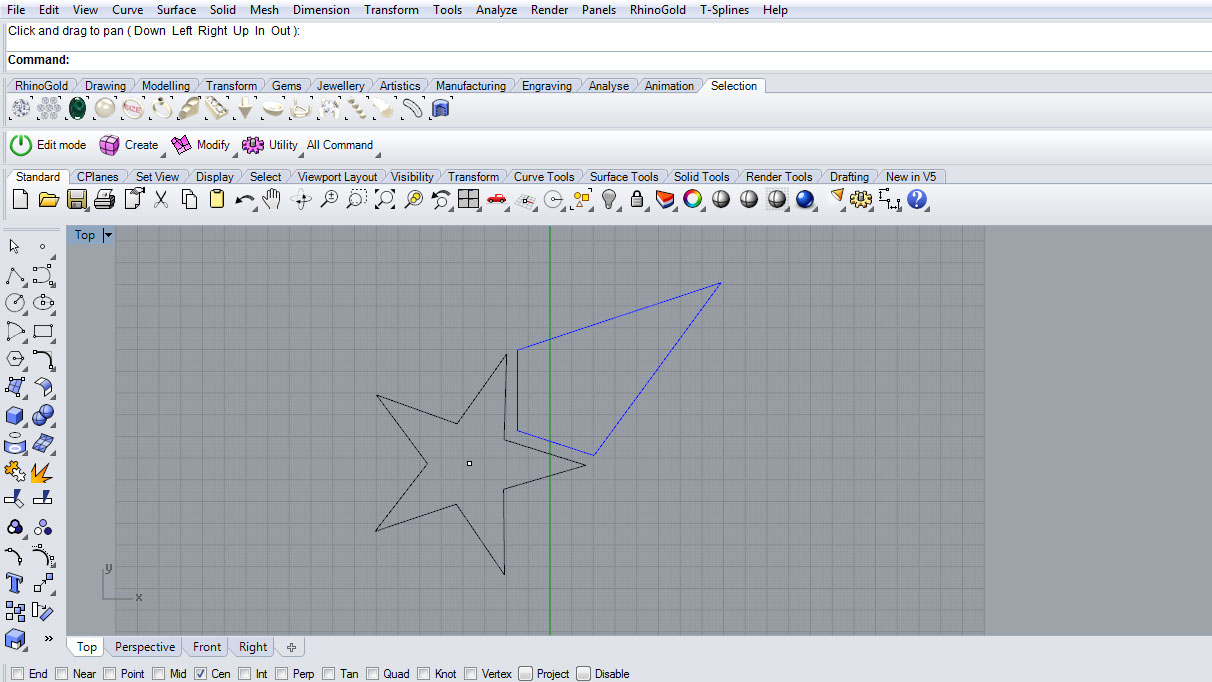
The wing was drawn and using different layer it has colour coded to blue and hidden for the next task.
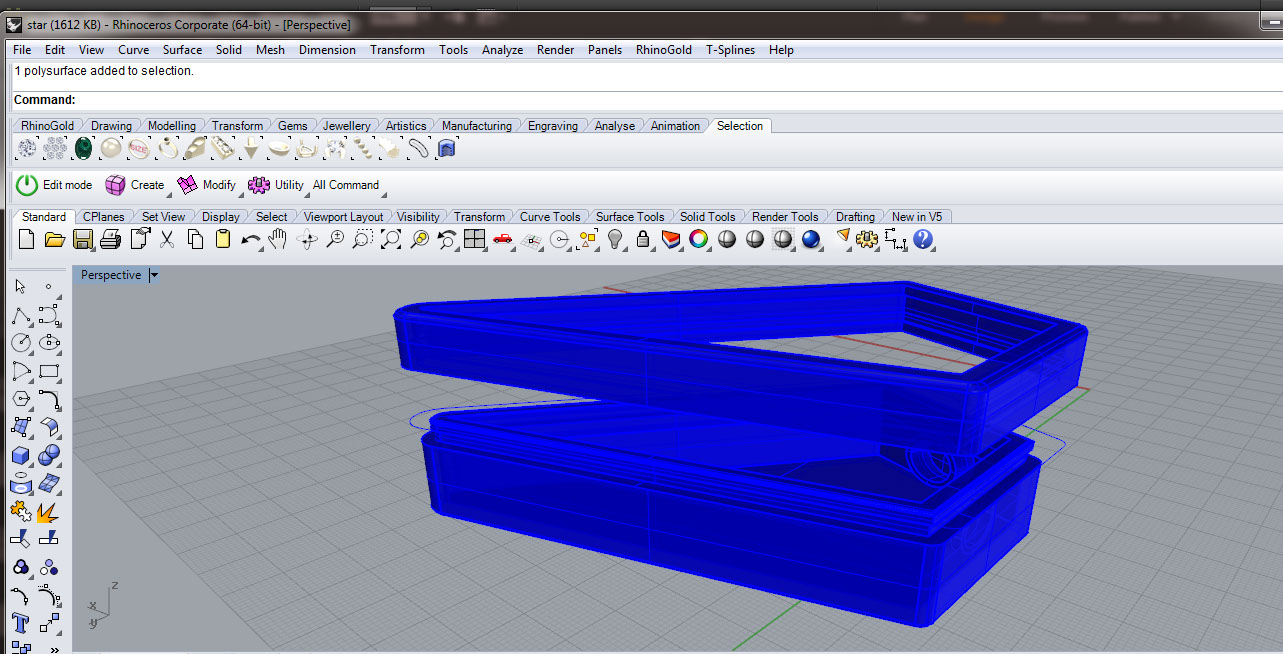
To create this star shaped files I used functions like Polygon tool, line drawing, rectangle tool, ExtrudeCrv, Shell, Boolean Difference, Offset to finish the modelling the central body
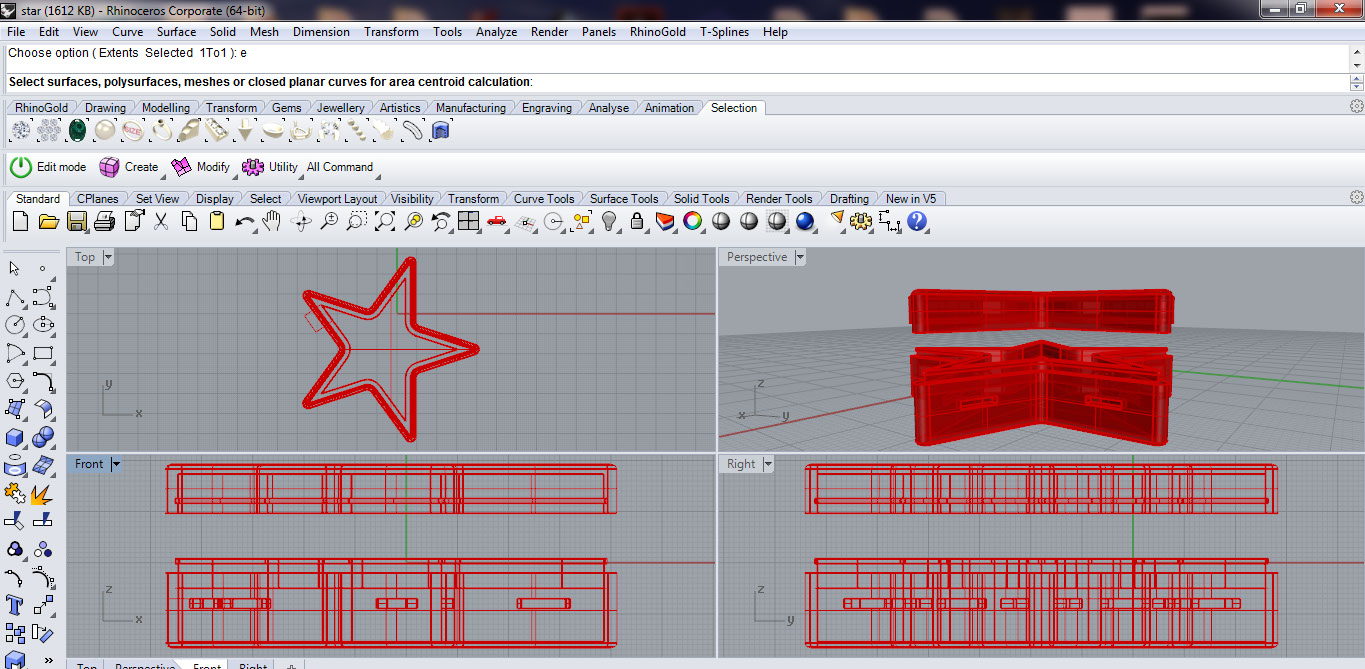
The two parts were then separately selected and exported to stl file format for 3d printing the parts. The wall thickness is around 3 mm and has a simple step type snap to lock the box.
CONCLUSIONS
Computer aided design always helped in the design, this week helped me know about many more softwares I was not aware of experienced some in the course and will learn more in the future. It is always good to understand the basics of 2D and 3D CAD to allow yourself to adapt to different software interface and create.
Found open source software replacement for corel which is Inkscape, GIMP for photoshop added to useful resources. Thanks to the great learning during Fabacademy.
Site created by Lavina Utamani using Adobe Muse | fabacademy 2017