
ASSIGNMENT
1. Design and make a 3D mold (~1ft), and produce a fiber
composite part in it.
A composite material (also called a composition material or shortened to composite which is the common name) is a material made from two or more constituent materials with significantly different physical or chemical properties that, when combined, produce a material with characteristics different from the individual components.
Basically it is multi layer material which is super strong, and waterproof as the resin is. Specially these materials are used for building boats, repairing boats, making light weight but super solid things. So, the composite materials may be used to build aircrafts, kayaks, space-shuttles, gliders, armors for vehicles, personal armor and lot more, wherever strength and weight ratio is really crucial.
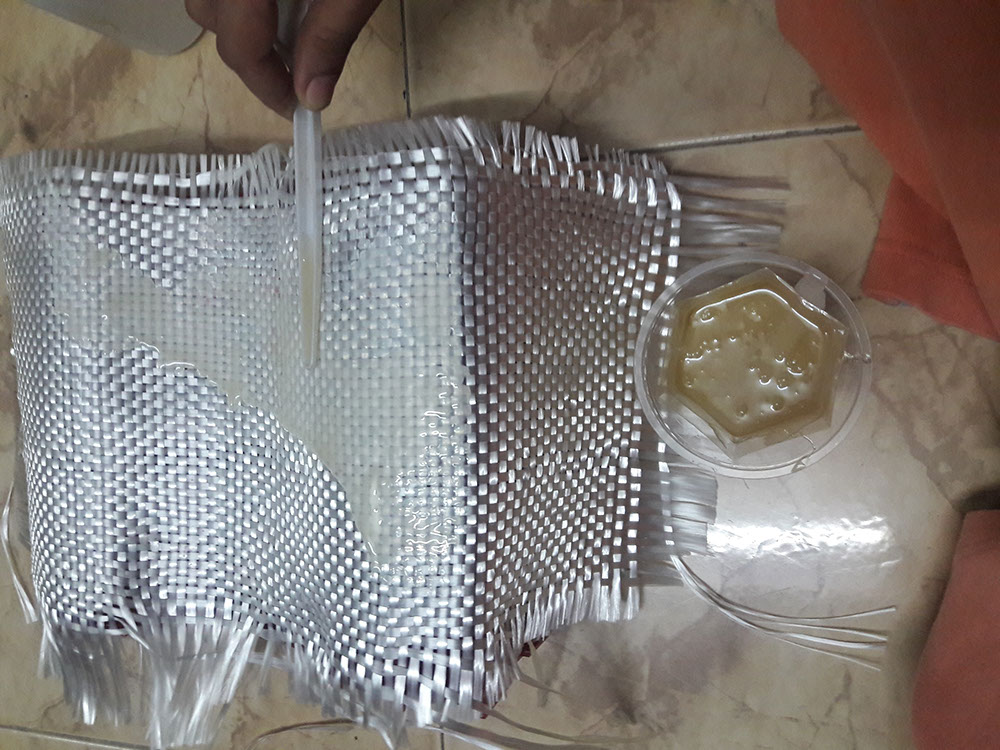
I've prepared epoxy and the pieces of fabric. I first layer of fabric and applied the uniform layer of epoxy on it. Epoxy got into the fibers of the cloth which are woven in to a piece of the uniform fabric and the density of the the fibers were very less compared to the cloth we wear. I've attached the image which is displaying the texture of the cloth which I've used. It's a white cotton fabric.
This fabric was not so strong with little force also, one can tear it apart, now the resin's job is to make it stronger and bond the pieces to other layers of composite which in total adds the strength.
One by I added the epoxy on the layers, and saturated each of the layer with the resin. Then I applied each of the layer on the mold one by one. Once all the layer are applied successfully it's time to weight for them to cure.
Epoxy resin comes in two part, one of which is hardener and other one is resin itself. Both individually can't do anything, when they are mixed the curation process starts and then after curing period it becomes rock solid. Curing time is depends upon the environmental parameters which are,
Temperature
Humidity
Ratio of hardener and resin
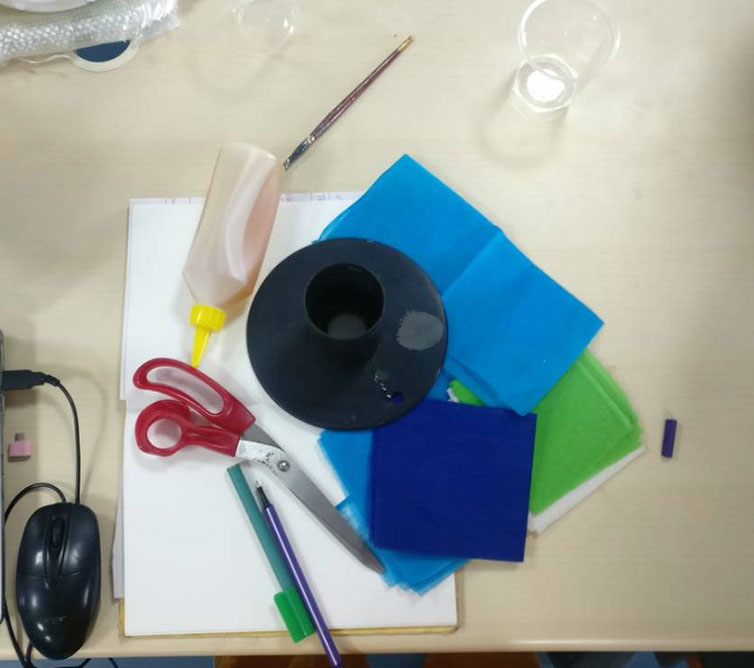
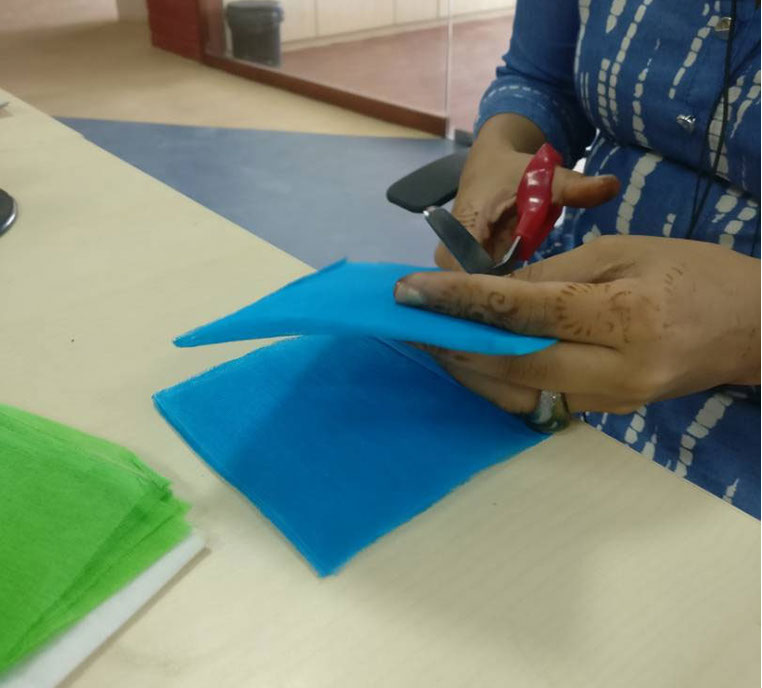
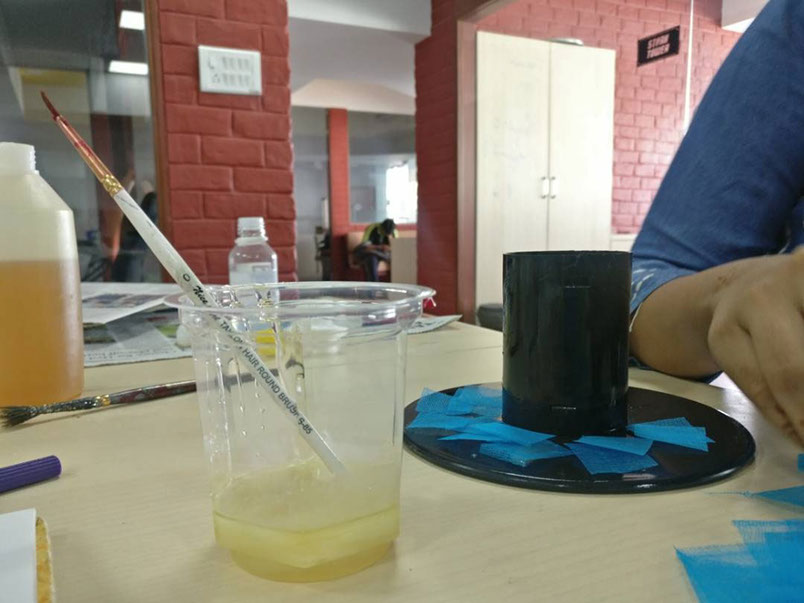
I cut the cloth in small portions and square shape and used three colours to form different layers will forming the composite
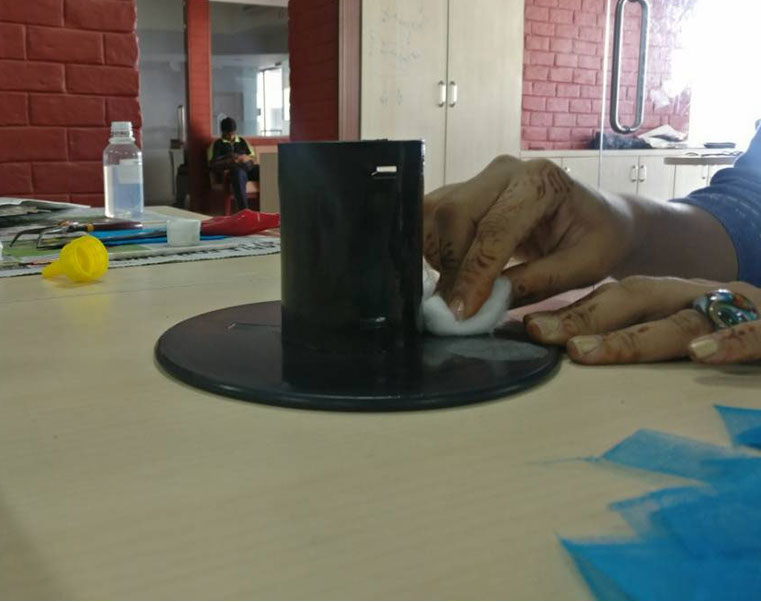
I mixture of oil and soap in equal portion was mixed and applied for easy removal of the composite mold. Other technique is to keep a plastic sheet to separate the composites from the mold
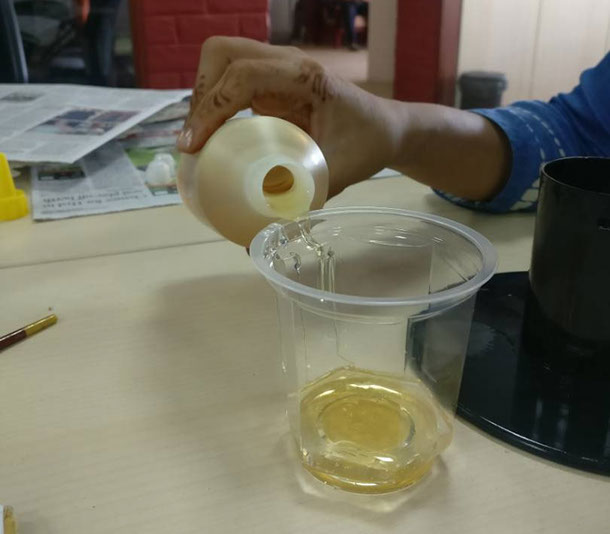
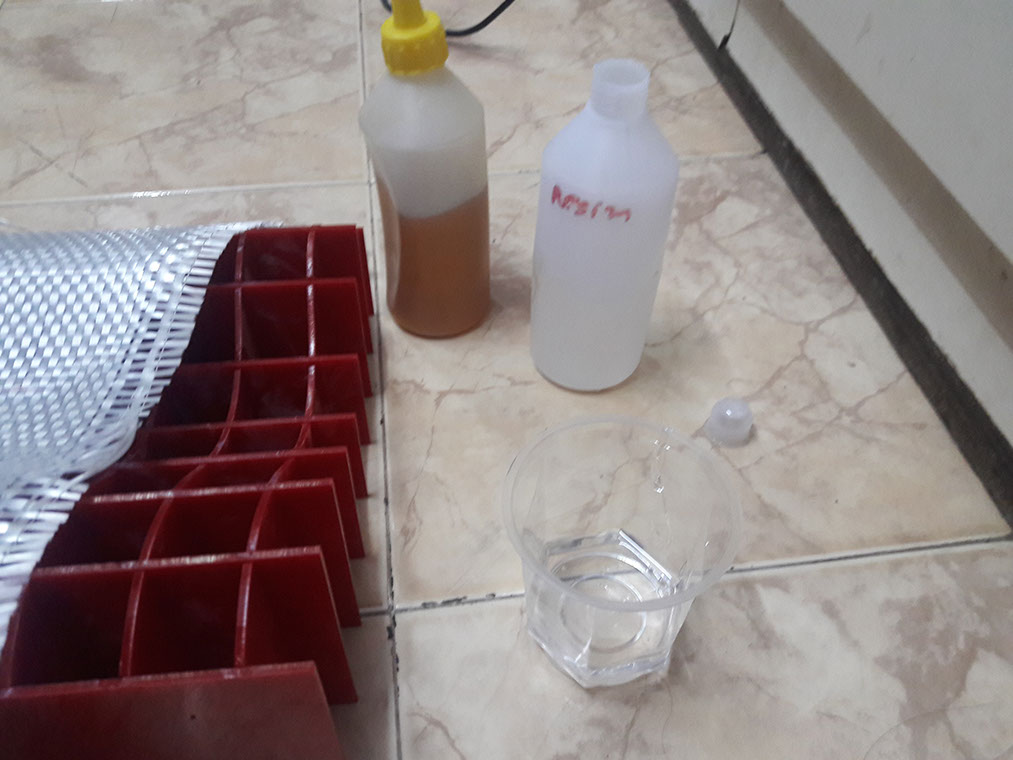
The epoxy I've used is I got from a contact from an industrial area. He's manufacturer of composite doors and roofs. I got the following resin and hardener in hand.
Resin: A
Hardener: B
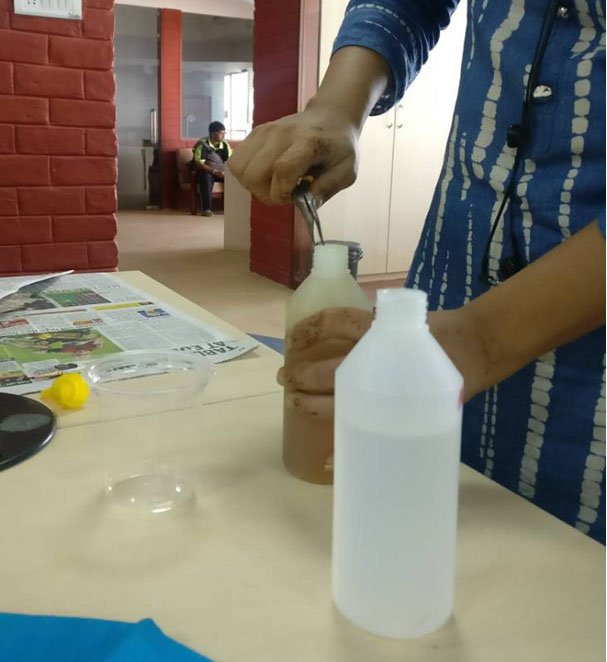
The resin is clear in visual appearance where as the hardener is dark brown in color almost black and opaque. To avoid the confusion of the mixing ratio what I did it you can see in the picture attached.
Reaction between resin and hardener is EXOTHERMIC
I've used the epoxy resin which is available in lab. I mixed them in a cup using stirrer. Well mix it using the mixing stick, as the replacement of professional mixing stick I've used a piece of wood to mix it. Mixing the parts for about 1 minutes ensures the proper homogeneous mixture which is what is required. Look out for the color of the mixture, there should not be any element remained mixed. Color of the mixture which I made was like the tile attached. And it was not transparent and thick in consistency.
Mixing Ratio:
By Weight : 100R/80H
By volume : 100R/100H
Now the resin mixture is ready it's time to apply them on the burlap. I started cutting the pieces of burlap as desired. Then I took the pieces of wood to apply the resin on burlap. The reaction of hardener and the resin is exothermic, it generates large amount of heat when mixed. And the curing process is exponential in nature.
The very first layer of burlap I got it saturated with plenty of epoxy on top, Then on later pieces it was needed to make it saturate as we did the first layer. I applied the epoxy on top surface of the burlap in second pieces, and made sure that epoxy has covered 100% area present on burlap, if not then bond becomes weak.
Removing the mold
After vacuum bagging I applied pressure as mentioned above, and waited almost for 20 hours to cure the resin, as I was the rainy and humid day I've to wait that long. Then I ripped apart the vacuum bag to access the mold and layer, after that huge gap the resin was totally cured and the dried completely. Then with spatula I took the layer apart from the mold and then I stripped off the excess amount of composite using the scissors.
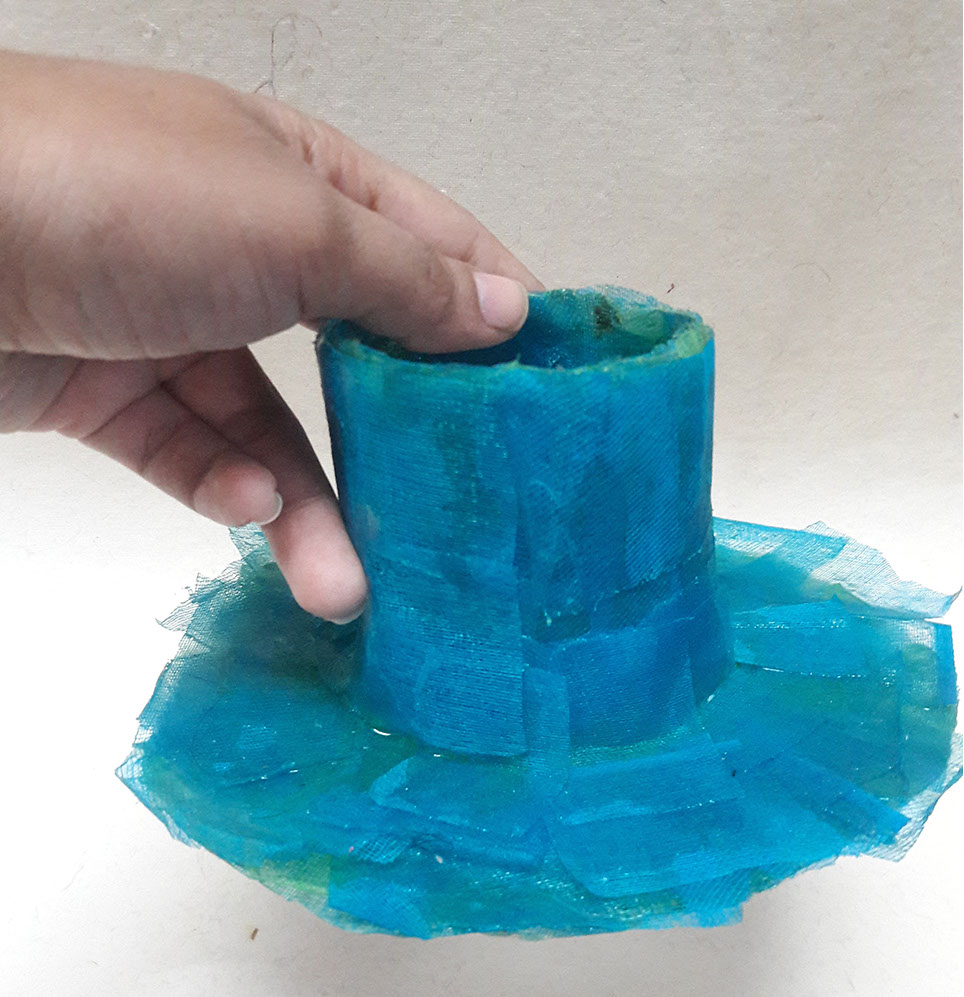
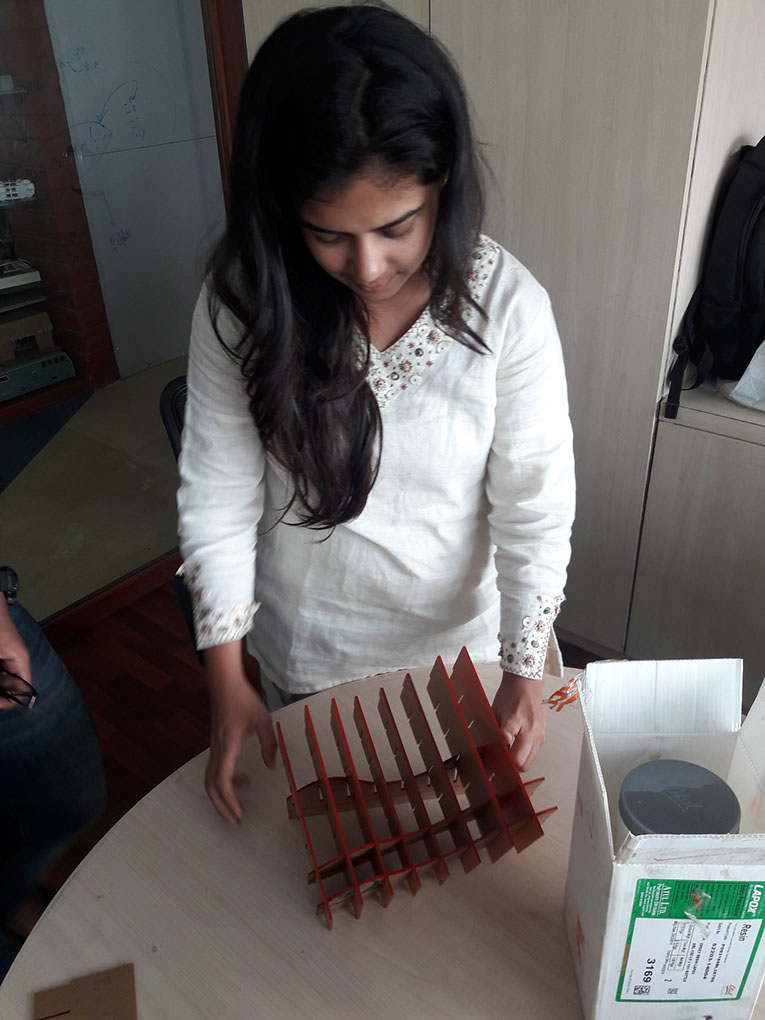
Using the spool of the 3d printer filament, waste generated by every lab, this was created to make pen holder for table

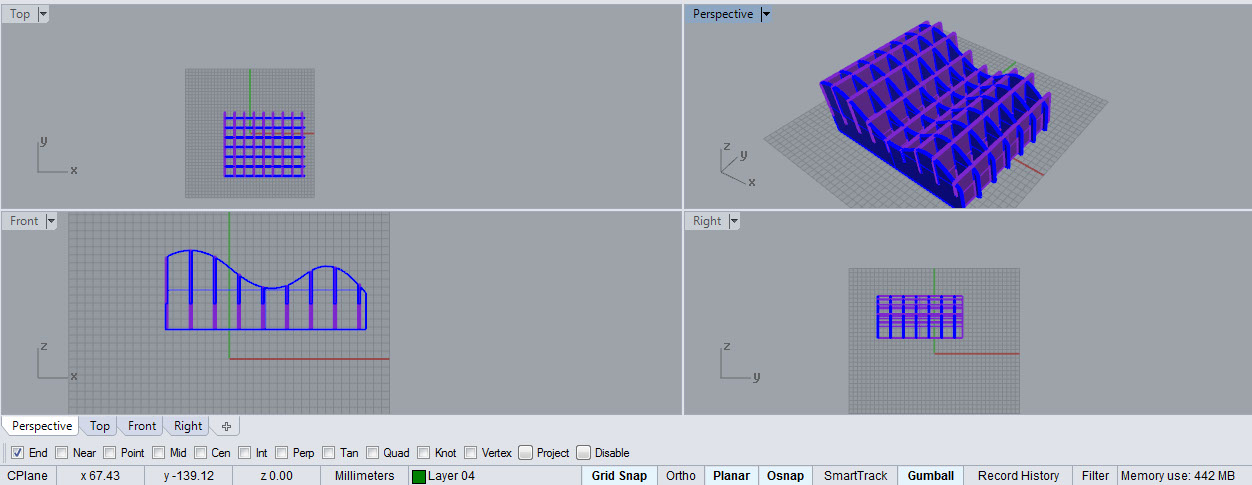
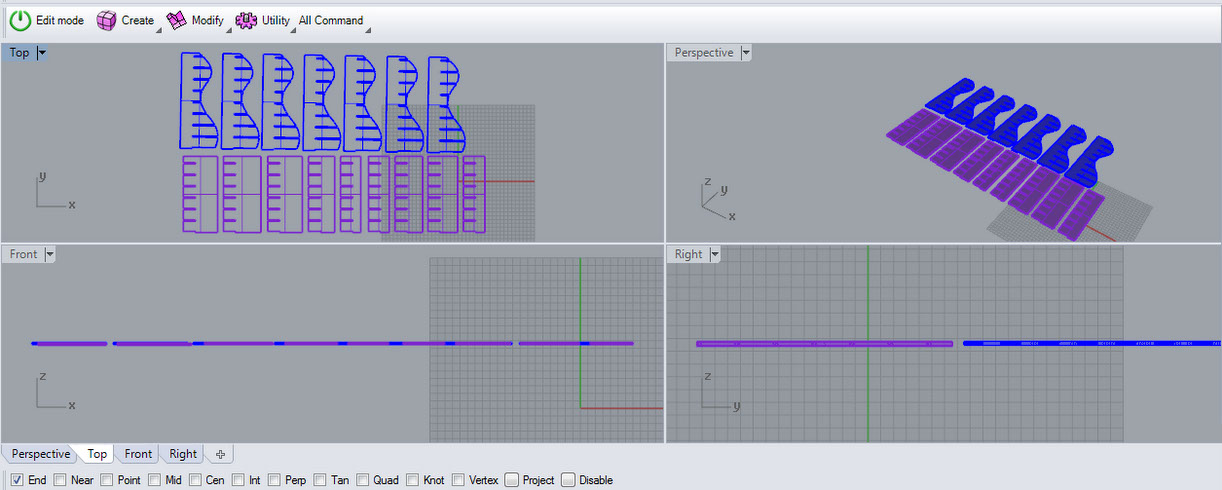
I designed the file using RHINO and generated 2d pattern
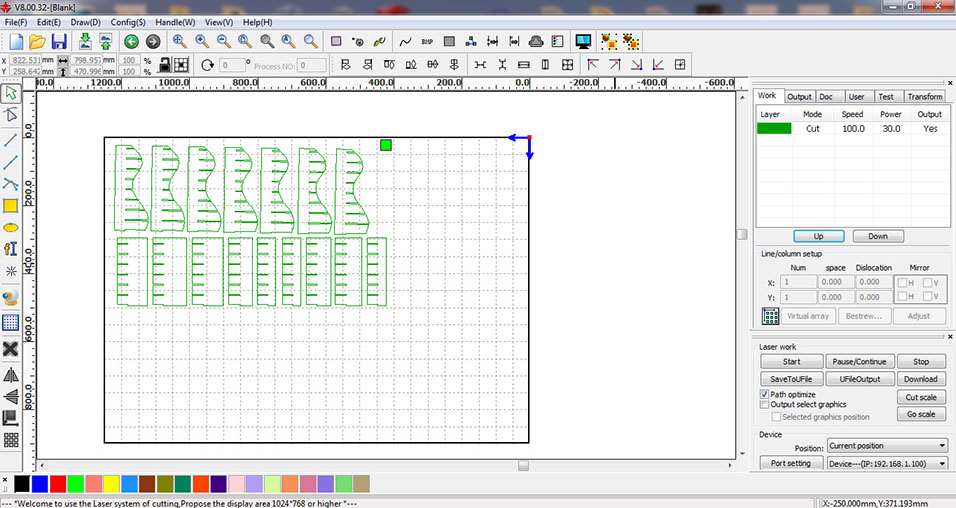
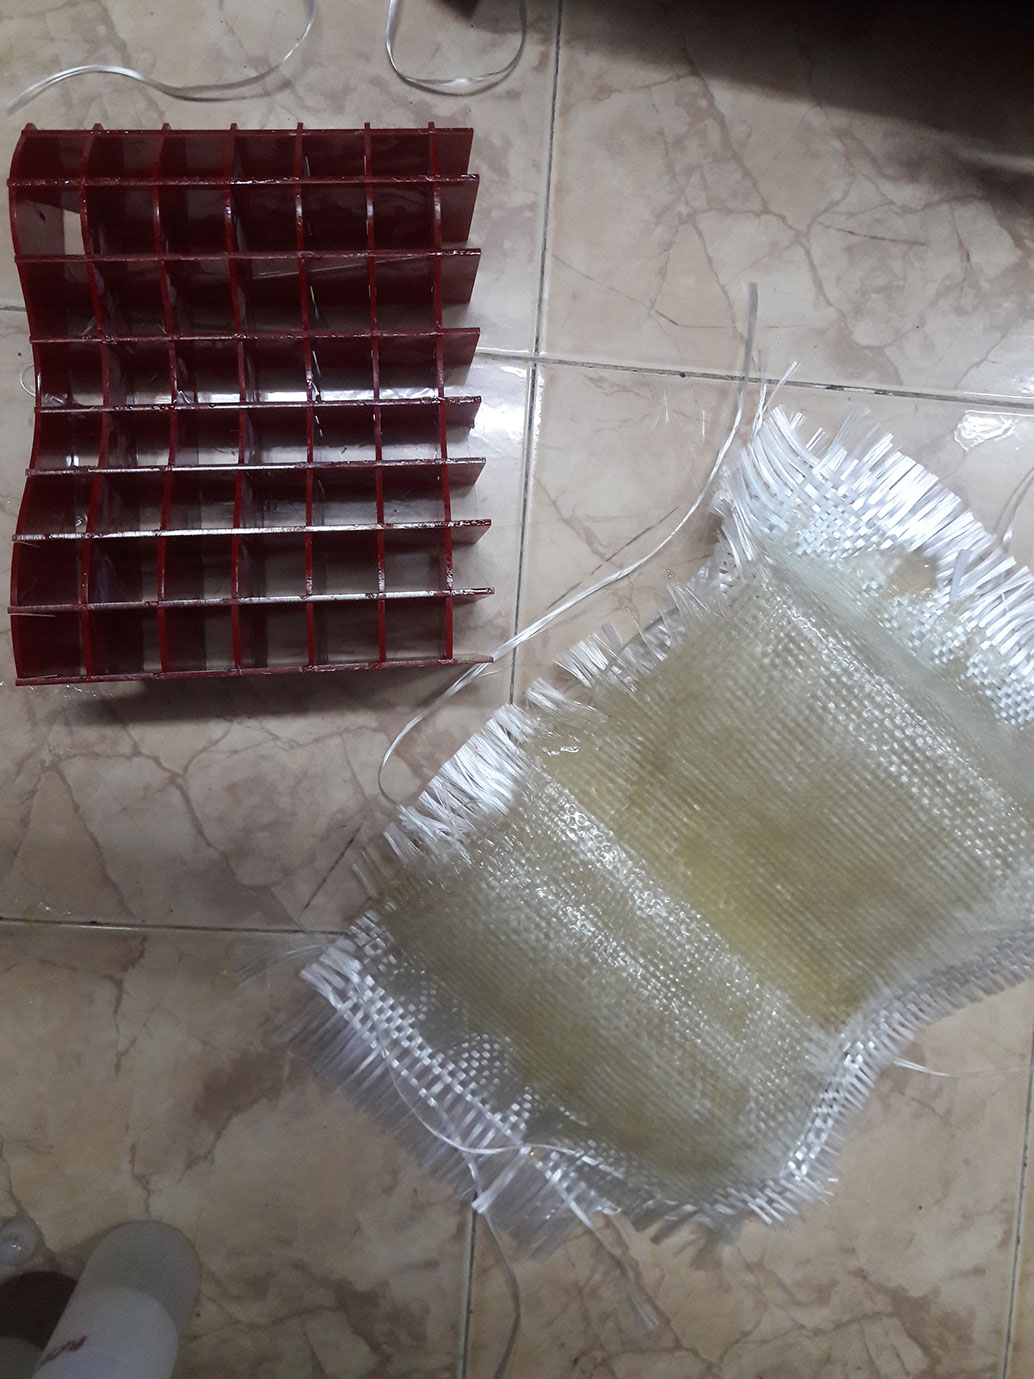
Fabacademy needs documentation... Laser the mold on a 3mm acrylic sheet.. the mold is simple design consisting of a curved pattern

Assembling the laser cut layout as per design to create the mold

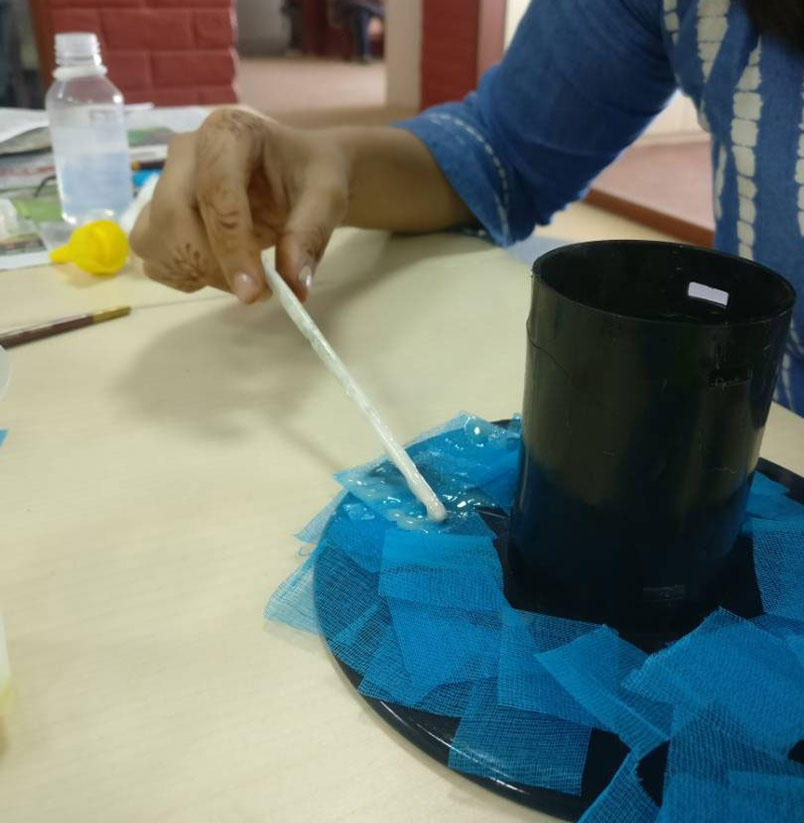
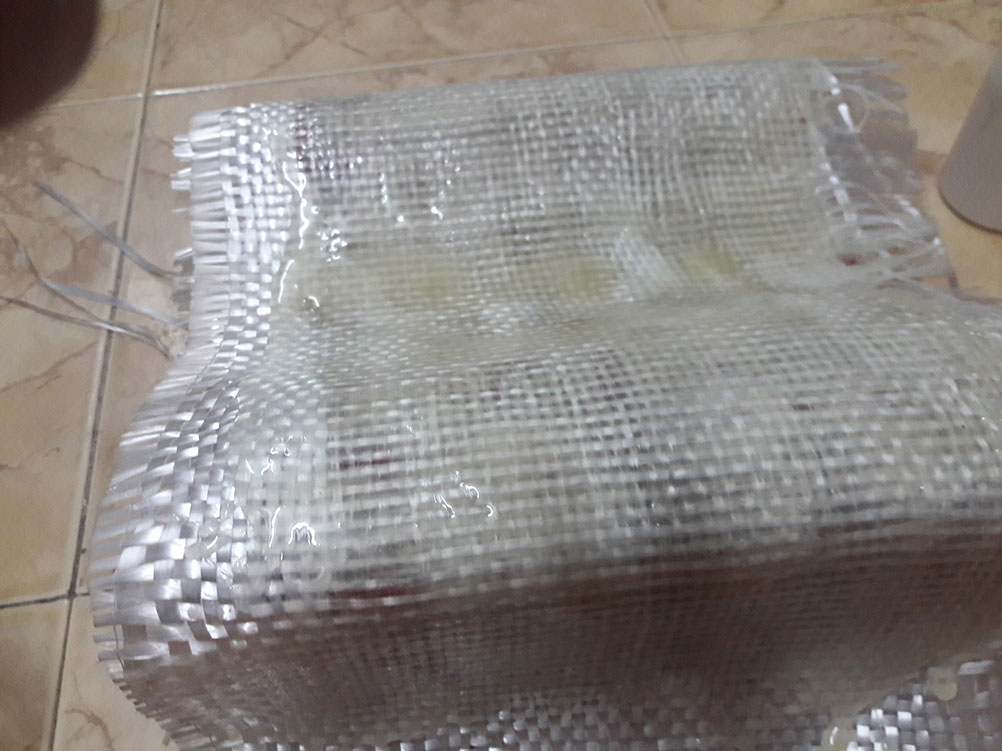
like the earlier case, the epoxy resin was mixed in the same proportion and applied on the glass fibre sheet
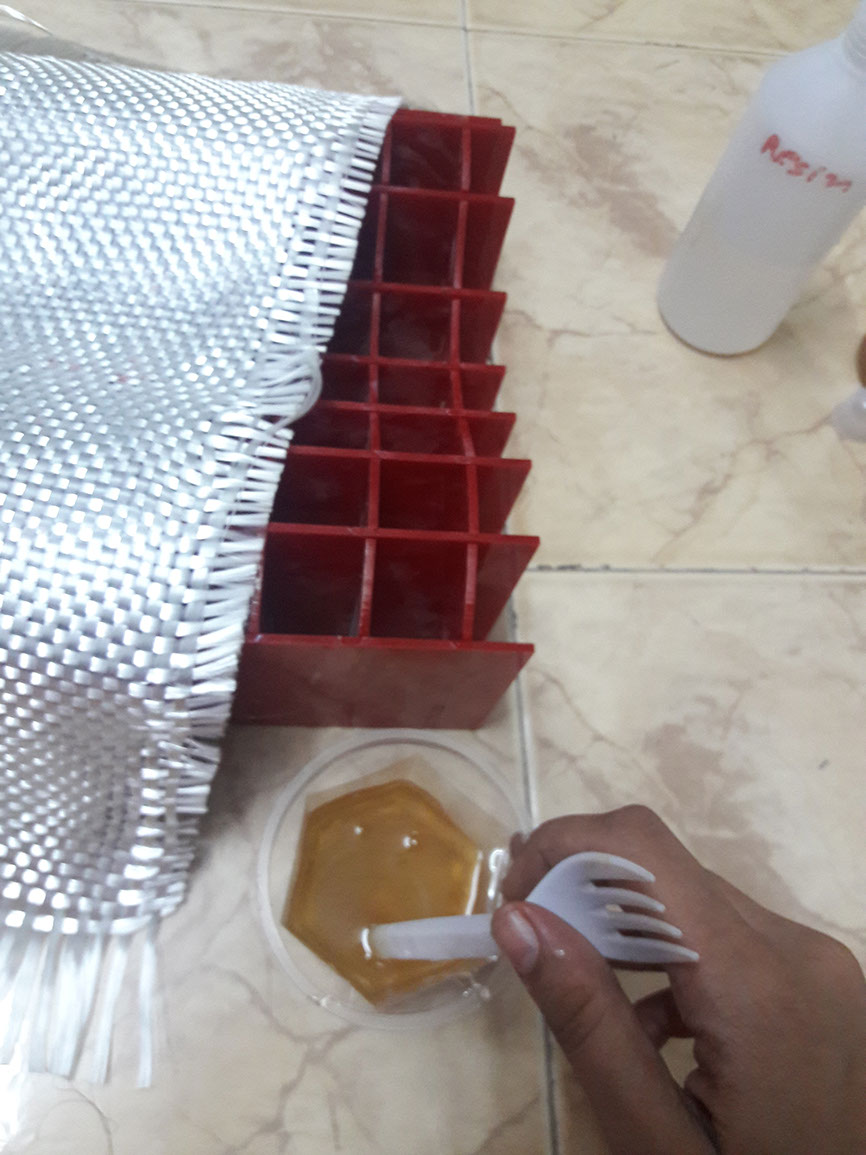
Evenly Applying the epoxy resin mixture on the curve surface
Applying the resin mixture on the glass fibre sheet and then layering two sheets to create a rigid structure which is designed to be the roof top of a garden
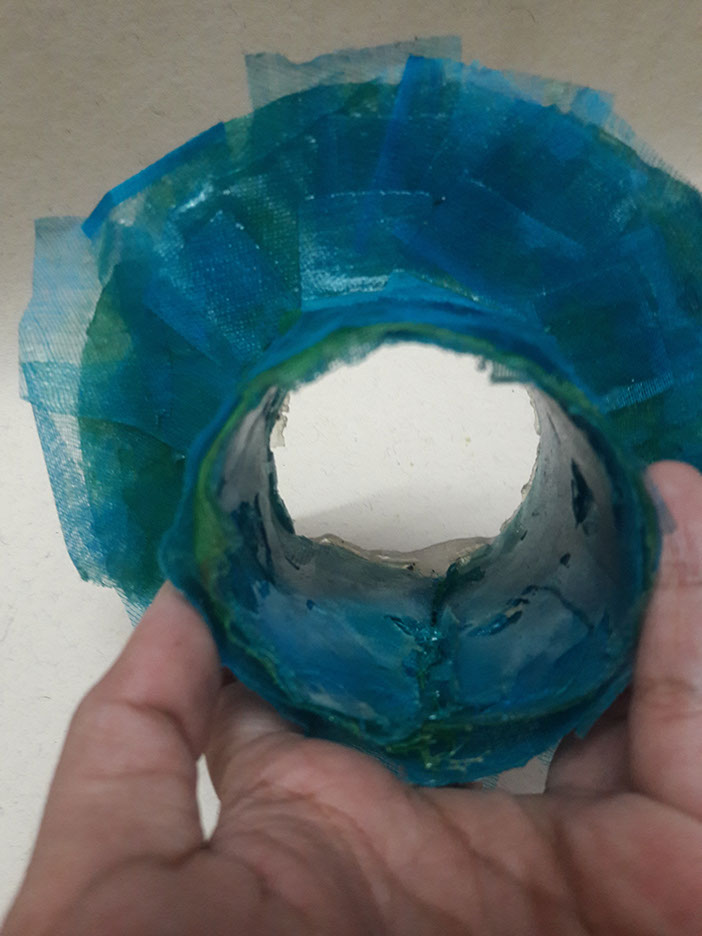
Like the earlier case the mold was lined with soap and oil mixture so that the cast could be easily pulled out
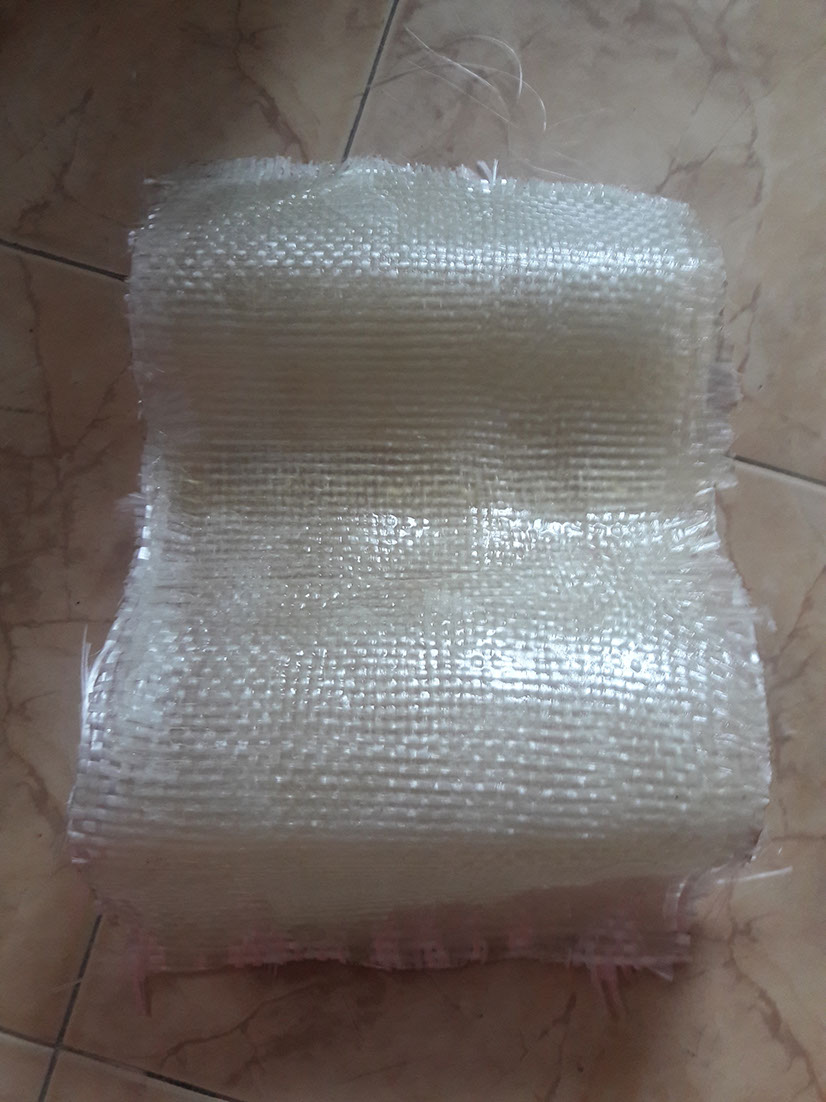
Removal of the cast from the mold was kept easy due to the contour and laser mold
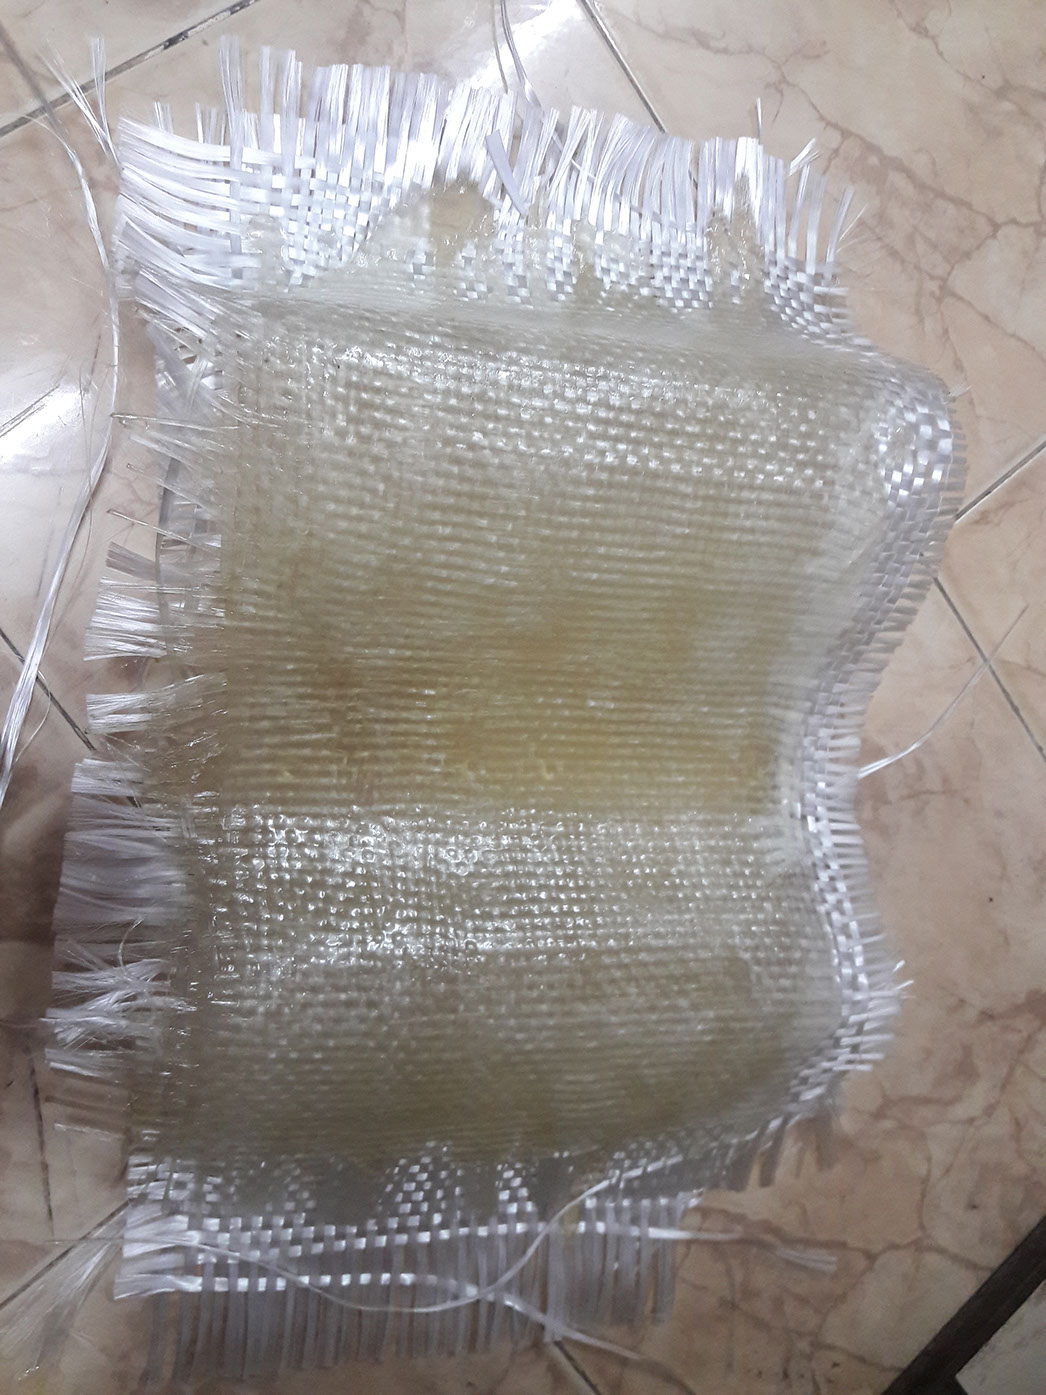
A curved surface something like rooftop was created and made out of the glass fibre sheet along with the resin
REFERENCES
https://www.youtube.com/watch?v=Ya7pl_cRu7Q
CONCLUSION
The composite assignment came with a redo ... alot of work accumulation despite of learning was one of the most taxing week. The concept of composites was understood well in the task lately. By now fabacademy has become a regular learning process and will like to learn new things every week even after the course
Site created by Lavina Utamani using Adobe Muse | fabacademy 2017