
ASSIGNMENT
1. Design a 3D mold, machine it, and cast parts from it.
BACK
This is my one of the favorite week. Molding and casting are the two process involved in many of the real world manufacturing process. Molding means the making the mold, which we can use to have the solid frame to make the cast the things. This week I made my wax mold and than casted using that mold. The design that I thought to use for molding was created using I decided to make a mold that can be used for making a pattern. It will have a parameter that it can be developed in either of the axis. I wanted to make something very fast. The casting should not take more time.
Molding and casting are the two process involved in many of the real world manufacturing process. Molding means the making the mold, which we can use to have the solid frame to make the cast the things.
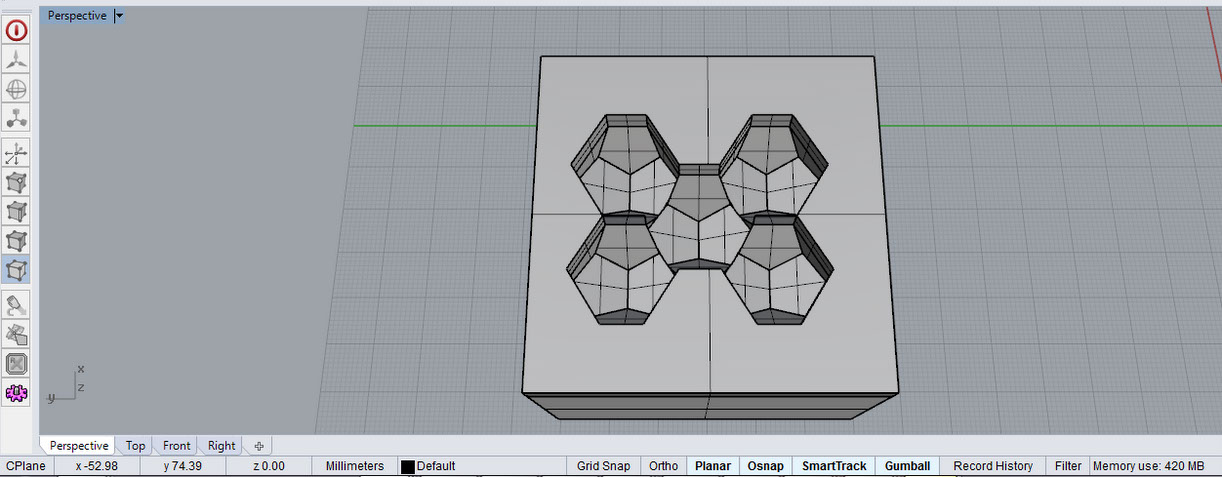
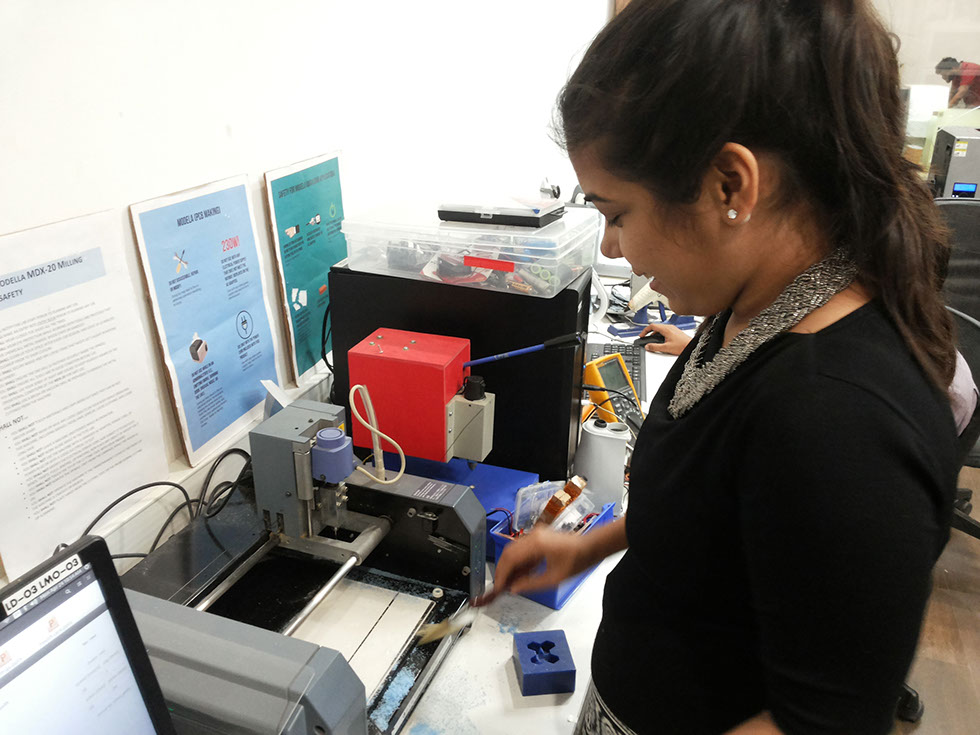
I developed the 3D model of my mold in Rhino. Converted the files to stl and then milled the wax using modela
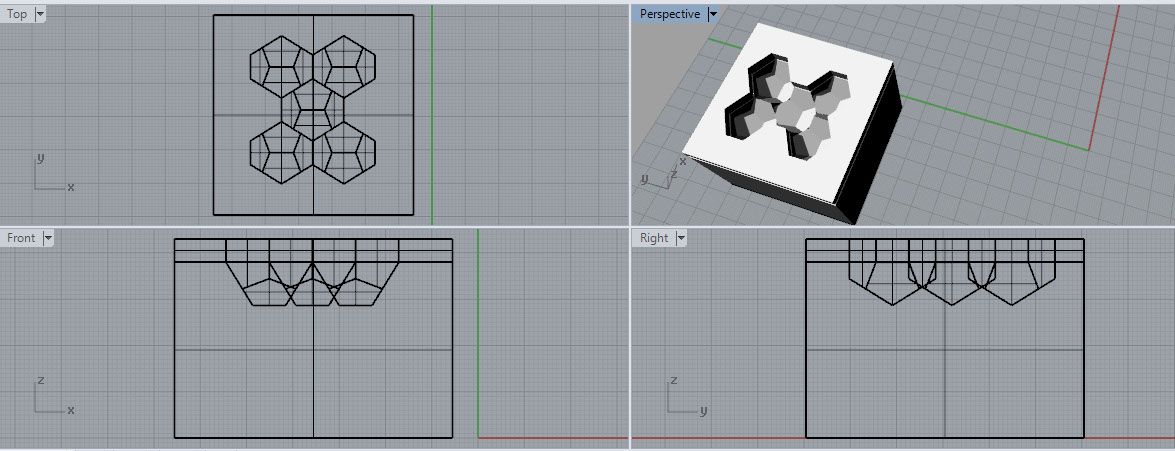
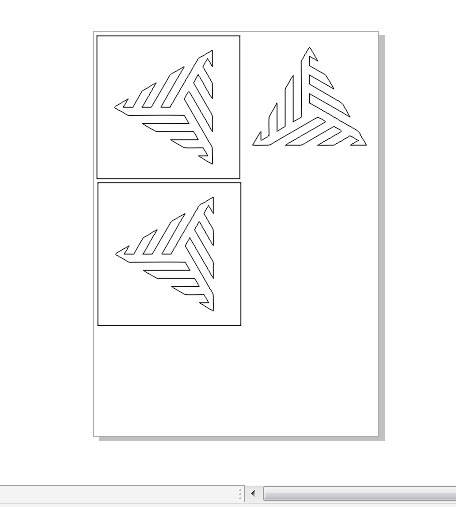
Icosahedron parrially was used to created this geometric pattern as it had various angles and surfaces involved
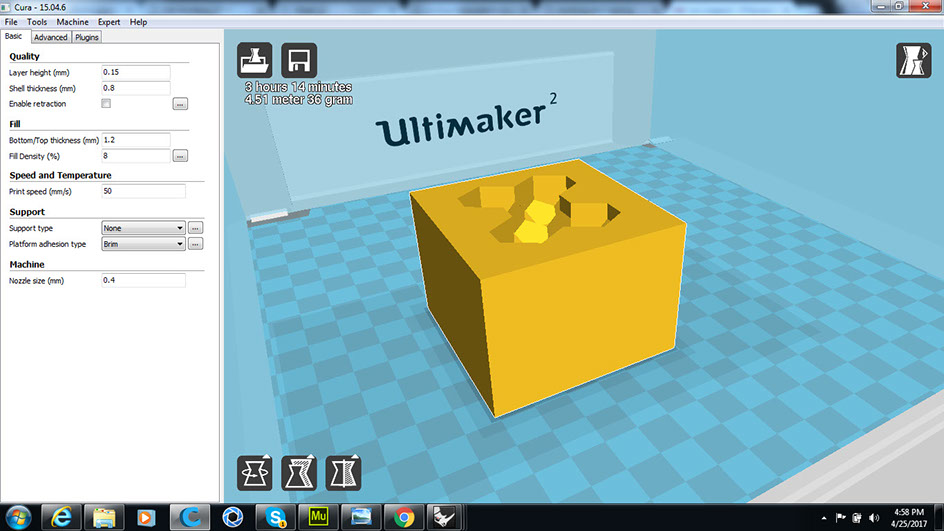
Exporting the file generated in rhino as a .stl file, the file is opened into Cura which is a software where you set machine parameters, get to know the approximate time for the print and grams. At a layer height of 0.15 the time required for the print to happen was about 3 hours so I decided to not consider this option as I had my final exams going
Machinable wax is an extremely hard wax that has been formulated to deliver exceptional machining properties including high resolution detail. Since it is harder and has a higher melting temperature than most other waxes, machinable wax can be machined, cut, or shaped using standard metalworking or woodworking equipment. High quality surface detail and dimensional accuracy are possible. Machinable wax is ideal for verifying CNC machining programs. Machinable wax is often used for precision lost wax casting. Machinable Wax is available in both blocks and cylinders. We stock the most commonly requested sizes and can usually provide alternate sizes on request.
Typical applications include:
Prototyping
Dental CAD/CAM
Jewelry Manufacturing
Precision Lost Wax Casting
Used as a bolus/compensator for electron or proton therapy
Mold making
Manufacture of turbines and pump impellers
Machinable wax can be recycled
Machinable wax can be used as a mold
BLUE Machinable Wax:
Extremely hard, hybrid plasticized wax blend. Recommended for high resolution CNC milling and turning. This wax is somewhat more flexible than our green or purple blend. Available in small, medium and large pieces. Excellent choice for parts with high but delicate components such as turbine blades. This wax is too tough to be considered carveable. Usually the first choice for lathe or turning applications. The Safety Data Sheet is available here.
Hardness: 53 (Shore "D" Scale)
Penetration @77 deg. F, 150g (dmm) = 13.0
Specific Gravity: 0.92
Specific Density: 0.03472 pounds / cubic inch or, 0.9137 grams / cubic cm
Flash Point (COC): 575 degrees F
Melt Point (Ring & Ball Method): 240 degrees F (116C)
Viscosity 270 degrees F = 1790cP
Volumetric Shrinkage (for recycling, from melting point to room temp): 5% typical
Ash content for lost wax casting applications is low (.0066%)
Flexural Modulus 8.84 Average
Coefficient of Thermal Expansion (in./in. ºF): 9.5 x 10⁻⁵
Coloring: blue dye, permanent, oil base
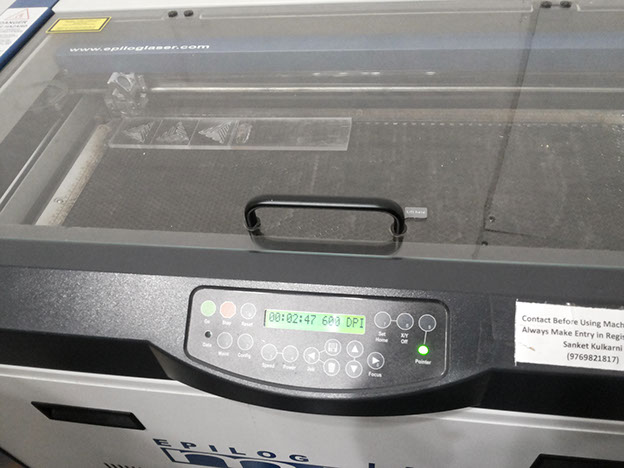
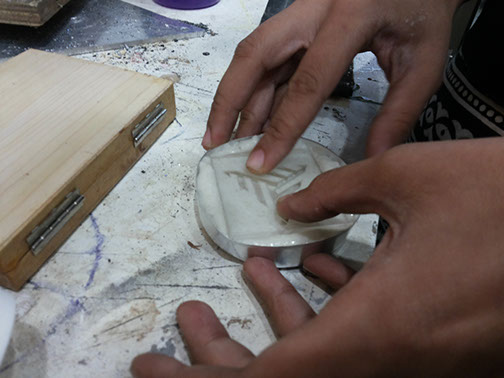
Milling with Modela MDX-20
So I decided to use the milling option
We can directly import the .stl file in the fab modules and can be directly milled with 1/8 inch modela bit.
When I open the FAB Modules I saw that there are two types of the processes which are listed.
Rough Cut => Using flat nose bit.
Finish Cut => Using ball nose bit.
First we have to do the rough cut and then we should go for the Finish cut, The ball nose bit is made to provide finishing to the part and making the surfaces smoother.
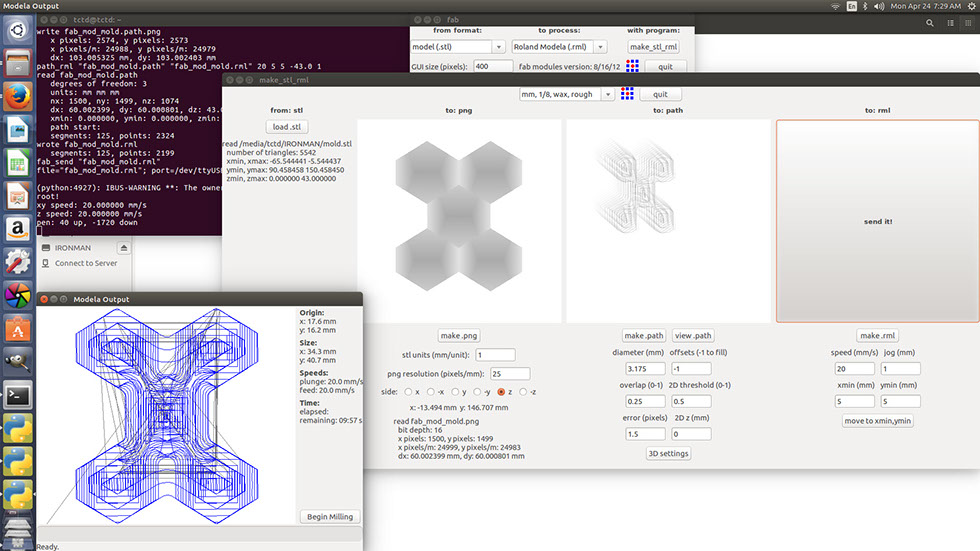
I set up my wax bar on the modela keeping it firmly in place using a double-sided tape. I then mounted a 1/8" milling bit to the machine I uploaded the png to fab module and set a milling depth of -20mm
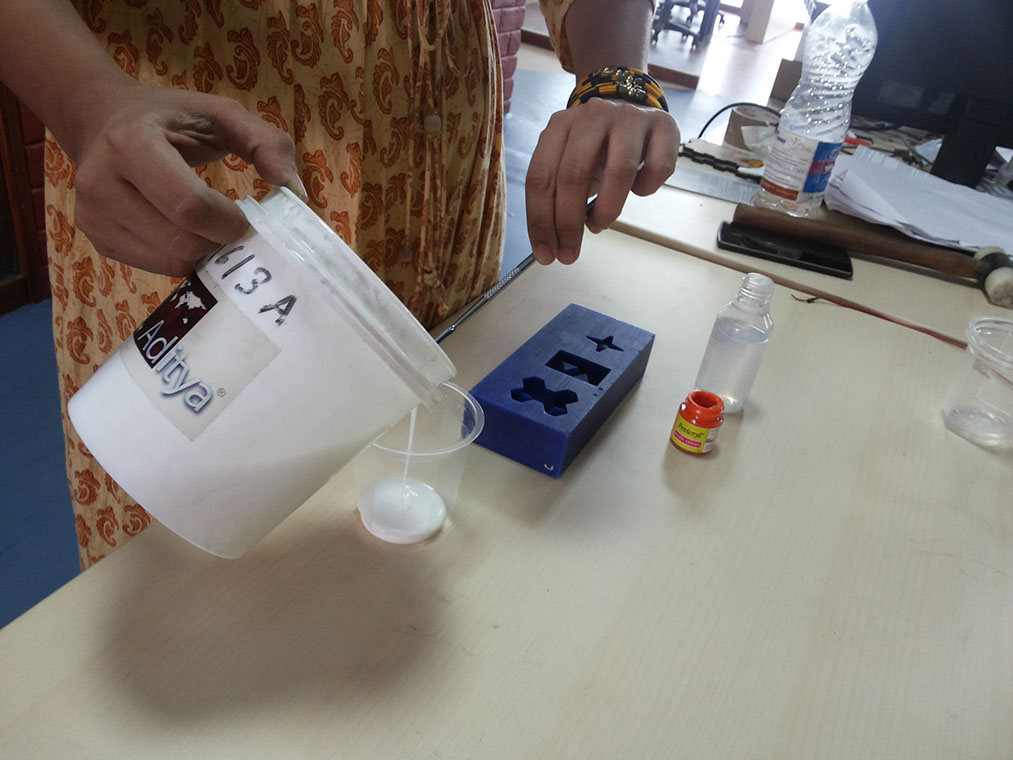
As discussed I took the mixture of 2 parts but in this case it is Silicon Rubber. Here in India obtaining Smooth-On silicon rubber is quite expensive, I made use of Aditya silicon rubber which is easy to get from Amazon. At Amazon website it is listed as MurtiSil 1613- Silicone Rubber food grade RTV the link from which you can order is mentioned in the references section.
Mixing Procedure:
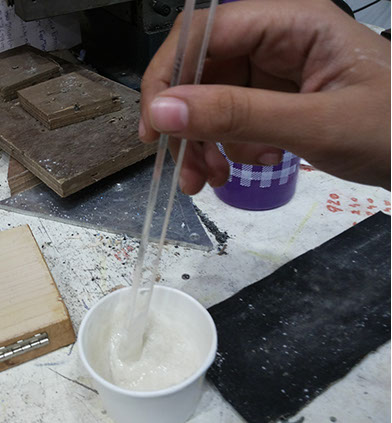
Take the required volume of the Rubber in the container
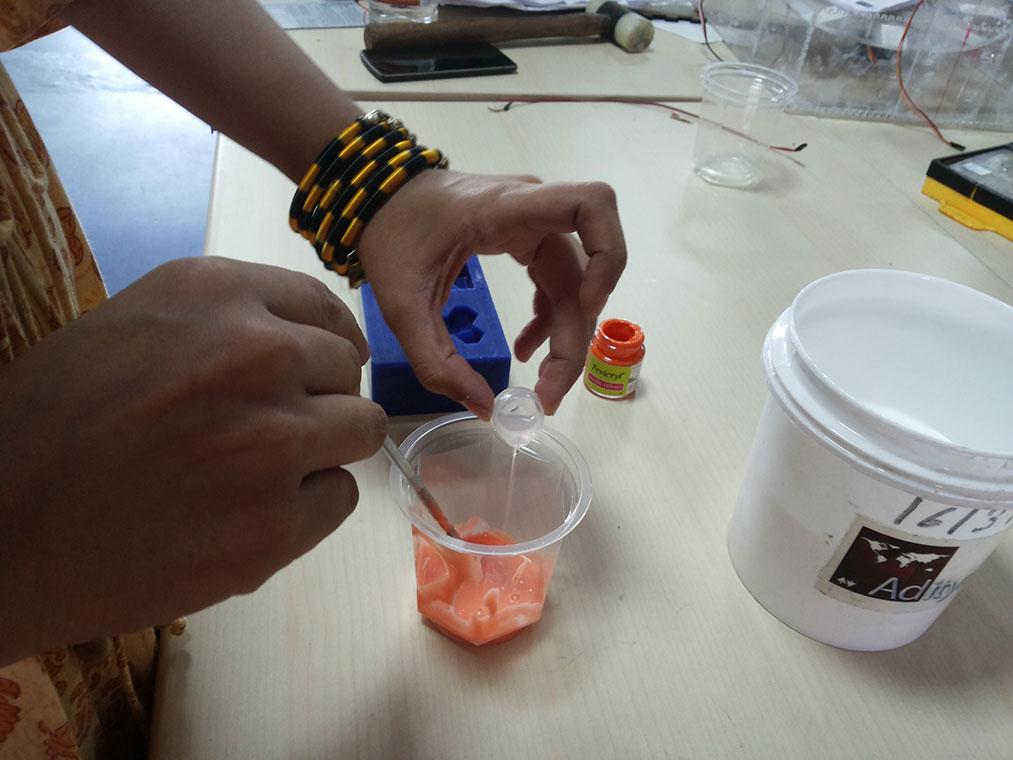
Get the hardener in a syringe
Pour the hardener from the syringe drop by drop and keep stirring
Mixing ration if 100:3, i.e. 100 parts of rubber and 3 parts of hardener
Cure time is 3 hours
Once you mix this it is very easy to pour into mold while taking care of the bubbles.

Pouring the Silicone Rubber in the glass as per requirement. Silicone rubber could be coloured easily by using any
acrylic colour. So before adding the hardener one could colour the rubber like me and add 10% of the hardener. The
pot life of this compound from Murtisil is around 10 mins. So take care that you don't take long time in mixing and pouring the rubber liquid into the mold
Since I found it difficult to measurement the hardener using the syringe I decided to use it by measuring it by weighing and pouring it to the rubber compound
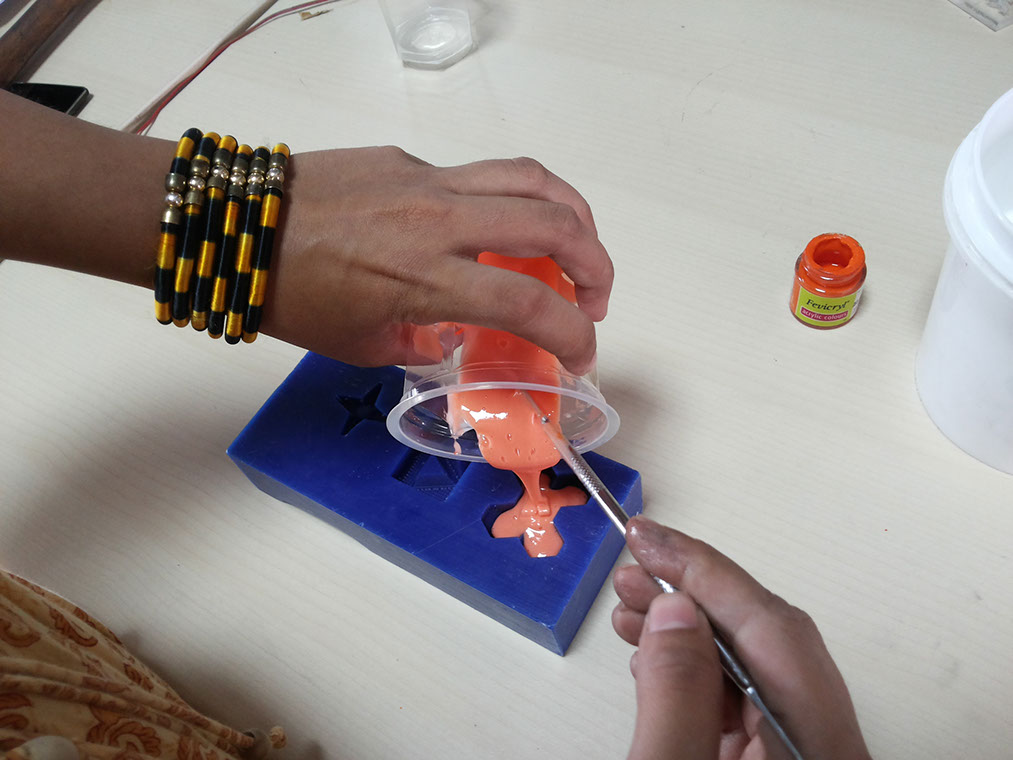
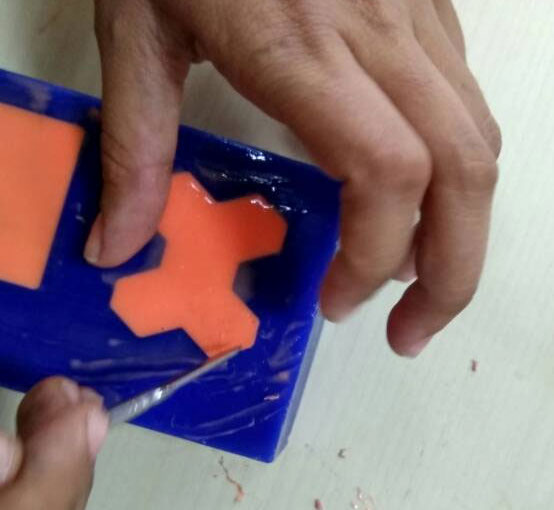
Pouring Carefully into the wax mold. The bubbles seen in the image could be removed by stirring the mixture if you have forgotten then one can use a pin/toothpick and rattle into the mold after pouring to avoid all the bubbles trapped
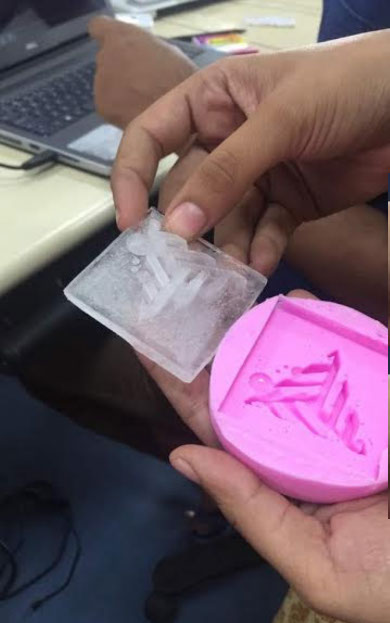
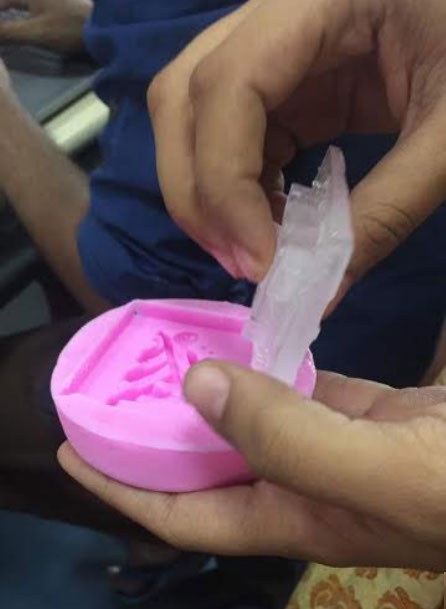
After 3 hours I got the silicon mold ready to cast the part. I have positive mold ready to create negative cast
out of it
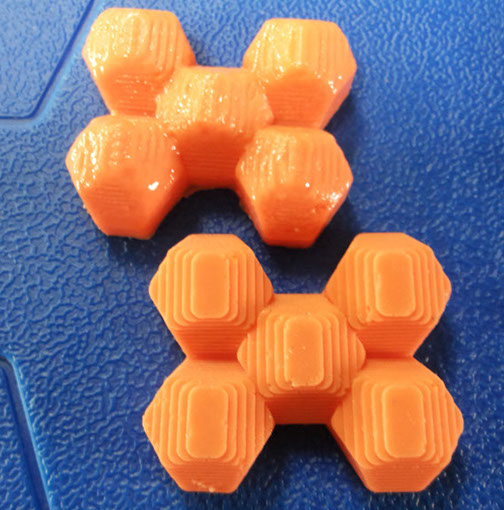
Ball Mill was used to create smoother
finish in this case
Ball Mill was not used hence one can see the steps in the mold
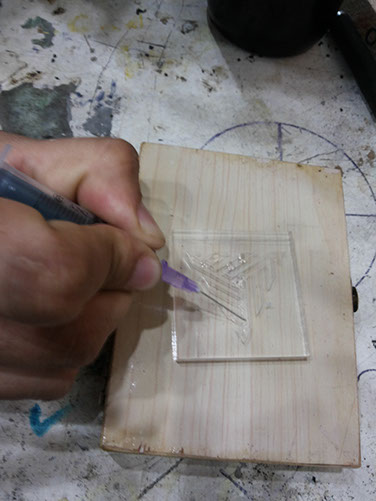
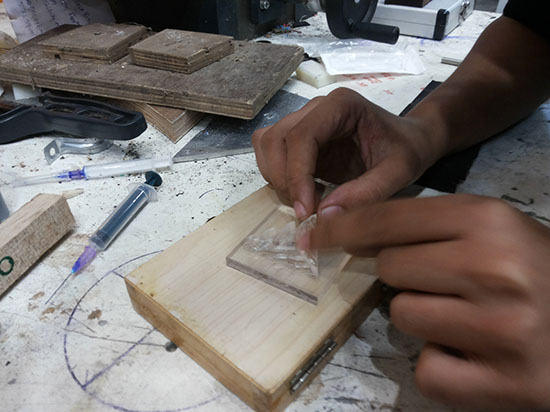
Another file was created and lasered to make a simple mold to create logo type design
6 mm arcylic sheet was used to laser the files and then assembled as a mold
Sticking the acrylic parts by using chloroform
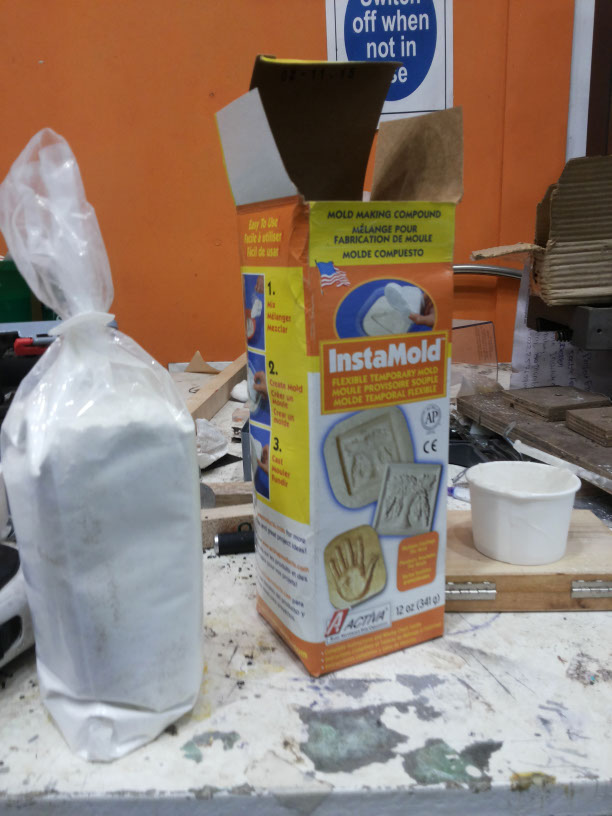
Mixed InstaMold in 1:1 proportion with water and used a crucible to create a mold into. By pouring the instamold
mixture into the crucible I adjusted the laser cur acrylic mold on top of it and let it dry to harden for 3 hours. The Mold was not made properly as it an old pack of instamold is what I estimated
So I decided to make a silicone mold for this too. Since I was using the food grade silicone rubber by Murtisil I decided to cast Ice cube in the mold for fun
REFERENCES
http://www.afsinc.org/files/methods.pdf
CONCLUSIONS
Don't forget to use the Ball mill for finishing the mold while milling. Molding postive and negative Is dependent of the application
Be careful about the pot life of Silicone
Site created by Lavina Utamani using Adobe Muse | fabacademy 2017