Task: Design a 3D mould, machine it, and cast parts from it.
Modling and casting are the two process involved in many of the real world manufacturing process. Molding means the making the mold, which we can use to have the solid frame to make the cast the things. We can make the multiple things at a faster rate if we use molding and casting process rather than the rapid fabrication techniques like 3D printing and laser cutting. Modling and casting is very essential step for brining down the cost and lead time of the products.
So now our task is to create 3 things!
1. Create the Mould (Either via 3D printing or via Laser/ CNC Machine).
2. Create the composite (By mixing two or more constituent materials).
3. Apply composite on to the Mould and create the object.
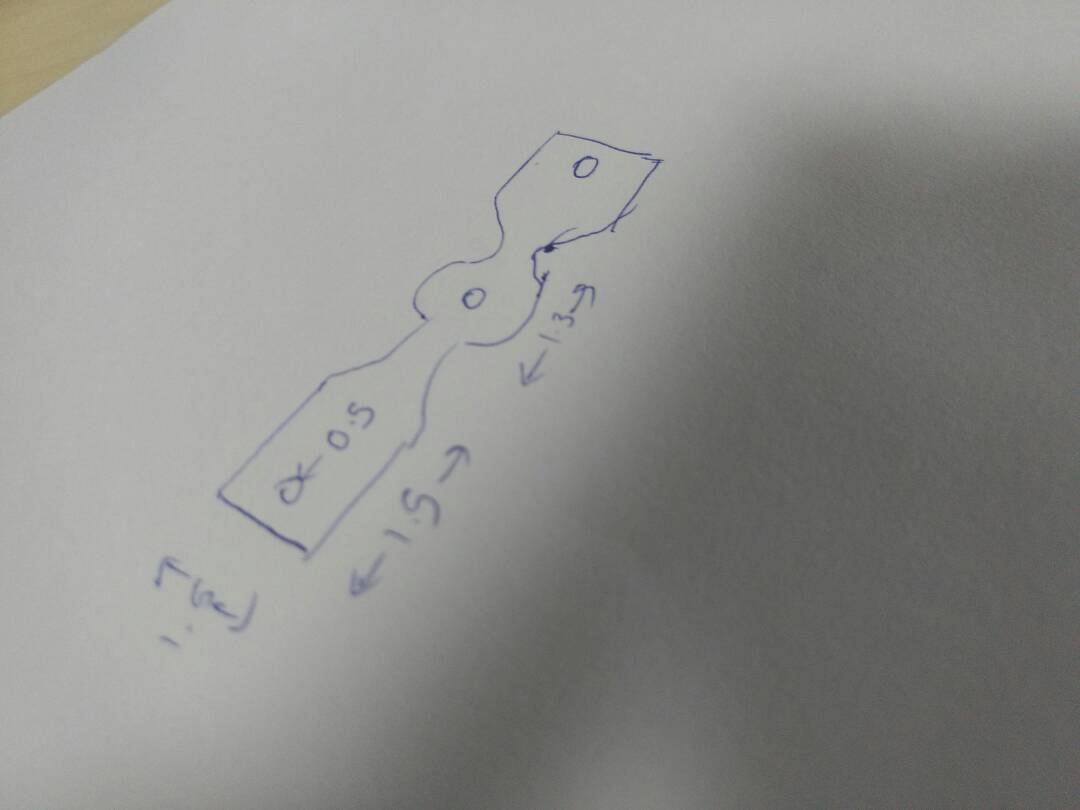
Step 1 : Create Sketch of the design. I wanted to create something small and useful. so I decided to create the pen/pencil holder for me. This is the sketch of it :
Step 2 : Created design in Tinkercad software.
Due to the easiness and simplicity as well as rapid design creation capability of Tinkercad.com it is becoming my favorite choice. Whenever I want to design less complicated structures. This includes creating 1 Rectangle, 2 Squares, 1 Ellipse, 2 Polygons, 3 circles to complete the design. I have decided to create a simple and effective design to test the assignment objective. After that I exported the design in .STL format.
Step Invloved in making the design as follows:
- First I created a rectangle block
- Then I created a square hole at both the ends with the help difference option.
- Then I created a triangle on the same fashion on the symmetry of the block.
- After then Ellipse is constructed in the centre of the block and merge all the three shapes and cut out of the block.
- Three cylinder is constructed one at the centre and other at equidistant from each other to form that particular shape.

Step 3 : The next step was to crate the mold. Machinable wax is an extremely hard wax that has been formulated to deliver exceptional machining properties including high resolution detail. Since it is harder and has a higher melting temperature than most other waxes, machinable wax can be machined, cut, or shaped using standard metalworking or woodworking equipment. High quality surface detail and dimensional accuracy are possible. Machinable wax is ideal for verifying CNC machining programs. Machinable wax is often used for precision lost wax casting. Machinable Wax is available in both blocks and cylinders. We stock the most commonly requested sizes and can usually provide alternate sizes on request.
Typical applications include:
Prototyping
Dental CAD/CAM
Jewelry Manufacturing
Precision Lost Wax Casting
Used as a bolus/compensator for electron or proton therapy
Mold making
Manufacture of turbines and pump impellers
Machinable wax can be recycled
Machinable wax can be used as a mold
BLUE Machinable Wax:
 Extremely hard, hybrid plasticized wax blend. Recommended for high resolution CNC milling and turning. This wax is somewhat more flexible than our green or purple blend. Available in small, medium and large pieces. Excellent choice for parts with high but delicate components such as turbine blades. This wax is too tough to be considered carveable. Usually the first choice for lathe or turning applications. The Safety Data Sheet is available here.
Hardness: 53 (Shore "D" Scale)
Penetration @77 deg. F, 150g (dmm) = 13.0
Specific Gravity: 0.92
Specific Density: 0.03472 pounds / cubic inch or, 0.9137 grams / cubic cm
Flash Point (COC): 575 degrees F
Melt Point (Ring & Ball Method): 240 degrees F (116C)
Viscosity 270 degrees F = 1790cP
Volumetric Shrinkage (for recycling, from melting point to room temp): 5% typical
Ash content for lost wax casting applications is low (.0066%)
Flexural Modulus 8.84 Average
Coefficient of Thermal Expansion (in./in. ºF): 9.5 x 10⁻⁵
Coloring: blue dye, permanent, oil base
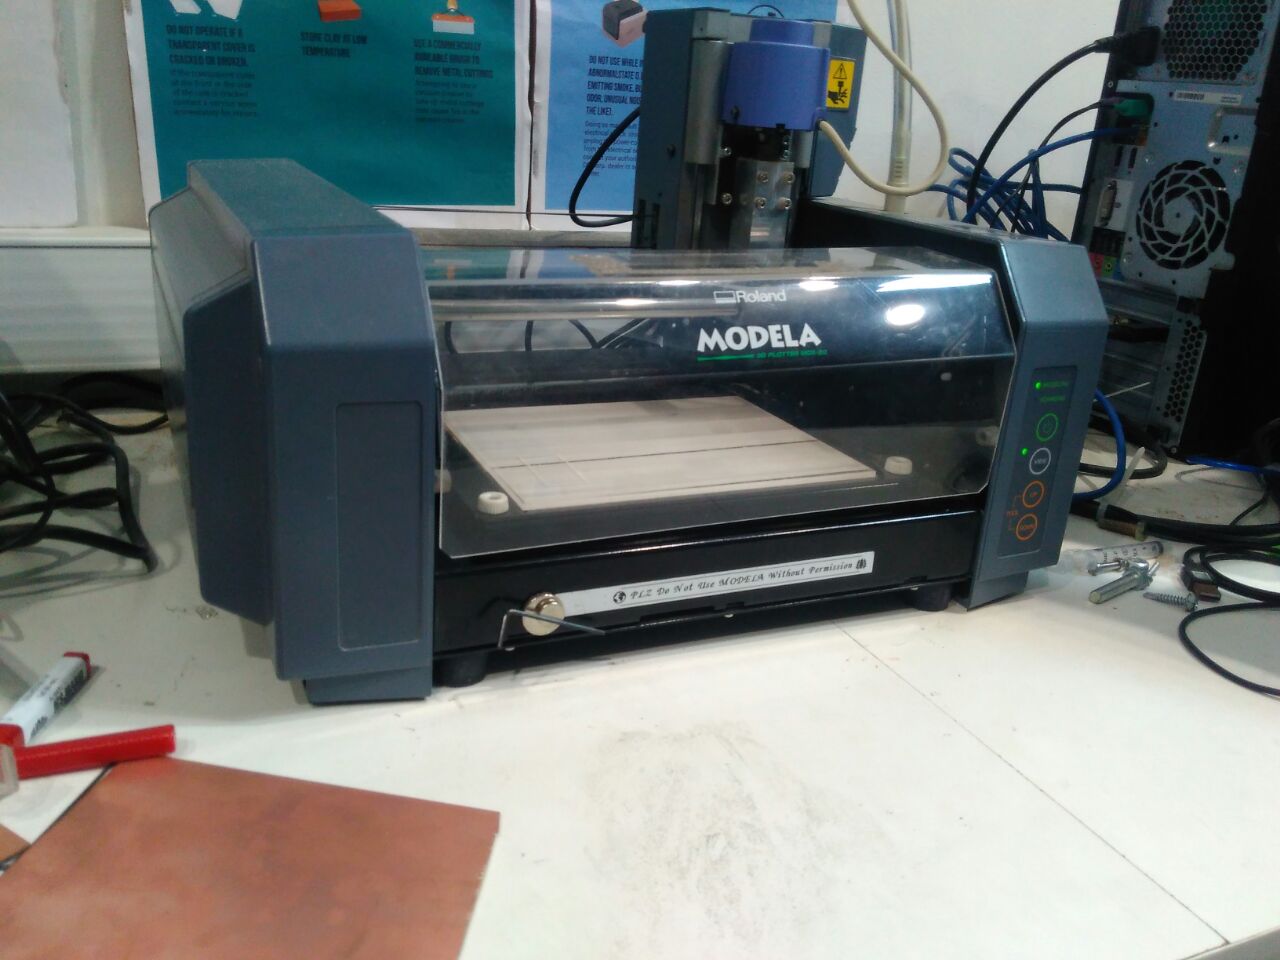
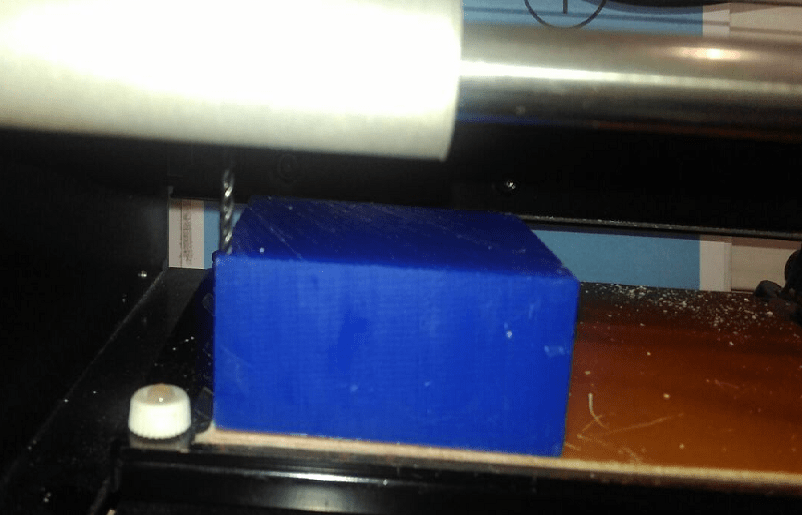
Milling with Modela MDX-20
So I decided to use the milling option
We can directly import the .stl file in the fab modules and can be directly milled with 1/8 inch modela bit.
When I open the FAB Modules I saw that there are two types of the processes which are listed.
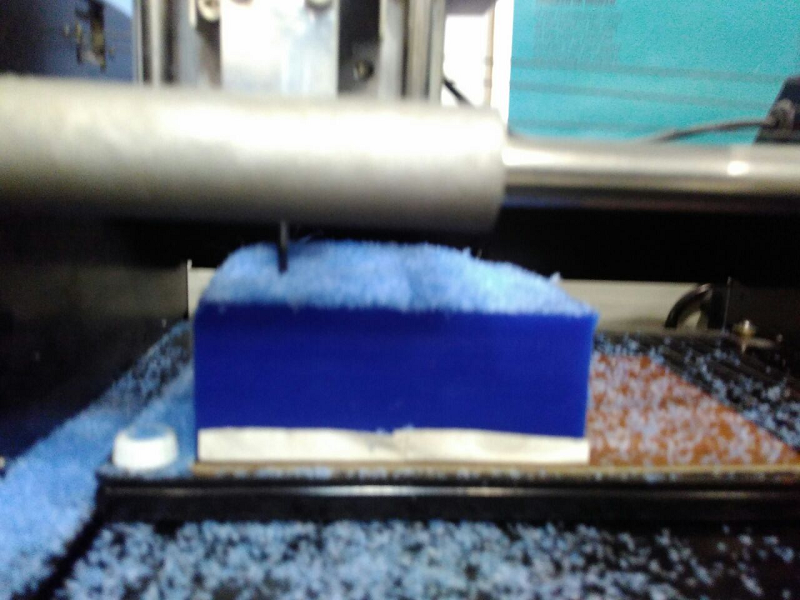
Rough Cut => Using flat nose bit.
Finish Cut => Using ball nose bit.
First we have to do the rough cut and then we should go for the Finish cut, The ball nose bit is made to provide finishing to the part and making the surfaces smoother.
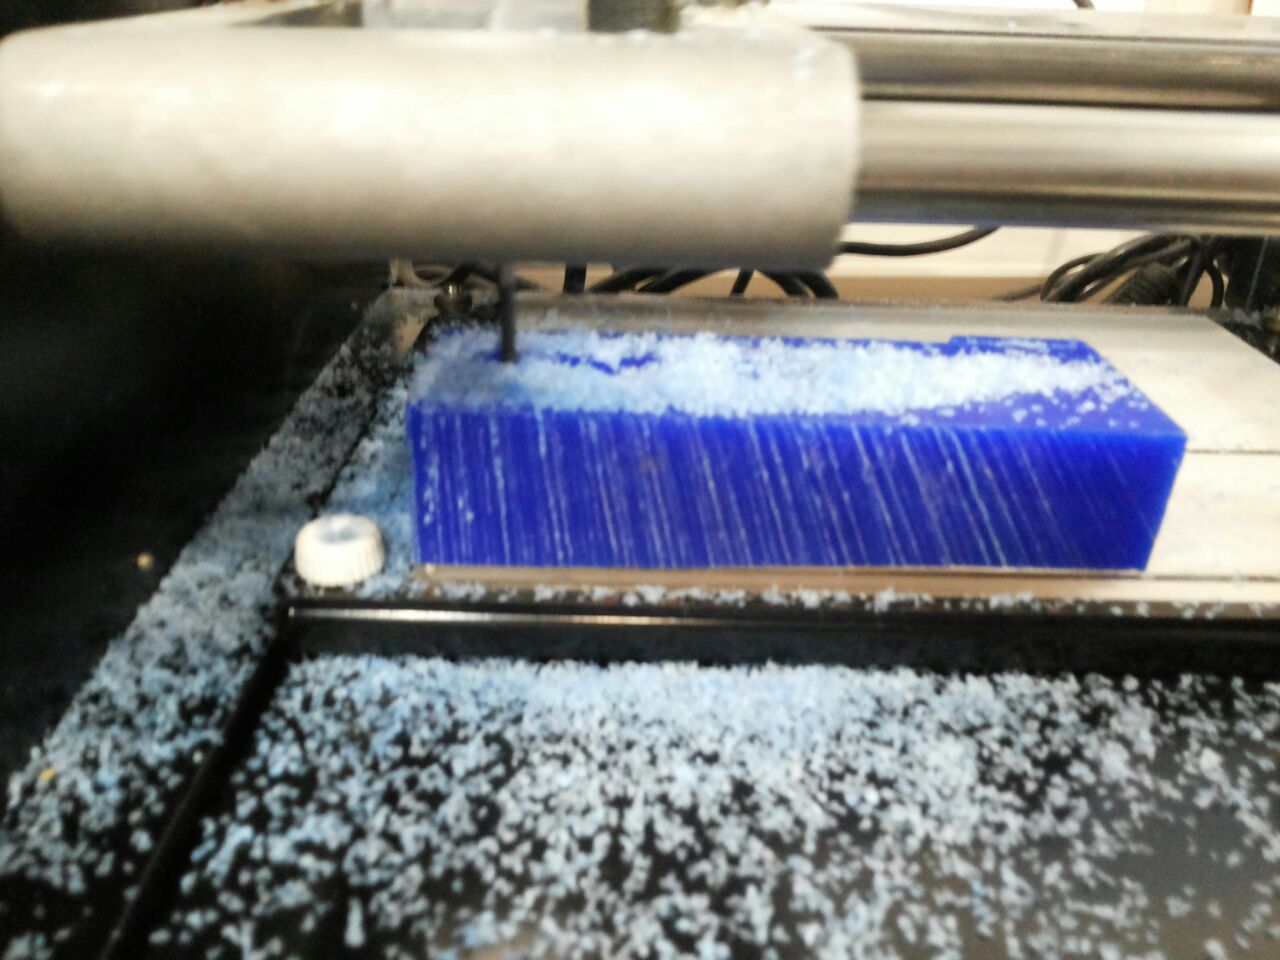
I used the wax material for it. Now I have got one wax slab with the dimension of 115mm X 35mm X 25mm. This can accommodate my design. Now next step was to convert the .stl file into .rml file.
For Milling the Wax Mold and create the mold according to the design. For that I have used Fabmodules.
Process of milling:

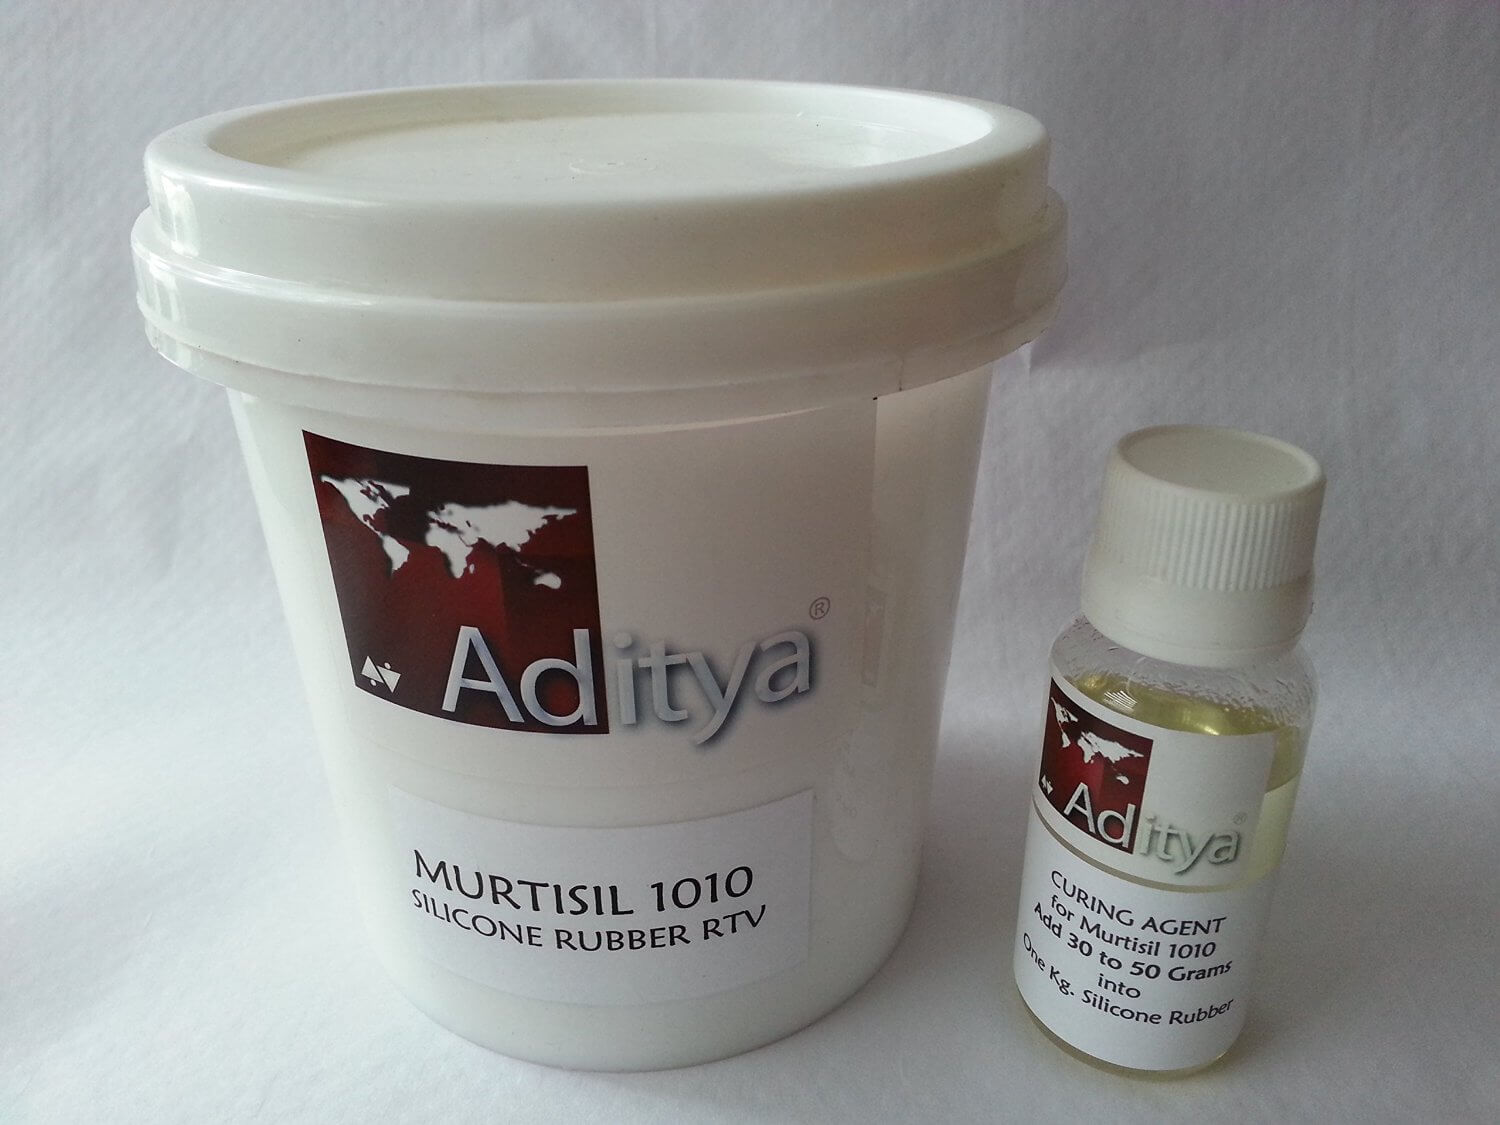
As discussed I took the mixture of 2 parts but in this case it is Silicon Rubber. Here in India obtaining Smooth-On silicon rubber is quite expensive, I made use of Aditya silicon rubber which is easy to get from Amazon. At Amazon website it is listed as MurtiSil 1613- Silicone Rubber food grade RTV the link from which you can order is mentioned in the references section.
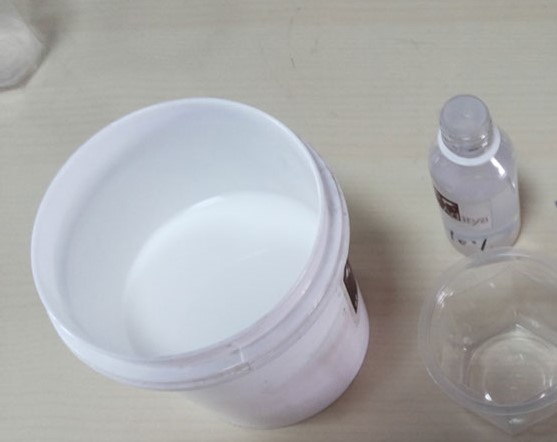
Mixing Procedure:
Take the required volume of the Rubber in the container
a
Get the hardener in a syringe
Pour the hardener from the syringe drop by drop and keep stirring
Mixing ration if 100:3, i.e. 100 parts of rubber and 3 parts of hardener
Cure time is 3 hours
Once you mix this it is very easy to pour into mold while taking care of the bubbles.
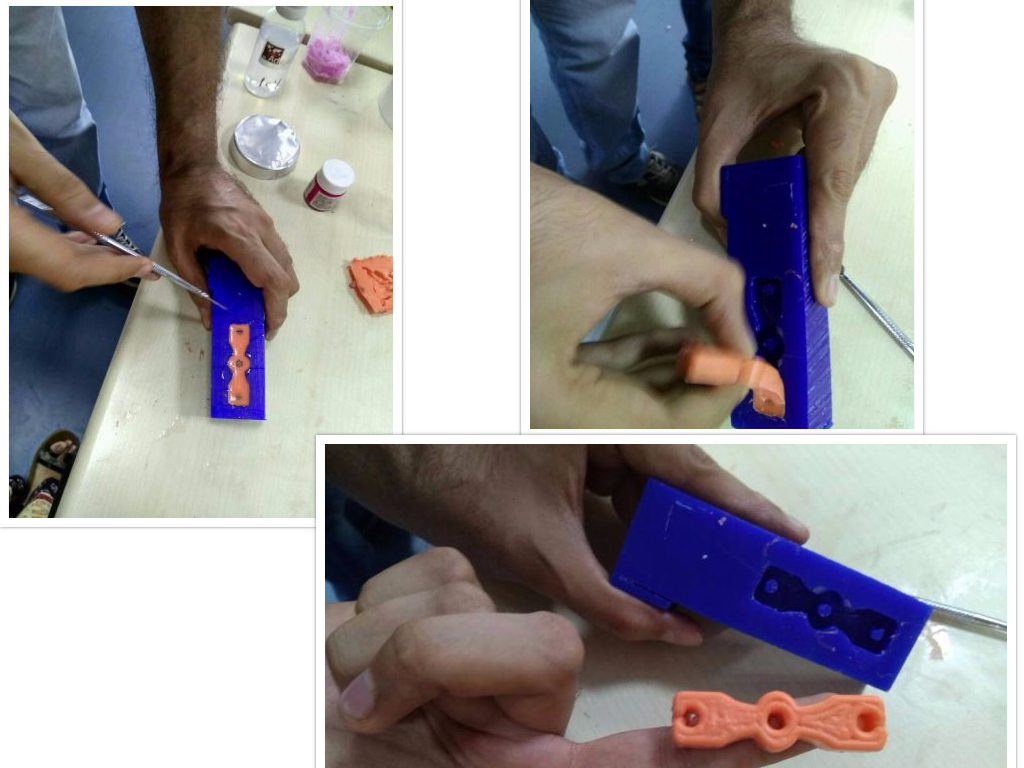
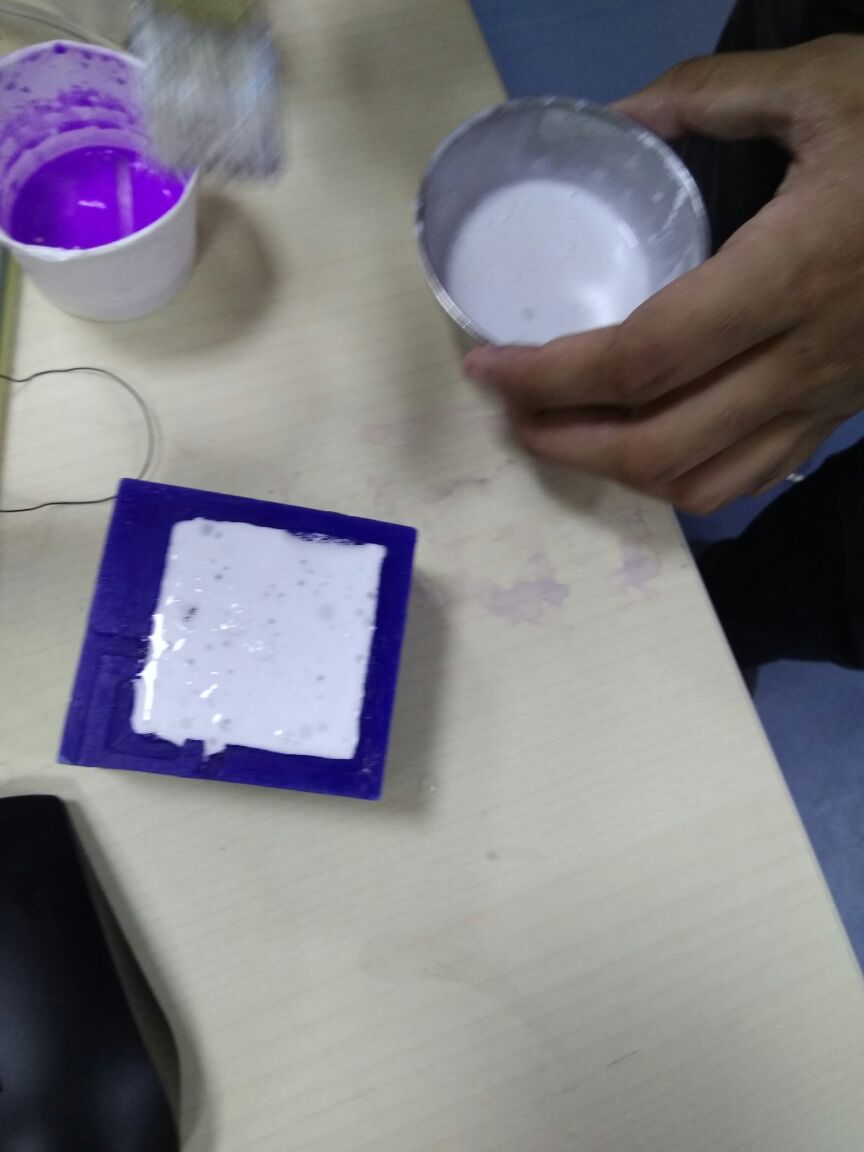
Step 5 : Applying composite on to the Mould.
Pouring Carefully into the wax mold. The bubbles seen in the image could be removed by stirring the mixture if you have forgotten then one can use a pin/toothpick and rattle into the mold after pouring to avoid all the bubbles trapped
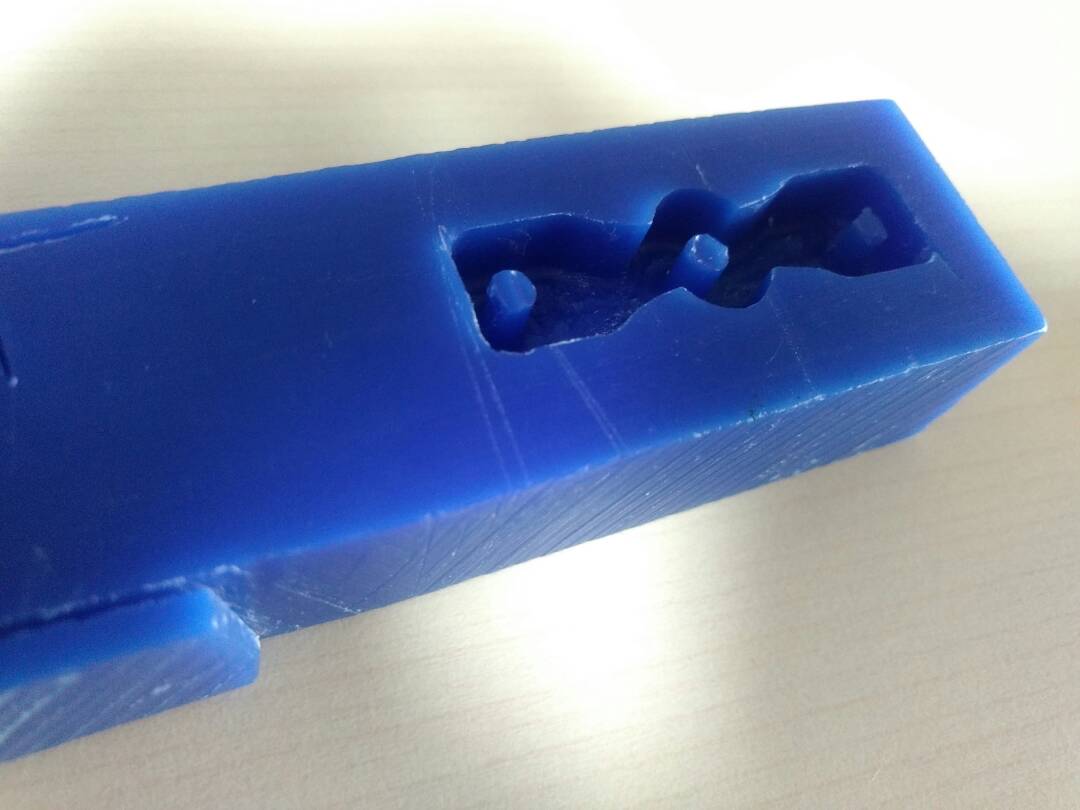
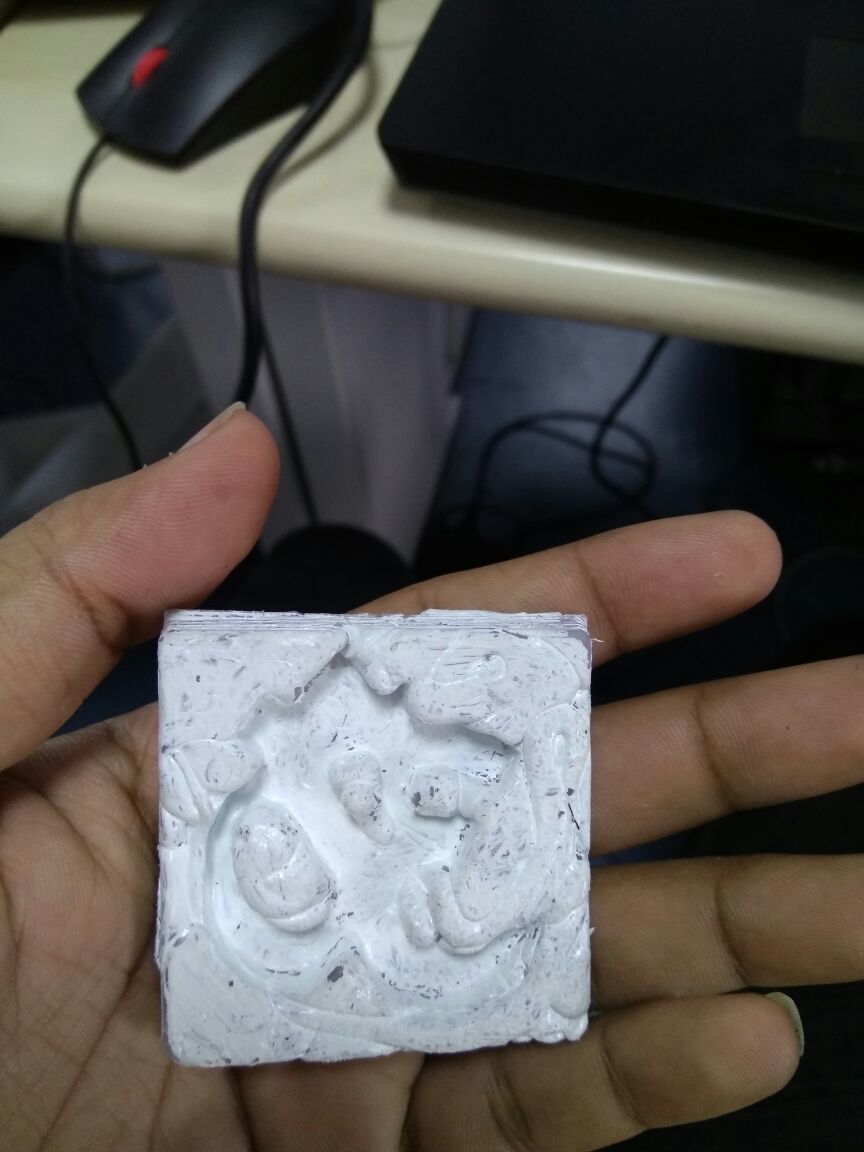
Step 6 : Removing the Casting.
After 3 hours I got the silicon mold ready to cast the part. I have positive mold ready to create negative cast
out of it
Attempt 2
Step one: Milling wax Block
For the 2 attempt I used the symbol OM which is the Hindu God symbol.
For this I used coreldraw software to import the image.
The image was then converted into a dxf format.
I could have done the same using solidworks, but the top portion of the image could not be shifted down in solidworks since, it was a fontstyle that could not be edited.
I used a font style "vindings" in coreldraw to make the symbol.
.png)
After getting the symbol, I converted the image into two curves so that the parts can be separated. I rearranged the top part and the bottom of the image using the select tool.
.png)
.png)
.png)
I wanted to create a hollow part in the oval shaped ring, which is attached to the 3 symbol. I selected the curves on the right side tool bar, to white as shown in the image below:
.png)
.png)
I exported the file in dxf format once the desired shape was obtained.
I imported to file to solidworks after this.
.png)
I used the extrude base tool to create a depth for the symbol.
.png)
.png)
I saved the file in .stl format and then proceeded for milling.
I used fabmodules for the milling process.
.png)
.png)
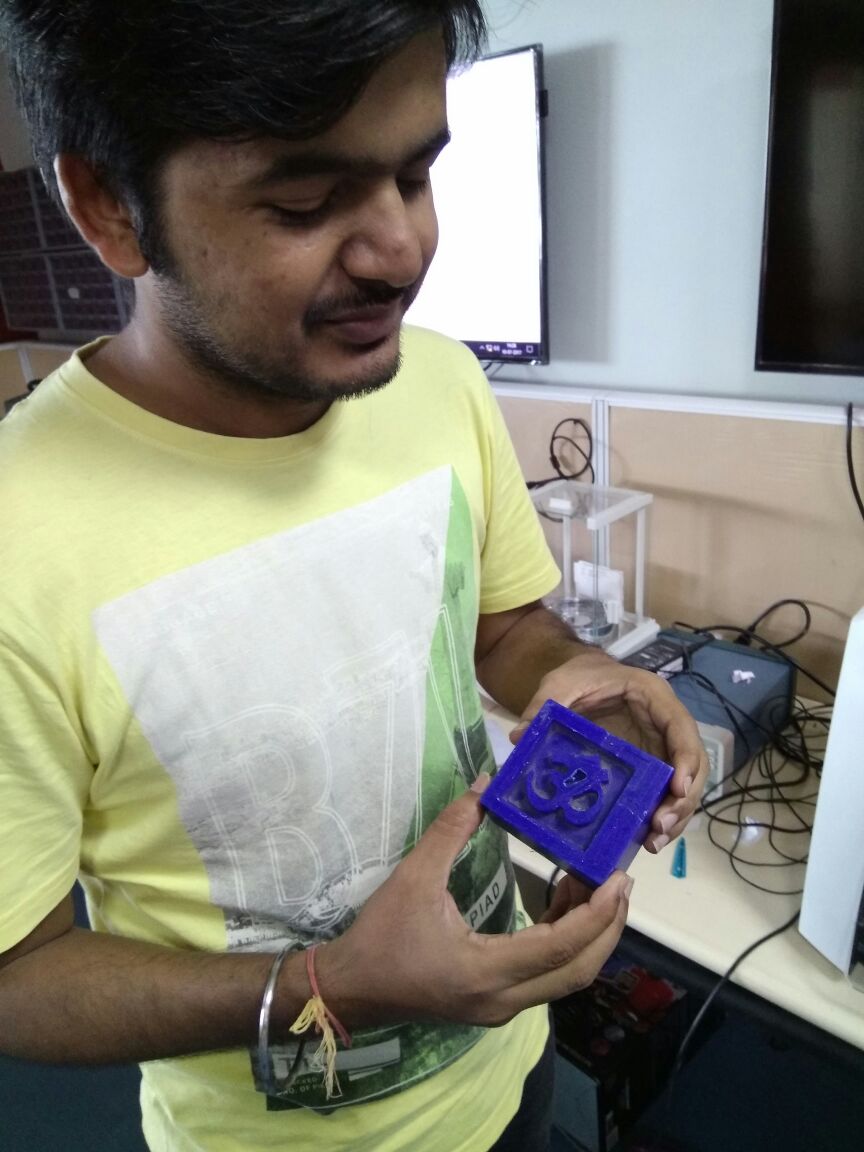
Step 2: Making mold
I added 10% of the hardener. The pot life of this compound from Murtisil is around 10 mins. So take care that you don't take long time in mixing and pouring the rubber liquid into the mold.
I used a hardner and resign to cure the silicon. If silicon is 100% then we can add 10% of the hardner to cure the silicon. The ratio of this can be approximately 1:10
Mixing Procedure:
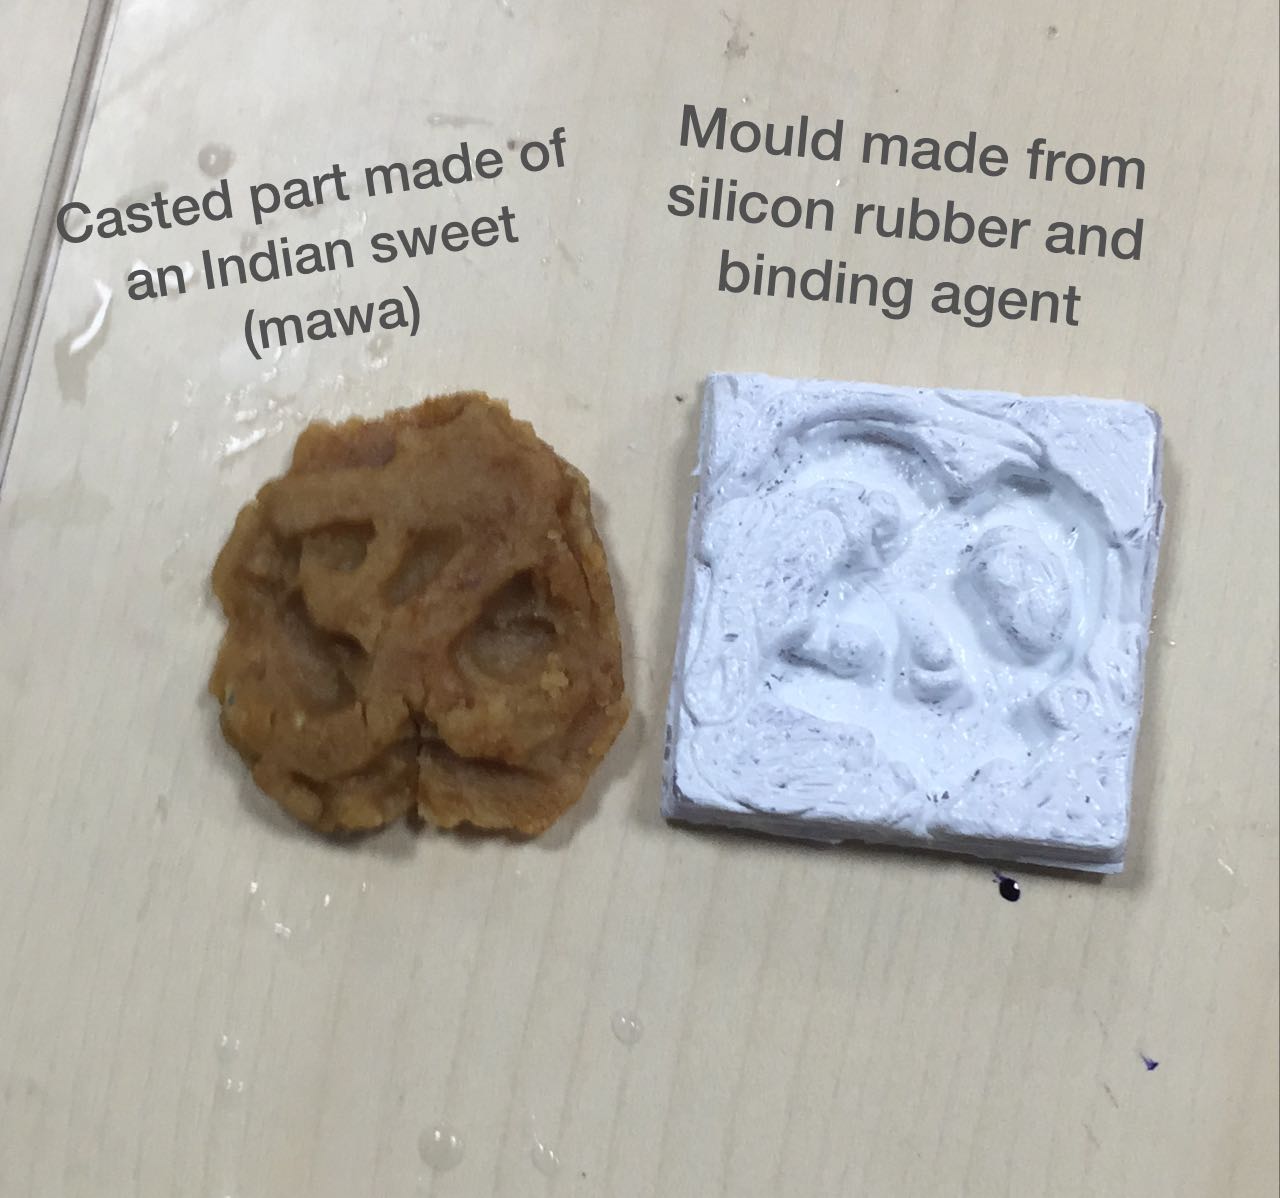
Final part from the mold.
Step 3: Casting
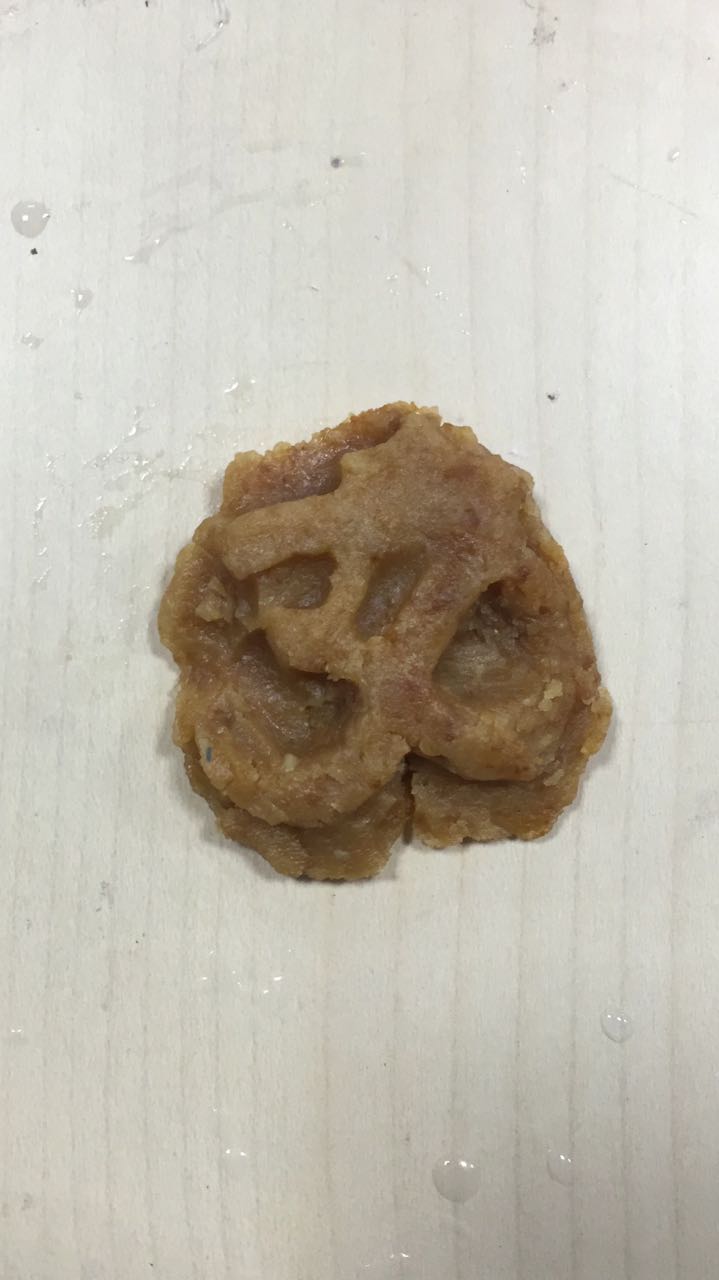
I casted an indian sweet called Khoa out of my mold.
A bit about Khoa
Khoa is a dairy product widely used in the cuisine of the Indian Subcontinent, encompassing India, Nepal, Bangladesh and Pakistan. It is made of either dried whole milk or milk thickened by heating in an open iron pan. It is lower in moisture than typical fresh cheeses such as ricotta
Khoa is made by simmering full-fat milk in an iron karahi for several hours, over a medium fire. The gradual vaporization of its water content leaves coagulated solids in milk, which is khoa. The ideal temperature to avoid scorching is about 80 °C (180 °F).
As shown in the image below, you can see the tasty Khoa in the shape of OM. In temples, this can be distributed as an offering to the devotees. Something like this has not been tried in my local temple. "Sweets shaped in religious symbols to be distributed during festivals."
Download Design Files
References
- Guide to Casting and Molding Processes
- Smooth-Cast® 300
- MurtiSil 1010 - Silicone Rubber RTV
- USG Drystone casting media