Goal of the Assignment
In this assignment we need to make a machine. In next two weeks we need to design and fabricate the whole machine i.e. week 9 which is mechanical design and week 11 which is machine design.
My Task was to make the Electronics design for the machine, means which software we need to use, which firmware required for the board to control the mechanism, etc.
Goal for this week is to have the plan to make the design for machine and the test the availability of the problem. The as well as testing the existing options available for solving the problem statement.
Problem Statement:
Make XY-Plotter which will sketch the image, write on paper as per the command and/or design.
XY- Plotter?
An X–Y plotter is a plotter that operates in two axes of motion ("X" and "Y") in order to draw continuous vector graphics. The term was used to differentiate it from standard plotters which had control only of the "y" axis, the "x" axis being continuously fed to provide a plot of some variable with time. Plotters differ from Inkjet and Laser printers in that a plotter draws a continuous line, much like a pen on paper, while inkjet and laser printers use a very fine matrix of dots to form images, such that while a line may appear continuous to the naked eye, it in fact is a discrete set of points.
Material Procurement
Procuring the material are also plays a major role in respecting the time frame. It is very important get the hold of the material right-on-time and right-in-quantity so the team can work and flow control will be uninterrupted.
I did all the material procurement part by going directly into the market which reduced the lead time and I got many options to choose from real-time. Walking directly into the markets fetched another advantages like I got plenty of contacts to get the materials even though the contacts generated are not useful for this project directly but which may help me and my team in next projects to source the material from.
Electronics Design
Previously we thought of having the machine brain as the controller board designed and the having nodes to communicates with each other to send signals here and there. Using nodes approach is really modular, means node can be added and omitted any point of time whenever is required, a very little change in code makes the system to go to next higher stage.
The terminology of 'stage' means one actuator which results into one more degree of freedom considered as a stage. In our case machine is of two stage. One stage which moves the access in X direction and other in Y direction. Multiple stages means more complex machine which can handle the very complex jobs.
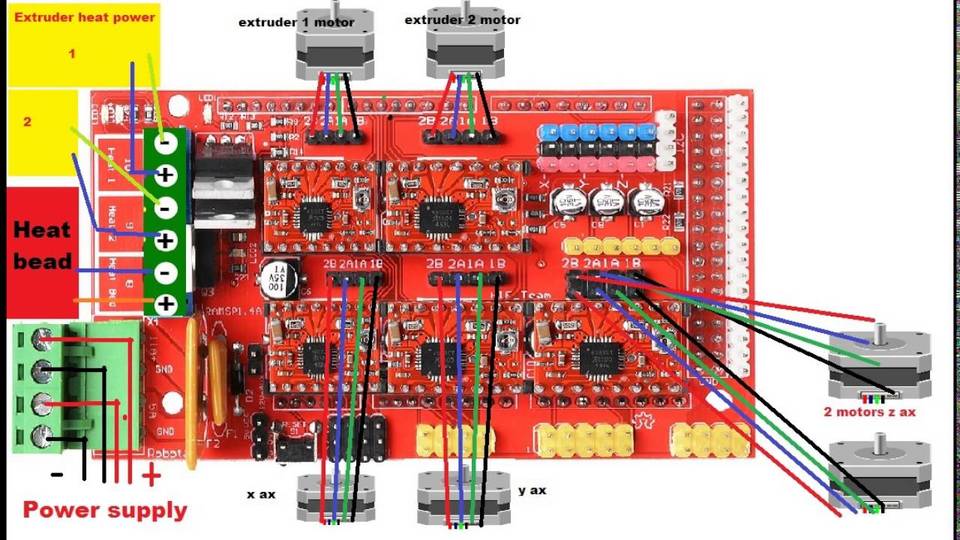
Rambo-conn-all.jpg
To respect the time frame we have decided to go with the RAMPS1.4 board which was available in the lab and it is attached here.
Board includes all the connectors for the connecting motors, end effectors and difference sensors.

Finding proper firmware for the our RAMPS1.4 board
Every electronic thing you imagine there's always piece of code working on it's background which makes the machine intelligent and can handles the errors and respond them with debugging messages or the counter measures. RAMPS1.4 is the one-stop solution for all our needs so, I was sure about the software's availability to make the system work. Google is best buddy to start with, he helped me a lot to decide and say yes, RAMPS will be at the heart of the machine. It hosts the processing power and ports for required actuator actions.
When we decided to go for the RAMPS1.4 I've studied the board architecture and the capabilities and the availability of the firmware for running the machine. It is one of the most popular 3D printer controller board available in the market. There are plenty of the 3D printer firmwares available which can be easily altered to make our machine work.
In next week will be actually developing or tweaking the codes and burning it on micro-controllers and testing the actuators.
Changes made in the marlin software to work on our machine
Changing the baud rate from 2500000 to 115200
.png)
Changing the temperature parameters to Zero since we don't have the bed temperature and extreuder temperature
.png)
Changing the x and z direction of the motor.
.png)
Changing the number of steps per unit, feed rate, and acceleration
.png)
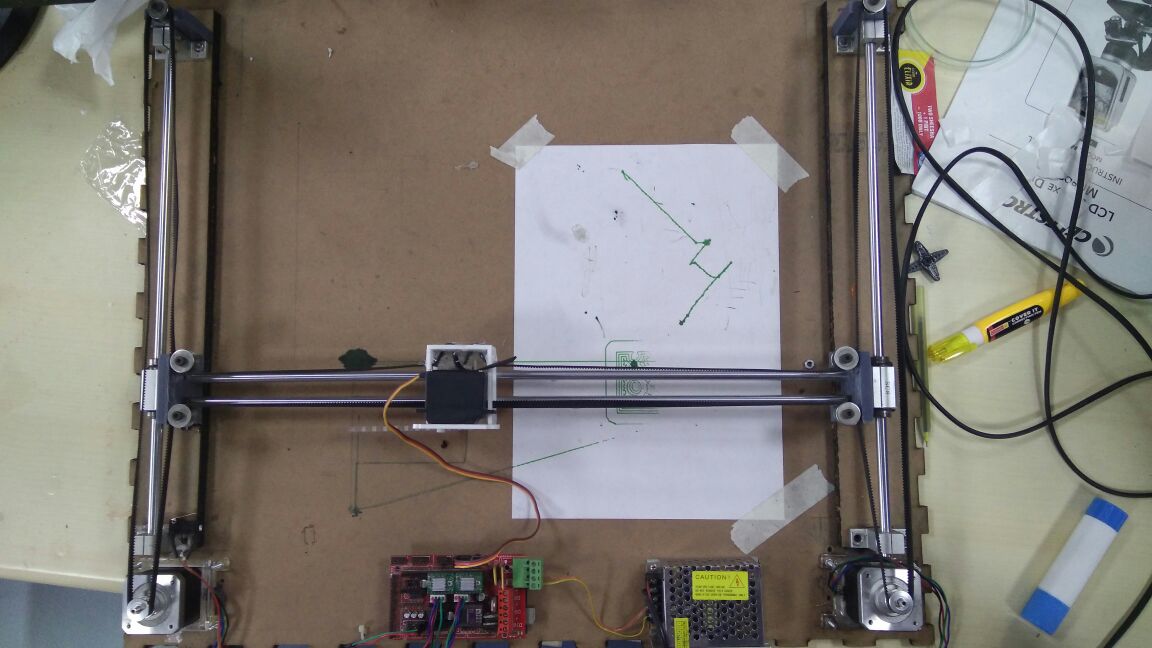
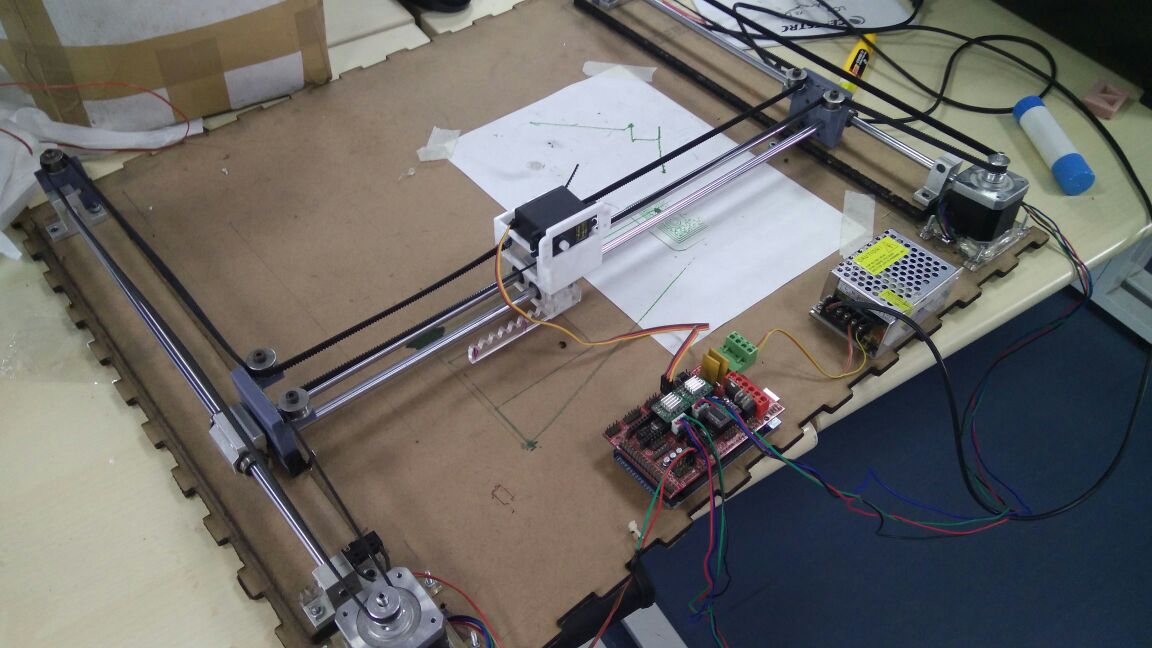
Photos of the board

