Goal of the assignment
In this assignment we need to design and fabricate a mold, and along with it we need to read the material safety data sheet (MSDS), technical data sheet (TDS) for the resins and make a fiber composite part .
Let's start with the assignment
Designing the mold
The first step is to design the part for the mold on which we will do the composite thing.
For the designing I have used Solidworks. I have design a simple object called as shown in the images below.
This is the image of Solidworks IDE.

I selected the Front plane and drawn a cirlce.
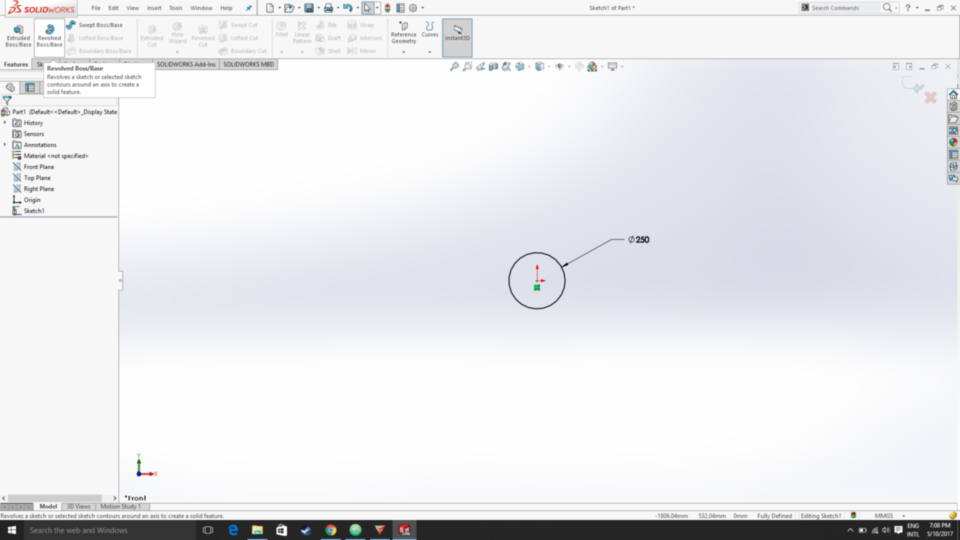
Then I drawn a line which acts as axis to the circle.
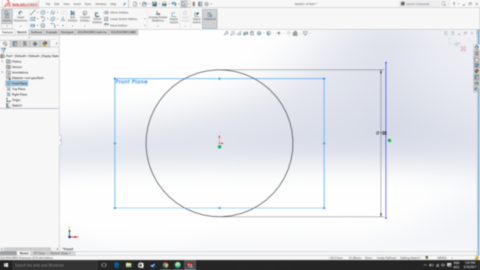
After that I used the Revolved Boss and base command from the feature tab to revolve the circle around the line to form the torus kind of shape as shown in the image below.
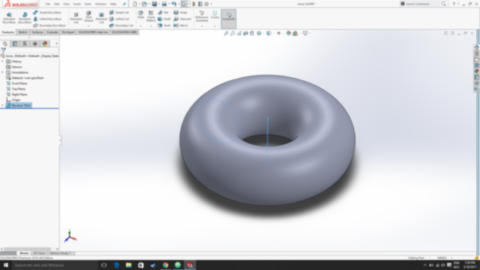
After designing the object we need to make the mold for that, the mold can be made with the help of CNC Wood router or the Shopbot on materials like Plywood, MDF, etc. or with the Laser Cutter on acrylic sheet, soft MDF, etc.
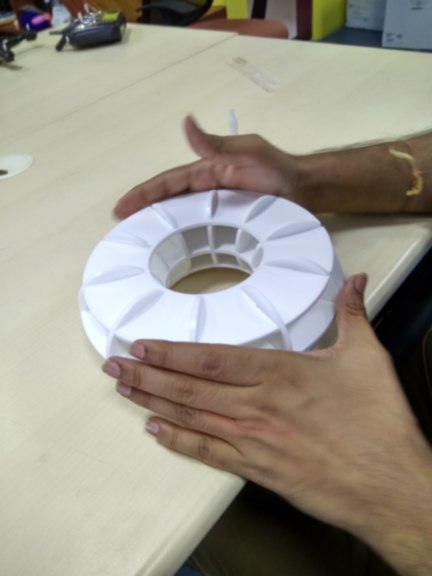
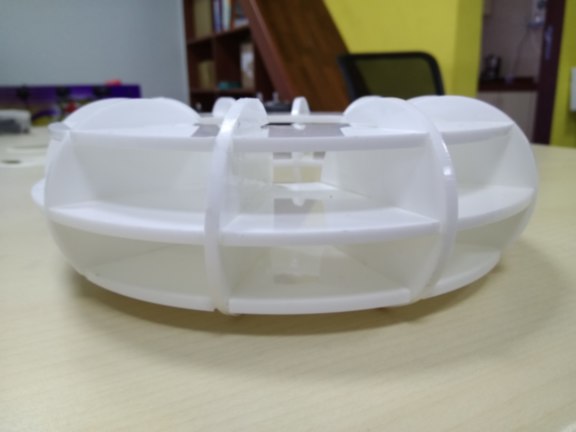
I used Laser cutter for making the mold. Now comes the second step.
Preparing the mold
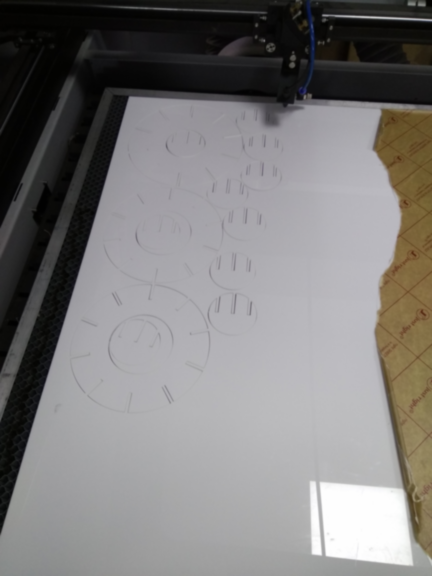
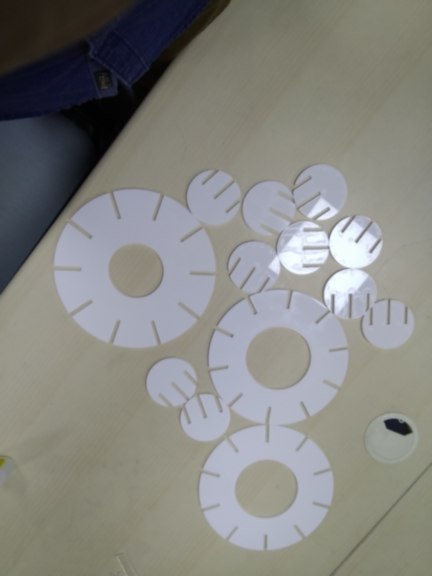
After designing the mold in Solidworks we need to fabricate it. For faster Fabrication I used laser cutter, and cut all the parts on the acrylic sheet.
For this assignment I have used the Autodesk 123D Make. The software allows creation of low-tech LOM-style(Laminated object manufacturing ) solid models.
Below are the step by step procedure for making the mold.
Below is the image of the Autodesk123D Make IDE.

Then I imported the torus file which I made in Solidworks, explained above.
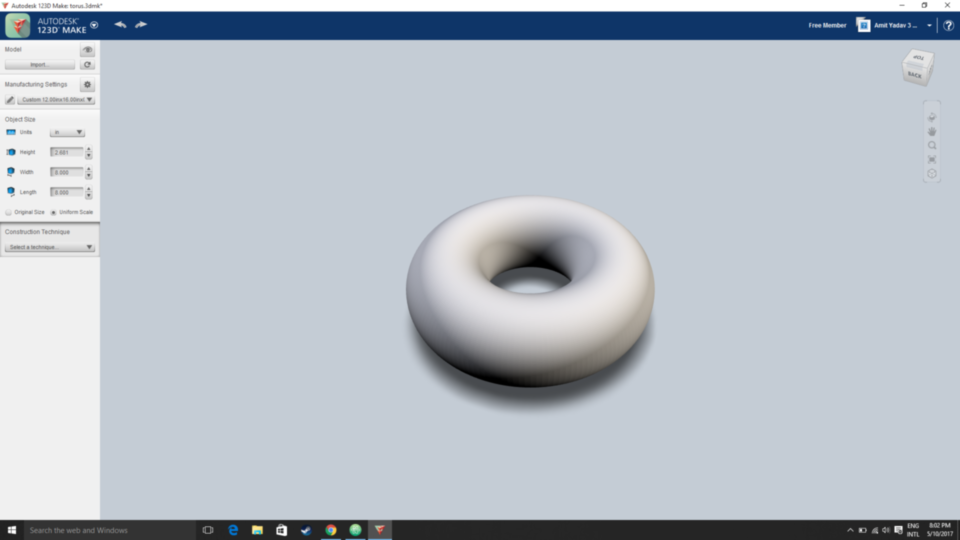
There are many command tabs which are available on the left hand side of the software, such as Object size, Construction Technique, Slice Distribution, Layout Arrangement, etc. In Object size tab after adjusting the Height, Length, Width as shown in the image.
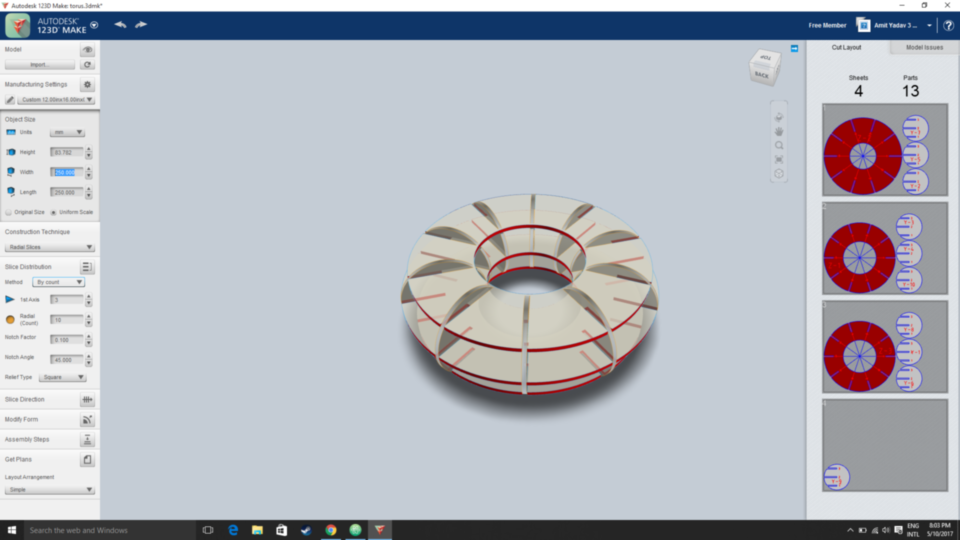
There are different Construction technique available such as Stacked Slices, Interlocked Slices, Curve, Radial Slices, Folded Panels, 3D Slices. I used radial Slices for my mold.
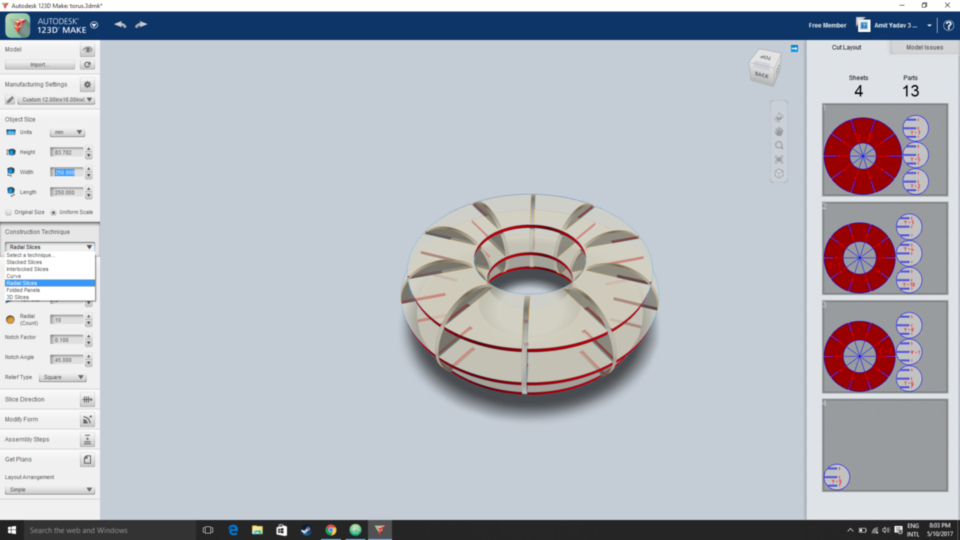
After then there is slice distribution command, where I used radial count and 1st Axis which increase the number of radial parts and vertical parts.
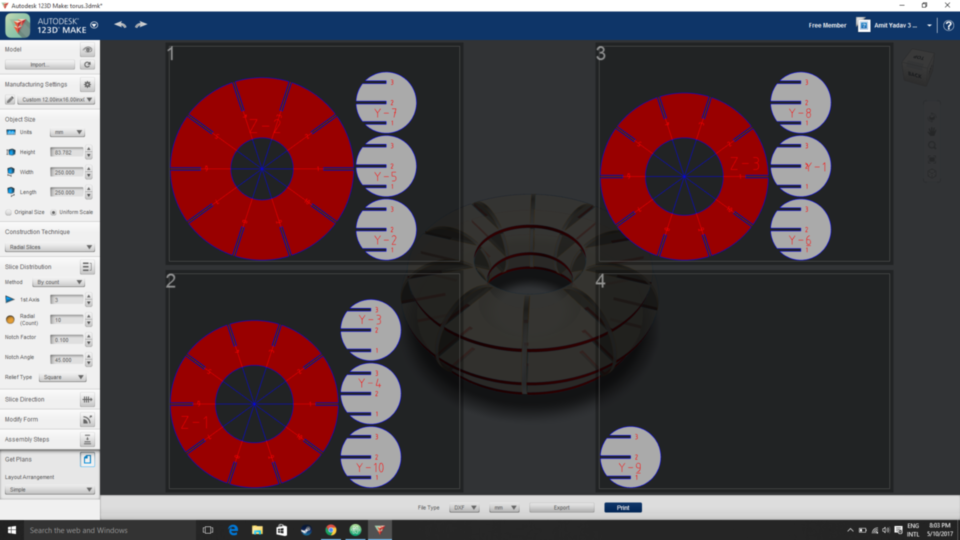
Now we need to export the design file that we have made, this is done by layout arrangement command which is available at the bottom. There are two option available.
- Simple
- Nested
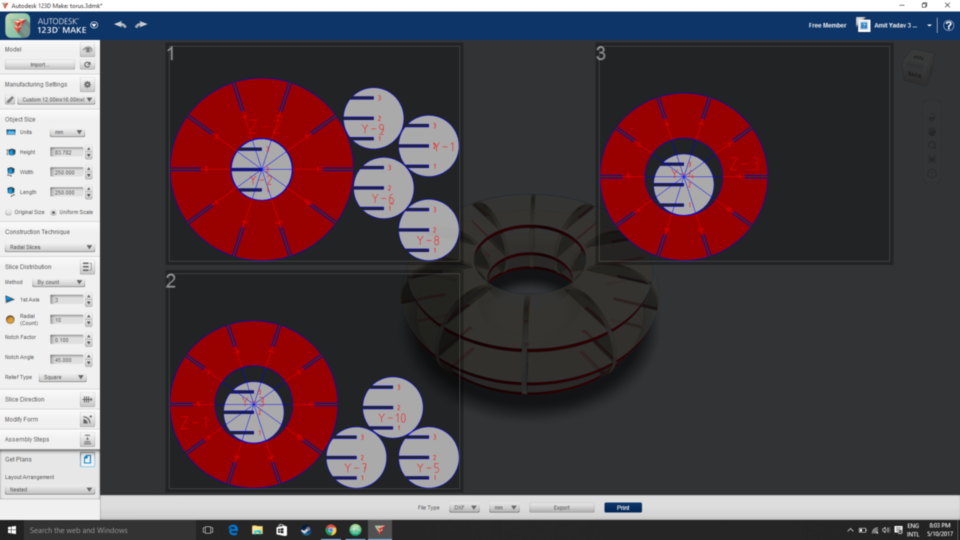
- Simple
I selected the nested option which uses less space and better utilization of materials and I have exported in .dxf format
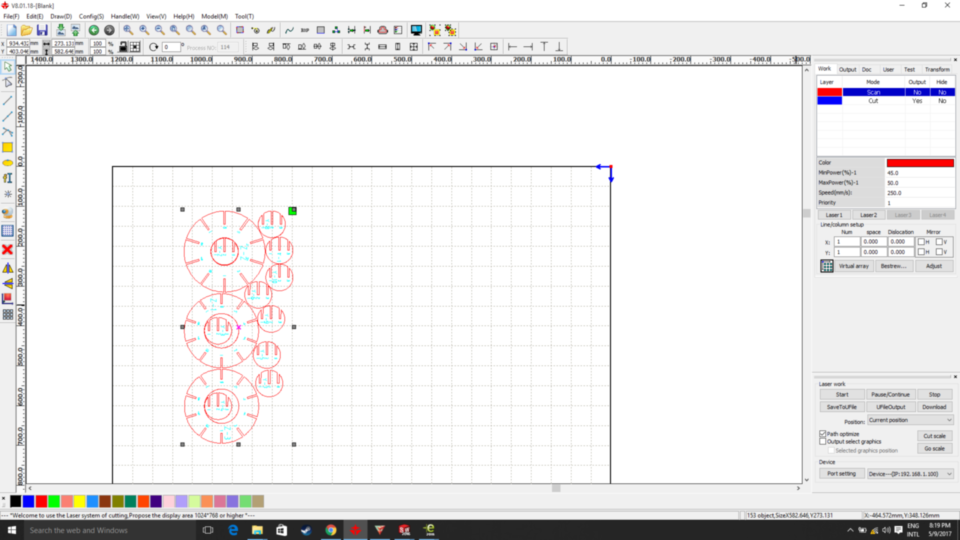
Now we need to cut the design, for that I have used the laser cutter for cutting the parts, I have a SIL laser cutter in Fablab and the RDWorks is the operating software.
I have imported the design file and set the laser to cutting mode and I set the speed to 35mm/s and power to 75.
Making the Composite part
Now after the sample mold is ready we need to make the composite out of it.
Before we start, we need to do some preparation for the composite.
Materials required for the making composite:
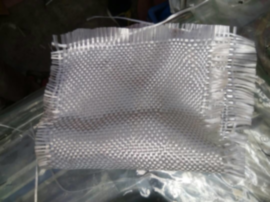
- Glass Fiber
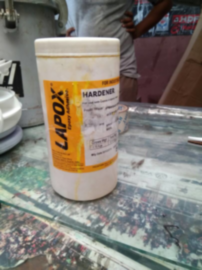
- Harderner
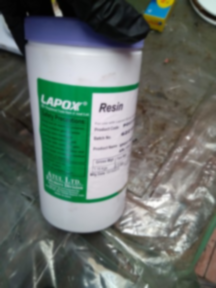
- Resin
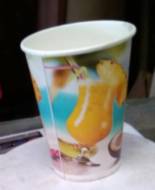
- Cup
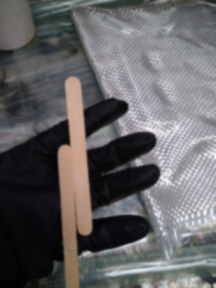
- Popsicle sticks
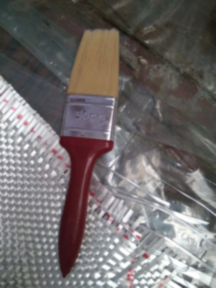
- Brush
Now all materials are ready now we are good to go.
After reading the datasheet, this is the composition in which hardener and resin should be mixed.
Epoxy resin comes in two part, one of which is hardener and other one is resin itself. Both individually can't do anything, when they are mixed the curation process starts and then after curing period it becomes rock solid. Curing time is depends upon the environmental parameters which are,
• Temperature
• Humidity
• Ratio of hardener and resin
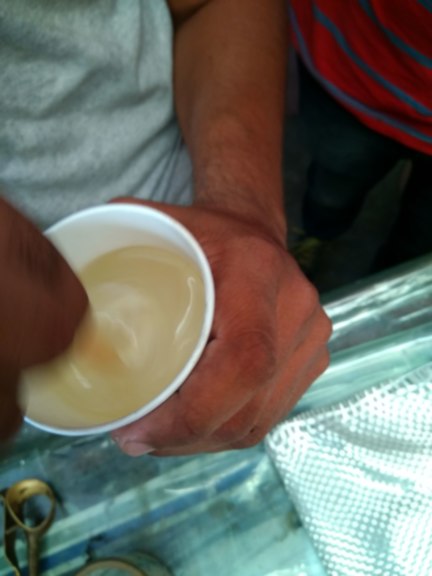
I am using the Atul Lapox Epoxy Resin which is available here. I first went through with the Data Sheet available of the Lapox Resin and then started using it, the detail of the data sheet is discussed ahead. I mixed both the Hardener and Resin in a Cup using stirrer, and mixed it well for about 1 minutes gave it the homogeneous mixture which was required before applying. After proper stirring the color of the mixture turn's to slightly Yellow which indicates perfect mixture stirred nicely. The Mixing ratio for the Hardener and Resin is given below:
• By Weight : 68R/32H
The quantity of resin used was in the ((weight of the glass fiber) / (formula from data sheet)132 ) * 100 .
Weight of the glass fiber - Weight of resin used = weight of hardener.
For my design, the amount of resin required: (144/132)*100= 109 where 144gm is the weight of glass fiber. The weight of hardener is 35gms.
Weight of the glass fiber.

Weight of the hardener and resin.
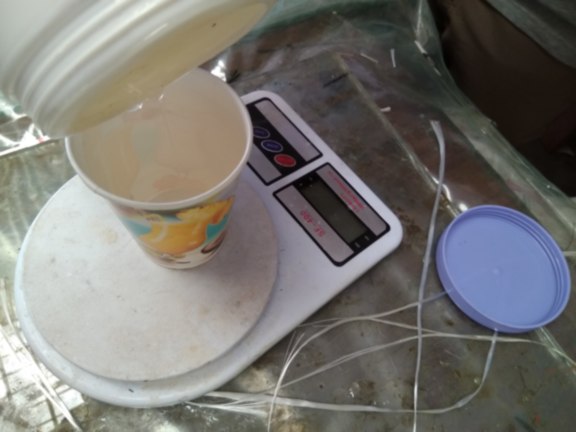
Mixing the hardener and resin.
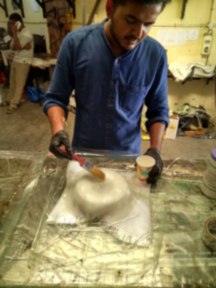
Now come the fun part layup, I layup three layers of glass fiber on the mold.
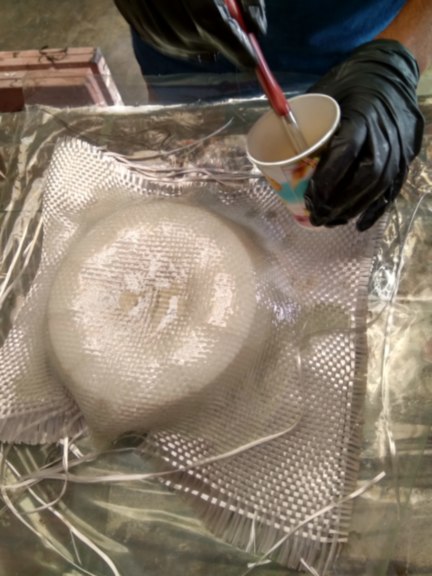
After layering up I kept the composite to cure under the sunlight. I also studied that from the datasheet that if we increase the temperature the faster the mold is cured.
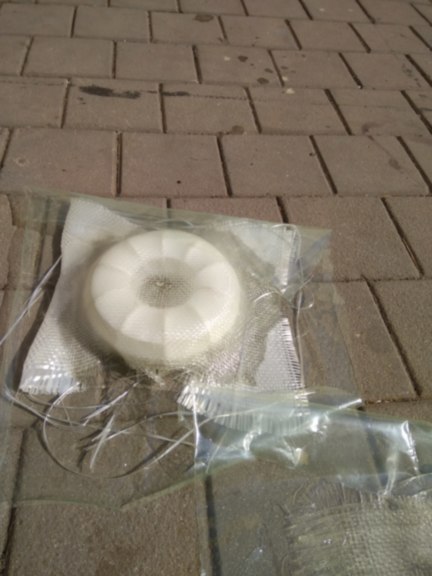
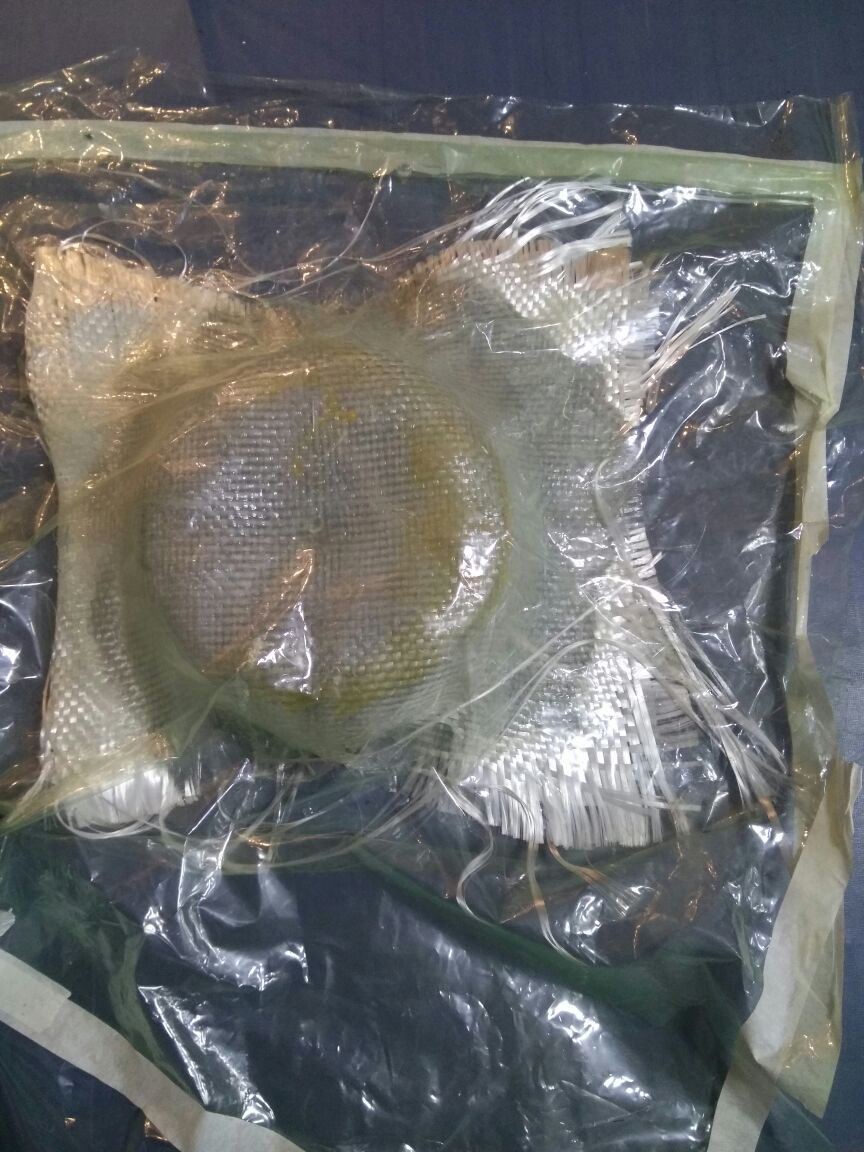
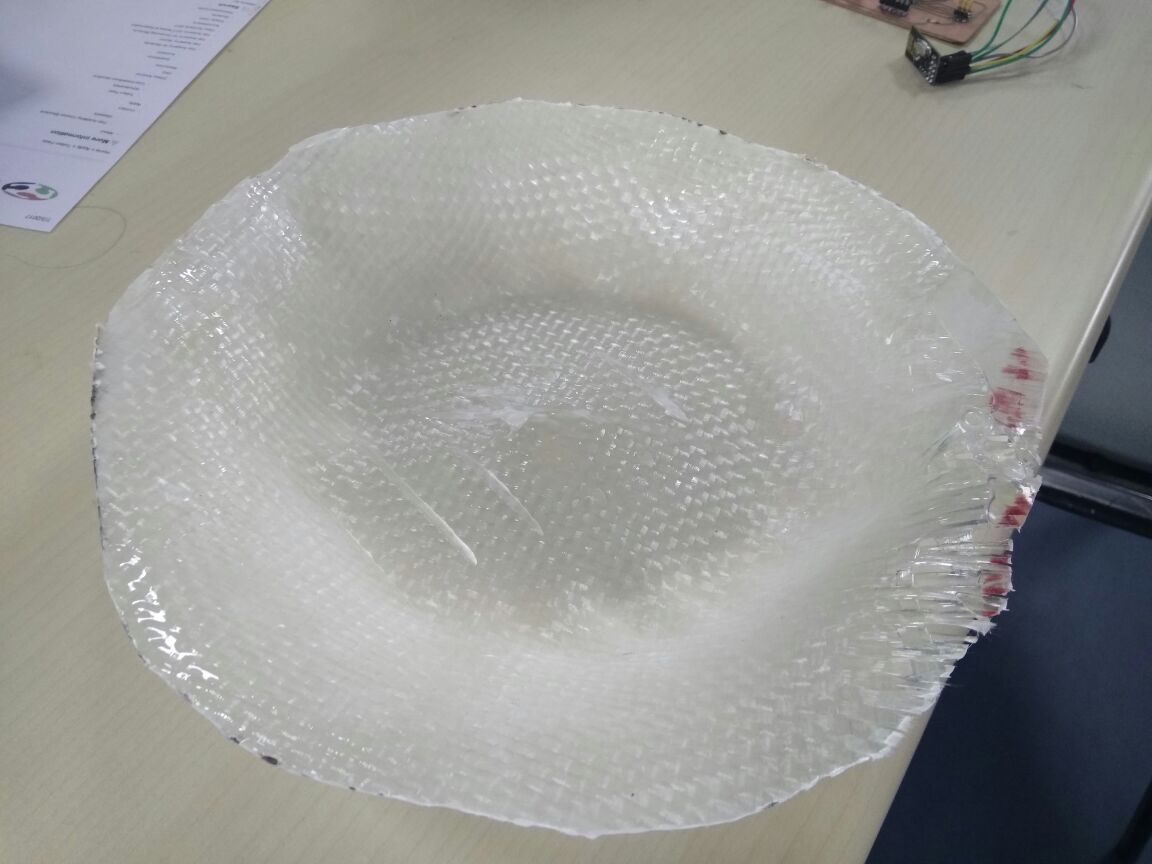
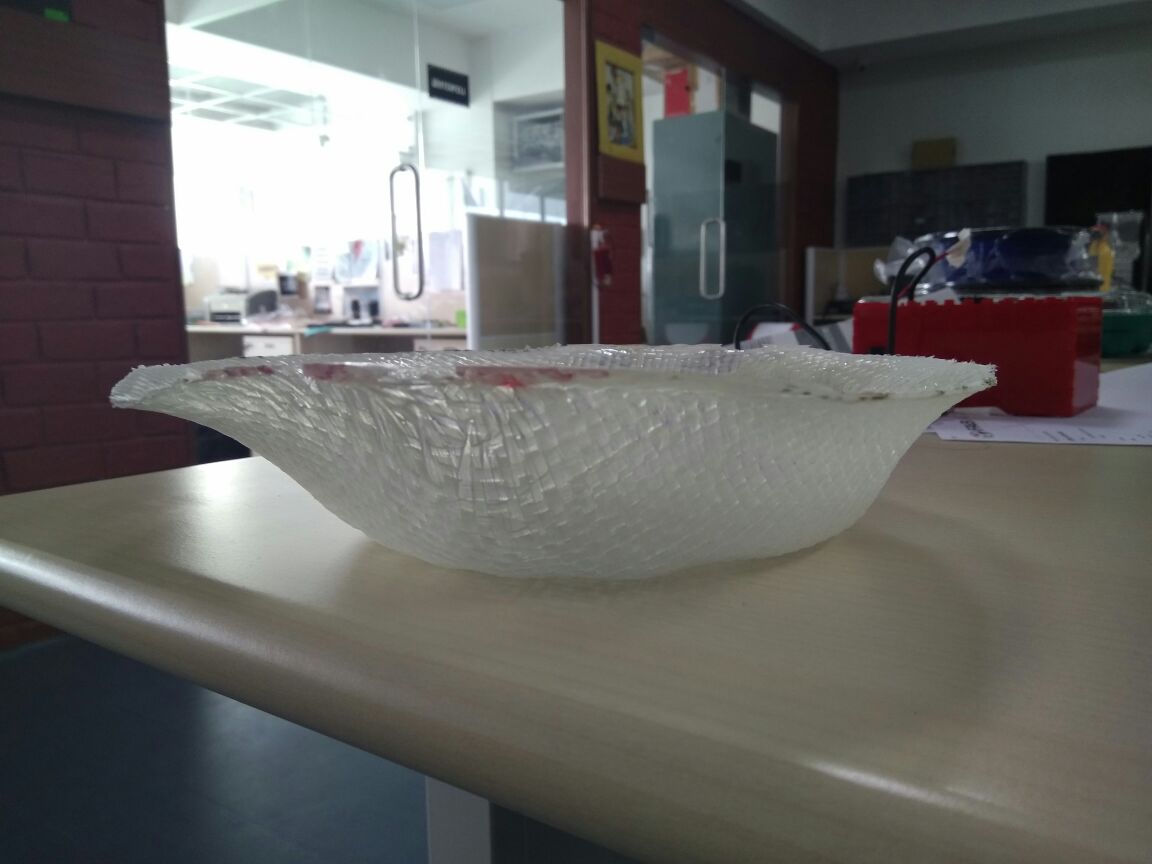
After vacuum bagging I applied pressure as mentioned above, and waited almost for 20 hours to cure the resin, as I was the rainy and humid day I've to wait that long. Then I ripped apart the vacuum bag to access the mold and layer, after that huge gap the resin was totally cured and the dried completely. Then with spatula I took the layer apart from the mold and then I stripped off the excess amount of composite using the scissors.
Final results
DOWNLOAD DESIGN FILES
References
- Structure of Composites
- Epoxy Resin datasheet
- Vaccum bagging tape
- Buyer's Guide to West System Epoxy
- The proper way to mix and use 5:1 Epoxy for fiberglass boat work
- Vacuum bagging technique
- high-pressure resin transfer molding