Goal of the assignment
This assignment is focusing on programming our Hello world circuits that we have made two weeks ago.
In this assignment we need to read a datasheet, so that we should get to know about the technical details of it, which will help us in programming and debugging of it.
Let's start with the assignment!!!
Datasheet.
What is datasheet?
A datasheet, data sheet, or spec sheet is a document that summarizes the performance and other technical characteristics of a product, machine, component (e.g., an electronic component), material, a subsystem (e.g., a power supply) or software in sufficient detail to be used by a design engineer to integrate the component into a system.
Since I had made the echo Hello world with Attiny 44 Microcontroller I will be referring the datasheet for the same.
The datasheet provides many technical data such as Features, Pin Configurations, Architecture, Memory, Oerview, etc.
Features.
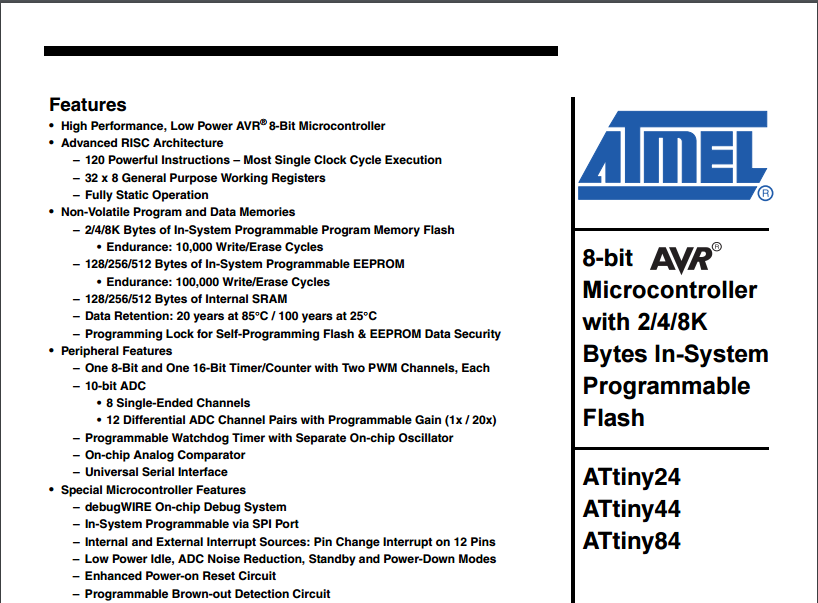
The features section let us know the overall description or many points of the components, devices, etc. as shown in the image.
Pin Configuration
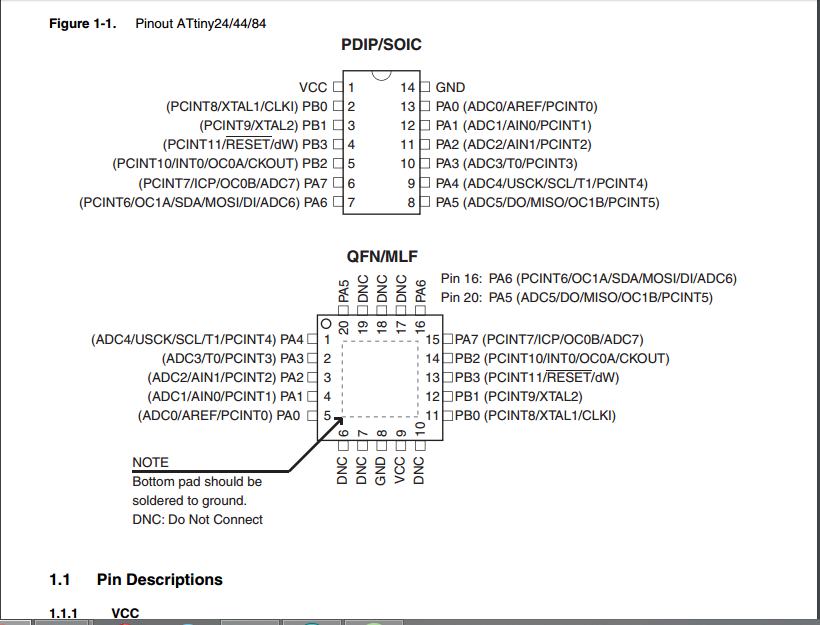
The Pin Configuration helps in designing of the ckt. The Pin configuration helps us to know connect the pins to the specific points to perform the specific task. The image below show the pin configuration of Attiny44.
The VCC, Ground. MISO, MOSI, Reset pins helps in connecting the pin to the output, which will help in PCB designing or making hardware.
Overview
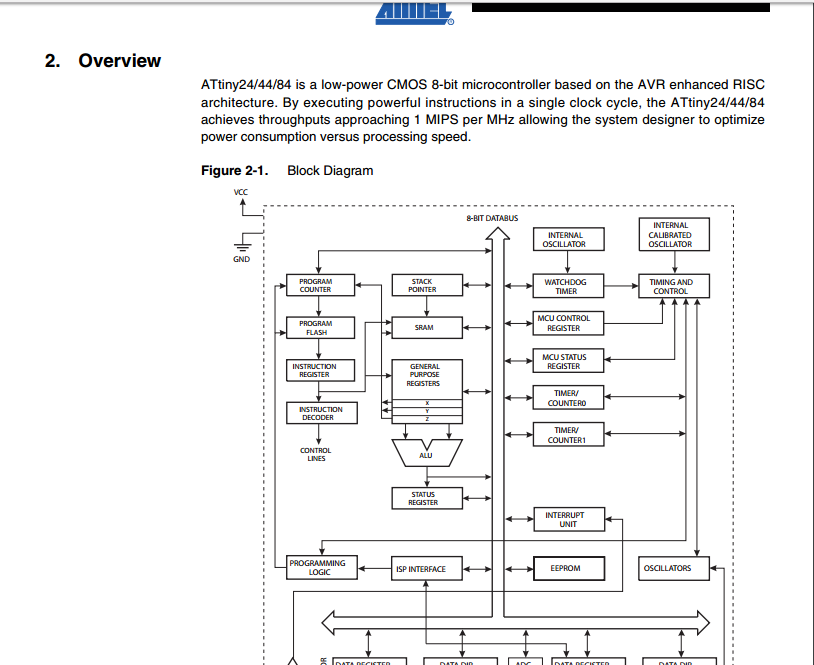
In the overview section, the overall block diagram of attiny44 is shown i.e. how Attiny44 will work.
Programming
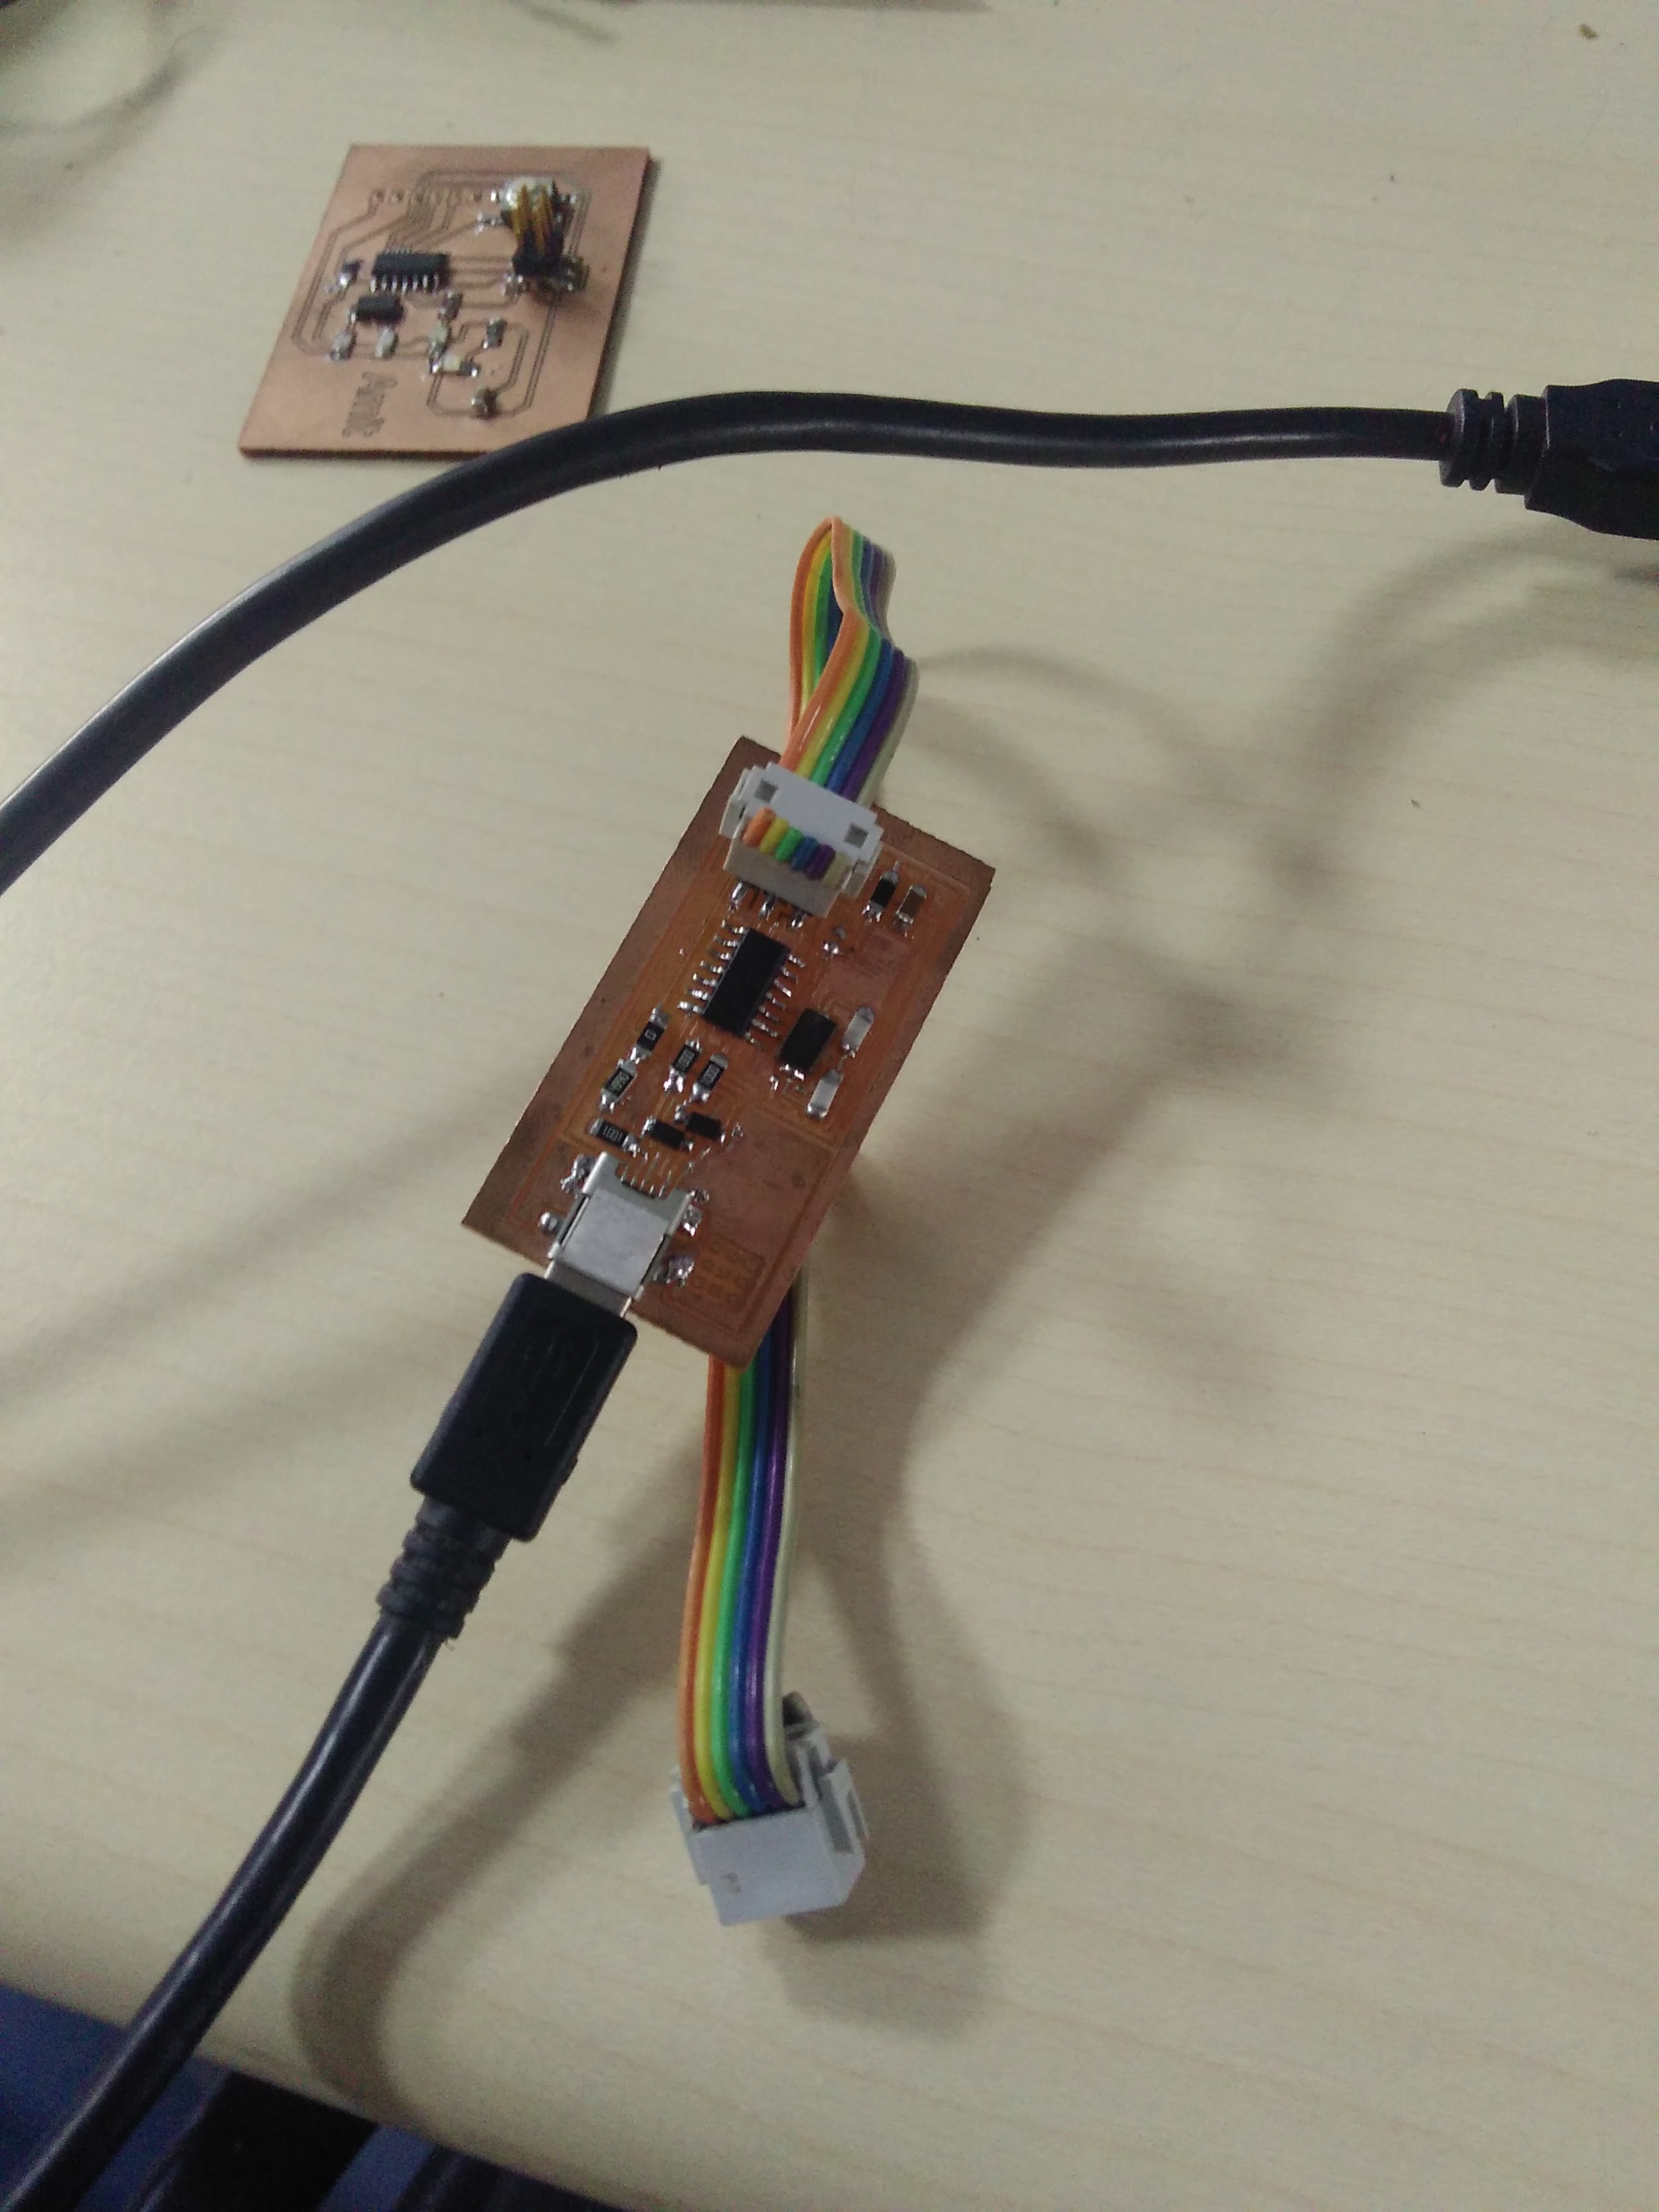
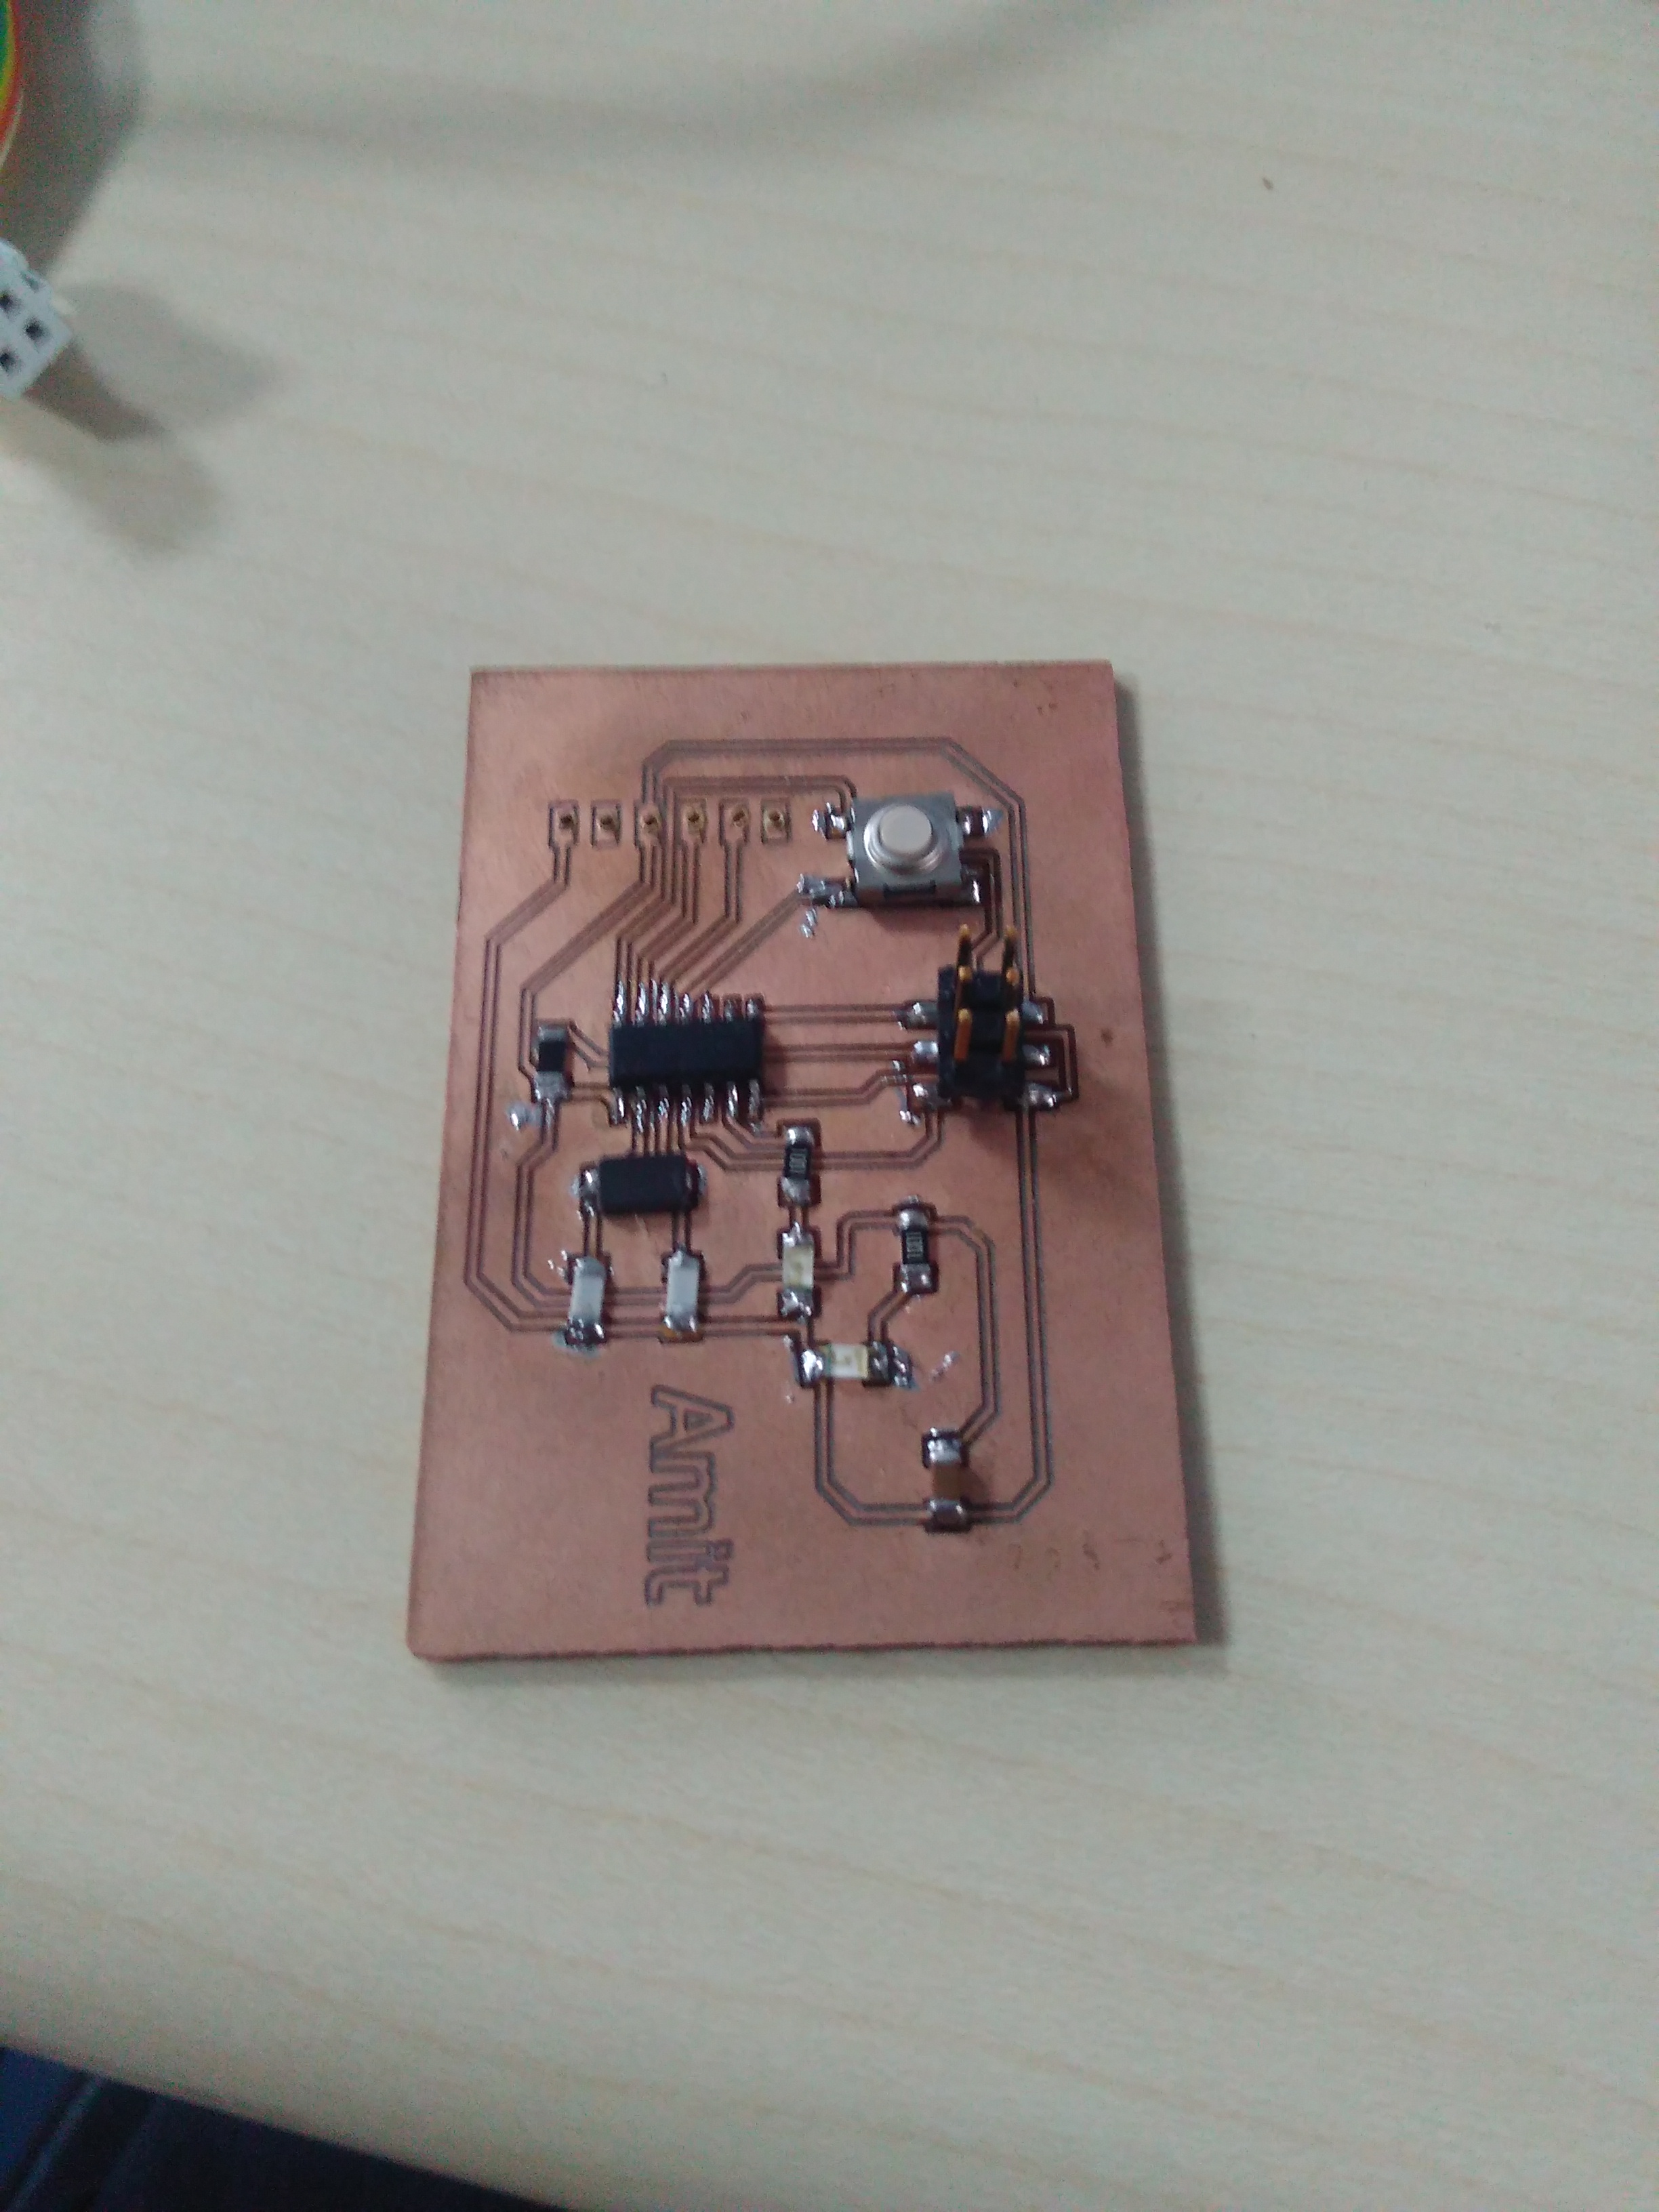
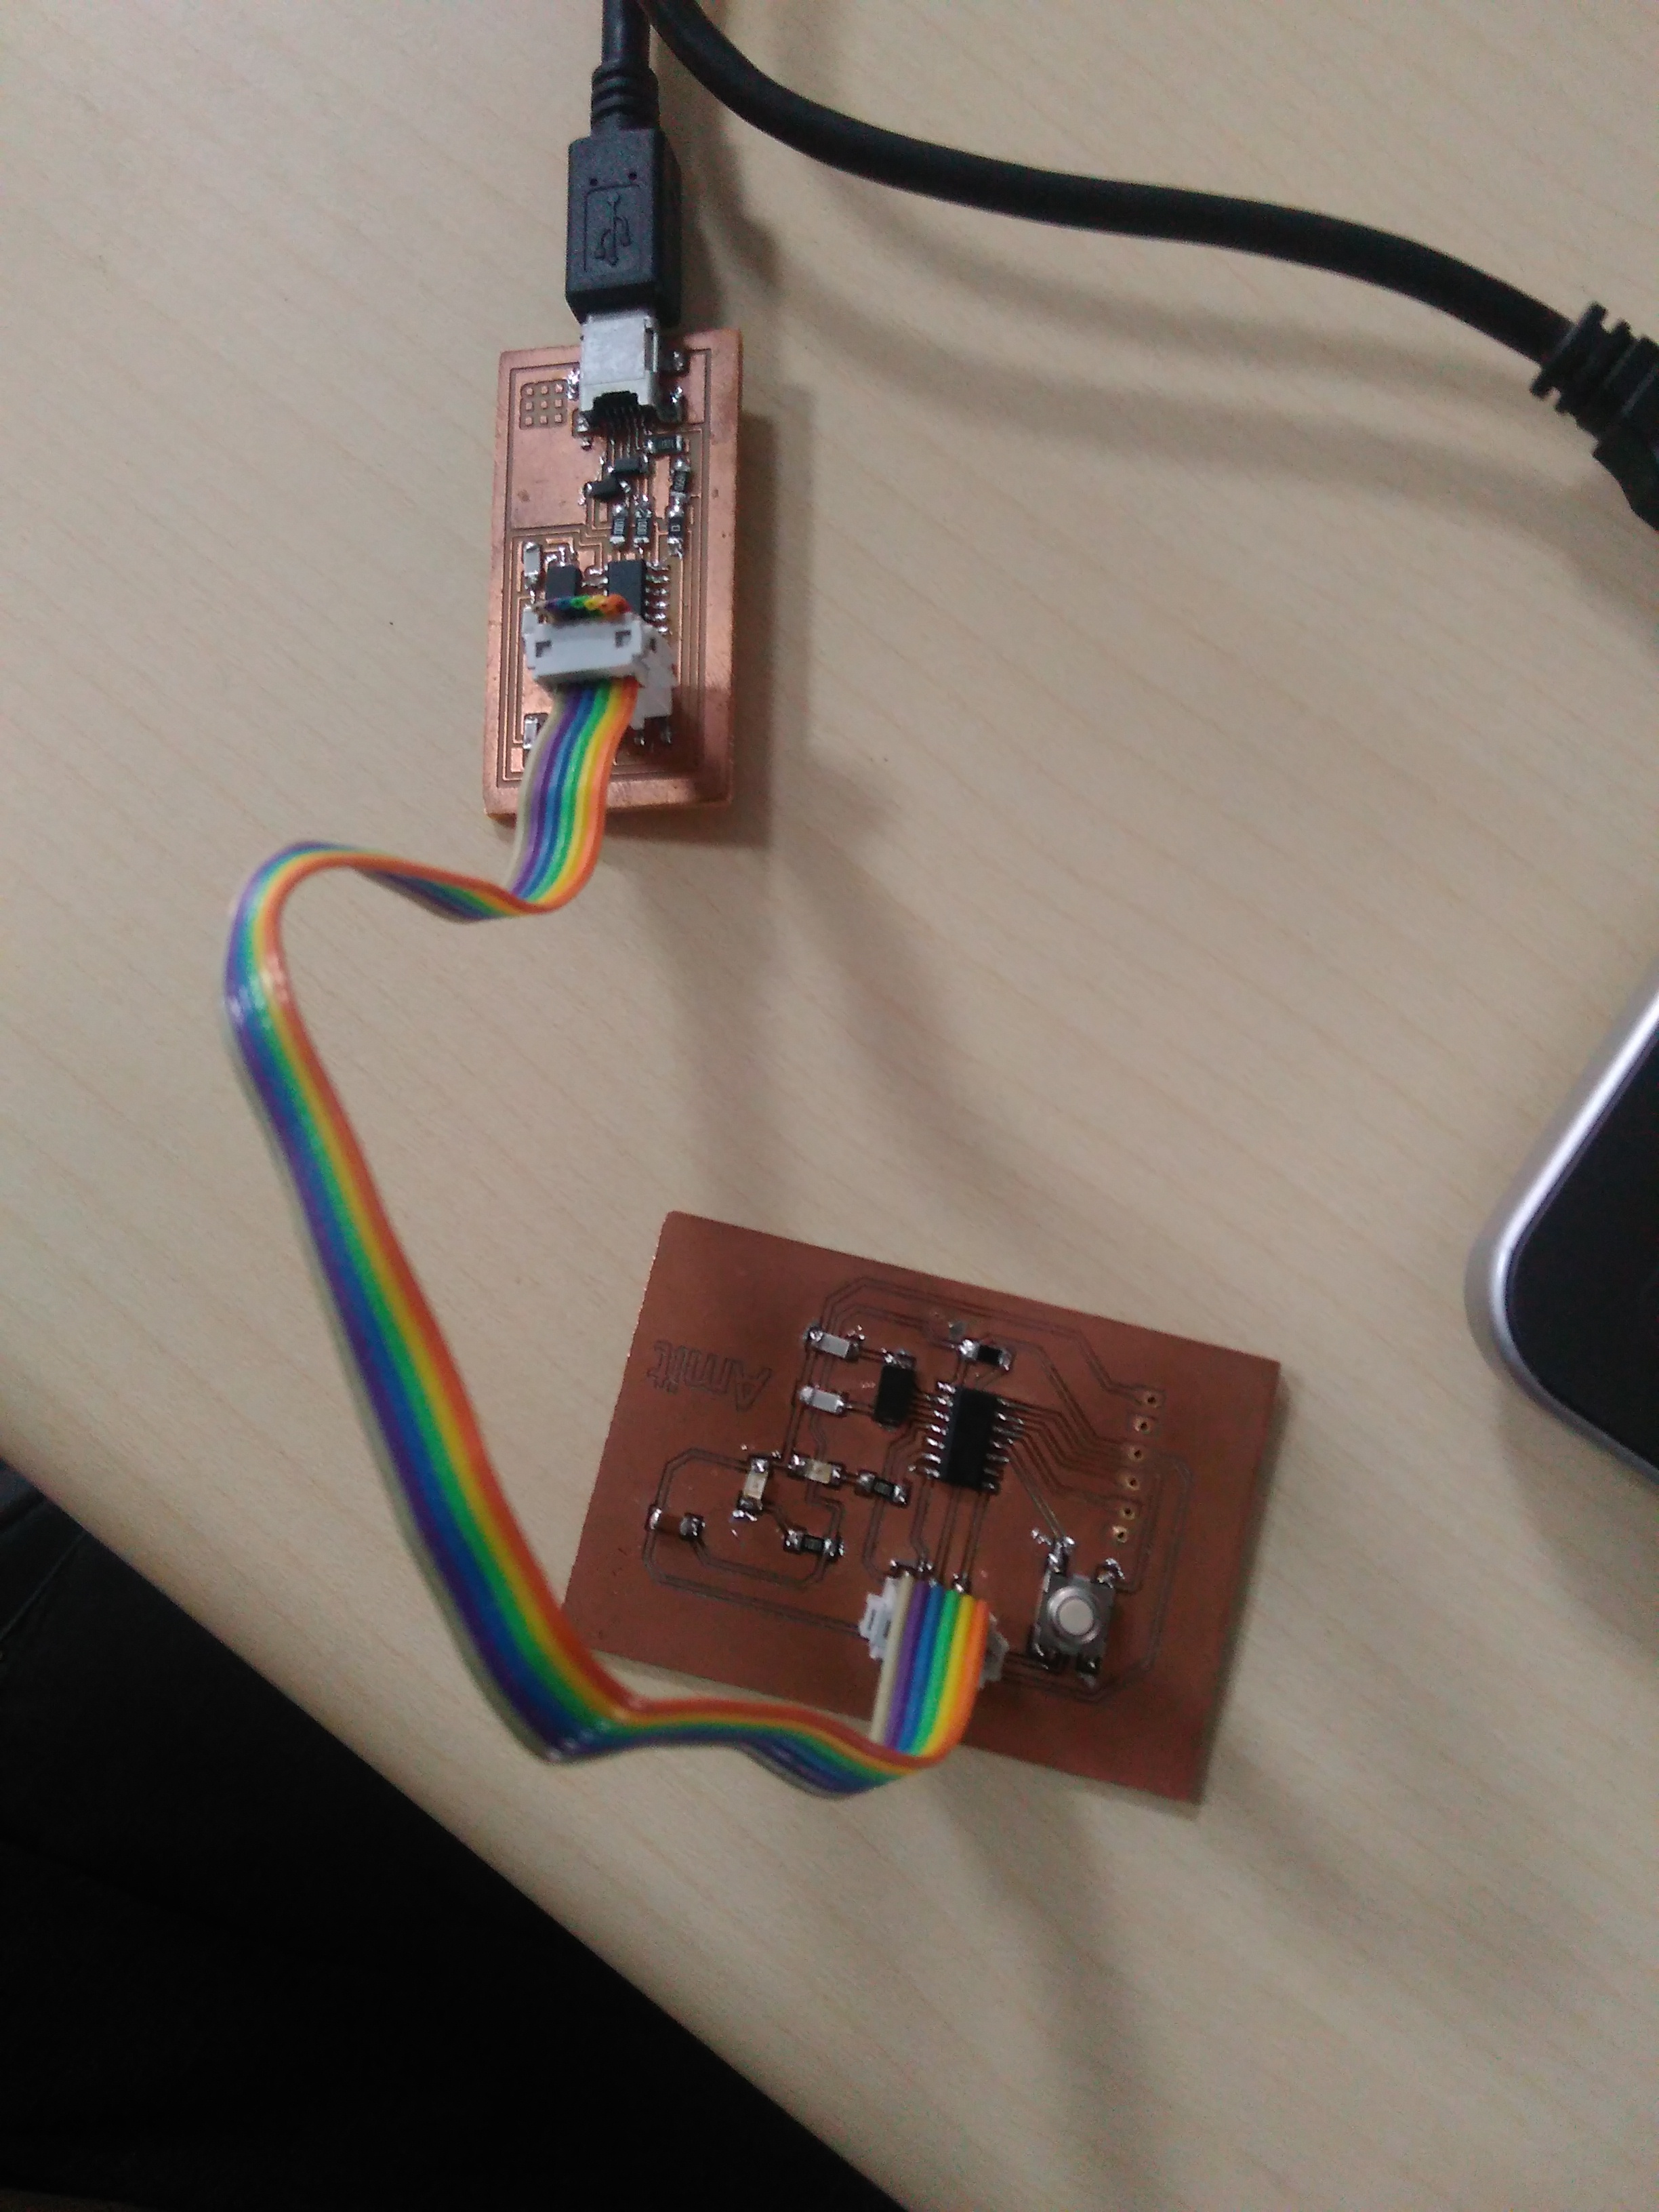
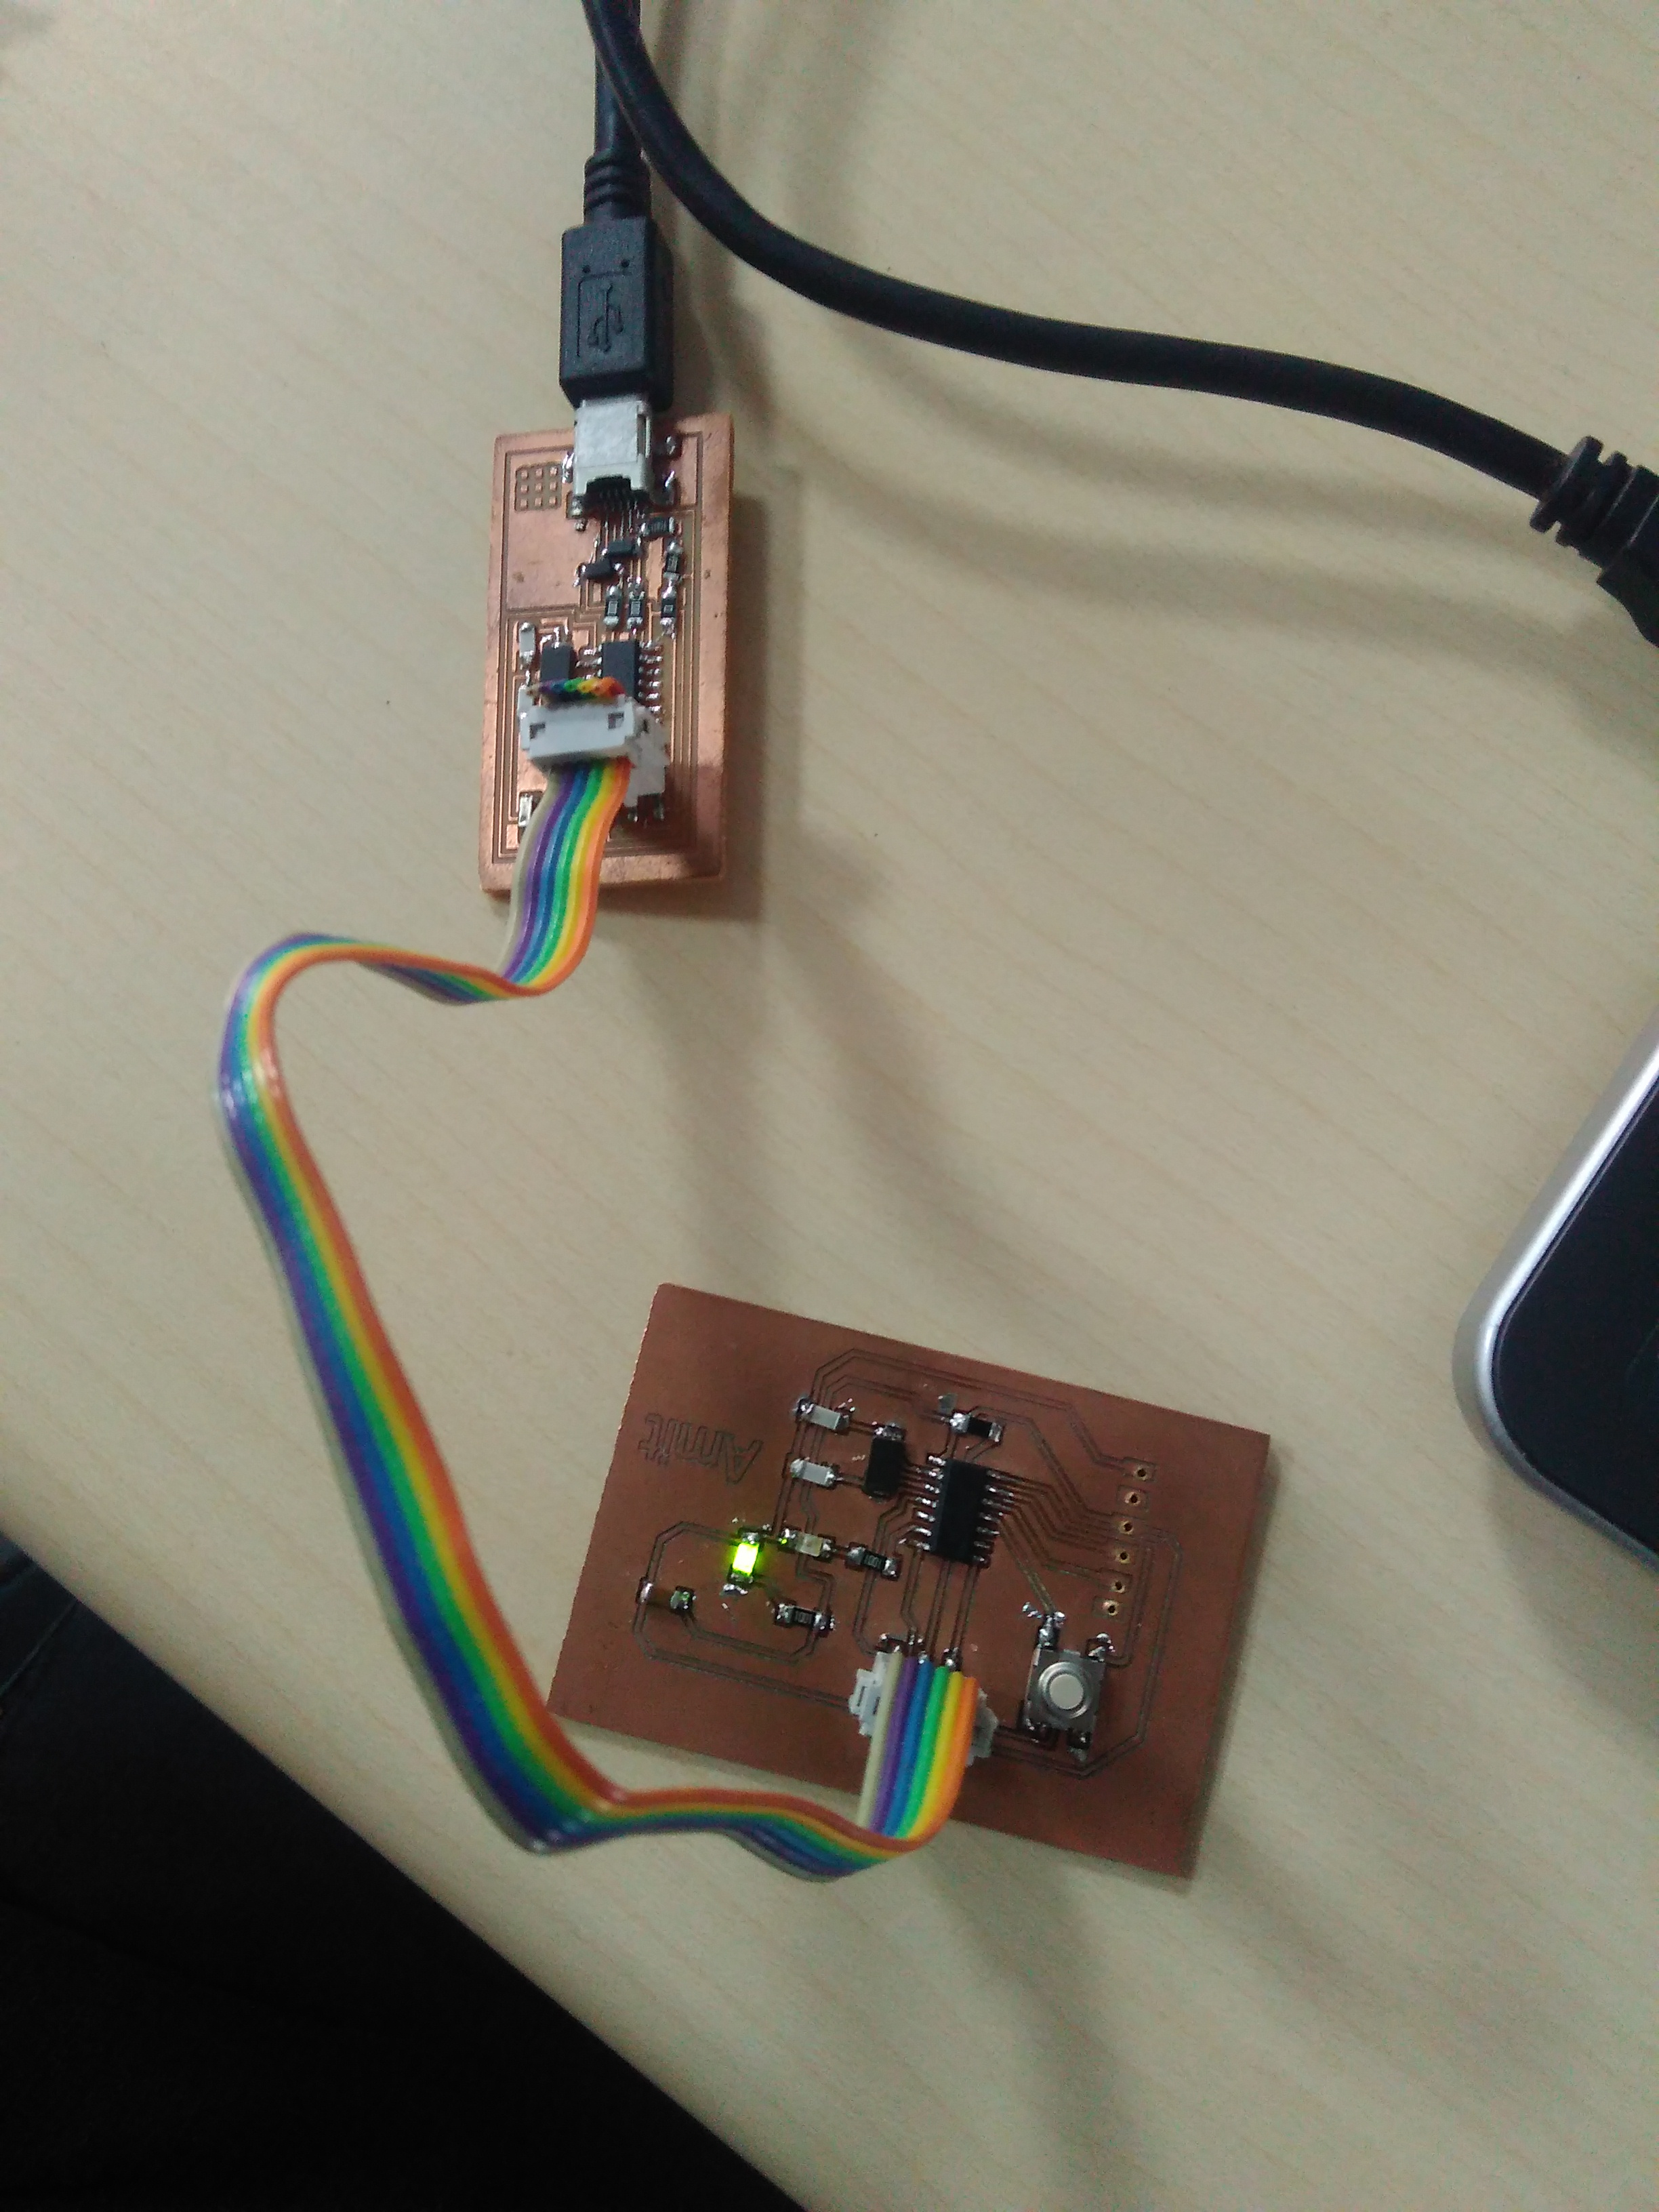
I used FABISP as programmer that I have made in Electronics Production Assignment to program the Echo Hello world Board.
fabisp
Echohellowworld
For Programming I have used Arduino IDE to code.
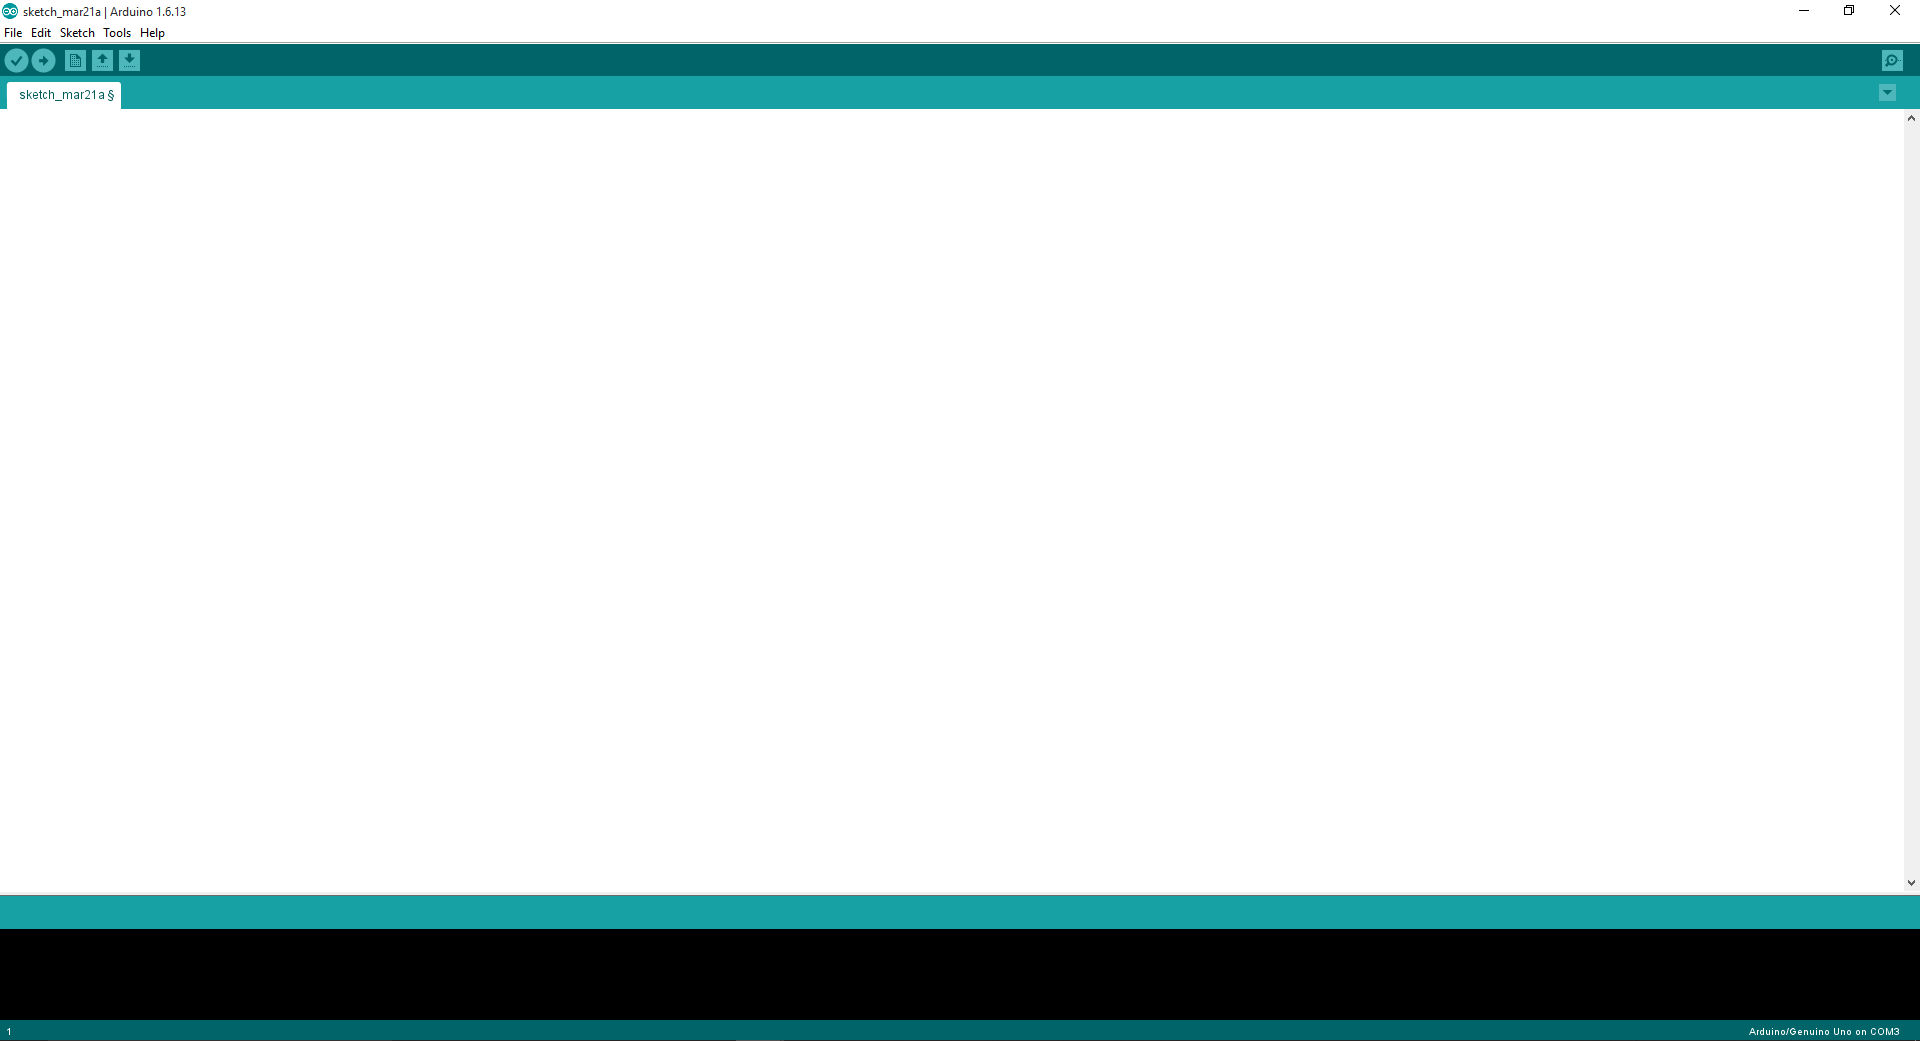
Since Attiny44 board is not available in default Arduino we need to add it to the IDE.
Process of adding the Attiny44 to the Arduino IDE.
In Arduino 1.6.4, you can install the Attiny support using the built-in boards manager.
Open the preferences dialog in the Arduino software. Find the “Additional Boards Manager URLs” field near the bottom of the dialog.
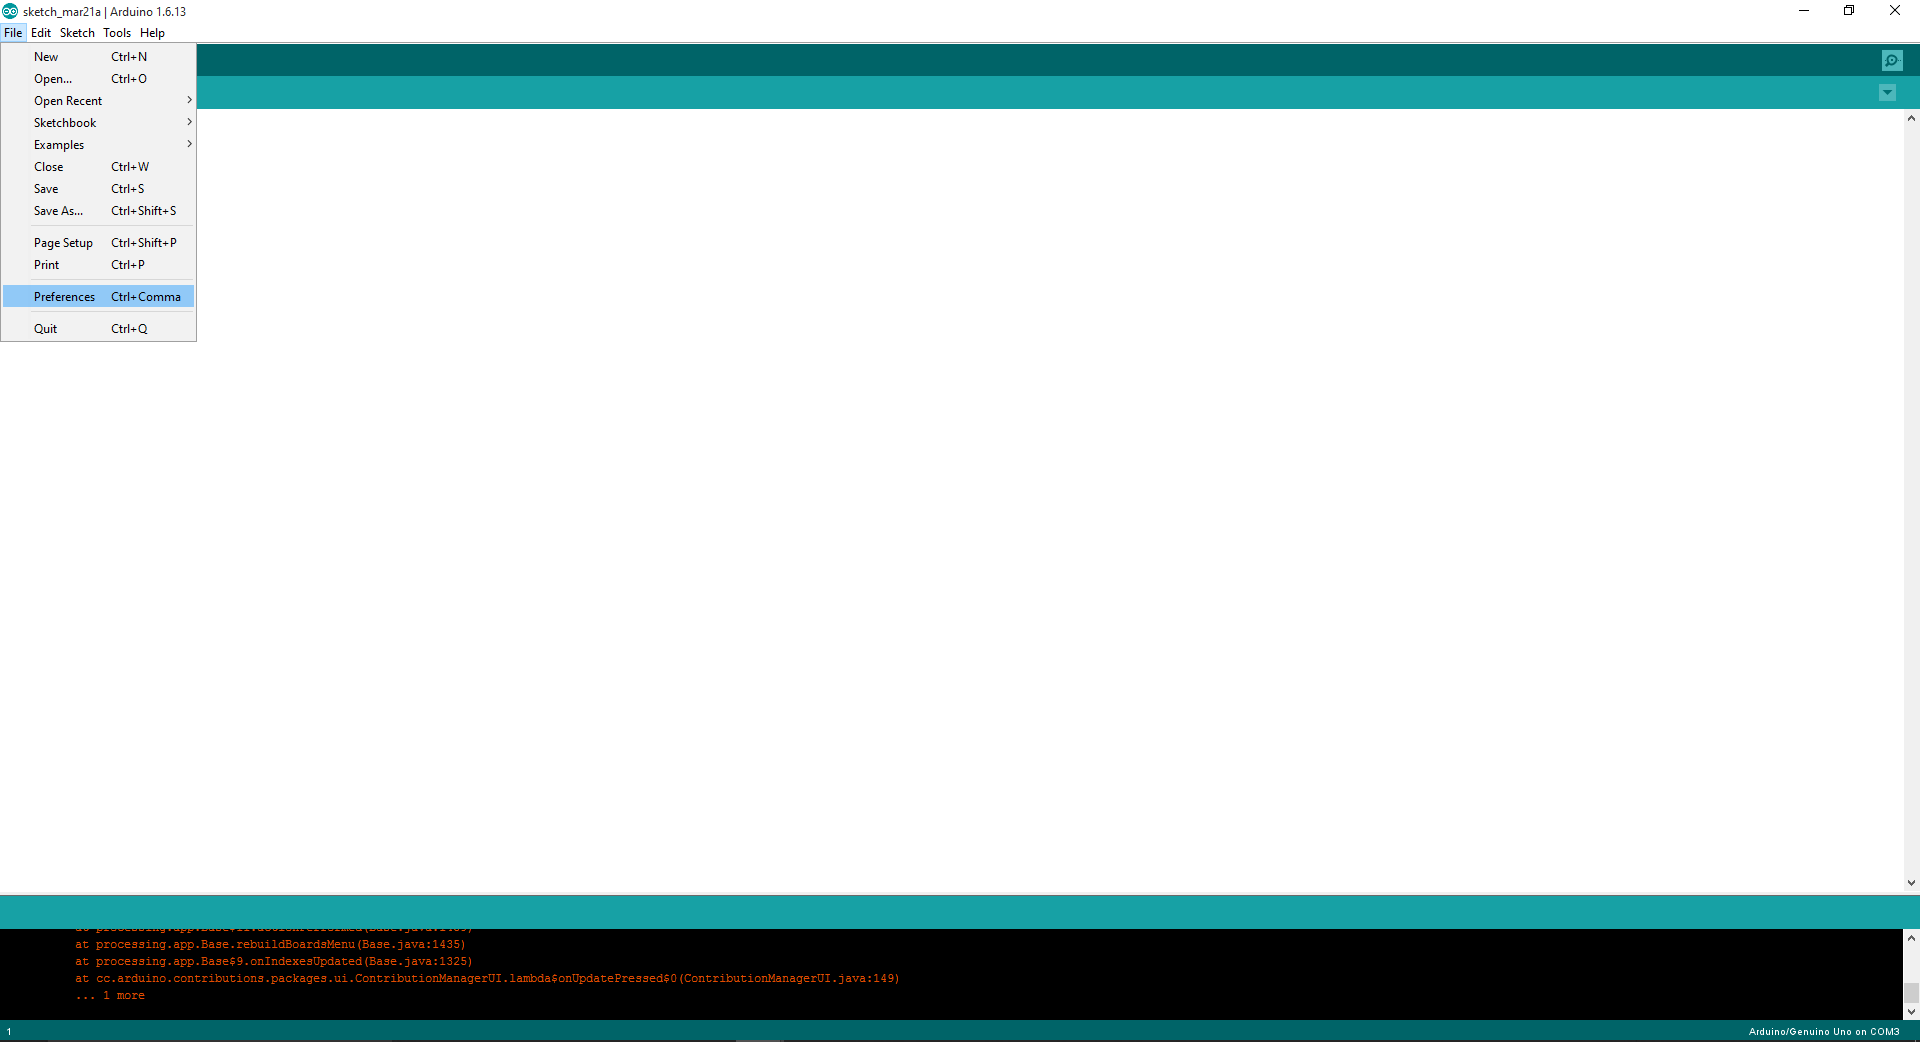
Paste the following URL into the field (use a comma to separate it from any URLs you’ve already added): https://raw.githubusercontent.com/damellis/attiny/ide-1.6.x-boards-manager/package_damellis_attiny_index.json Click the OK button to save your updated preferences.
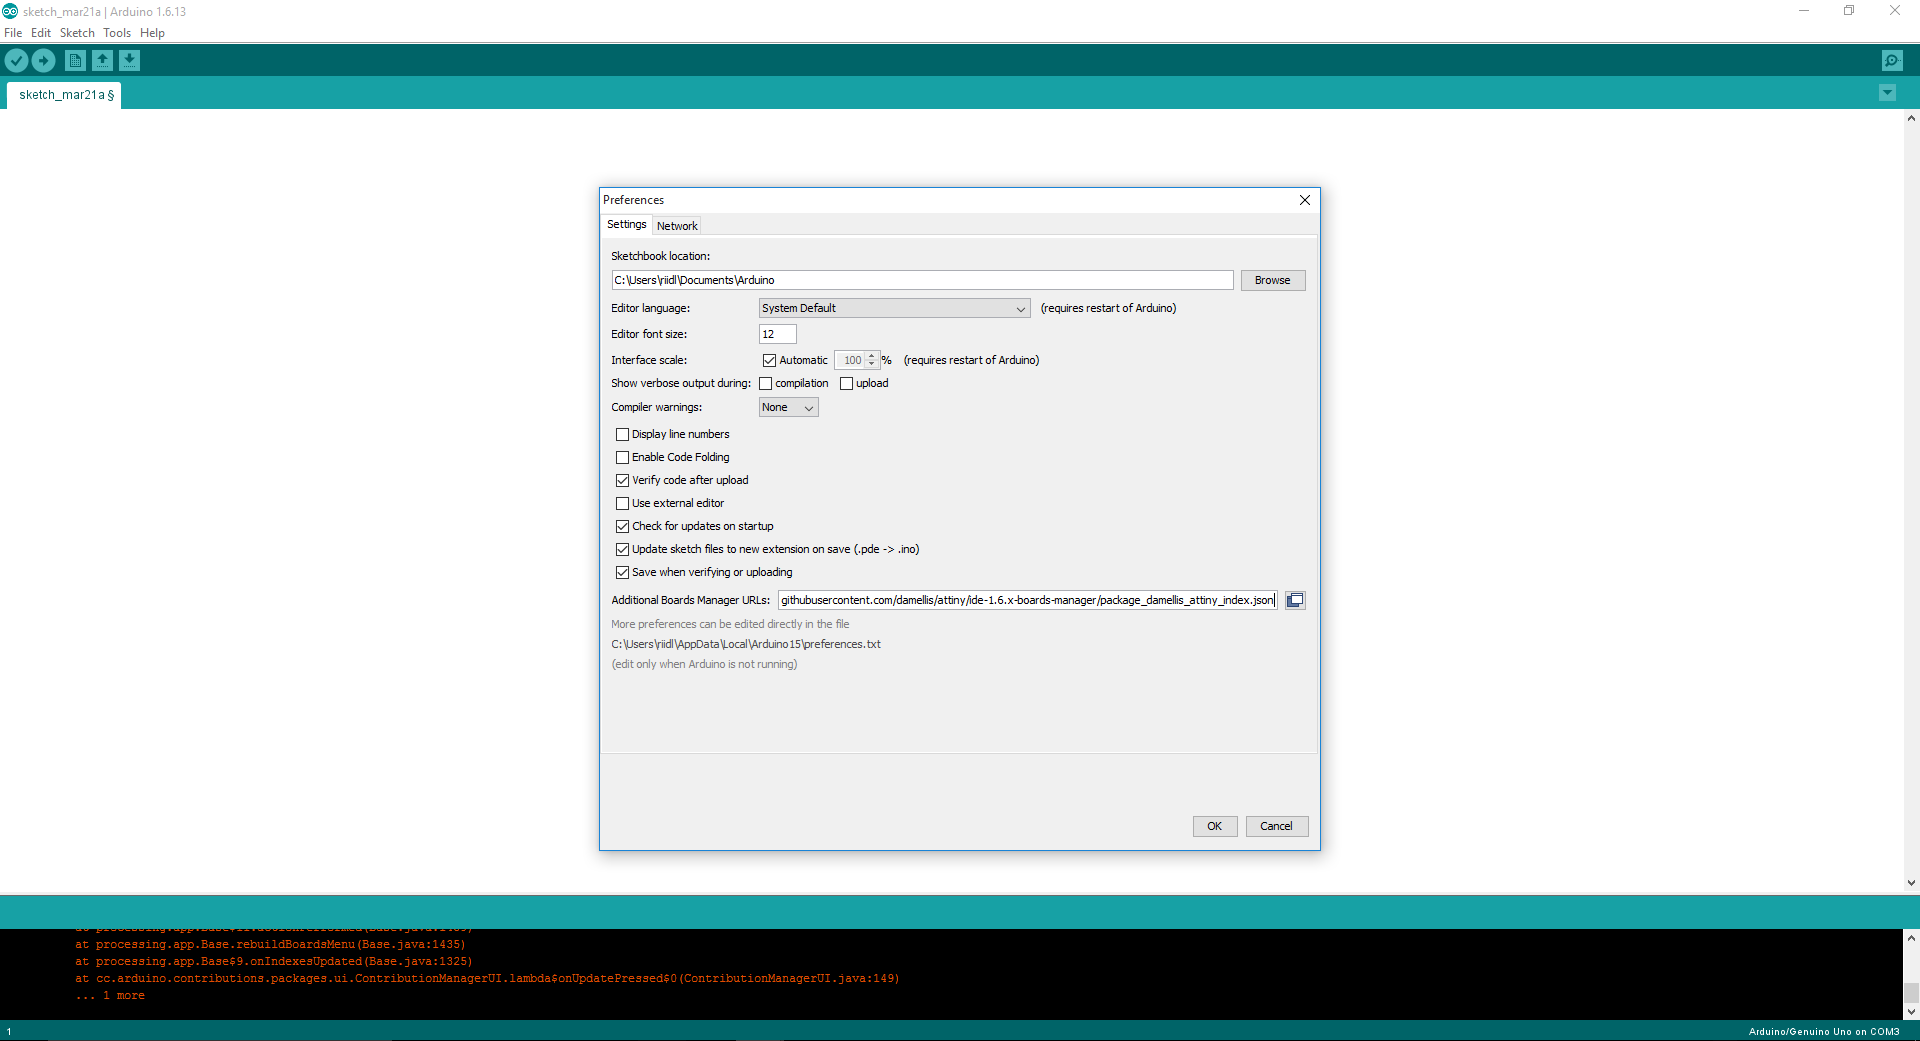
Open the boards manager in the “Tools > Board” menu.
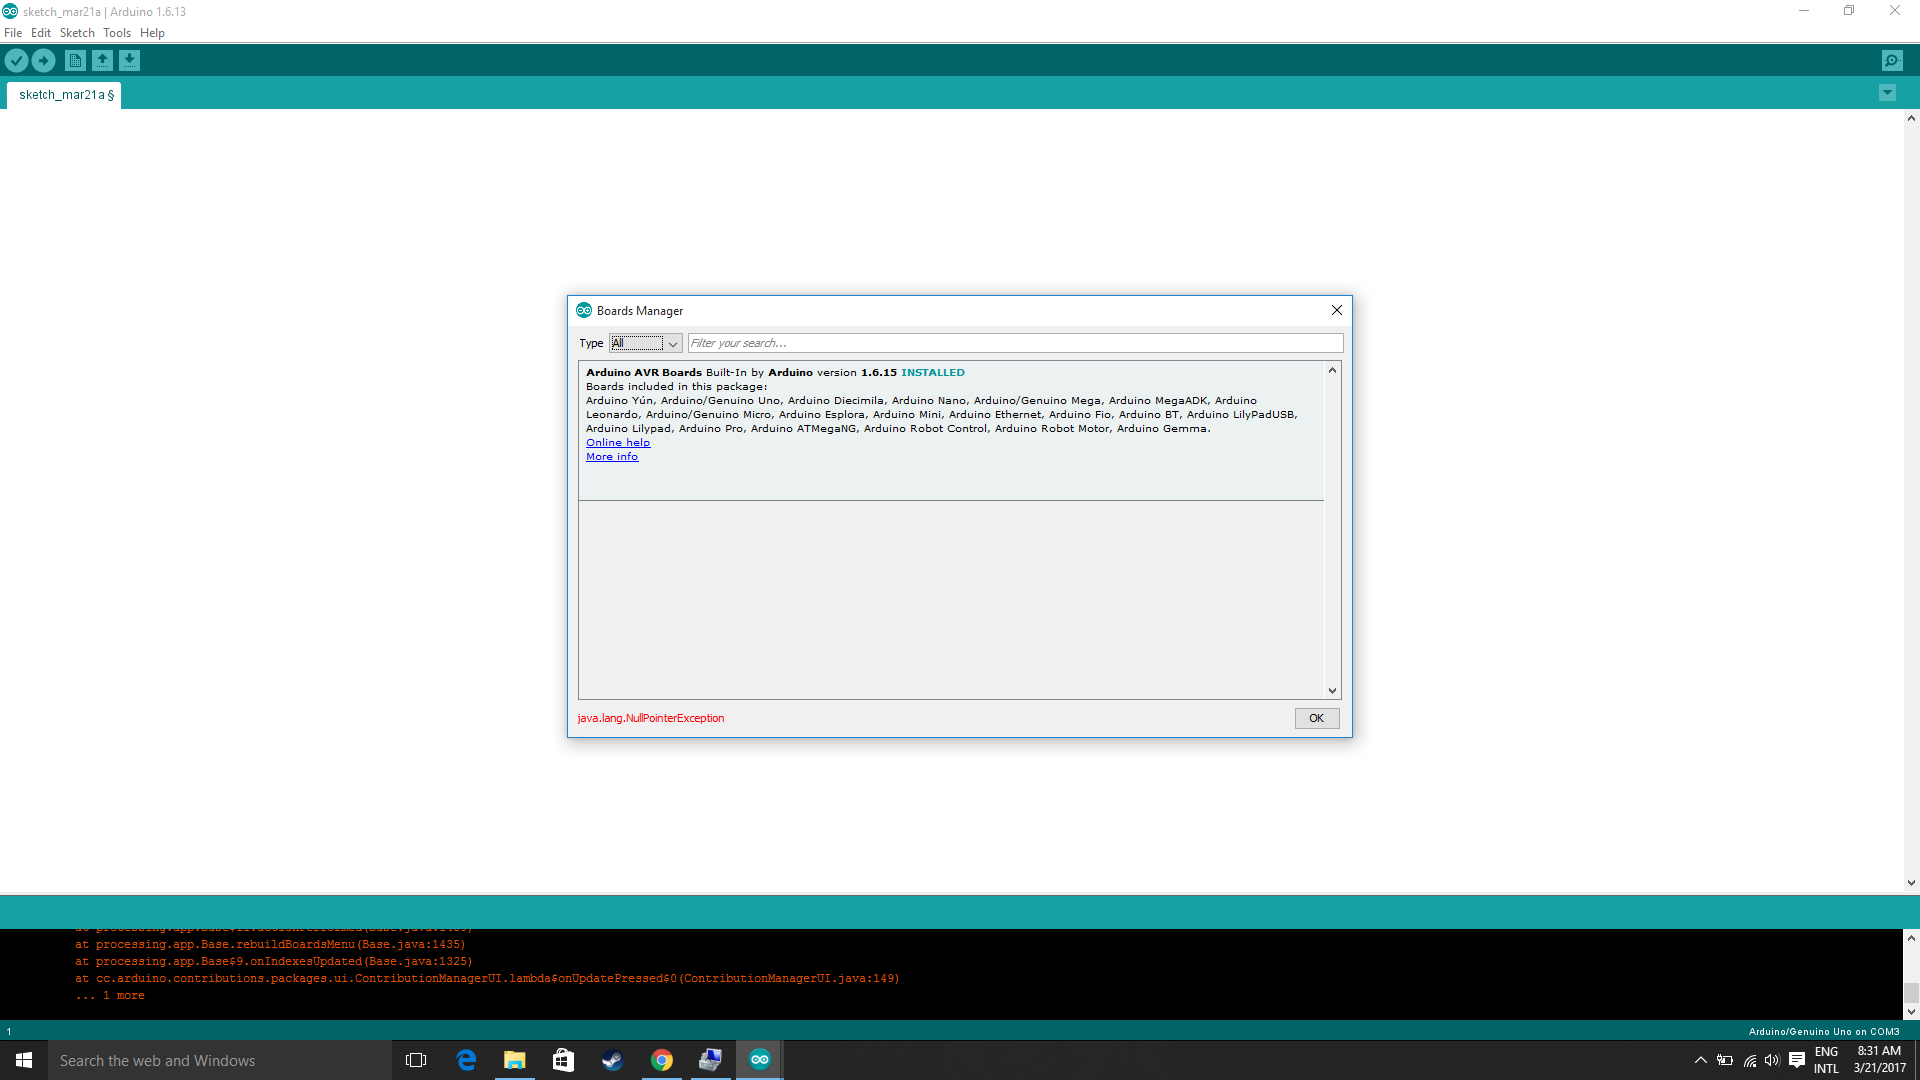
Scroll to the bottom of the list; you should see an entry for “Attiny”.
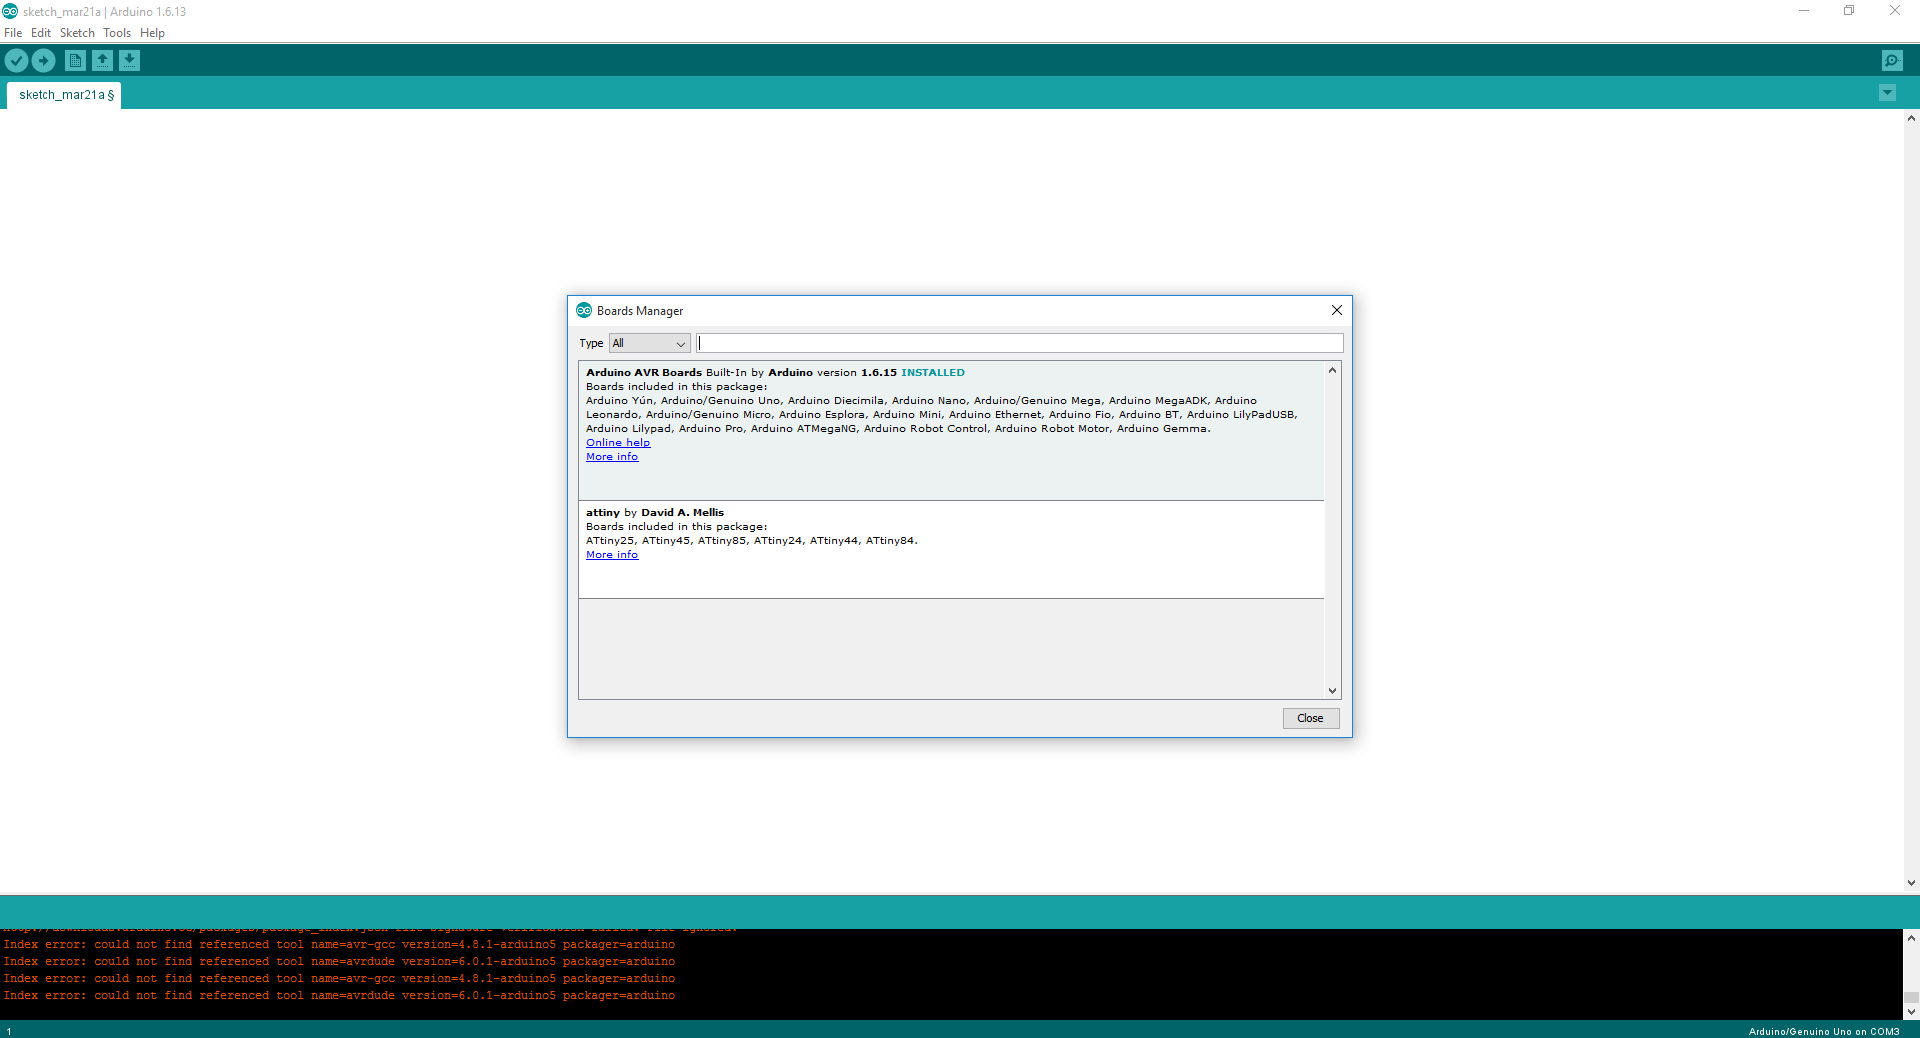
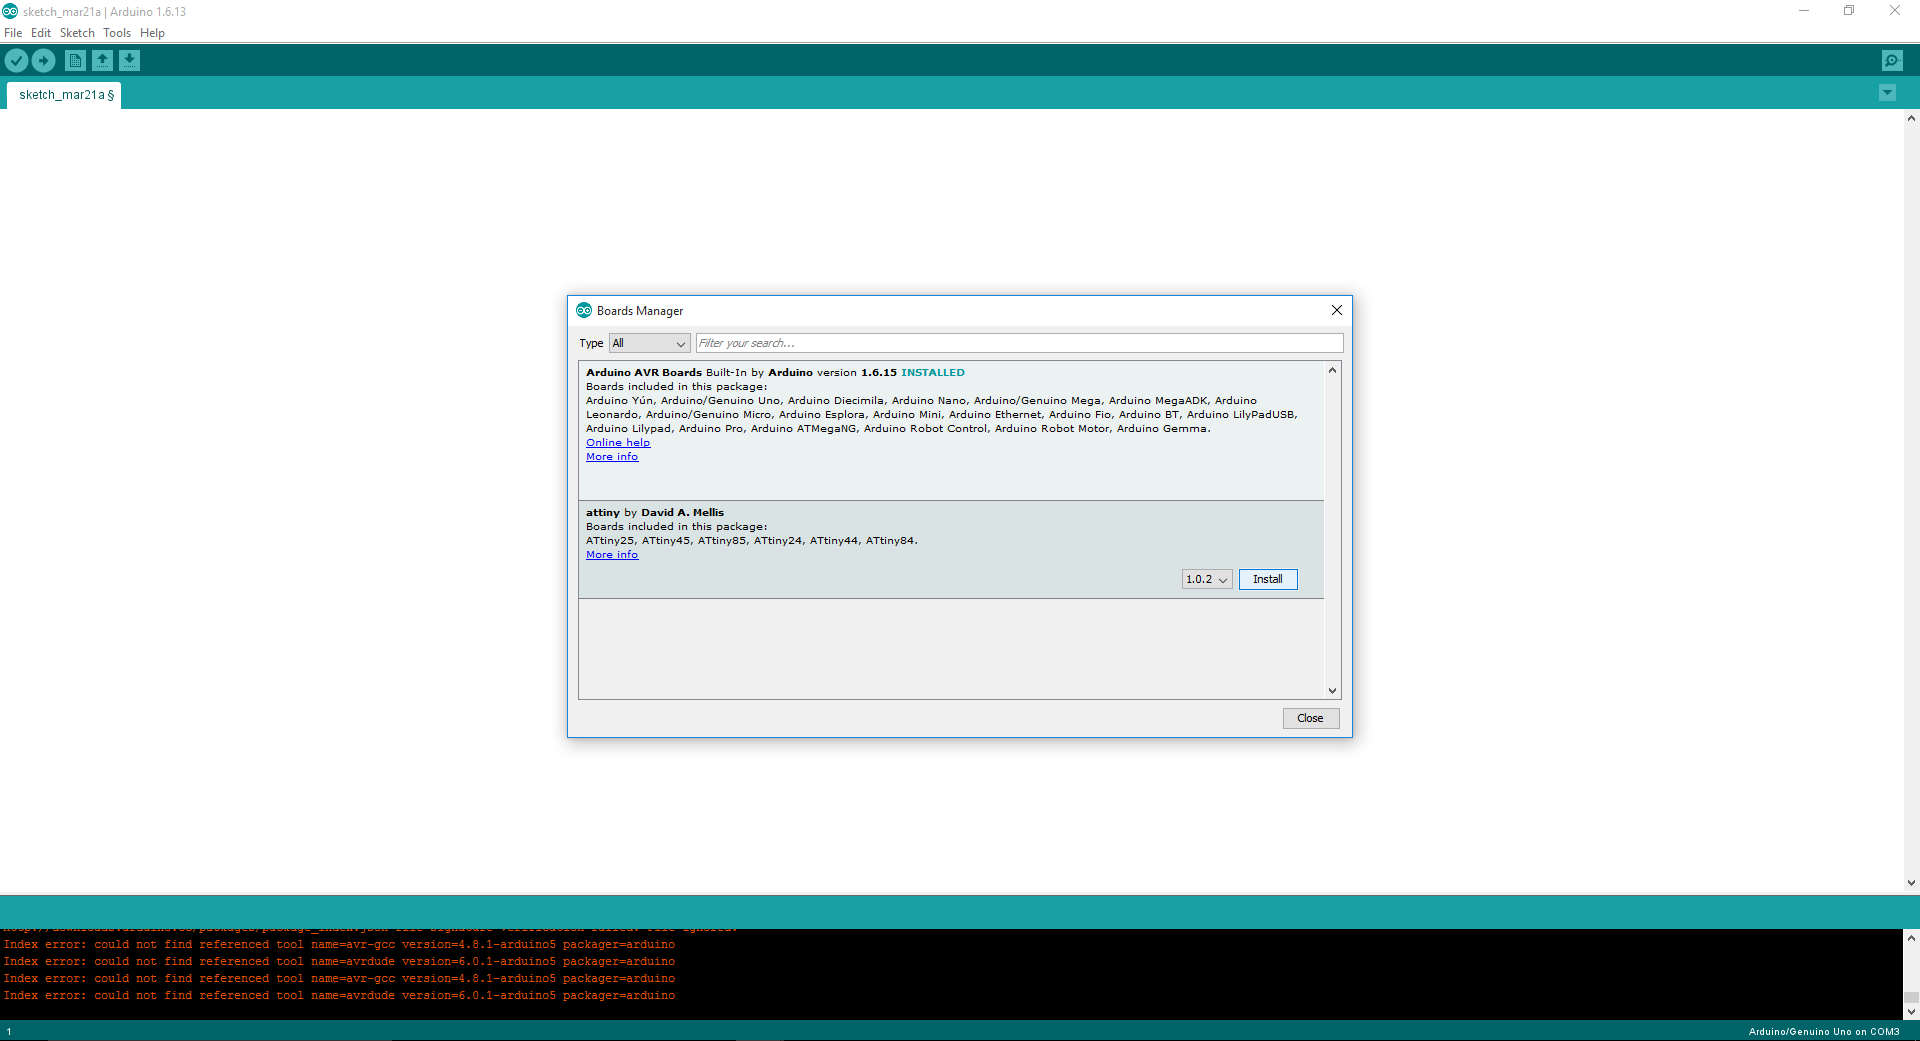
Click on the ATtiny entry. An install button should appear. Click the install button.
Connection
Final Output.
Video Link:
After trying the codes in Arduino IDE, I then decided to try AVR-C. In this way of programming data sheet is the most useful thing as I need to get data like number of ports, pin numbers, internal architectures, information on registers, etc. So first I wrote a code for blinking the LED, which came after a long tutorial on Youtube about Programming.
#include(avr/io.h)
#include(util/delay.h)
int main(void)
{
DDRB = 0b00000100;
while(1)
{
PORTB = 0b00000100;
_delay_ms(1000);
PORTB = 0b00000000;
_delay_ms(1000);
}
}
Then as after the above program I made a program which would use button for switching the LED ON and OFF according to the push.
#include(avr/io.h)
#include(util/delay.h)
int main(void)
{
DDRB = 0b0100;
DDRA = 0b10000000;
PORTB = 0b0000;
PORTA = 0b10000100;
while(1)
{
if(!(PINA & 0b00000100))
{
PORTB |= 0b0100;
PORTA &= 0b01111111;
}
else
{
PORTB &= 0b1011;
PORTA |= 0b10000100;
}
}
}
DOWNLOAD DESIGN FILES
References
- Attiny 45 Datasheet
- How to read Datasheet
- How to read Datasheet - Video
- AVR-GDB_and_AVaRICE_Guide - mirror