Week 2 Assignment: Computer-Aided Design
Goal:
Explore the 2D and 3D designing Software and explain our thoughts regarding the same. And try to make your final project design with the help of this software’s. We need to try atleast two software from 2D and 3D designing section each.
The list for 2D designing are:
2D, 2.5D design
3D design
boundary (b-rep), function (f-rep) representations
GUIs, scripting, hardware description languages
imperative, declarative, optimization
game engines
simulation
audio, video
Kdenlive OpenShot Lightworks
Premiere After Effects
ffmpeg, avconv, mencoder
mplayer smplayer VLC
HTML5 formats encoding
Among all the above list of the software mentioned, I am going to use Gimp and Inkscape form 2D Section for 2D designing and Tinkercad and Autodesk 123D* design from 3D section for 3D designing.
Let Start with Assignment-2 week-2 of Fab academy.
2D Design
For that I am going to use Gimp Software-raster
Gimp-The Free & Open Source Image Editor
I have never worked on the Gimp before and it is new to me.
Let Start with the Installation of the software. Gimp is free and open Source Image Editor software.
You can download from this link: https://www.gimp.org/downloads/

Step 1: Installation.
After downloading the software you need to setup. By clinking on the gimp2.8-18.exe if you are the windows user. The setup screen will popup and the installation will start to begin, click on the install button and gimp will install on your computer within few minutes. Gimp Installation.JPG
Step 2:
After the installation of the software. You can open the gimp by double clicking on the gimp icon. You will see the gimp window, with two tool bars on the both side on the screen.
Step 3 :
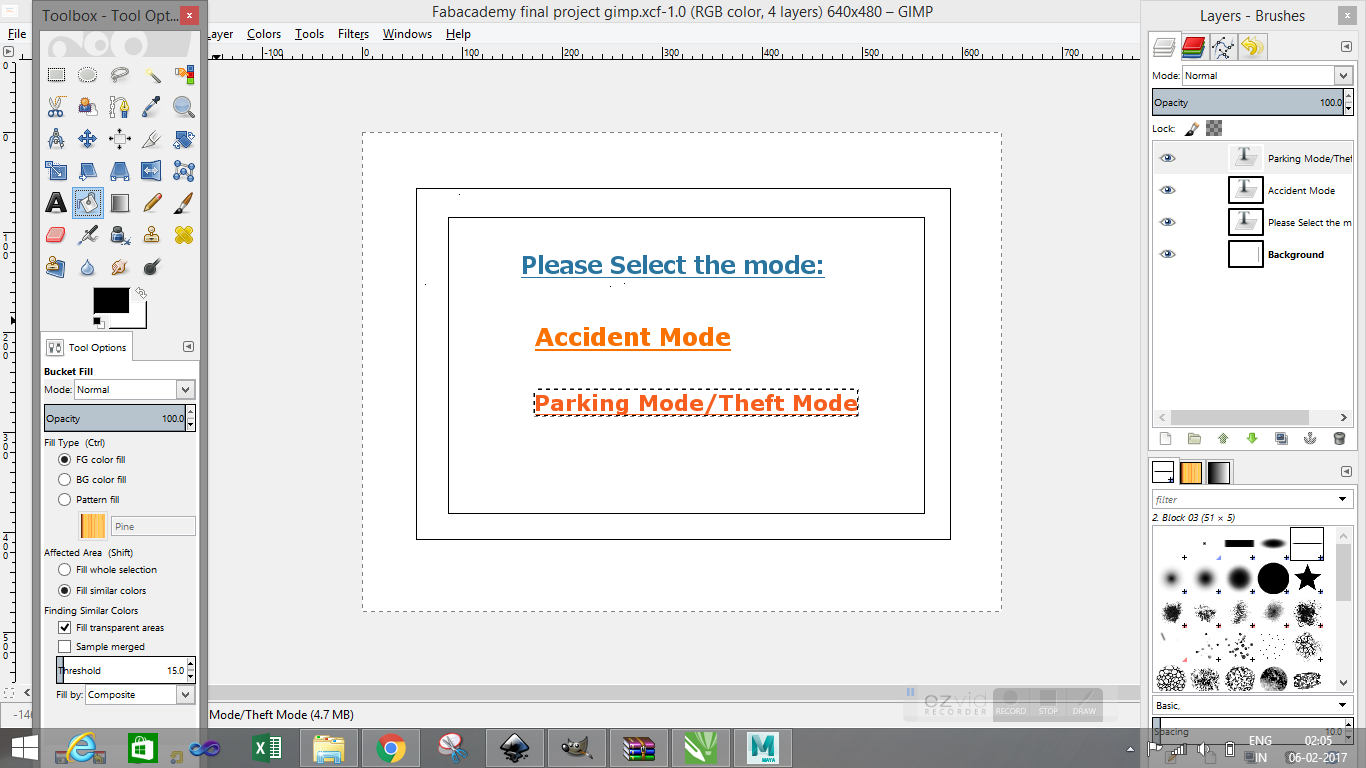
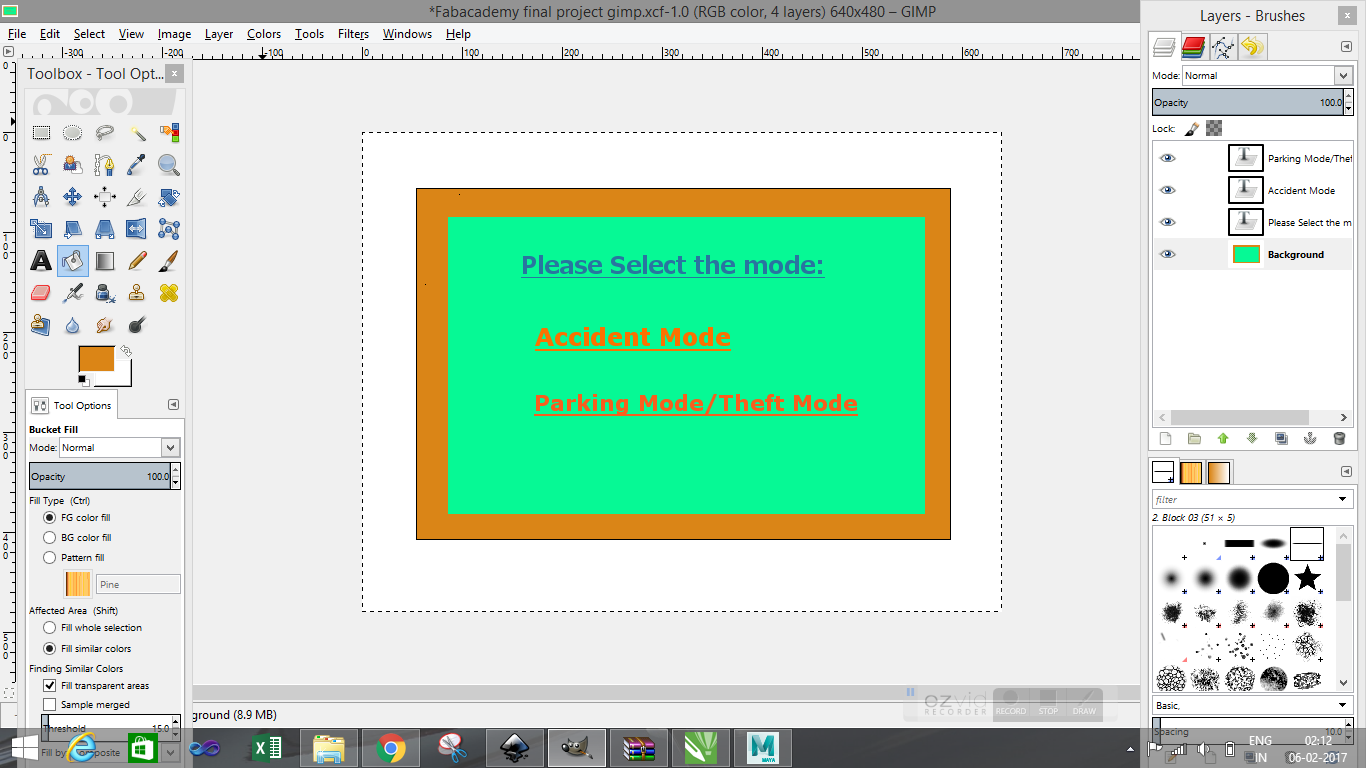
Now we will start with our designing on gimp. I am going to make my final project as the example to explore the possibility of gimp. I am going to make the top view of my project, how does it will look. For that I am going to make the box as the proposed design because I am going to use 3.2 inch TFT Touch LCD screen which will the on the top surface as display unit. As soon in figure.
Step 4:
I Created New file and selecting 640X480as Dimension of the image window.
There are toolbar available in GIMP on both hand side of the window such as :
1. Toolbox and Tool Option
2. Layers and Brushes.
I need to draw the rectangle as per my proposed design but is was very hard to find the rectangle, or any other shapes. After searching I realised that there is no tools for that, we need to make by on our using different tools such as paintbrush tools to make straight line. After some efforts and exploring different tools option I was able to make my outer box.
Now I need to enter text Selection, Move, Edit is very difficult to understand and implement in GIMP.
Follow the instructions to understand the flow:
i. Select the "Action" form the toolbox first. e.g. if you want to move the text select the MOVE tool.
ii. Select the desired ”text” from the Layer box.
iii. Hold down "SHIFT KEY" while you drag/move your text.
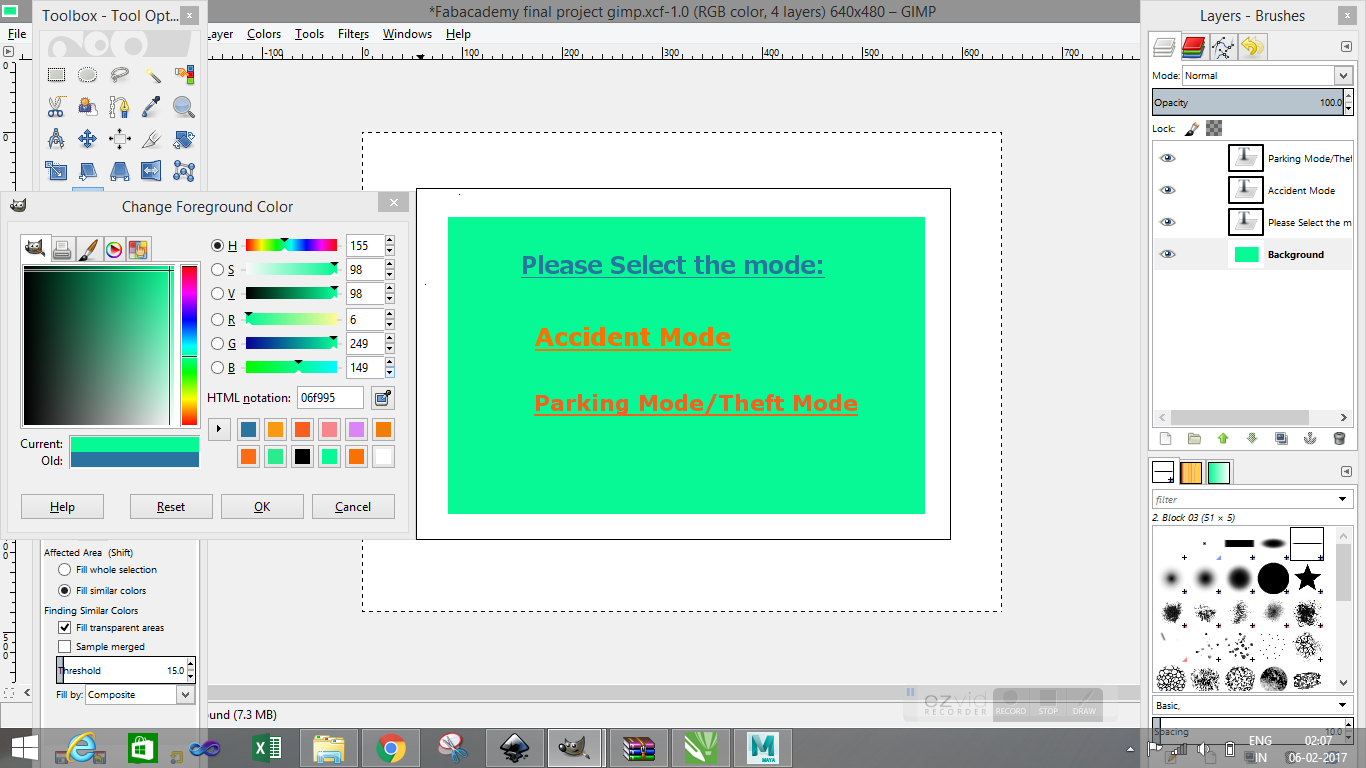
Now the final output with colour tools is shown in the image below.
And the 2nd Software: Inkscape:
Inkscape:
Inkscape is professional quality vector graphics software which runs on Windows, Mac OS X and GNU/Linux. It is used by design professionals and hobbyists worldwide, for creating a wide variety of graphics such as illustrations, icons, logos, diagrams, maps and web graphics. Inkscape uses the W3C open standard SVG (Scalable Vector Graphics) as its native format, and is free and open-source software.
I have never used the Inkscape before same as gimp. So i will exploring too and hoping is should be much easier than gimp.
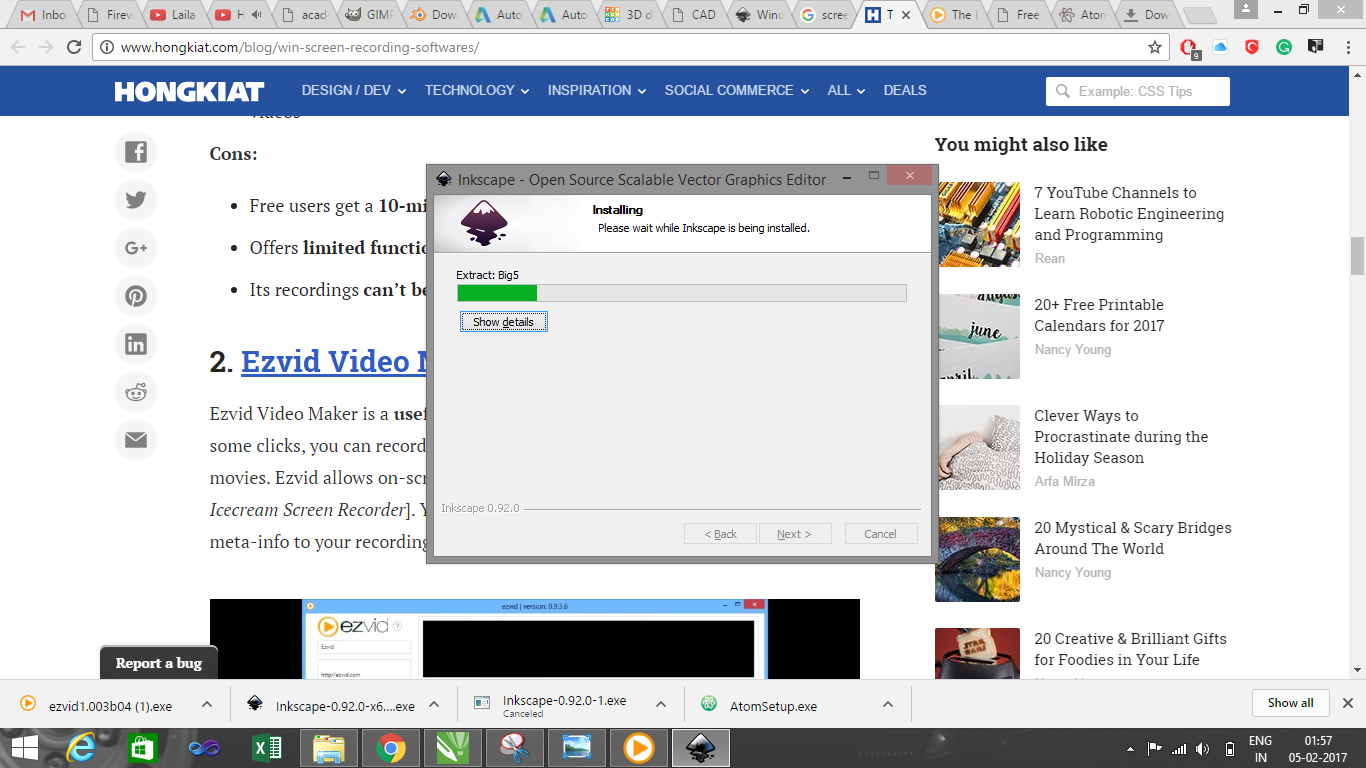
Let start with the installation process.
You can download from this link: https://inkscape.org/en/download/windows/ for windows

Step 1: Installation.
After downloading the software you need to setup. By clinking on the gimp2.8-18.exe if you are the windows user. The setup screen will popup and the installation will start to begin, click on the install button and Inkscape will install on your computer within few minutes.
Step 2: After the installation of the software. You can open the Inkscape by double clicking on the inkscape icon. You will see the Inkscape window, with two tool bars on the both side on the screen.
![]()
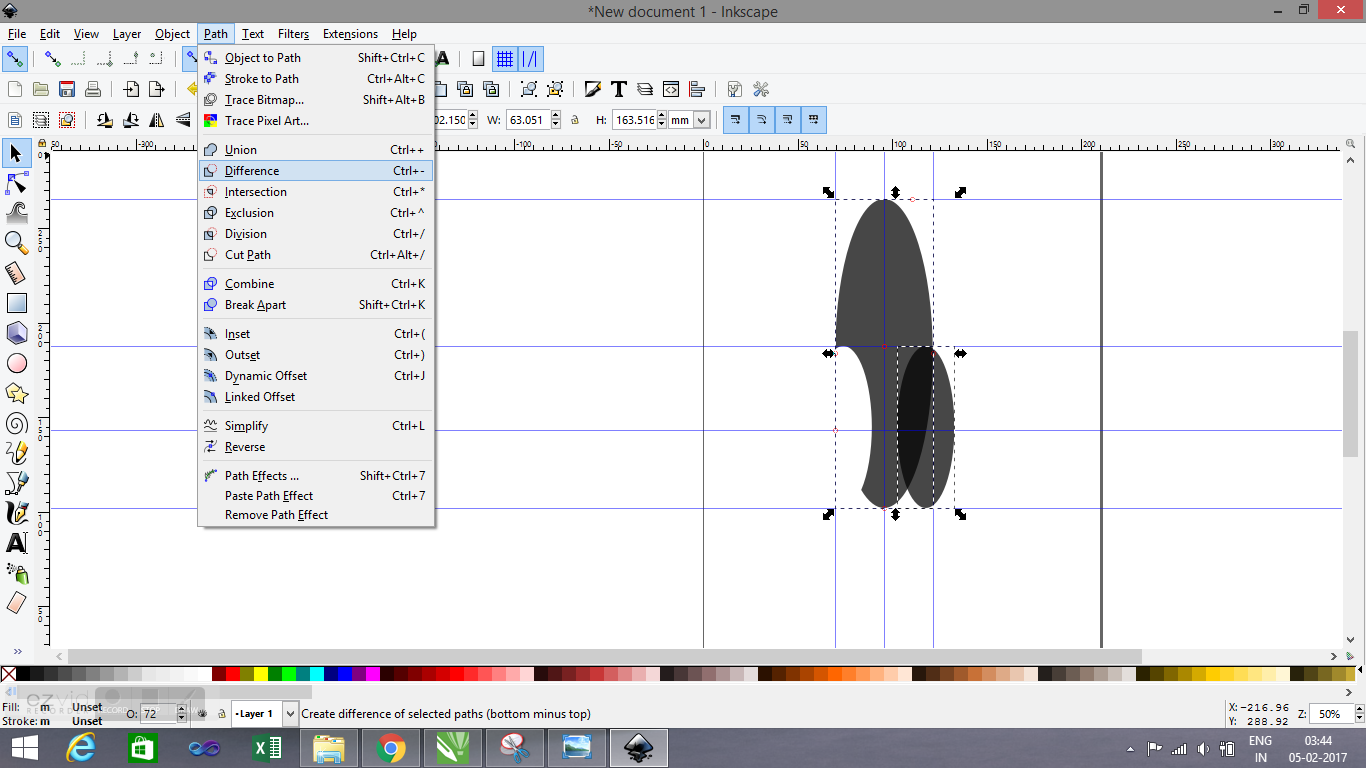
Step 3: Now let start with the designing of the object, for that I will be designing a knife like structure which I need to use for adjusting the distance between the laser and the material that we kept during the time for cutting. It will solve two purpose i.) I need because every time when I want to operate the laser cutter machine I need adjusting the distance and every time is have to search for it, so the design is such that I can kept hanging side the machine os that it should not be misplaced. and the ii) when people irritates me I can use this as a weapon to scare them.
Step 4: The open environment is similar to Photoshop and illustrator. I used circle which I used to make cirlces form the left side of the toolbar option.
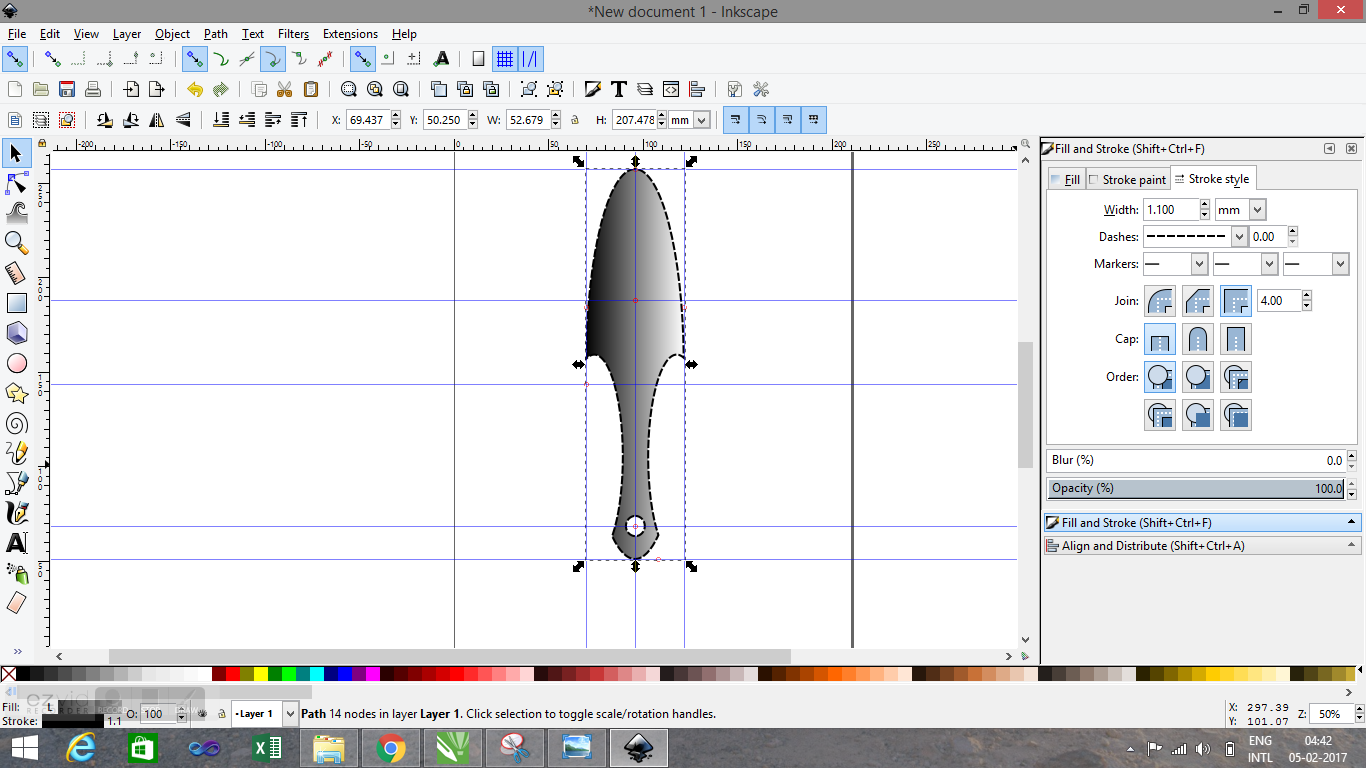
Step 5: I used the difference tool form the path menubar to get the desired shape which is shown in figure.
Step 6: Then is used Fill and strokes tool to add more effects to it such as opacity, linear gradient, and strokes to get the final output.
3D Design
For 3D designing there are plenty of software in which you can workout.
I am going to use Tinkercad and Autodesk 123D* Design.
Tinkercad
Tinkercad is an easy, browser-based 3D design and modeling tool for all. Tinkercad allows users to imagine anything and then design it in minutes.
Website: tinkercad.com
Home Page after signup:
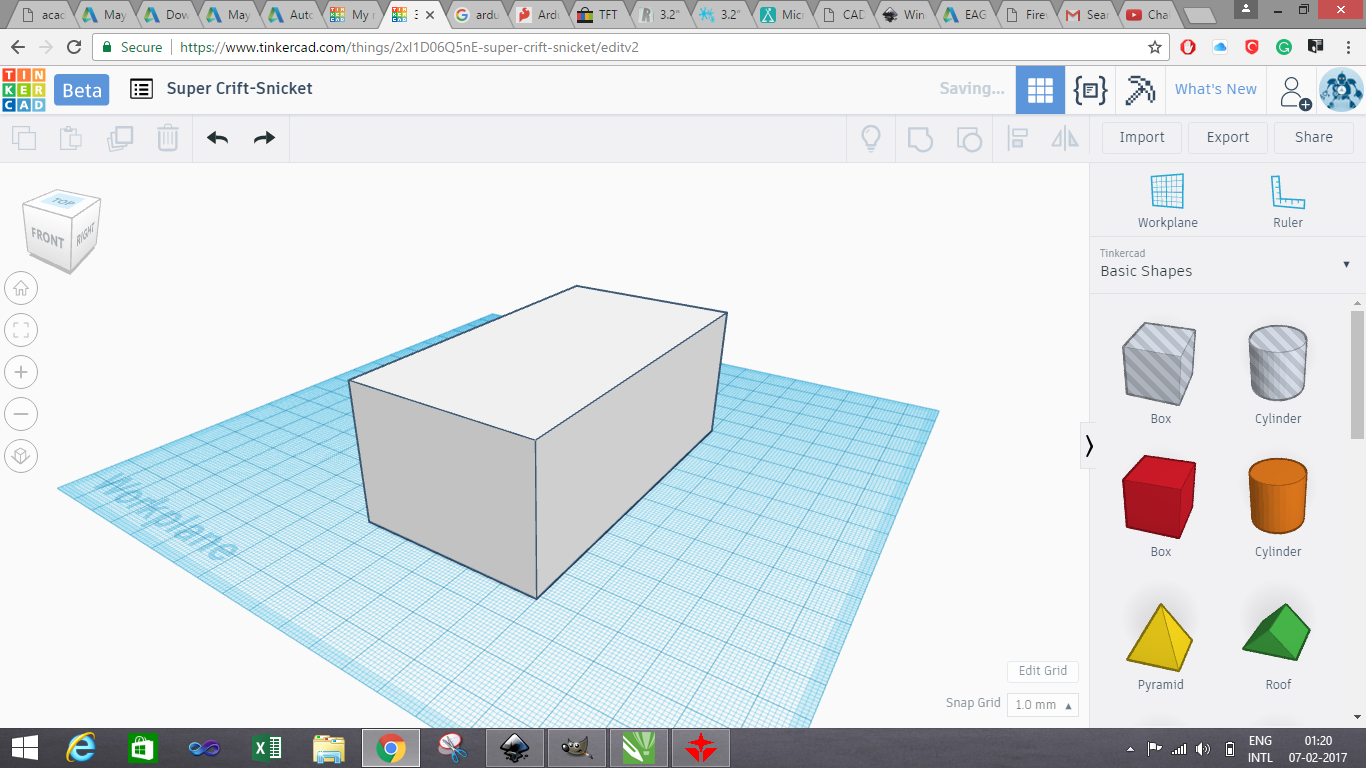
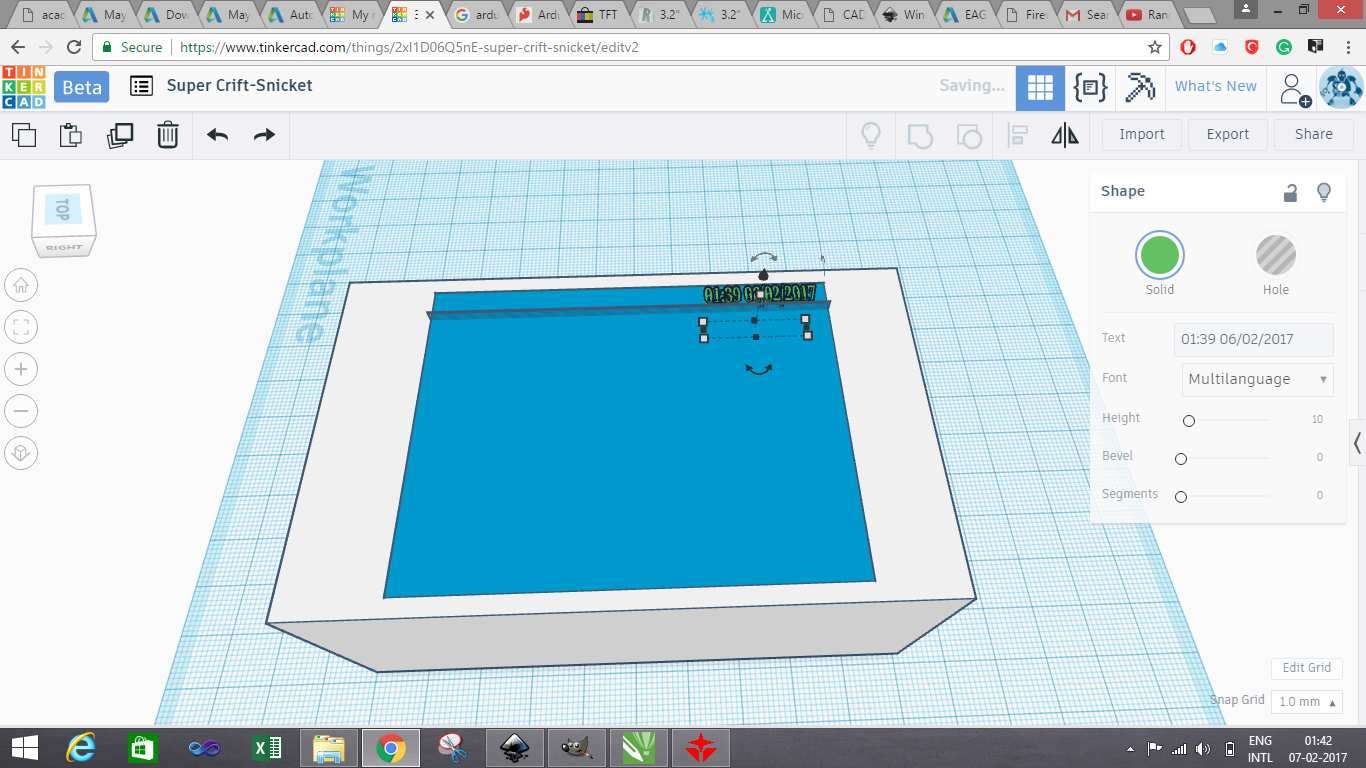
For this assignment is am going to make my final project design casing.
1. I created a rectangle by using box command from basic shapes tab.
2. After then I used text command from the text tab for adding text.
3. I changed the color of the object by using shape tab which appear when you click on the object.
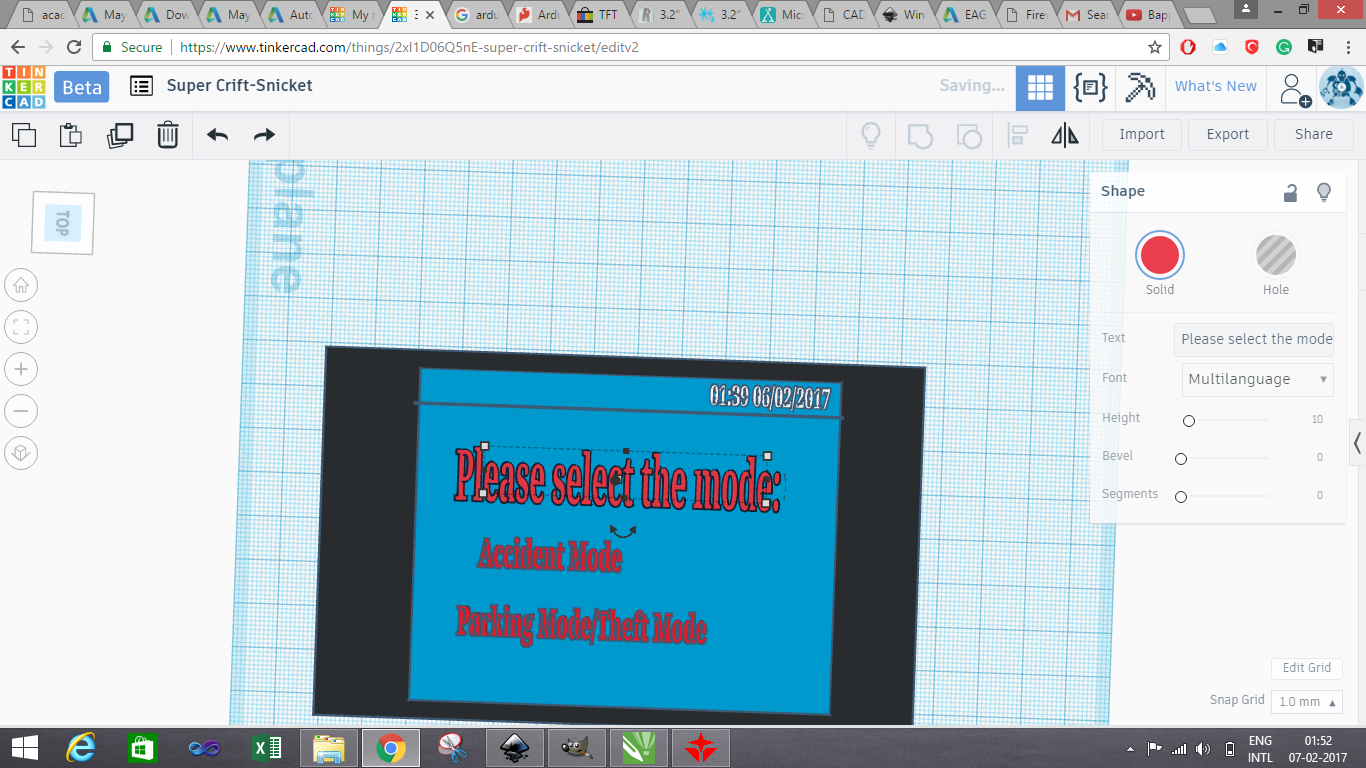
4. I used box and circle which I combined to make a shape of button and added a slot for power jack on left hand side of the kit.

5. Then I created slit with the cylinder for buzzer.
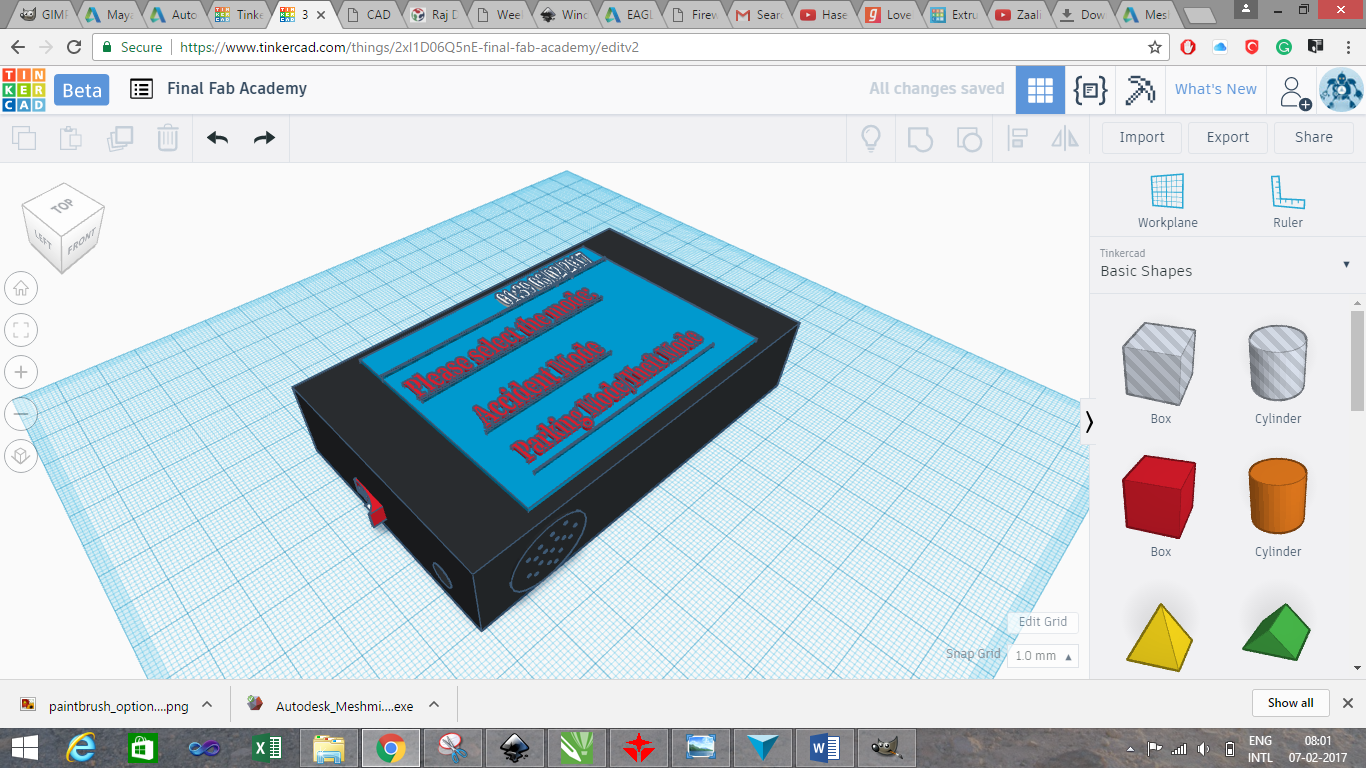
Here is the Final output :
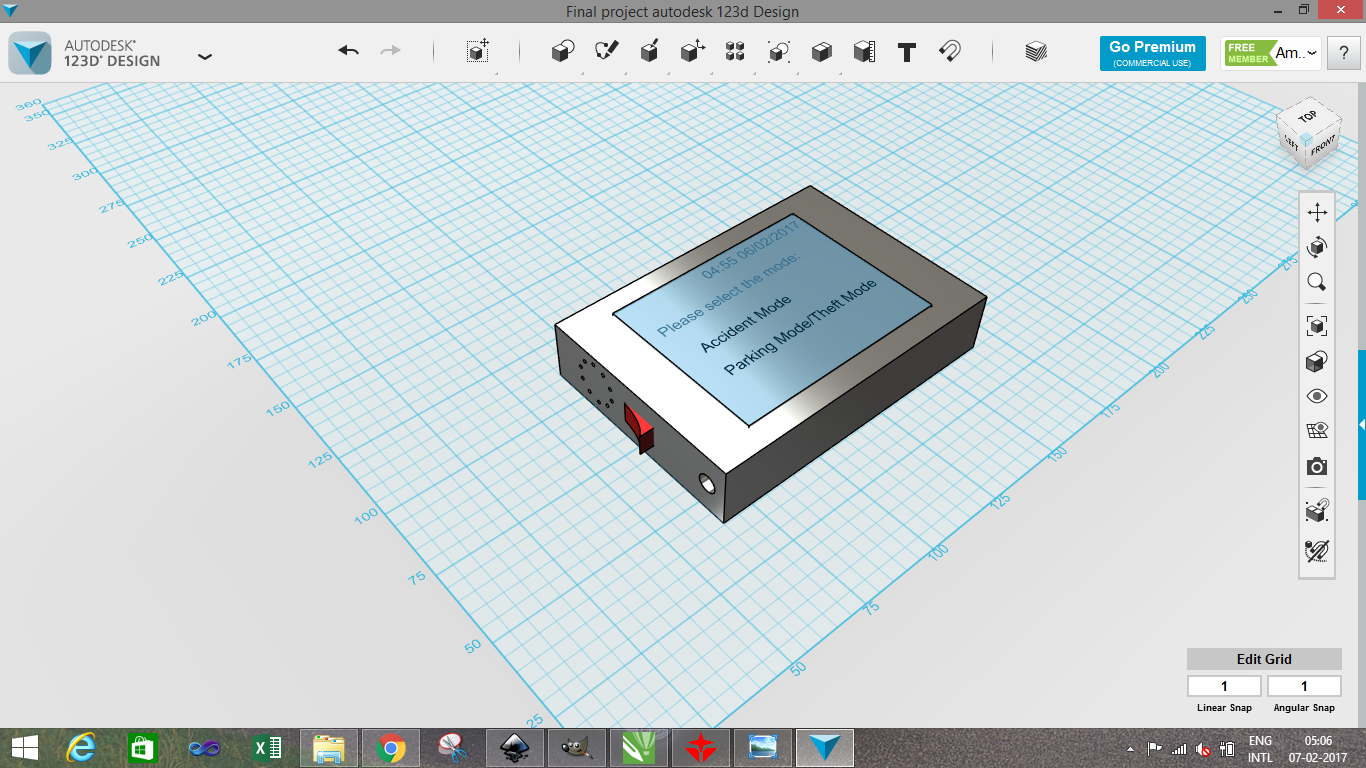
Second Software used for 3D designing is Autodesk 123D* Design
Let start with the installation process.
You can download from this link: www.123dapp.com/design for windows
Step 1: Installation.
After downloading the software you need to setup.
Step 2: After the installation of the software. You can open the gimp by double clicking on the gimp icon. You will see screen same as tinkercad but advanced features.
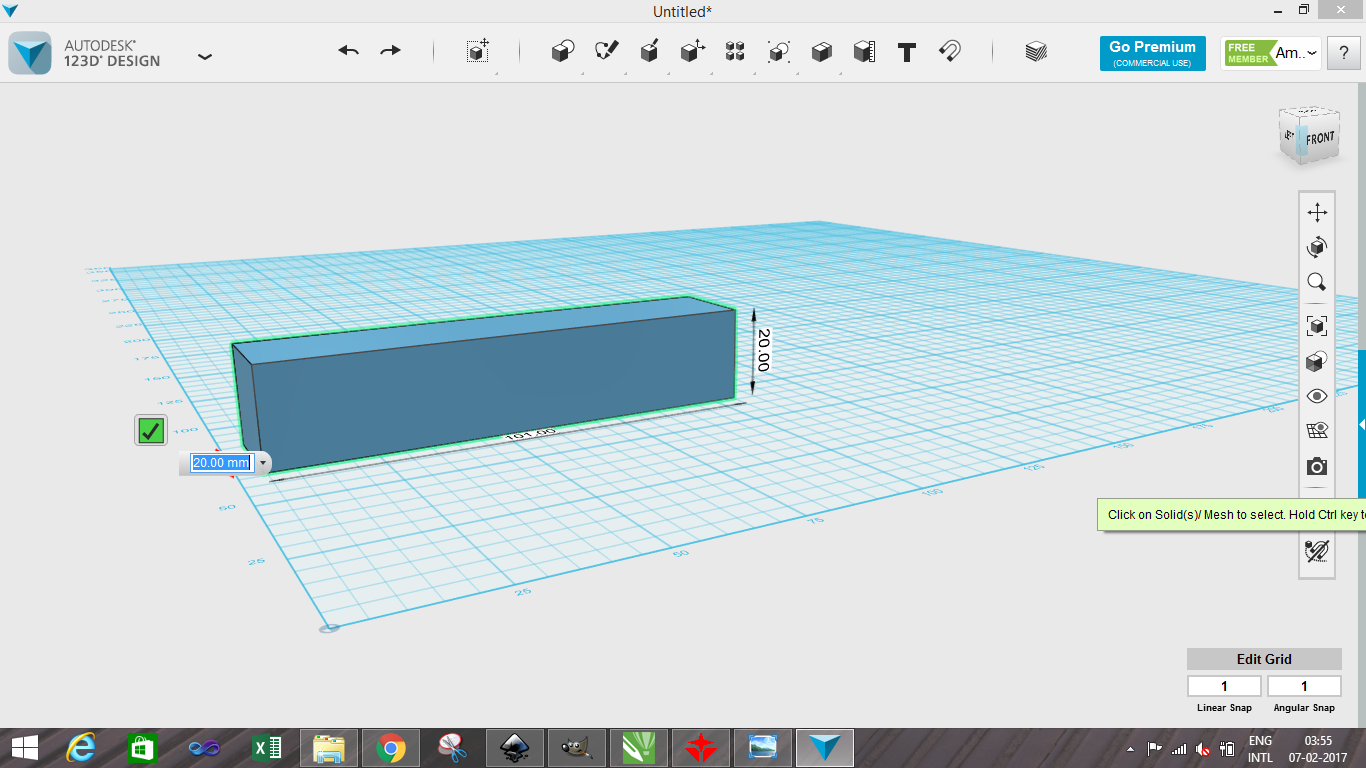
Step 3: For this I am going to make my final project as example. I started making the base using primitives tool.
Step 4: I made a rectangle using the Box command which is available in the Primitives tab.
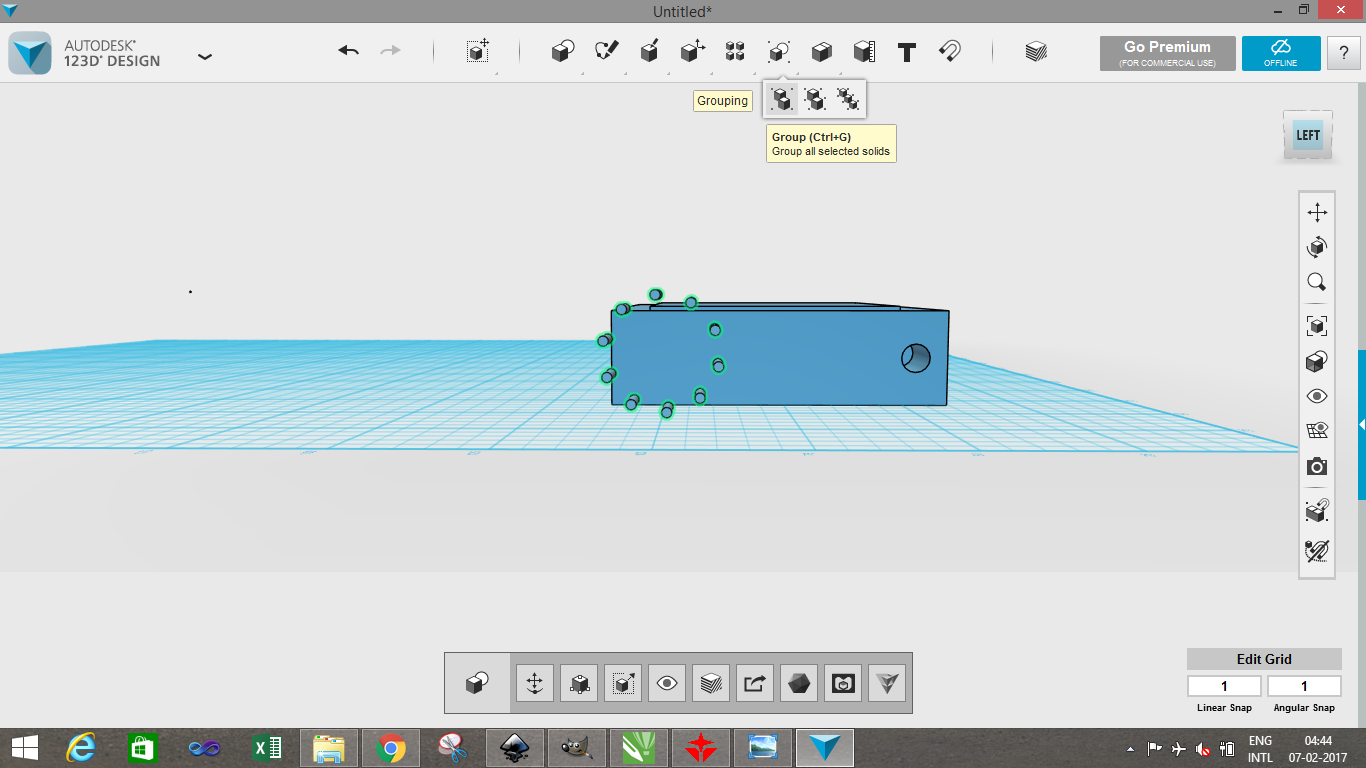
Step 5: I made a cylinder using the Box command which is available in the Primitives tab for dc jack with the difference option available under the combine tab to make hole for dc jack.

Step 5: I made a cylinder using the Box command which is available in the Primitives tab for buzzer outlet. I used the circular pattern option under the pattern tab which made the single cylinder around the axis to form a circular pattern.
After then I usedthe difference option available under the combine tab to make small slits.
Step 6: I combined the rectangle and ellipse to make button which is in the Primitive tab.

Step 7: Then I used text command to add text to show data from the kit.
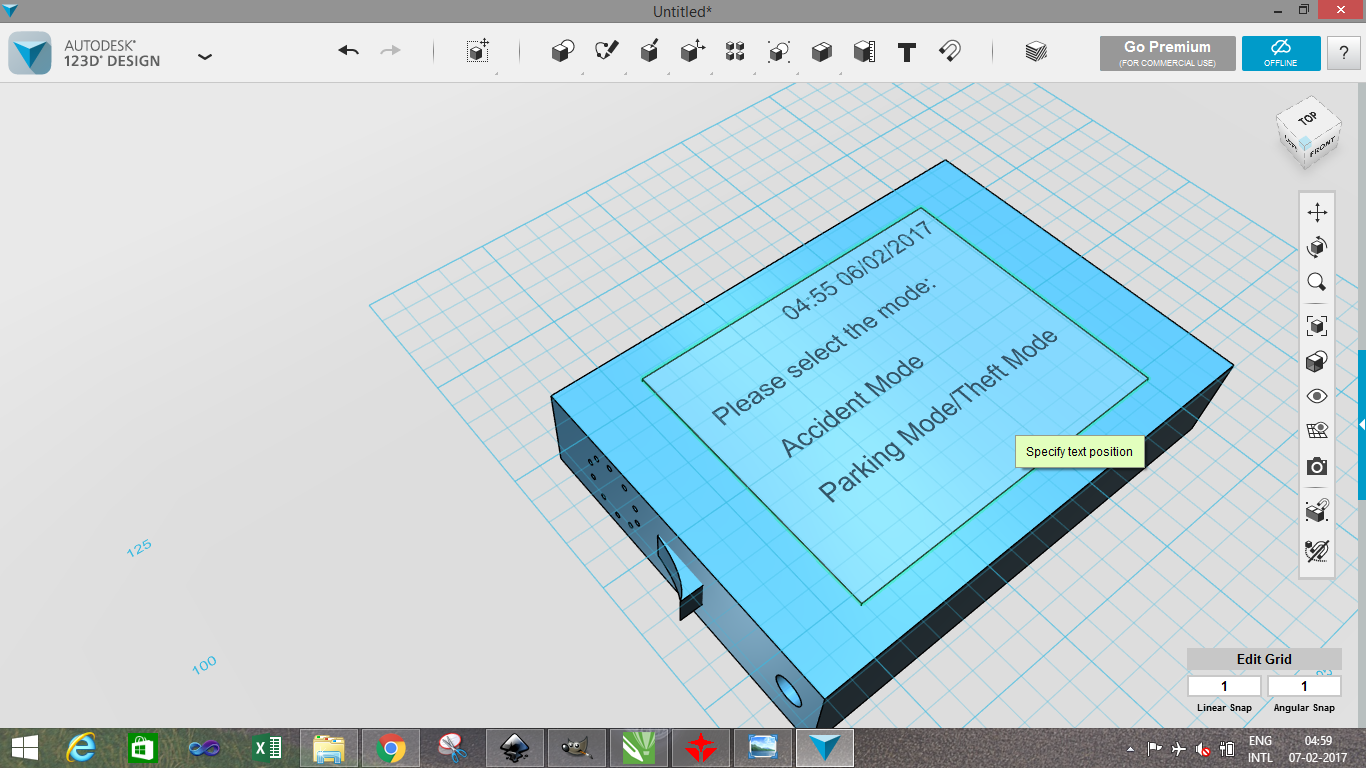
Step 8s: Finally I used material tool to give it a final product touch as shown in figure.