Assignment 12

molding and casting
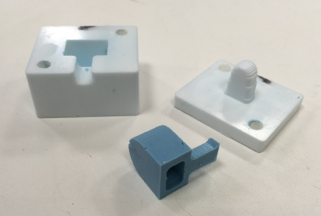
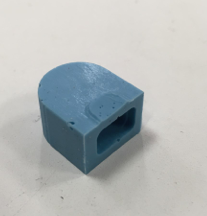
I wanted to make rubber plugs to my final project so I designed plugs which are possible to cast and then started to design proper mold for them.


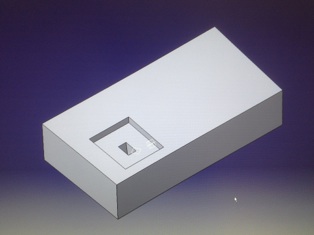


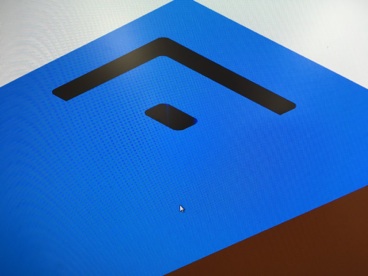
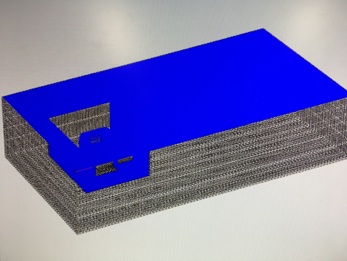
Final casted part should look like this.
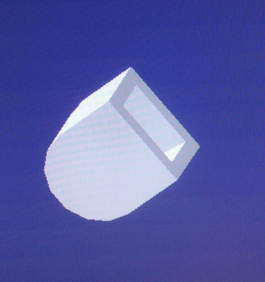
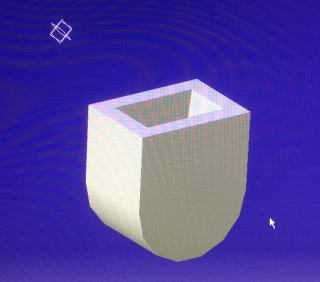
I started mold design in CATIA by modeling a final part. Then I added new body to my part and removed final part outline shape from it to make lower mold. Upper mold I made same technique but I added to modeled plate (new body) inner shape of my final part.
Upper mold
Lower mold
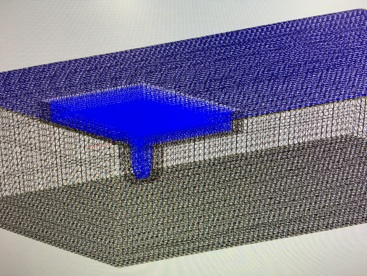
After modeling molds I need to model milling mold for molds. So I continued like before but I removed mold shape from bigger plate to make molds mold.
Upper molds milling mold
Lower molds milling mold
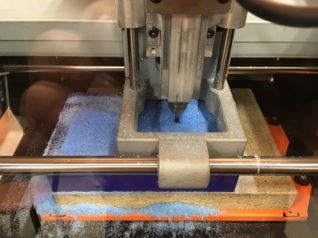
I saved models to .stl file format for opening them in I ROLAND Modela Player 4 software to make milling routes. Then I just milled molds mold to plastic by using our lab Roland MonoFab (SRM-20) mill. I went through next steps when I made milling routes. Modela Player 4 is windows install type software so it guide you through whole process step by step. You just select correct processes, tools and parameters. I used basic setting parameters of Modela Player. As a tool I used 3.18 mm flat end mill for roughing and 0.79 mm flat end mill for finishing. With roughing I used finishing margin 0.2 mm but in finishing milling it is of course 0 mm.
Milled upper mold
Milled lower mold
Open upper mold in ROLAND Modela Player 4
Lower mold in ROLAND Modela Player 4
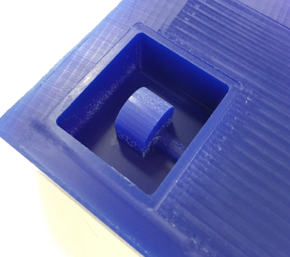
Final casted part


First I set up origin of my model
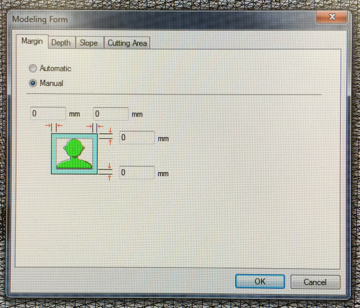
Defined marginals to 0 mm
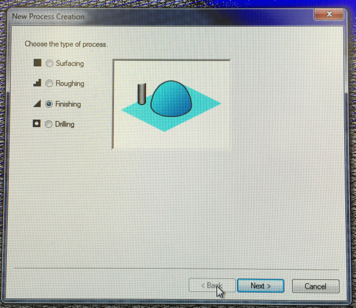
I add new process and selected roughing as a type
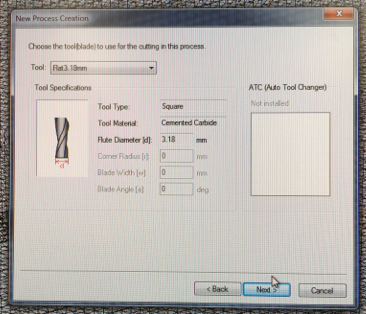
Selected correct tool (flat 3,18 mm mill) for roughing
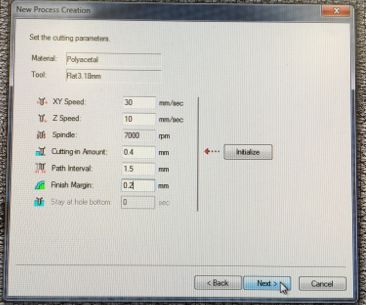
I Set roughing parameters (XY - 30 mm/s, Z - 10 mm/s)
Final Tool paths for upper mold
Finally I simulated milling by using preview cutting button
After making upper mold milling routes I just reply all steps to lower mold. After simulating both millings I took stock piece and attached it to our lab Roland SRM-20 mill and milled molds.
After roughing I made finishing tool paths for better surface
Setting Modela to scan model lines for finishing.
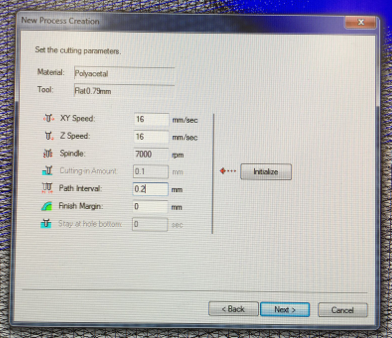
Milling parametres for finishing (XY - 16 mm/s, Y - 16 mm/s)
Finishing tool paths for upper mold
Lower mold tool paths
Milling on process
Milling starts by choosing File -> cut -> select process and cut. All X/Y -axis and Z -axis resets have to be done just like earlier in pcb board milling process.

Starting milling process


We used Smooth-On liquid plastic and liquid rubber for casting
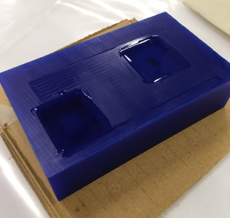
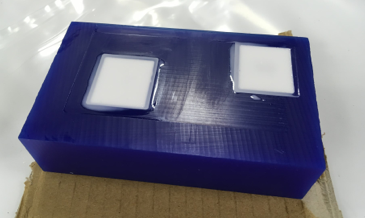
Before start of casting all tables and near by floor surfaces need to protect by covering them with plastic sheet because casting liquid are hard to remove if you pour them on table or floor. My final part need to be rubber plug so I decided to invert mold material and final part material. I cast mold for final part by using liquid plastic and made final part from liquid rubber. Smooth-On products were easy to use just mix two components in ratio 1:1 stir mixture properly and pour it in mold. With liquid rubber it need to vacuum before use so all air bubbles come out of mixture. During casting is important remember to use plastic gloves for preventing skin contact of liquids.
Liquid plastic just after pouring it to mold (left) and hardened plastic in mold (right)
We use vacuum molding table for vacuuming liquid rubber. We have vacuum bowl and we get idea for using vacuum table for vacuuming bowl instead hoover or other equipments. We need to remove couple layers from vacuum table that bowl hose can be attached to table.
Casted molds
Vacuuming rubber
Rubber in final mold
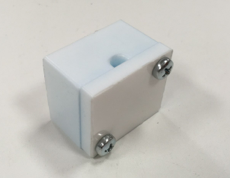
I removed molds by attaching screws to molds and lifting molds away from wax mold


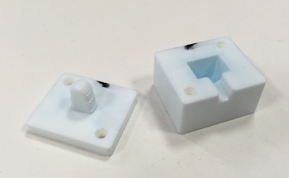

Casting equipment

Casting equipment