LASERCUTTING
Download Design Files:
- Parametric Function Dimensioning.Dwg
- Original Kerf Test Designs.Cdr
- VinylCutting.cdrr
Q1:Make lasercut testpart(s),varying dimensions using parametric functions,test your
laser kerf and cutting settings.
Given experience and exposure to the lasercutter, i recommend the follwing approach (I ran my test and cuts using FullSpectrum ProLF36*24 lasercutter):
Tesing cutting settings.
Step 1: Lens verification and material focusing.
The size of the lens determines the size of focus ruler used to set focus.In this case, i worked with a 1.5 inch ruler that corresponded to the 1.5 inch focal length lens installed.
In order to set the correct focal length the material ought to lay evenly on the honey comb,this is
done by cutting the material to fit 34*22 inch which is the size of the honeycomb and an offset of the work area.
Step 2:Open the machine diagnostics menu.
In the Retina Engrave Menu tab Click on the PROLF 36*24 dropdown menu and select Materials and Focus Tests from the dropdown menu.

Step 3:Running Speed/Power Range Test
Once the dialog window is open select and insert speed and power range to be test and then click on the RUN TEST BUTTON.
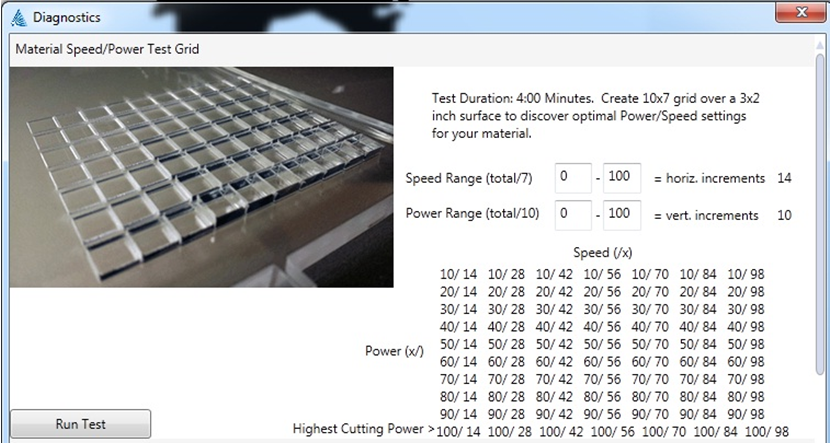
Step 4:Observe the Results.
If you obtain the optimum result you can continue to testing laser kerf.
else
Adjust the Speed/Power range and repeat step 1-4.
Testing Laser Kerf.
According to my understanding Kerf = (Design Scale)-(Cut Scale),inorder to make observations i performed the following exercises:
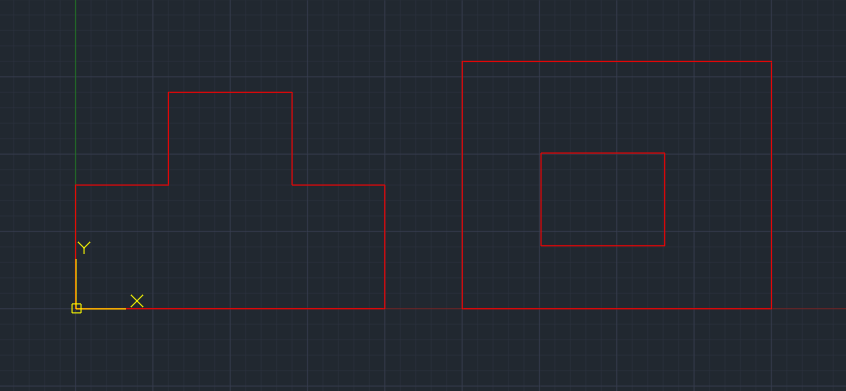
Exercise 1:Rectangular Object.
Objective:Measure the length and Width of the Outer Rectangle and the Inscribed Square after lasercutting.(Rectangle:length=15cm,width=10,Inscribed Square:length and width=6.5cm).

Rectangular Object.pdf
Exercise 2:Circular Object.
Objective:Measure the diameter of the circle after lasercutting. (Diameter:12cm.)

Circular Object.pdf
Q2:Make varying dimensions using parametric functions
Inorder to make varying dimensions, i opted to use AutoCad for parametric functions.
Parametric Function.pdf
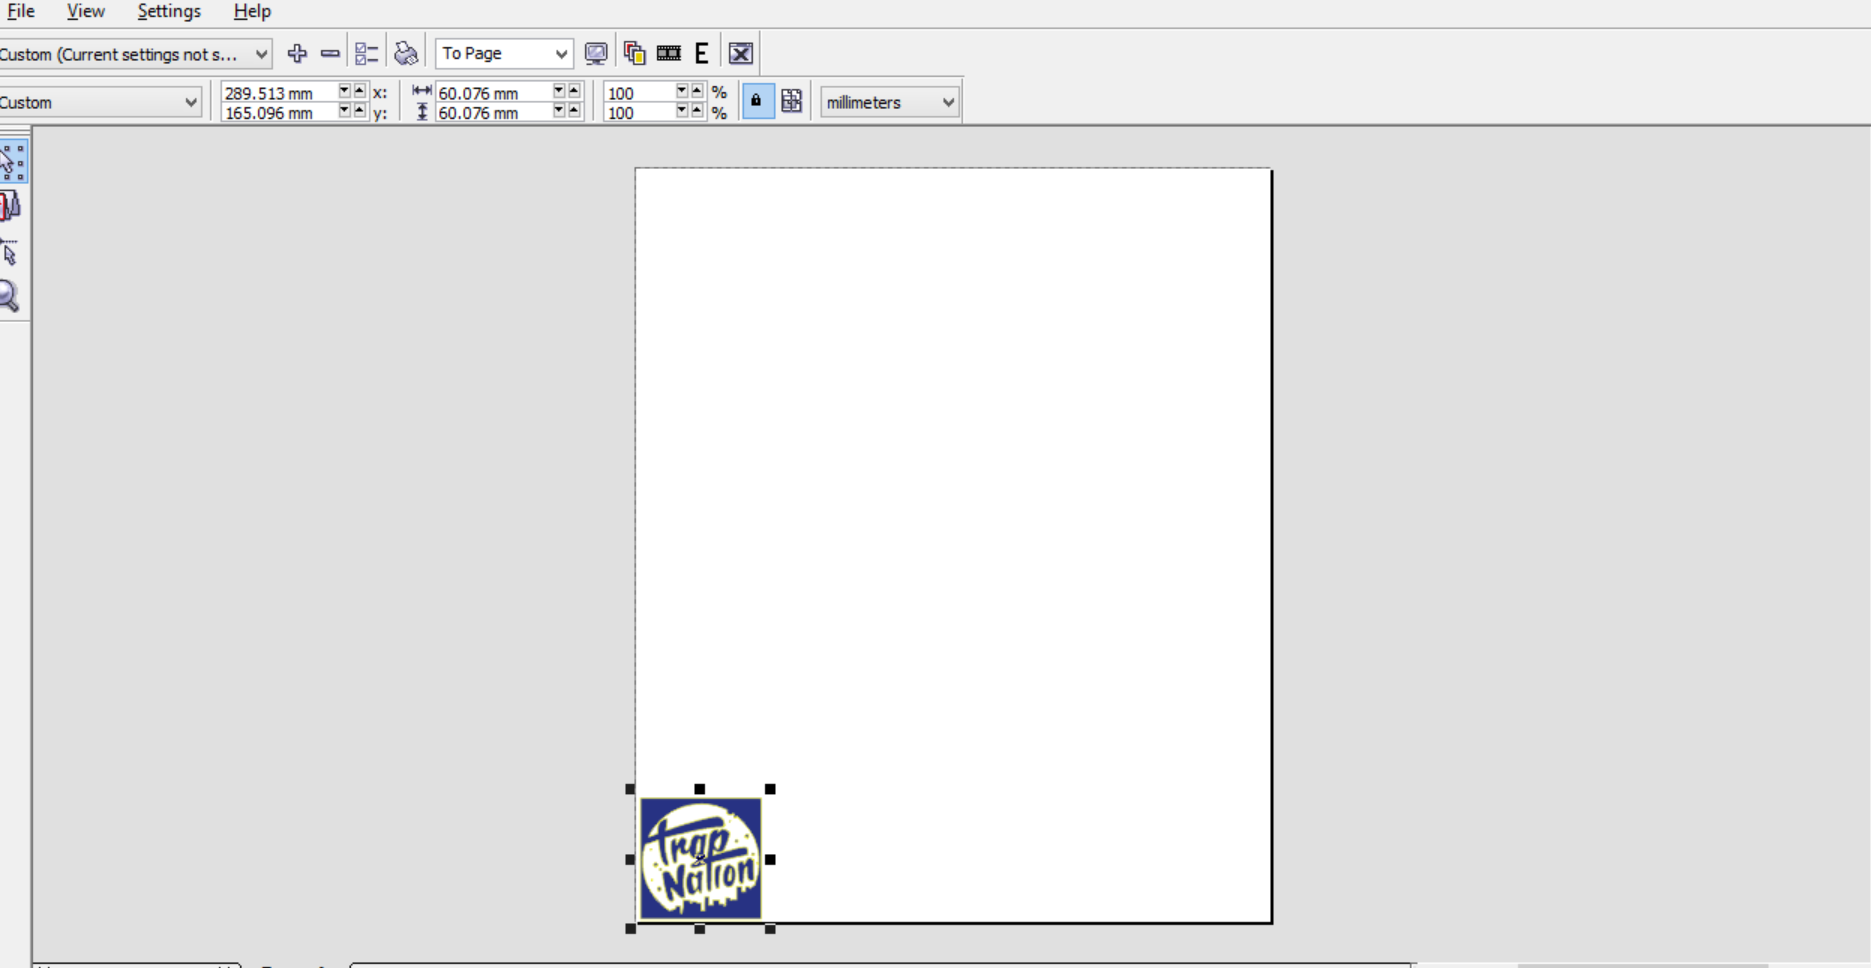
Vinyl Cutting.
Download Design Files:
- VinylCutting.Cdr
Objectives:
- Identify and explain processes involved in using this machine.
- Design and Create the final object.
What I'll need:
- Roland GX-24 VinylCutter
- Vinyl Paper
- Transfer paper
- 2D CAD Software (CorelDraw,Adobe Illustrator)
Software Installation.
If you are running a x86 windows7,lucky for you since here there are:
Download Files:
The cutstudio plugins carry drivers that allow the pc and the vinyl machine to communicate.Unzip the file and locate the application file for installation.

CutStudio-CorelDraw/Adobe Illustrator plugin allows the user to print directly from the CAD software.

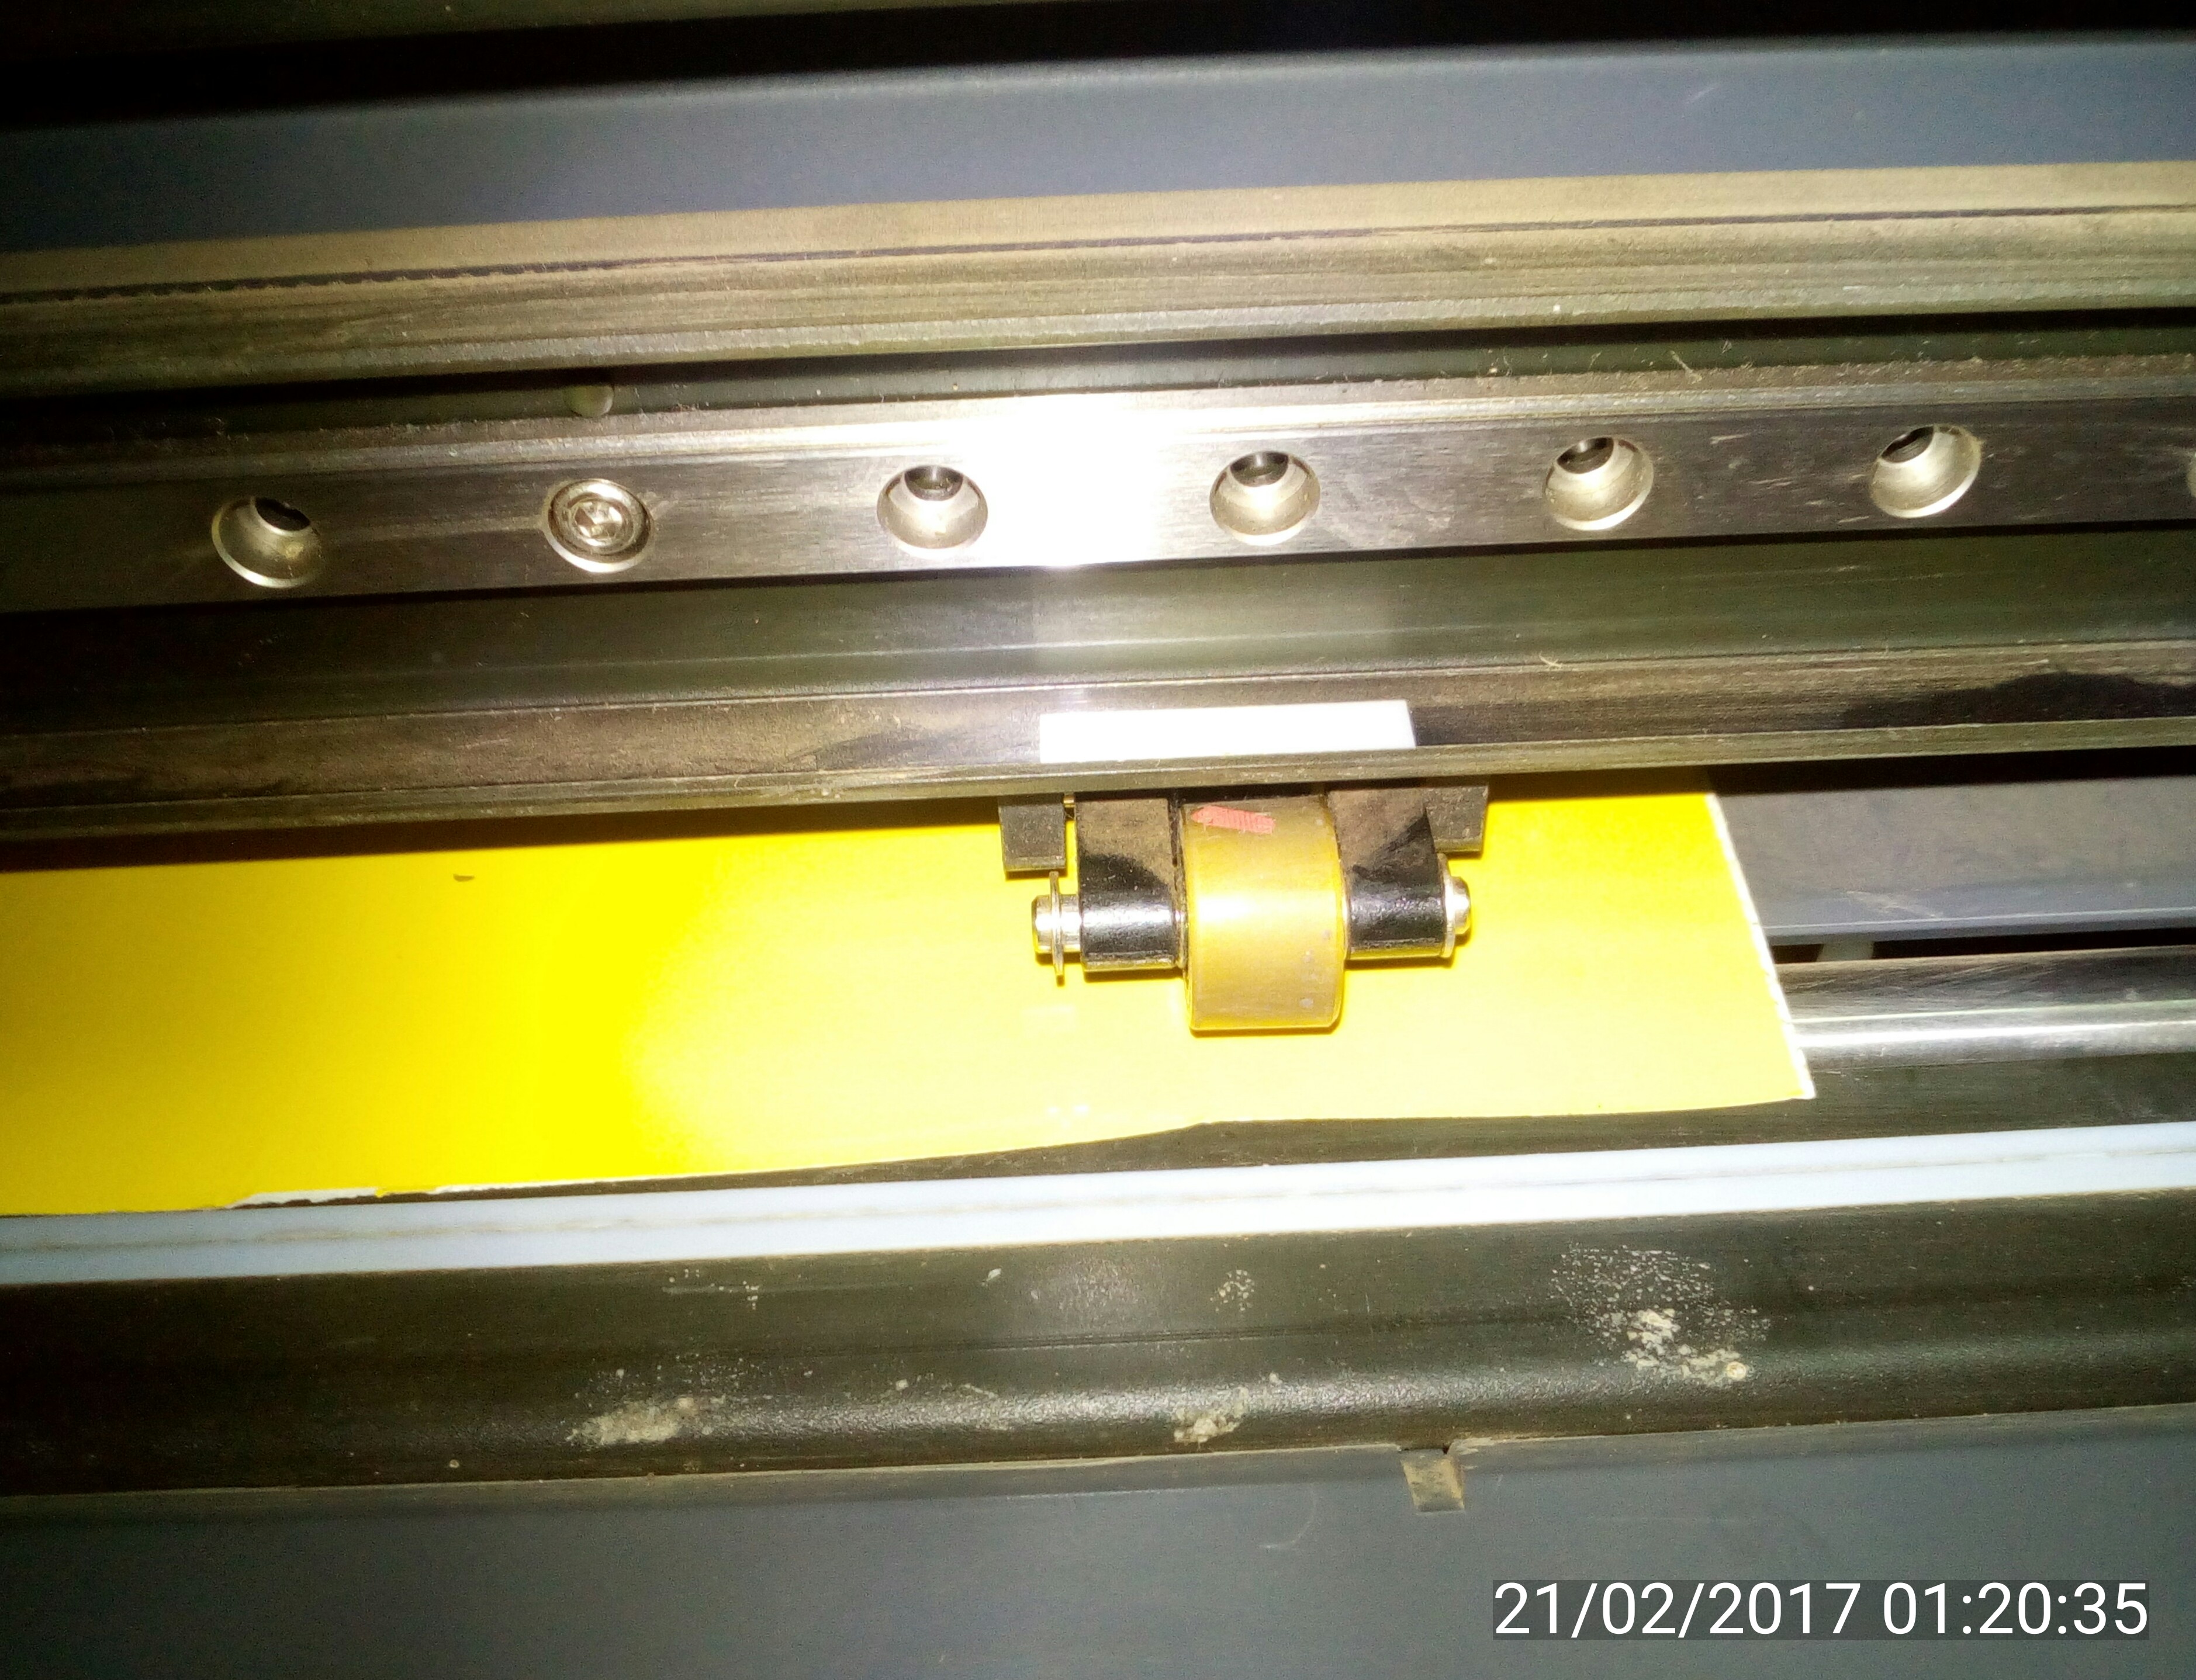
Loading Material on the machine.
This was meant to be a straight forward process yet i ended up get an error message "BAD POSITION" after raising back the load lever in order to secure the material
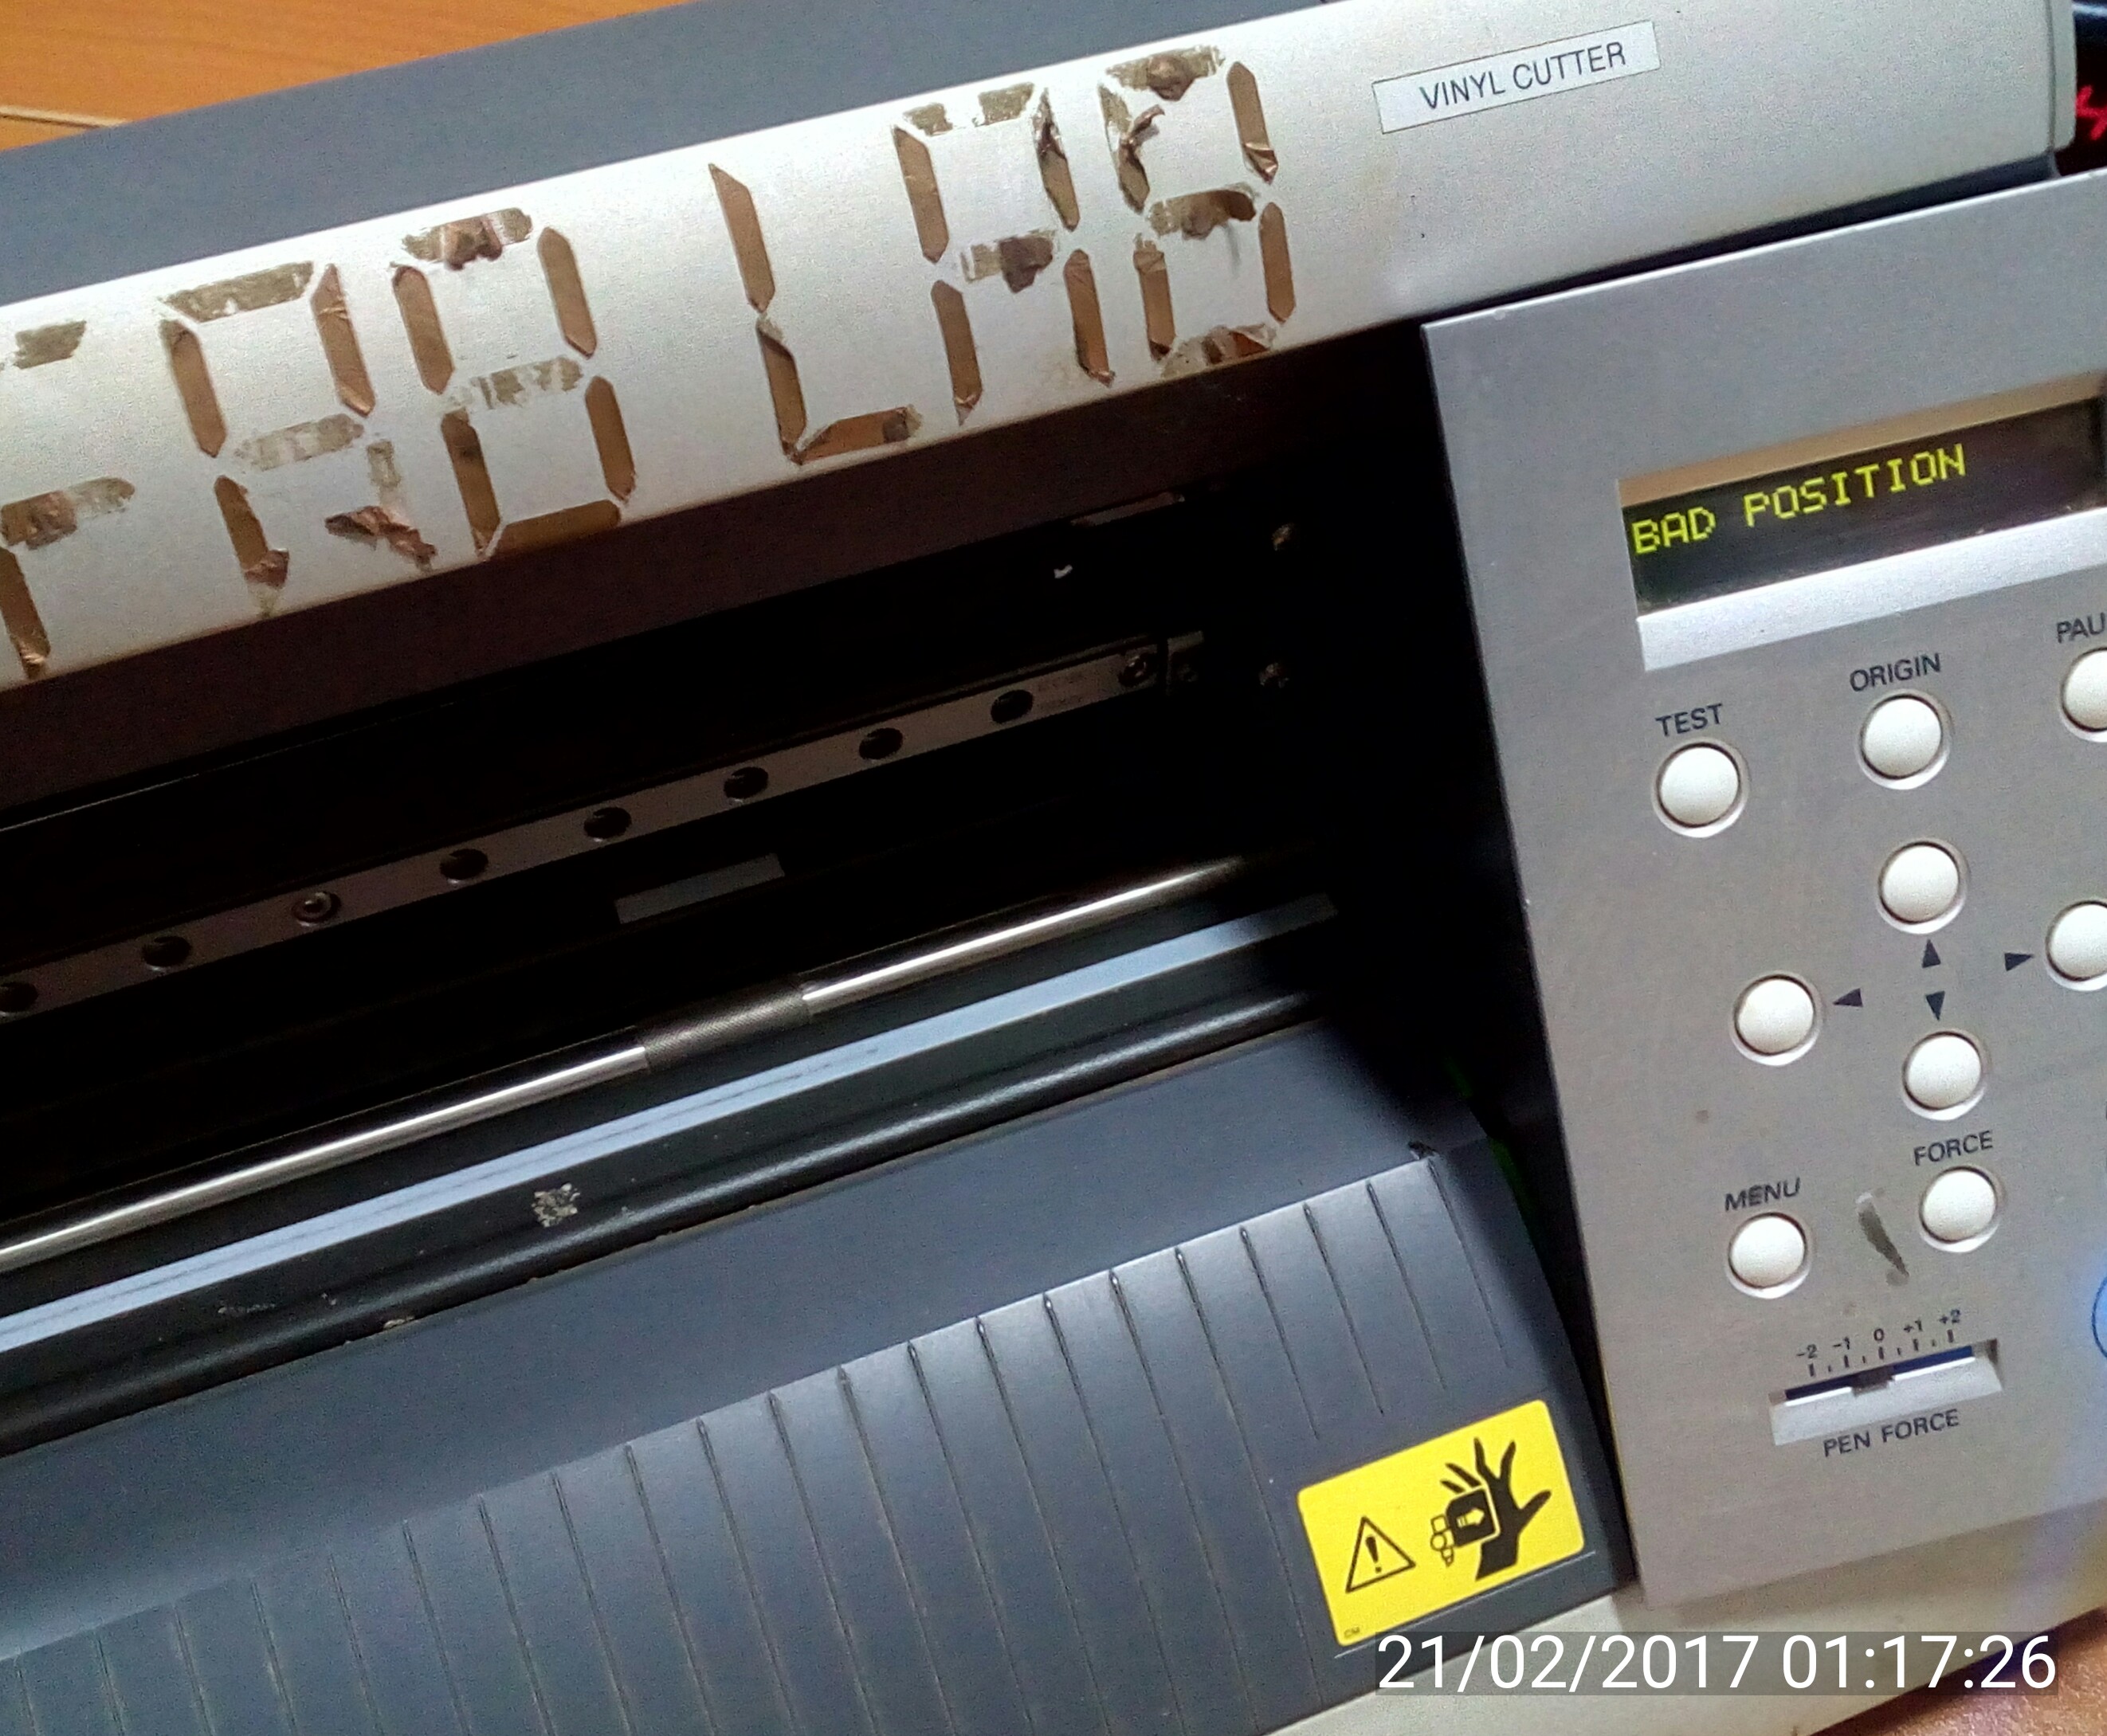
The problem were as a result of pinching the rollers off the verification marks rather than aligning them.
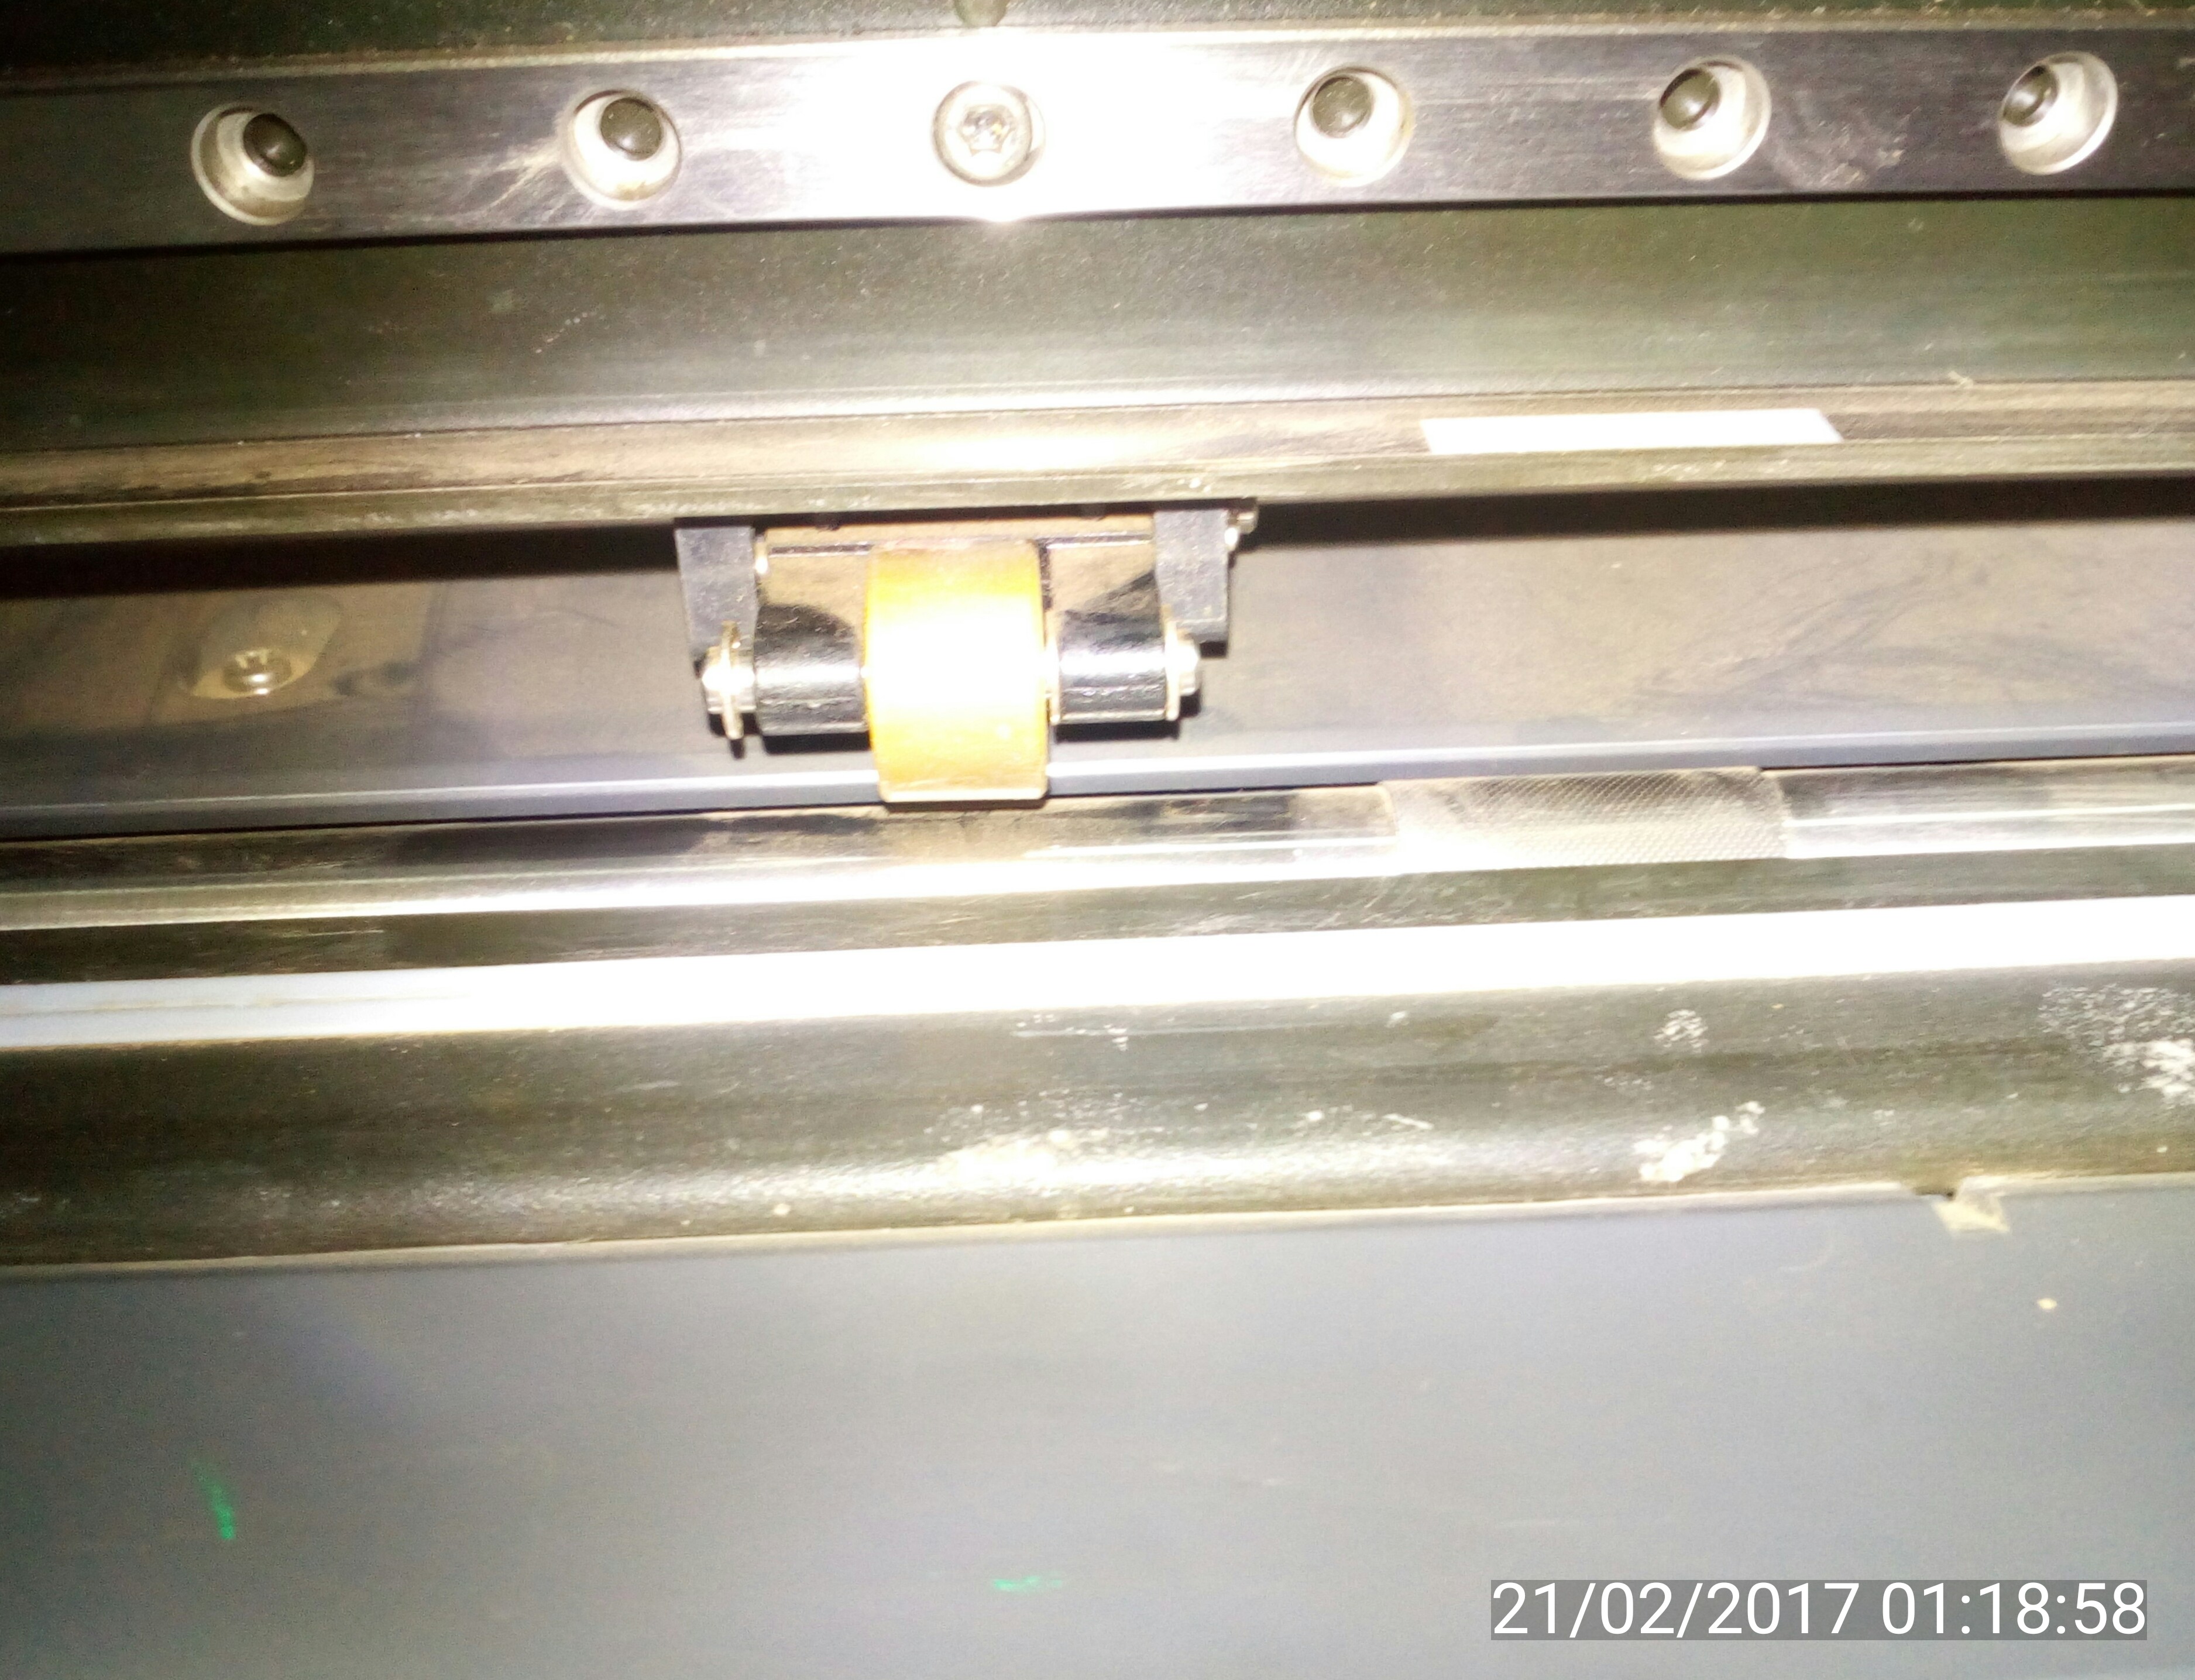
After reviewing the usermanual and keenly followed the steps, i realigned the pinch roller with the verification marker and also aligned left edge of the material so that it lies parallel to the guide lines.

Preparing the machine to receive data from the computer.
This step was successfully done,all i had to do was:
- Press Down Arrow Key to choose "PIECE."
- Press Enter hence the cutting carriage moves to the left edge and the material moves forward and backward.
- Finally,the cuttable width and length appear on the display.
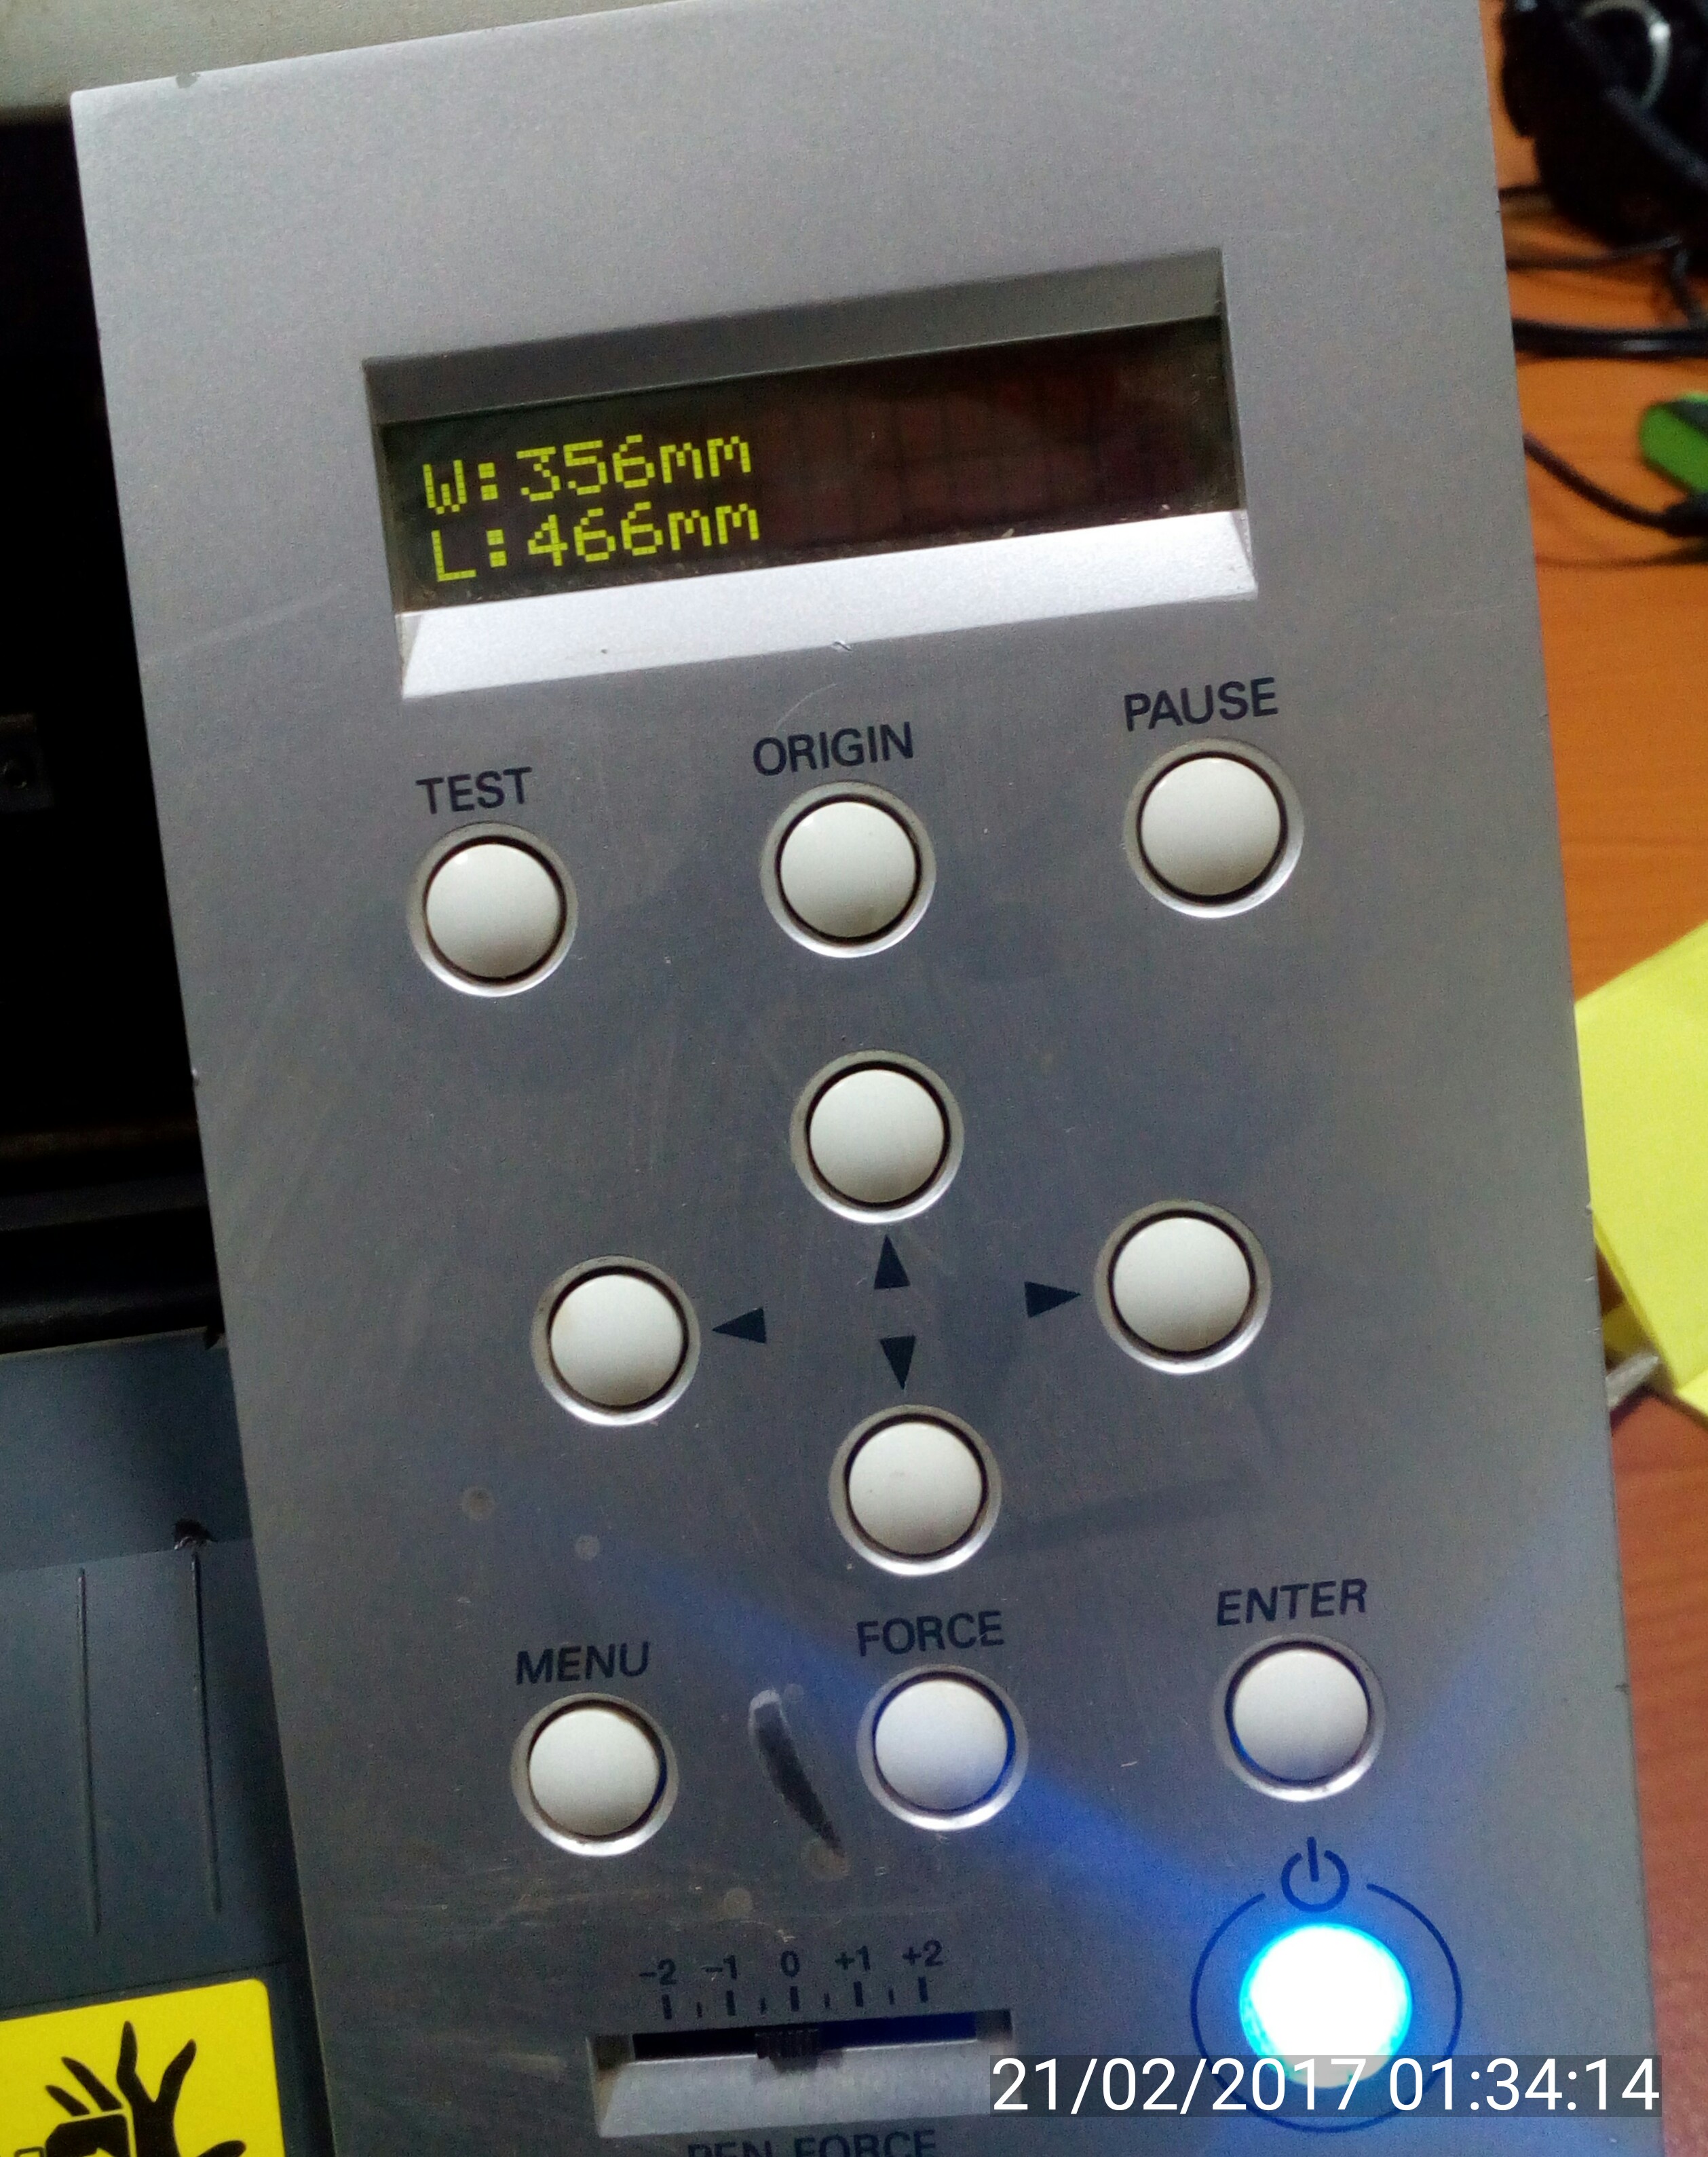
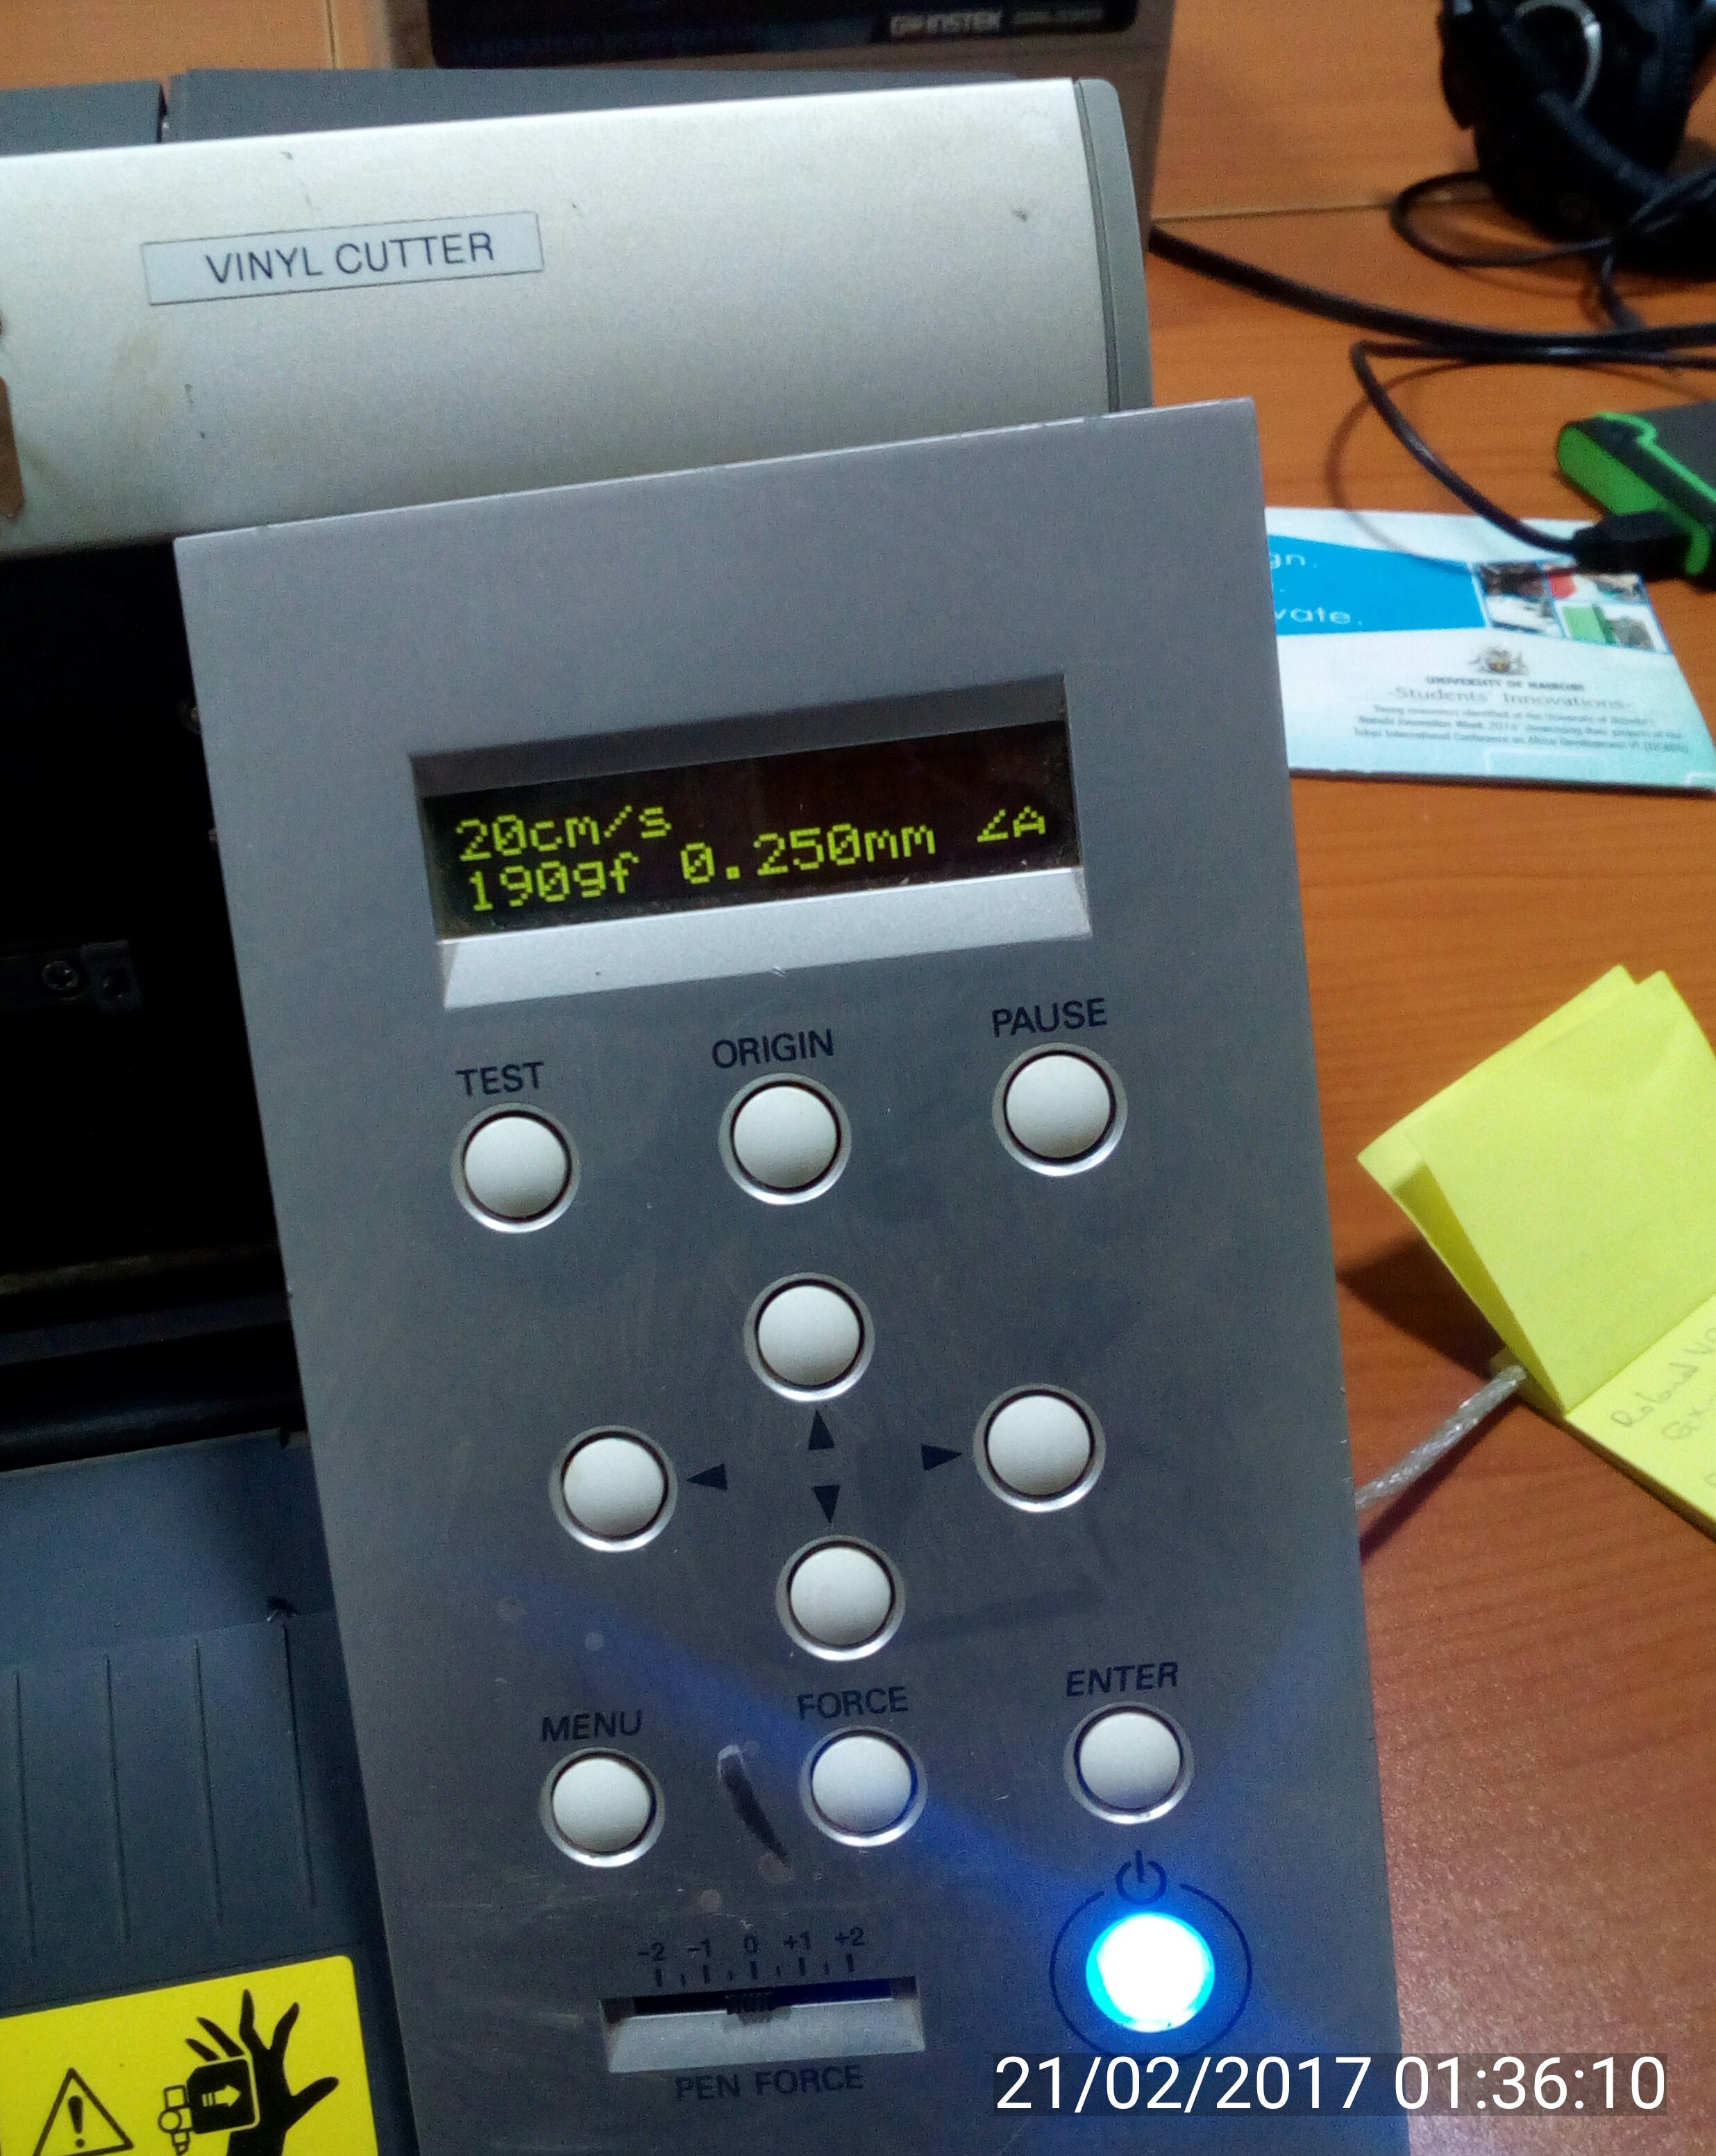
- Press "Menu" to display Cutting Speed,Cutting Direction,Cutting Force and Blade Offset.
Perfoming the Cut.
Disaster!!! That is what i called my first attempt to cut,inpatience costed me alot in terms of time.
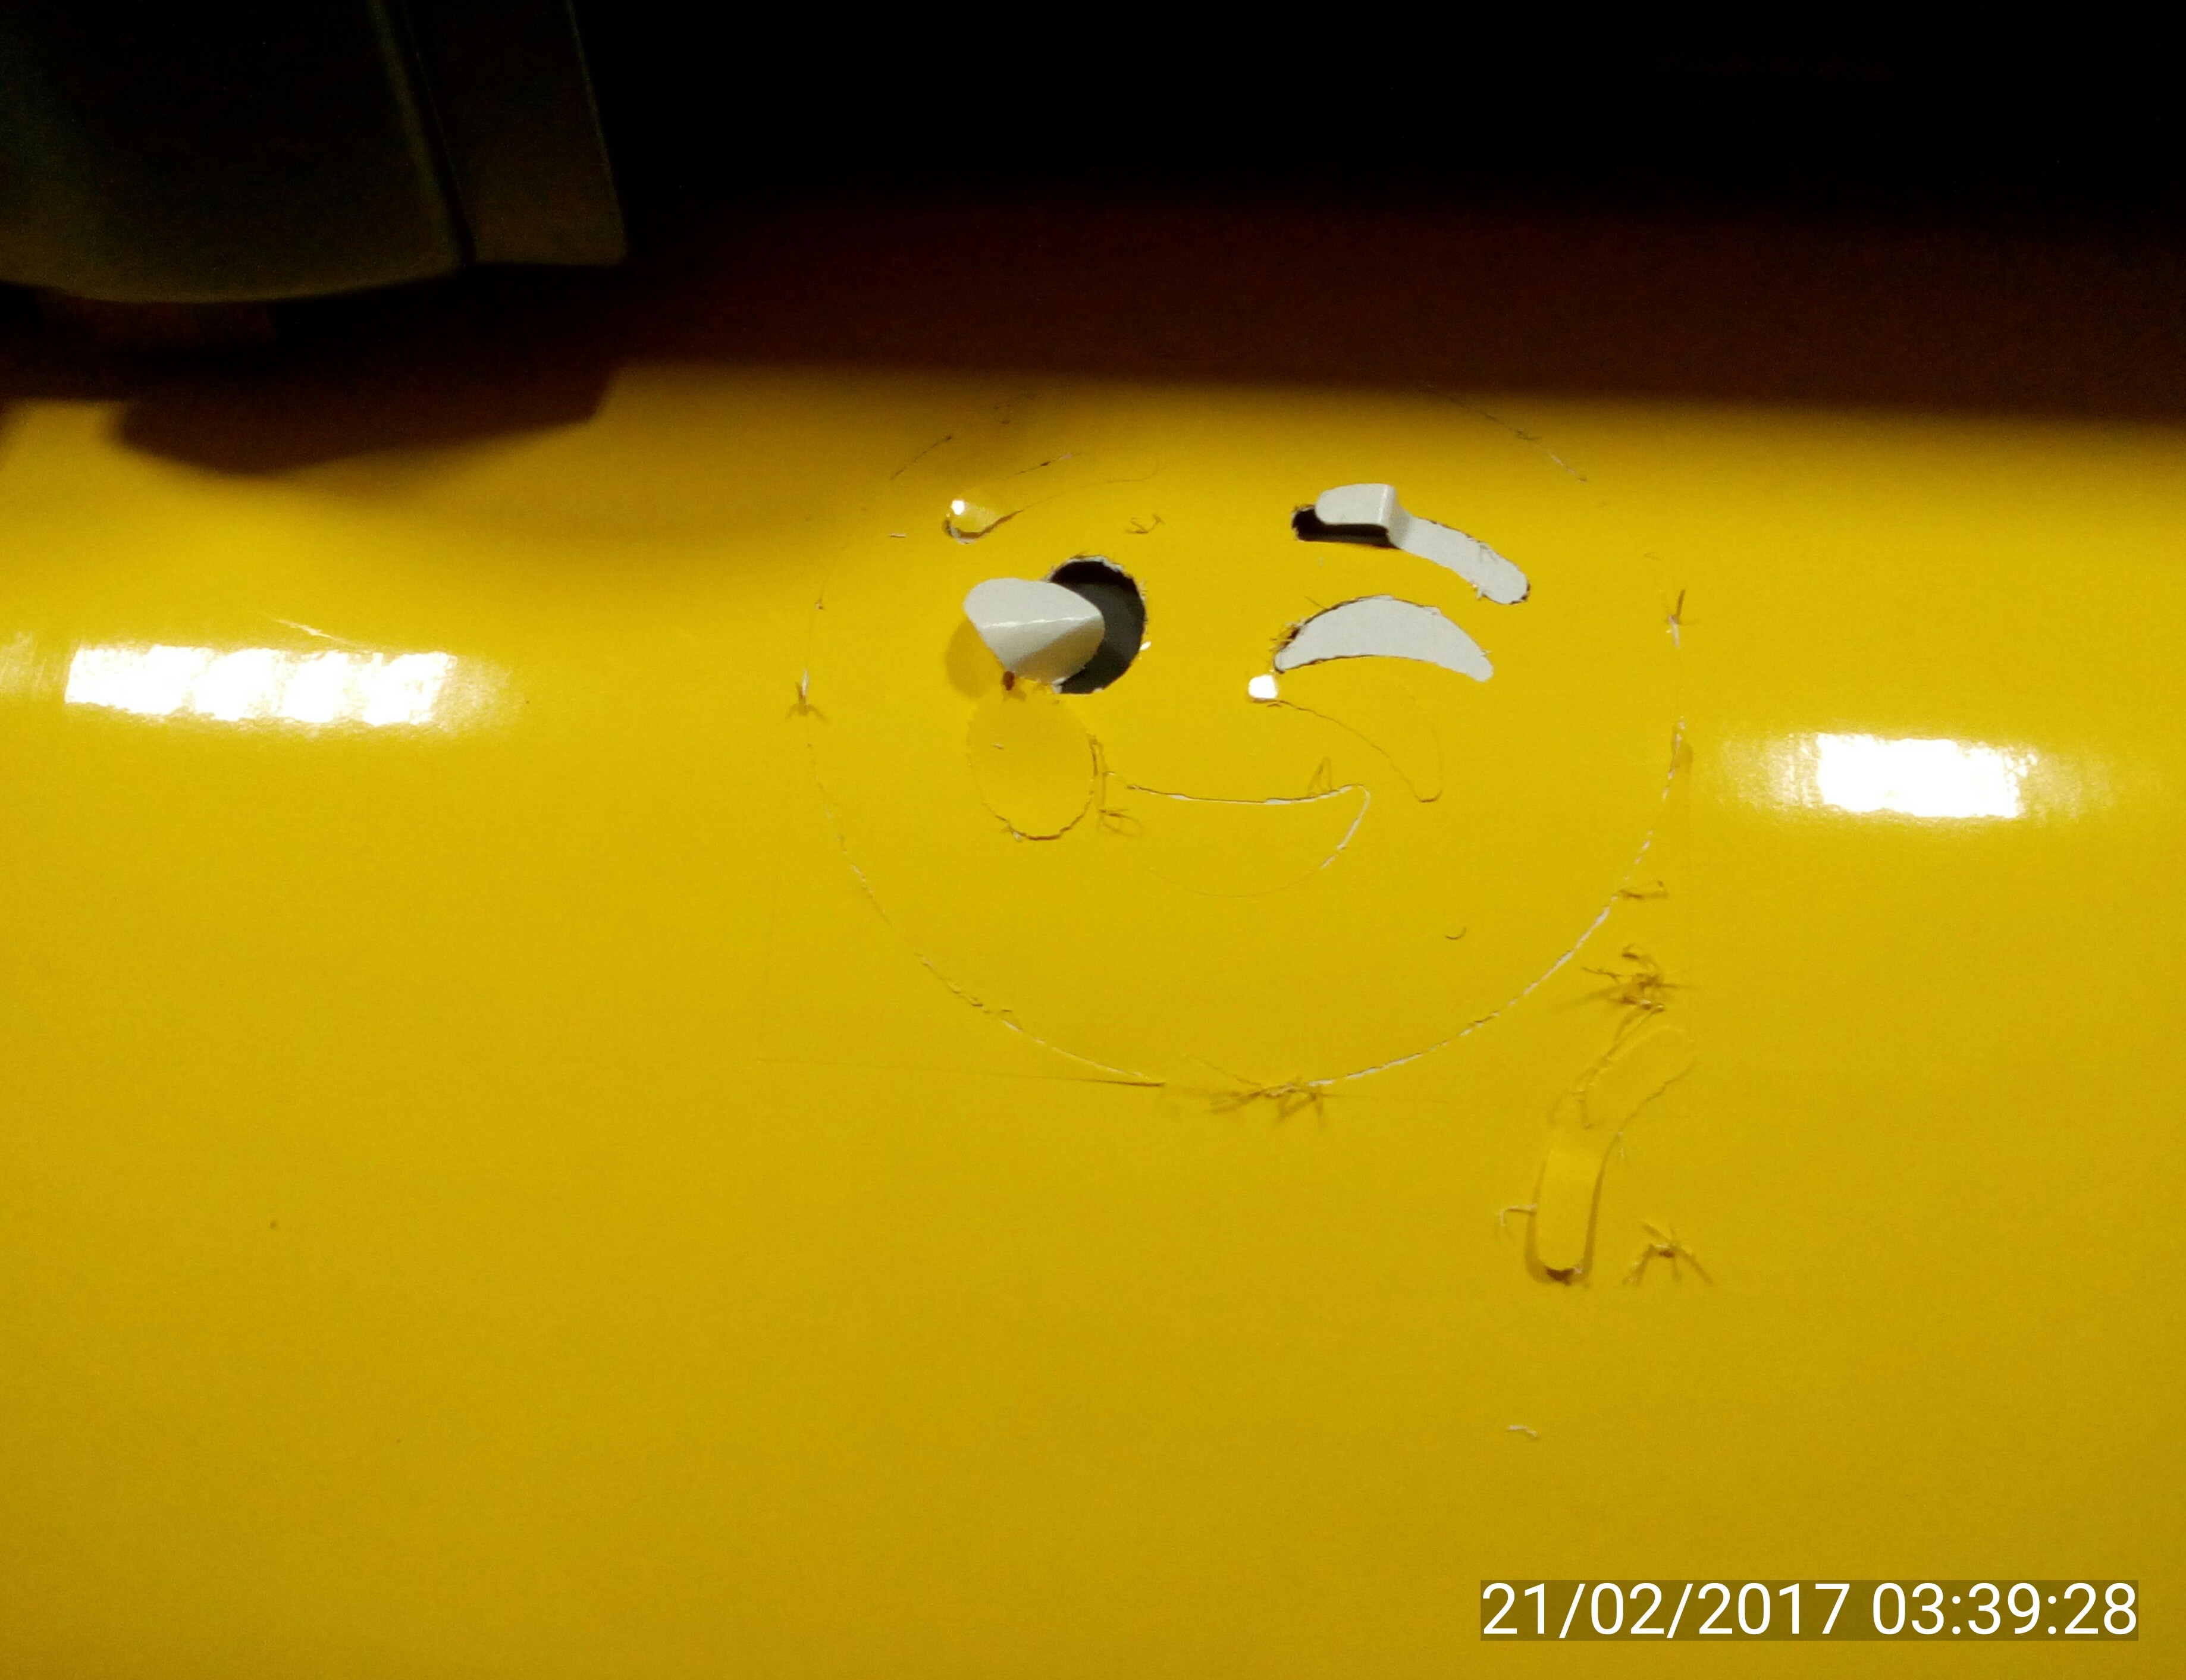
The following led to the ill cut design:
- Negligence of the cutting force and depth.
- Not check the origin for the design.
- Double ,croocked lines within the image i traced.
The solution became to follow the GX-24 Usermanual to the latter, hence i got a proper design and cut.Then finally stuck and onto my computer using transfer paper.
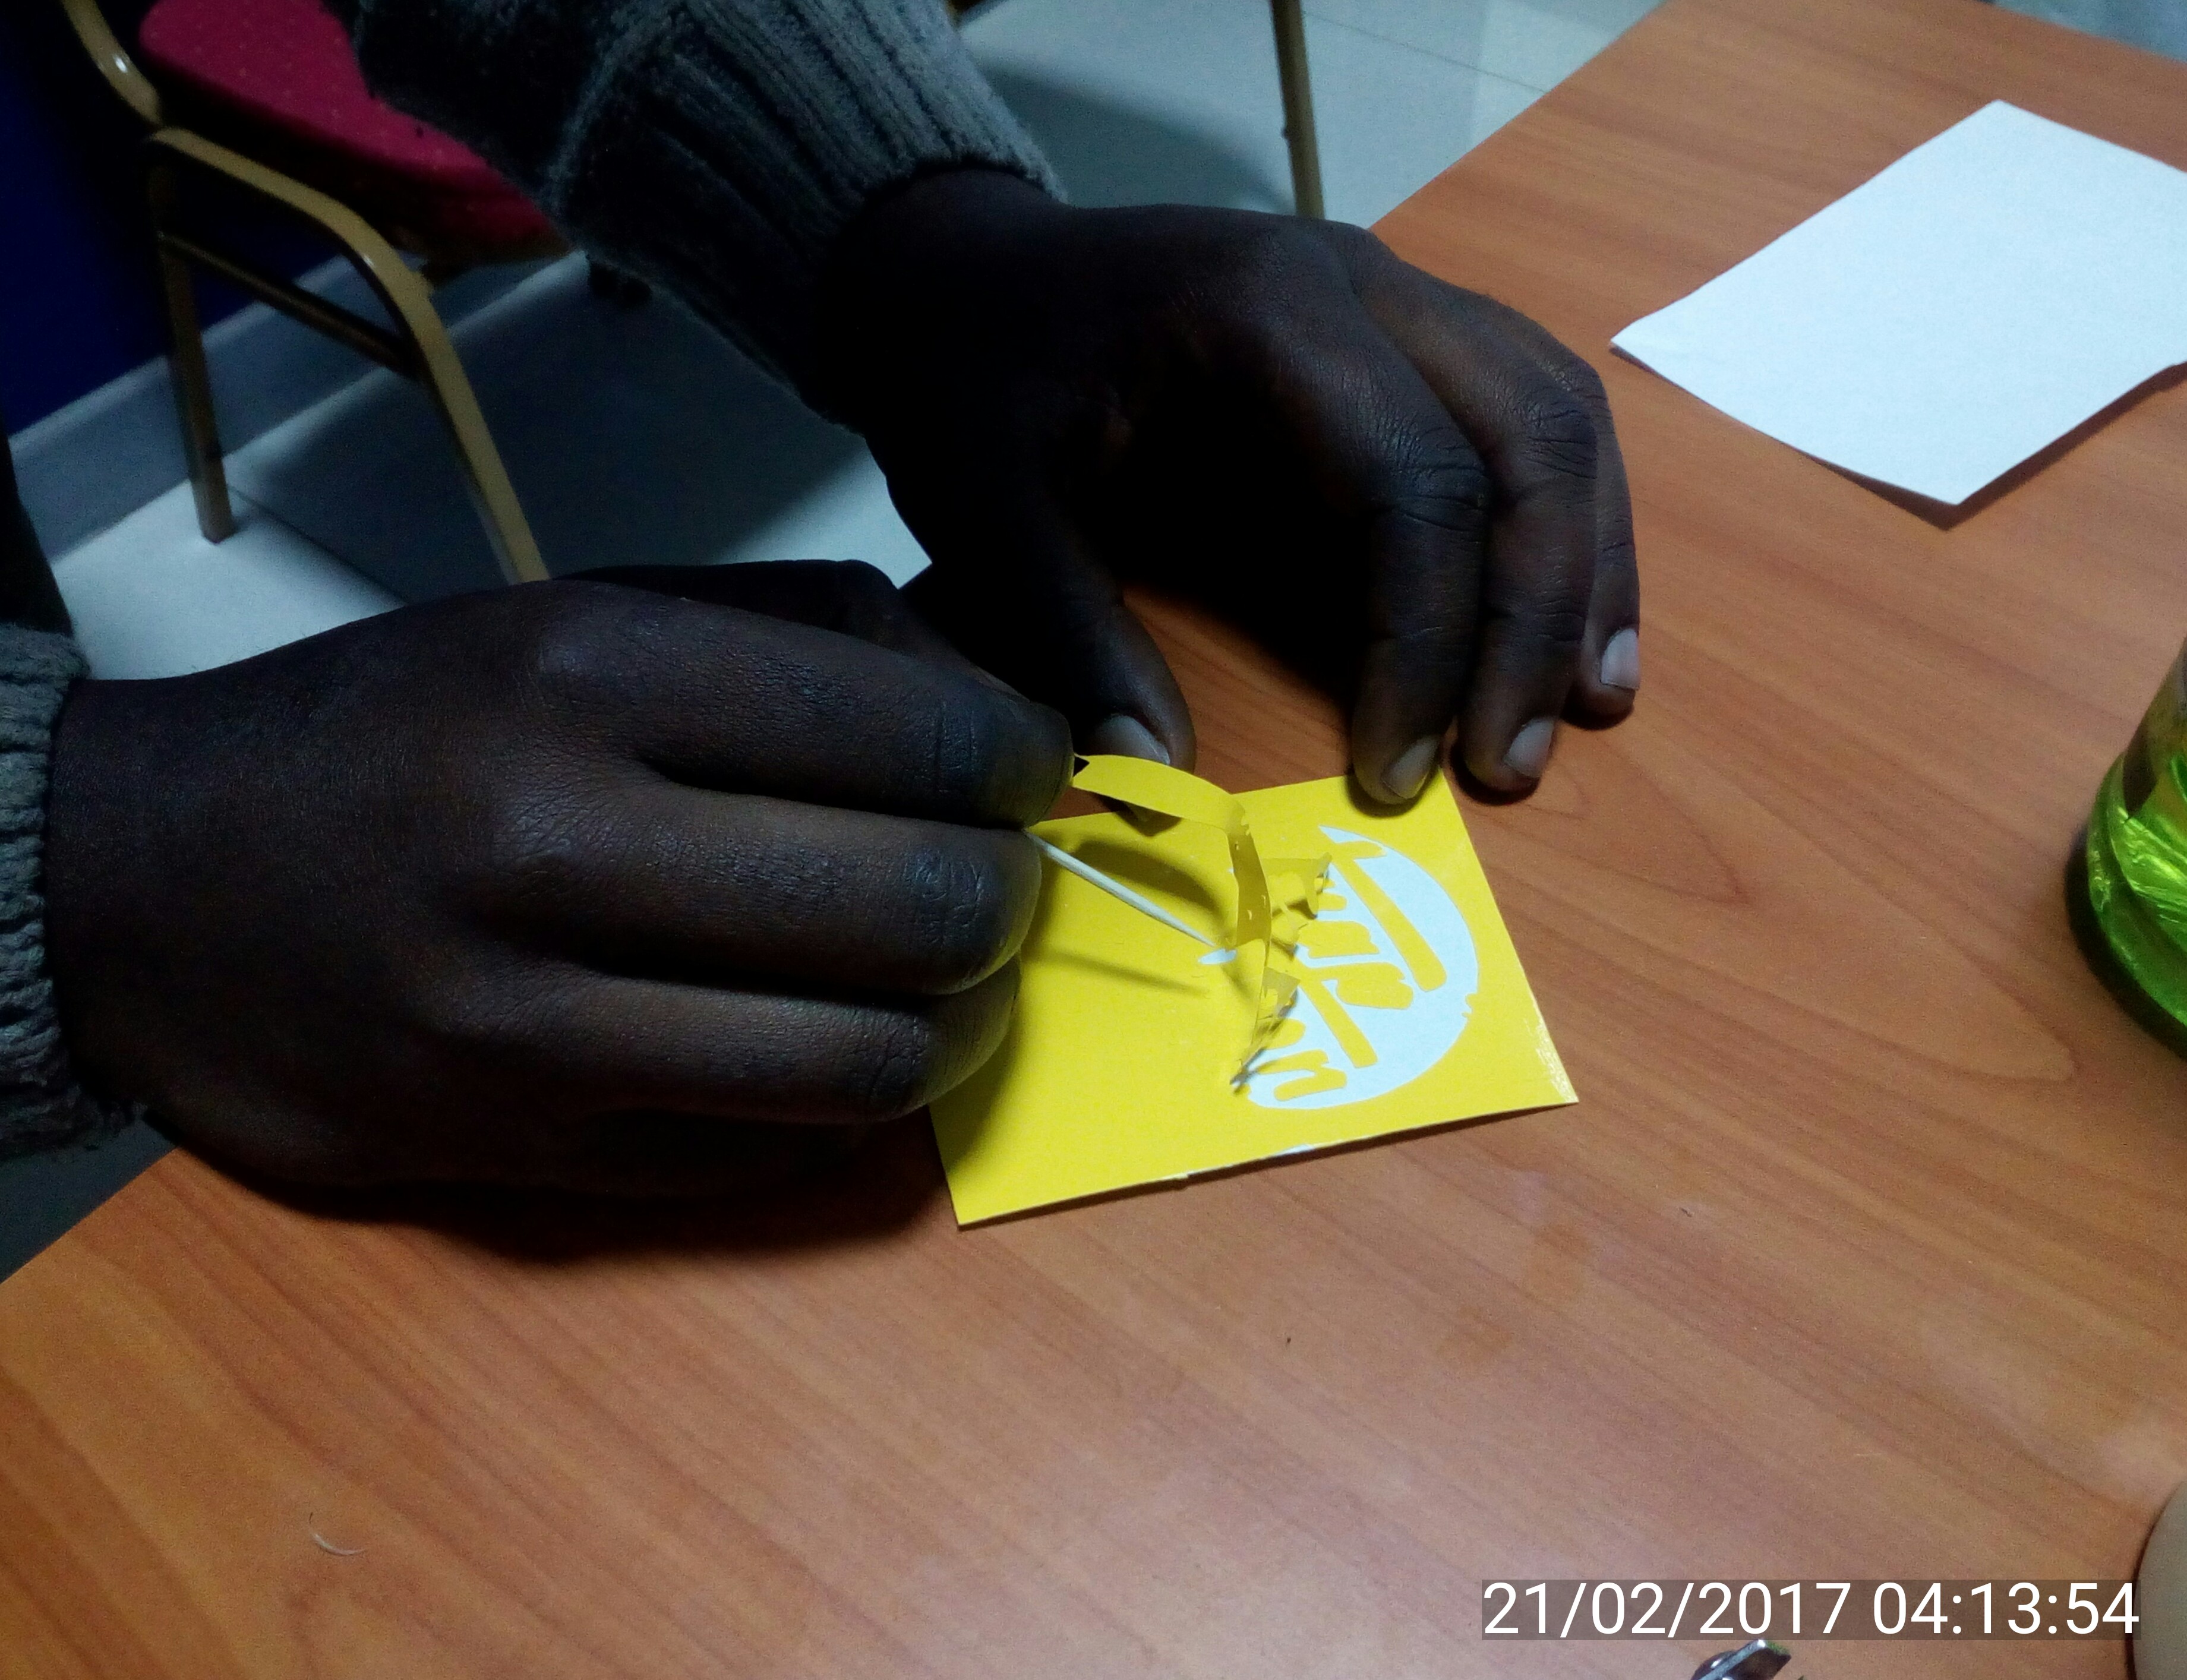
Wrapping Up here is my hero shot.
