Juan García-Maestro Gil-Casares

FABLAB MADRID CEU


2. Computer-Aided Design


Procedure:
0. Assignment
1. Experiment with new programs + have a basic ideas of my lightning device.
2. Improving my Rhino skills by doing my 1st 'container' design.
3. Solid Works Tutorial + container.
4. Adobe Premier - Creating My Final Project Video
5. Rhinoceros + Adobe Photoshop - Creating my Model
7. Download files (at the end of the page)

8. Check on my portfolio for AutoCad, Revit, Photoshop drawings, photography, photographic collages and designs.

Programs used: Gimp, Inkscape, Rhino, Solid Works.
Programs I am used to use: Autocad 2d + 3D, Photoshop, Illustrator, Autodesk Revit, Sketchup, InDesign.

0. Assignment

Model (draw, render, animate, simulate, ...) a possible final project, and post it on your class page with original 2D and 3D files.

LEARNING OUTCOMES


Evaluate and select 2D and 3D software
Demonstrate and describe processes used in modelling with 2D and 3D software

HAVE YOU...


Modelled experimental objects/part of a possible project in 2D and 3D software
Shown how you did it with words/images/screenshots
Included your original design files

1. Computer-Aided Design


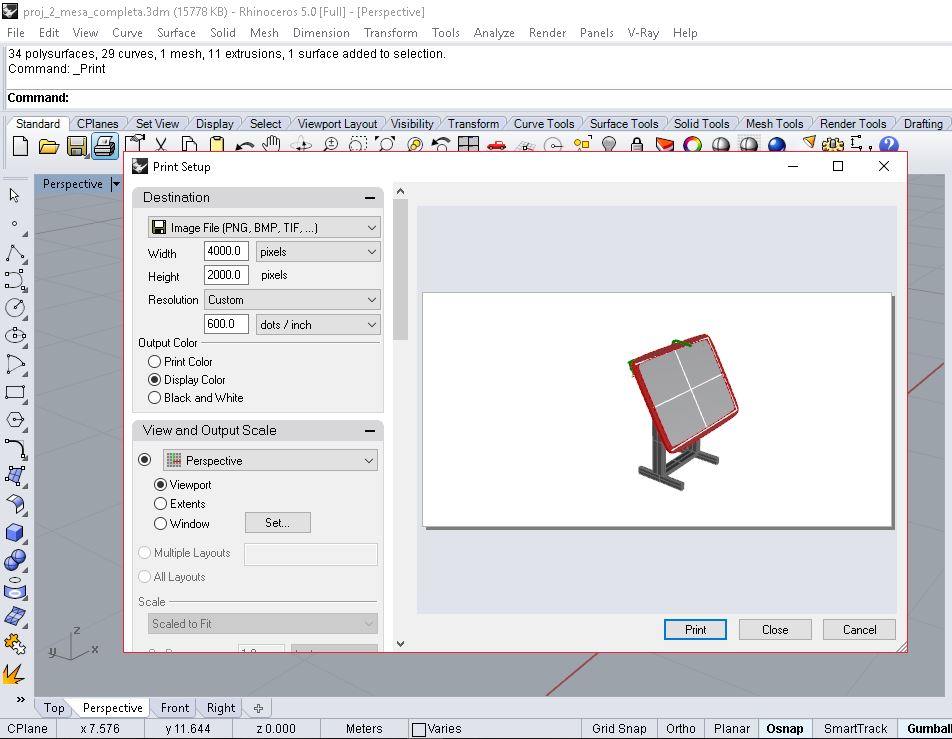
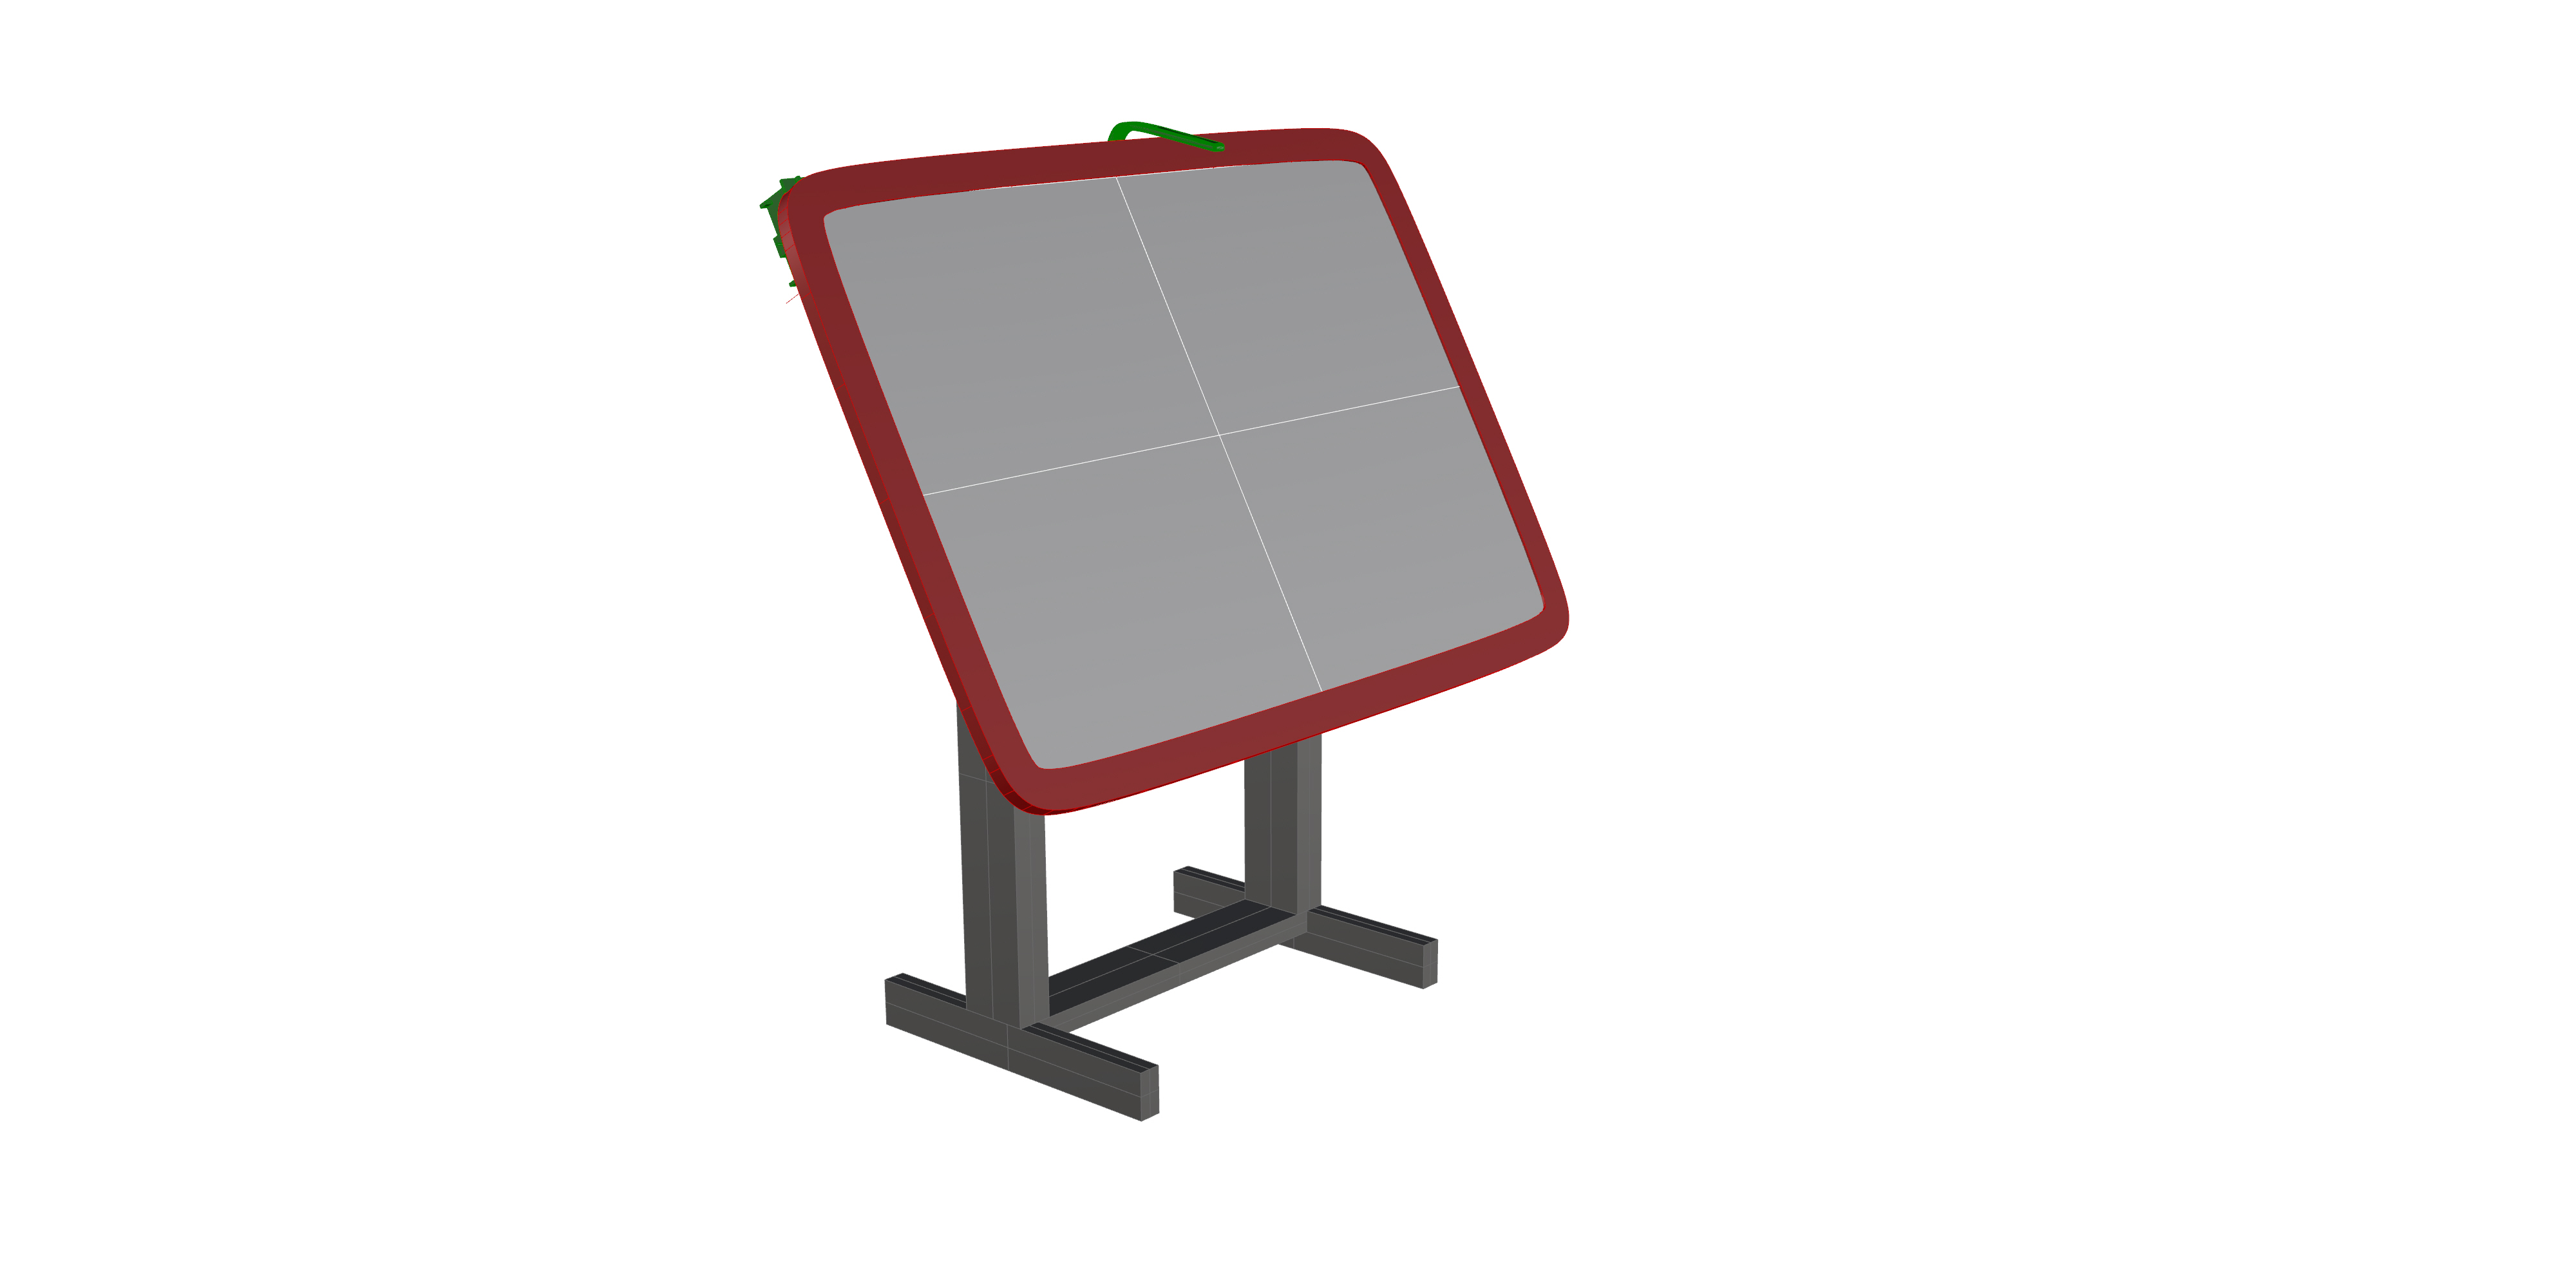
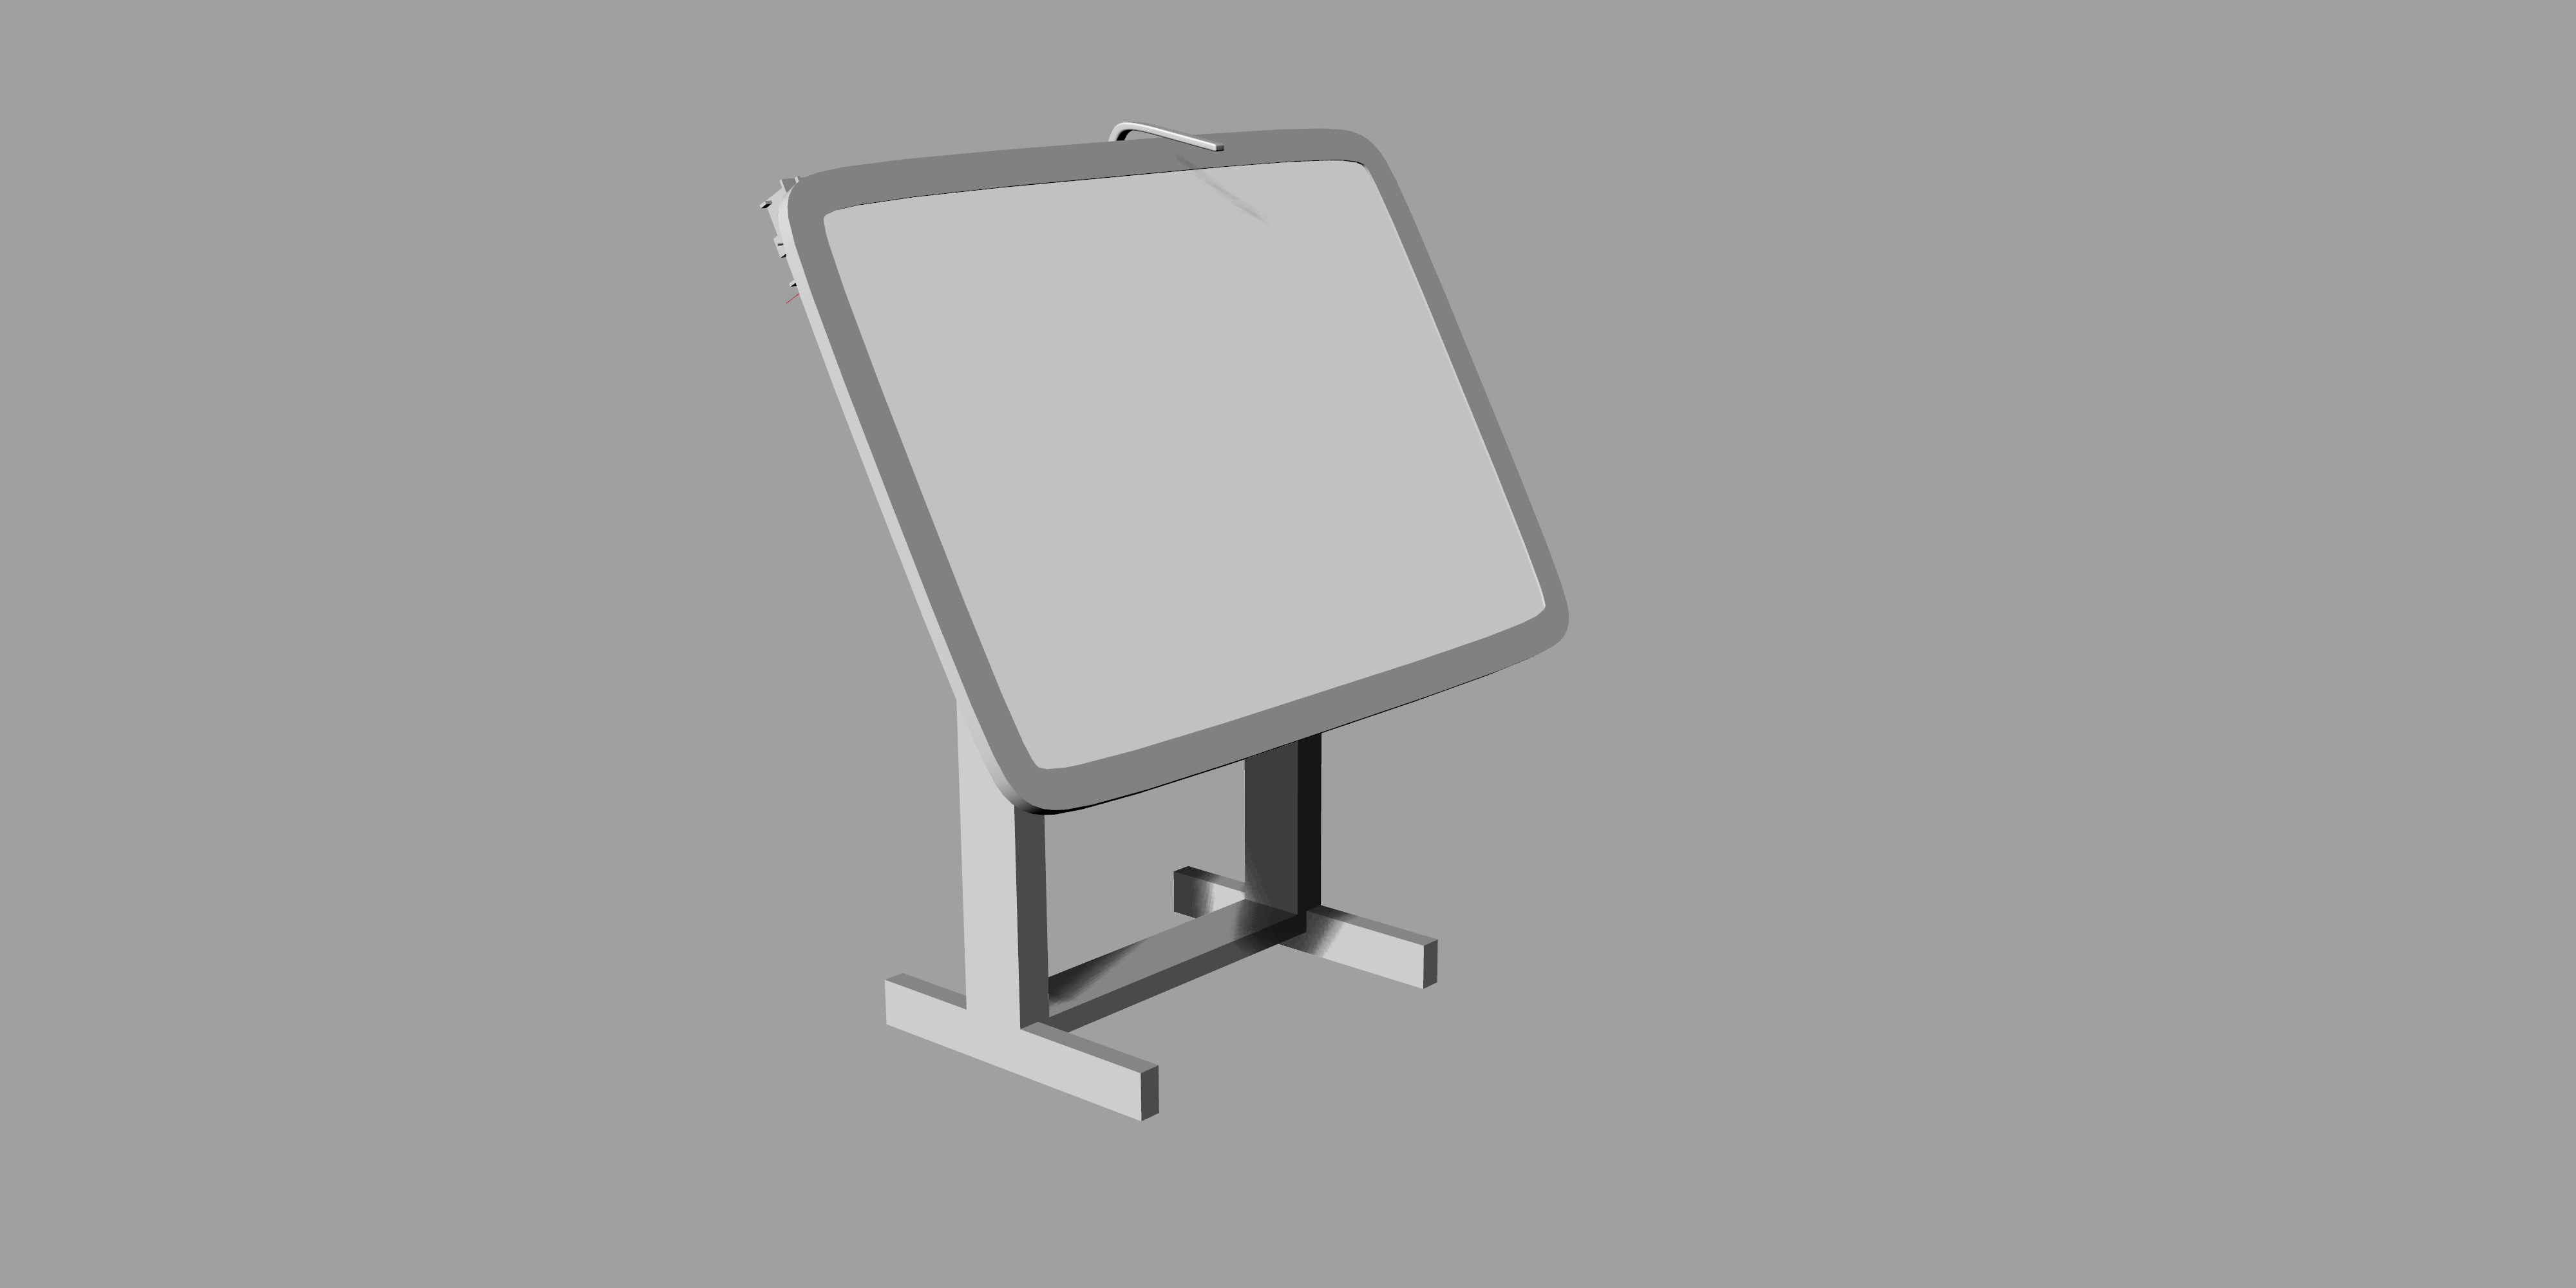
These past years, studying Architecture led me to different computer-aided programs, control them and draw all my projects. The ones I have control of are: Autocad 2d and 3d, Adobe Photoshop, Adobe Illustrator, Adobe InDesign, intermediate level of Autodesk Revit and a basic knowledge in Rhinoceros. What I have decided is to use open source programs such as Gimp, and Inkscape, and for 3d modelling, SolidWorks and Rhinoceros to design my final project.

GIMP (2D RASTER) + INKSCAPE (2D VECTOR)


Starting the design of my lightning device.

STAGE 1


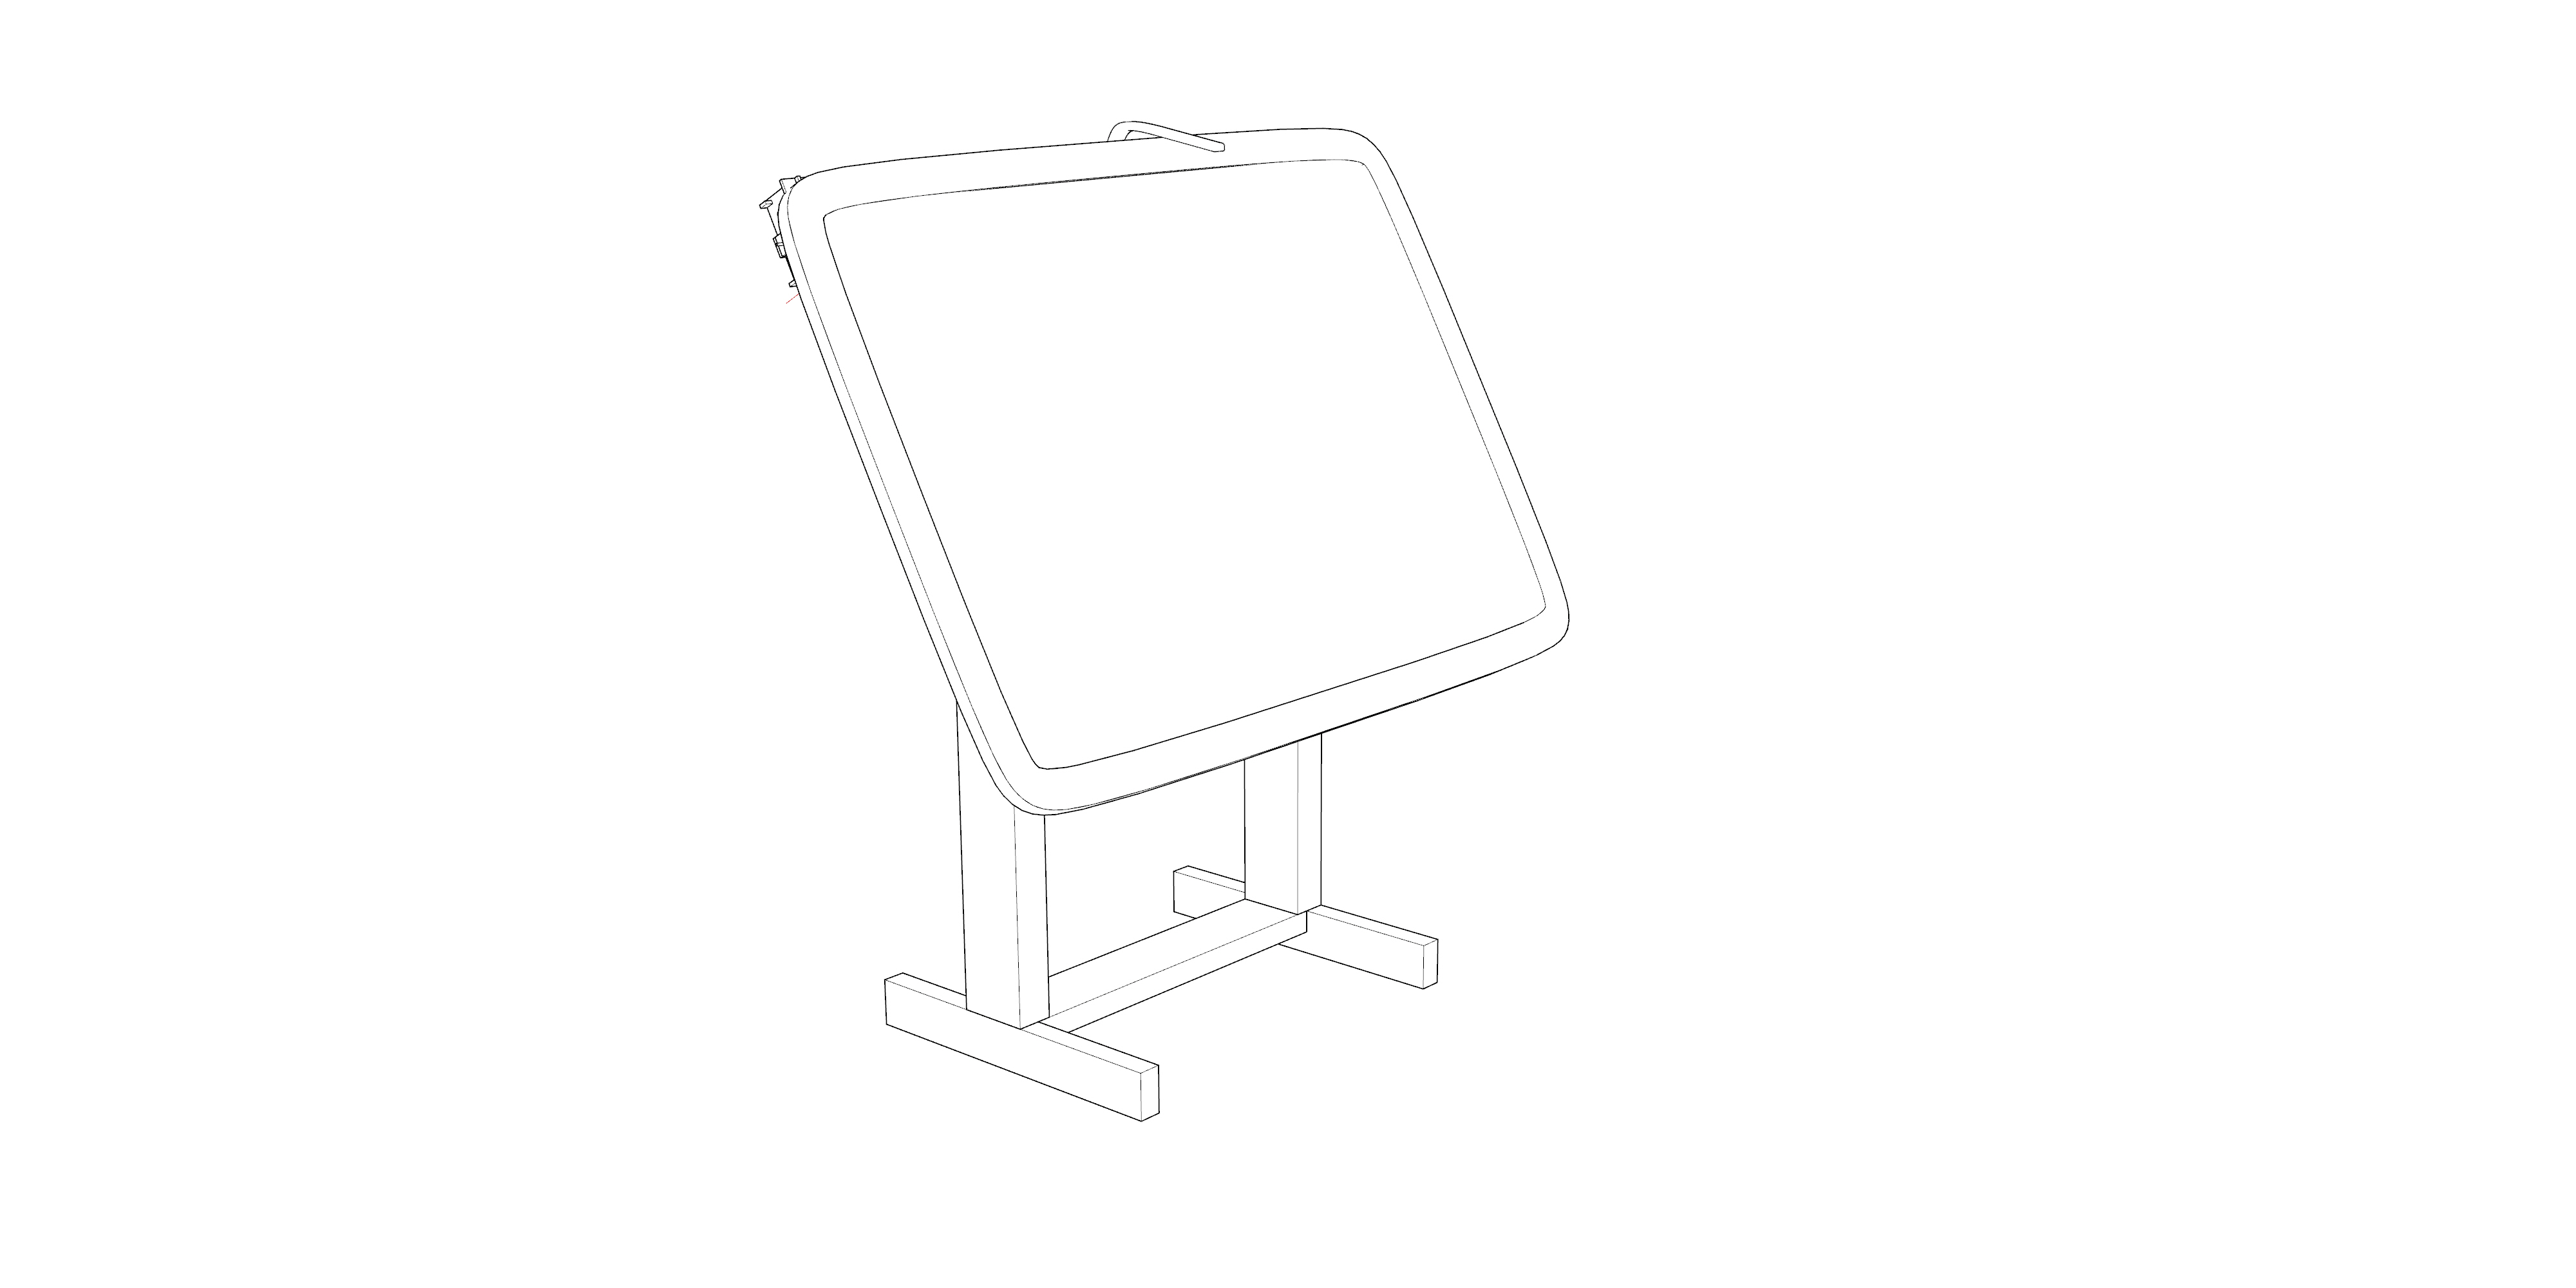
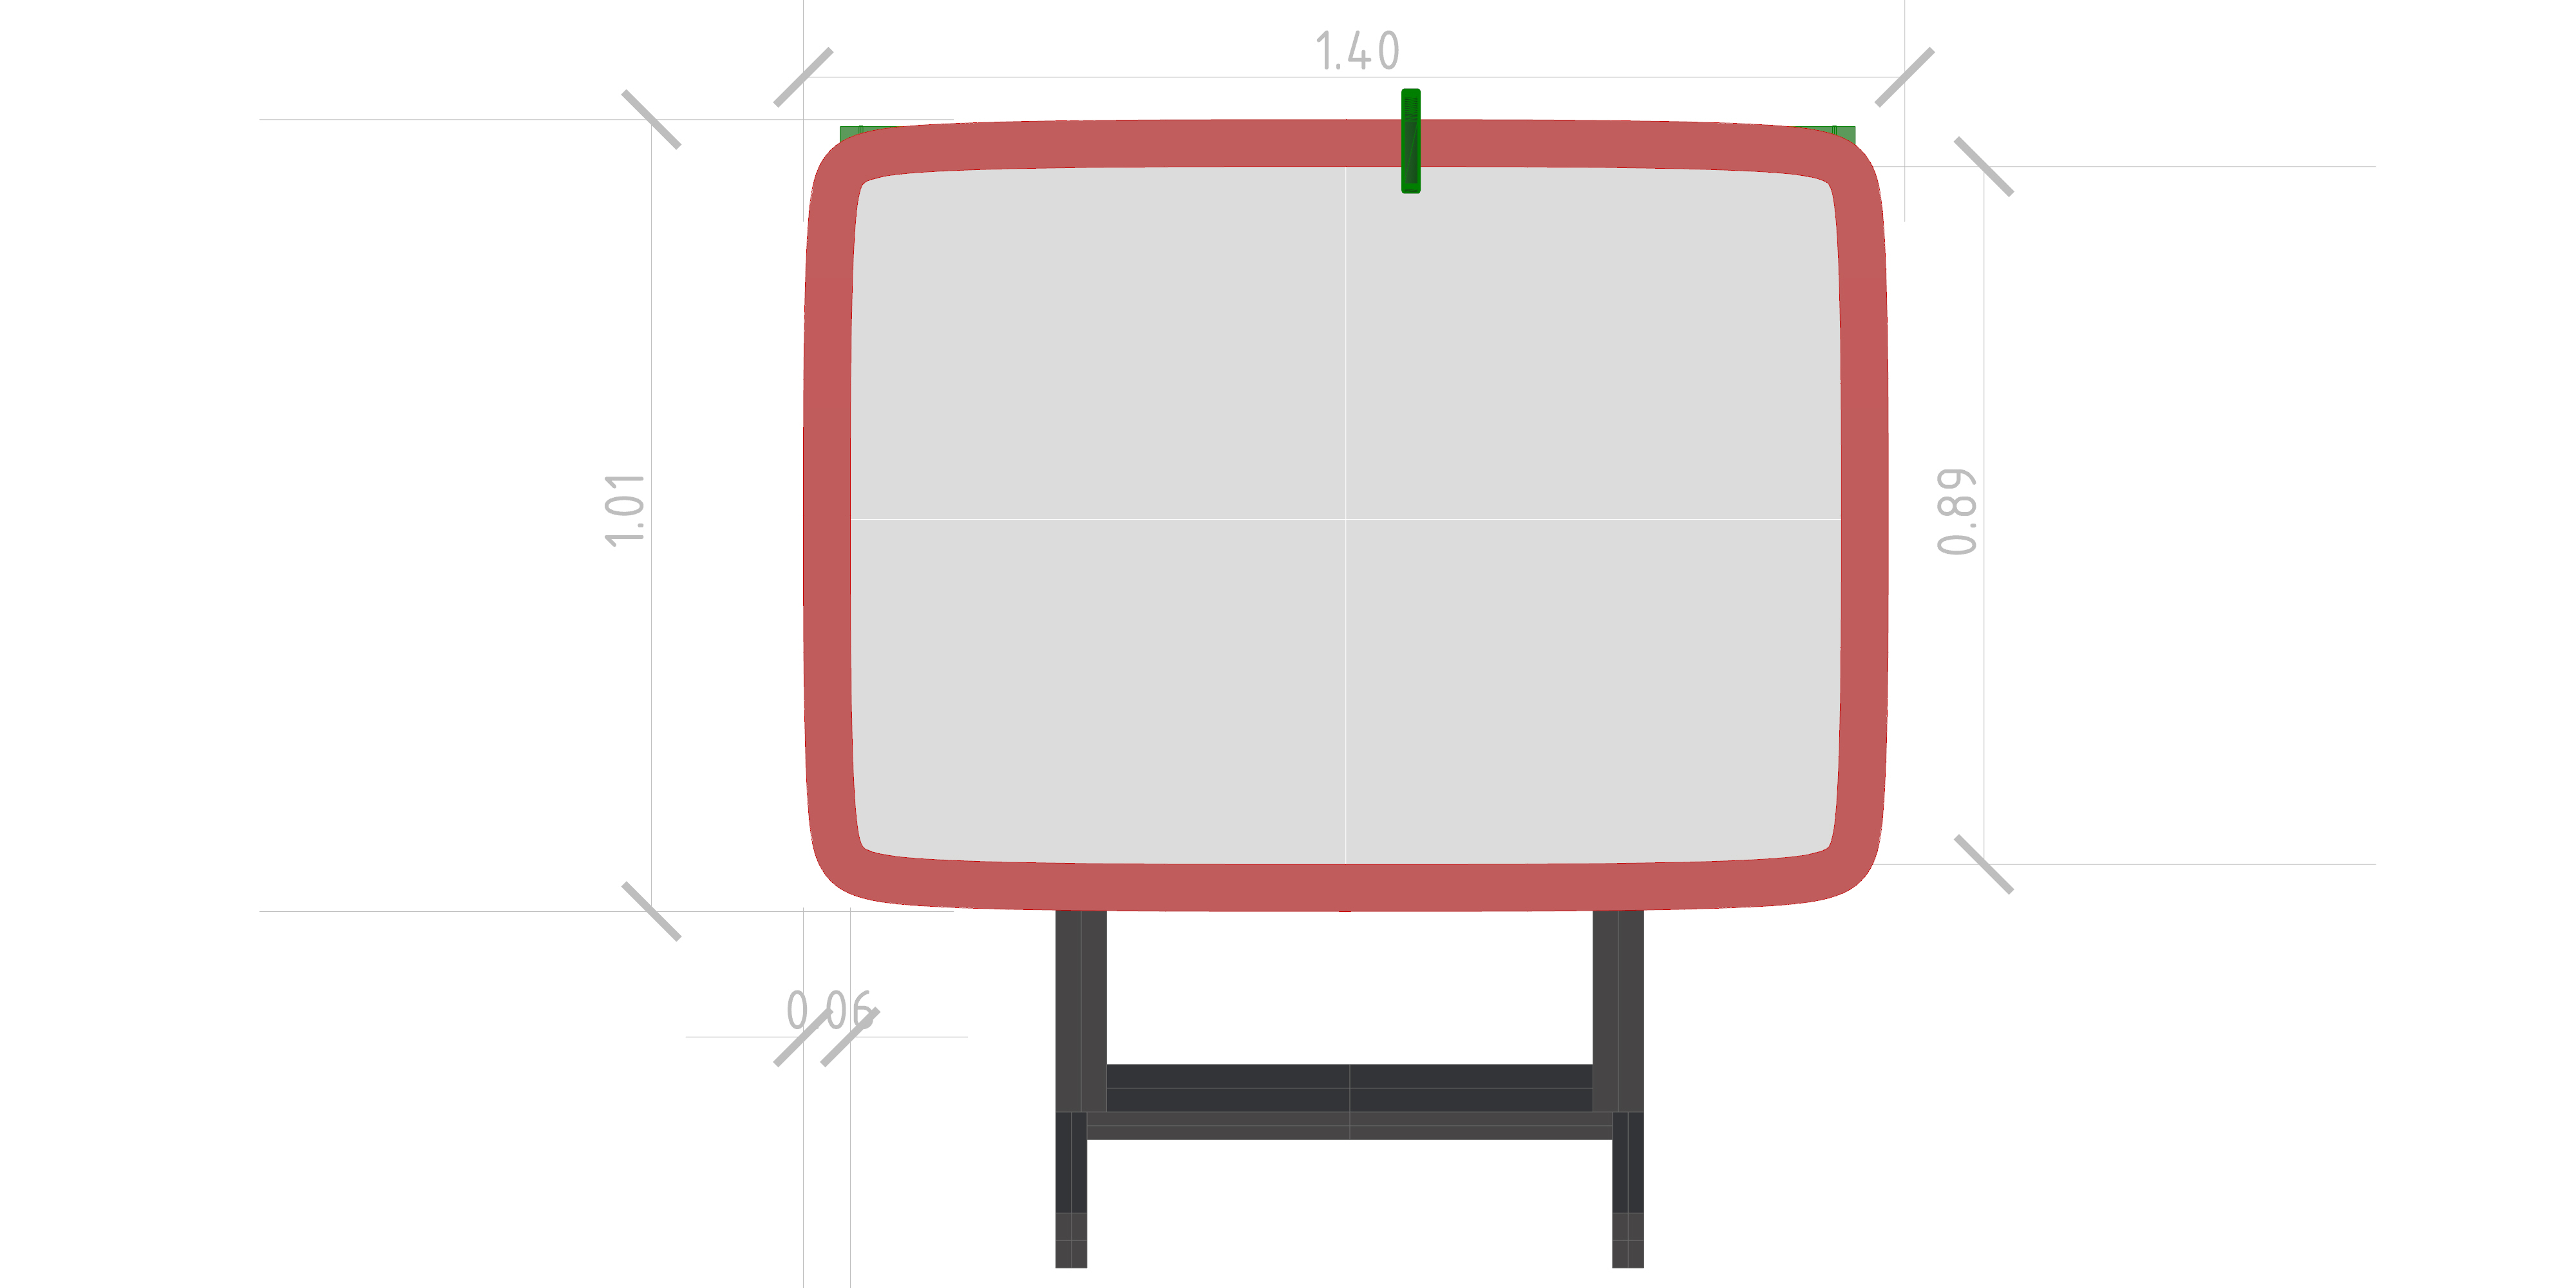
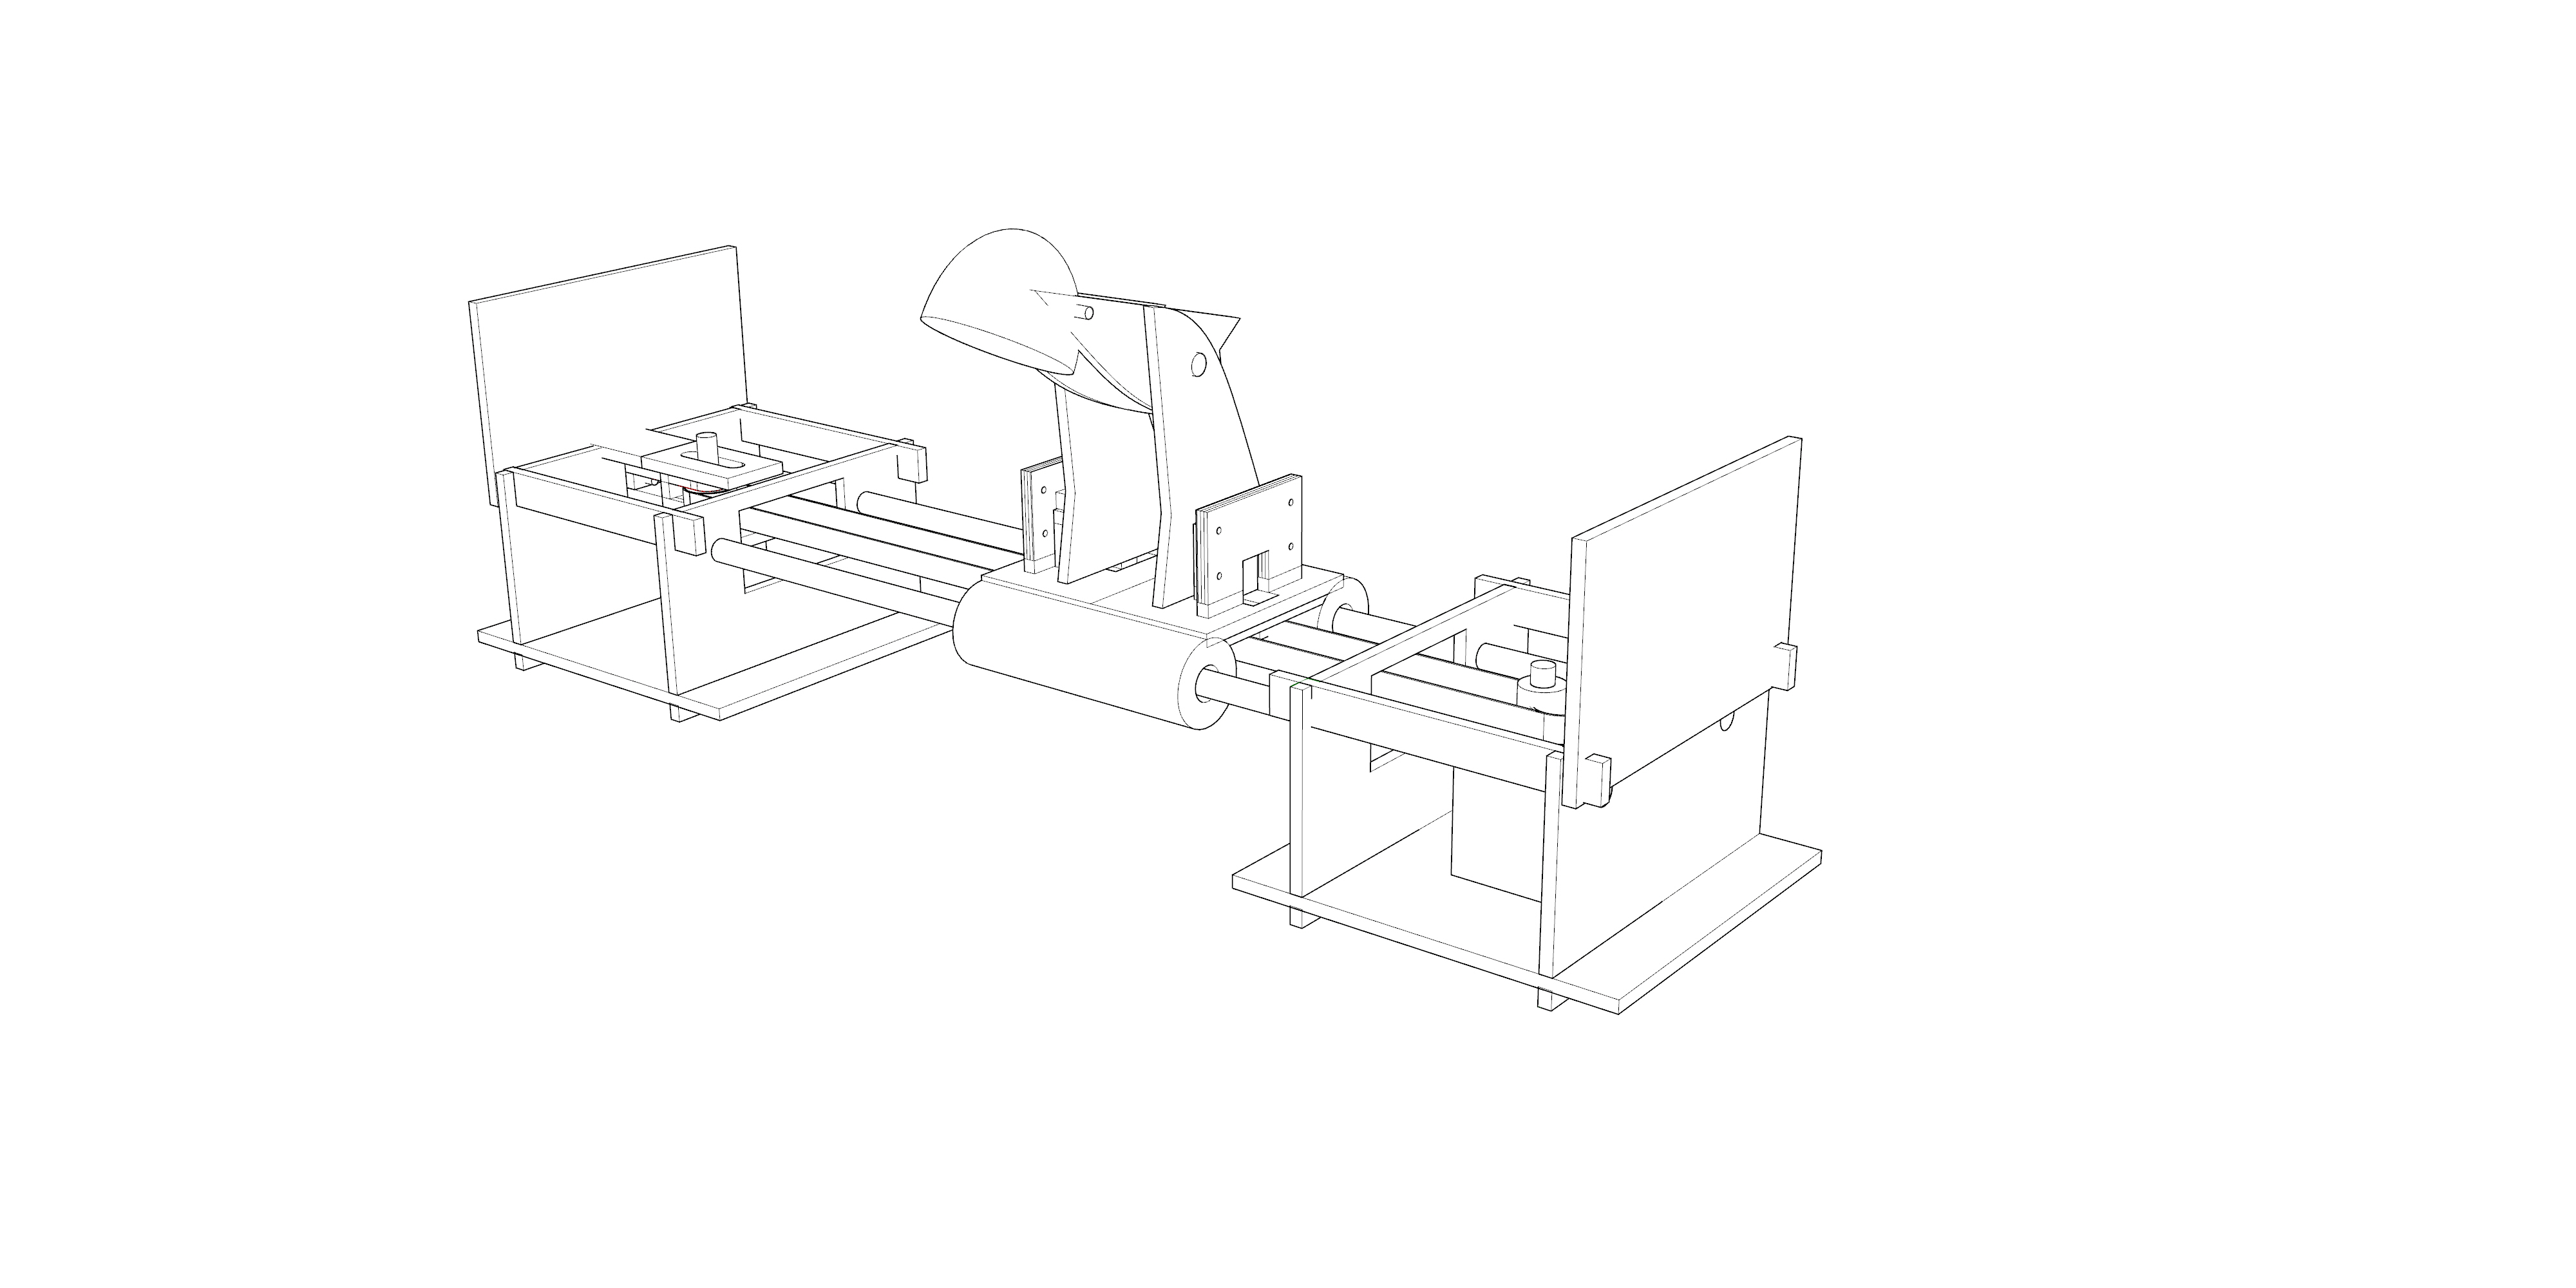
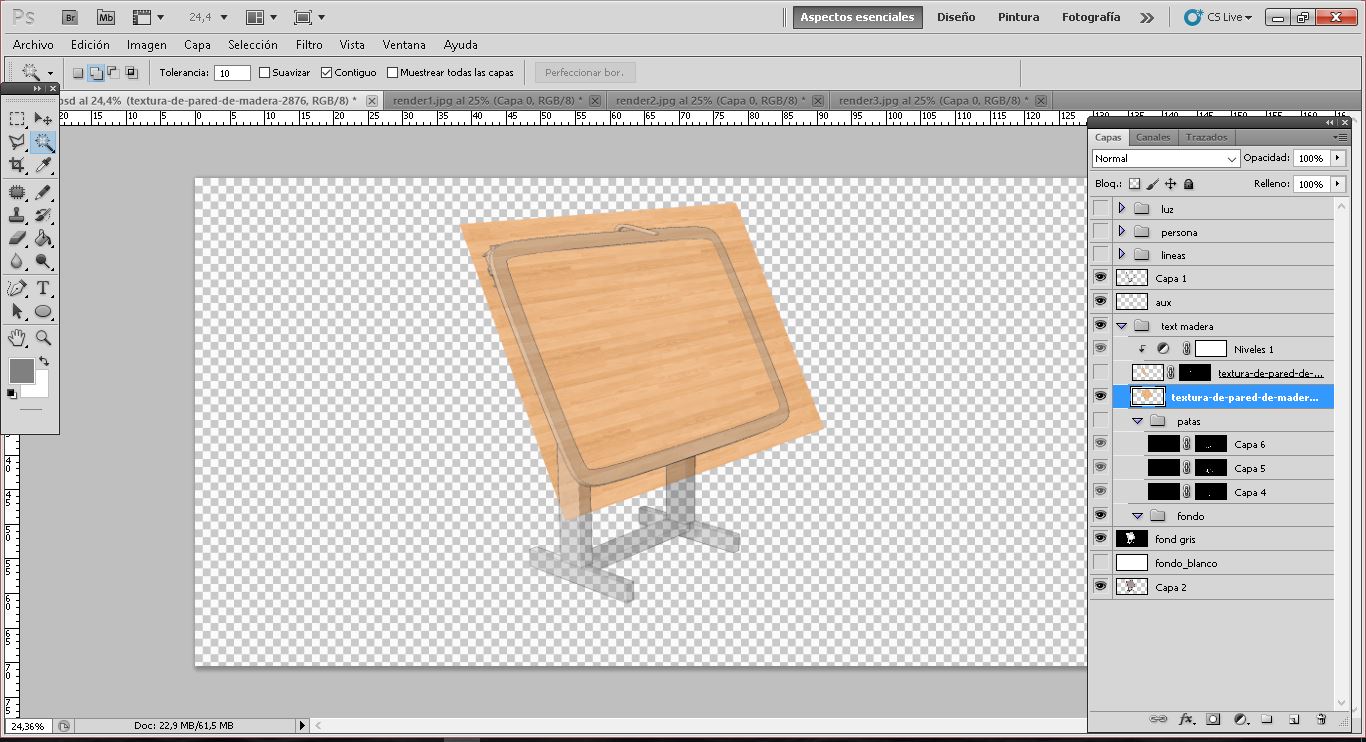
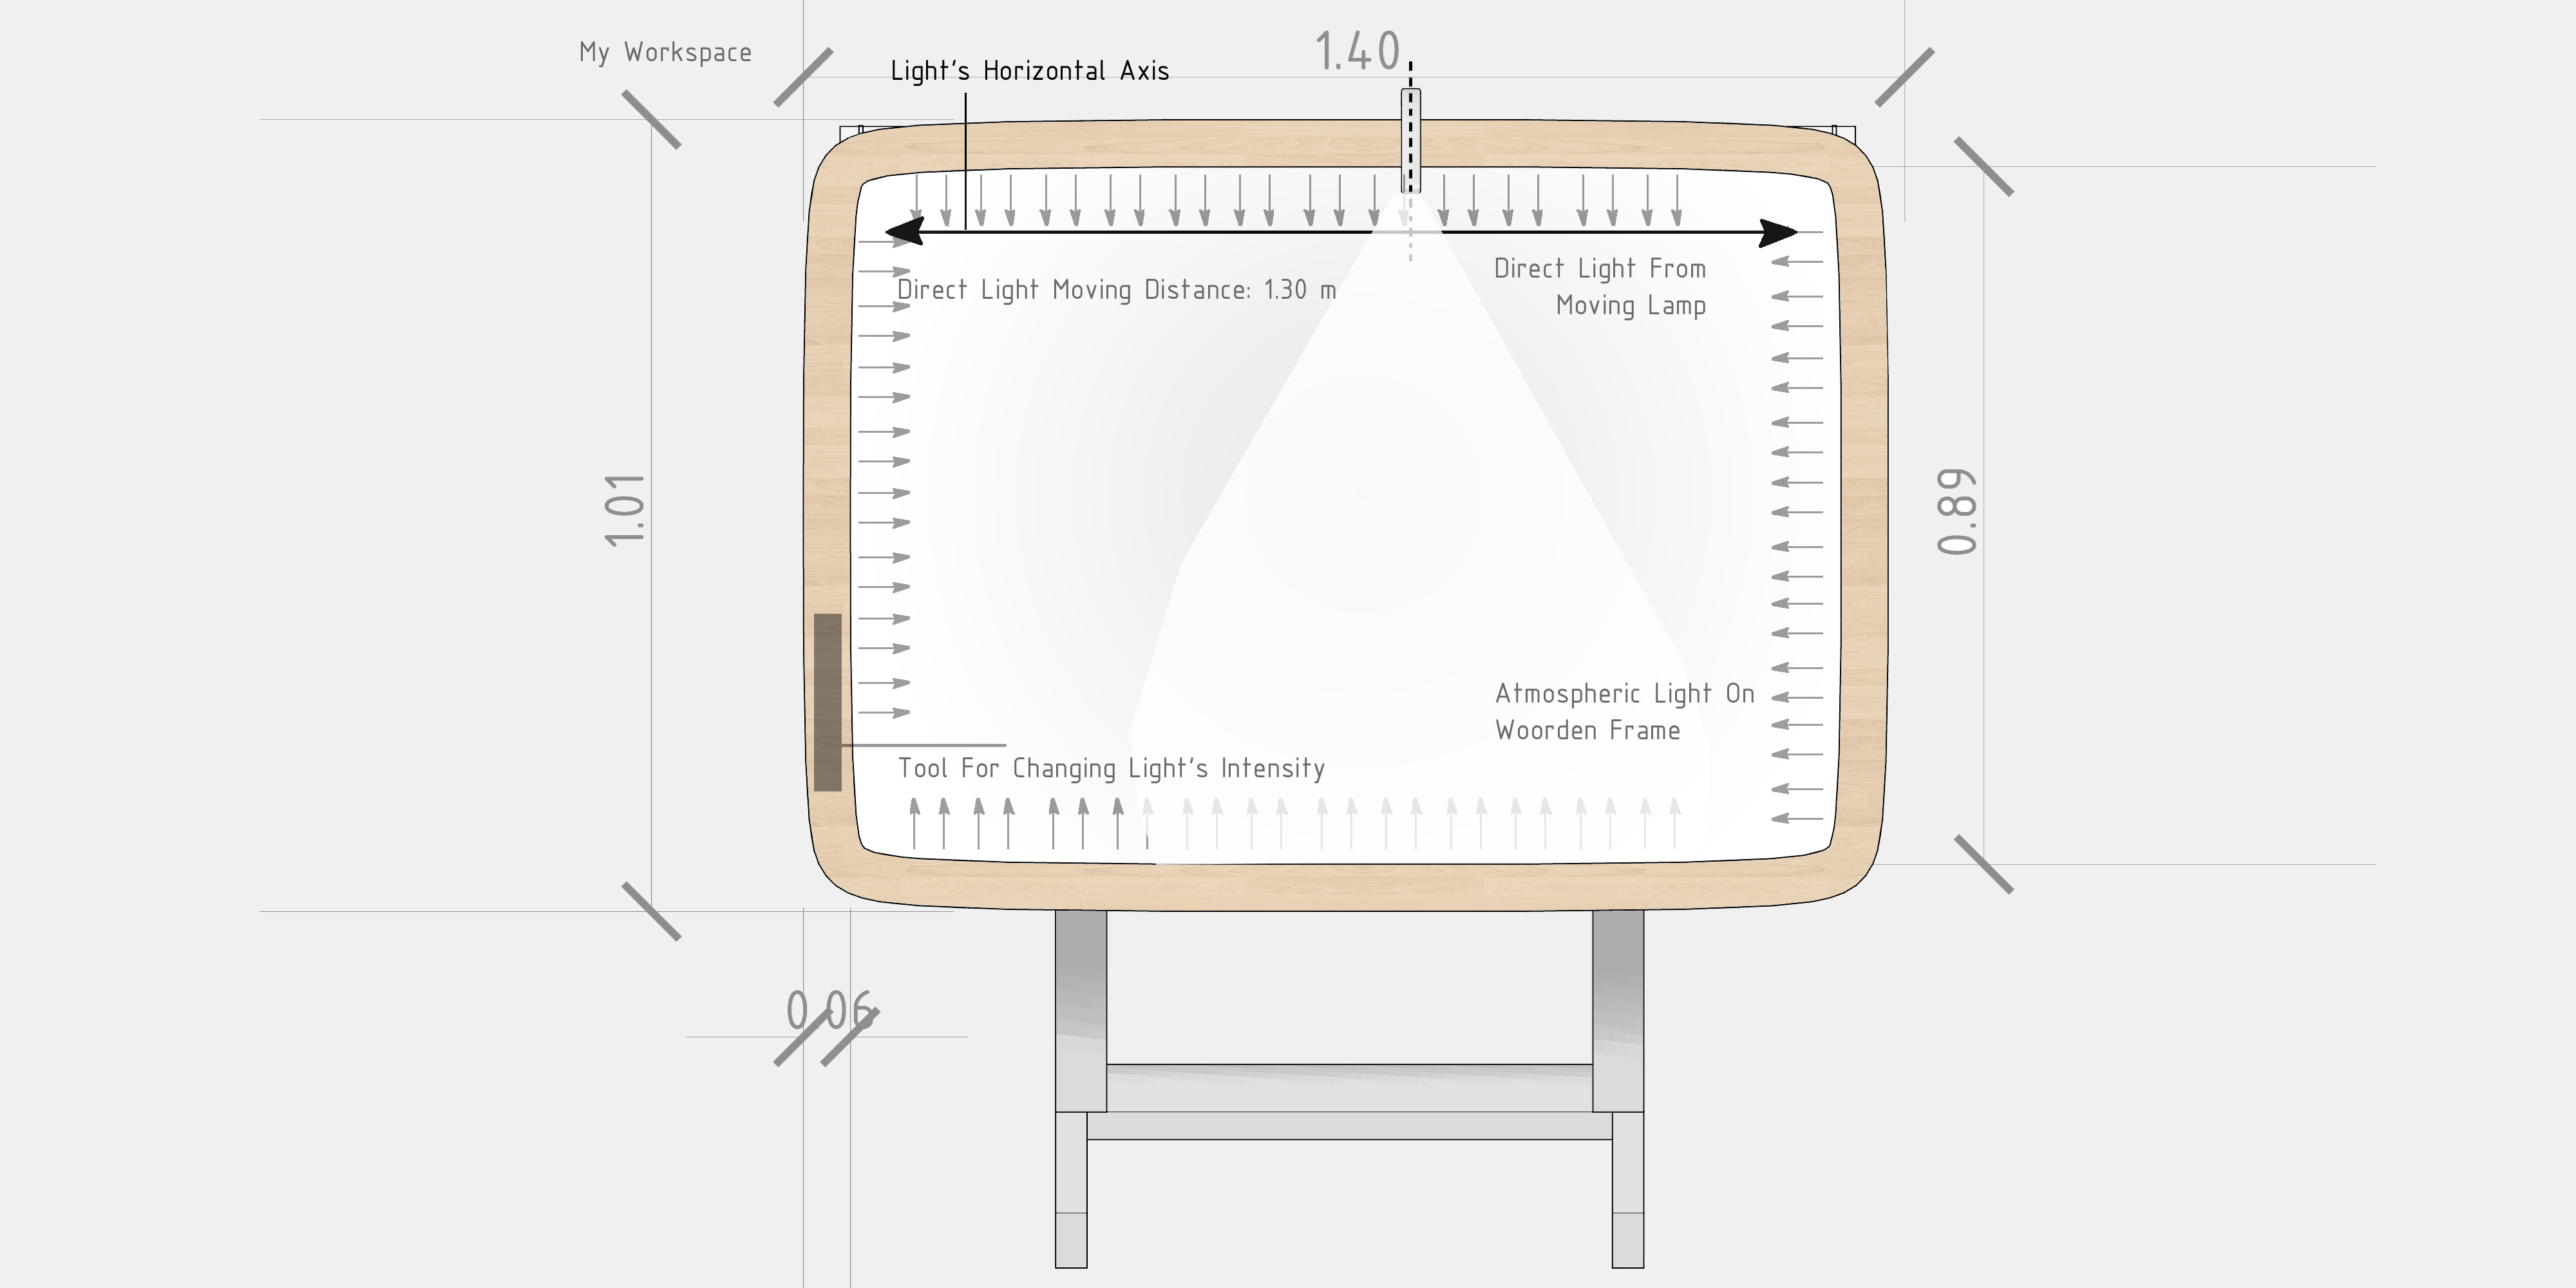
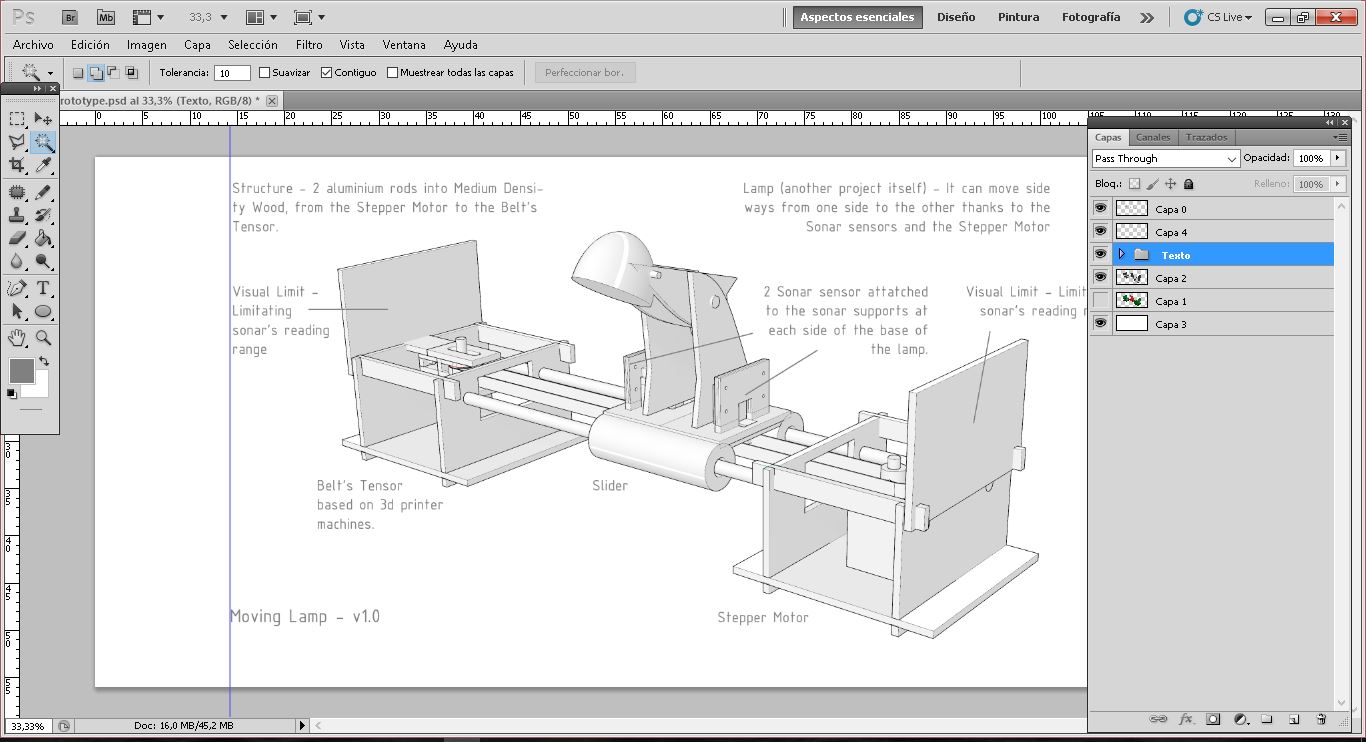
I wanted to compose a possible final project plan with the different elements that the device needs to work. Please note that until the electronic design week, I will not be able to predict exactly how it is going to work. The idea is to create a 'container' where everything is stored within a good design. I opened Inkscape and started to draw the first stage of the device: movement in the longitudinal axes.

Your browser does not support this image Your browser does not support this image

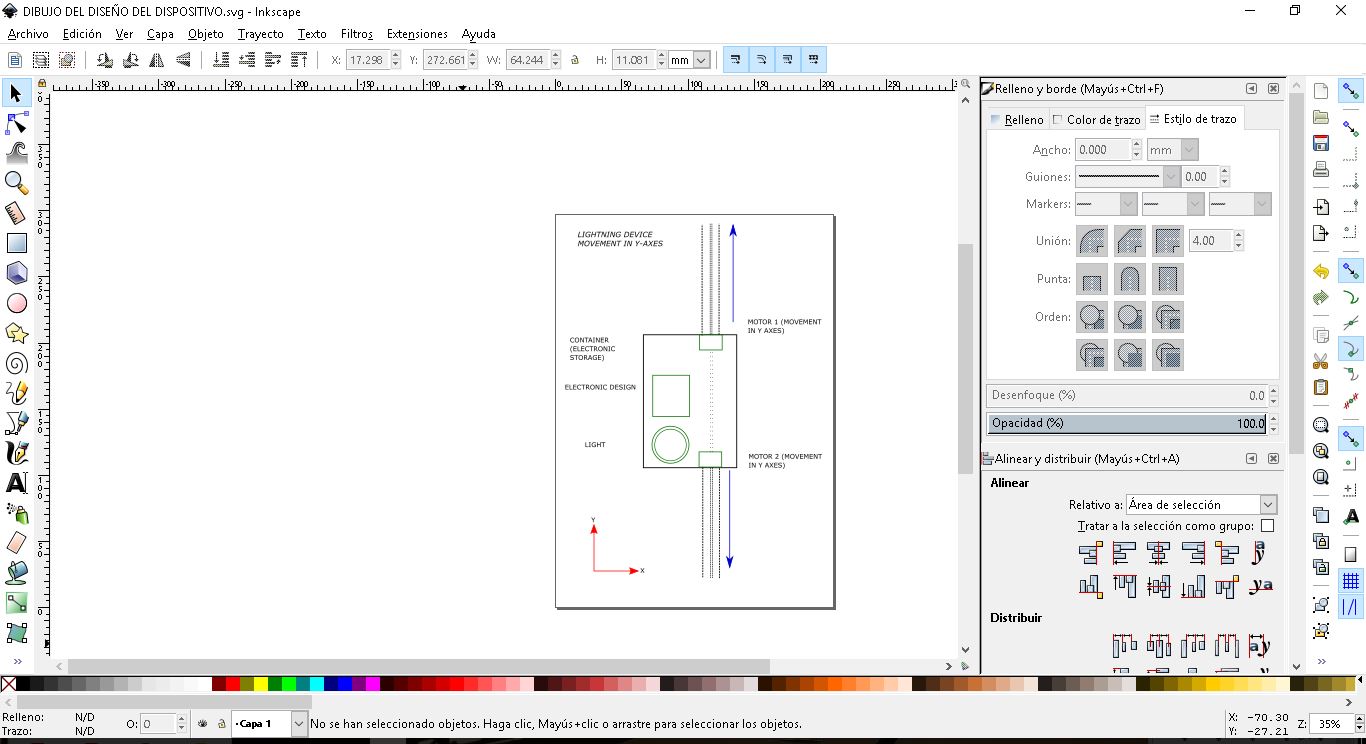
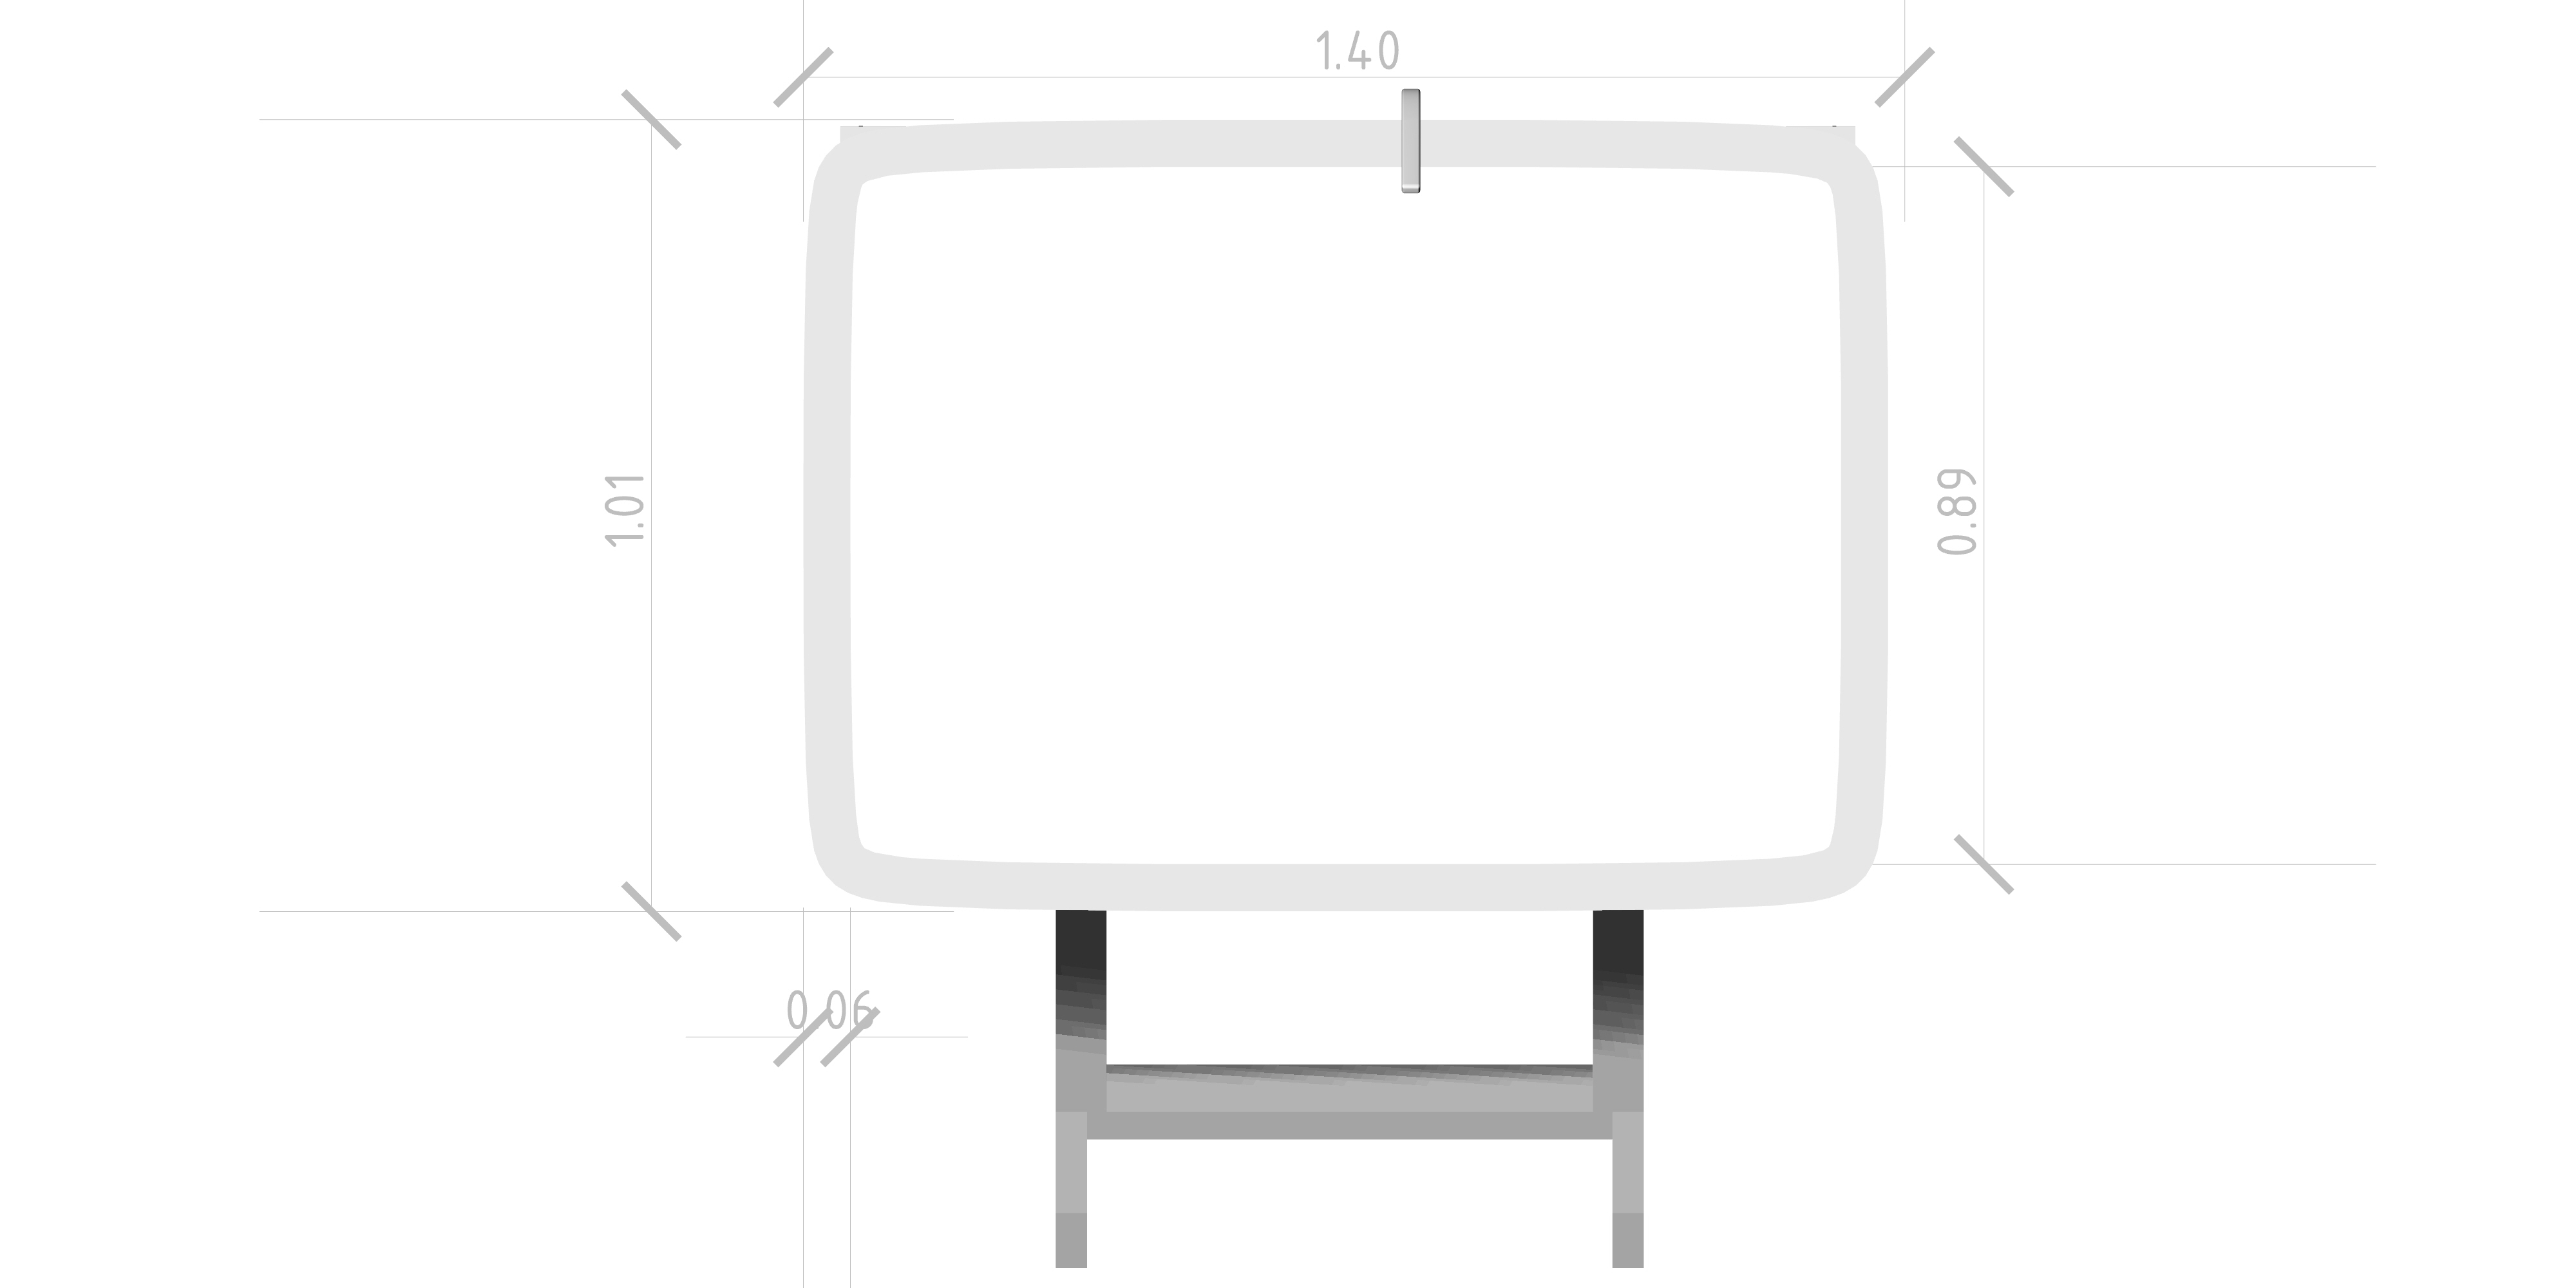
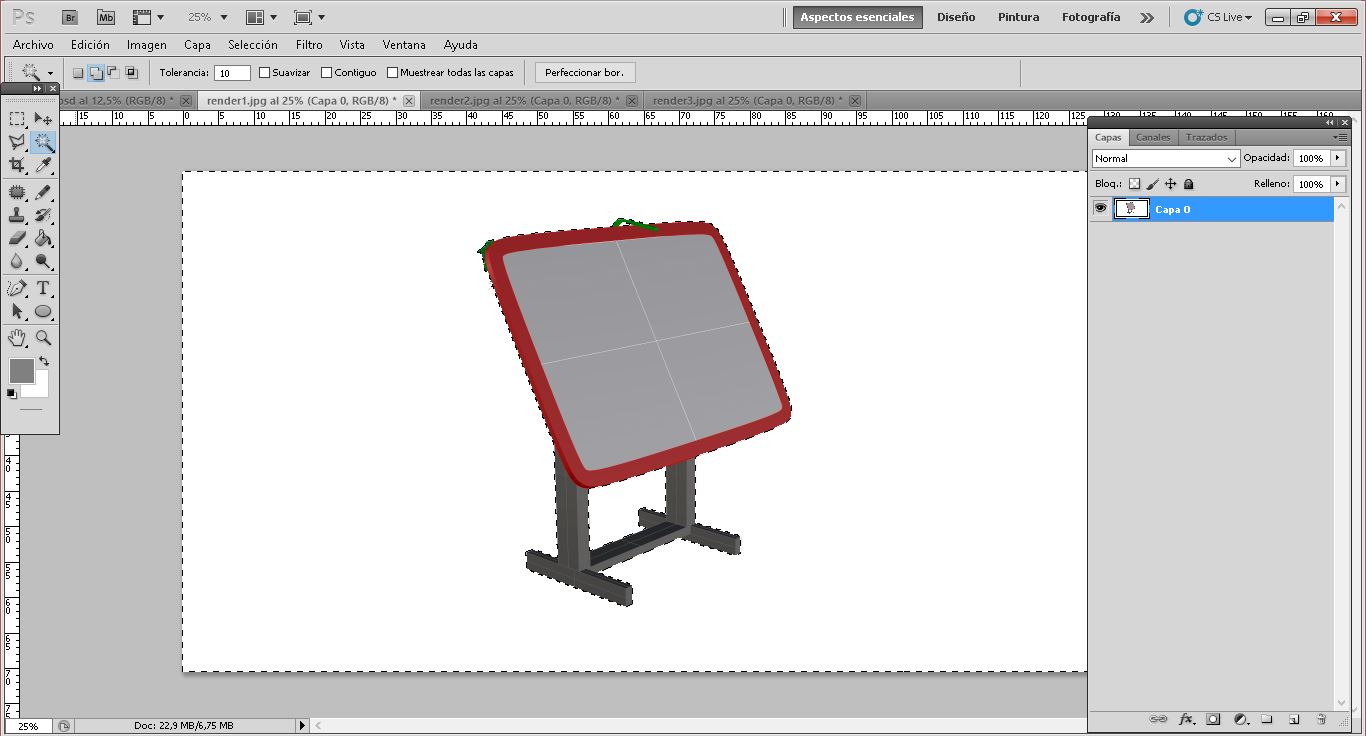
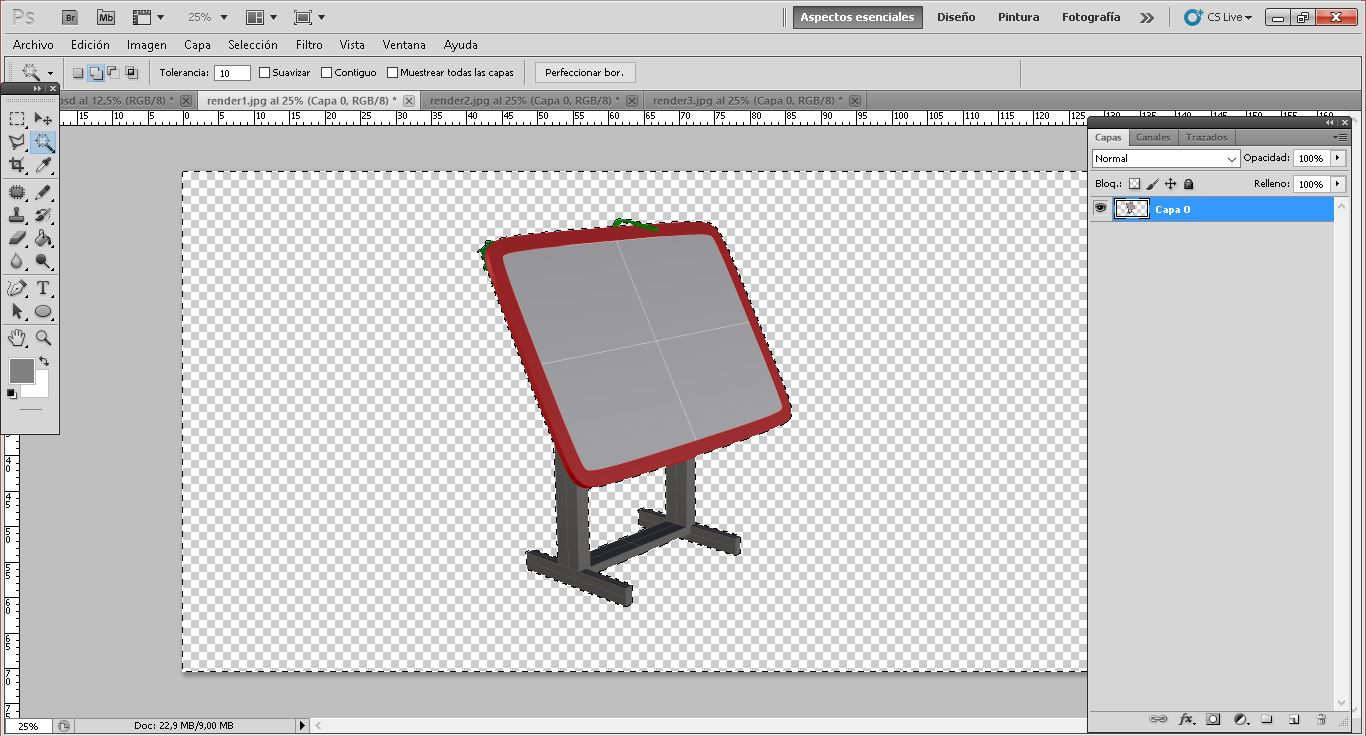
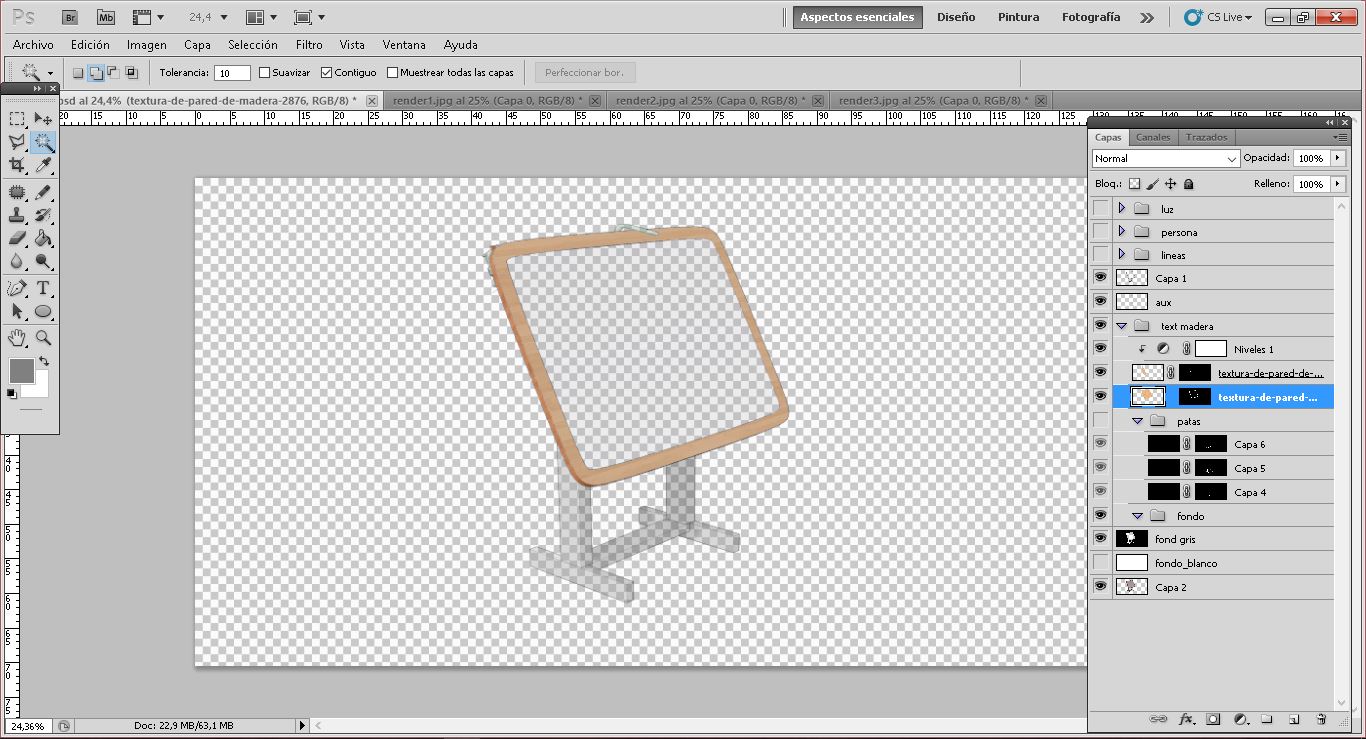
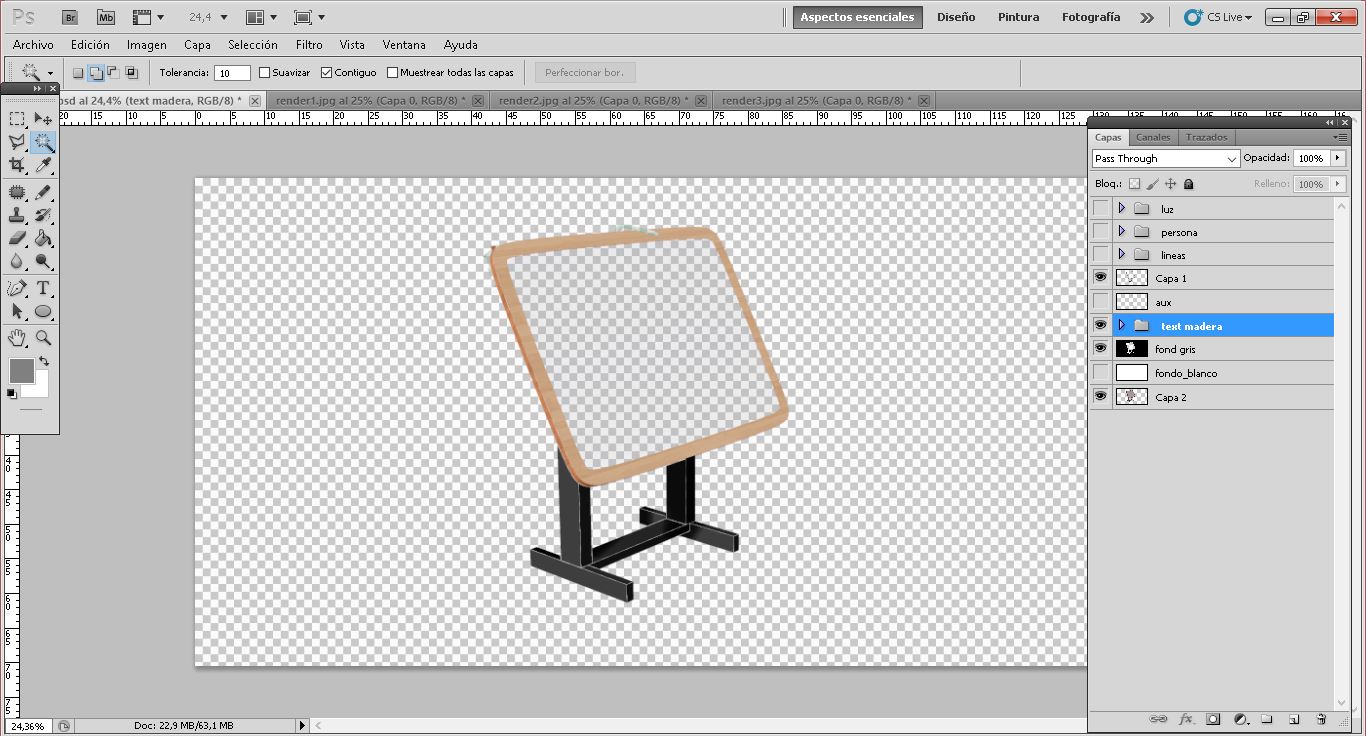
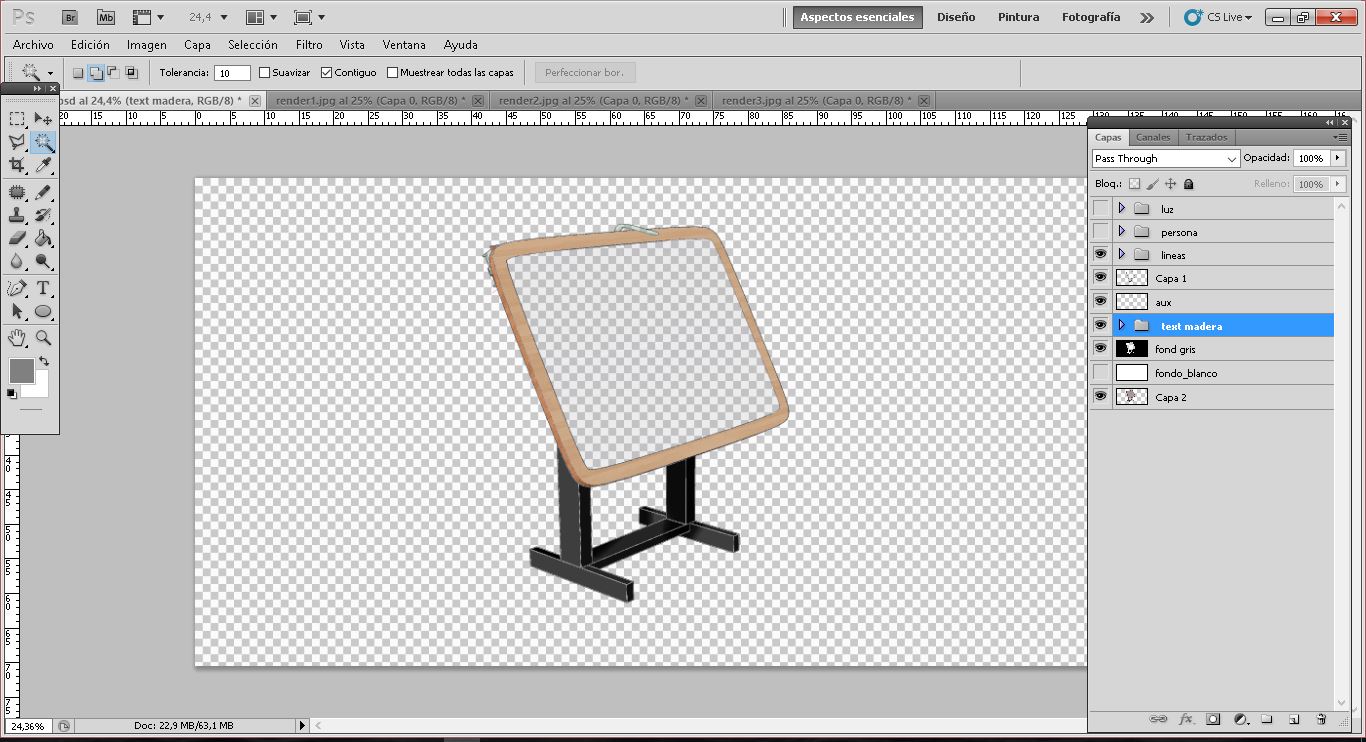
Once I had the composition done, I exported the document to GIMP. At first, I thought there was something wrong with the program, as something like this appeared:

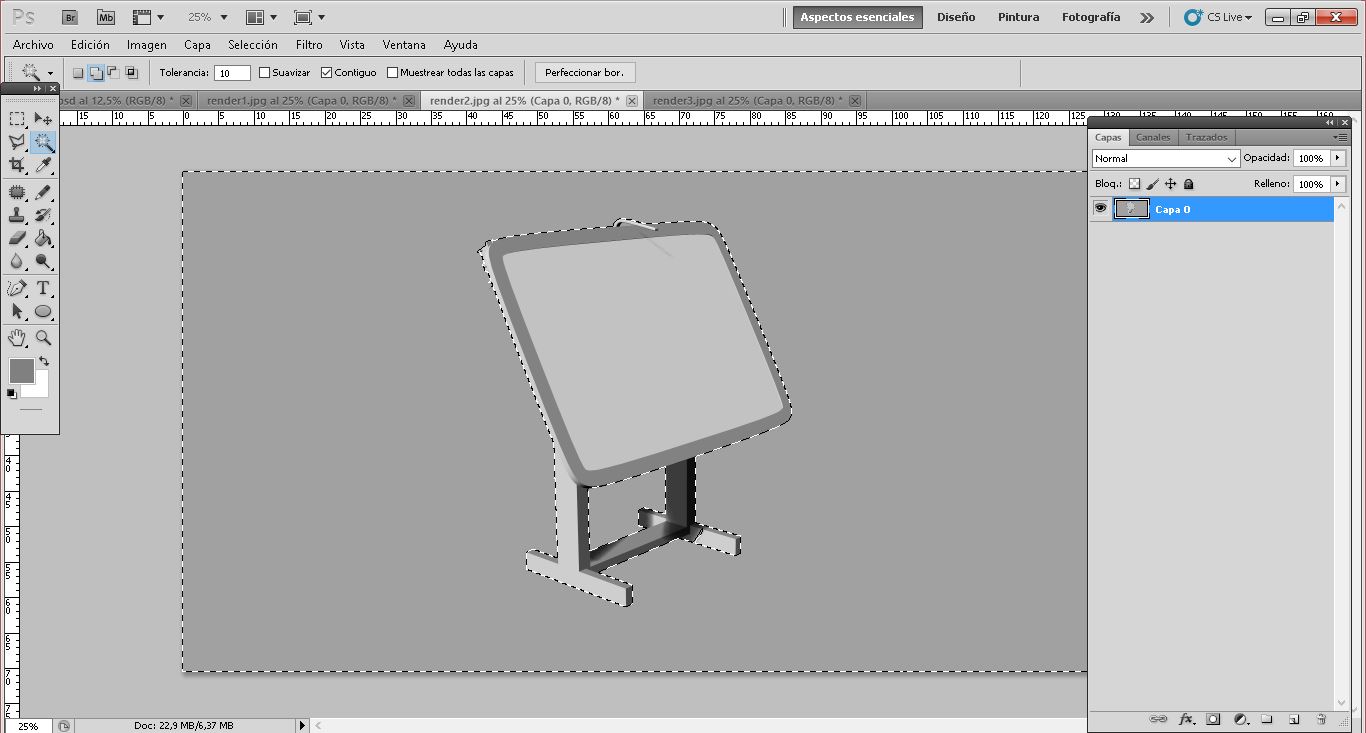
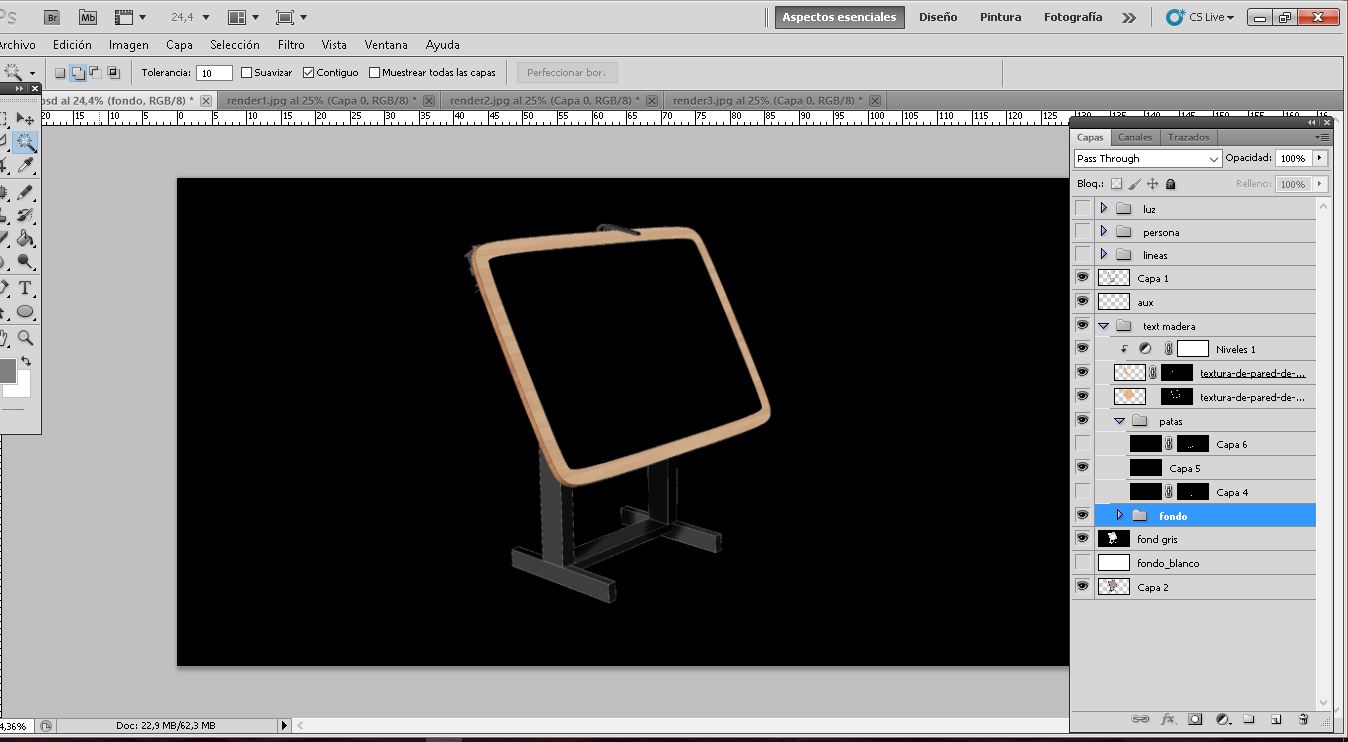
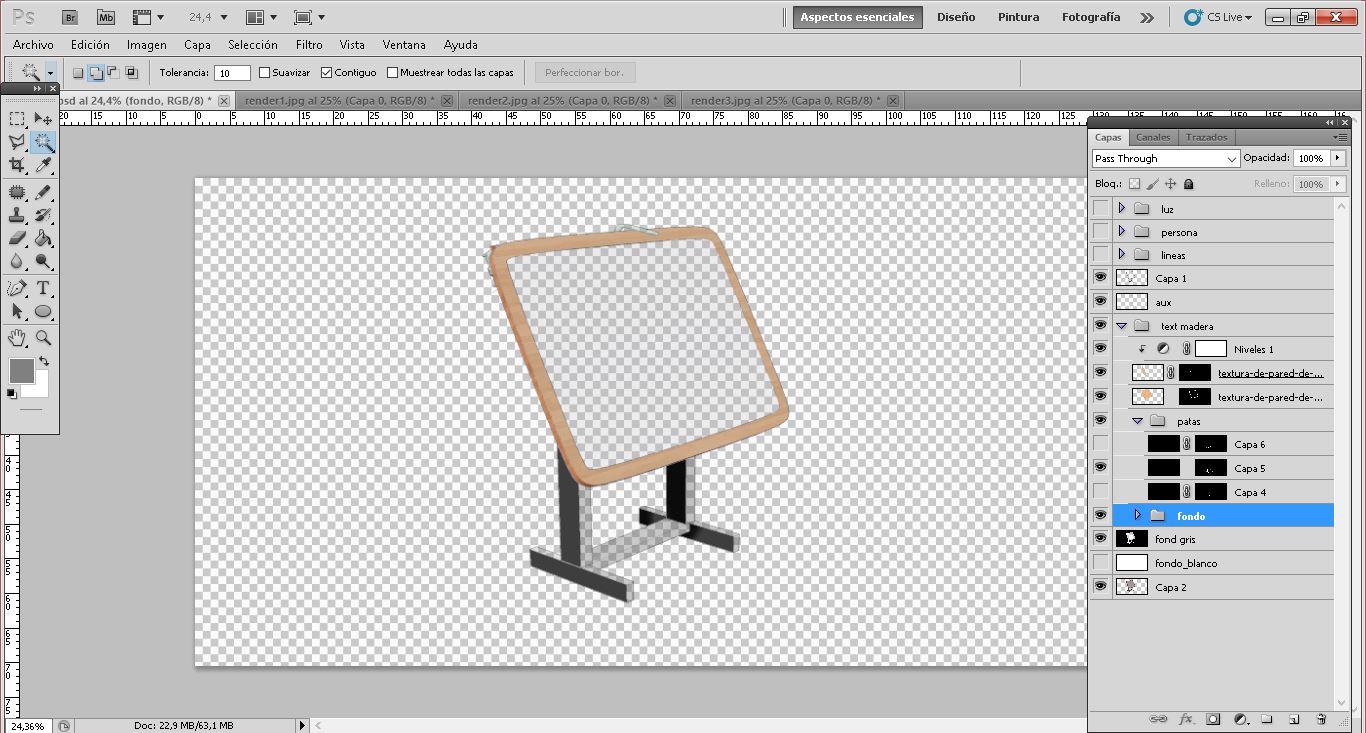
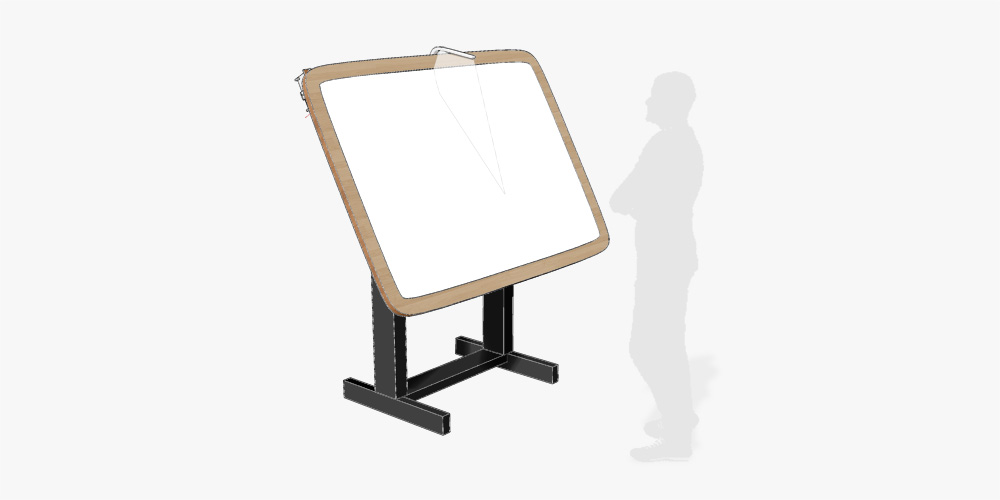
Later on, I realized that the image needed a background colour. This is the final result on Gimp:

Your browser does not support this image

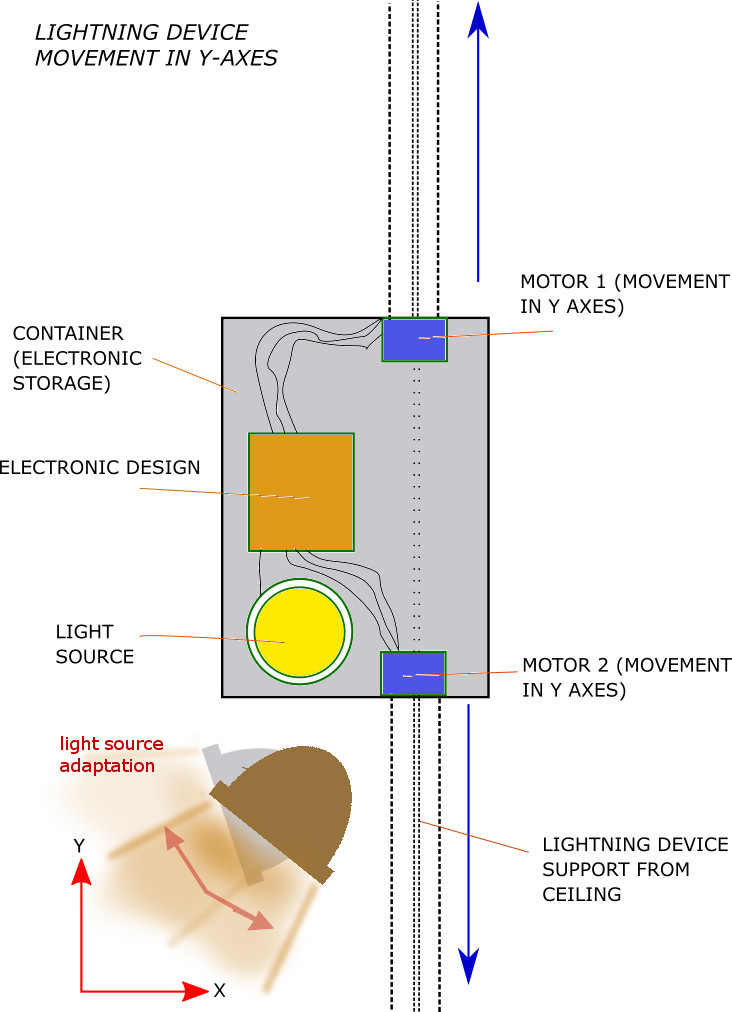
Please note that the device moves in the longitudinal axes and the light source adapts to the user's needs.

STAGE 2


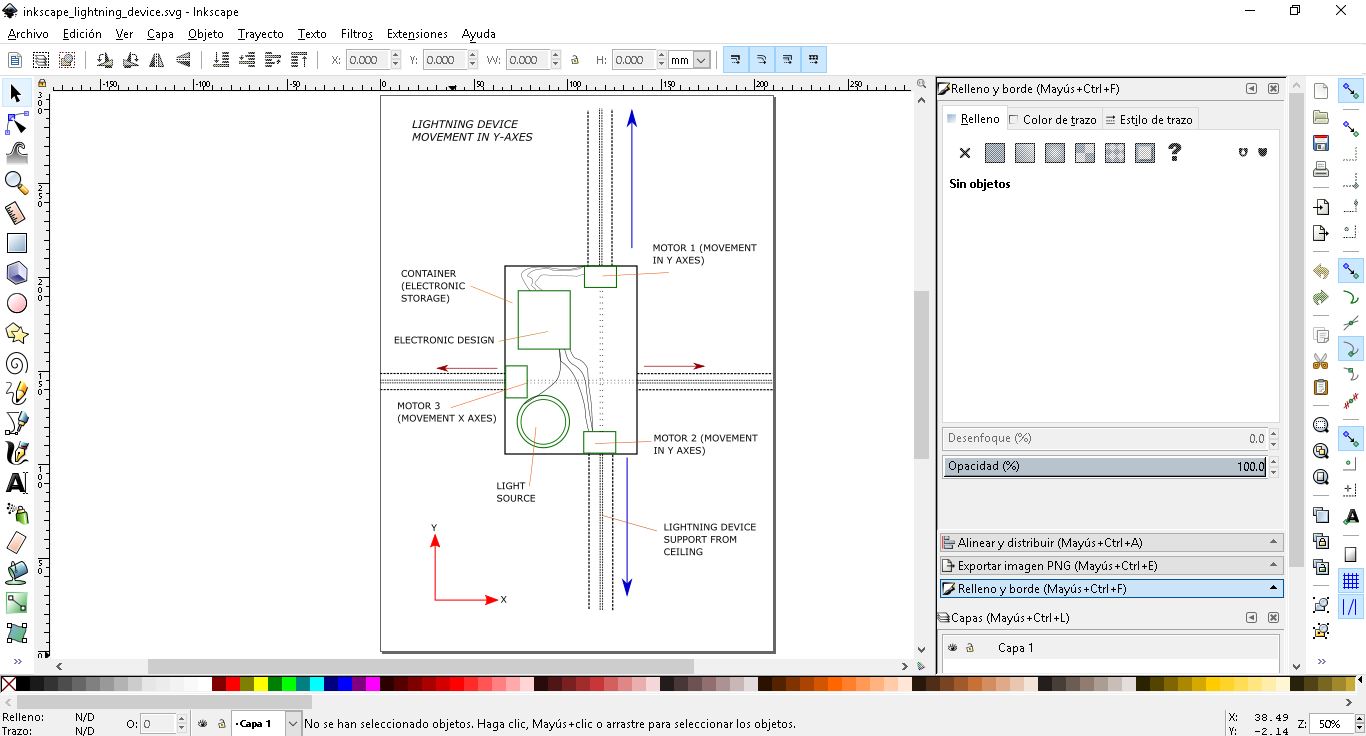
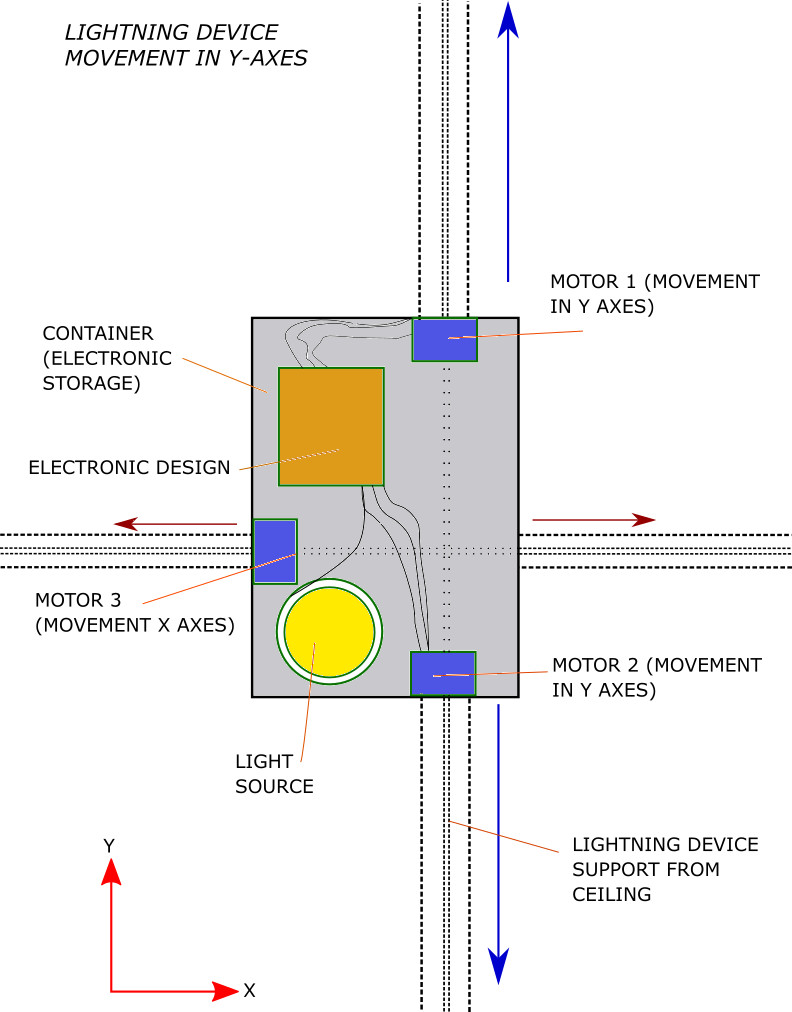
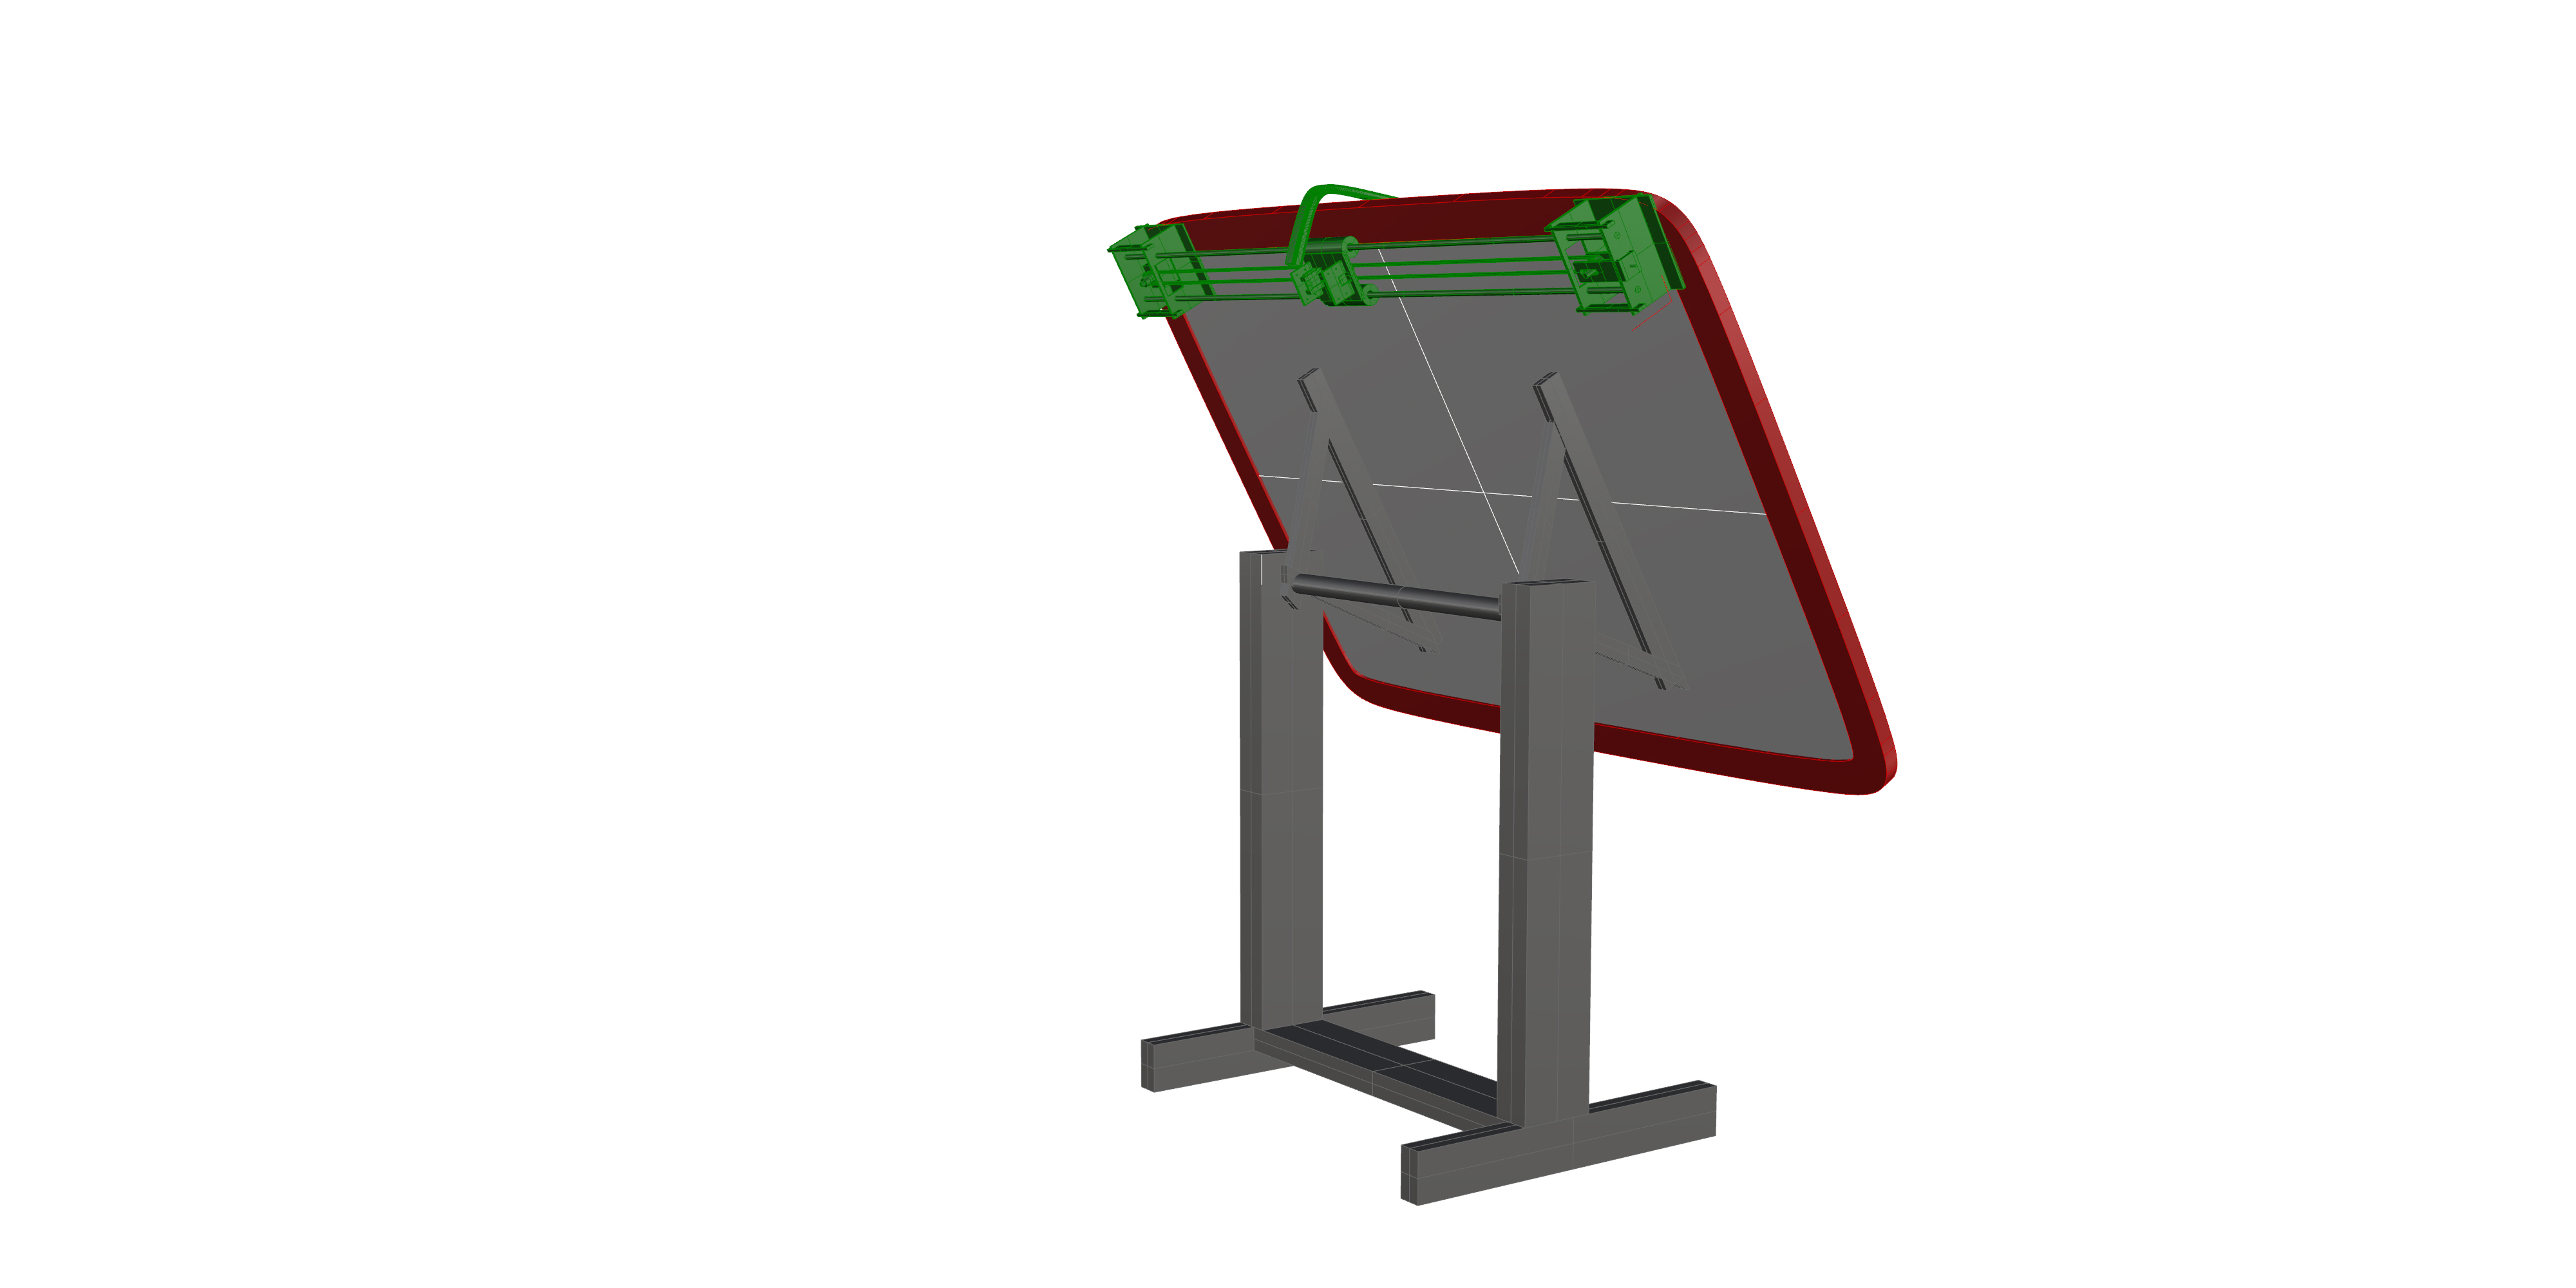
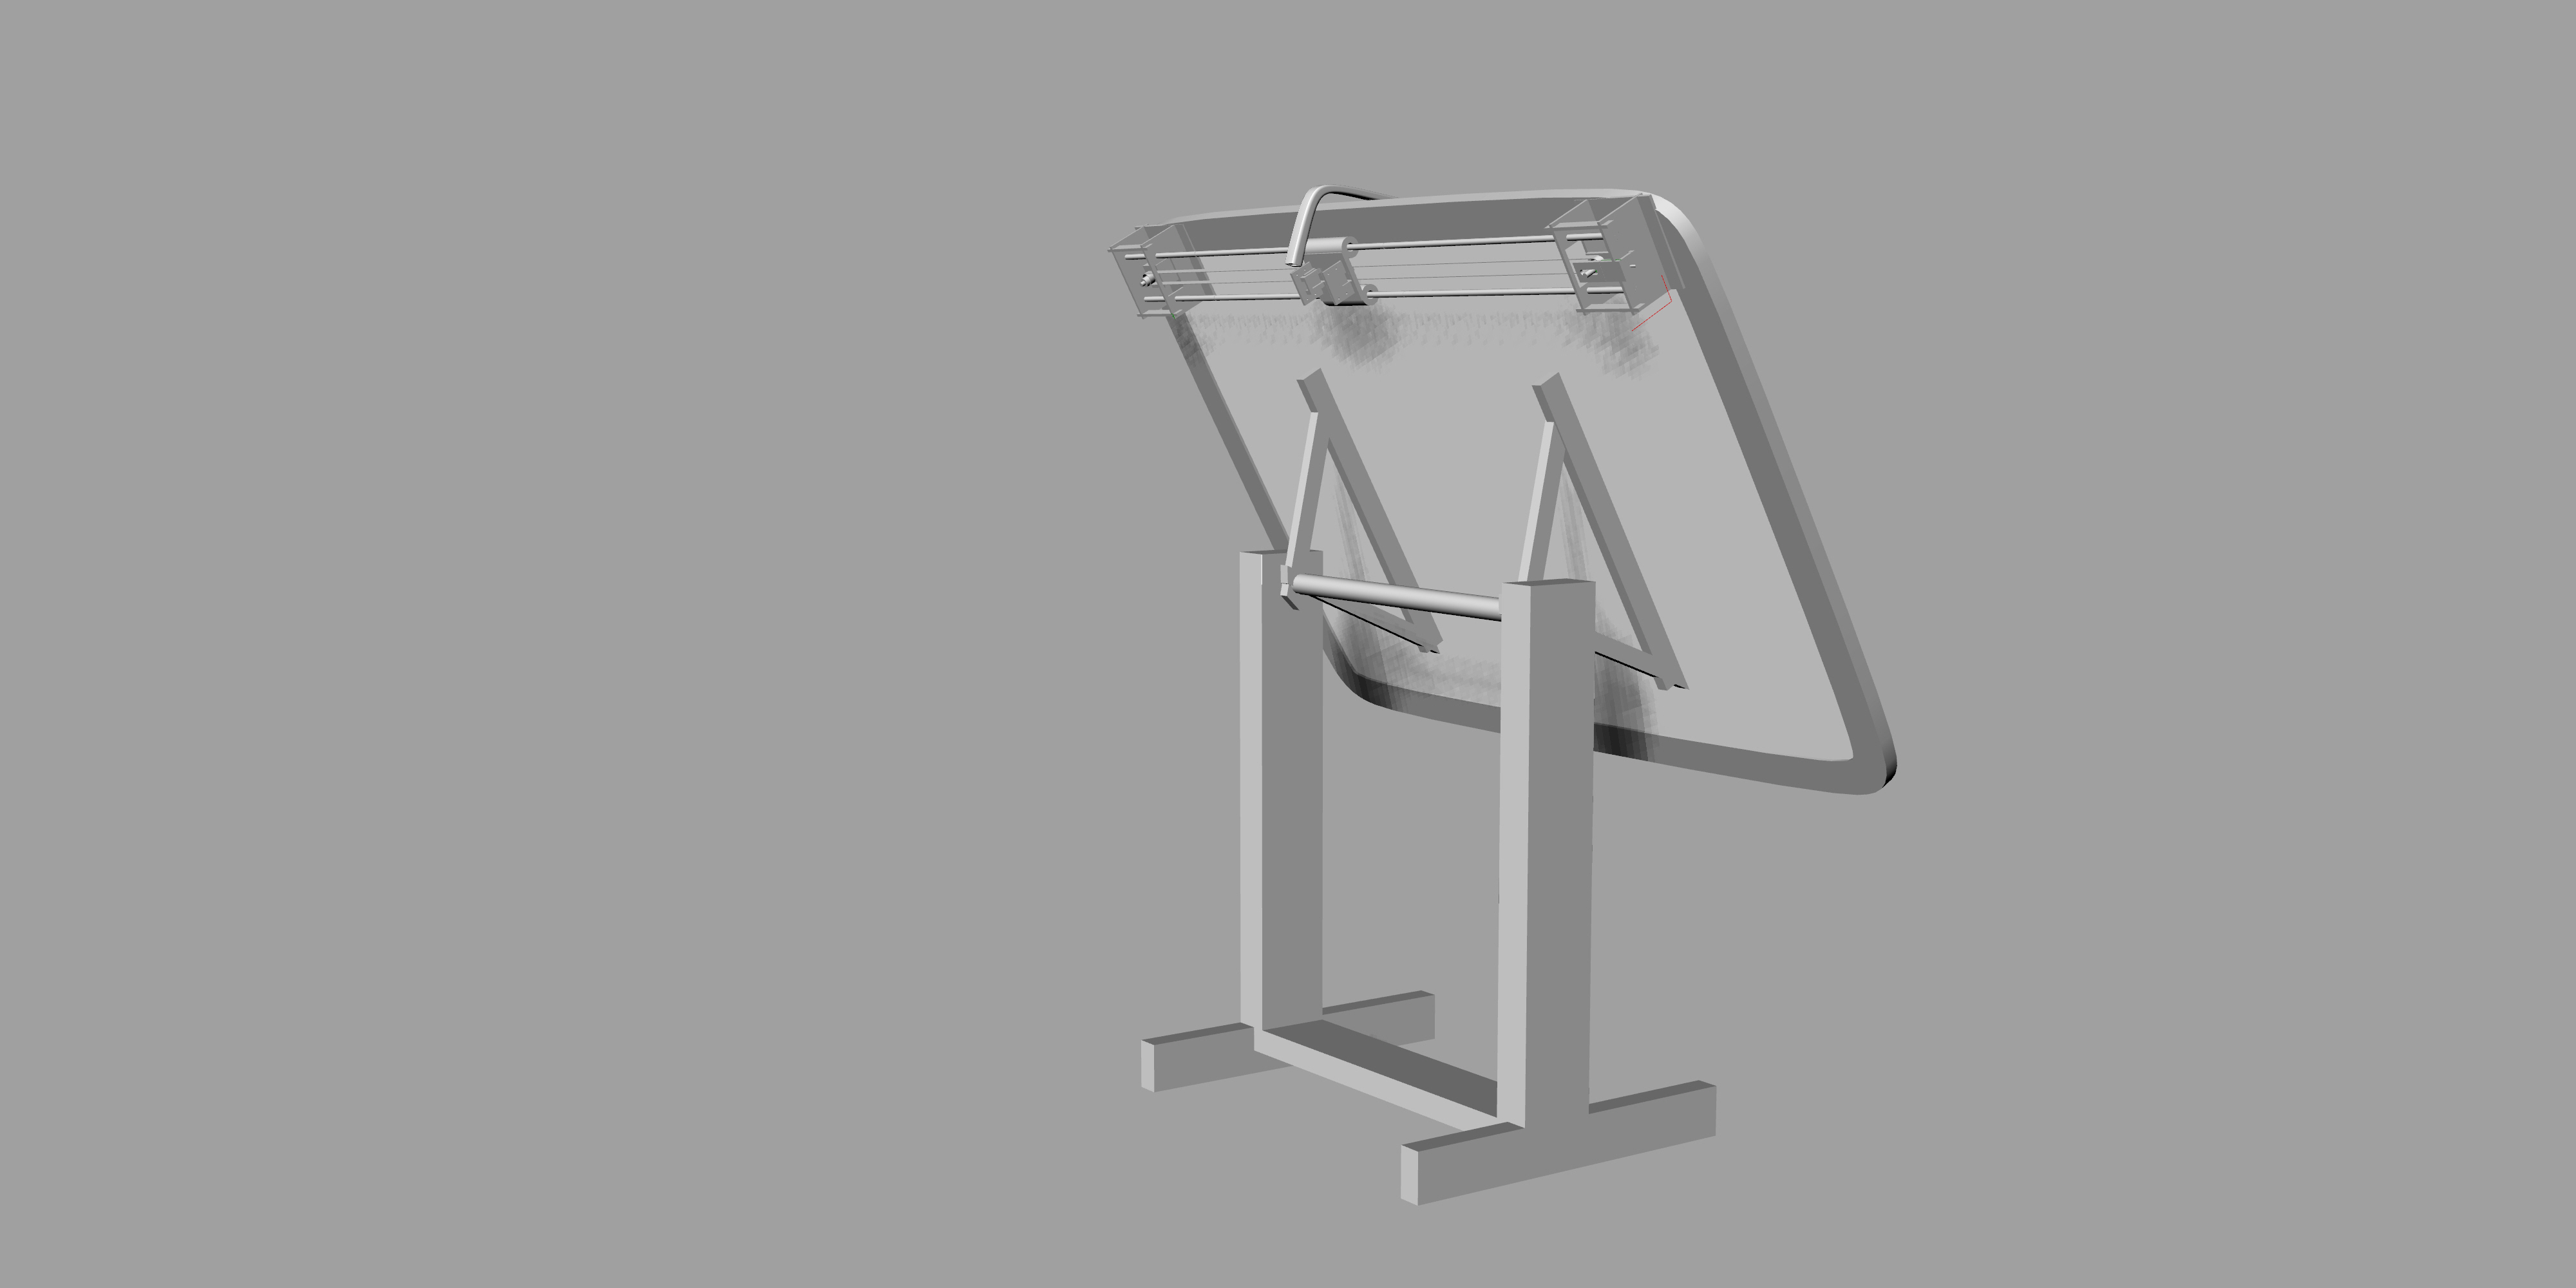
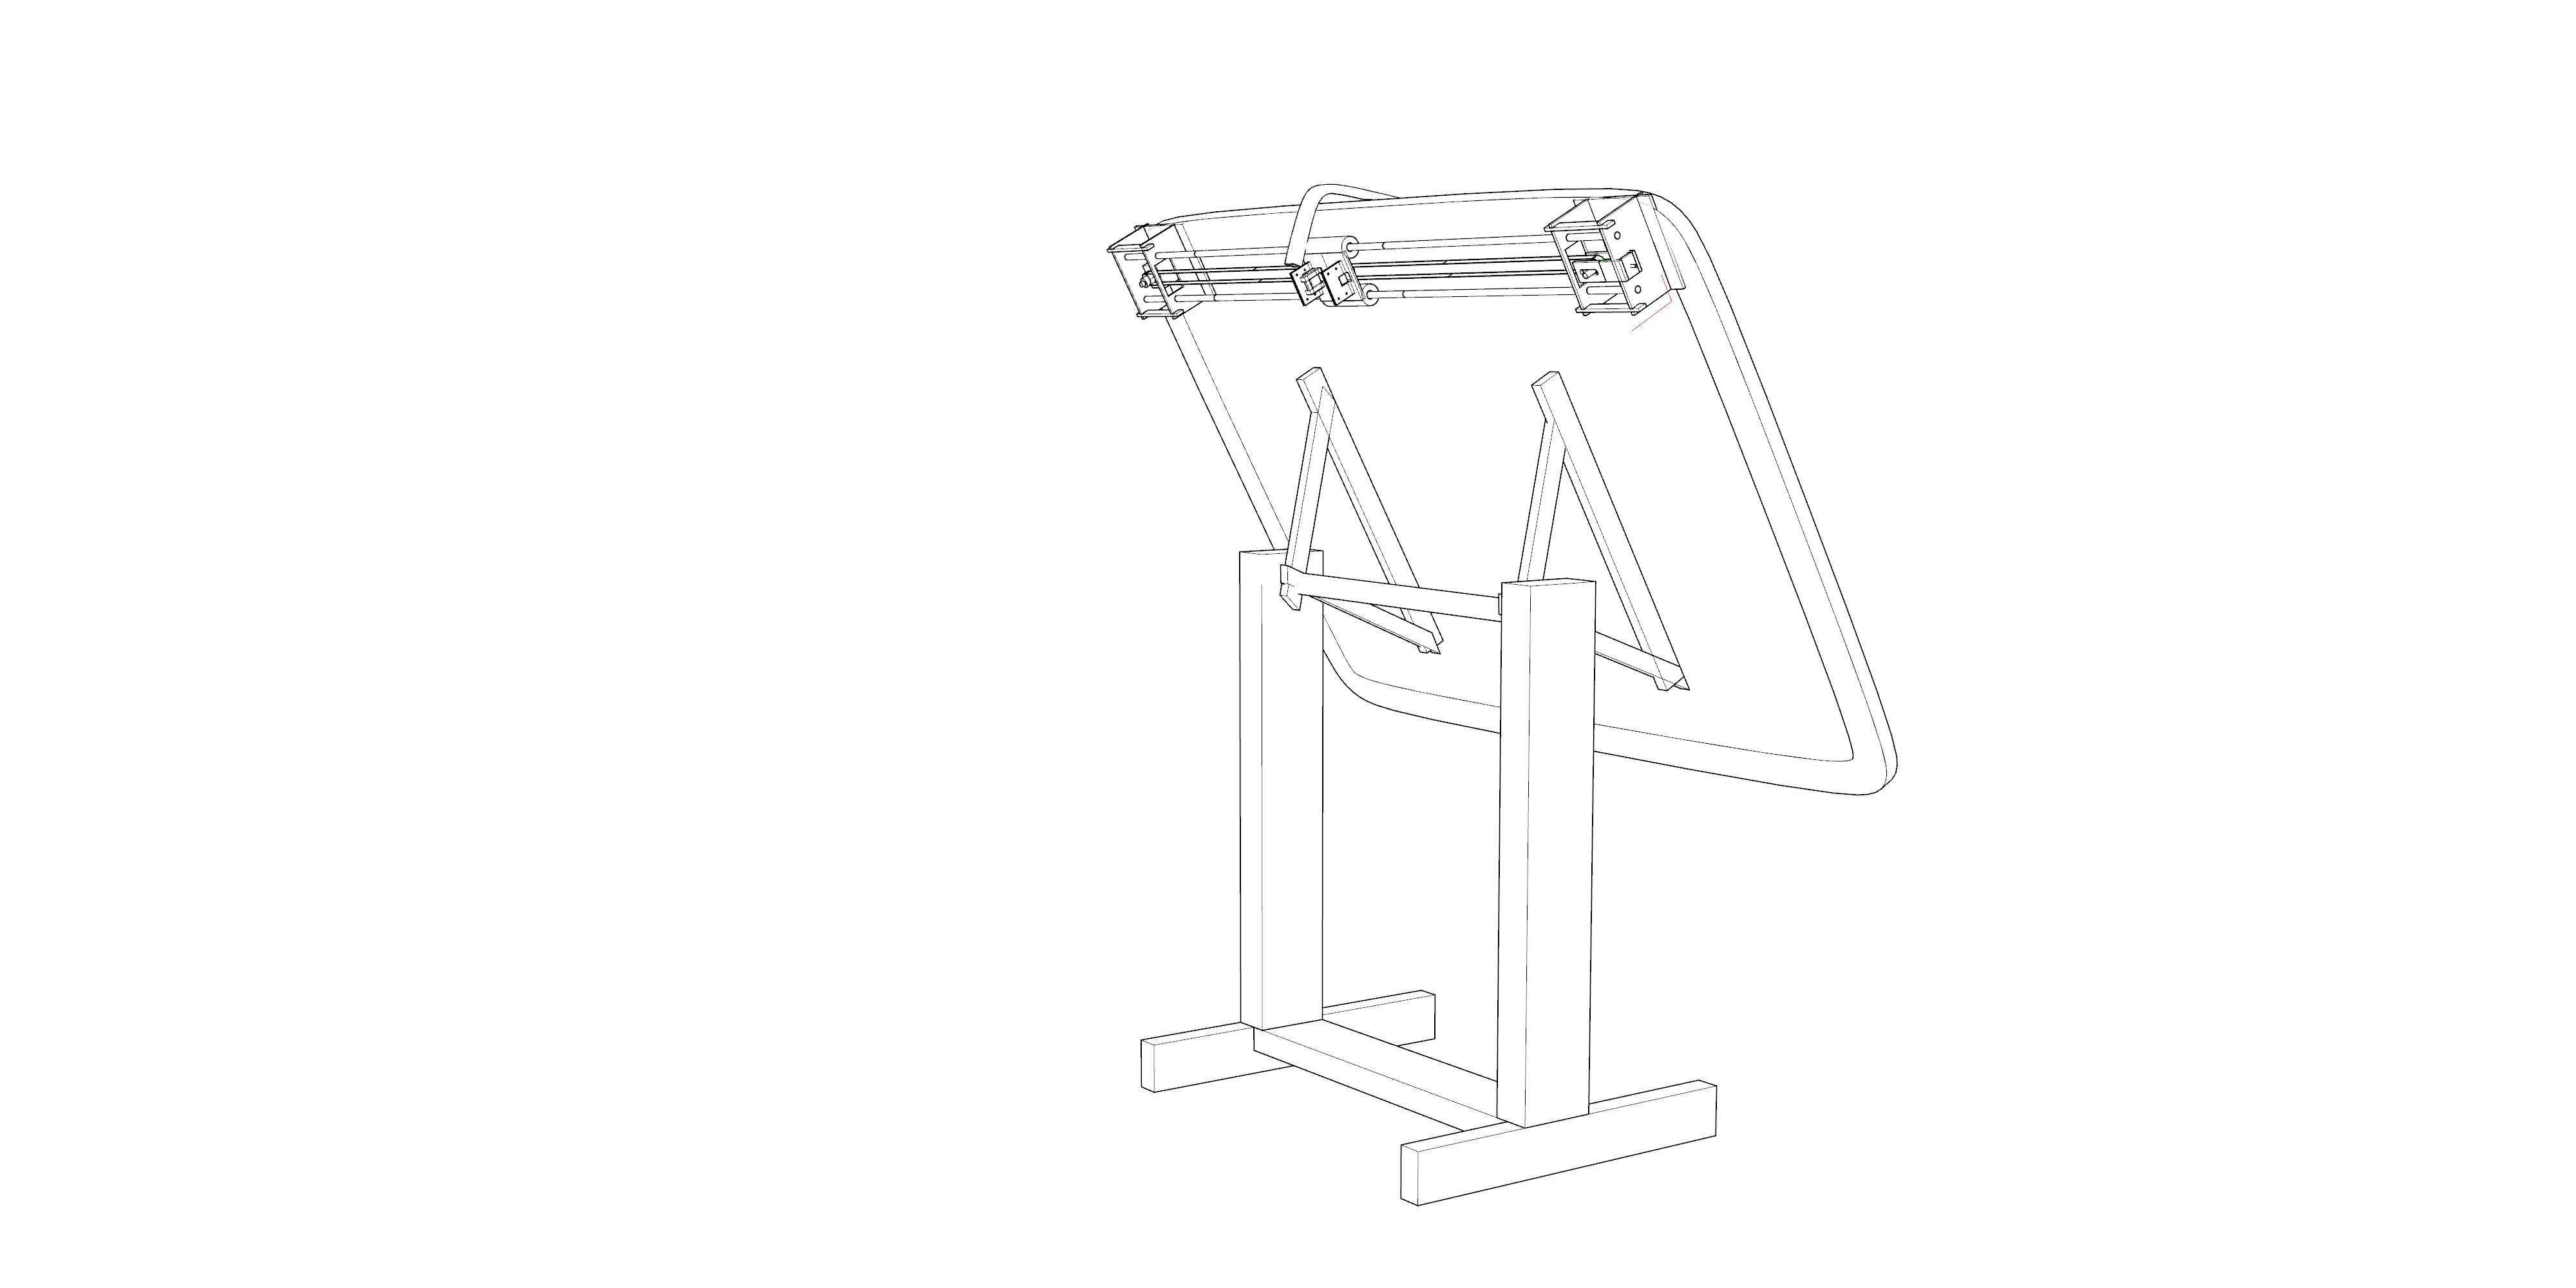
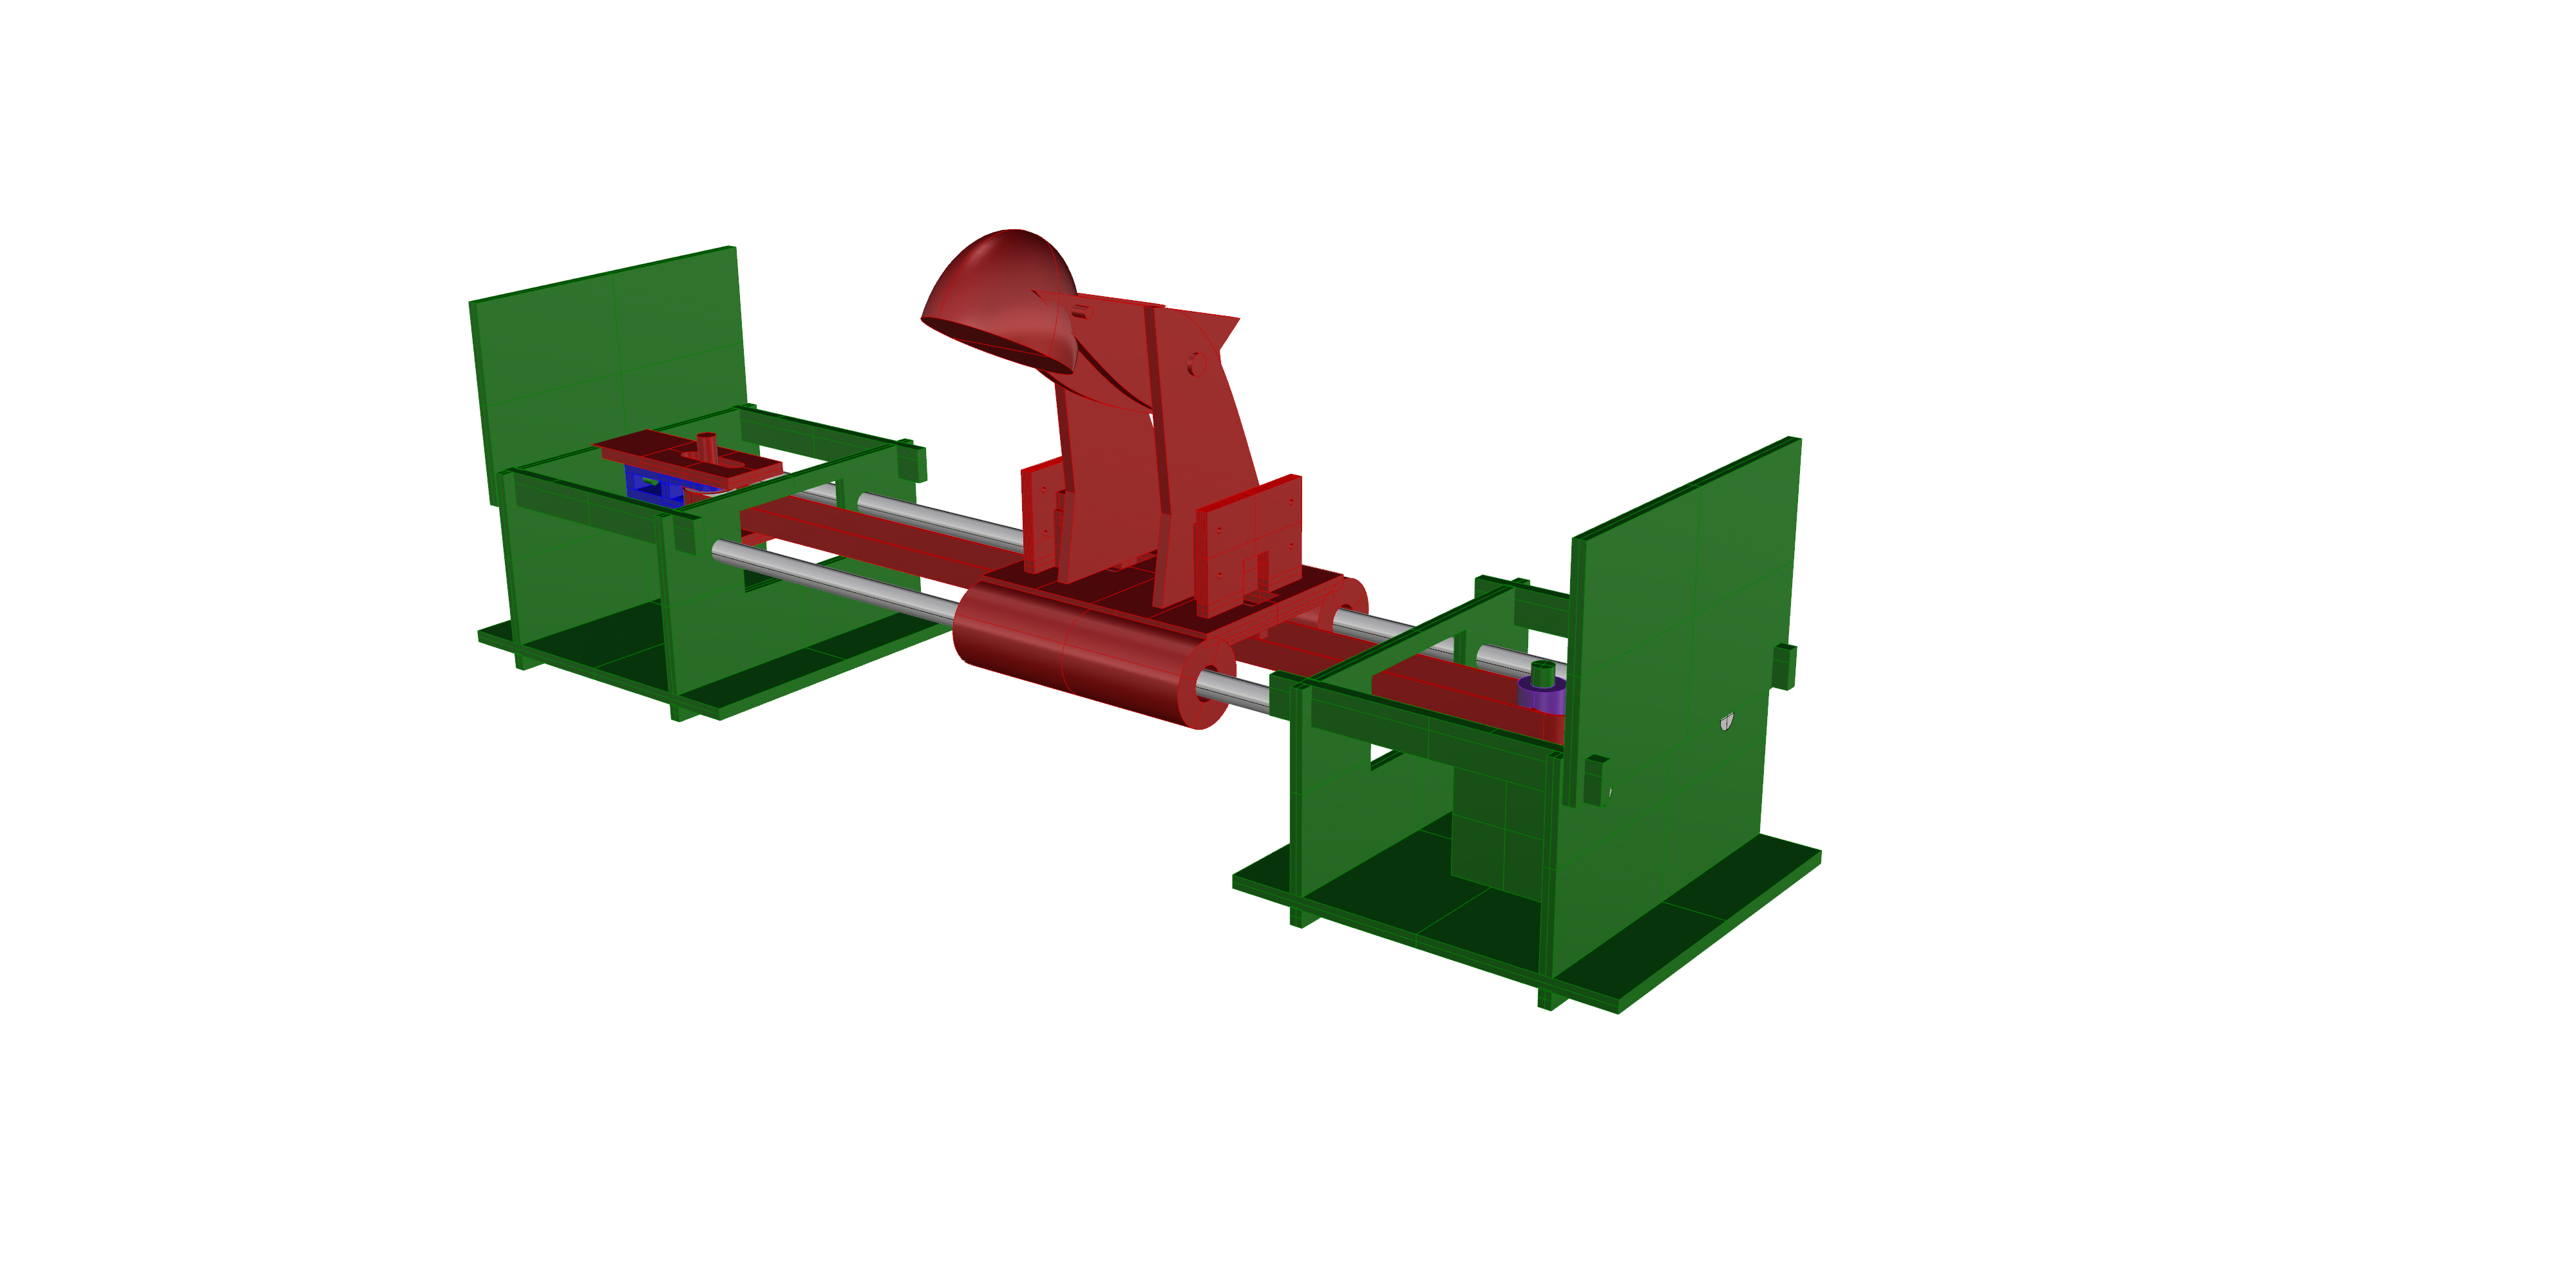
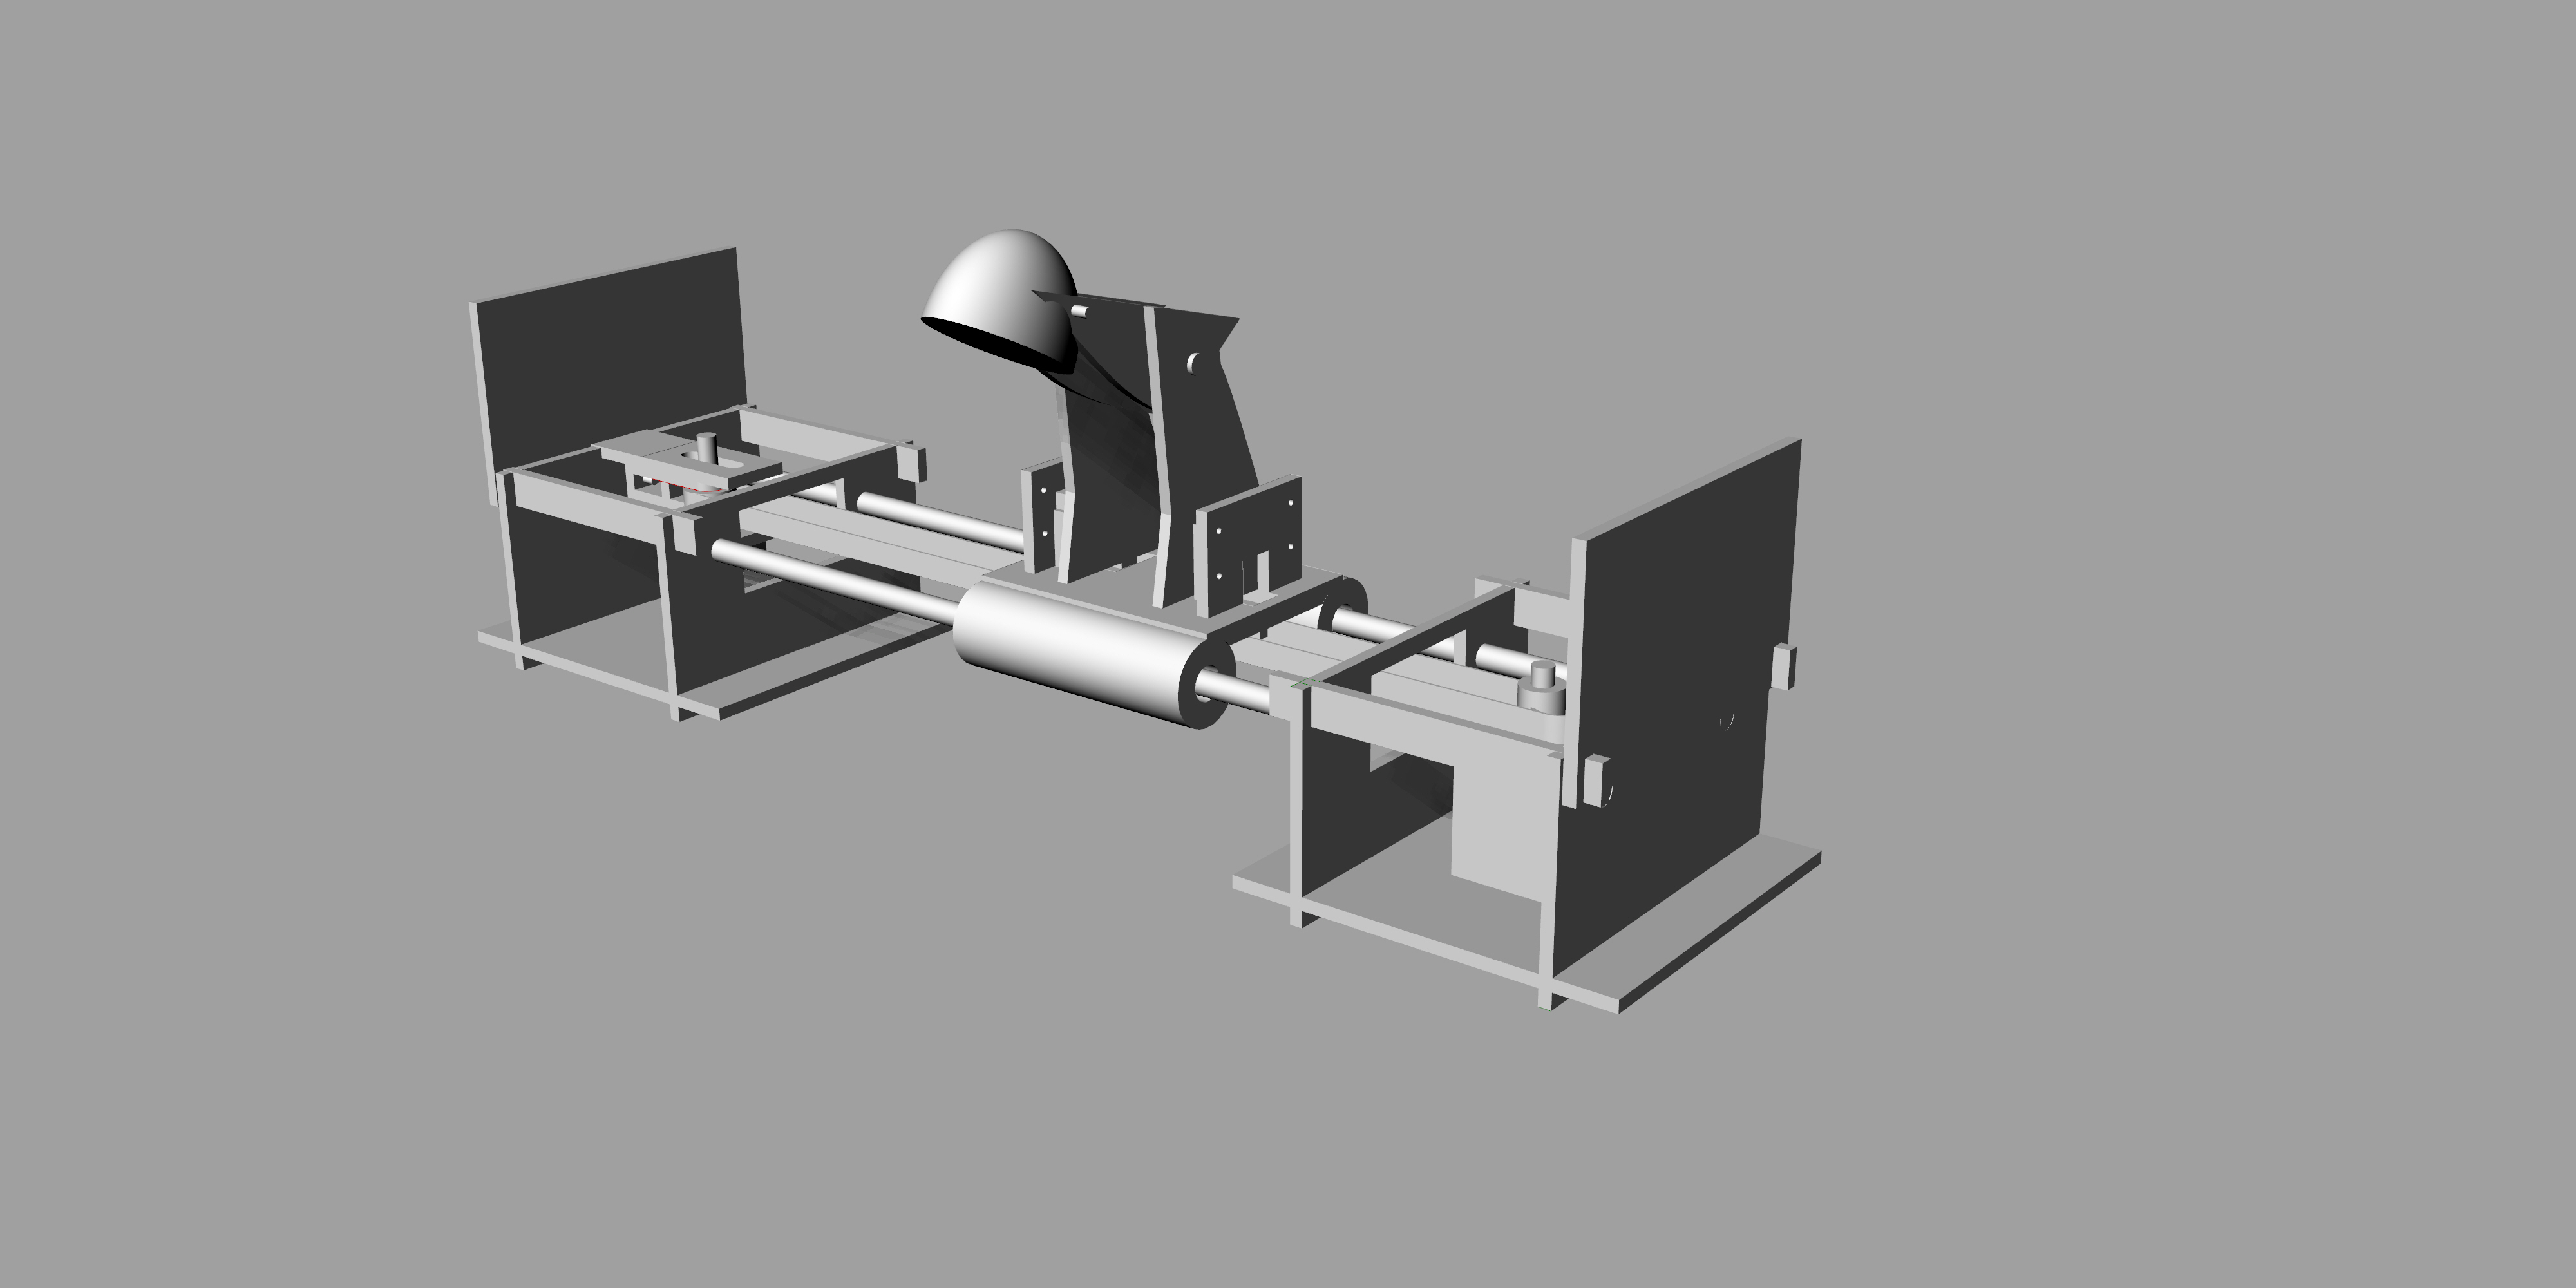
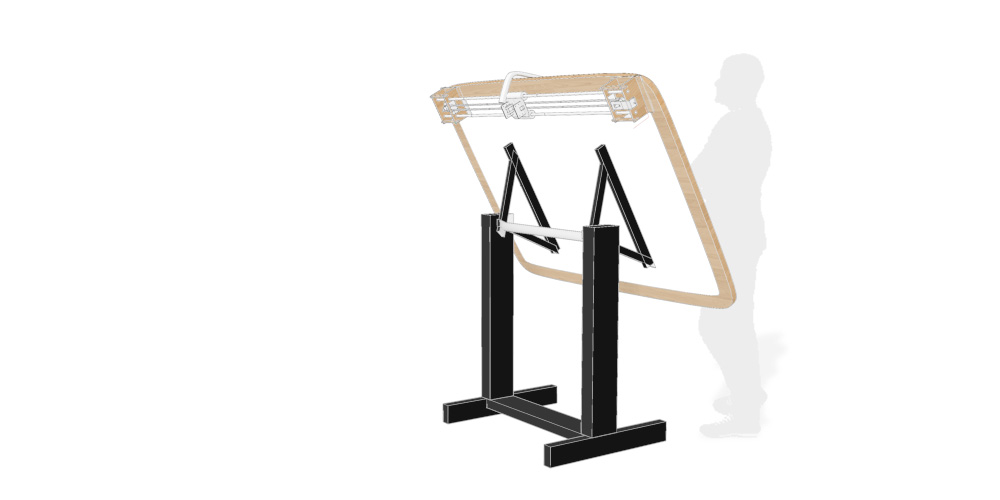
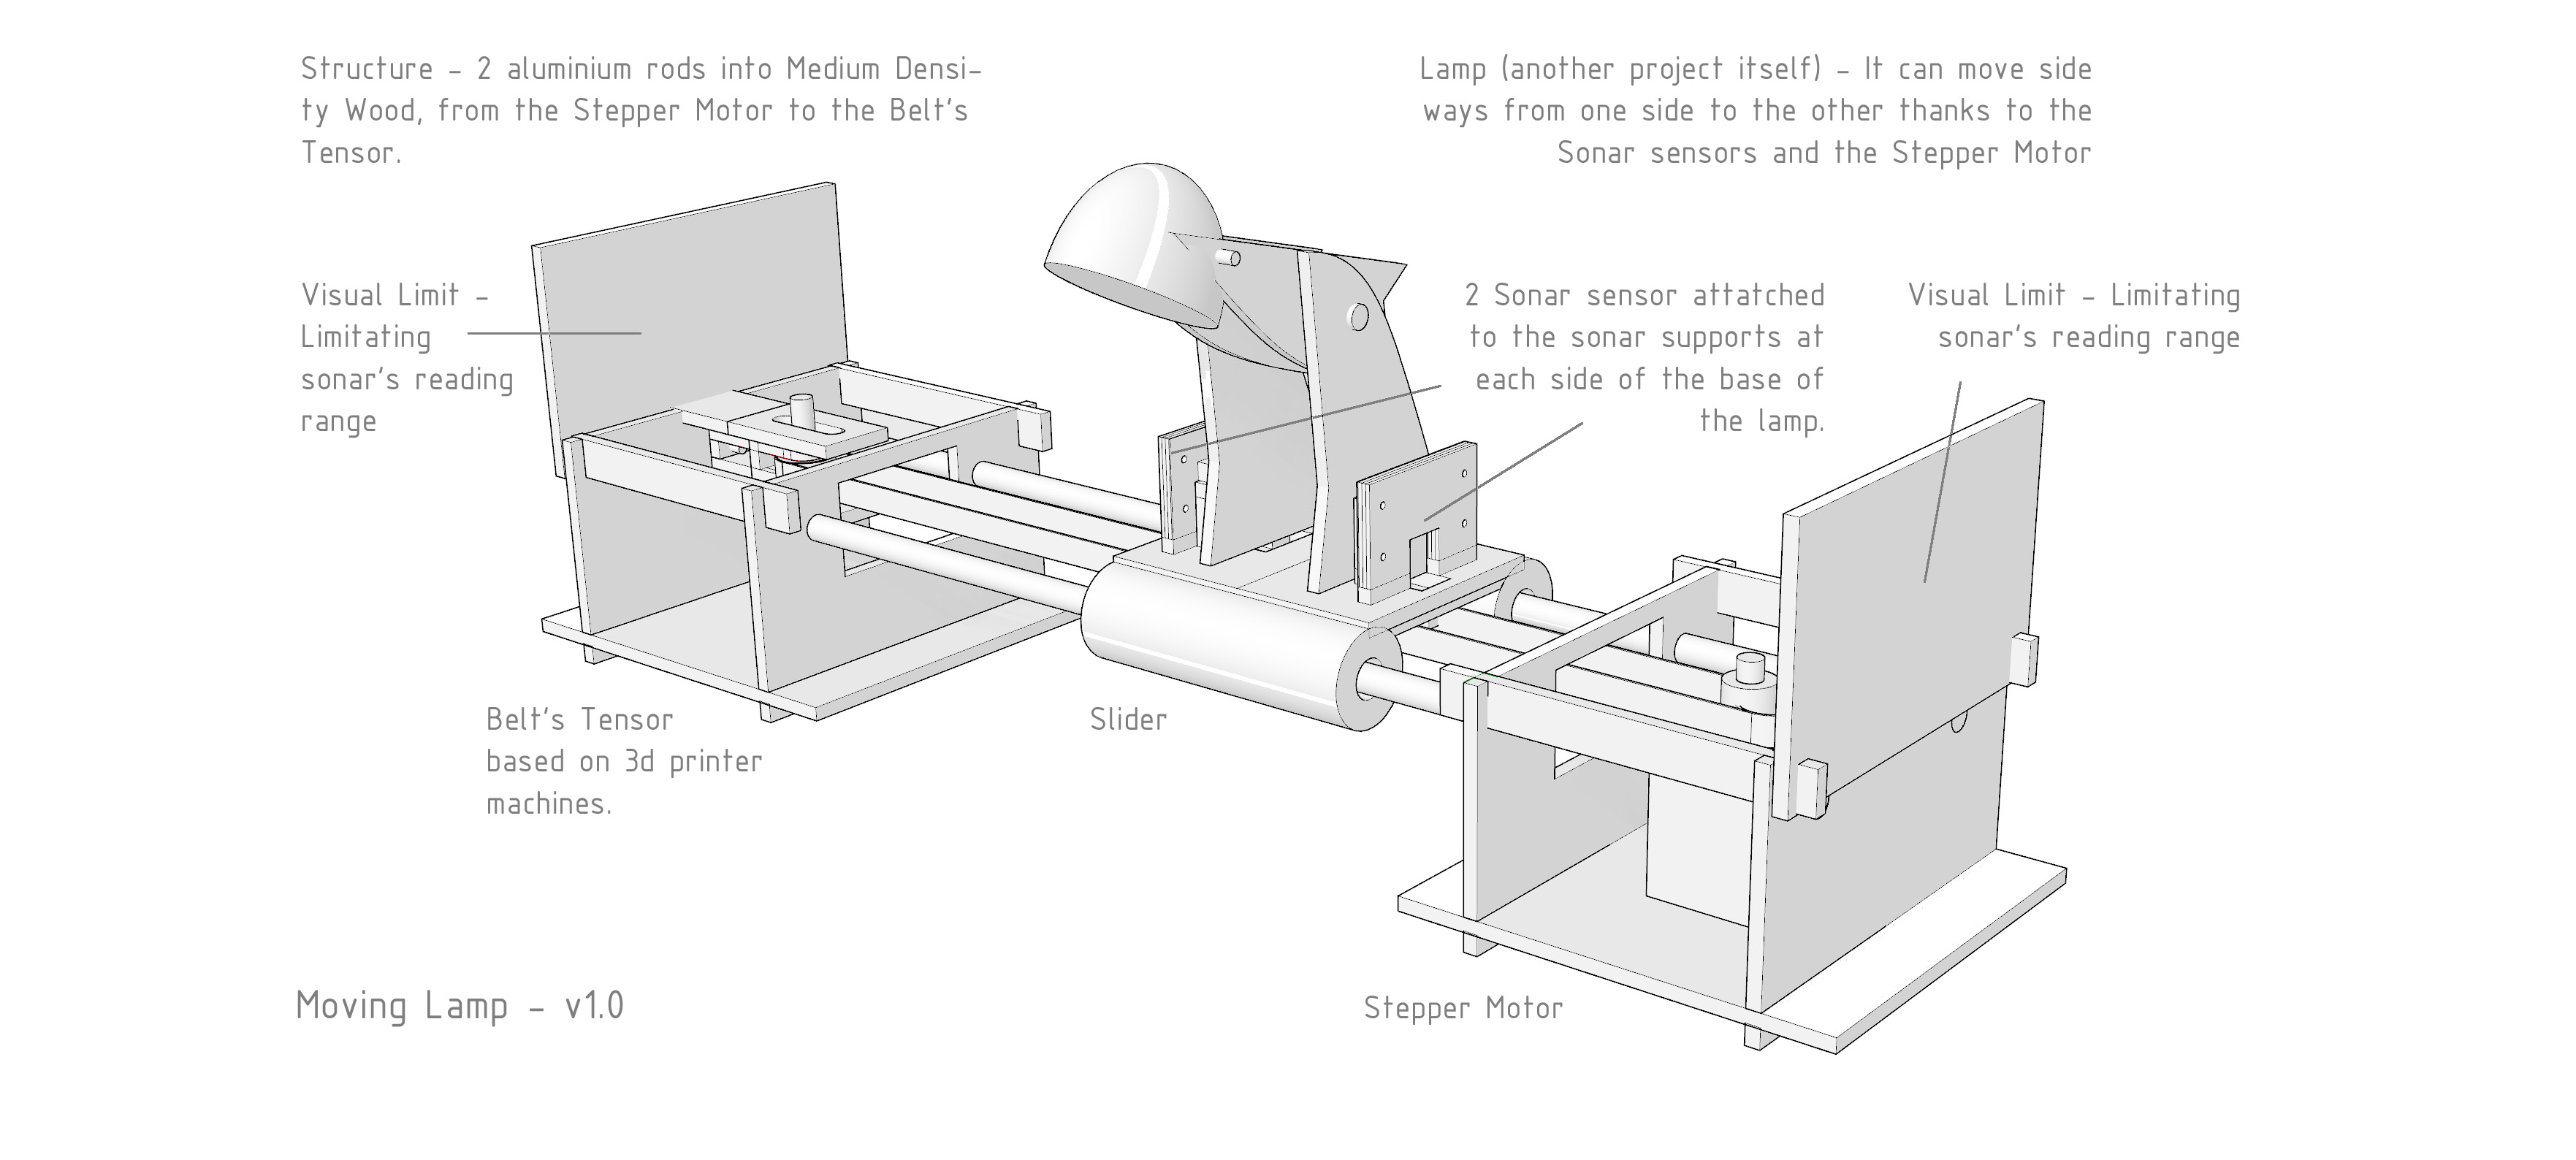
Once everything works (modelling design, electronic design, programming, 3d joints, etc), stage 2 is welcomed! Now, we continue with the design, adding a perpendicular axes. Now movement in the x direction is possible. Same method as before, first Inkscape and then Gimp:

Your browser does not support this image Your browser does not support this image


RHINO


I want to use Rhino for the outer part of the device (what I call the 'container'), in order to have a good design. Therefore, Rhino for movement, rhythms and good appearances is ideal for what I am looking for, plus is a program that I need to control more. Playing with rhythms of curves on projected surfaces is the key method for these designs.
1st try

Your browser does not support this image Your browser does not support this image

Your browser does not support this image Your browser does not support this image

Your browser does not support this image Your browser does not support this image

Final render of the 1st try:

Your browser does not support this image

Later on I continued playing adding some structure to rhythms:

Your browser does not support this image Your browser does not support this image

Your browser does not support this image Your browser does not support this image

Your browser does not support this image Your browser does not support this image

A possible final design, where 2d structural elements assemble together in a 3d space.

Your browser does not support this image

I still need to consider how the final design is going to be. I need to know the dimensions of how the technical part of my device in order to optimise the outer layer of the design.

SOLID WORKS


Tutorial 1

When Neil told us about this program, I was very interested at first. It seems as a very intuitive way of building things, perfect for my lightning device. I have developed my 3d modelling skills specially in AutoCad 3D and SketchUp, so tools should not be very different. I hope the way of handling these tools get better, the program looks great!
I installed the program and started with a given tutorial from the program itself: how to design a small 3d model of a simple object. Main goal: getting used to the interface.

Your browser does not support this image Your browser does not support this image

-'Smart Dimension'


FIRST PROBLEM


he ideal way to learn a program is in the English version: 'Options-->General-->English version menus'.

Now I can continue running with the program.

-'Extruded Boss/Base'

Your browser does not support this image Your browser does not support this image

'Extruded Cut' + 'Fillets' + 'Shells'

Your browser does not support this image Your browser does not support this image

-'Section View'

Your browser does not support this image

-Post-modification: 'Rebuild'

Your browser does not support this image Your browser does not support this image

-'Shaded'


SECOND PROBLEM


-'Edit Material': Chrome Stainless Steel

RealView Graphics - This command does not work. I can't figure out if it an optional pack that I have not downloaded or an activation button that is disabled. Later on I will search for the answer.

Your browser does not support this image


TUTORIAL 2 - SOLIDWORK ASSEMBLIES


Similar method. The idea is to create the 2nd part of the object done in tutorial 1 to assemble it in a new document.

Commands used:

-'Convert Entities'

-'Offset Entities'

-'Select Appearances'

Your browser does not support this image

New type of document: 'Assemble'

Commands used:

-'Mate'

-'Display Pane'-->'Add Display State'

Your browser does not support this image


TUTORIAL 3 - DRAWINGS


Commands used:

-'Model Items'

Your browser does not support this image

6. Create A Video Clip Presentation


Adobe Premier is the program I have used to create my video for my final project.

Your browser does not support this image

The order of appearance is as follows:
-few slices presenting who am I and from what fablab I come from
-Explaining The Idea: my workplace and how I am going to change it
-First pictures of the prototype: global overview
-Input devices
-Output Devices
-How it moves
-Me activating the network by moving it without touching it.

Next to Adobe Premiere, I have used as well Adobe Photoshop to create all the slides and improve all the pictures.

Your browser does not support this image

To create the video, I did not use that many commands. The most important one is the one that 'cuts' the video in two different pieces:


Your browser does not support this image

The rest is putting next to each other the different pictures and videos used and export it. Not really difficult.

The result:


5. Rhinoceros + Adobe Photoshop - Creating my Model


Once I have my workspace done on Rhinoceros, I start exporting images in different styles from 3 point of views:

-shaded
-rendered
-pen
To export from Rhinoceros:

Your browser does not support this image Your browser does not support this image

Open Printing Setup, select destination file as 'Image File' with a good quality (later on I will modify it).

Here are the different point of views with the different styles.

1st Point of View

Your browser does not support this image Your browser does not support this image Your browser does not support this image

2n Point of View

Your browser does not support this image Your browser does not support this image Your browser does not support this image

Frontal Point of View (the actual workspace)

Your browser does not support this image Your browser does not support this image

The Prototype

Your browser does not support this image Your browser does not support this image Your browser does not support this image

Process of Creating My Render

I will be showing the whole process for the 1st point of view, as the other ones I have used the same method.

I opened Adobe Photoshop and imported the 3 different styles

I erase all the background from the pictures:

Your browser does not support this image Your browser does not support this image

Your browser does not support this image Your browser does not support this image

Your browser does not support this image Your browser does not support this image

As now I only have what I need, I import each file on a new file and put one on top of the other, until they are completely aligned and reducing the layer's opacity.

Your browser does not support this image

As the final project table is made out of wood, I will import a wooden texture + with a mask, so the table appears to have a wooden frame.

Your browser does not support this image Your browser does not support this image

I continue with this for the other wooden parts of the table.

Now, it is turn for the legs. Originally, they are black, so I need a black colour. Same method as before, instead of using a wooden texture, I create a new black layer + with a mask, I only consider the part of the leg that I need.

Your browser does not support this image Your browser does not support this image

Once I have all the black leg parts that I need, I play with the layer's opacity to create the 3 dimensional space:

On top of this, I use one of the style to add shadow to the model (and reducing the layer's opacity).

Your browser does not support this image Your browser does not support this image

The legs have a 3 dimensional sensation. I need to improve the wood's appearance.

Now, I need to make sure the lines from the pen style is noticed, but not in a overwhelming way:

Your browser does not support this image Your browser does not support this image

I can no longer continue without a background. I do not want a typical white background, but a very light gray one:

Your browser does not support this image

It is important to mention this as the workspace is completely white, and I need for it to stand out.

Now, I need to create my new light with a white colour + a mask + playing around with the layer's opacity.

Your browser does not support this image

To finish, a person looking at the table, as if this person is thinking about what is going to draw.

Your browser does not support this image

After finishing the first point of view, I continued using the same method for the rest of the render.

Result:


Your browser does not support this image

Your browser does not support this image

Your browser does not support this image

Prototype


Although it looks very different, the idea is exactly the same. I took the 3 different styles from the Rhinoceros file, and put it one on top of the other.

Your browser does not support this image

Then playing around with the layer's opacity and having on top the 'Pen Style', it is done! I added some text to make sure it is understood by everyone.

Result


Your browser does not support this image


Download files


Gimp Files:


Inkscape File:

Rhino Files:


Solid Works:
Individual Pieces:


Assembly:

Drawings:


3d Model: Rhino + Photoshop


**This last link to PSD files is linked to the FabLab Madrid Ceu's folder. As I have heavy files, my instructor decided it was best to link it to the fablab's folder (66mb).