1.PCB milling
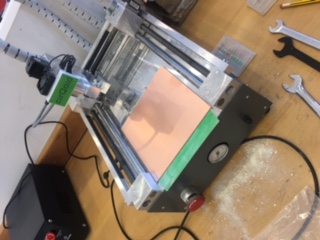
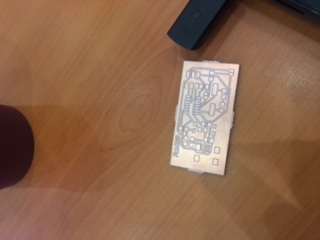
This is the 1st time in which I dealt with electronics in general it took a long time to understood the concept and generate my PCB. I used Cirqoid milling machine and David Mellis's FabISP ( download1,download 2).There are two typs of bits I used, one for the trace(0.2-.05) and the other one for the cutting(2.00).

Note:
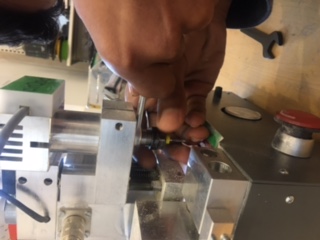
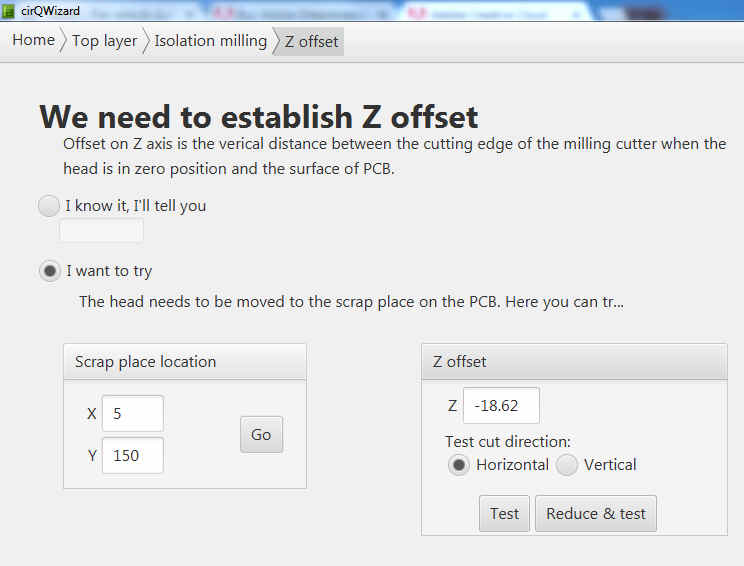
We need to adjust the machine carefully before start milling otherwise we will lose the board or break the bits.
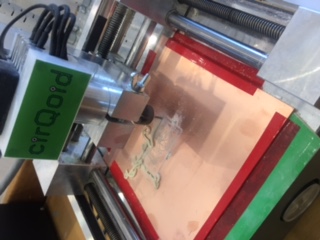
Photos below will explain the whole process.
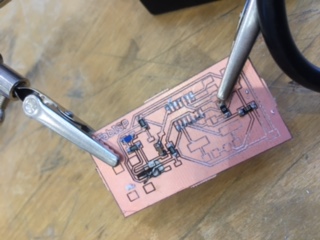
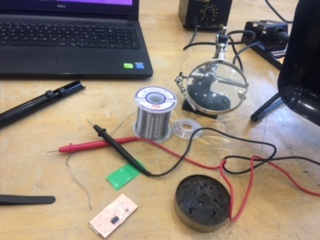
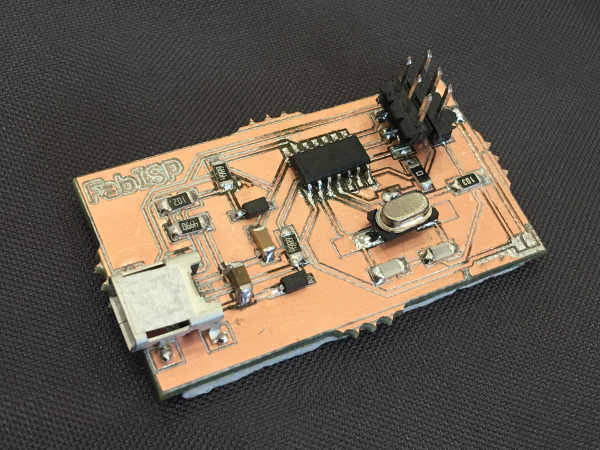
2.Soldering:
Its was the most harmful part of this assignment it needs a lot of concentration and consumed a lot of time therefore you need to be patient to complete this task successfully.
I had two attempt to pass this stage successfully,in the first time I spoiled the PCB by adding too much of led for soldering elements and when I tried to fix it I broke the board.
Note:
Before start soldering we need to check the connectivity carefully and make sure to use the led wisely.
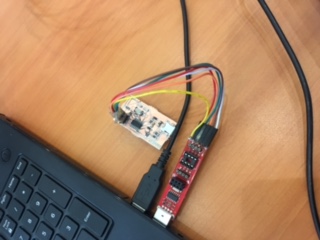
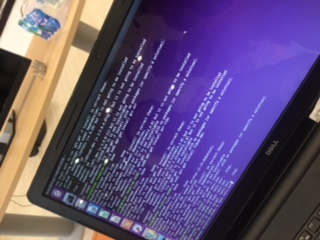
2.Firmware installation:
The installation process was very smoth and completed within no time :)
Here is the codes that we used in installation stage :
sudo apt-get install flex byacc bison gcc libusb-dev avrdude
sudo apt-get install gcc-avr
sudo apt-get install avr-libc
sudo apt-get install libc6-dev
then in Firmware Folder
make clean
make hex
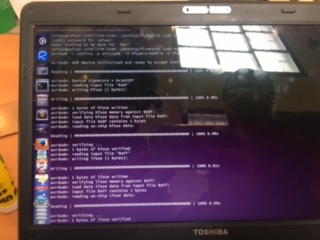
After connecting programmer
make fuse
make program
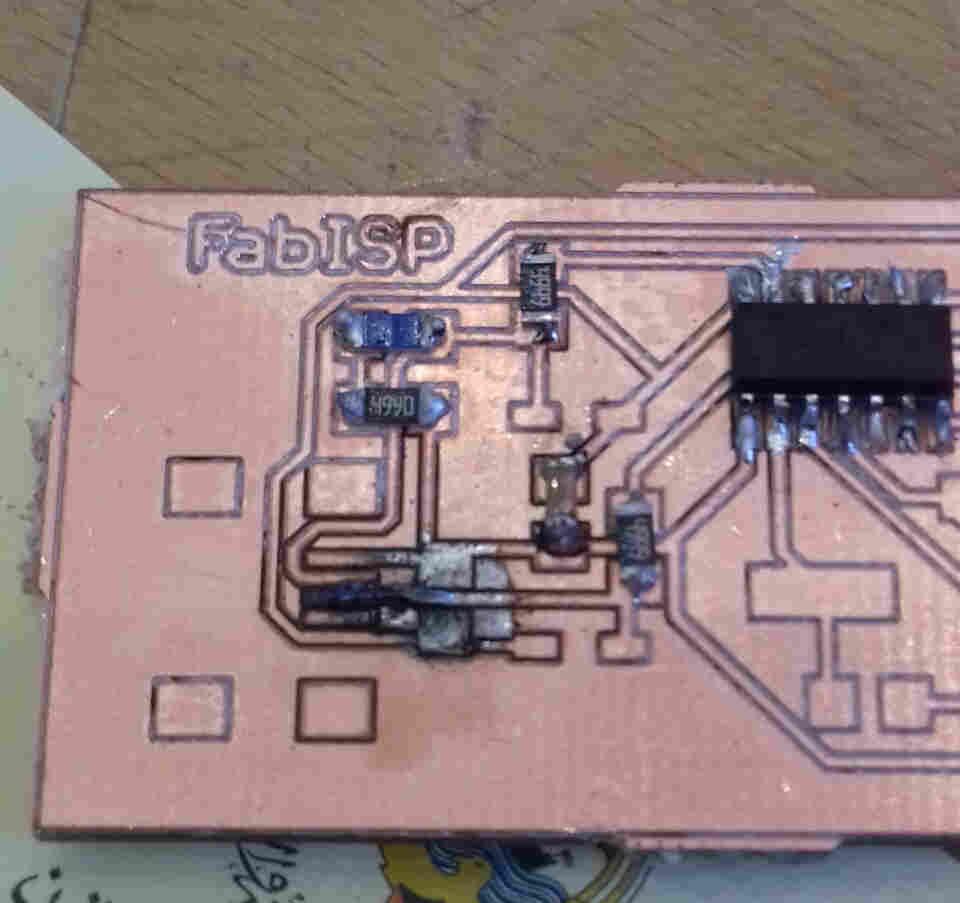
My final product ;)