Interface and Applications Programming
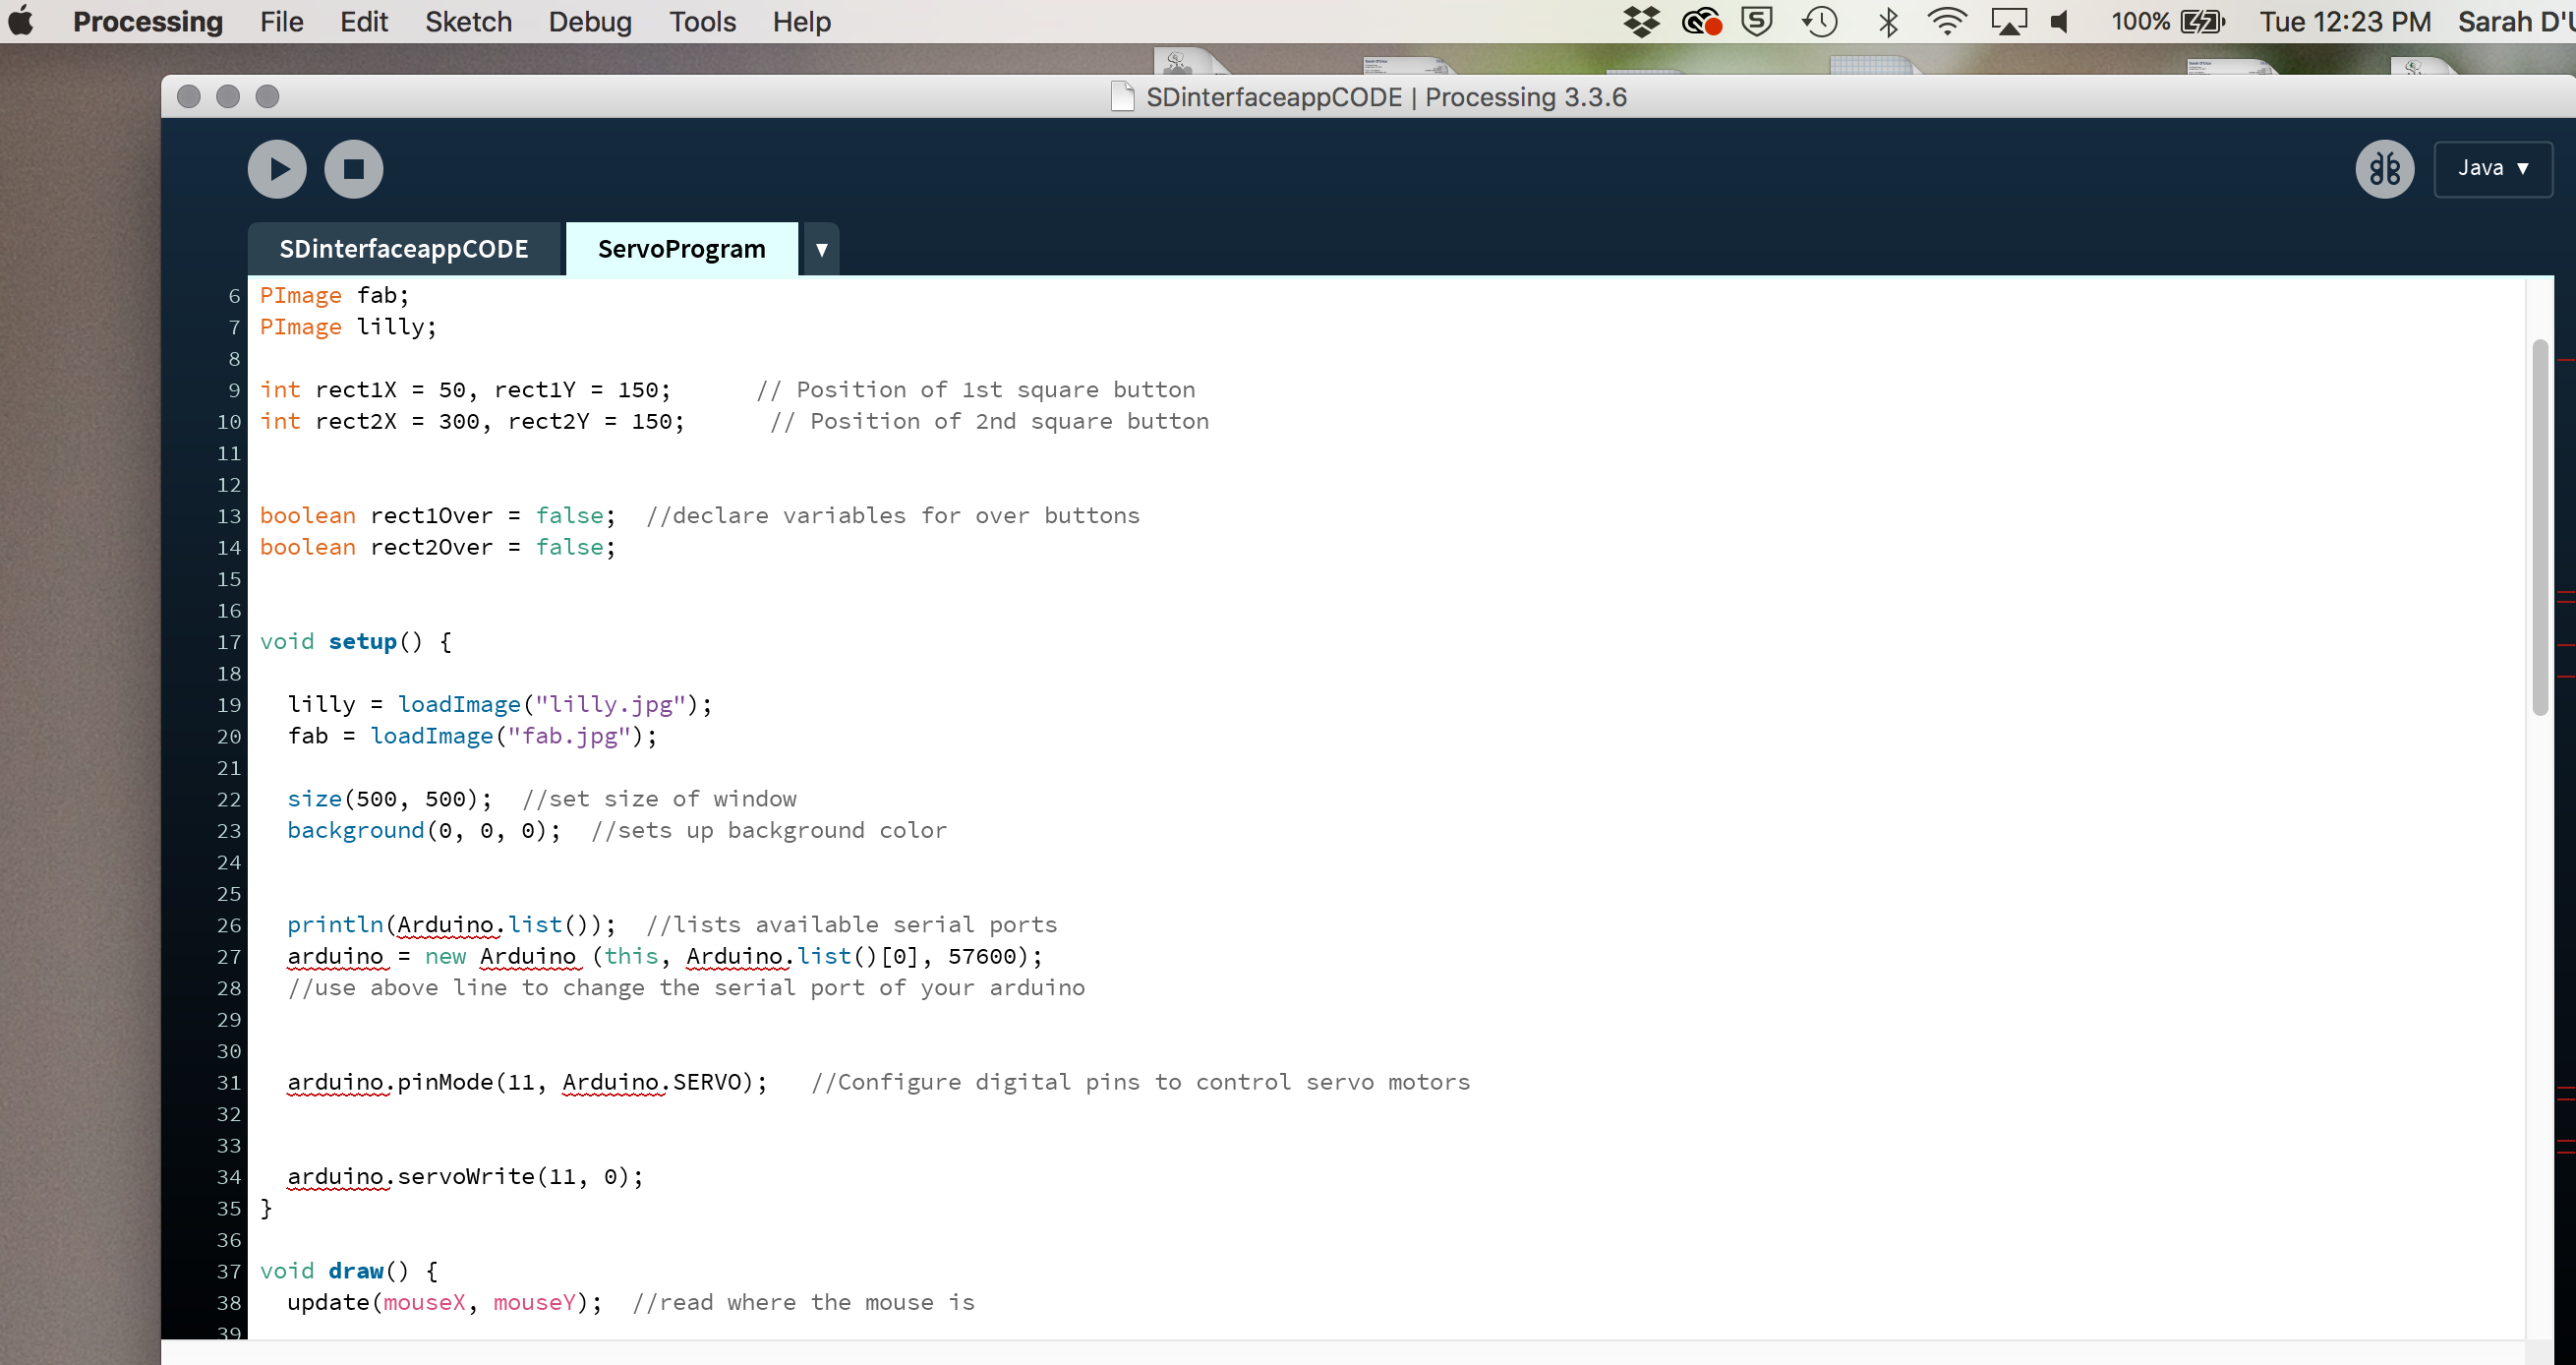
To begin this project I took the advice of my coworker Brandon and tried out the software “Processing” (processing.org).
I then looked into how to properly hook up my clone/slave board or Satshakit (Arduino Clone) to a servo motor at which I could program using the software application I created. Then on the arduino webpage I went to research more on syncing the arduino and processing IDEs so I was then able to use the arduino clone in my application. Again I worked with my coworker on this as my programming skills are still developing.
Instructions link here: Aduino Processing
Once I finished downloading the nessessary libraries in the specific locations, I was then able to complete more of the language in the Processing software. Using the arduino example called “servo” I was able to experiement with different movements and actions to learn it’s manipulations. Once I was comfortable with the software, I learned to place image files into the program.
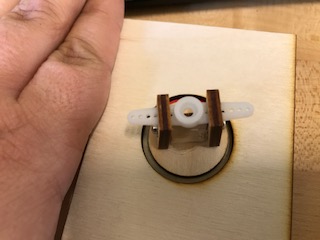
Next was to give a purpose to the servo motor. I decided to design and lasercut a student shilohette with a base that would turn and simple components to attache the servo. The shioloette was places in a base where it would easily turn and move according to the program. I did run into the issue of making the base circle too tight as I should have allowed for more room.
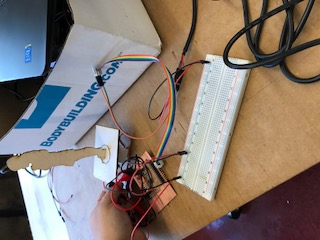
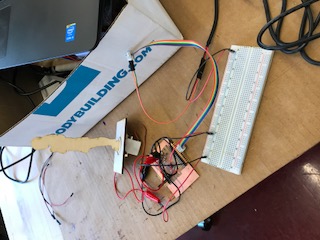
Below shows how I wired my Satshakit to the PC and servo motor. You will notice that I used a breadboard to better distribute power from my FDTI cable to both the arduino and the servo motor.
IMAGES & FILES
File