Mechanical Design
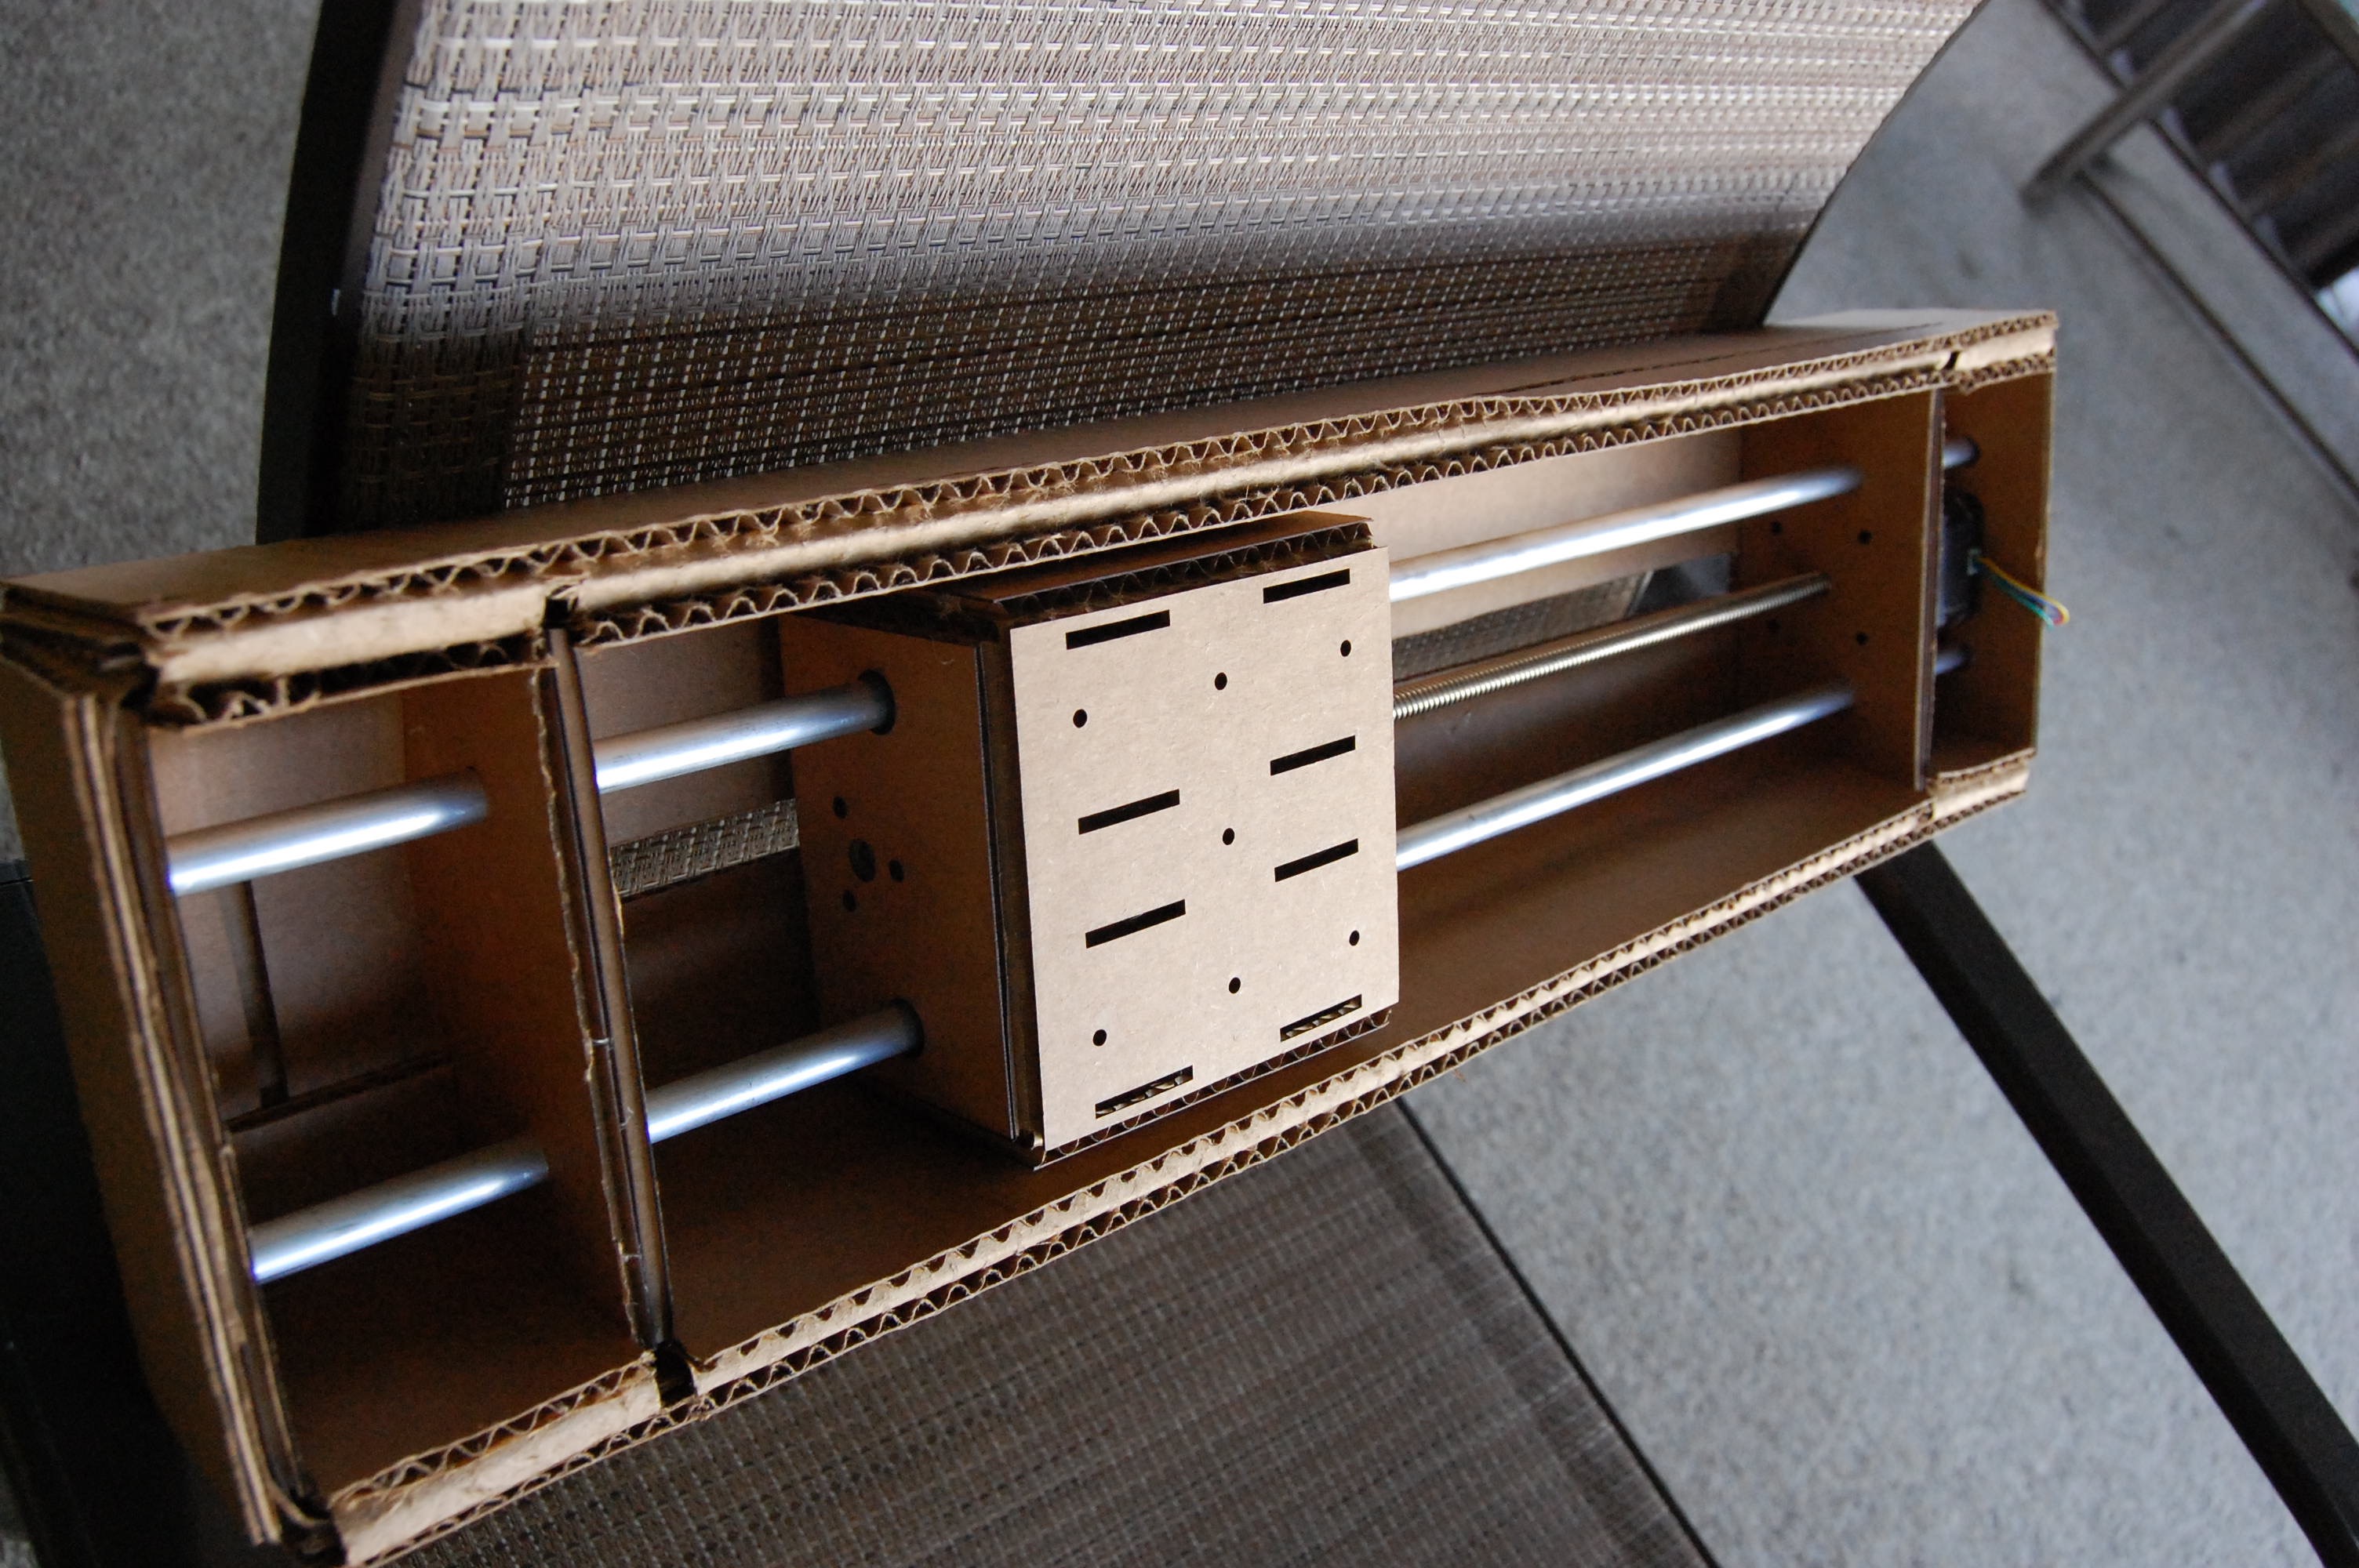
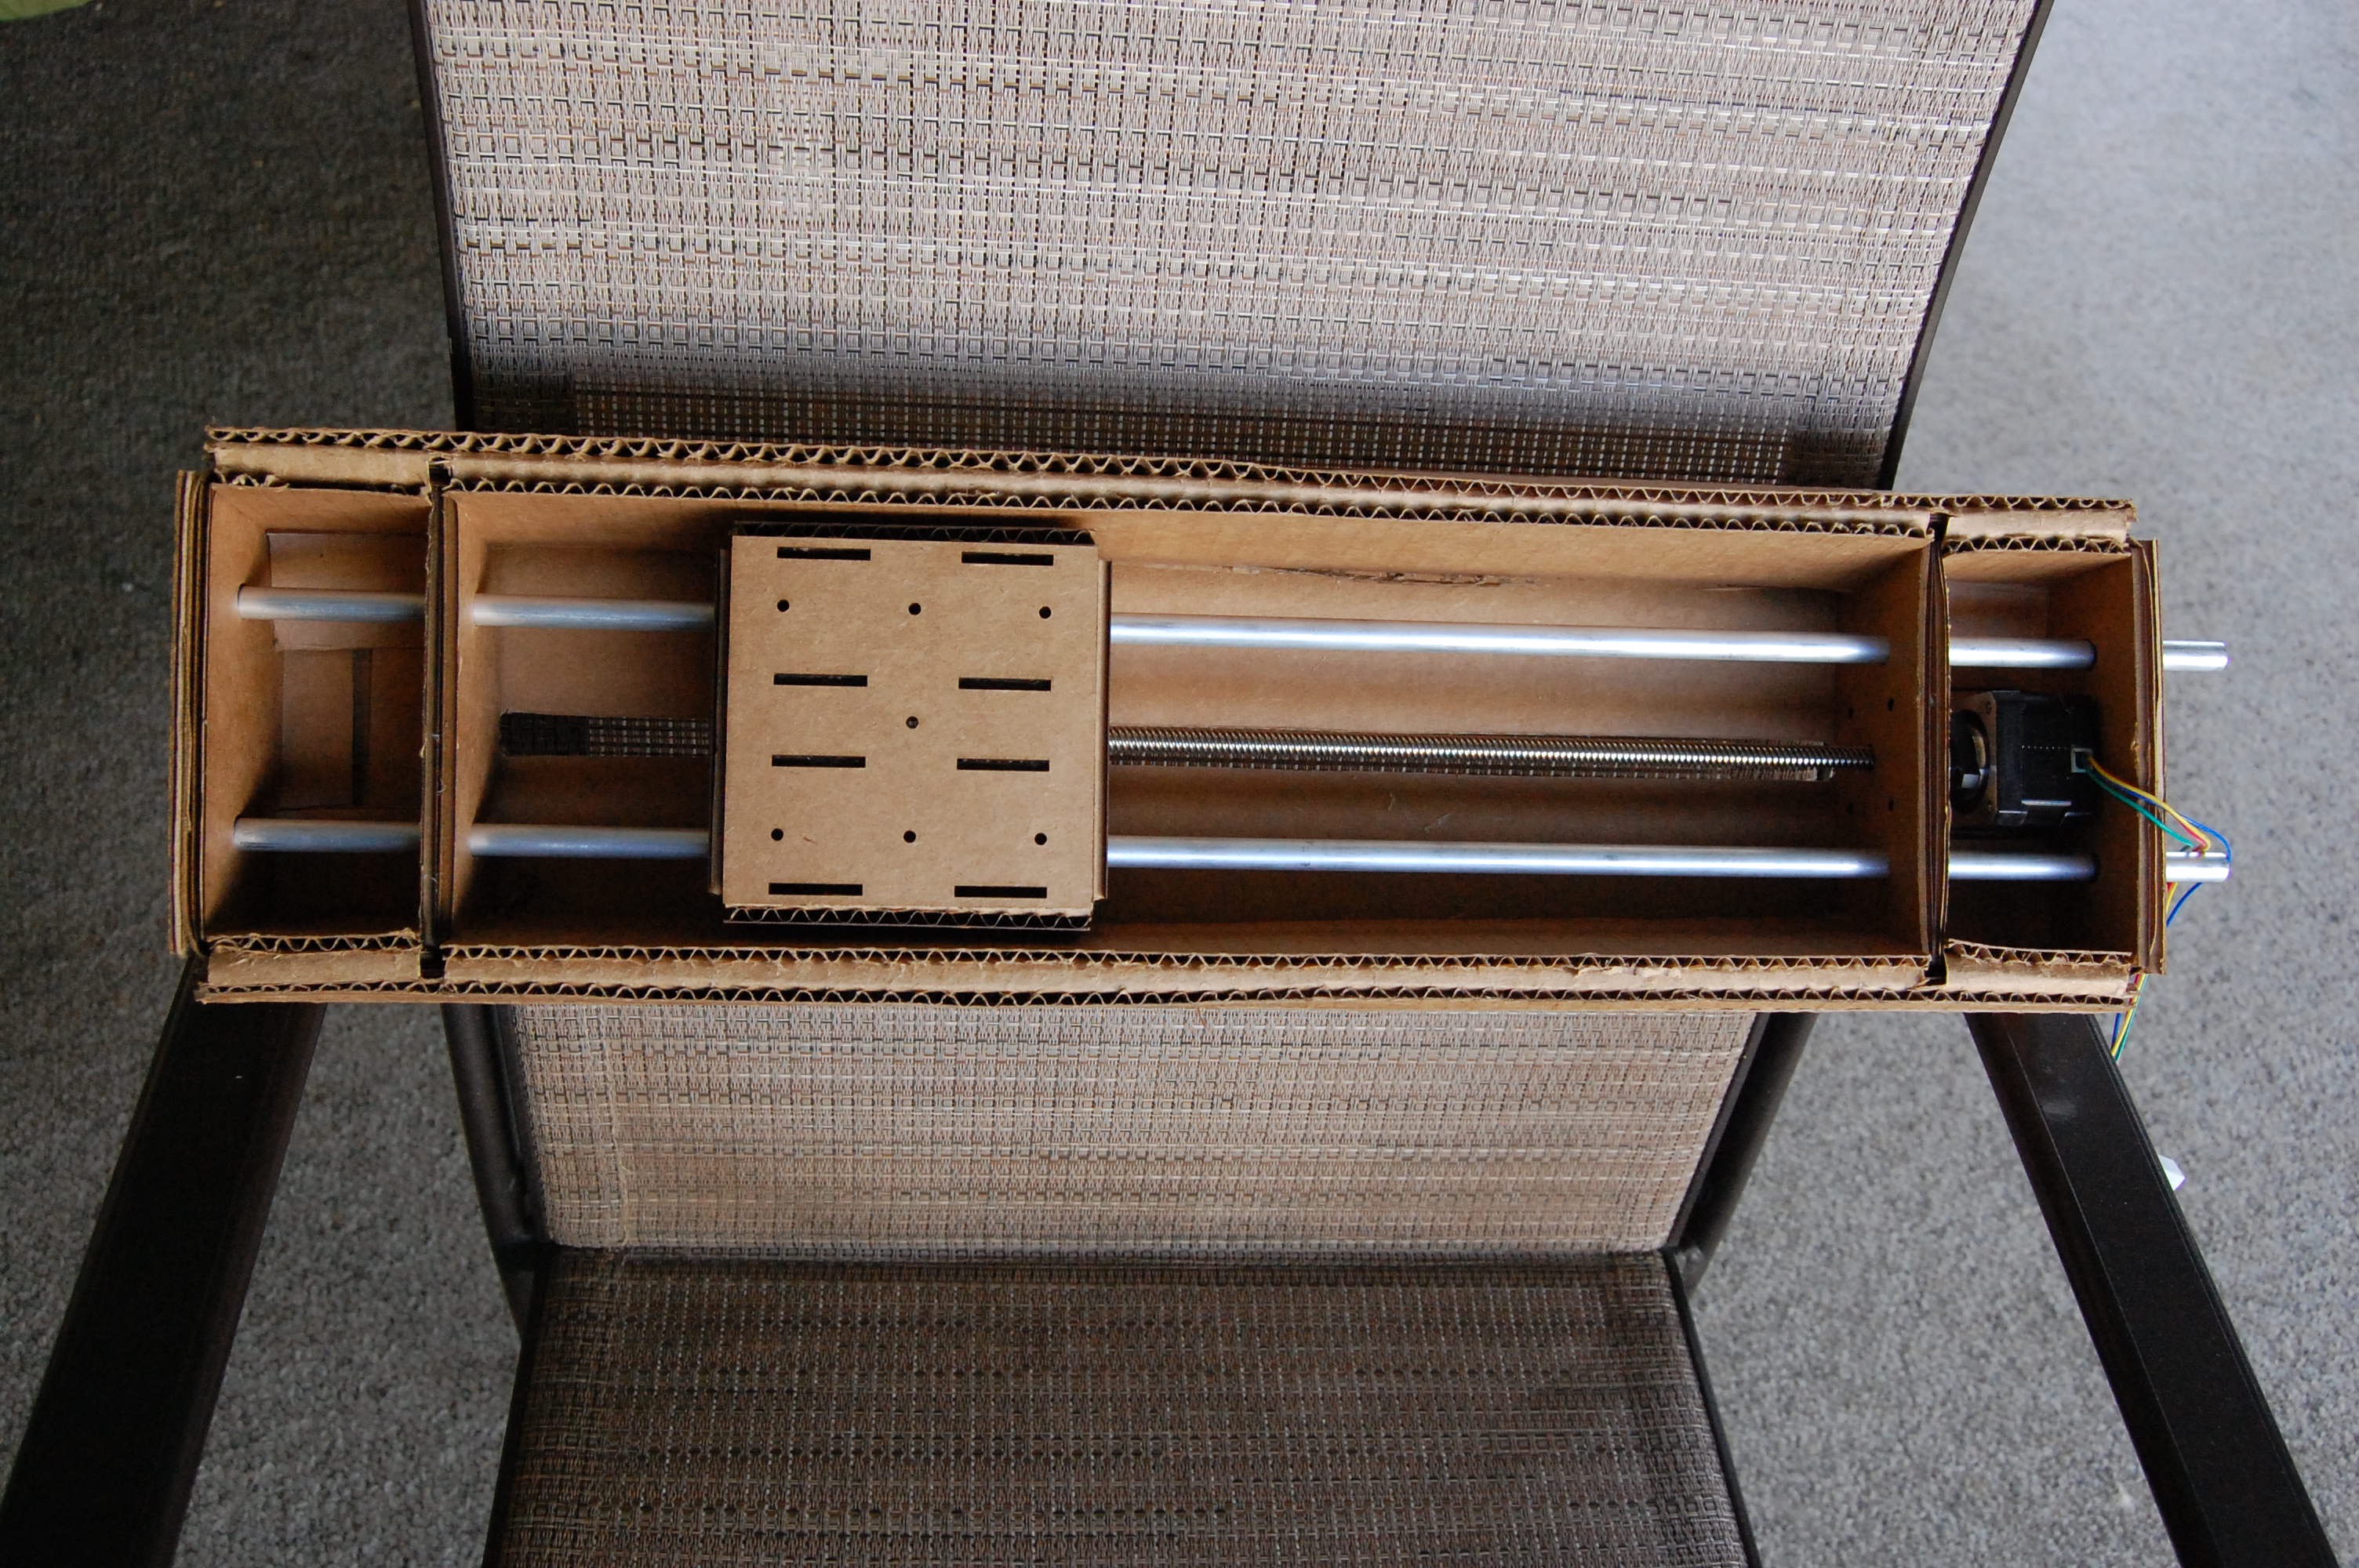
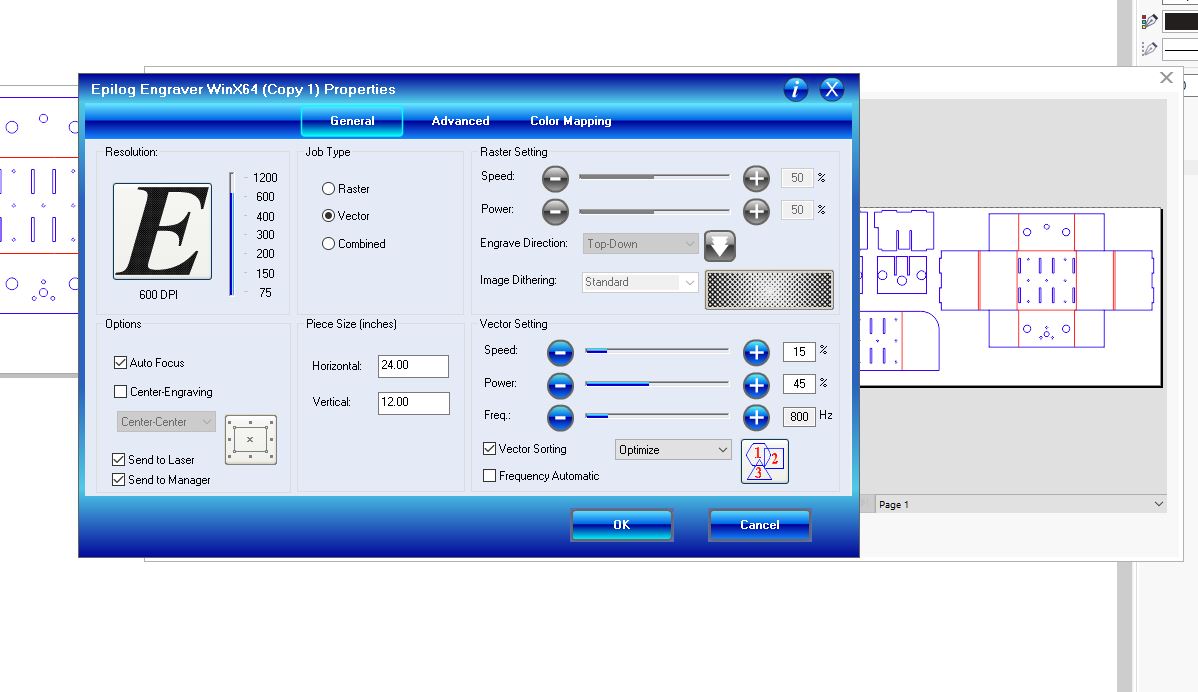
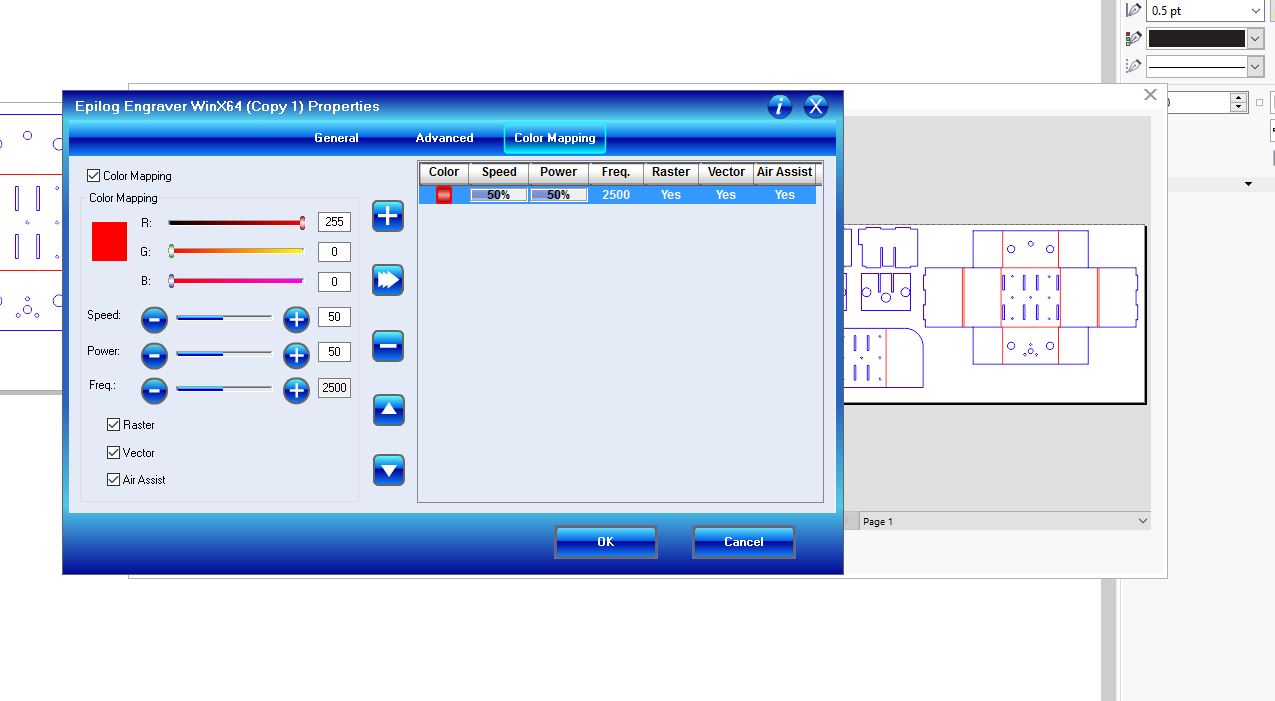
For this weeks project we built the structure of our machine using 1/8” cardboard and the provided machine kit. My contribution to this project was to laser cut all of the cardboard needed and then assembling it with the pressure-fitted design. Sarah then took my structure to attach the stepper motors and create the circuit nodes. To begin I used the altered files for smaller laser cutting machines as our bed is only 24” x 12” and would not accommodate cutting the machine in one piece. Settings I used were Speed 100% and Power 12% (this can vary for each laser cutter depending on use, etc.). I did do a seperate run with the file to create the fold lines, where lines that were marked in red cut at a different setting as to not cut through. Again this is different for each machine.
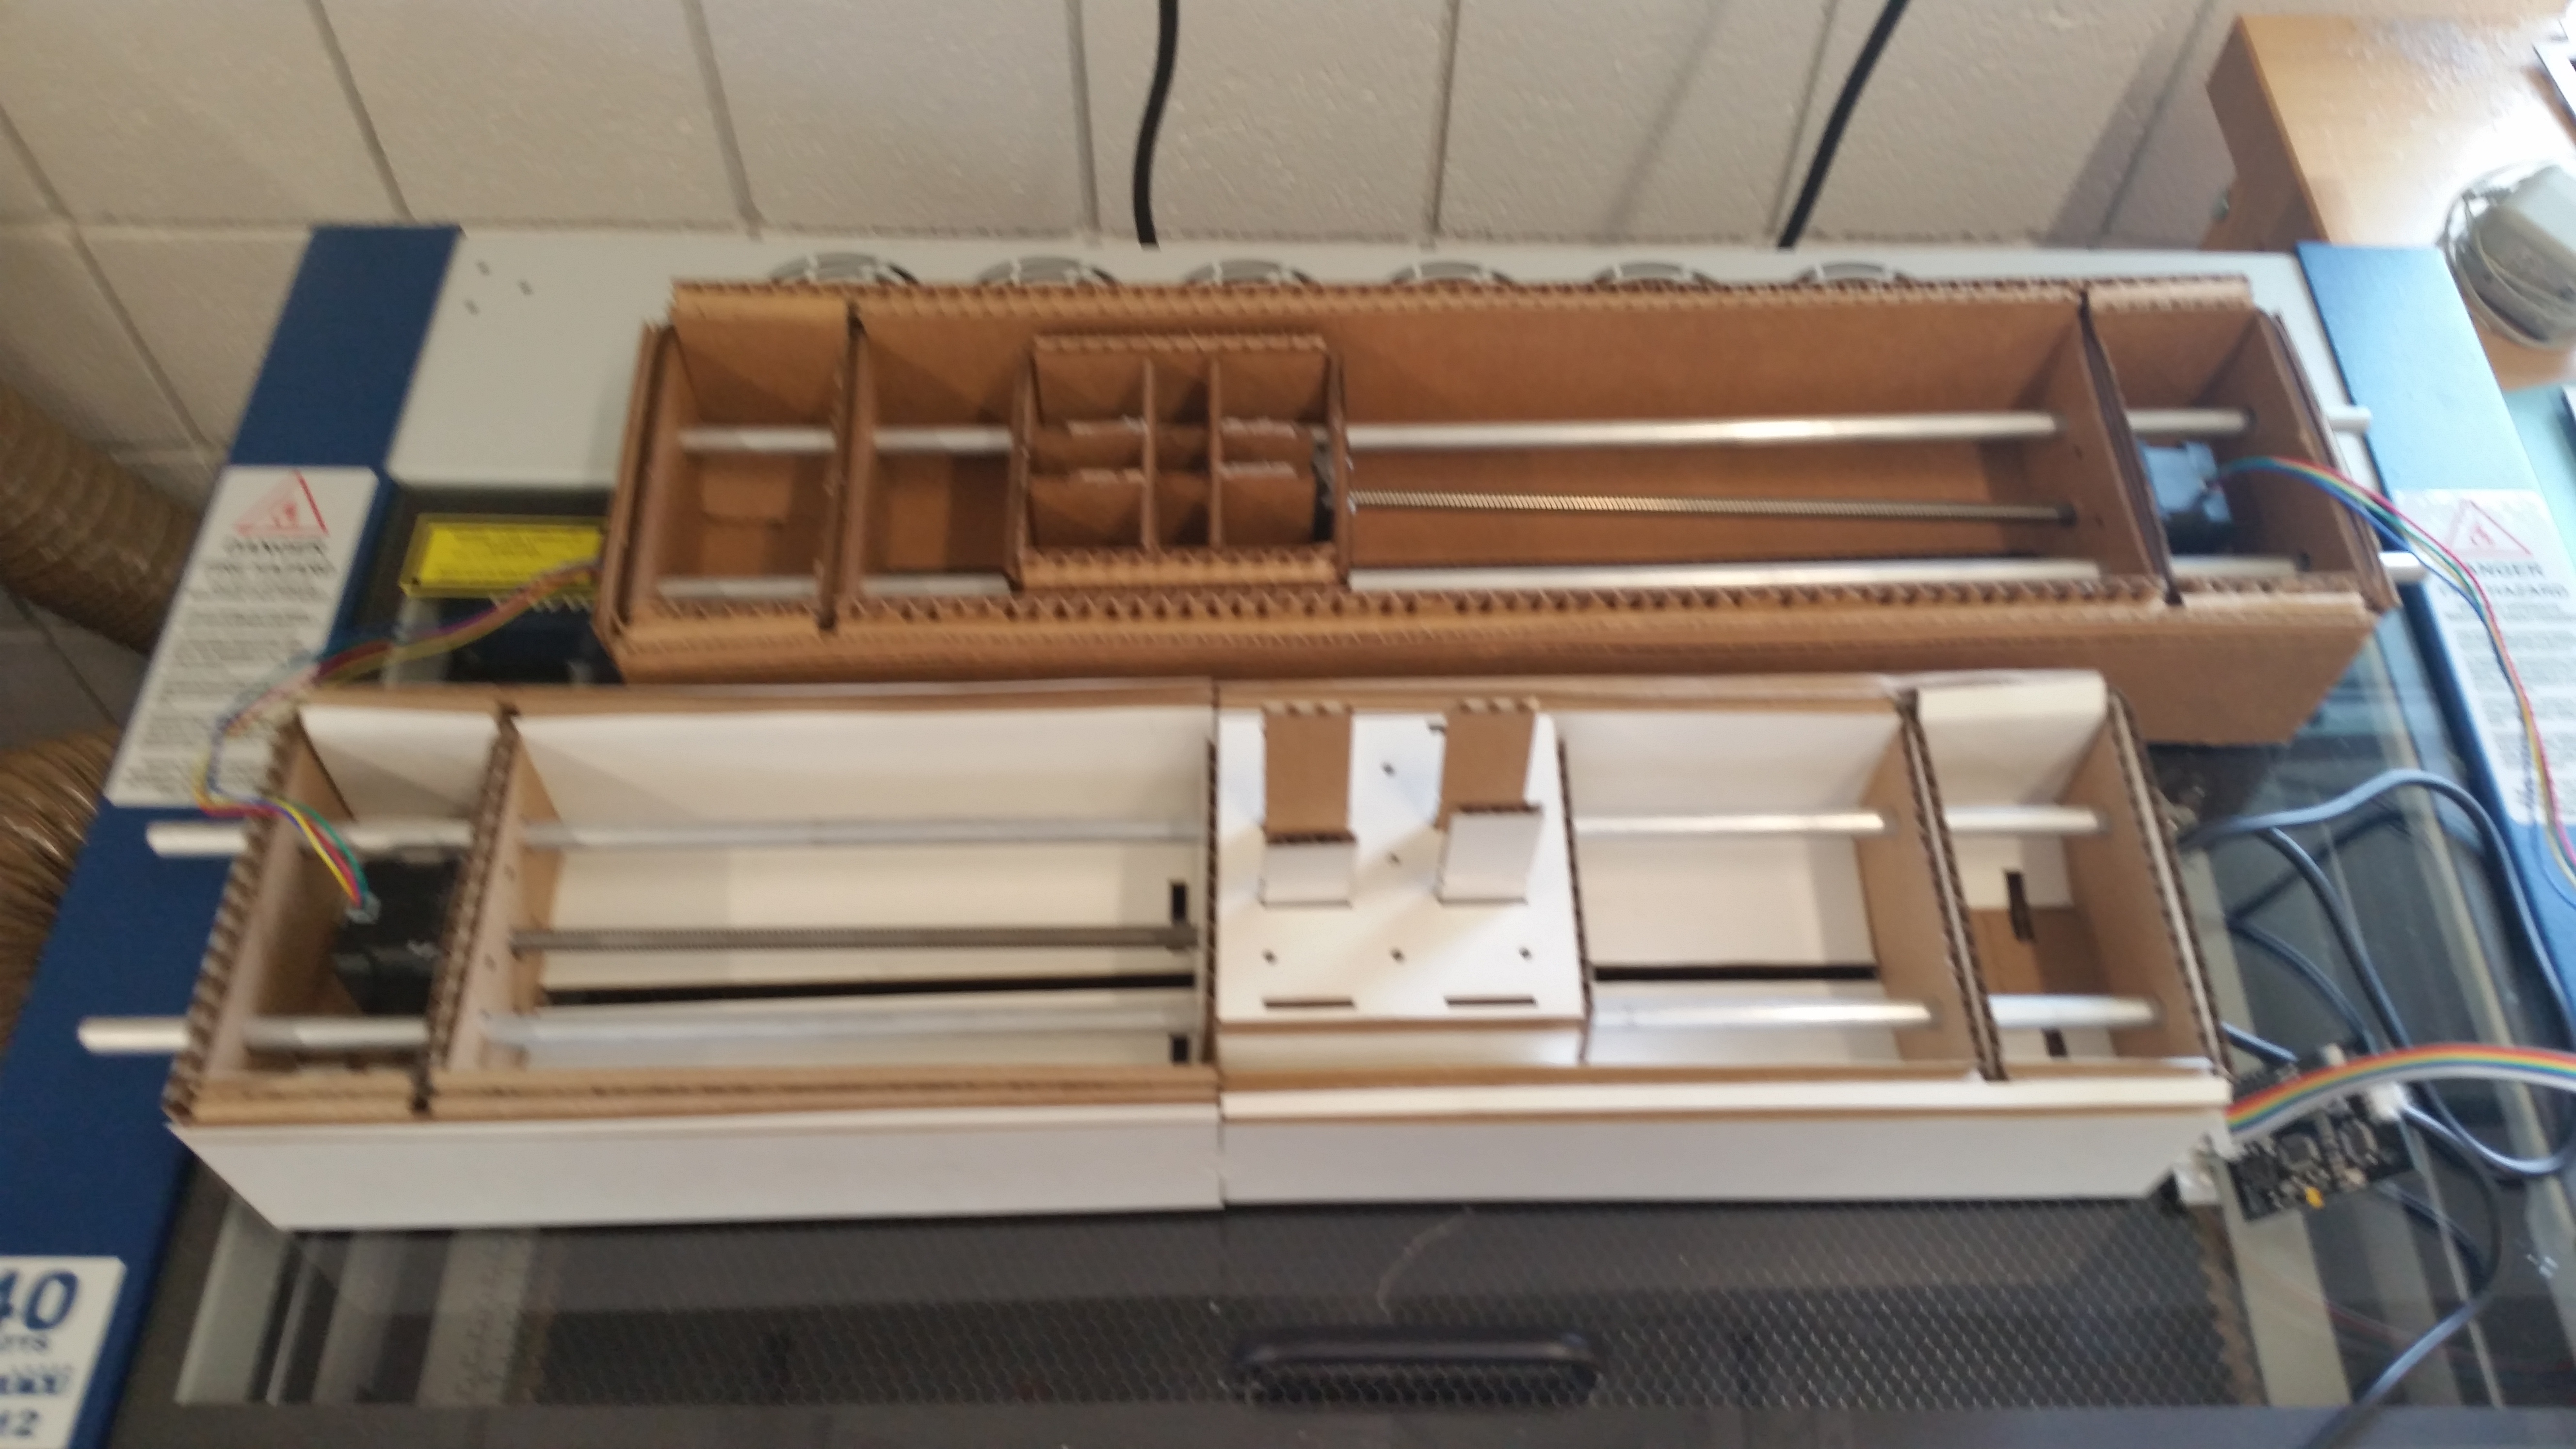
Following the current bill of materials using the resource from MIT.edu (link provided below) and the video documenting how each pat is to be assembeled we constructed each our two machines for the plotter. We did run into some issues with the card board first round it was a little thick and pieces didnt fit correctly so we tried some other variations until we came to one that worked being the 1/8” stock. We were able to move the center piece fluidly by hand and will attach a top piece for it for the final design. Final product can be seen below!
Helpful Links:
Getting Started With Gestalt Nodes
[Modular] Machines That Make: Cardboard Stages
[Modular] Machines that Make : Cardboard CNC