Week 9:
Mechanical Design - Pulse plotter
In this group assignment we decided to build printing device. It prints the heartbeat with marker on rolling wight board.
The input is heart pulse and the outputs are two axis plotter.
I took a role of the basics design and measurements, brought scrap industrial printing machines parts for inspiration and reuse, 2D and 3D modeling, fabrication, assembly and also the post production of the presentation video.
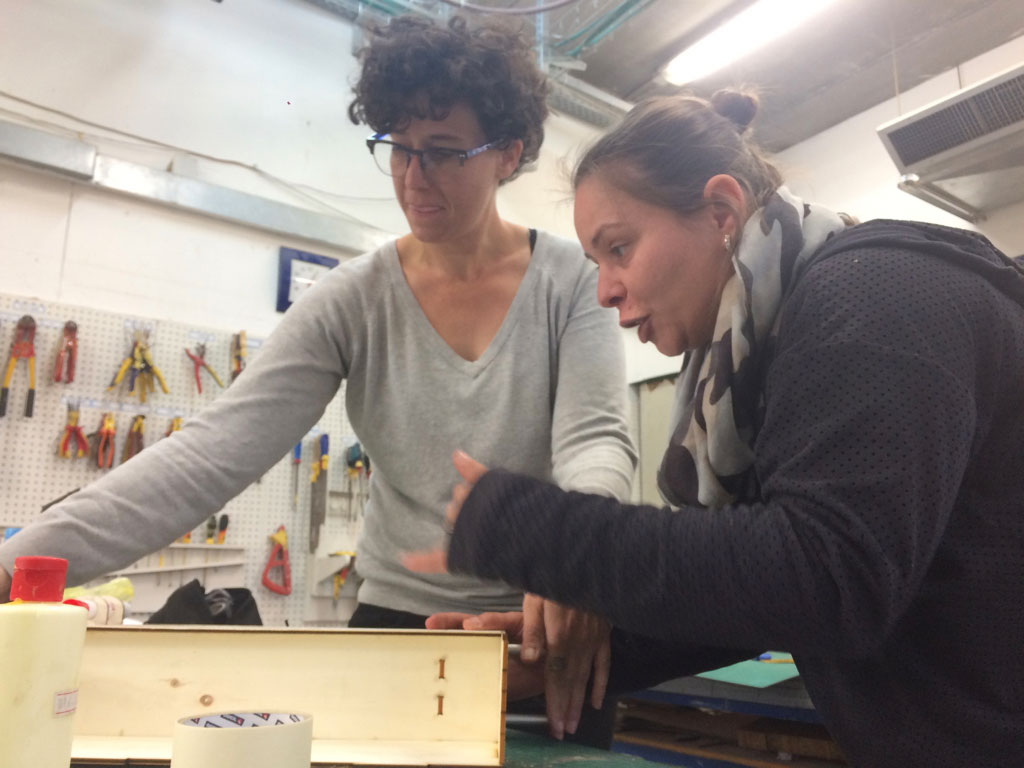
As a group we created the concept together. Same about machine mockups planning and building.
Modeling
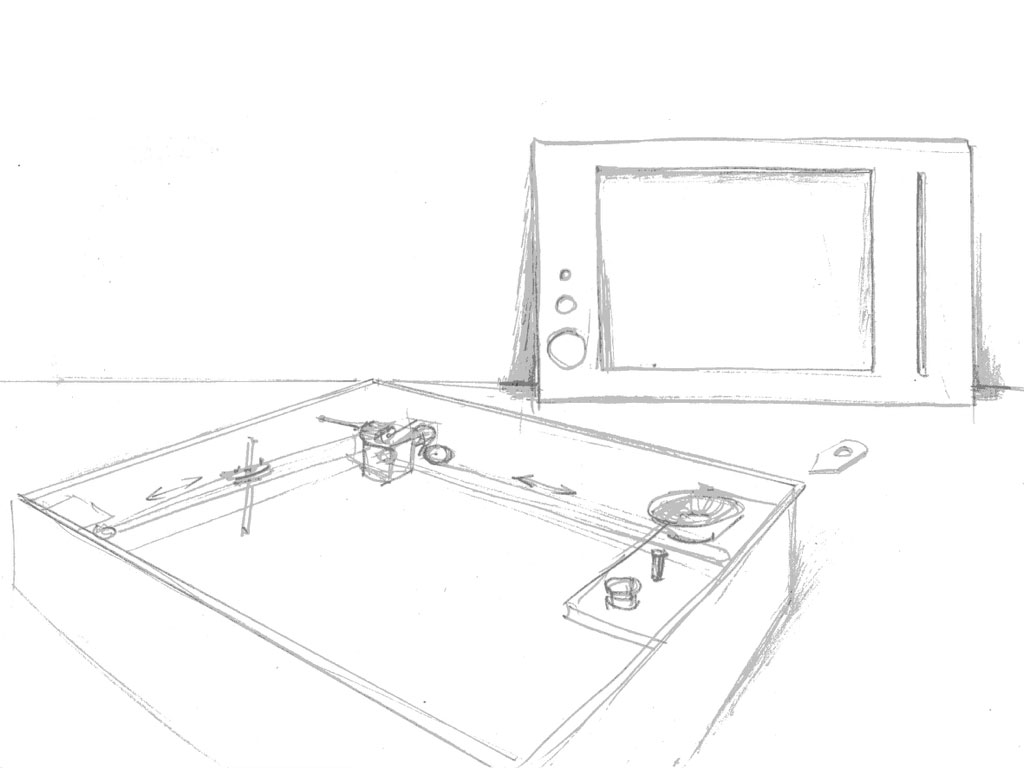
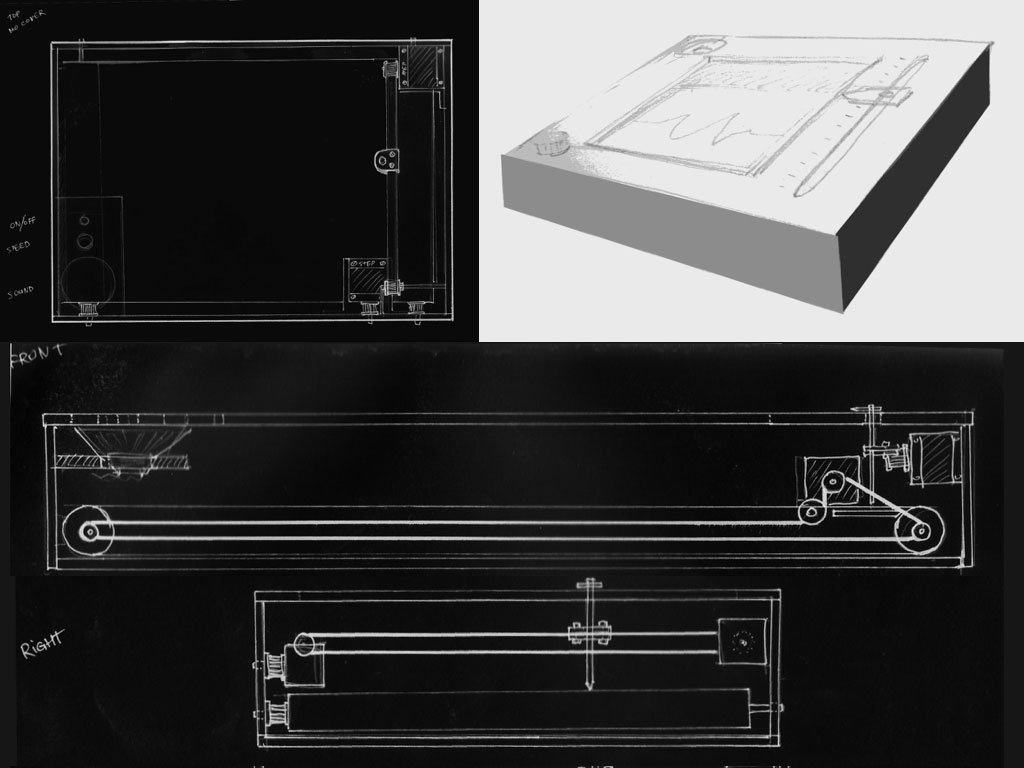
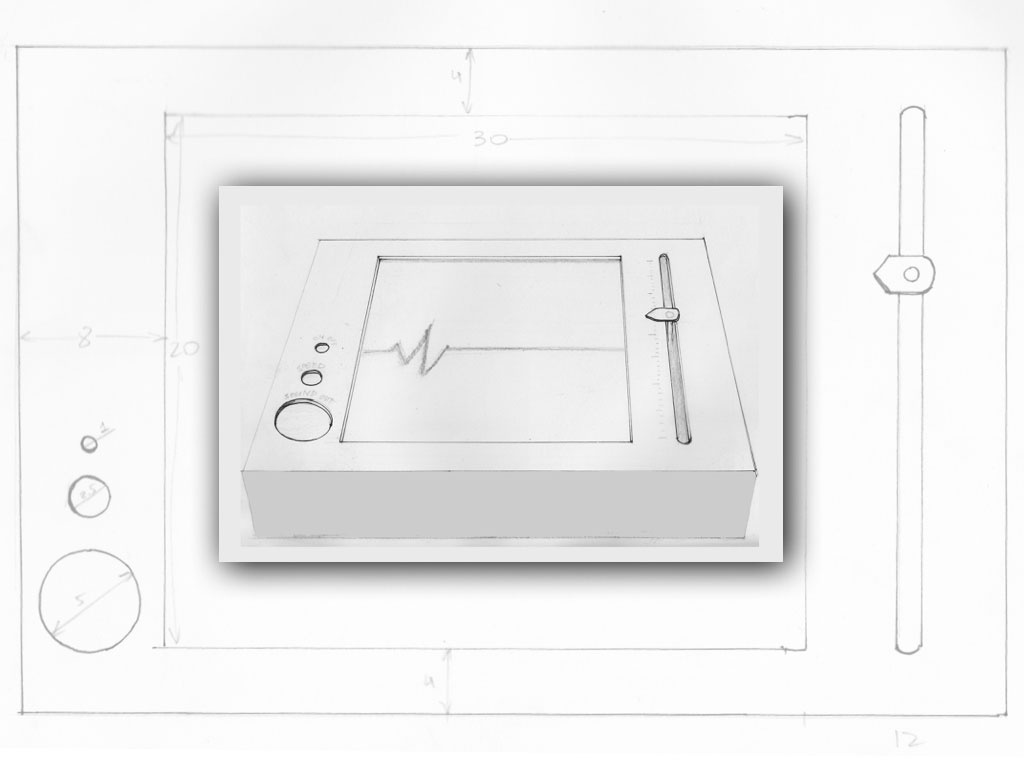
First I made hand scketches during our group brainstorming. scaned them and processed in Photpshop.
The active drawimg axis is holding the whiteboard marker and the second, passive axis, is rolling loop of erasable paper (shiny vinil).
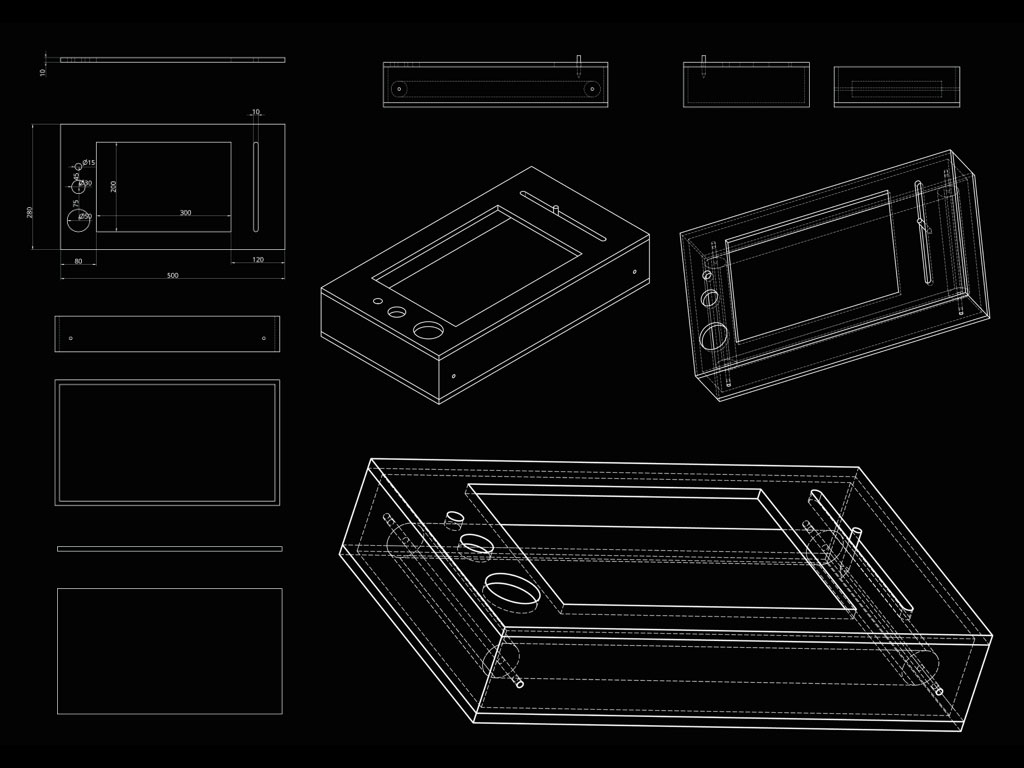
Then I tried new 3D modeling software
Onshape
to create better renders for our vision. It is browser software wich keeps all the data on cloud and modelling is possible also on tablet and smartphone. Have to be connected to the net. Very easy to use, to share and to cooperate in team development.
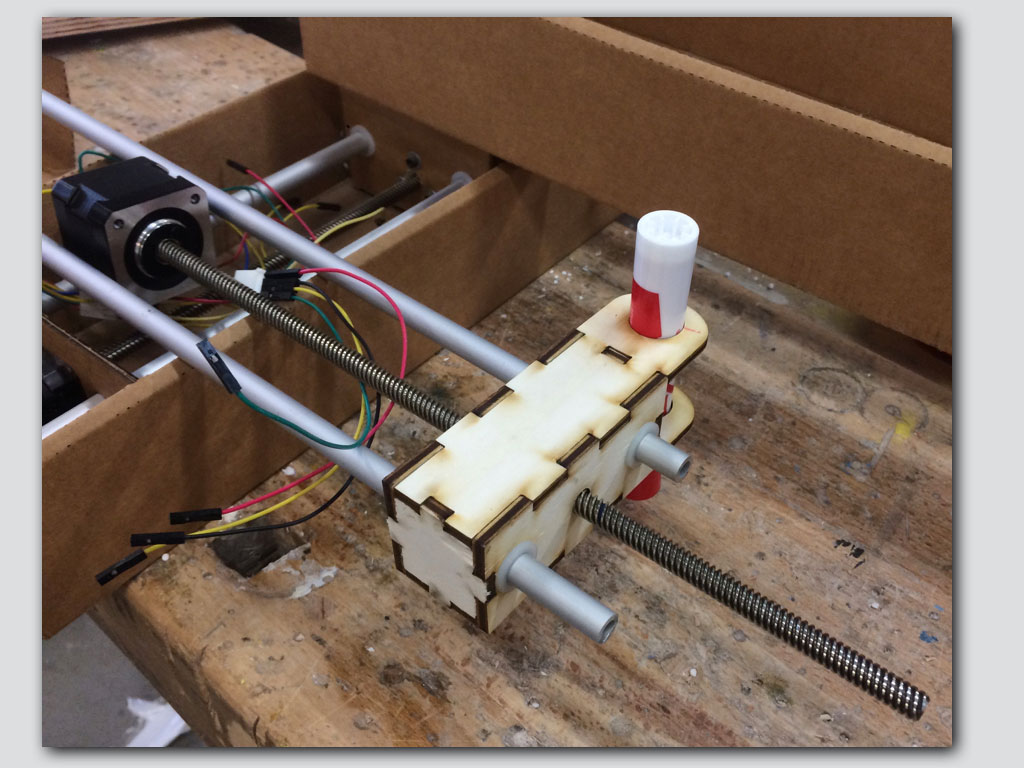
Motion parts collecting
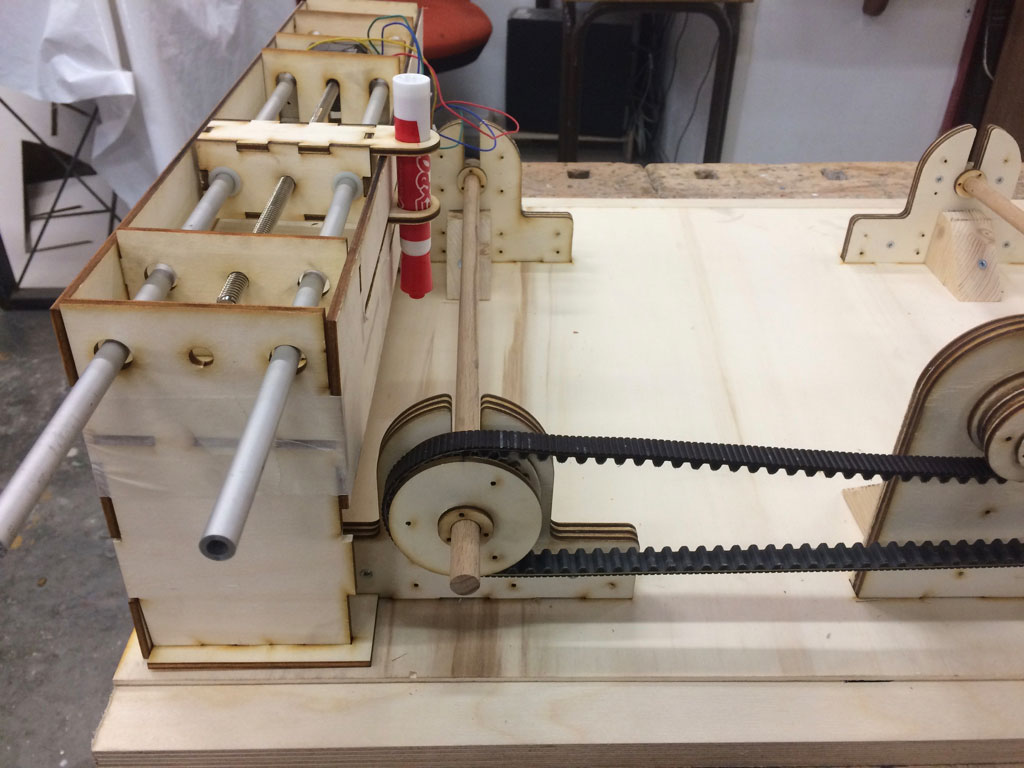
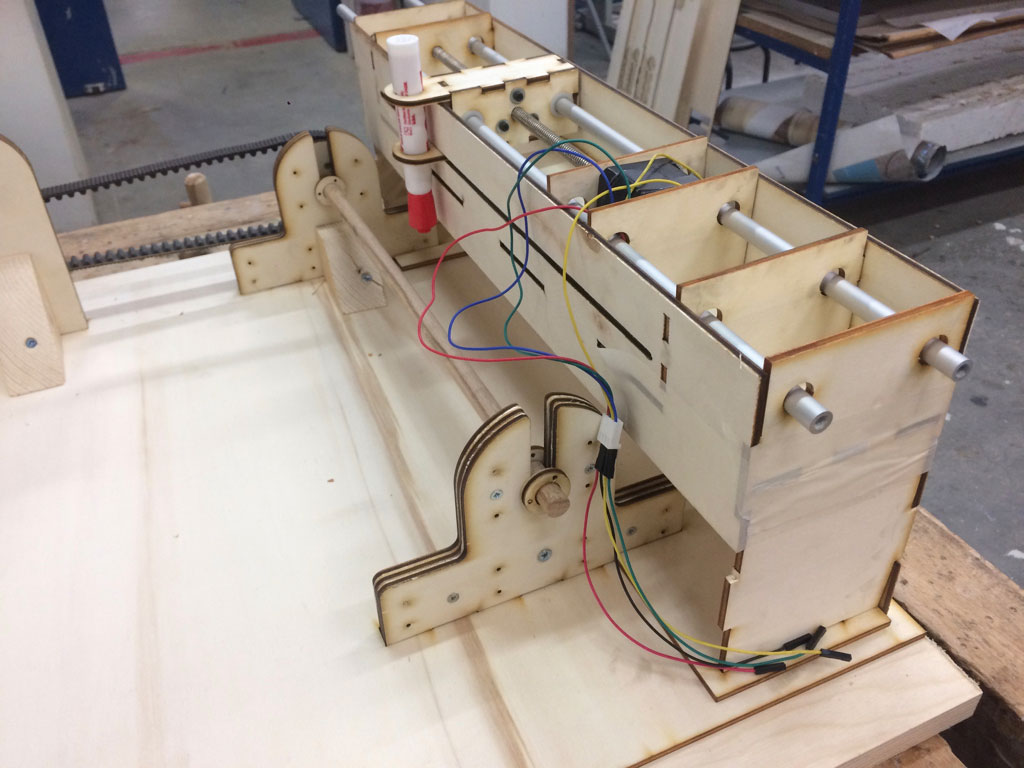
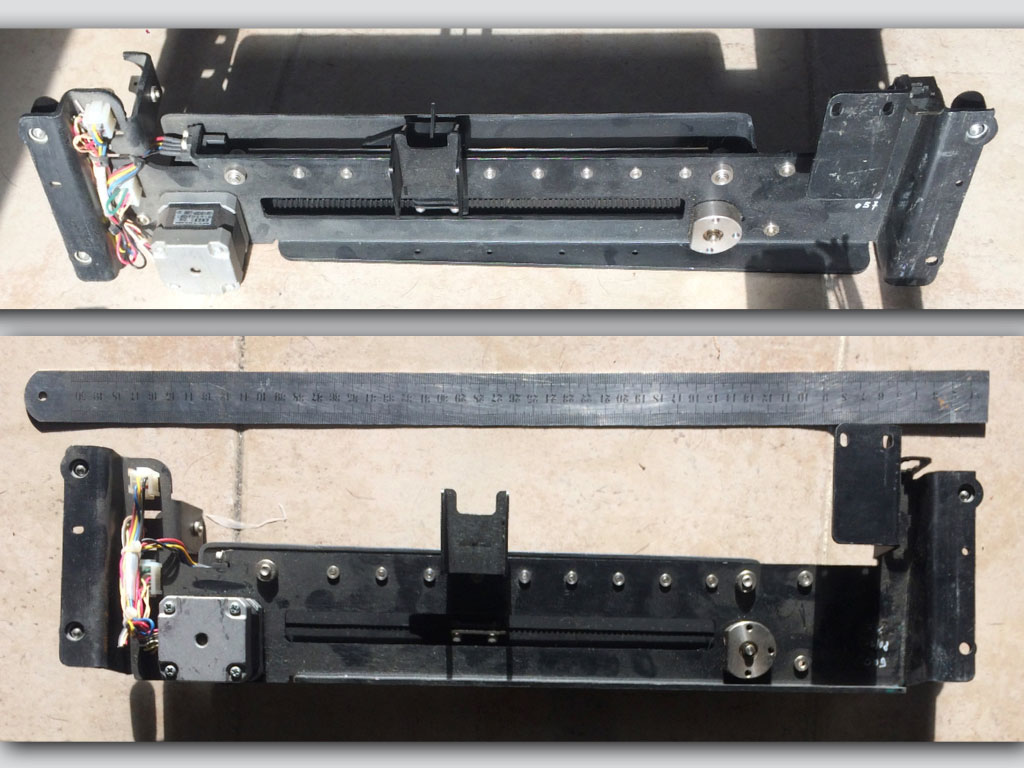 This is the upper shaft, the pen drive.
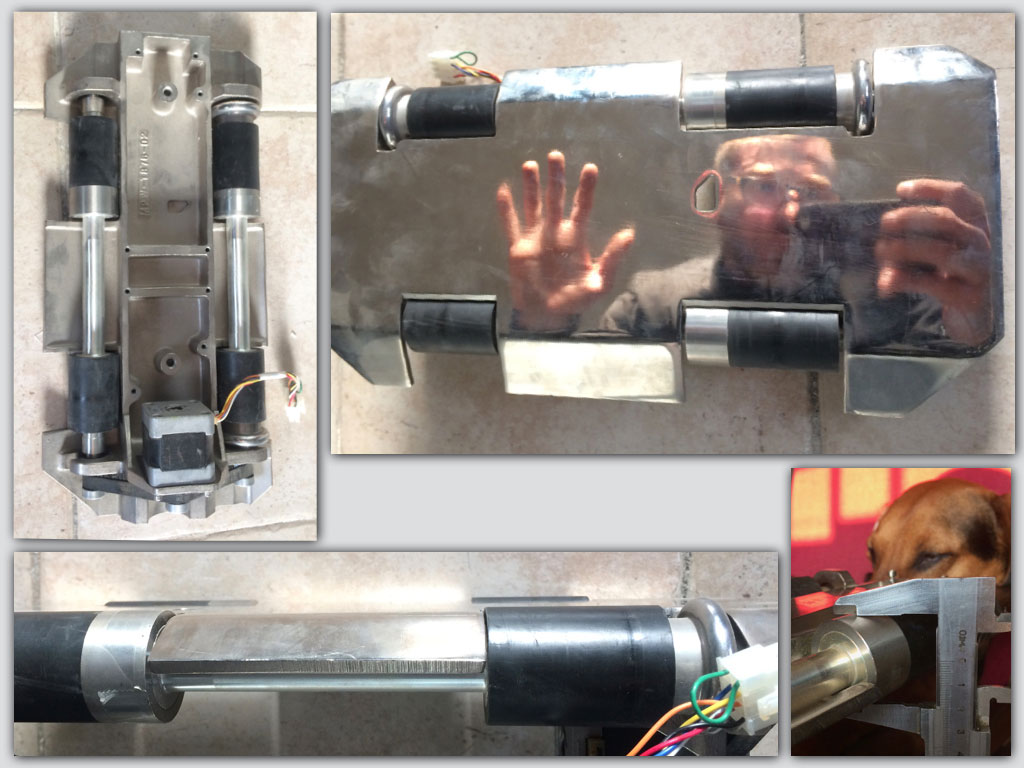
I brought some parts from industrial printing machine to recycle
and to learn from them.
 this is the bottom shaft, the paper drive.
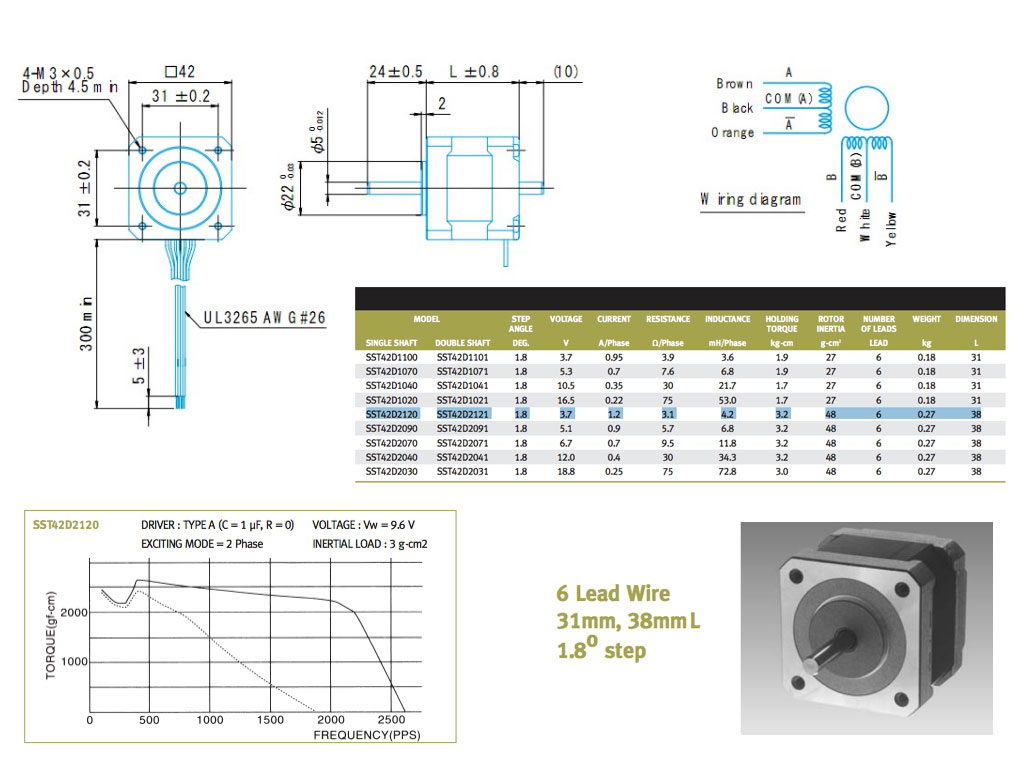
Drive discovery
Studied about the optional stepper motors for our machine.
First mockup
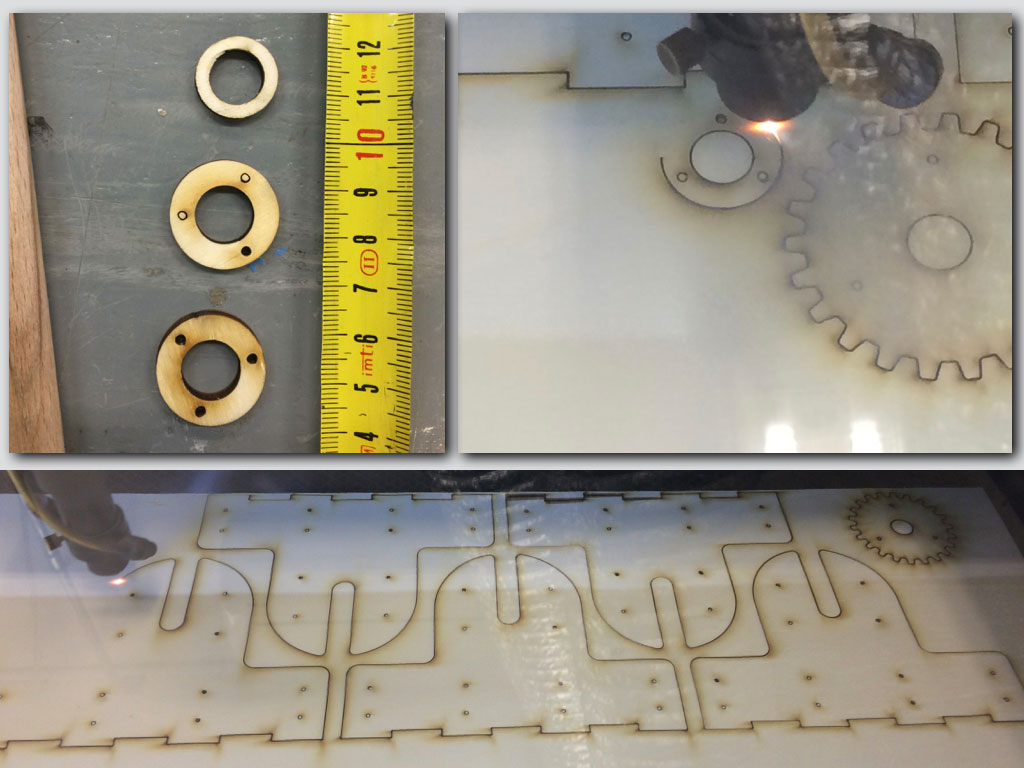
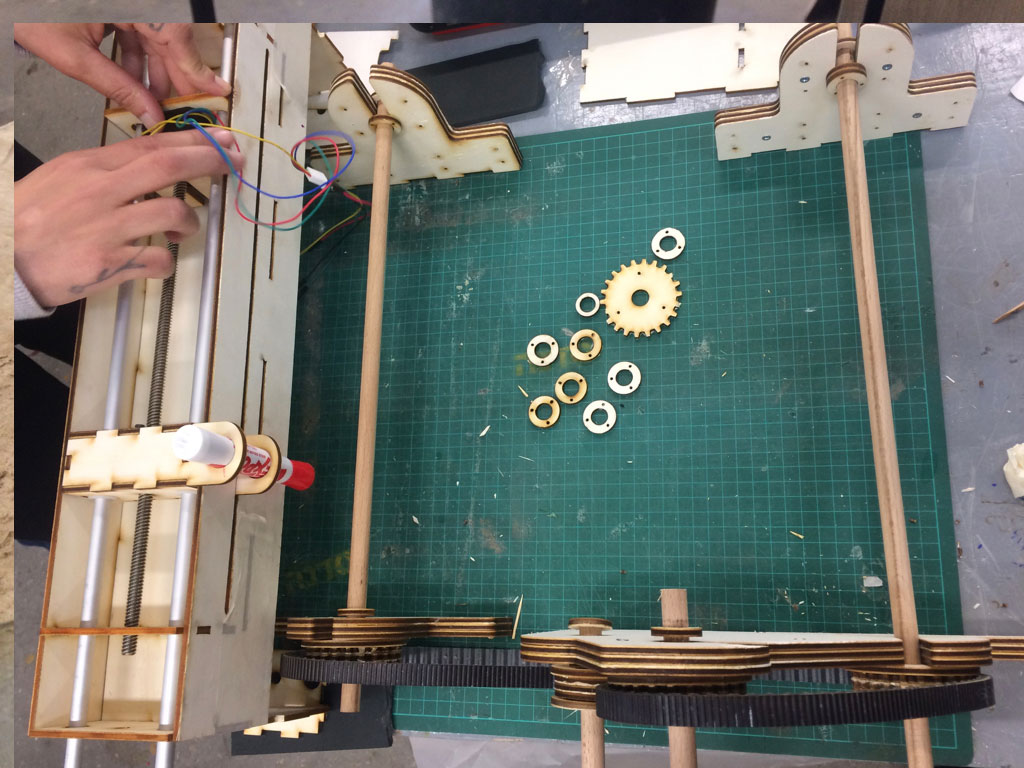
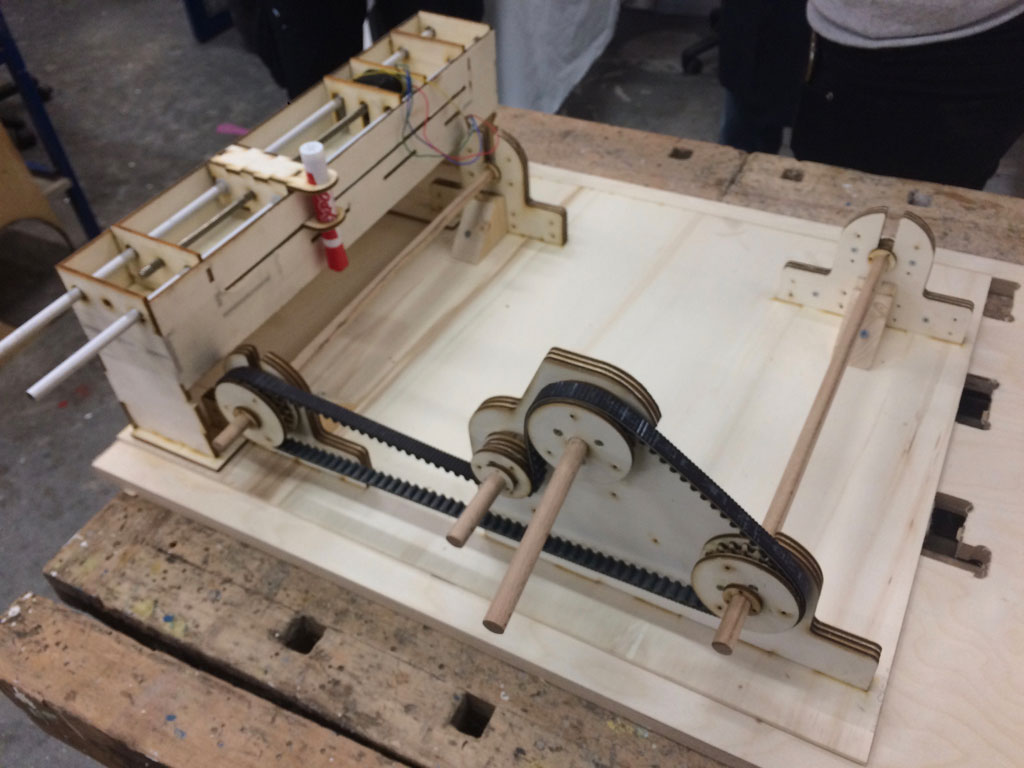
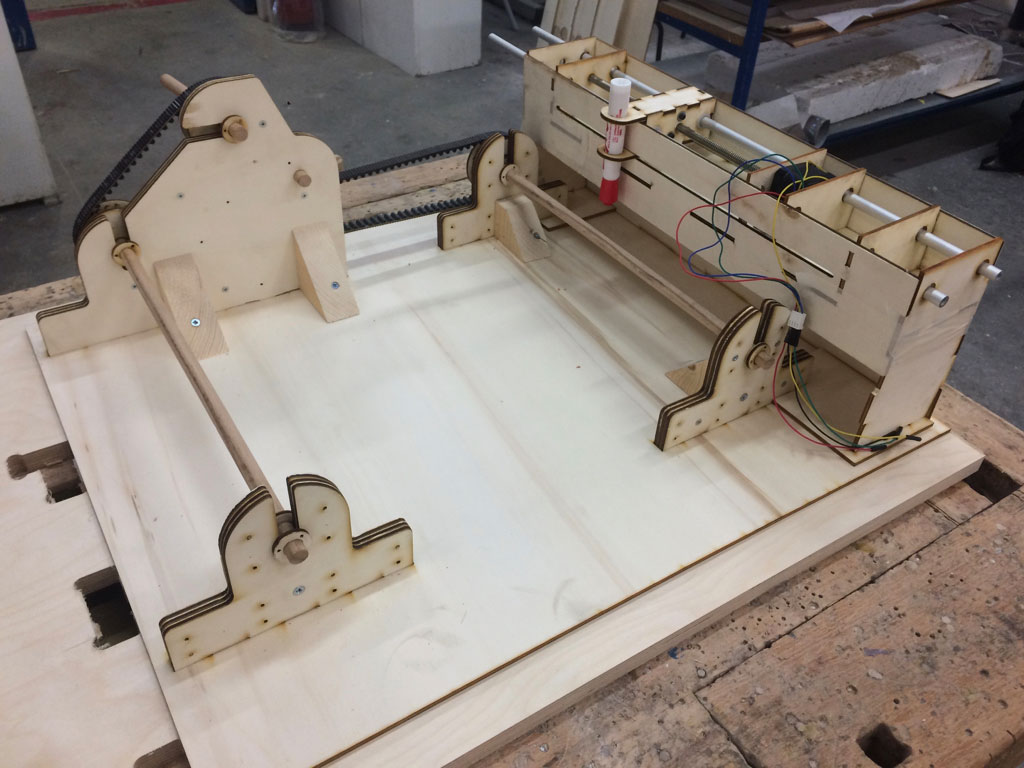
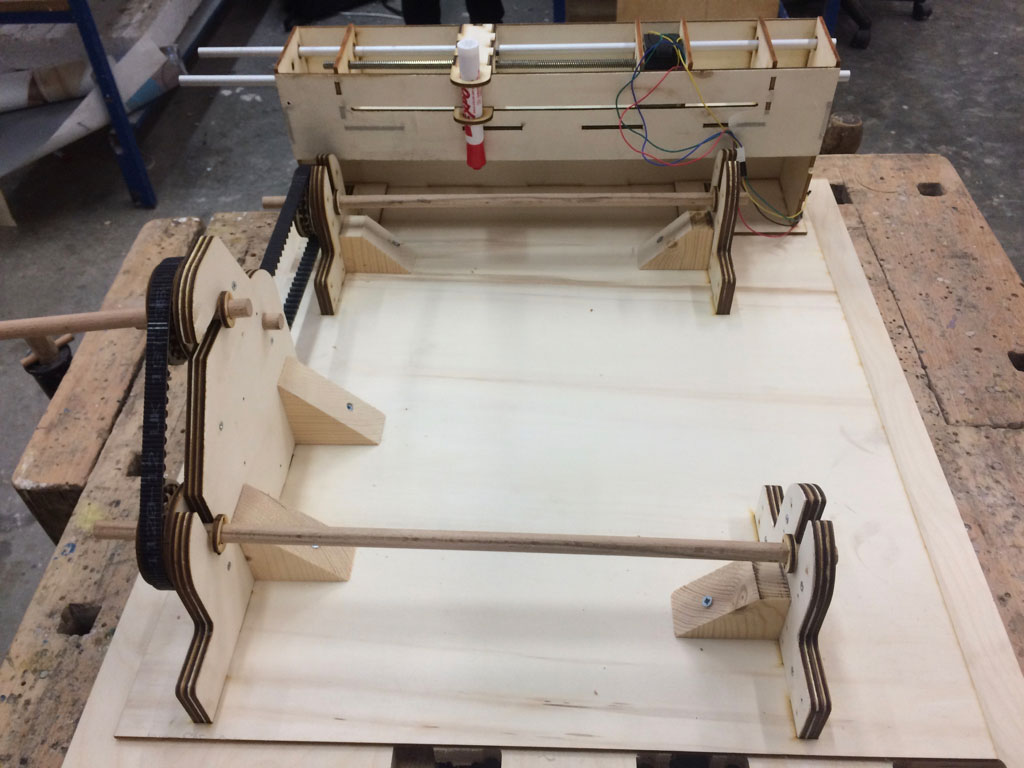
We've made 2D files for first mockup laser cut parts to assamley our phisical test.
Our first mecanical attempt included also changes in materials, so called improvements. The pen drive cariege and rack got lasercut plywood body instead of MTMs original cardboard structure.
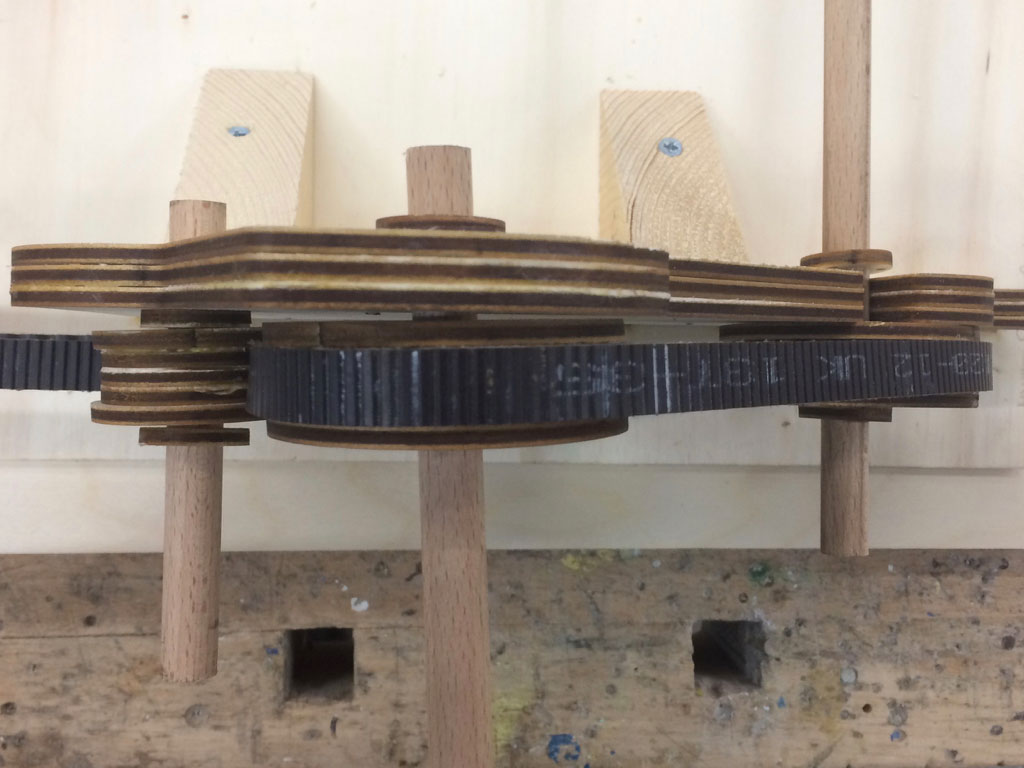
The paper loop drive got belt, two shafts and extra belt tension gear.
And also many misstakes to fix.
There were few points of bad friction and a lot of tension in the system.
The gears were to thin for the belt that we used and the belt itself was not flexible enough.
The drawing axis posisioned in wrong place, out of the rolling paper
surface.
The next steps of machine building are described on week 11 page: Machine design assignment. Machine design assignment.
And also at
our lab page.
 Firs time with Onshape