Week no.12
- Molding and Casting
Assignments :
- Design a 3D mold
- Fabricate by Machinning it
- Cast parts from it
CAD Design
For this week assignment I planned to make a mold for a bottle opener I once saw, which is actually a skull form (cool!). Since I was making it from zero, I looked the internet and found a reference image of the model:

And so I began to draw the 3D model in CREO Parametrics "sculpting it" in flexible modeling (FreeStyle) until I was satisfied with the part design:
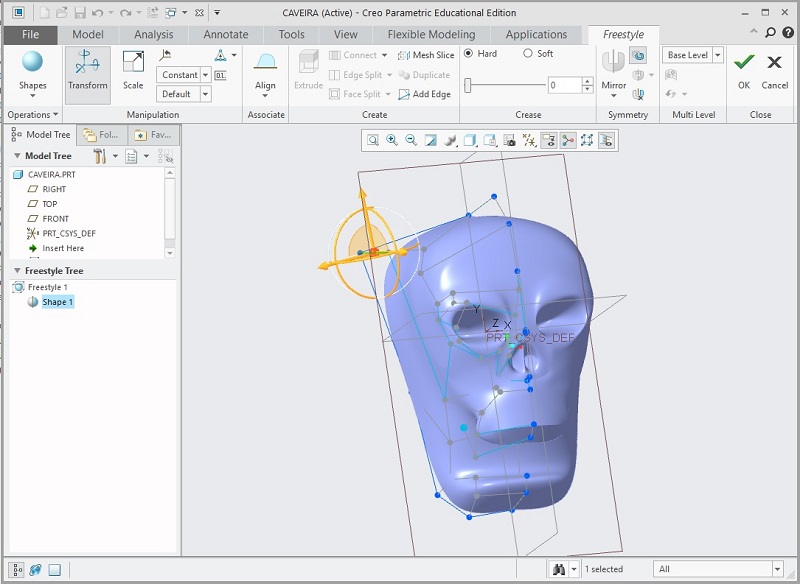
The resulting 3D model :
Mold Design

Before creating the Mold I ran a draft analysis looking for "Negative angles" that could potentially stuck parts inside the mold.
After a few surface adjustments I manage to get a clean mold part.
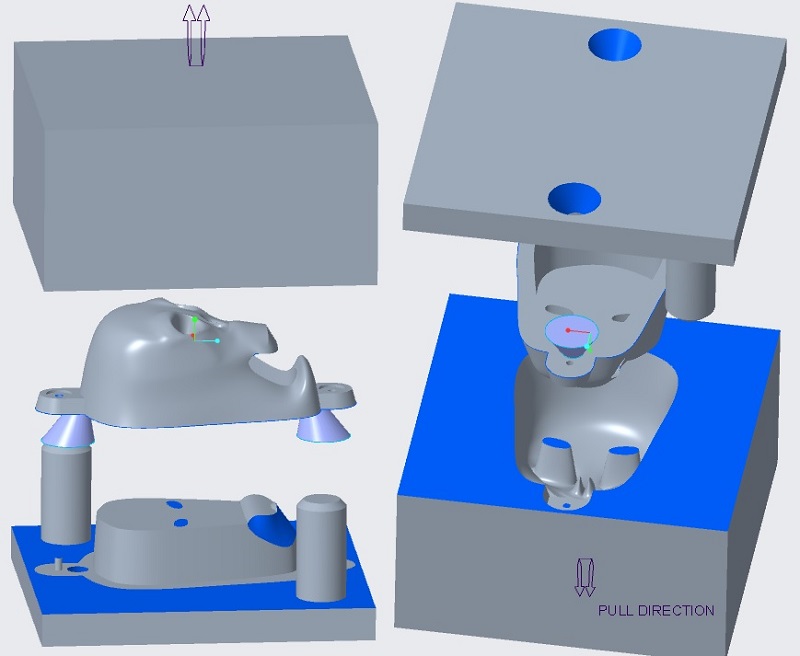
The next steps for creating the mold cavities were:
- Create the "Blank" to be machined
- Create the mold "split-line" based on the draft analysis
- Create the split surface
- Split the mold in two cavities
- Define and create the cast openings and guide pins.
The splitted mold cavities are now ready for CAM.
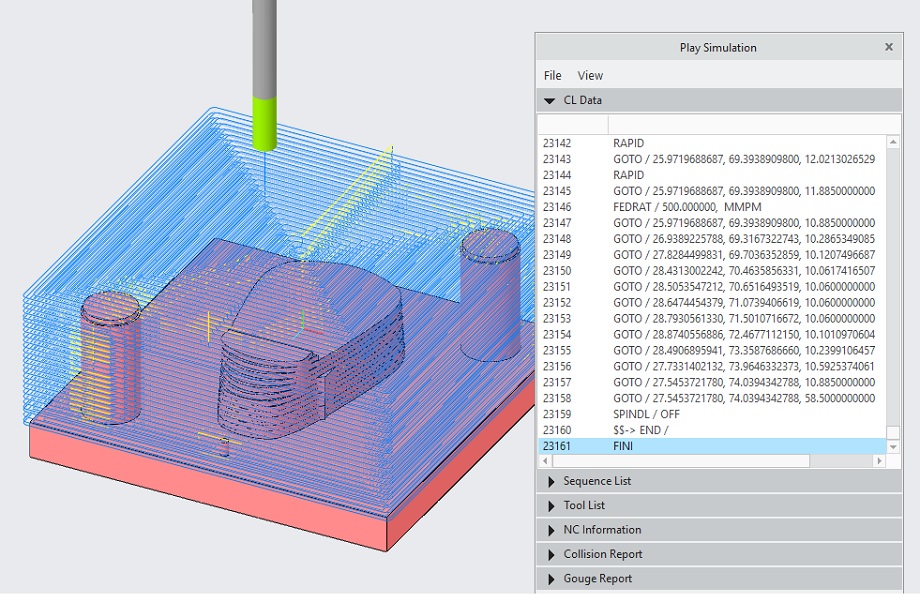
Machining the Mold Cavities
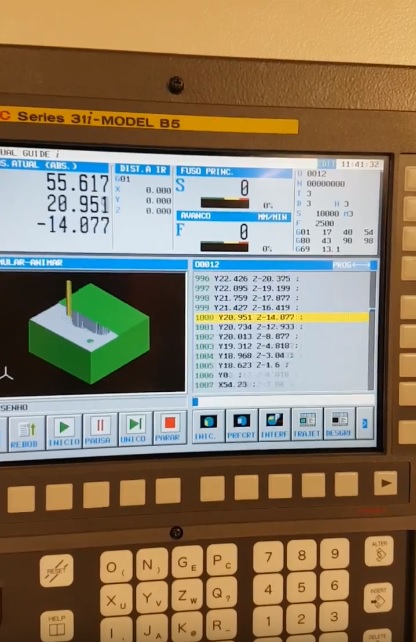
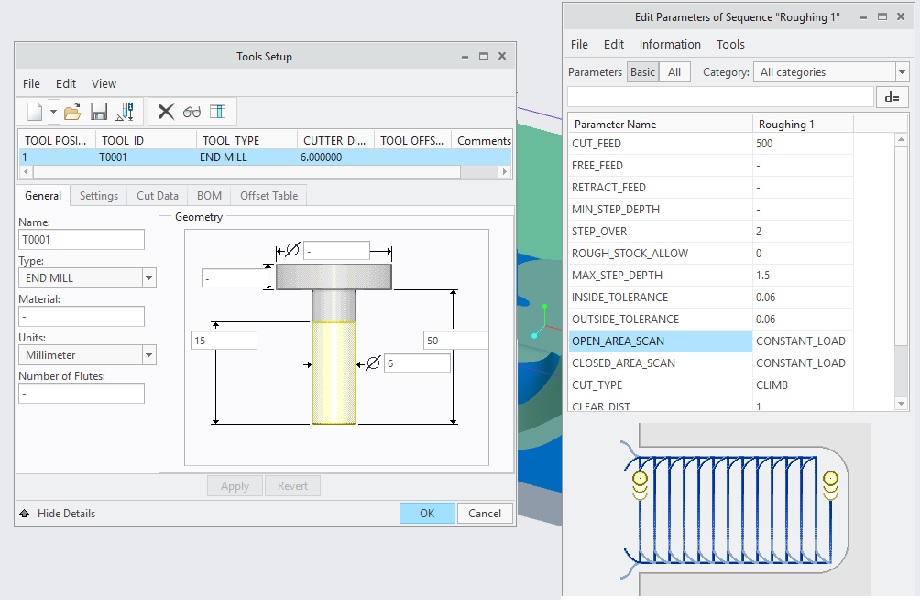
So the CAD model is assembled in manufacturing workspace and all the parameters like physical parts, cut strategies, speeds and feeds needs to be filled in CAM simulation. The output is a G-code file with the CNC machine instructions. More detailed steps are:
- Define the CAD part to be machined (reference Model)
- Define and assembly the "Blank" - Aluminum (100x100x50mm)
- Define Fixtures
- Create Work Center - FANUC 3 axis CNC
- Create Cutting Tools - Plunge, End Mill, BallNose
- Create operations - Facing, roughting, finishing x3
- Define cutting parameters
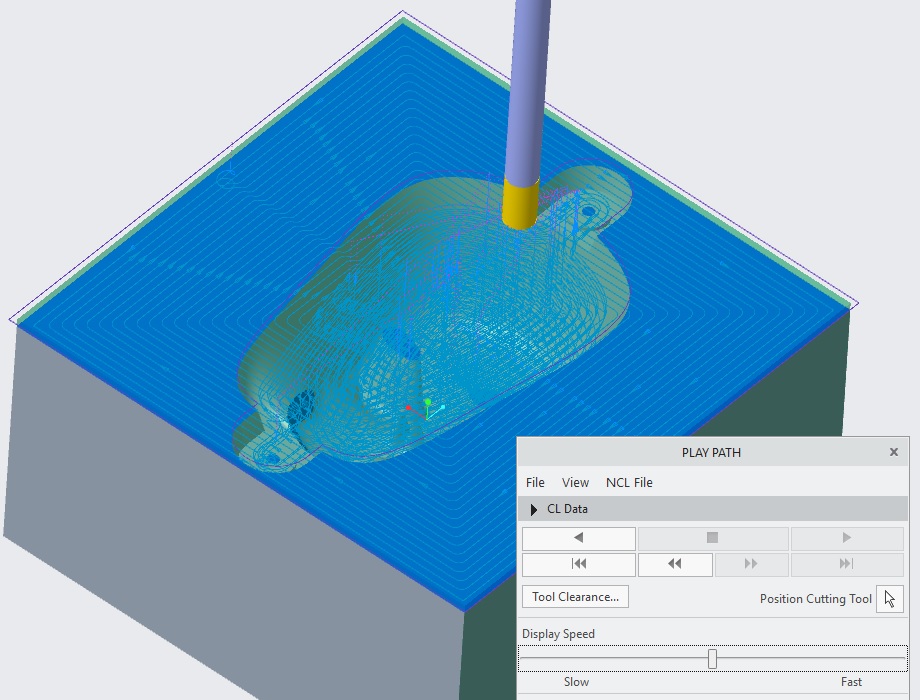
- Create tool path - machining time
- Simulate surface finishing
- Export machine G-Code
FAIL : Choose carefully your strategy and cut parameters! It was a difficult part to make in Aluminum, since it demanded a tiny mill tool (2mm diameter) for finishing and cut the detail of the small choosed part. As the 2mm end mill broke, the strategy shifted to make a mold from a softer and milling safe material like Polyacetal to preserve my last 2mm tool !
Mold Machining - second attempt !
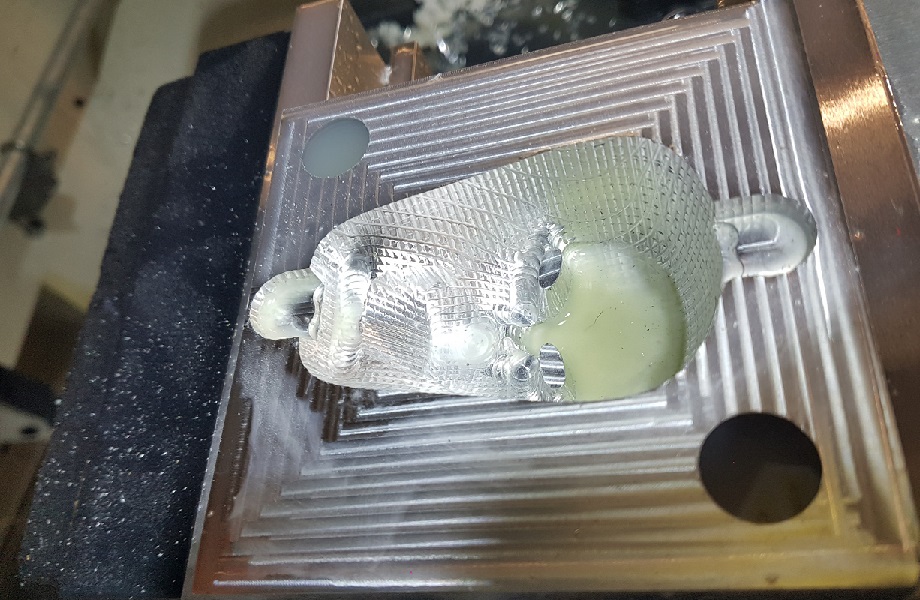
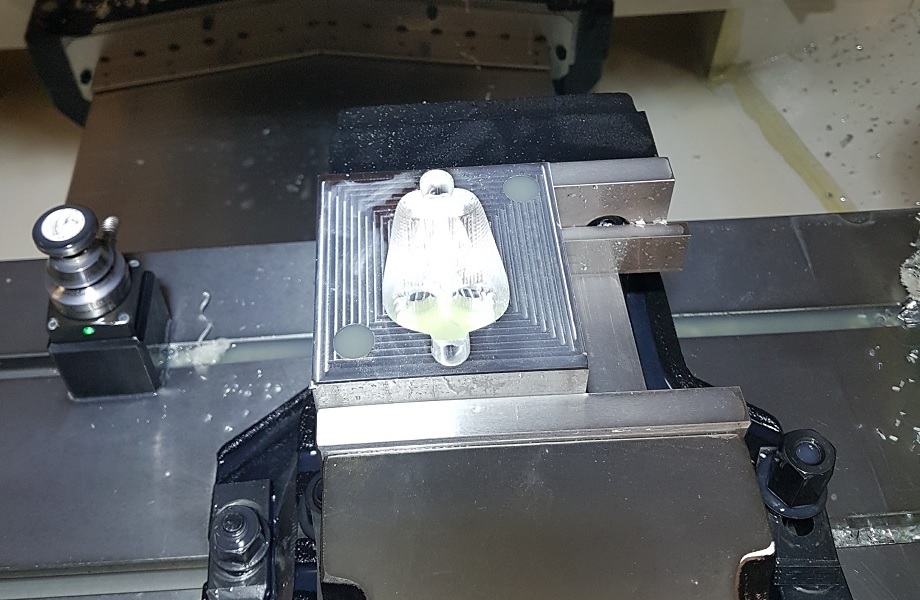
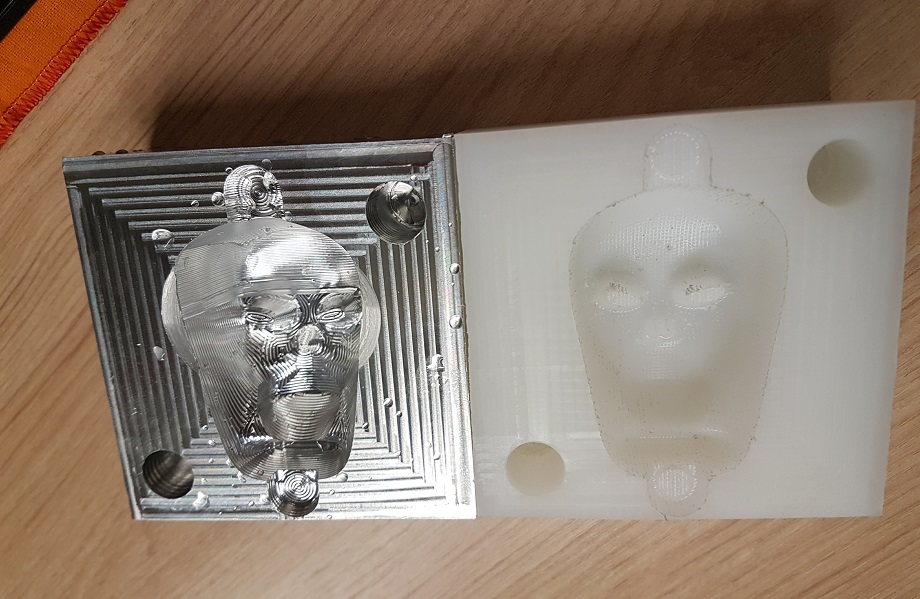
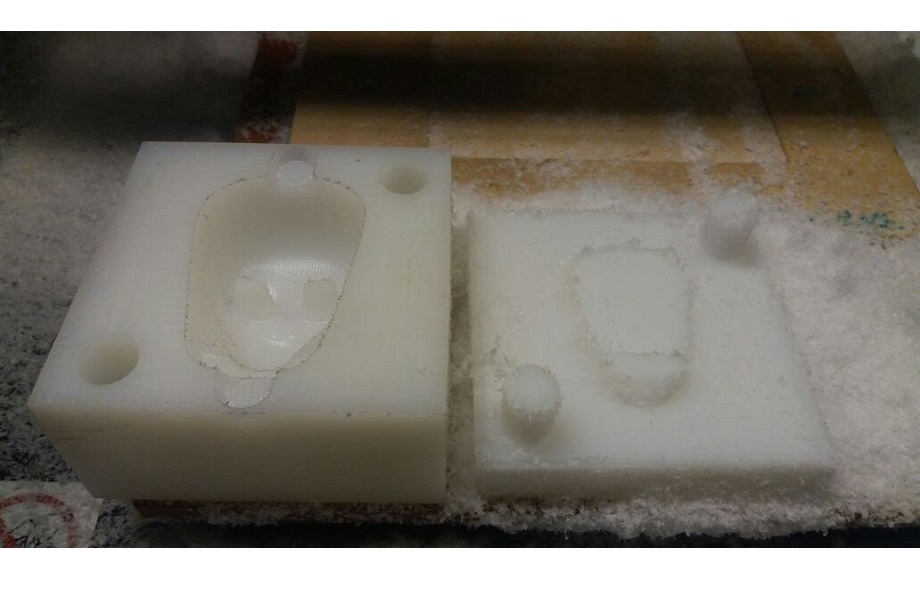
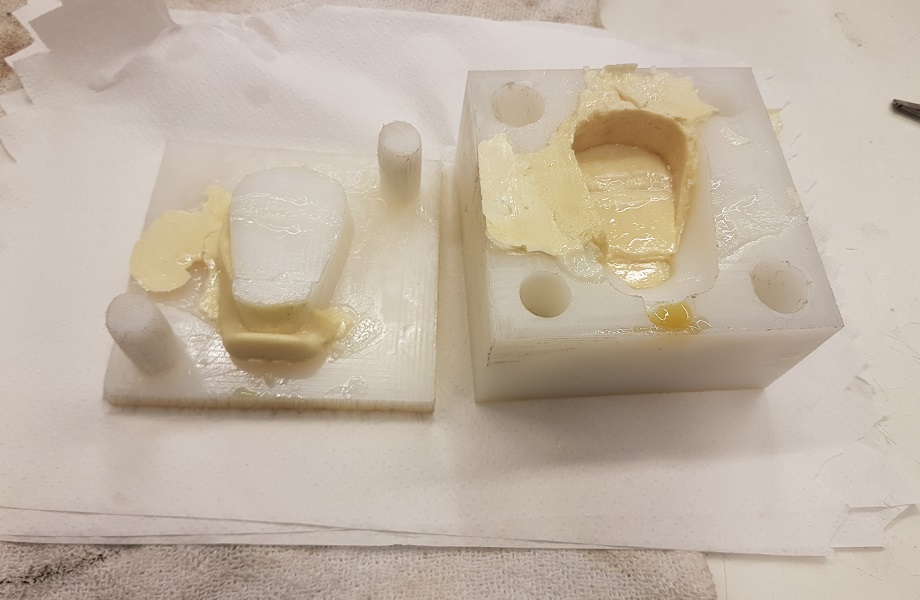
Ok, it is not a injection mold and I´m not looking for durability. So I cutted 2 blocks of Polyacetal and ran the manufacturing again !
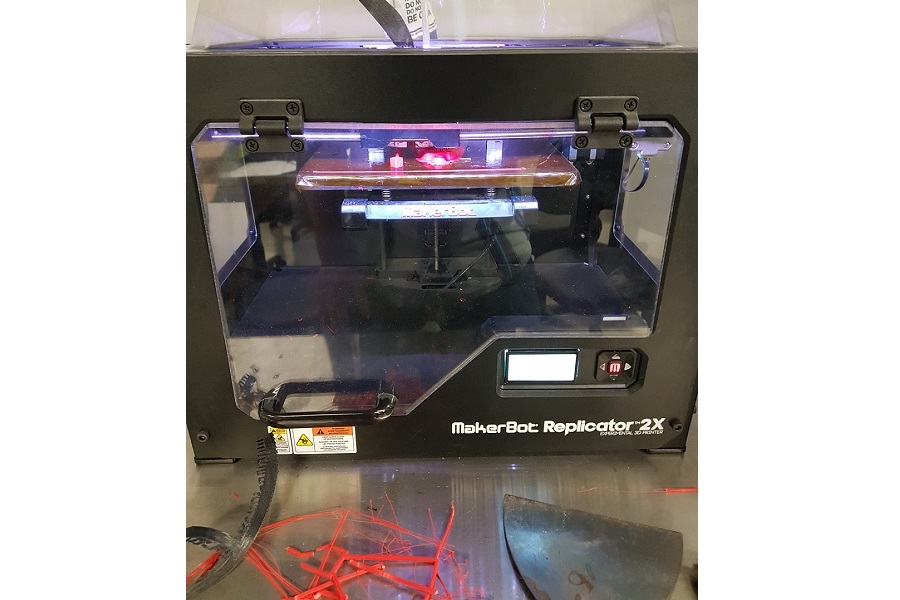
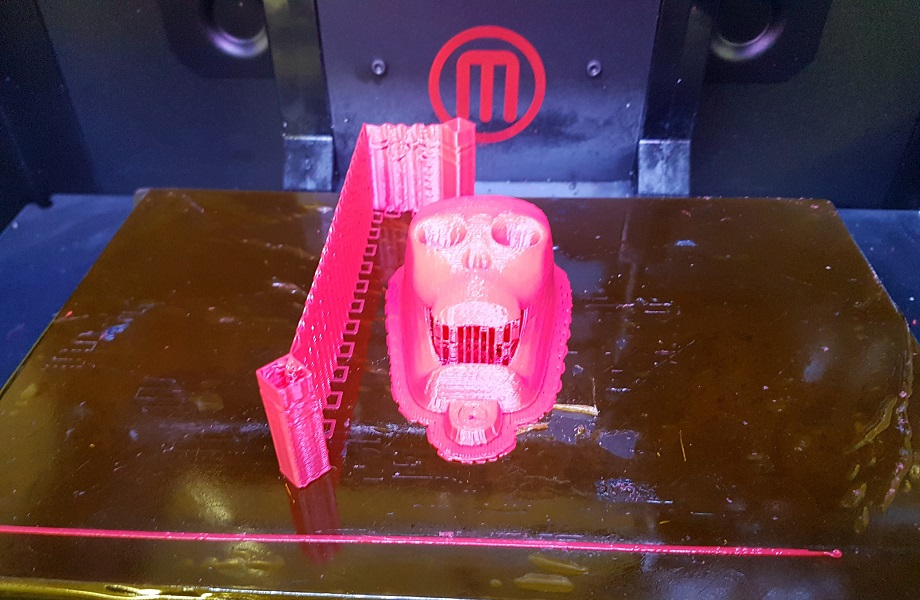
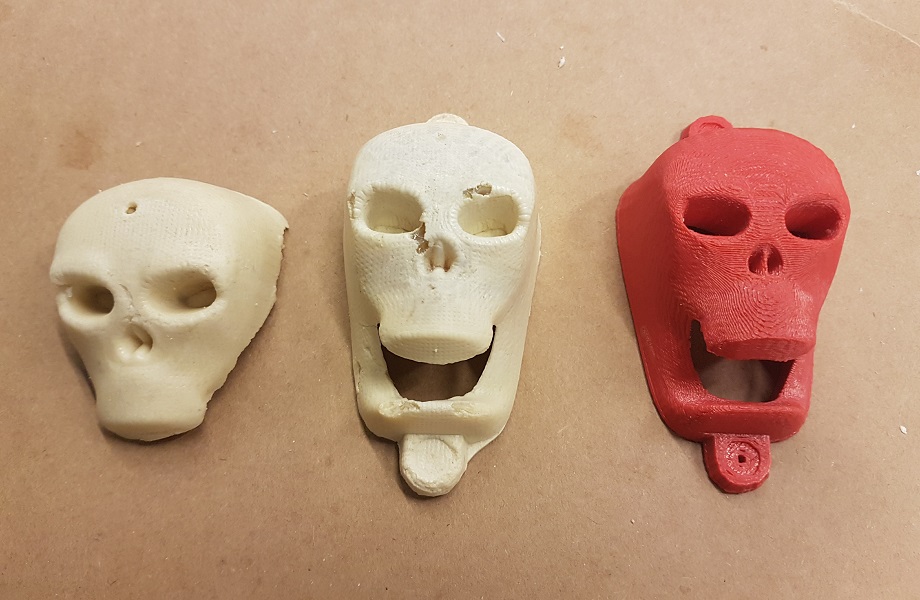
Finnaly I got the jobb done and could cast some polyurethane resin parts from my mold. I also 3D printed the design CAD for comparsion.


And here is a video of the milling process: