"
Seventh Assignment
Computer-Controlled Machining
This Excercise is about making something big. (on the large format machining machine.)
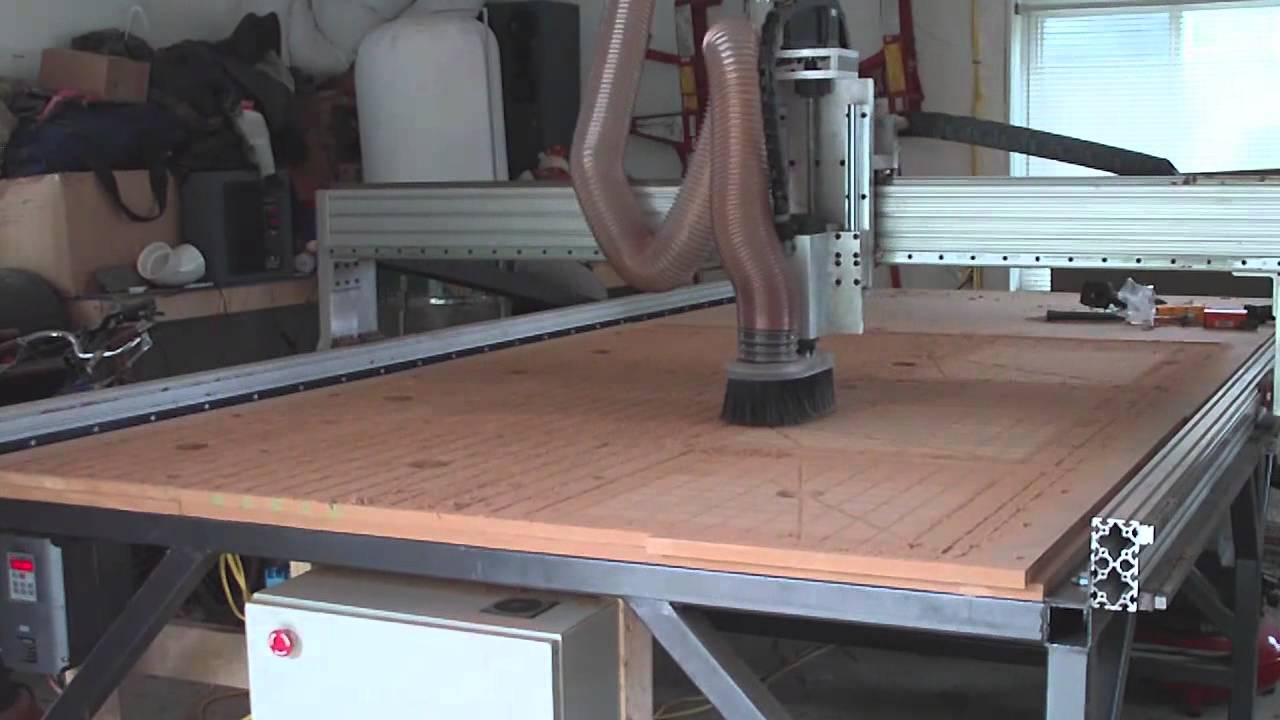
Understanding the new CNC in Fab Lab Egypt
me and Muhamed abuelhaggag tried to understand how the machine works, you can find the documentation of the first trials from HERE.
Making the Design
In this assignment I wanted to make a chair for my niece, in this video you will find the design and how it meant to be assembled.
you can downloadthe design as SolidWorks files (.sldprt) from HERE.
Exporting the G-code for the machine.
.
The most important step in getting your job done on the CNC is to make you G-code.
I've found a very useful tool from Autodesk called HSMworks it works as a CAM (computer aidid manufacturing) software but rather than being independent software, it's included in the SolidWorks.
I've also used a student license for three years.

Using HSMworks Step1:-
Opening the (CAM) add-in menu then select the tyoe of your process.
in my case I was using 2D contour.
.png)
Step 2: selecting the tool
you will find a long set of the available tools, if you didn't find you own you can create one in the tools (endmills) available.
.png)
Step 3: selecting the feeds and the speeds
The speed is how fast you spin the spindle(RPM).
And the feed is how fast the spindle is moved over the material milimeter per minute (mm/m).
knowing the recommended options of your end mill with the used material and by applying these values on the Golden Rule you can make sure that your values are good.
The Golden Rule is:-
[chip load : 0.0026~0.026 = FeedRate (cm / minute) / (RPM * no. of flutes)]
I am using 6 mm flat end-mill with two flutes.
by applying feedrate = 150 cm/minute and spindle speed of 10000 RPM I found that the chip load was reasonable which was also good by experiment (in the next steps).
if it's not good the material will got melt or catch fire if it's too slow.
if the material is making a lot of noise it means that you are going to fast.
the endmill might got broken if the chip load is too much and so on.
The selected feeds and speeds.
Spindle speed = 10000 RPM
Surface speed = 188.496 m/min
Ramp spindle speed=10000 RPM
Cutting feedrate=1500 mm/min
Lead(in&out) feedrate=1500mm/min
Ramp feedrate=1500mm/min
Plunge feedrate=30mm/min
The used material.
Plywood 11 mm
Selecting the contours and tool orientation
you need to make the outer cuts from outside and the inner cuts from the inner side ( form reverse button)
.png)
Adjusting the heights
Clearance height, retract height and feed height.
.png)
Adjusting the passes
here there are the options I've selected
I selected multiple depths.
.png)
Adjusting the links
here there are the options I've selected
.png)
Generating tool path and simulating
then you have to check the tool path you have generated from simulate order.
here it's a good tutorial for HSMworks
.png)
Changing one line in the G-code
There's one line to be edited on the extracted code (making line 6 a comment)
.png)
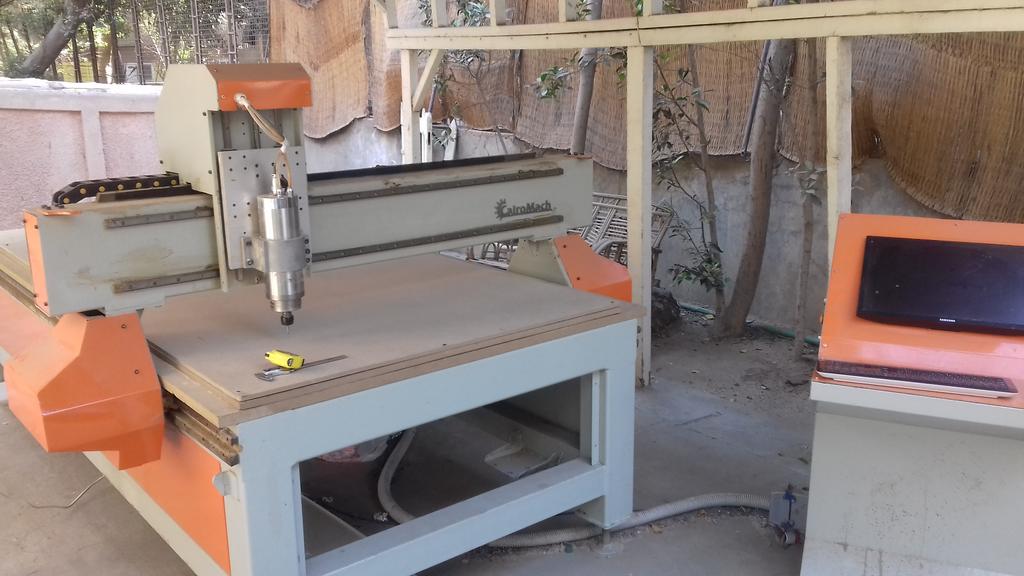
Sending the G-Code to the LinuxCNC
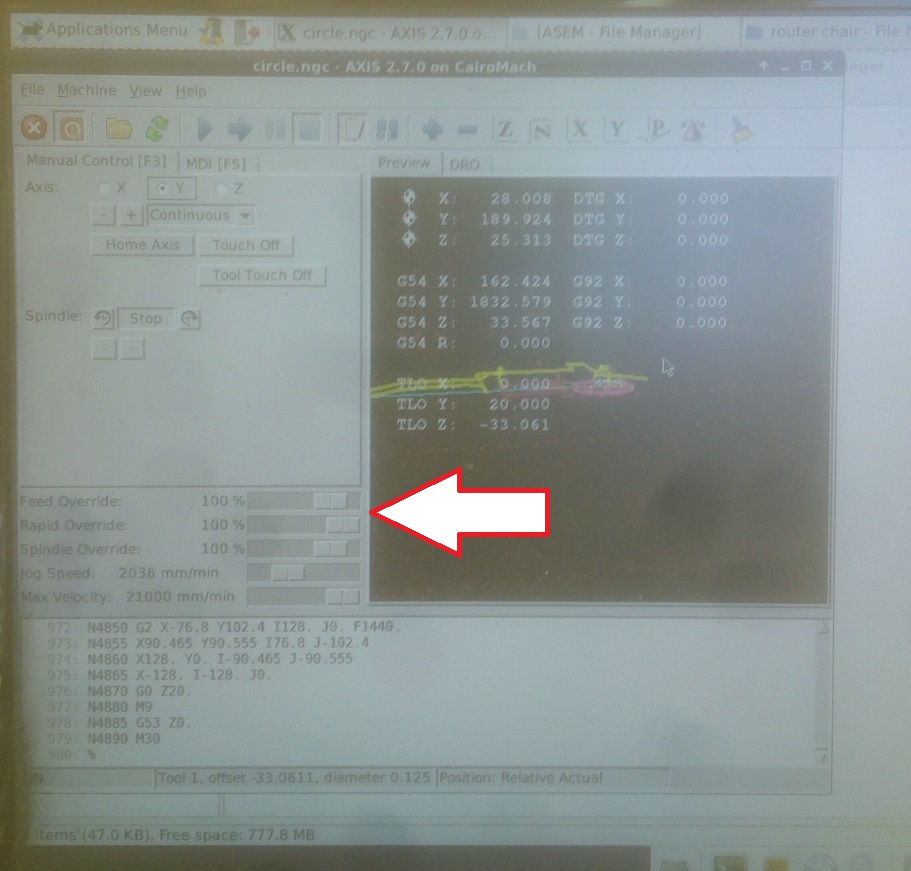
The next step is to send the exported code to the pc which controls the CNC, in my case we are usin LinuxCNC , it's not the most user friendly interface, but it's ok.
the most important thing is to place your part on the suitable place on the sheet.
it can be done using shift+home button for each axis to set the origin of this part.
the arrow in the picture points to the slider where you can adjust feeds and speeds while working if it's a little faster or slower.
Cutting the parts
Picture1
.jpg)
Cutting the parts
Picture2
.jpg)
Cutting the parts
Picture3
.jpg)
Assembling
Picture1
.jpg)
Assembling
Picture2
.jpg)
Assembling
Picture3
.jpg)
Assembling
Picture4
.jpg)
Assembling
Picture5
.jpg)
.jpg)