"
Fifth Assignment
3D Printing & 3D Scanning
This assignment is about:-
- Making a 3D printed part that couldn't be made by any other milling machine.
- Making a 3D scan of something
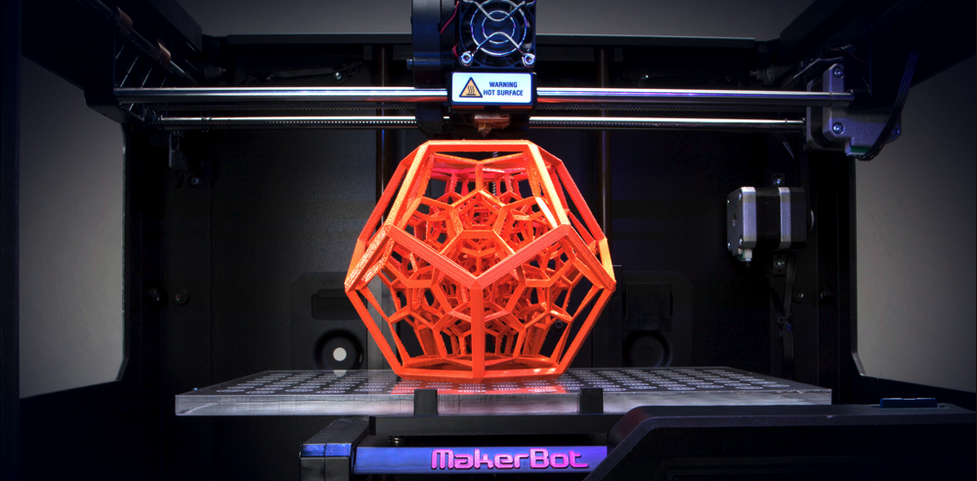
3D Printing
In this task I intended to make a complicated shape with the least contact area with the pad to make it most challenging. So I decided to make a sphere with complex shapes inside without using raft or support.
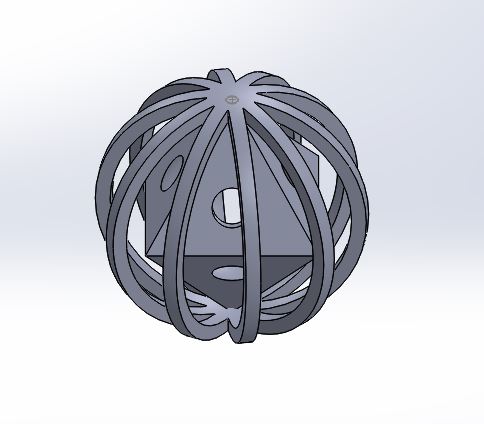
I started to design my shape on SolidWorks.
My part consisted of two sub parts assembled.
The first part was a sphere consisted of a 3D 180 degree arc patterned circularly around the circle's centre.
The second part was a pyramid doubled by mirroring it about it's base and then I excluded a sphere from inside it.

Using The MAkerbot Software
Then I added my two files to the Makerbot software
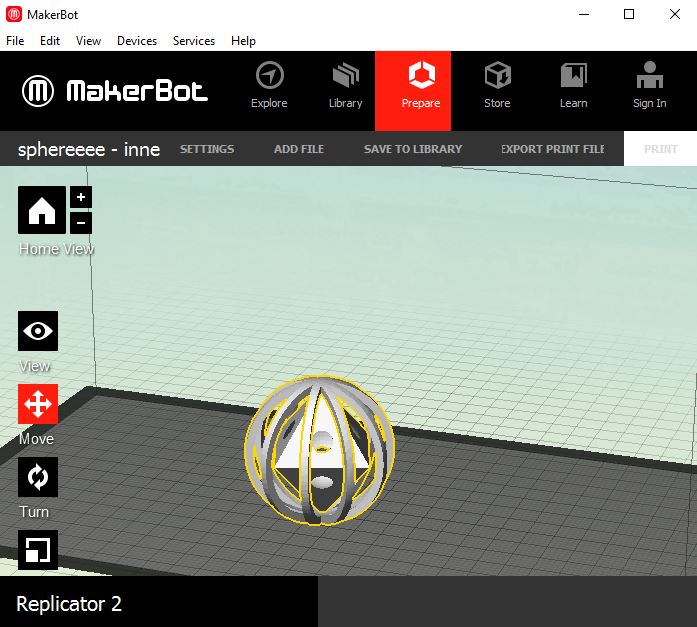
Printing Settings
I selected standard options to print as I wanted to see if the design was good to be printed at standard options or not, I didn't use raft or support.

The final results
the results were good, I am going to make it again on Fine settings to see how beautiful it will be :D

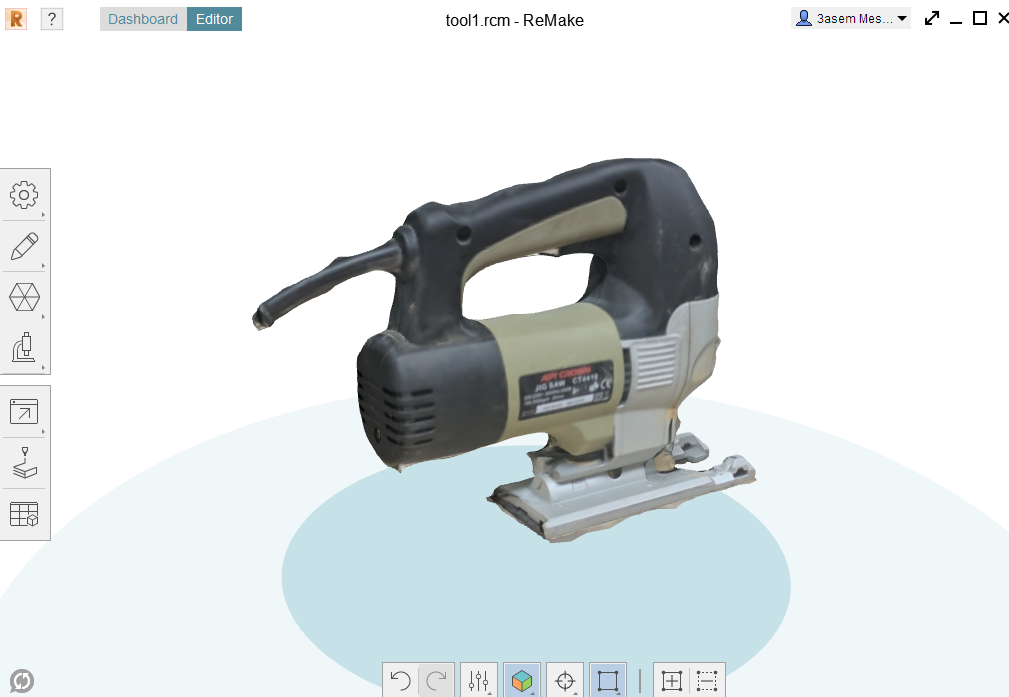
3D Scanning
In this assignment I've used Autodesk Recap to make the 3D model from pictures and Autodesk Remake to finalize the part made by Recap.
I've used student licenses.

Taking pictures
The first step is taking as much pictures as you can with the highest possible quality with different angles.
I've taken 37 picturesw with HD quality.
.png)
Autodesk Recap
The next step is to upload the photos to autodesk recap and wait for them to be processed online.

Check your design
you have to check the output of the previous process and see if you like it and if you need to take more pictures.
I think this quality was OK.
.png)
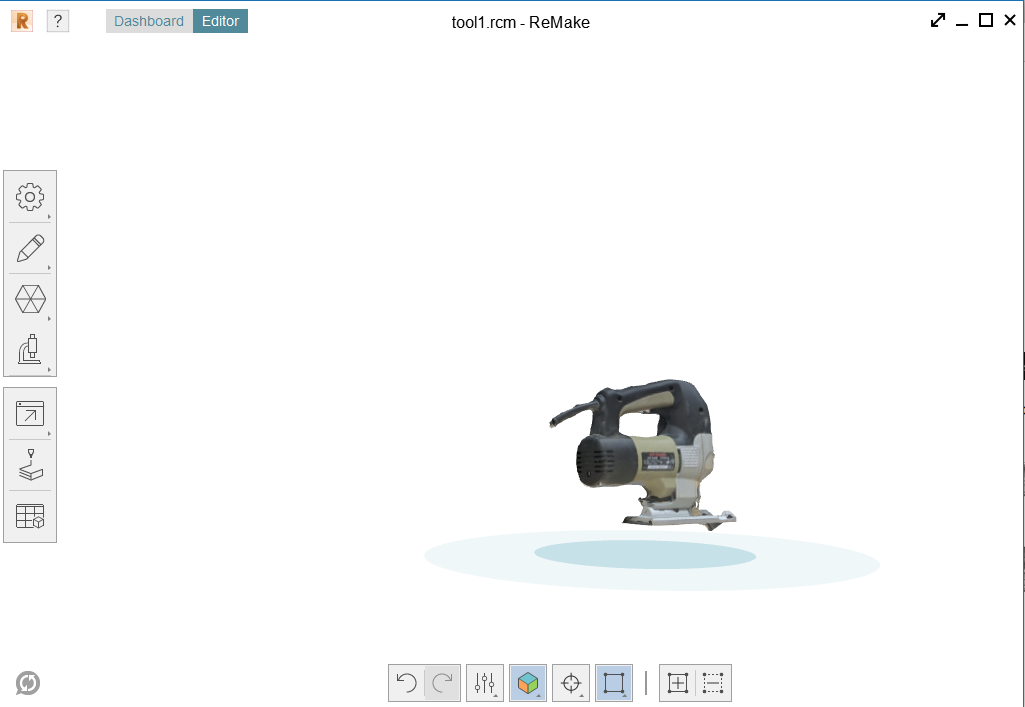
Using Autodesk Remake
we need to remove the excess part and refine the 3d scan, we can get it done by Autodesk Remake. once we got it downloaded and installed we can find the project we made on recap available on A360 drive as shown here.

Removing the excess bodies
after getting the project downloaded and opened we can remove the undesired parts by selecting it so easily by the mouse then pressing delete until having only the part we need.
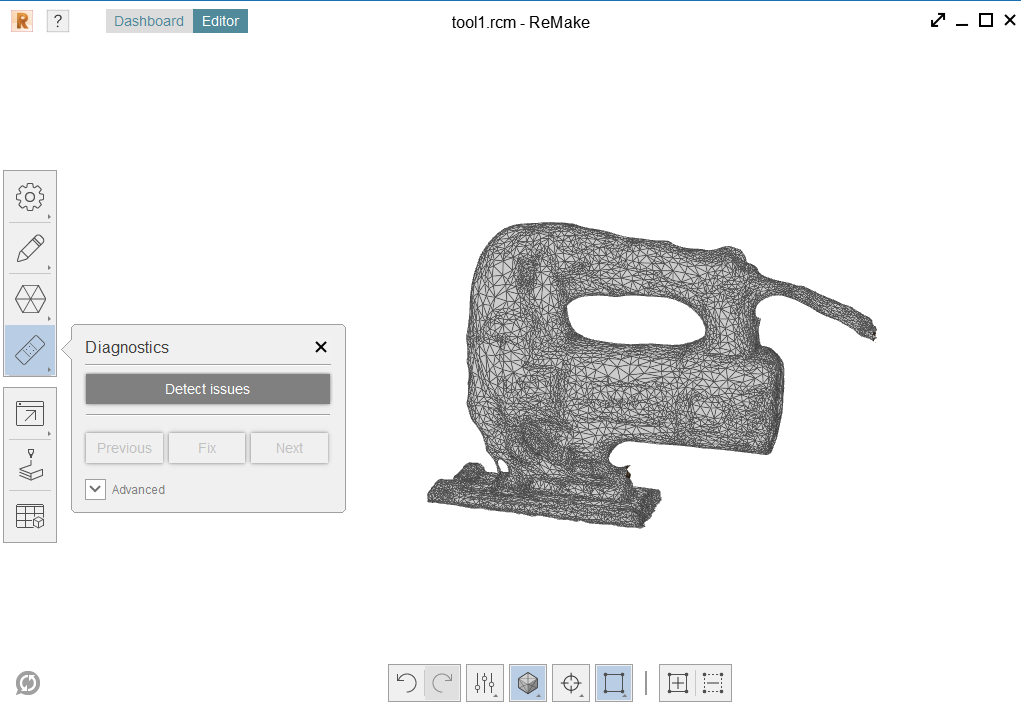
Running the diagnostics
to get the holes filled or smoothed.
Exporting the obj or STL
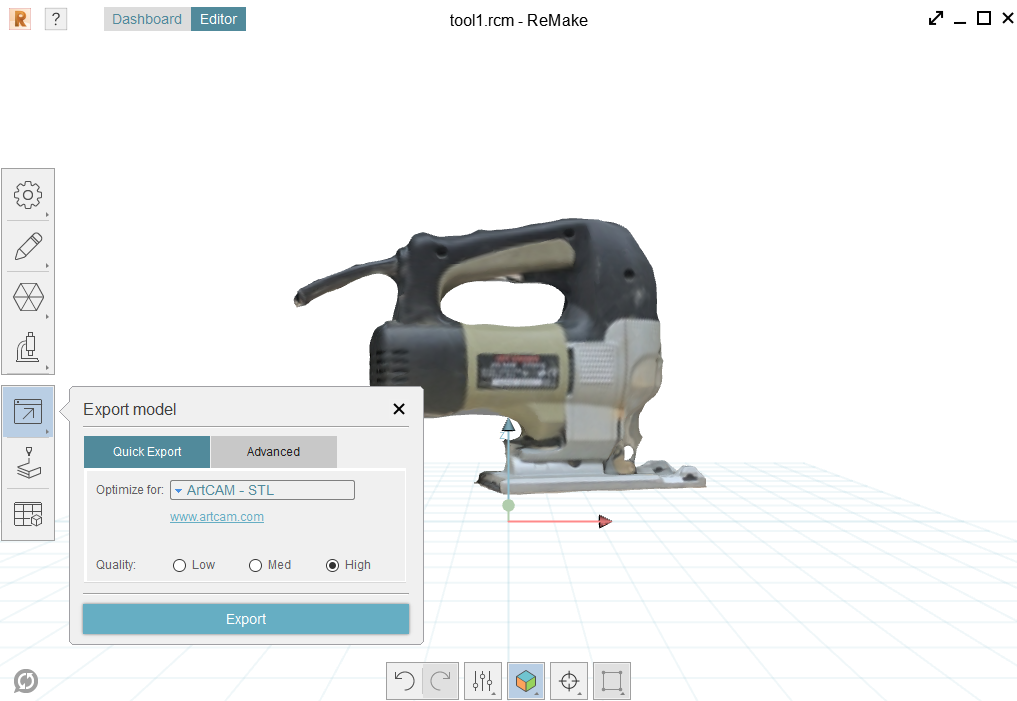
The final product of the 3d scanning