14th Assignment
Composites
This assignment is about Reading the MSDS and TDS for the resings I am using, and Designing and making a 3D mould (~ft2), and produce a fibe composite part in it.
"
Vaccum Bagging
in the next steps I will explain how vaccum bagging made properly and after that I will try to make something much more simple as I don't have the materials needed for vacuum bagging nearby.
and it wouldn't come easily.
Vacuum bagging (or vacuum bag laminating) is a clamping method that uses atmospheric
pressure to hold the adhesive or resin-coated components of a lamination in place until the
adhesive cures.

Materials Needed For Vacuum bagging
The vacuum bagging system consists of the airtight clamping envelope and a method for removing extra resin and air from the envelope until the epoxy adhesive cures.
these materials are needed to make this process properly.
the essential materials are:-
1-Release fabric: Release fabric is a smooth woven fabric that will not bond to epoxy. It is used to separate
the breather and the laminate.
2-perforated film: A perforated plastic film may be used in conjunction with the release fabric. This film helps
hold the resin in the laminate when high vacuum pressure is used with slow curing resin systems or thin laminates.
3-Breather Material:A breather (or bleeder) cloth allows air from all parts of the envelope to be drawn to a port
or manifold by providing a slight air space between the bag and the laminate.
4-Vacuum bag:The vacuum bag, in most cases, forms half of the airtight envelope around the laminate.
5-Mastic sealant: Mastic is used to provide a continuous airtight seal between the bag and the mold around
the perimeter of the mold. The mastic may also be used to seal the point where the manifold
enters the bag and to repair leaks in the bag or plumbing.
6-Plumbing System: The plumbing system provides an airtight passage from the vacuum envelope to the vacuum pump,
allowing the pump to remove air from and reduce air pressure in the envelope.
7-Mold Release:Mold release is essential for preventing the epoxy from sticking to the mold when laminating a part.
8-The Vaccum Pump.
.png)
in this link I've found a really useful starter kit for vacuum bagging contains the main requirements for a perfect vacuum bagging.
Steps of perfect Vacuum bagging
I've seen a really useful video HERE.
I will describe briefly the steps needed to make a perfect composite using vacuum bagging.
1-Prepare the mold with release agent; not to make the fibre stick to the mold, instead of this I've used Nylon Stretch.
2-Apply the mastic sealant (Gum Tape) at the perimeter of the mold.
3-put the layers of fibres into the mold.
4-tape the fibres to reinforce them into the mold.
5-add a layer of release fabric(peel-ply).
6-add a layer of Breather material (infusion mesh).
7-add the vacuum bagging layer(make it large) by attaching it to the gum tape.
8-connect the plumbing system (Make sure you are putting a trap not to damage the vacuum pump)
9-Check if there's any leaks in the bag or it's sealing and evacuate it.
10-after making sure that everything is ok, it's time to mix the resin and the hardener.
11-connect the vacuum to the bag from one side to make the resin pulled from the other side by the plumbing system.
12-wait until the epoxy filled the fibres and passed to the trap.
13-turn off the vacuum and close the both openings in the vacuum bag not to let the air in or the epoxy out.
14-wait until it cures then remove all these layers.
15-remove the excess fabrics.
.png) This picture is from
This picture is from The needed materials (market names)
in this link I've found a really useful starter kit for vacuum bagging.
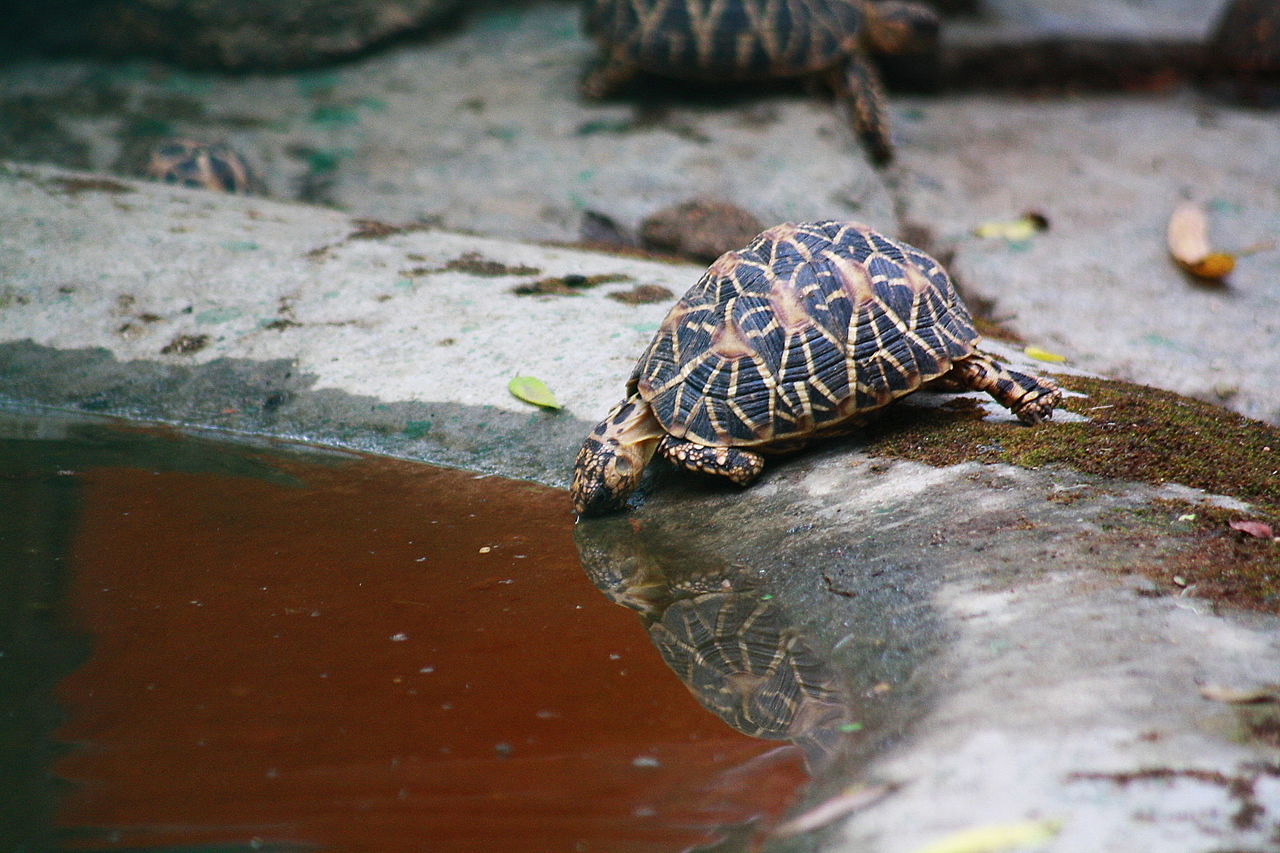
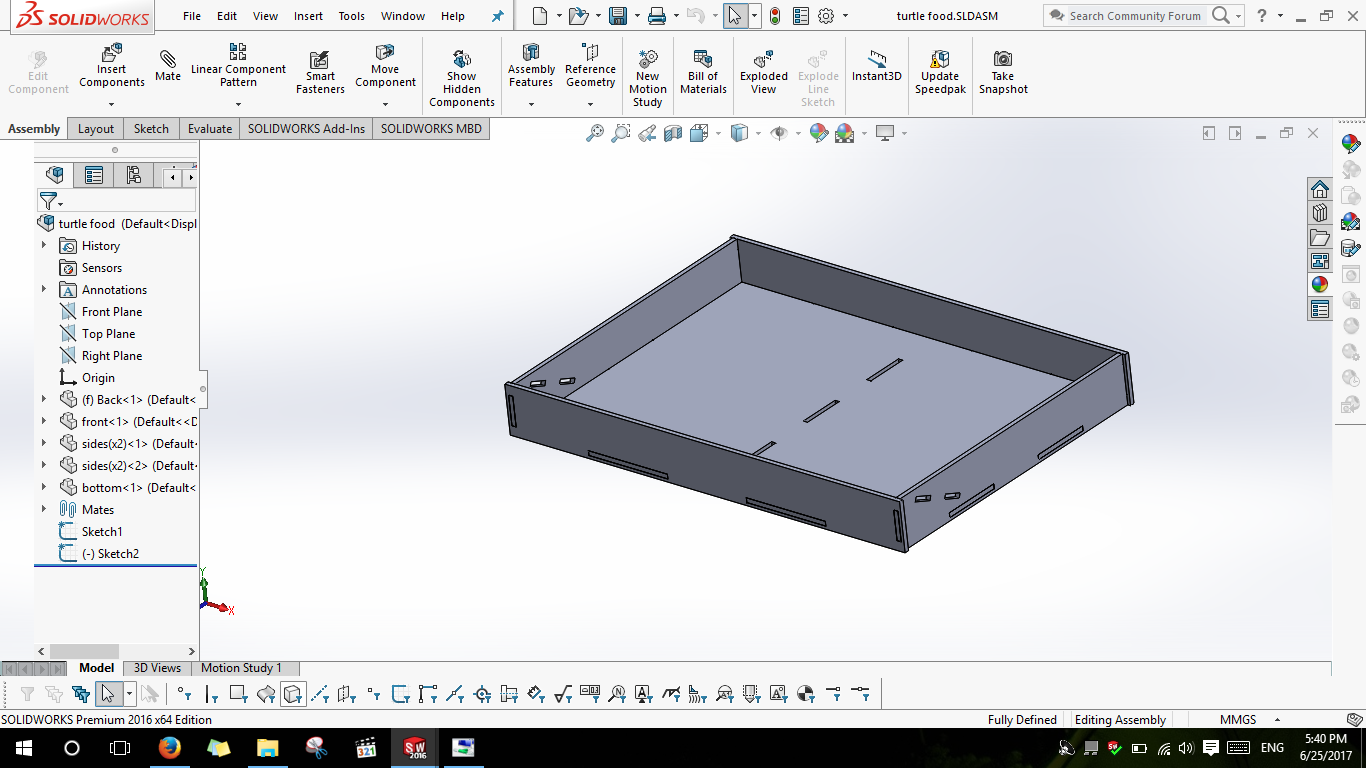
Turtle's food and water plate
In this assignment I wanted to make a plate for the turtles to put water and food in it the most important features in that plate that it should be under the level of the turtle while eating to make it easier for it to eat and drink.
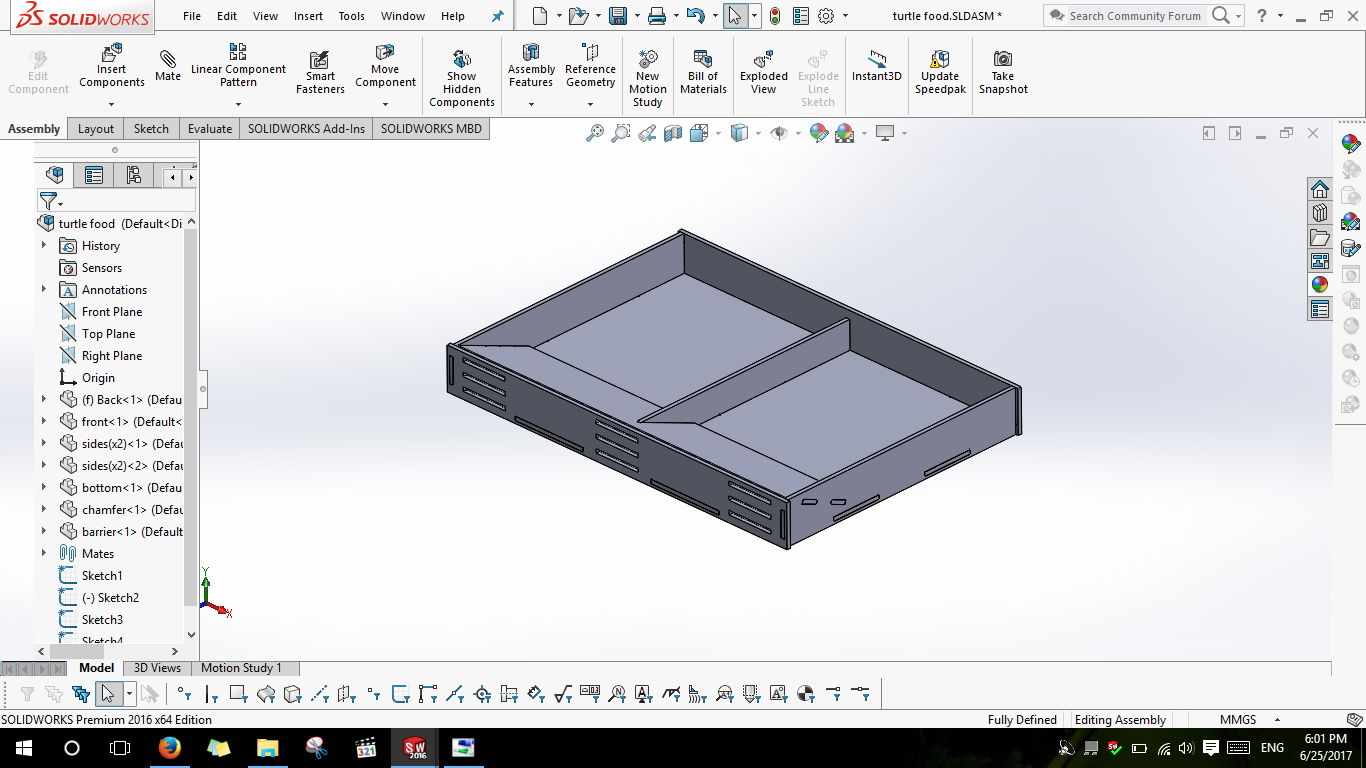
And it also should have two divisions, one for water and another for food.
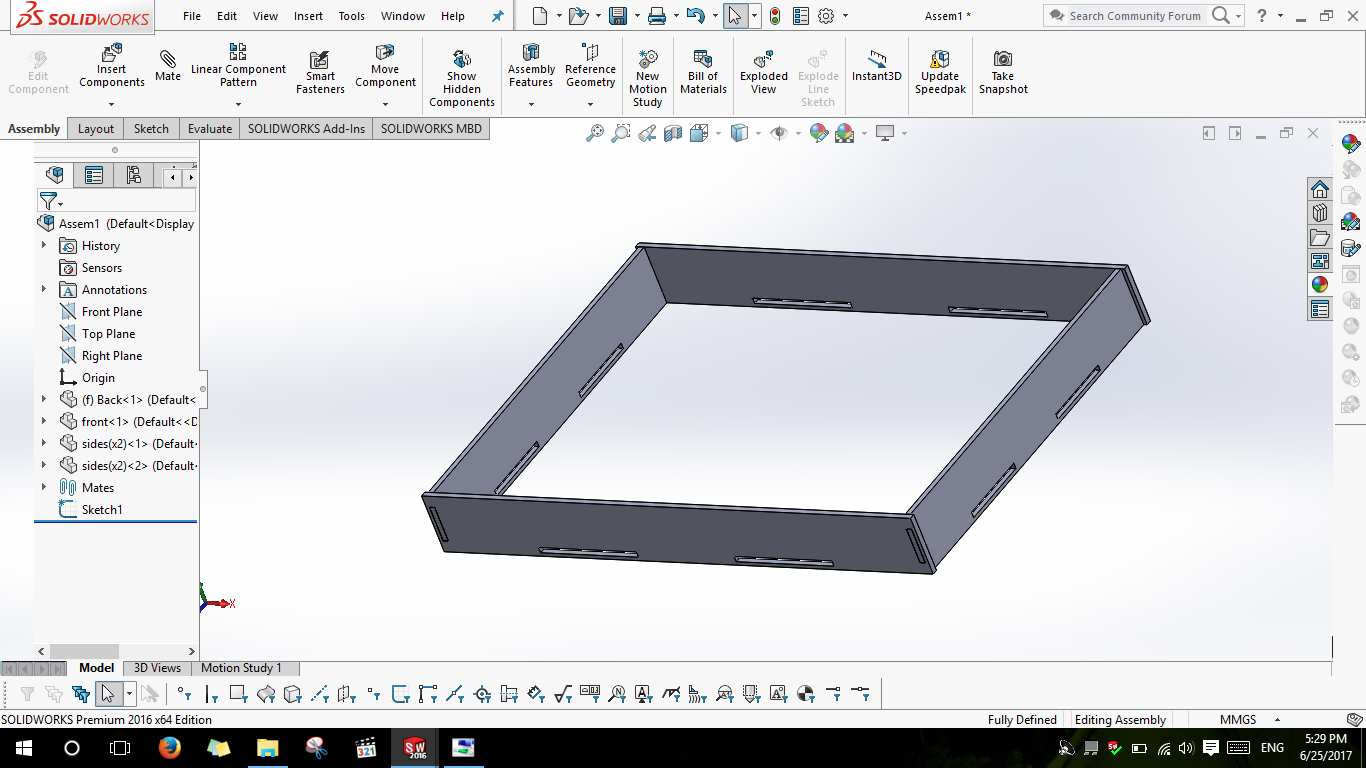
Designing the Mould
Step 1
Step 2
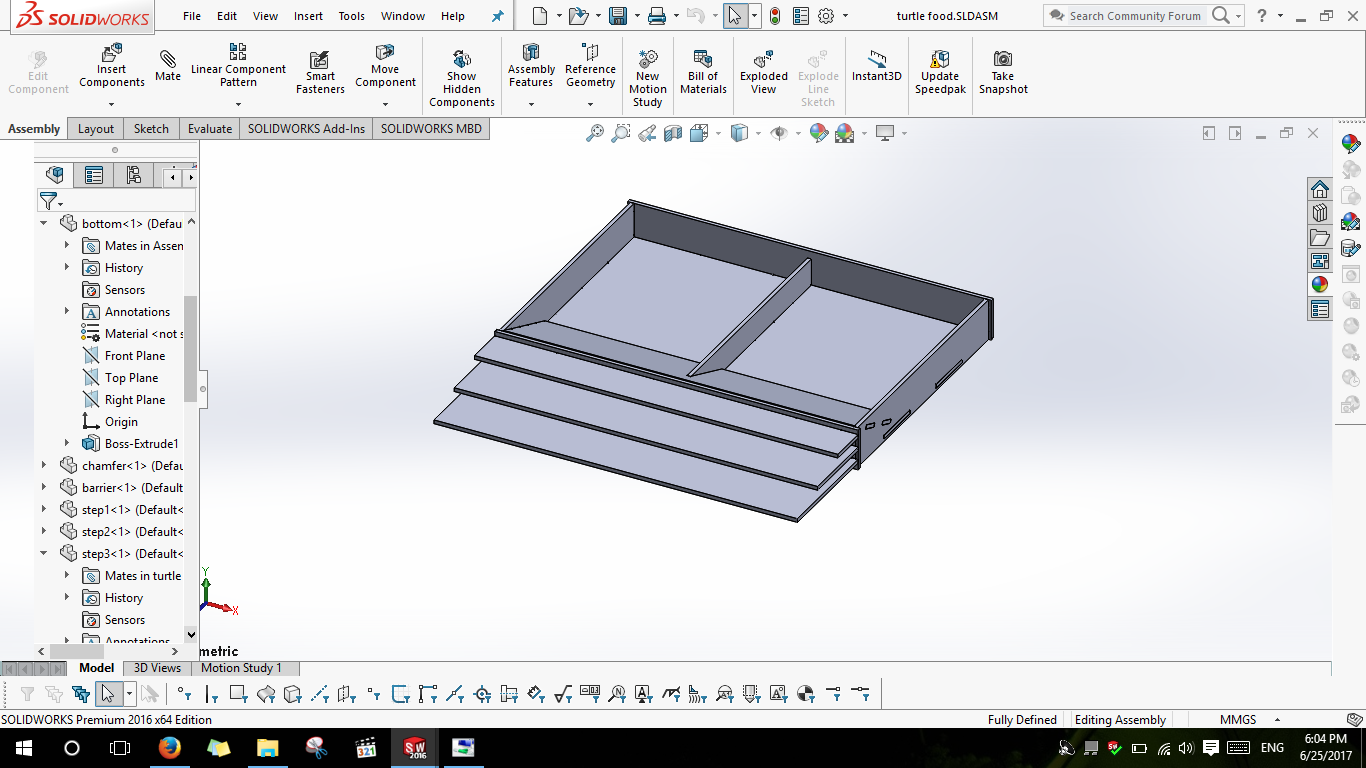
Step 3
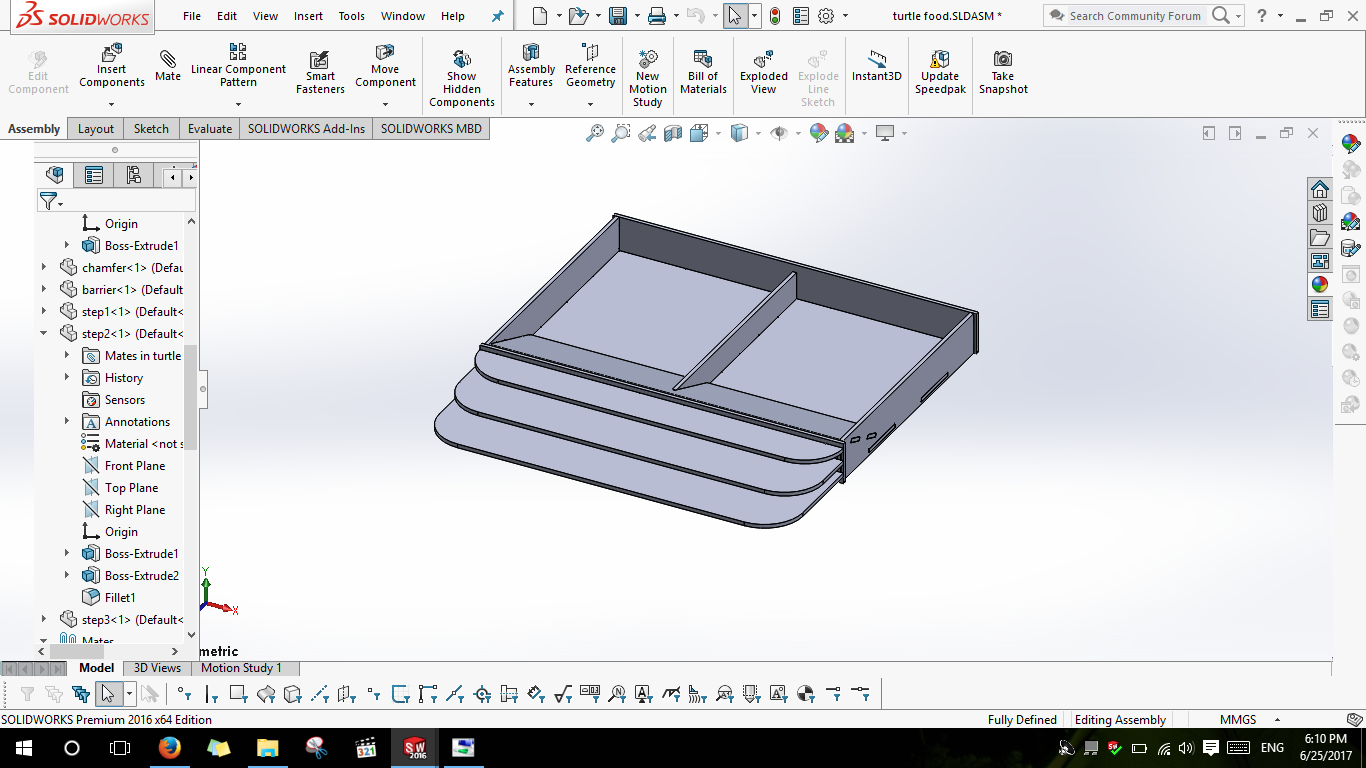
Step 4
Final step of the Mould Design.
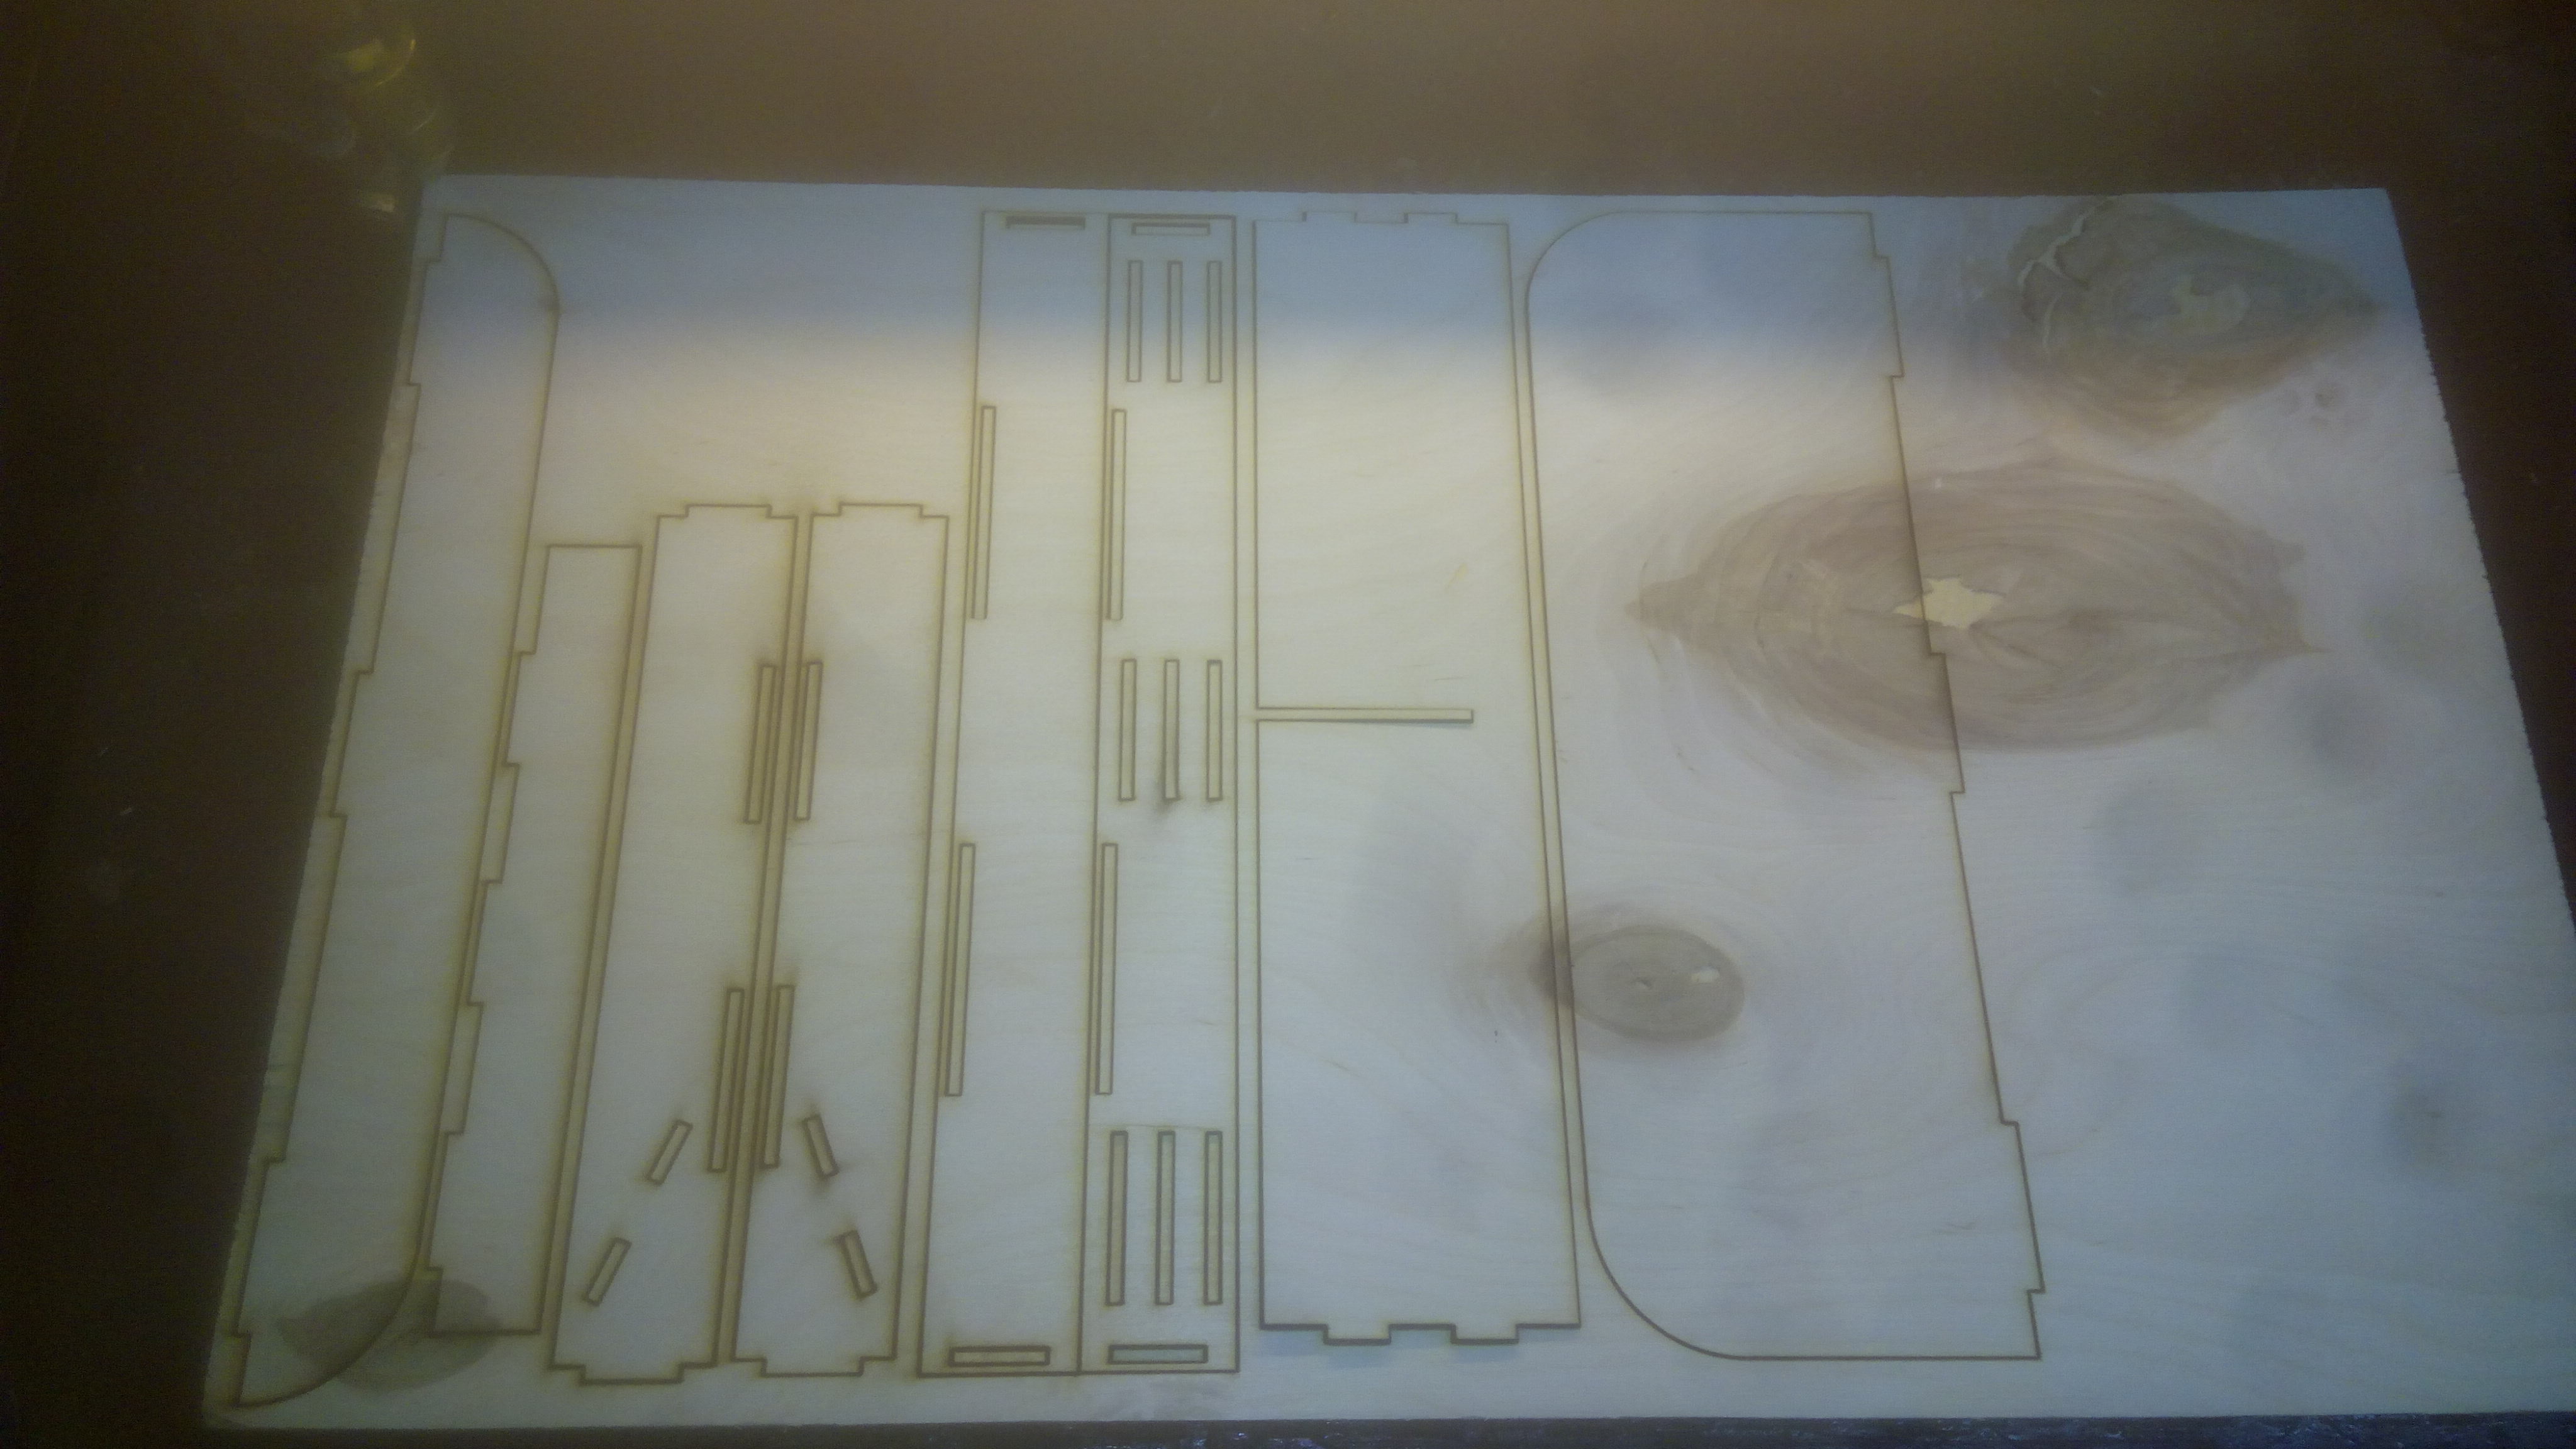
Preparing the Mould's files to be cutted
Using RDworks

Cutting the mould parts
The mould parts are cutted on Morn laser cutter.
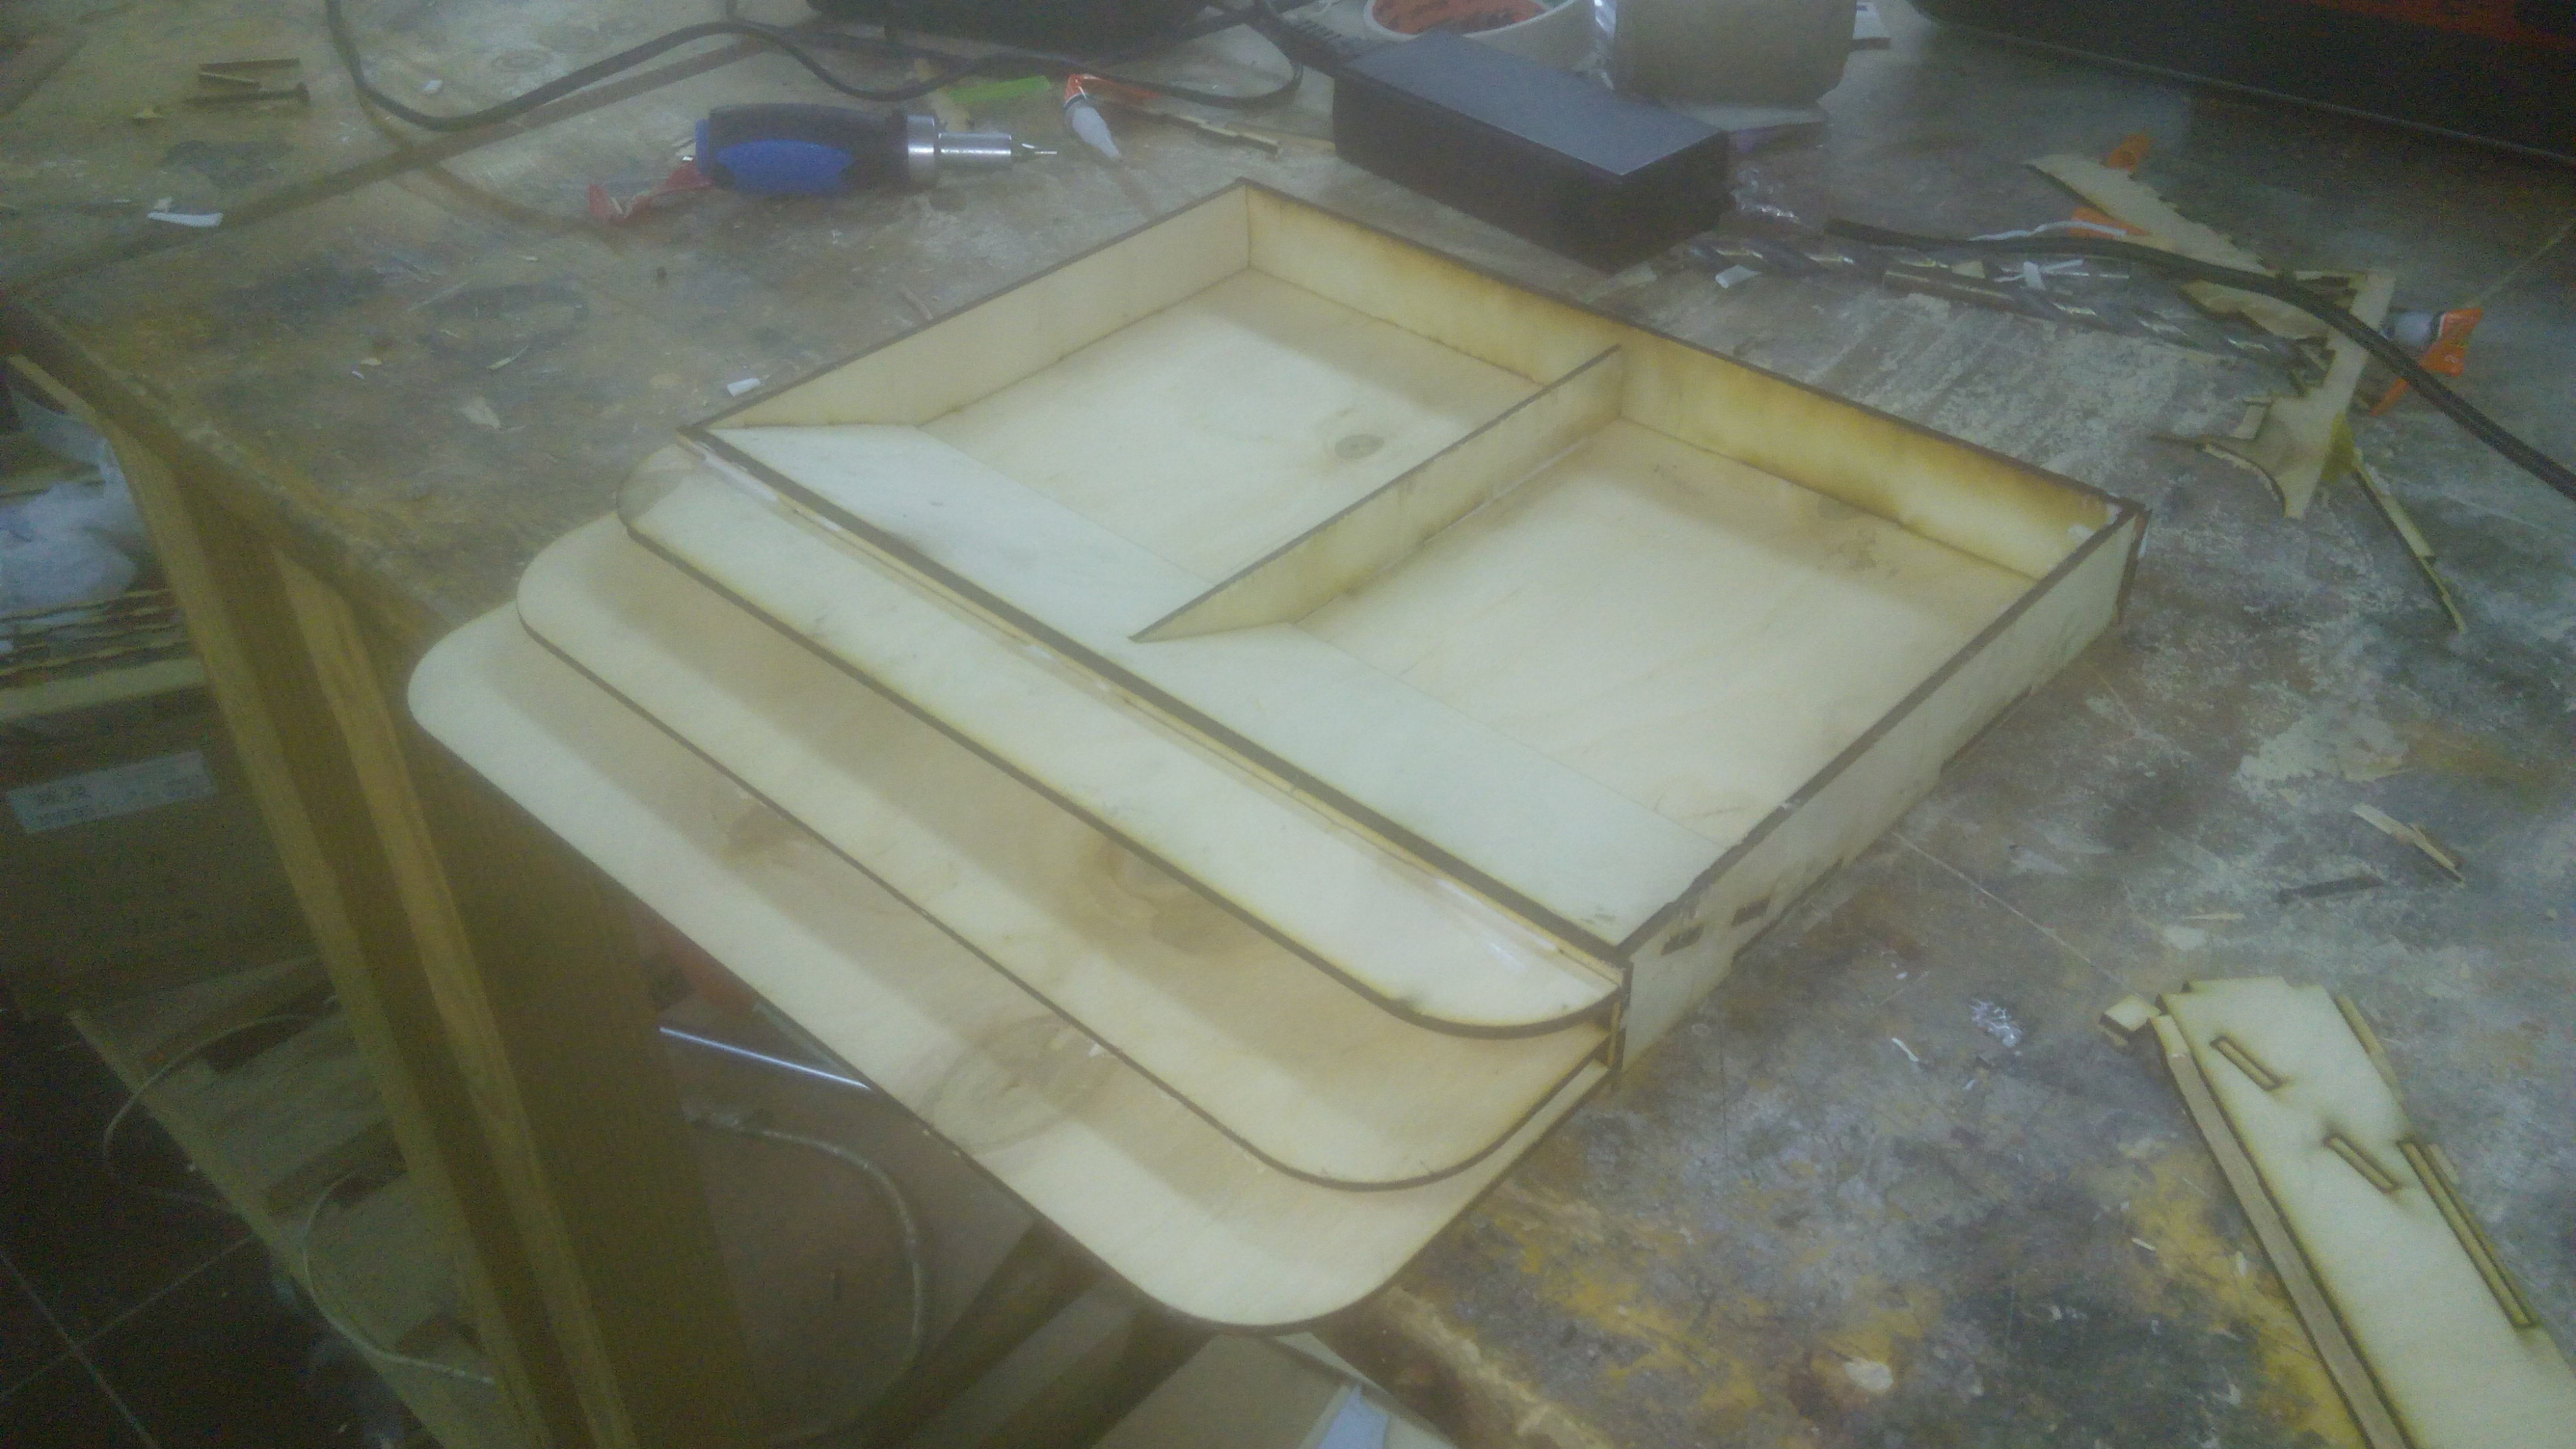
Assembling the mould
Here it's how it looked after assembling.
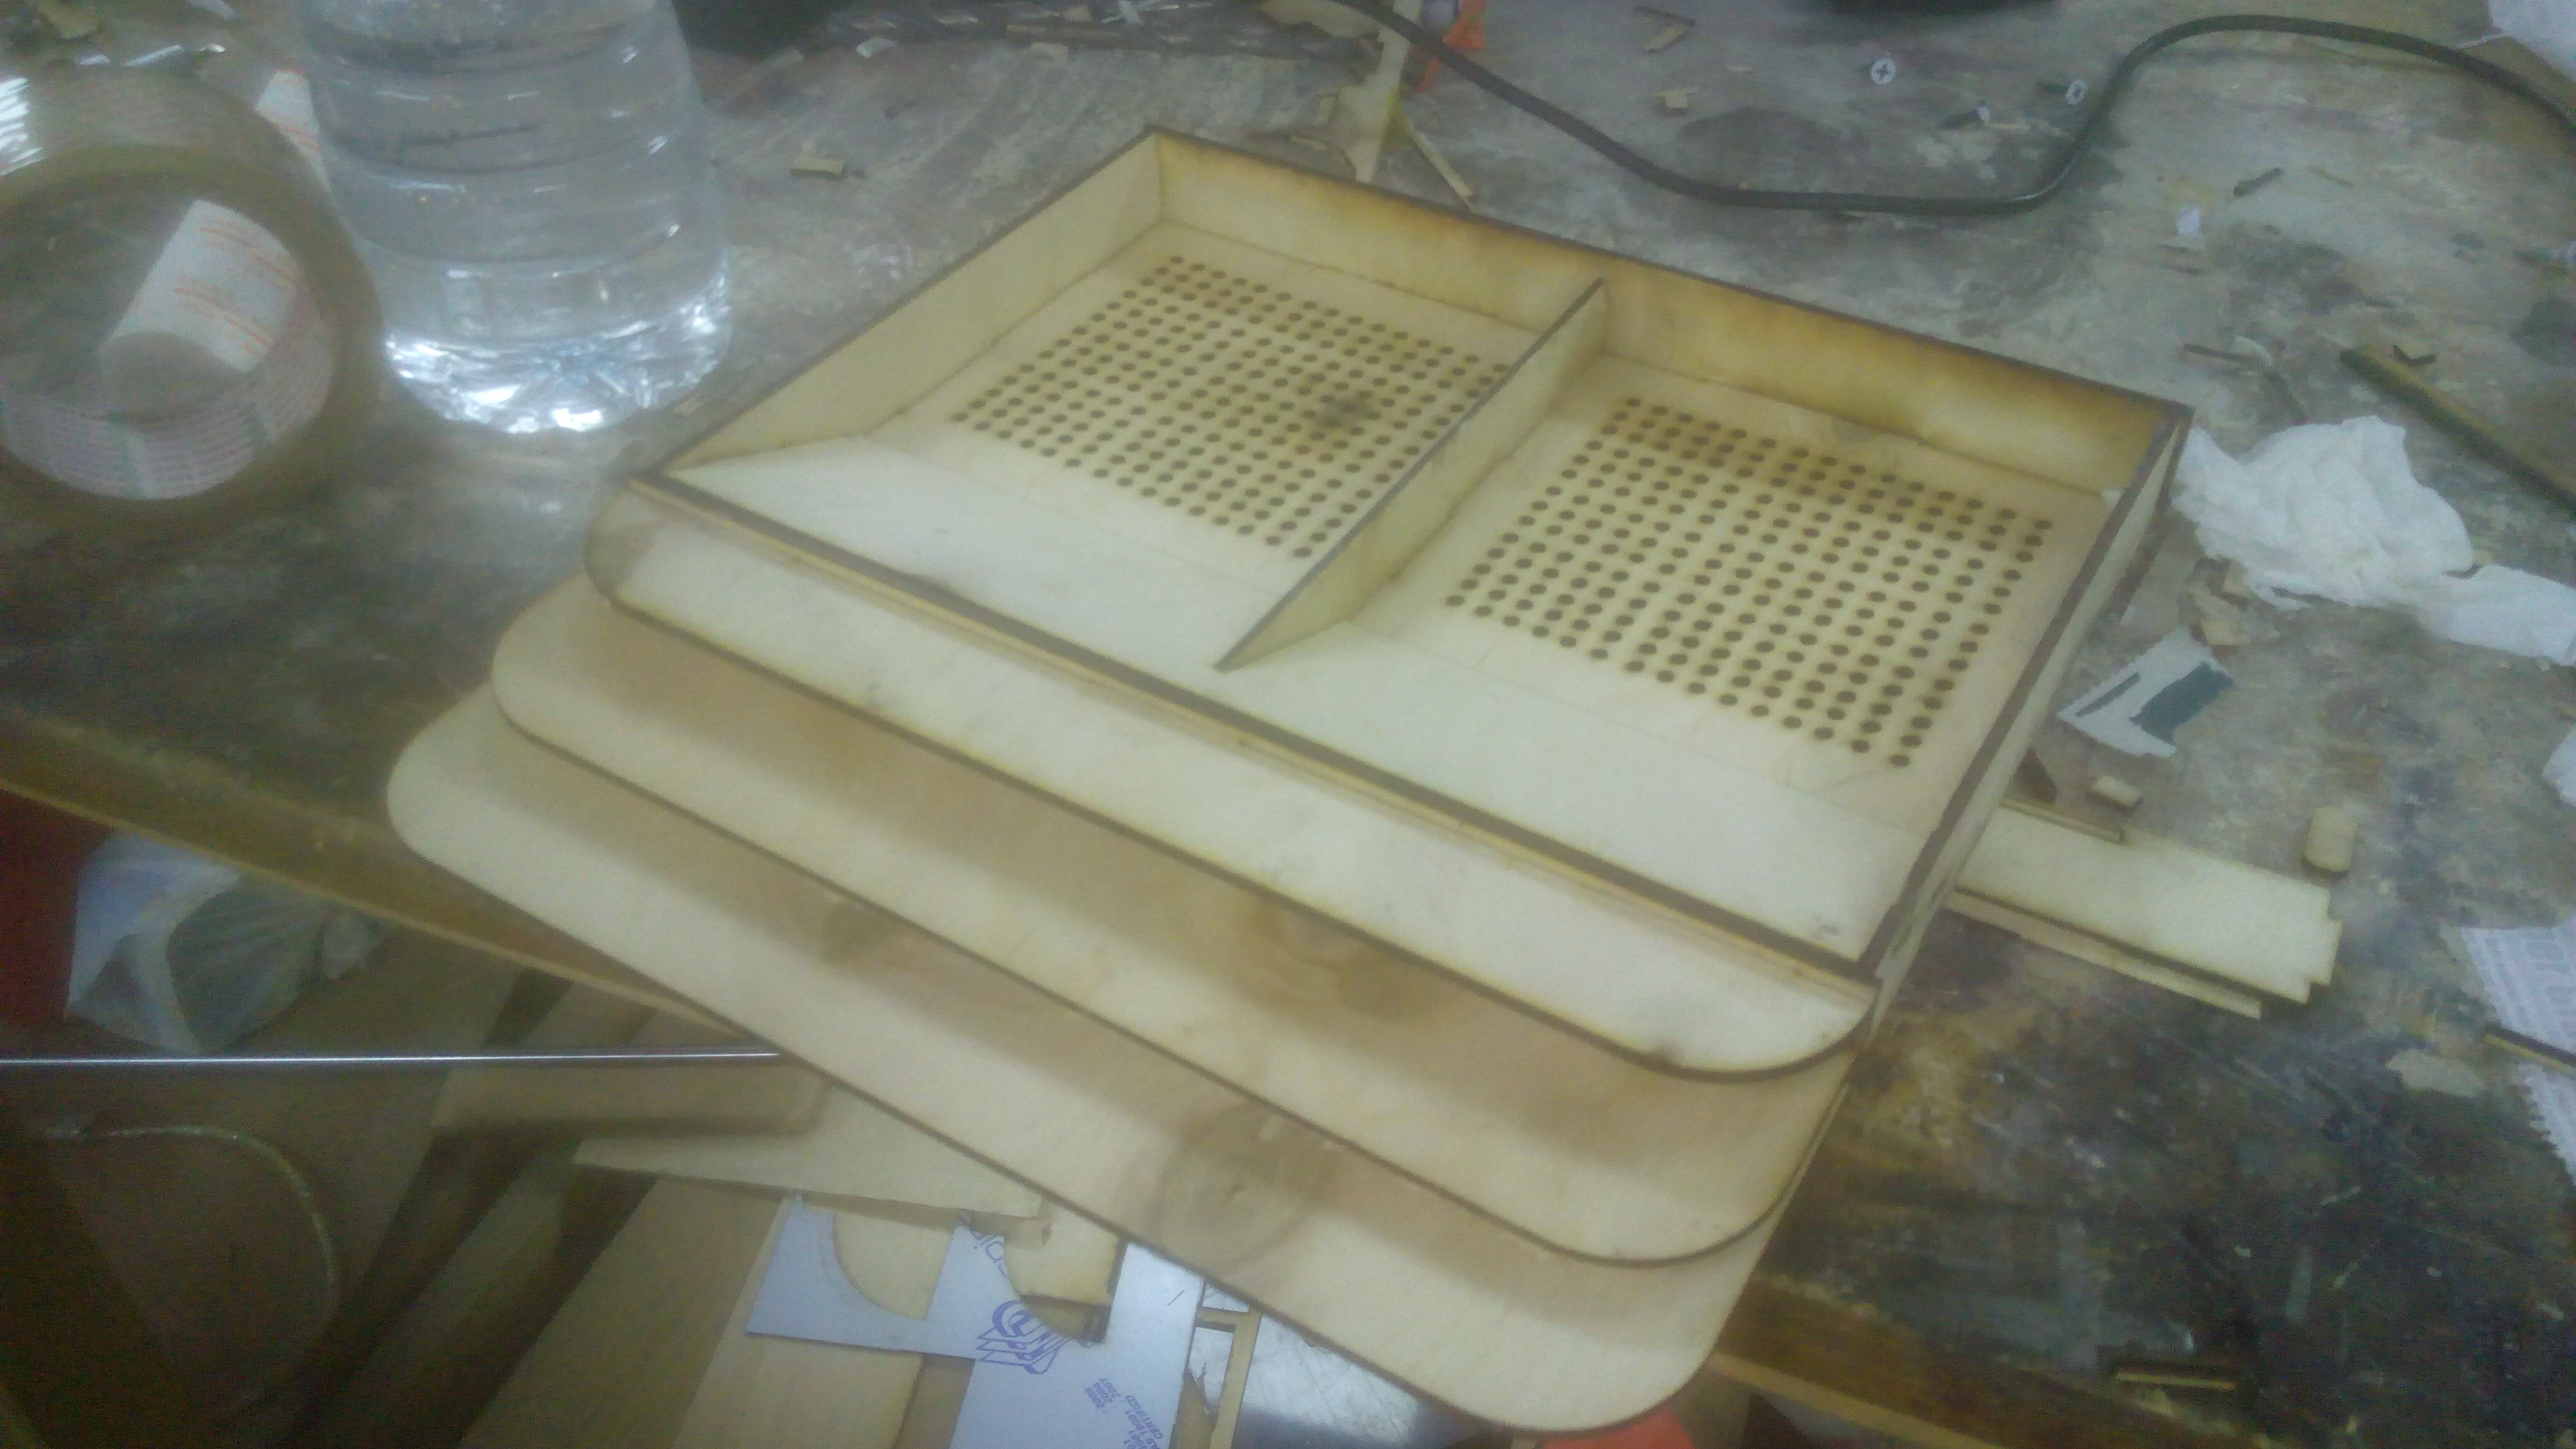
Adding some holes for better results when vacuum bagging.
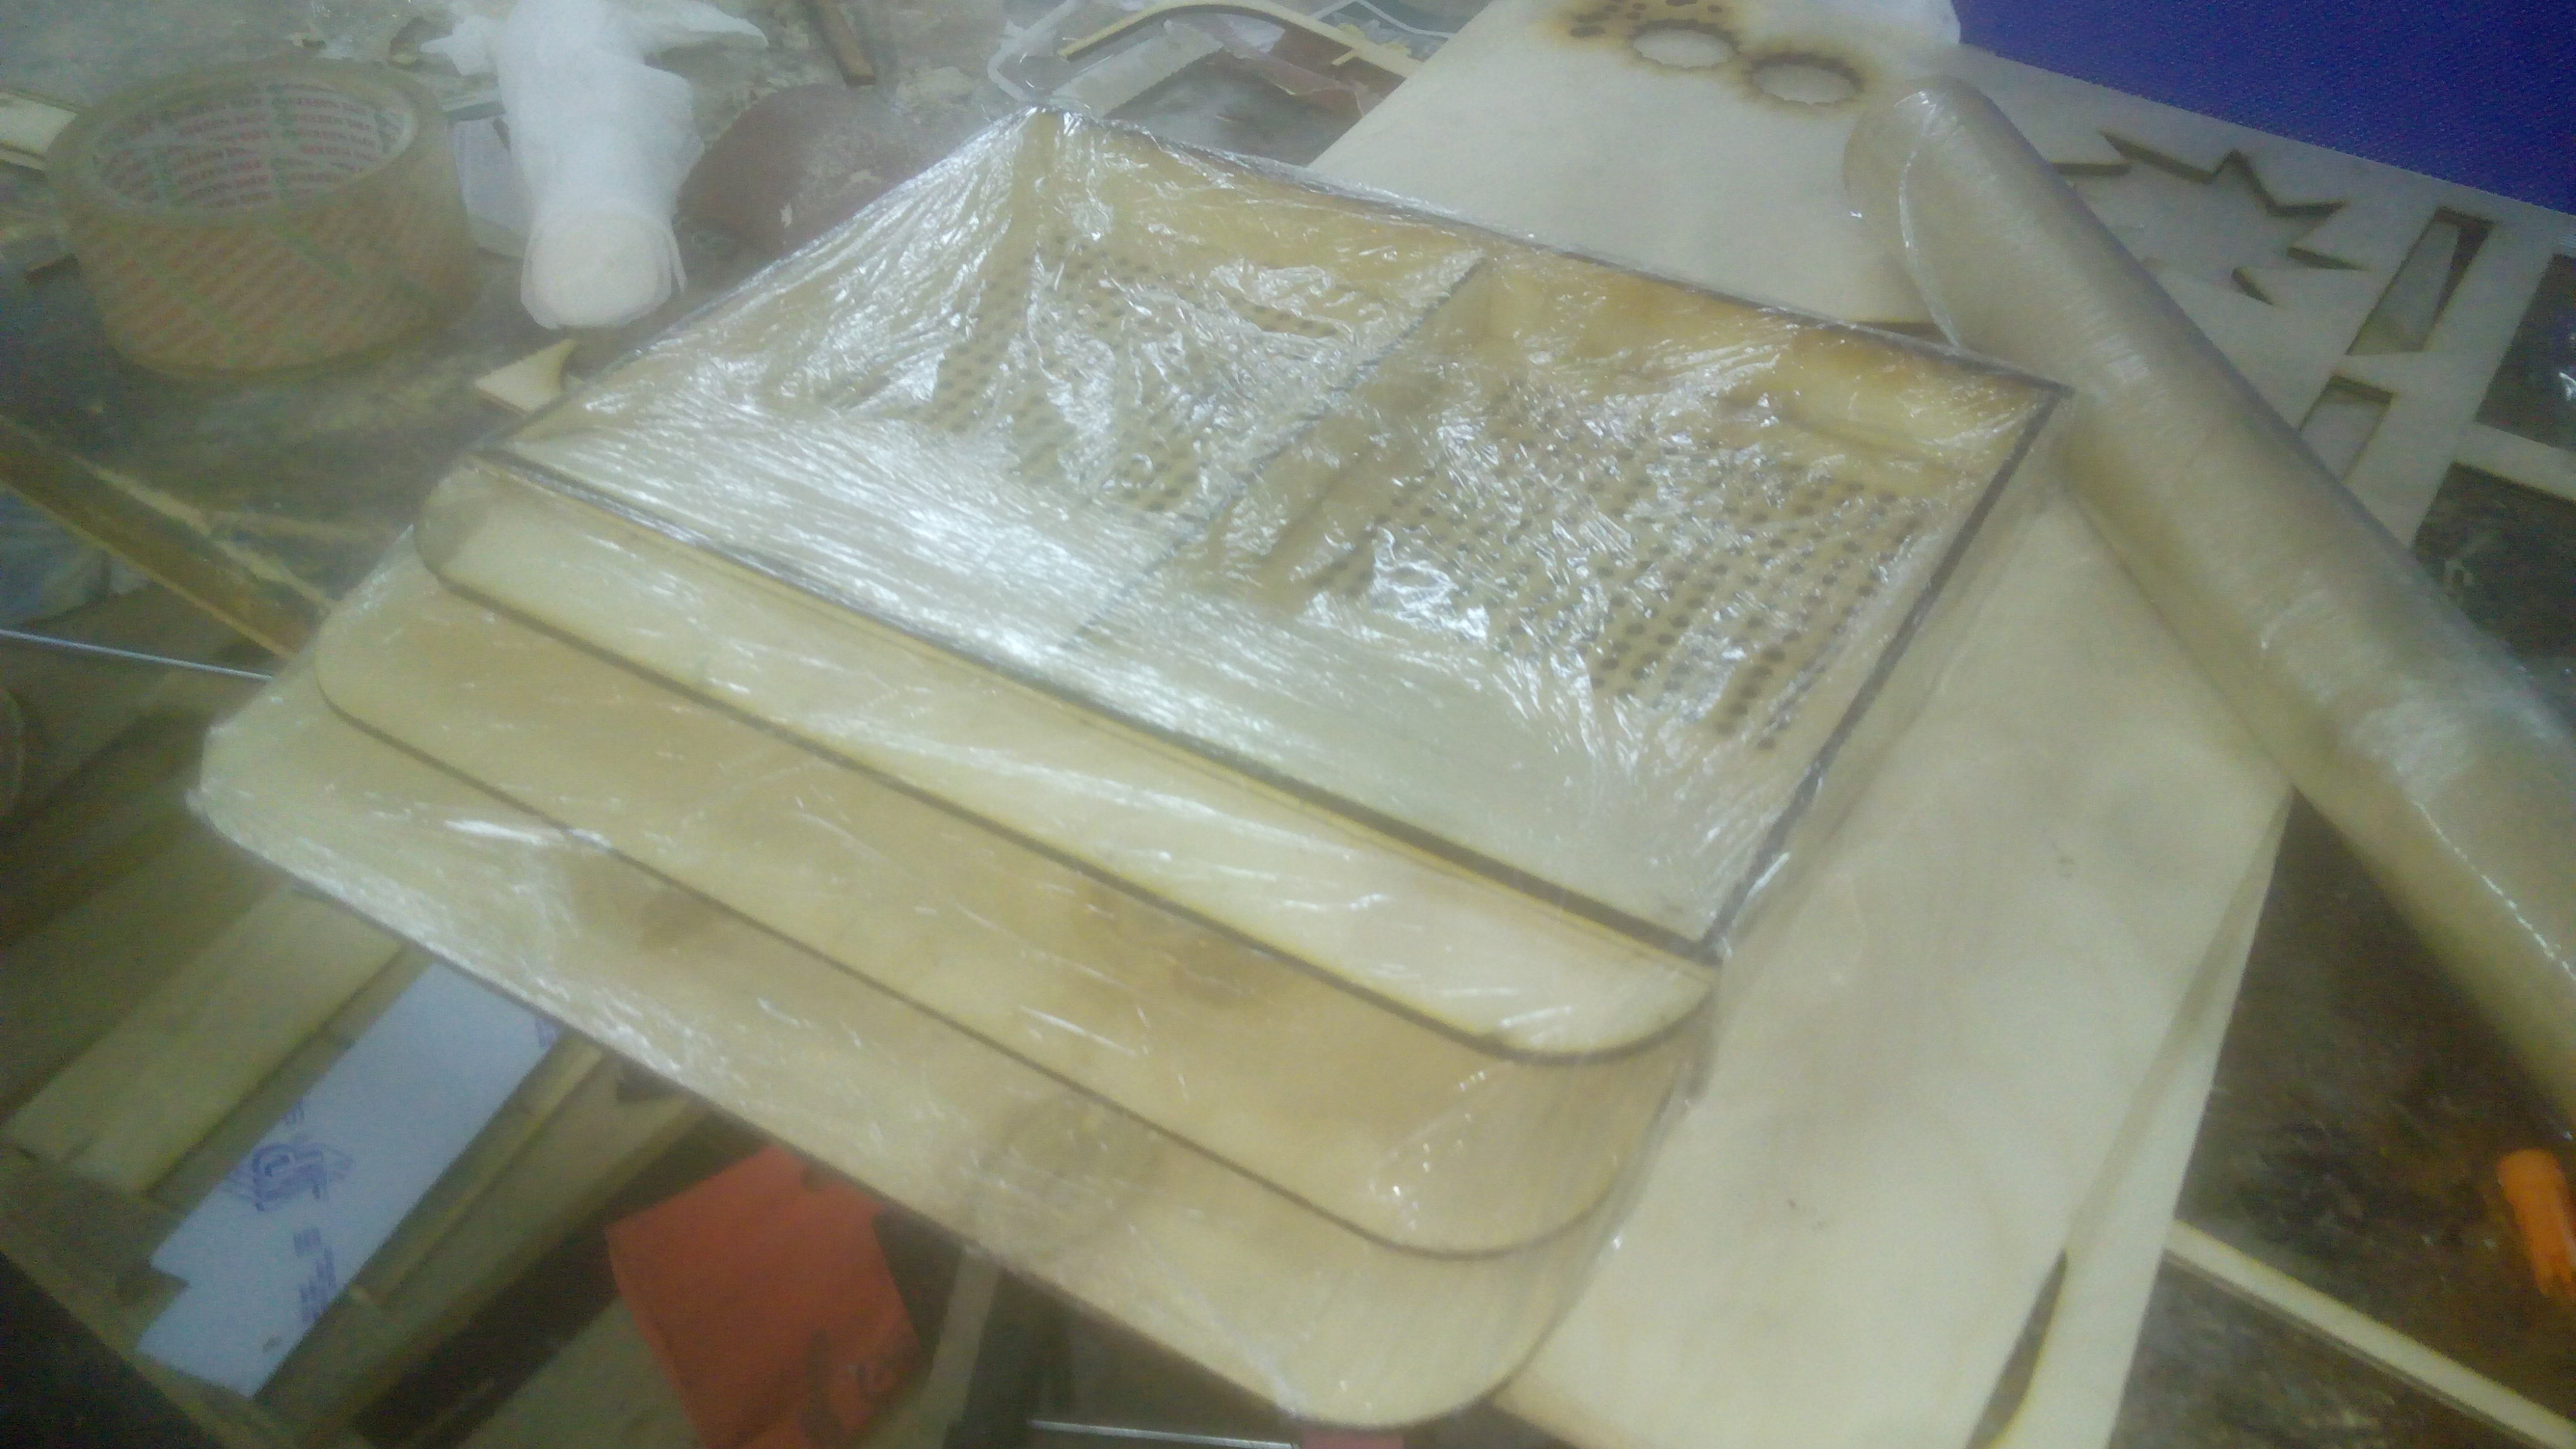
Adding Plastic wrap
we have to use something not to make the resin stick to our mould, the best and cheapest way to do so is using the plastic wrap it can be found in any supermarket.
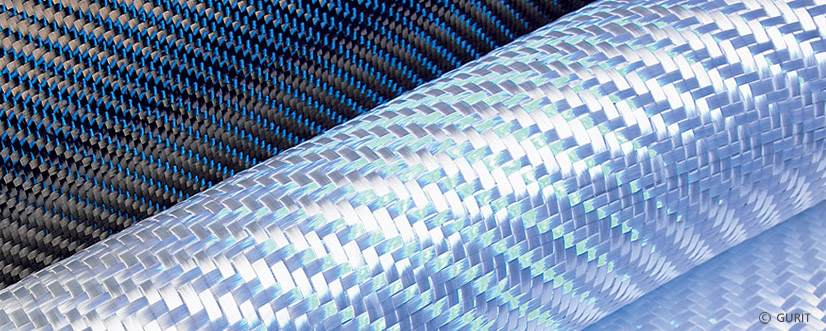
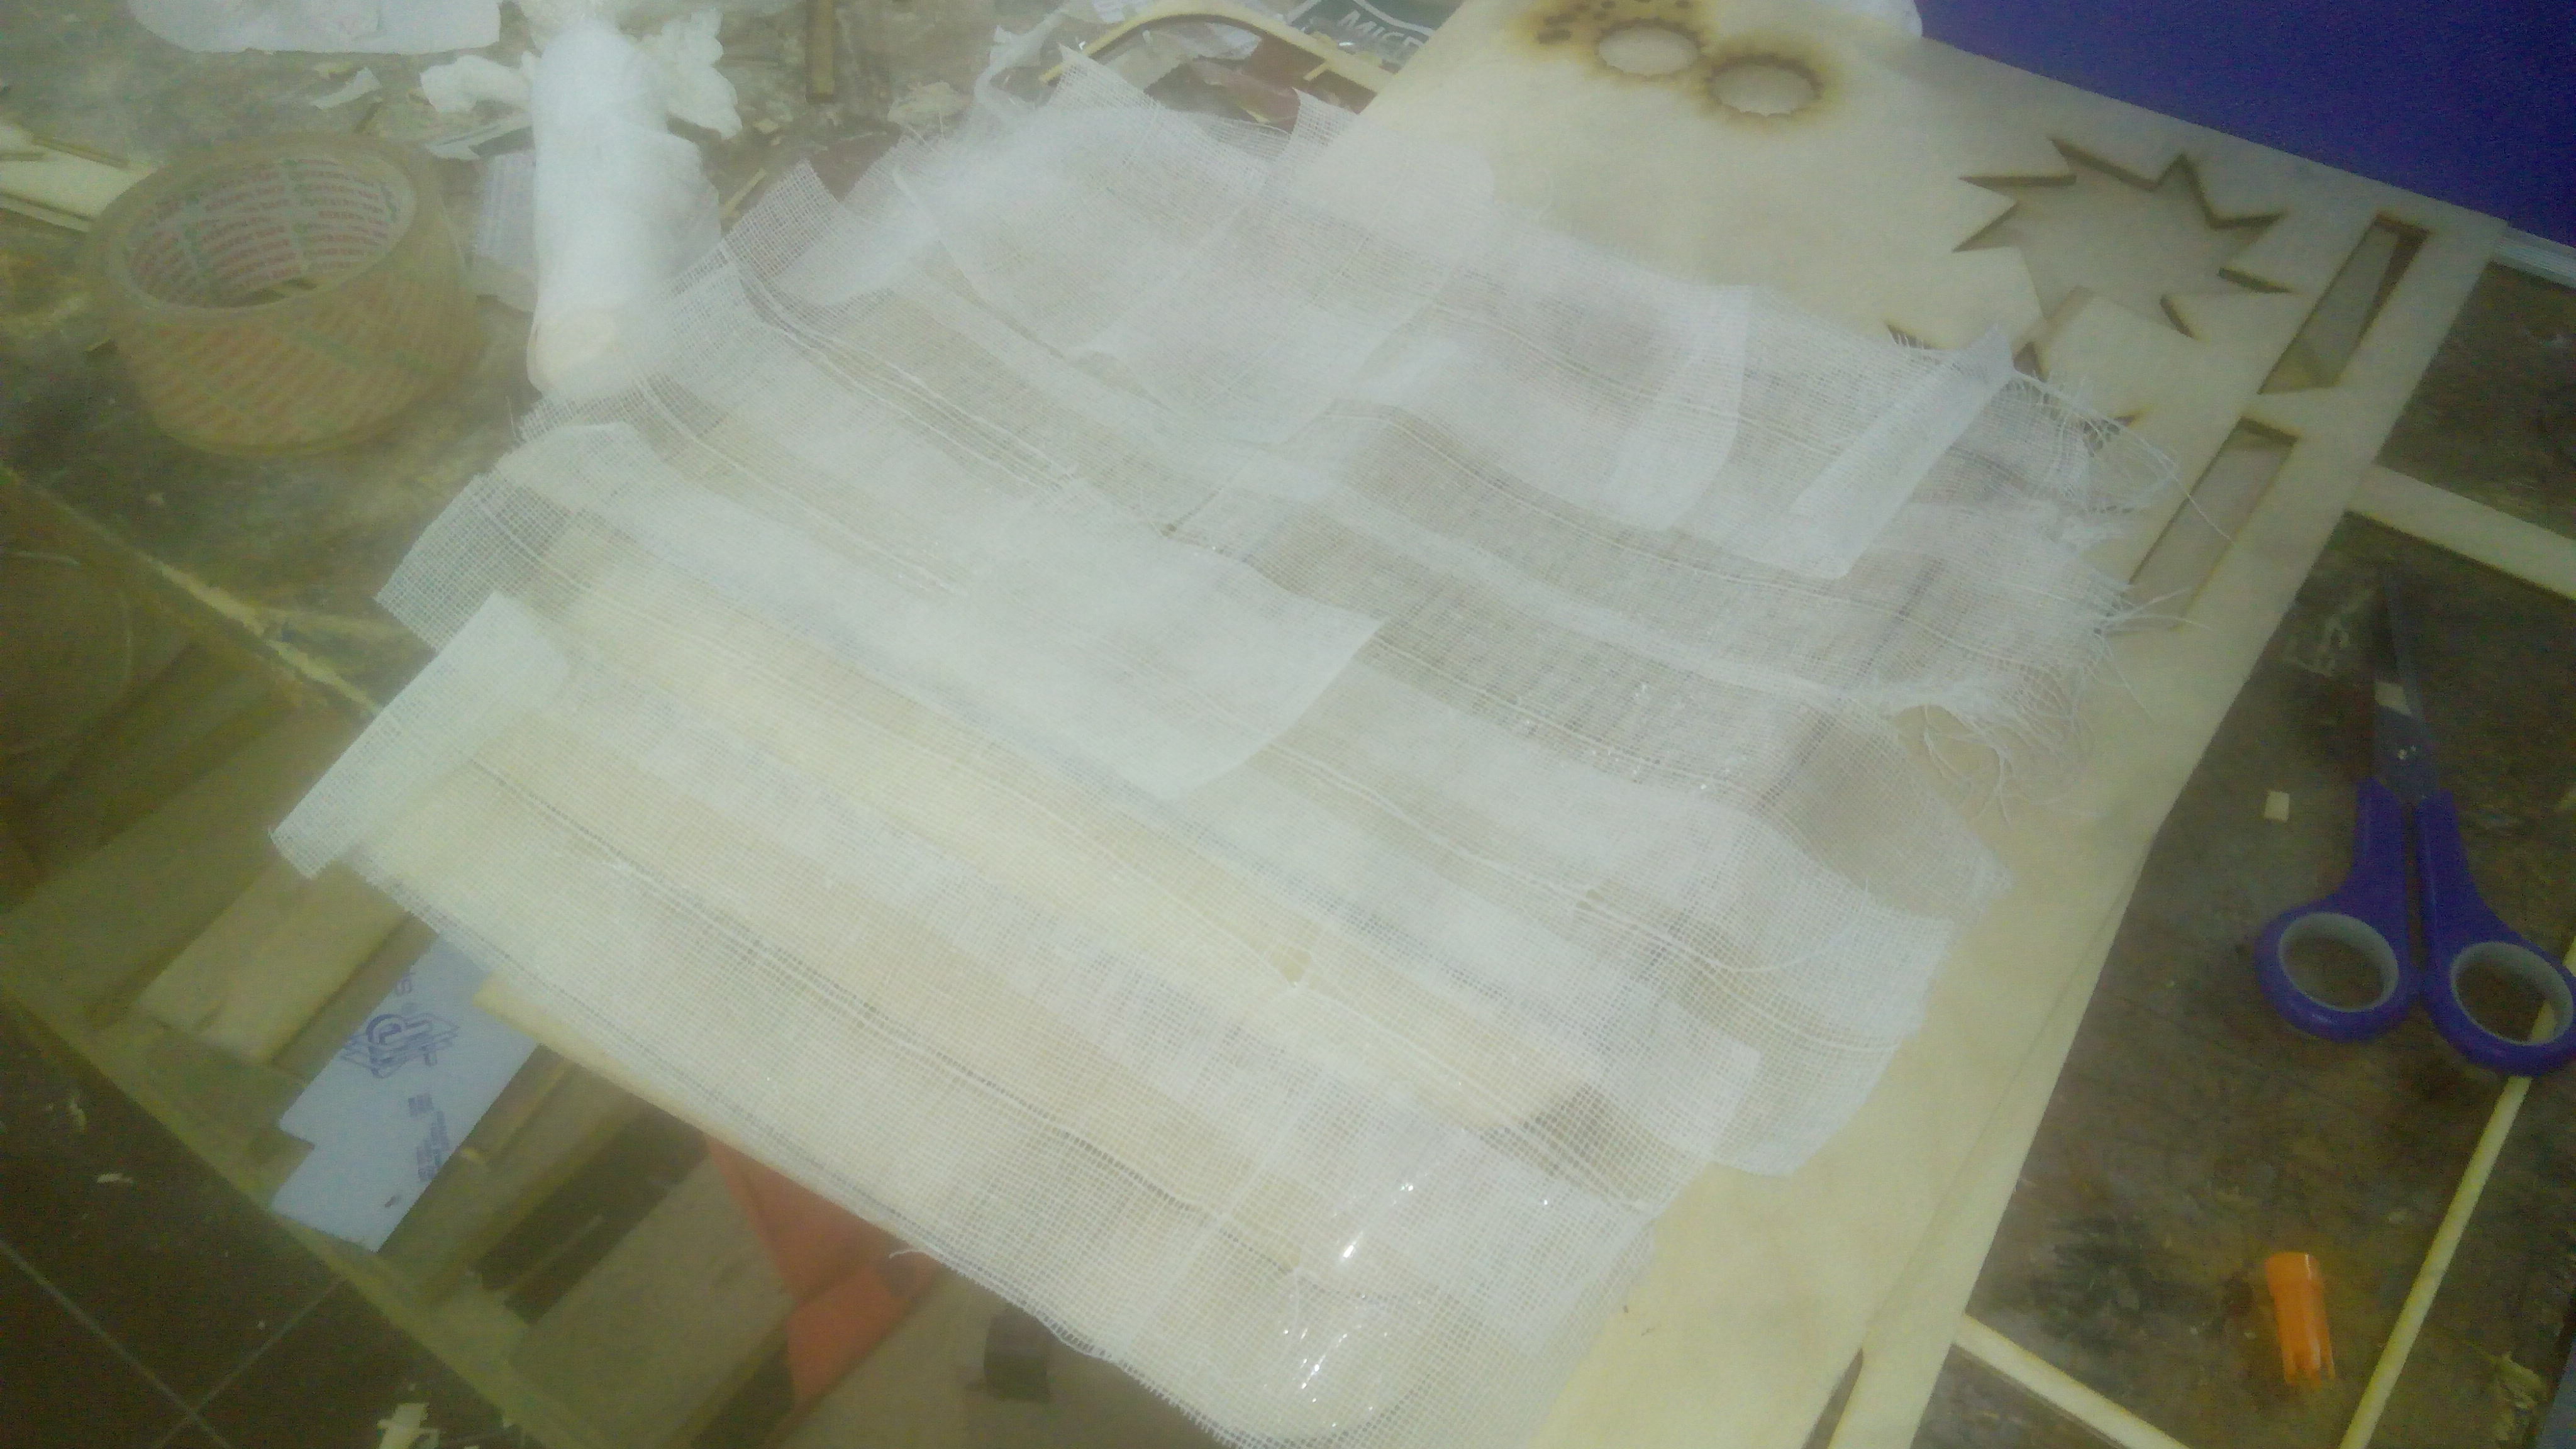
Cutting strips of fibers
The next step was to cut suitable strips to be soaked in the resin after wards and added on the mould.
medical gauze was used as fibers in this assignment.
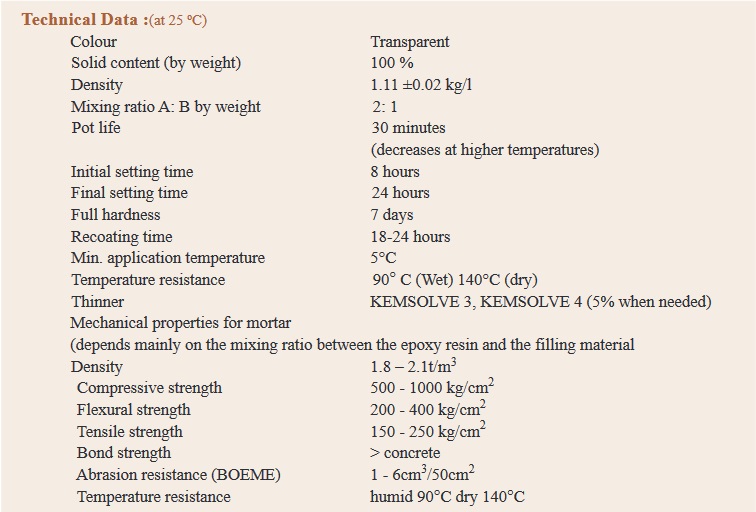
The Resin's Data sheet Kemapoxy150
from the datasheet I've known the ratio of the epoxy to the hardener which is 2:1.
I've also known the safety precautions, and mixing method and some other useful data for getting the best out of the process.
you can download the full datasheet from HERE
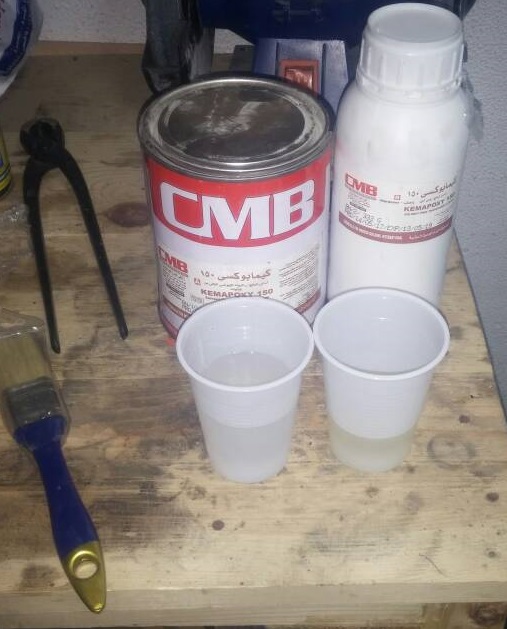
Preparing the tools
two cups for adding the required amount of the epoxy and the hardener,another one for mixing and a brush.
Mixing

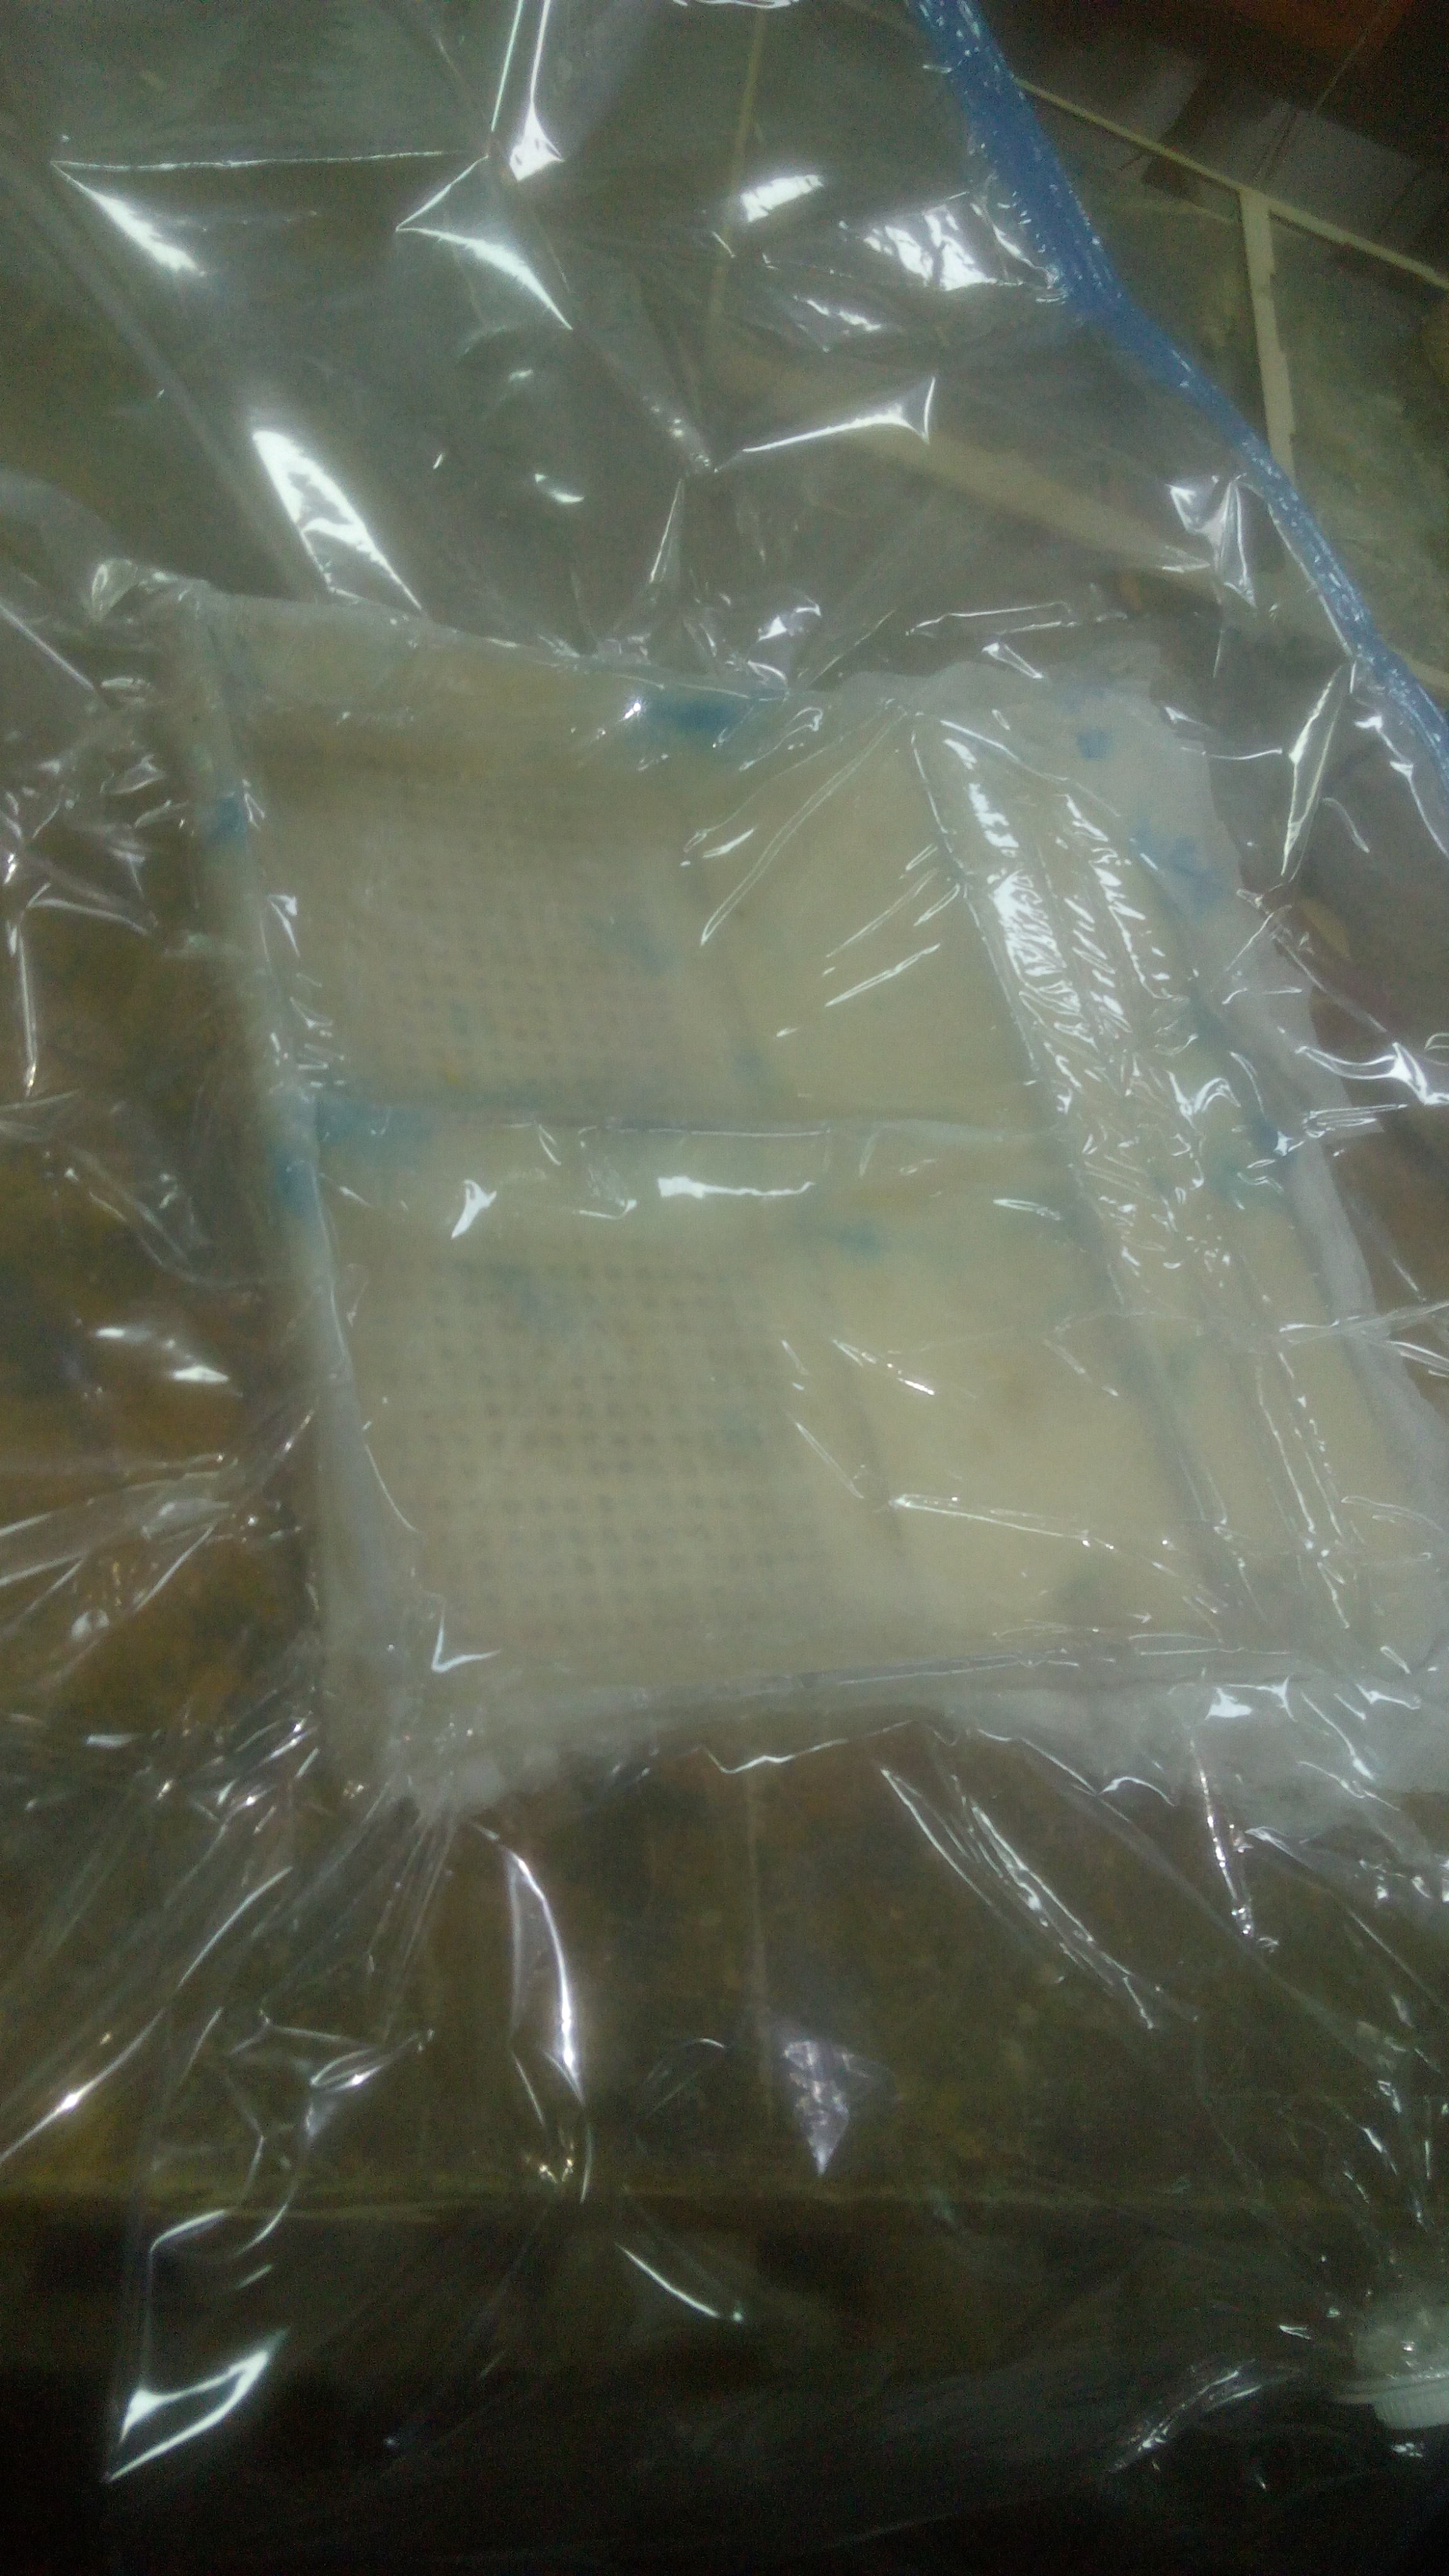
After adding the resin to the fibres
I had to add another layer of plastic wrap not to make the composite stick to the bag used in vacuum bagging.
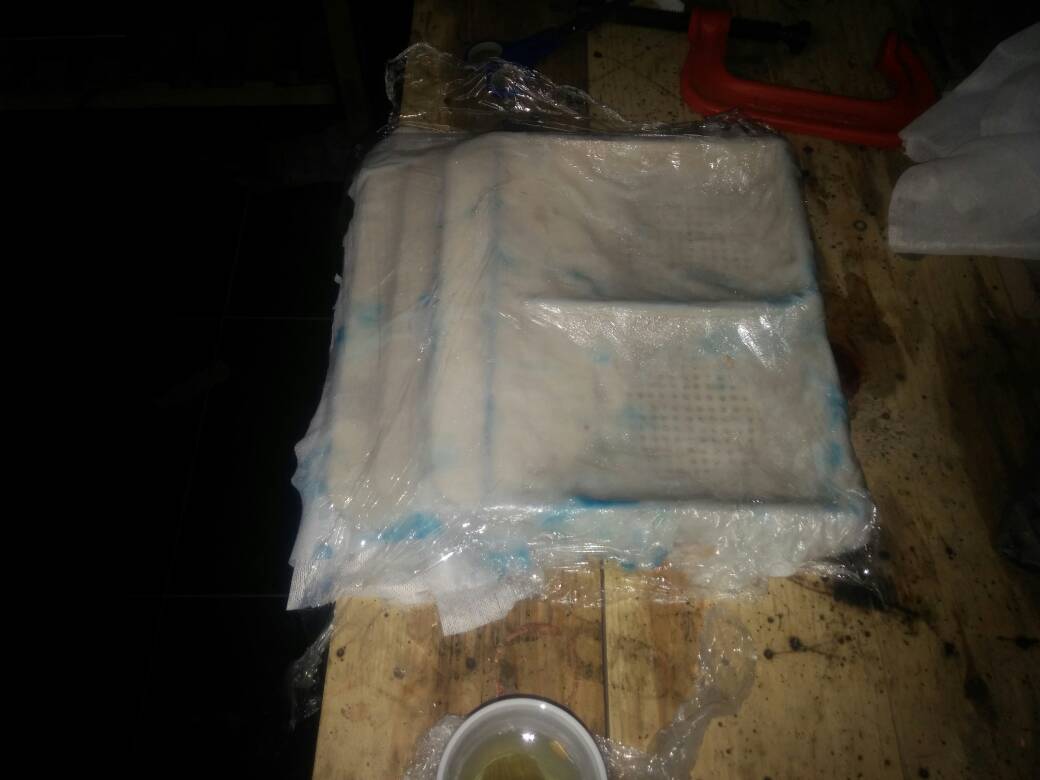
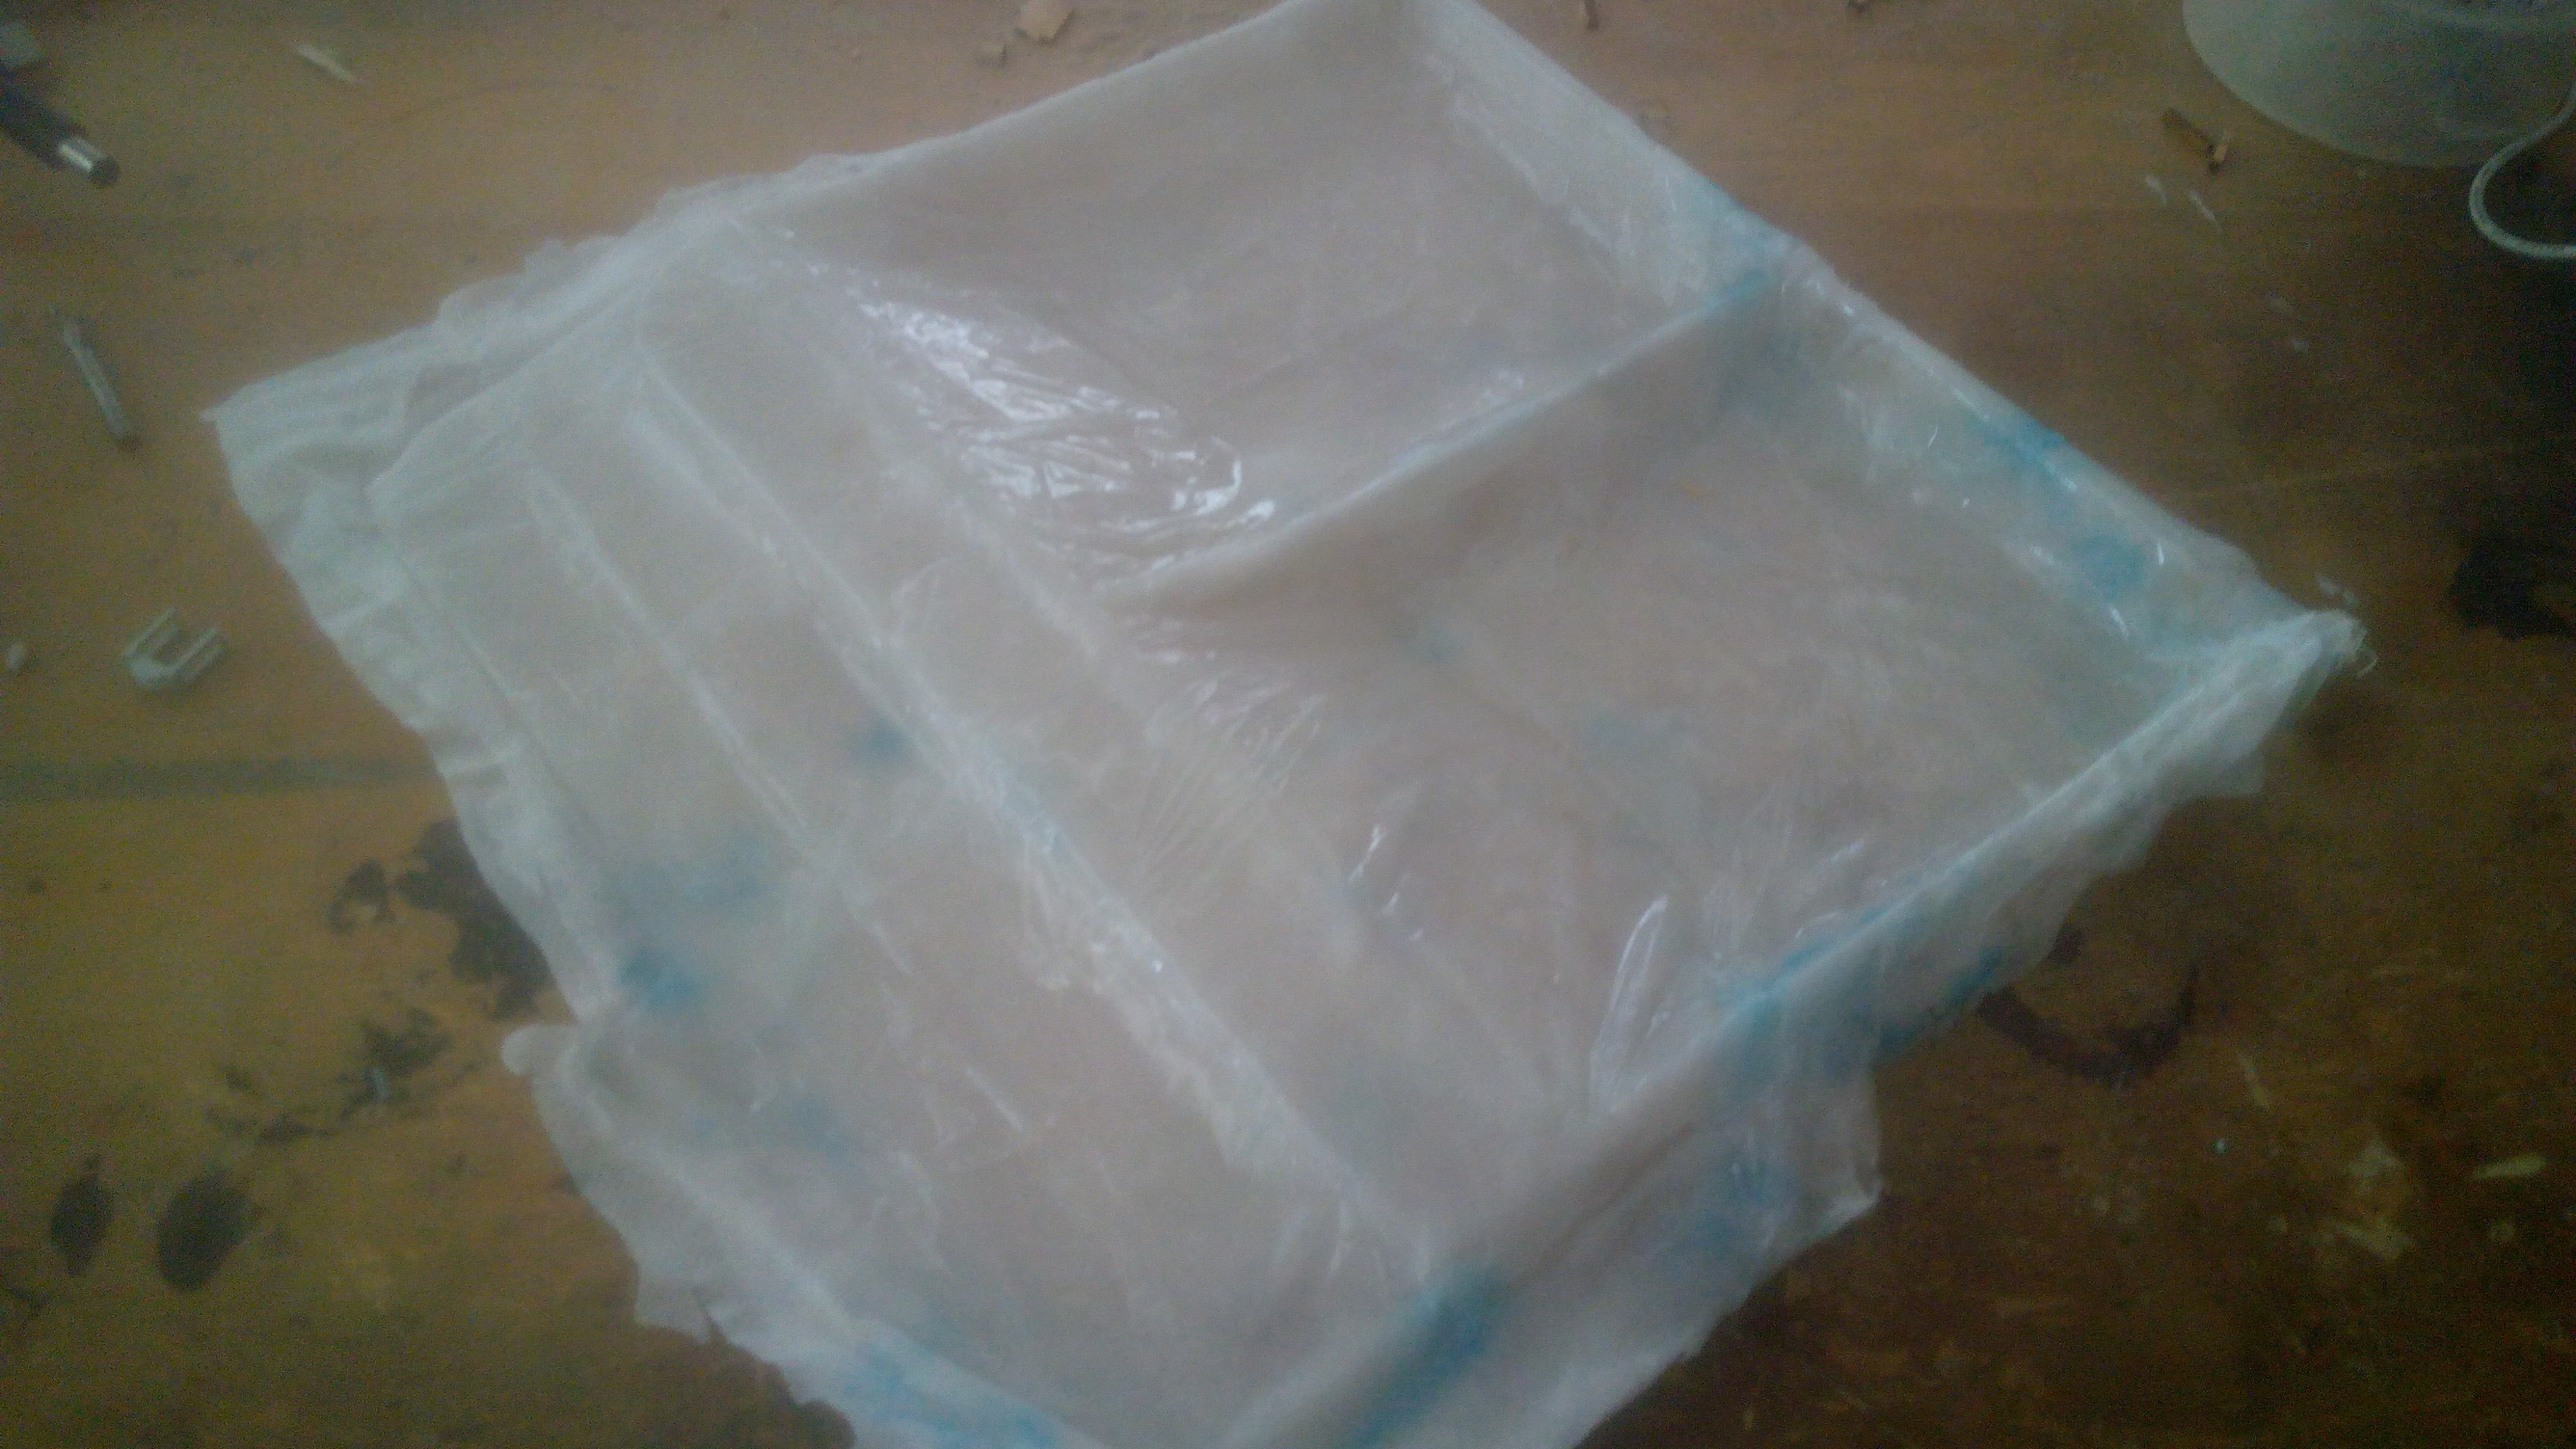
Vacuum bagging
I brought a vacuum bag used in putting the clothes into.
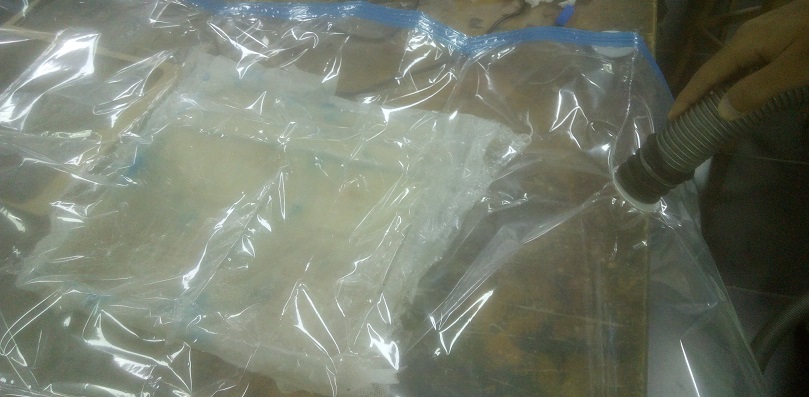
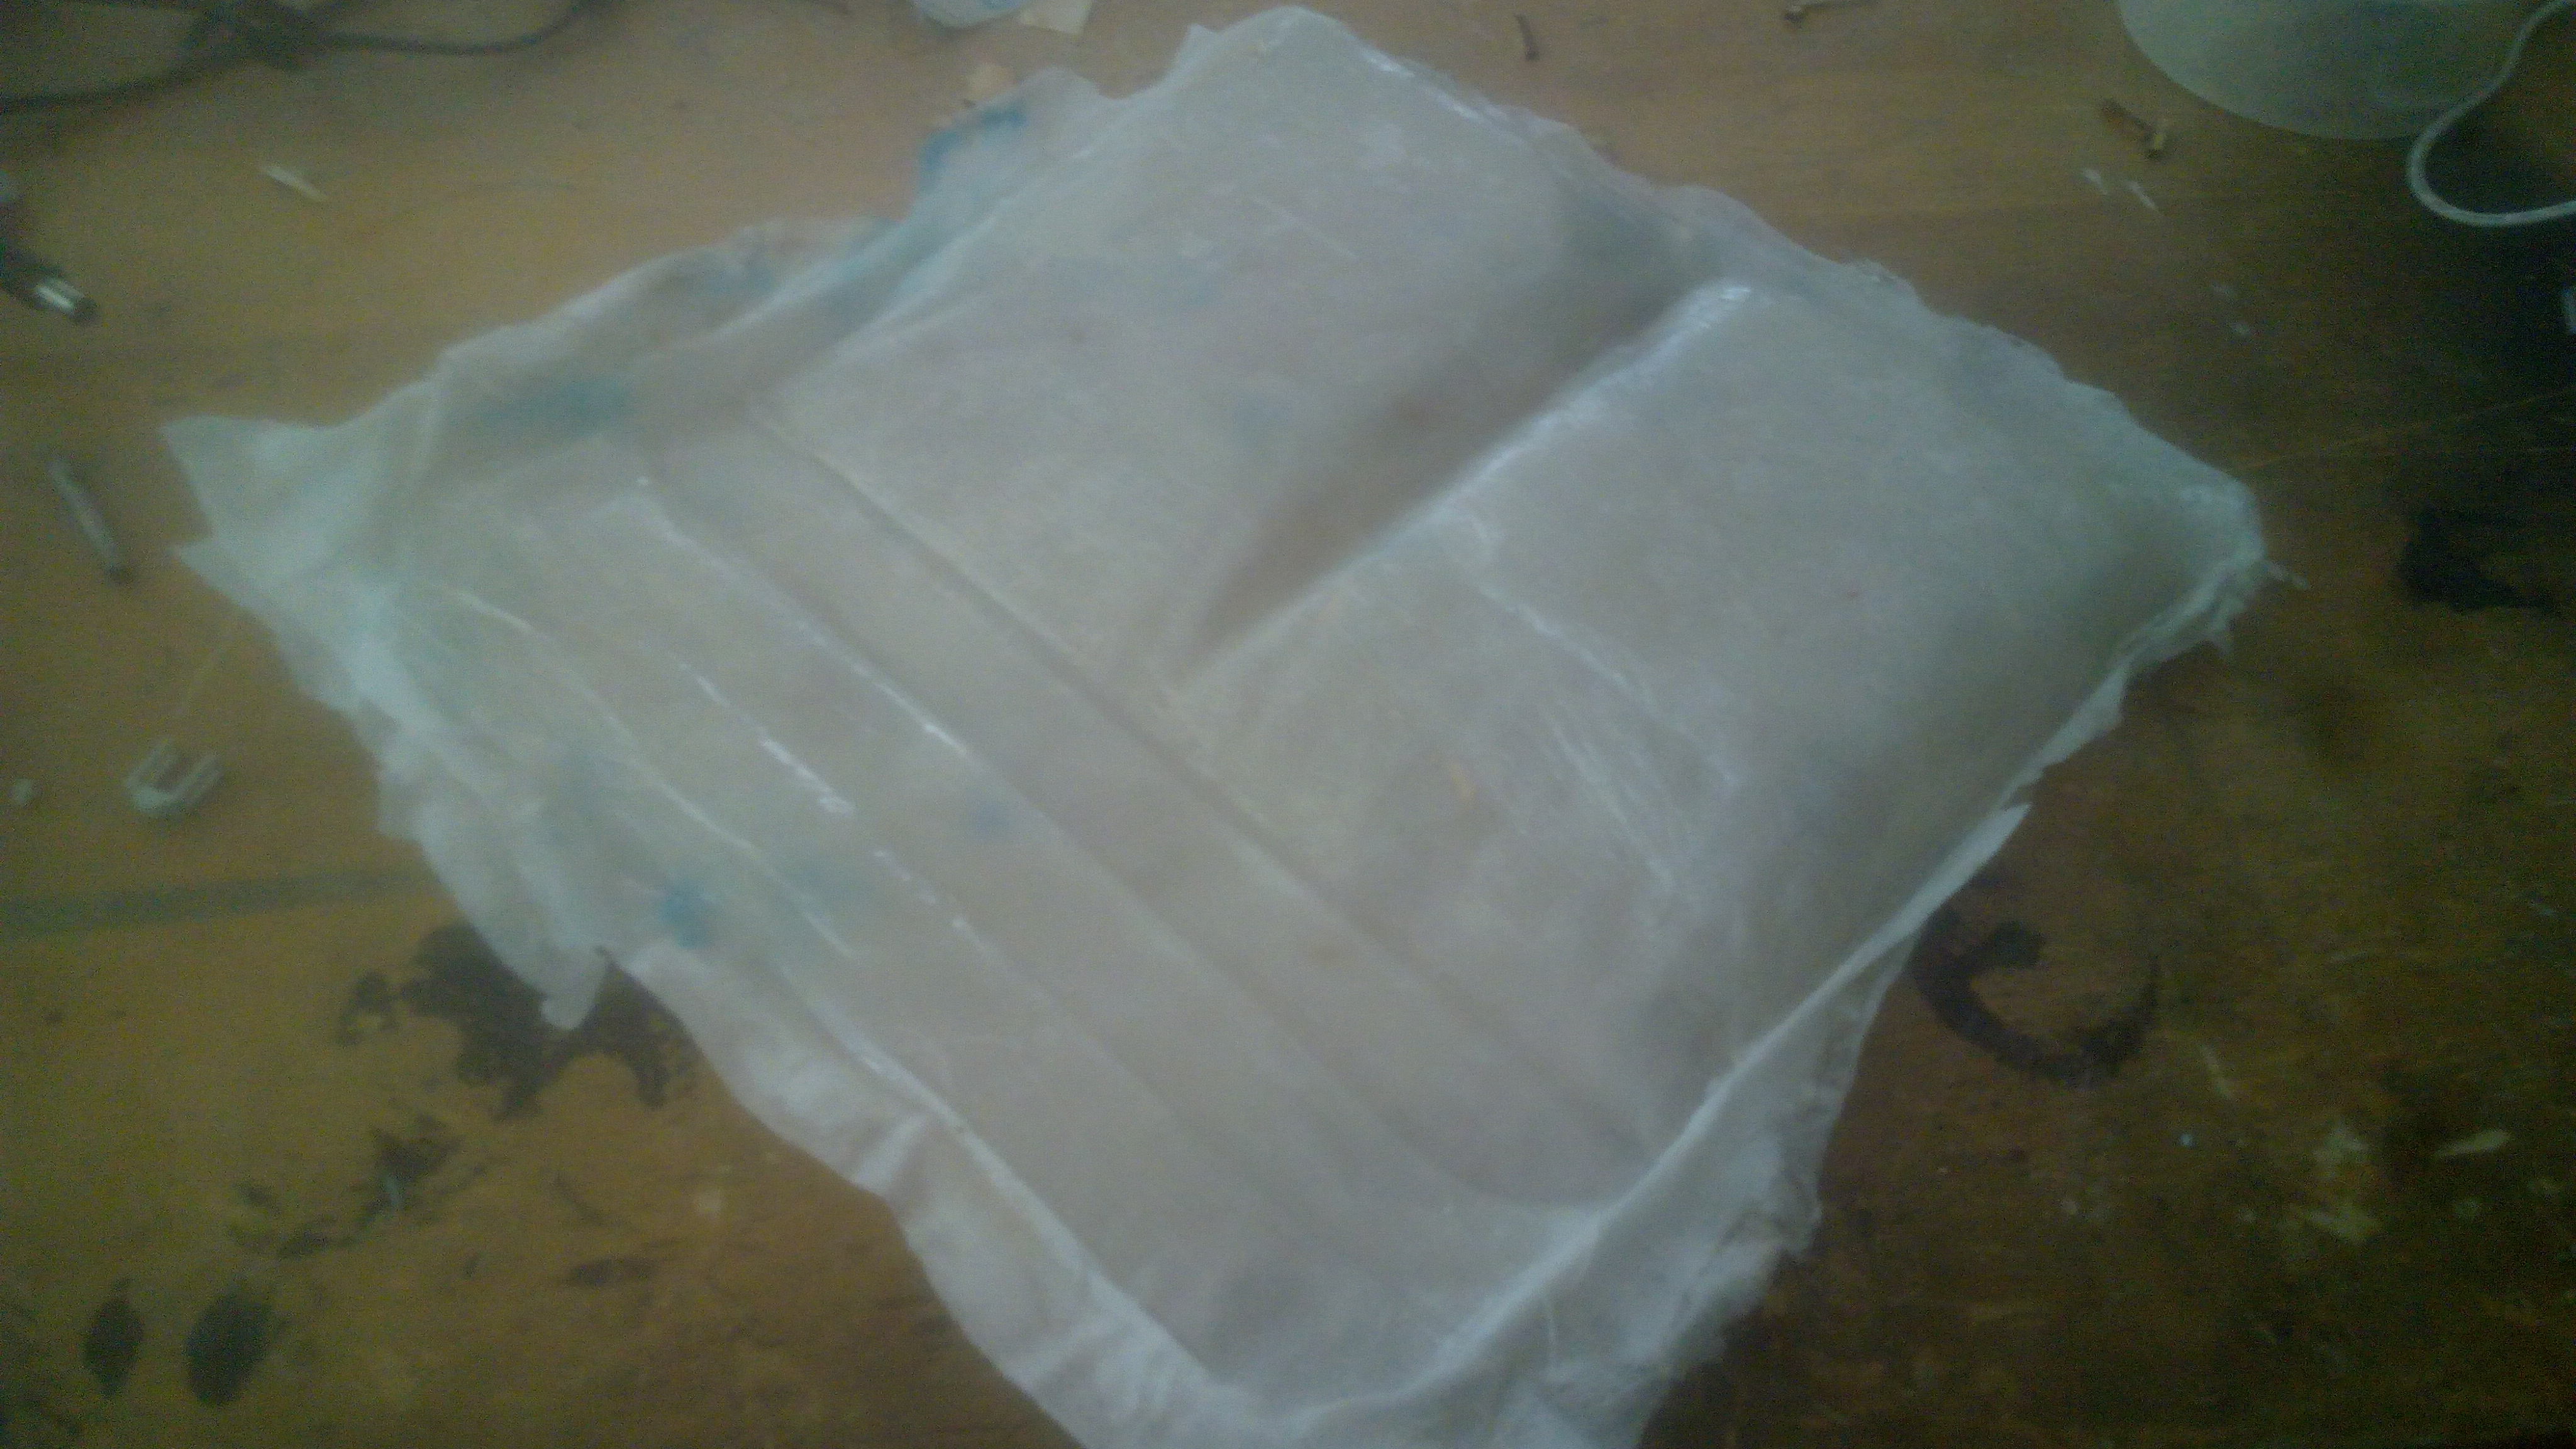
Waiting
I had to wait for about 24 hours to make sure it's totally cured although I checked it after 8 hours and I found it hard enough.
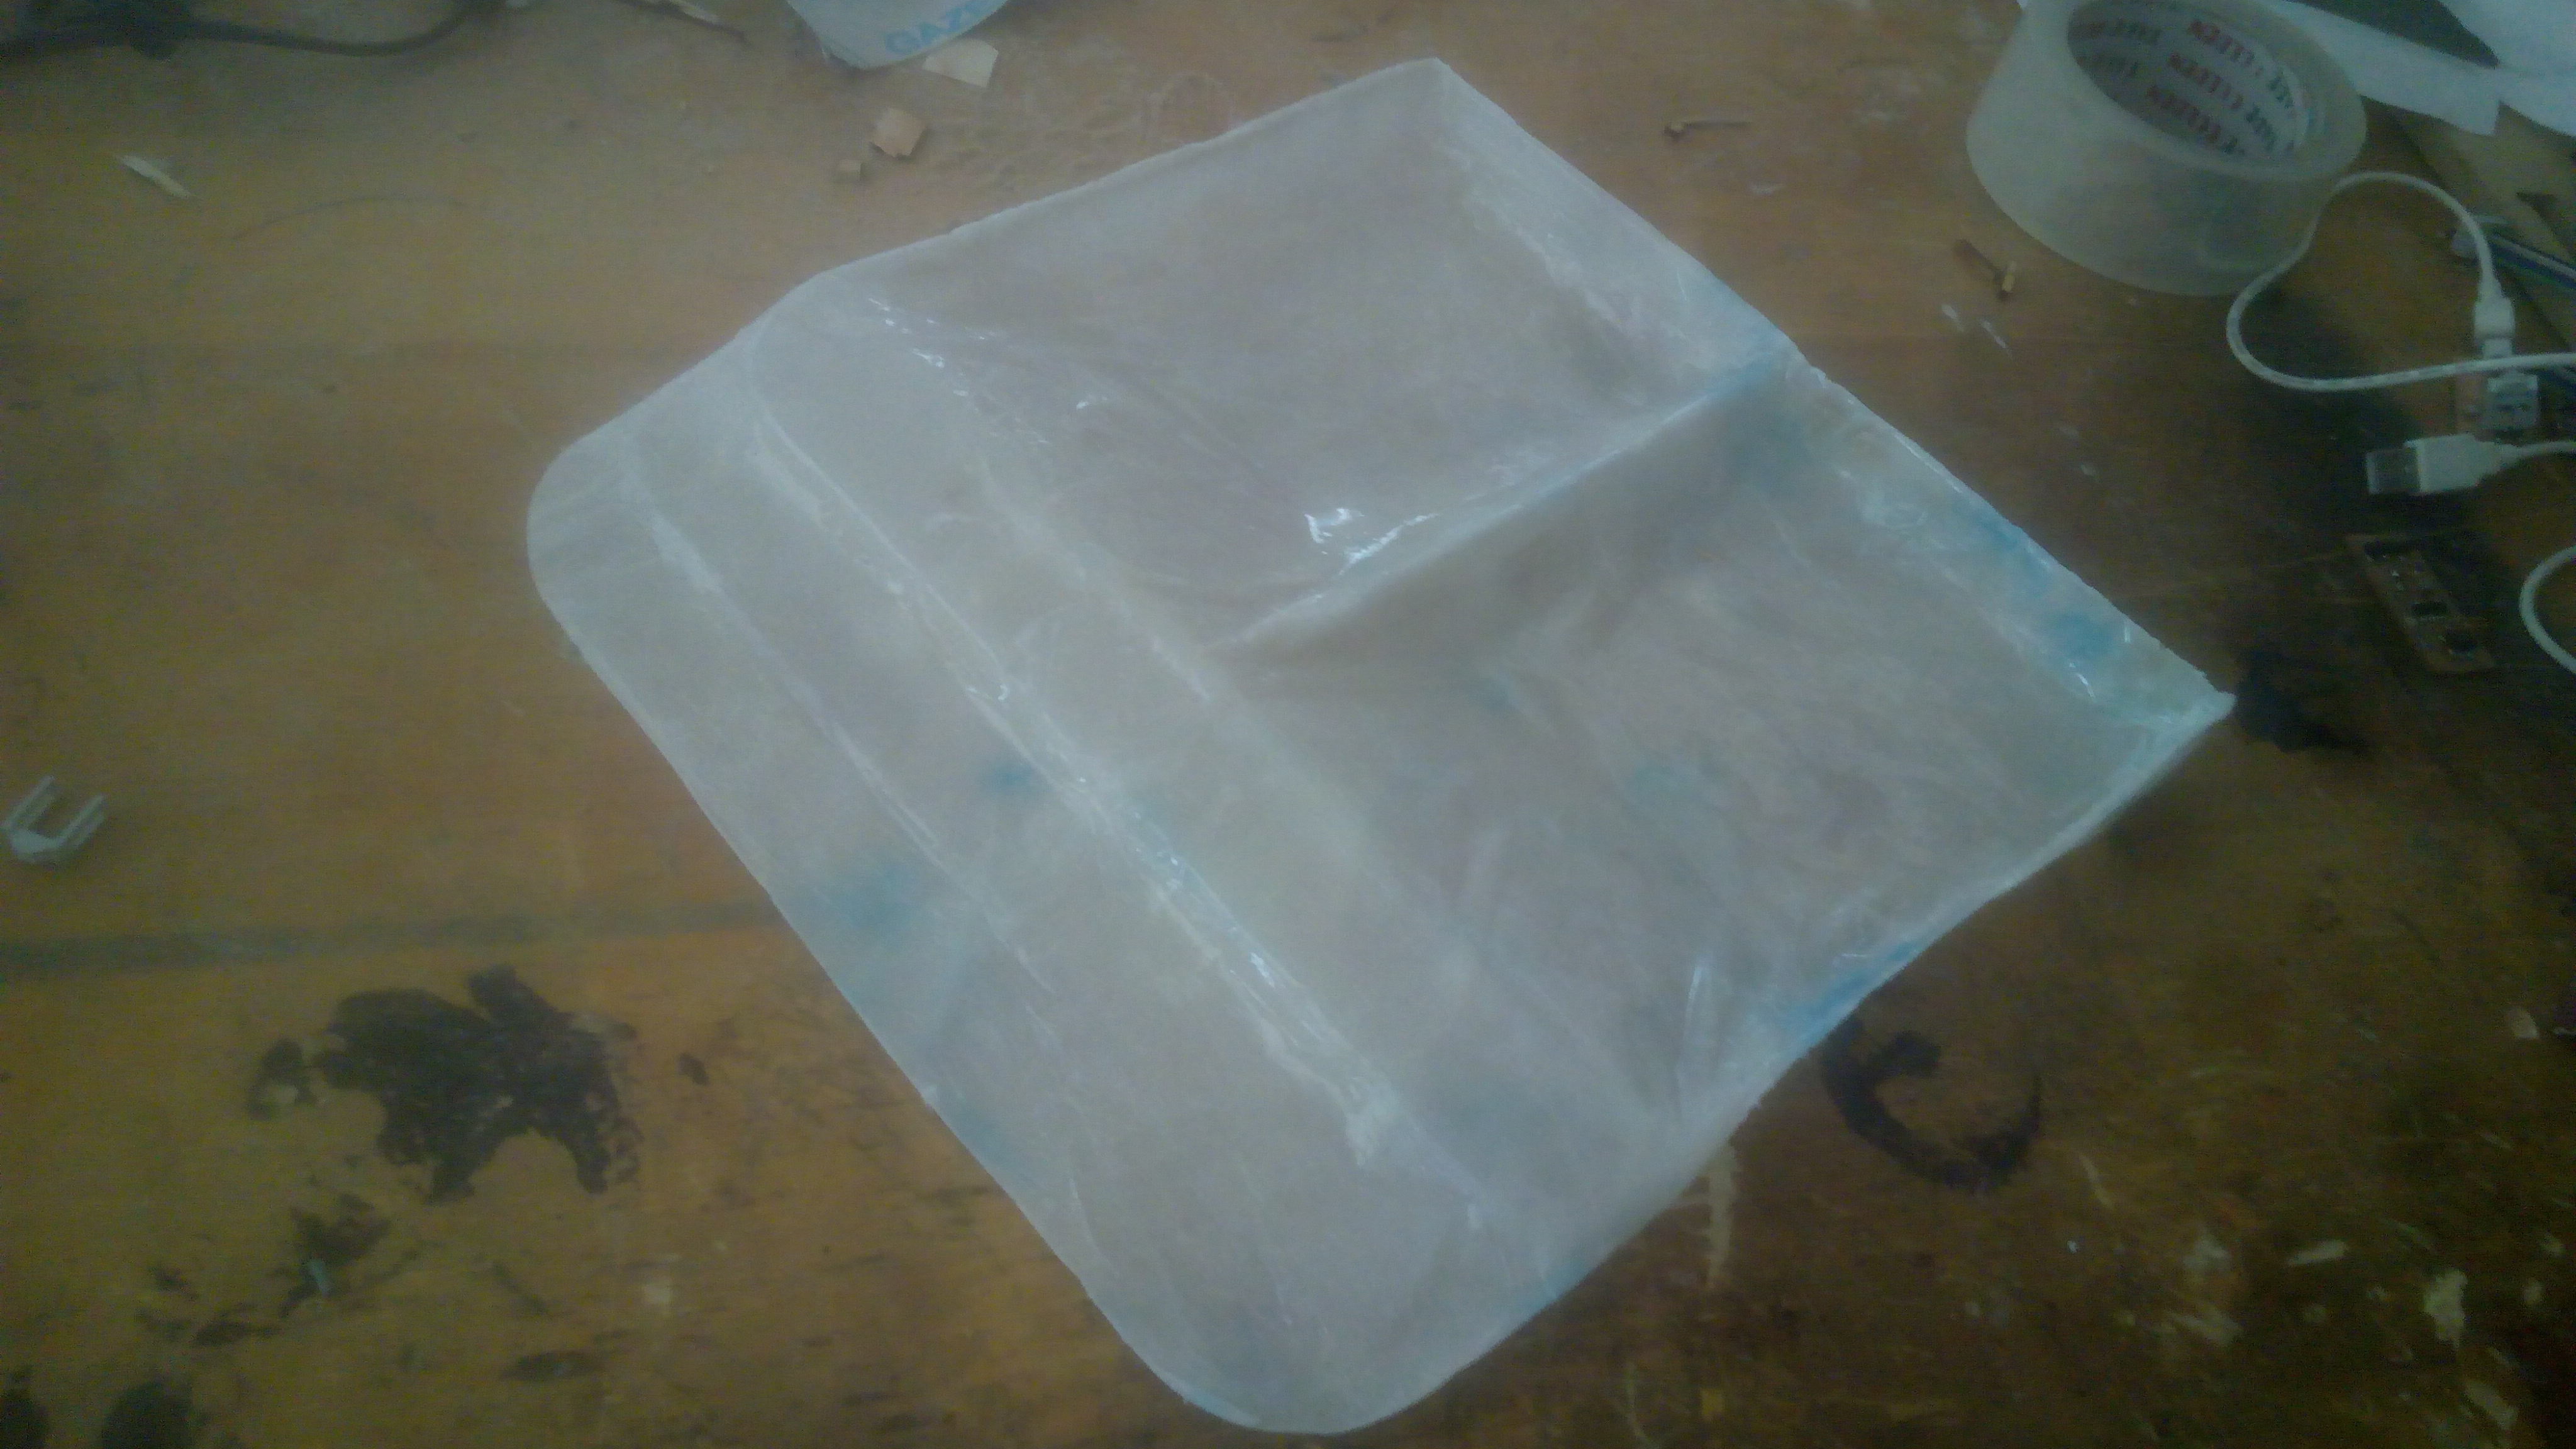
After taking the composite out of the bag.
Bottom view
The final product
and here it's how it looked after trimming the excess fibers.
this was a great proof of concept, I would add to it another layer of any food safe material to be used safely by the turtle, or make another composite with a food safe resin, it can be done with the same method.