Tenth Assignment
Moulding and Casting
This assignment was about designing a 3D mold, machine it, and cast parts from it.
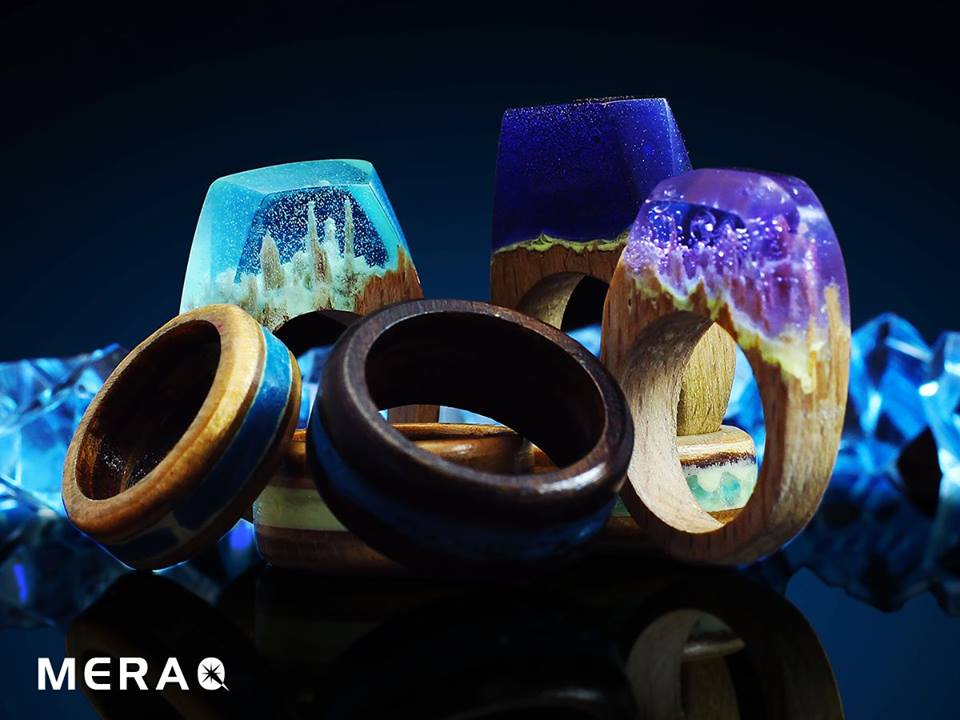
I decided to make mold for my friend who makes rings and made his cool start-up MERAQ to help him make his products faster by casting them in the rubber silicon mold.
Making the Design
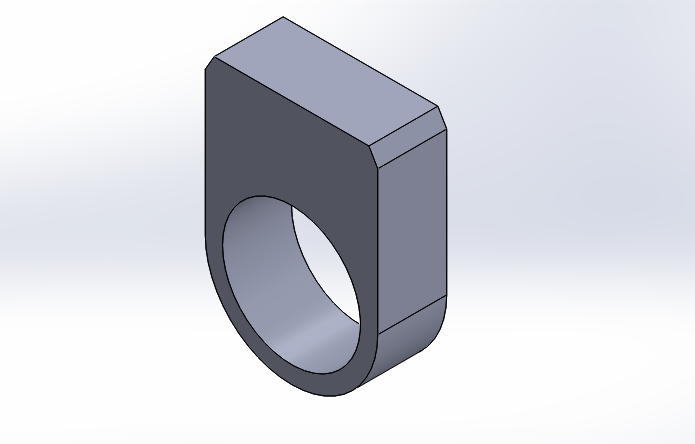
I've made a simple design for this ring on SolidWorks Firstly.
download the design from HERE
Preparing the file for Modela
After exporting it as DXF , then edited it on Corel Draw to look like this to be machinable as 3D surface on Modela.

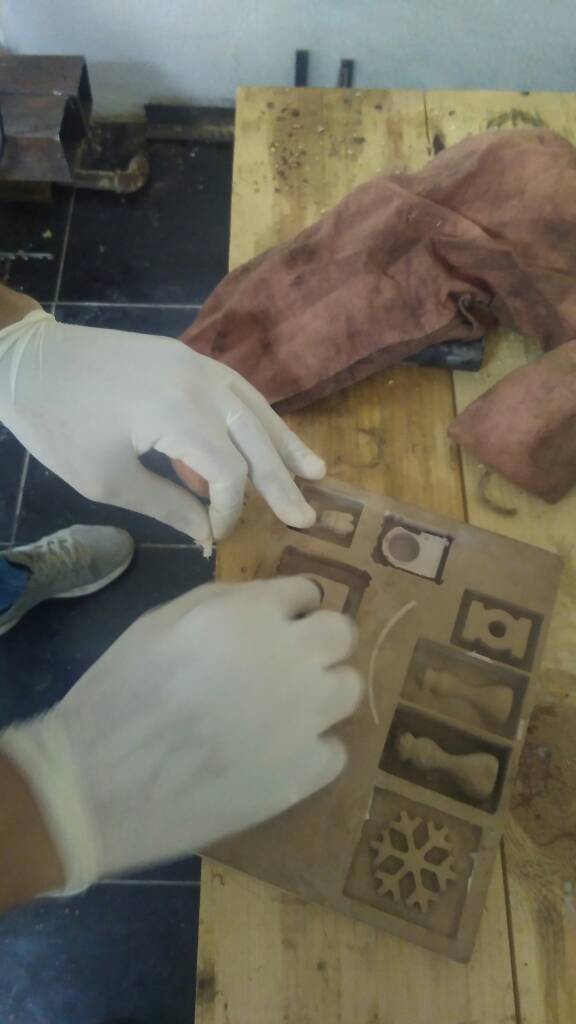
Making mould's base
I wanted to make some surfacing about 3mm to be the negative of the base of the mould

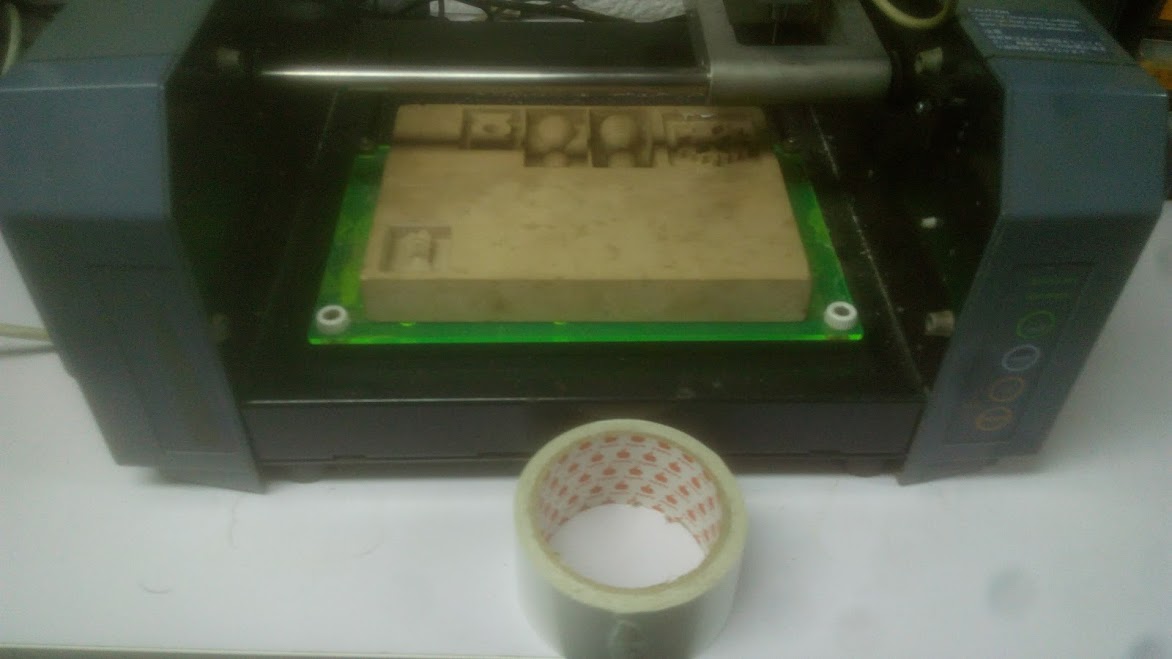
Preparing the workpiece
I used Double face to fix the chemical wood (polyurethane boards) on the precision milling machine (Modela)
Using Fab Modules
Using the fab modules I could make the G-code of the desired surface.
I selected option of Wax Rough Cut and 1/8 as it's the dimension of the used endmill.
I used Rough cut only because it's symmetric in Z axis, so it doesn't have any complex details that I want to show.


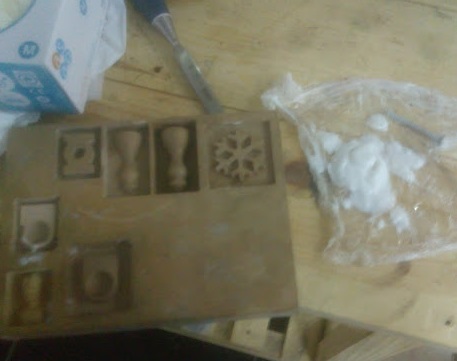
The second process on Modela
the second process on Modela was to mill the ring's profile itself, you can open the picture to see the options I've selected for this process.

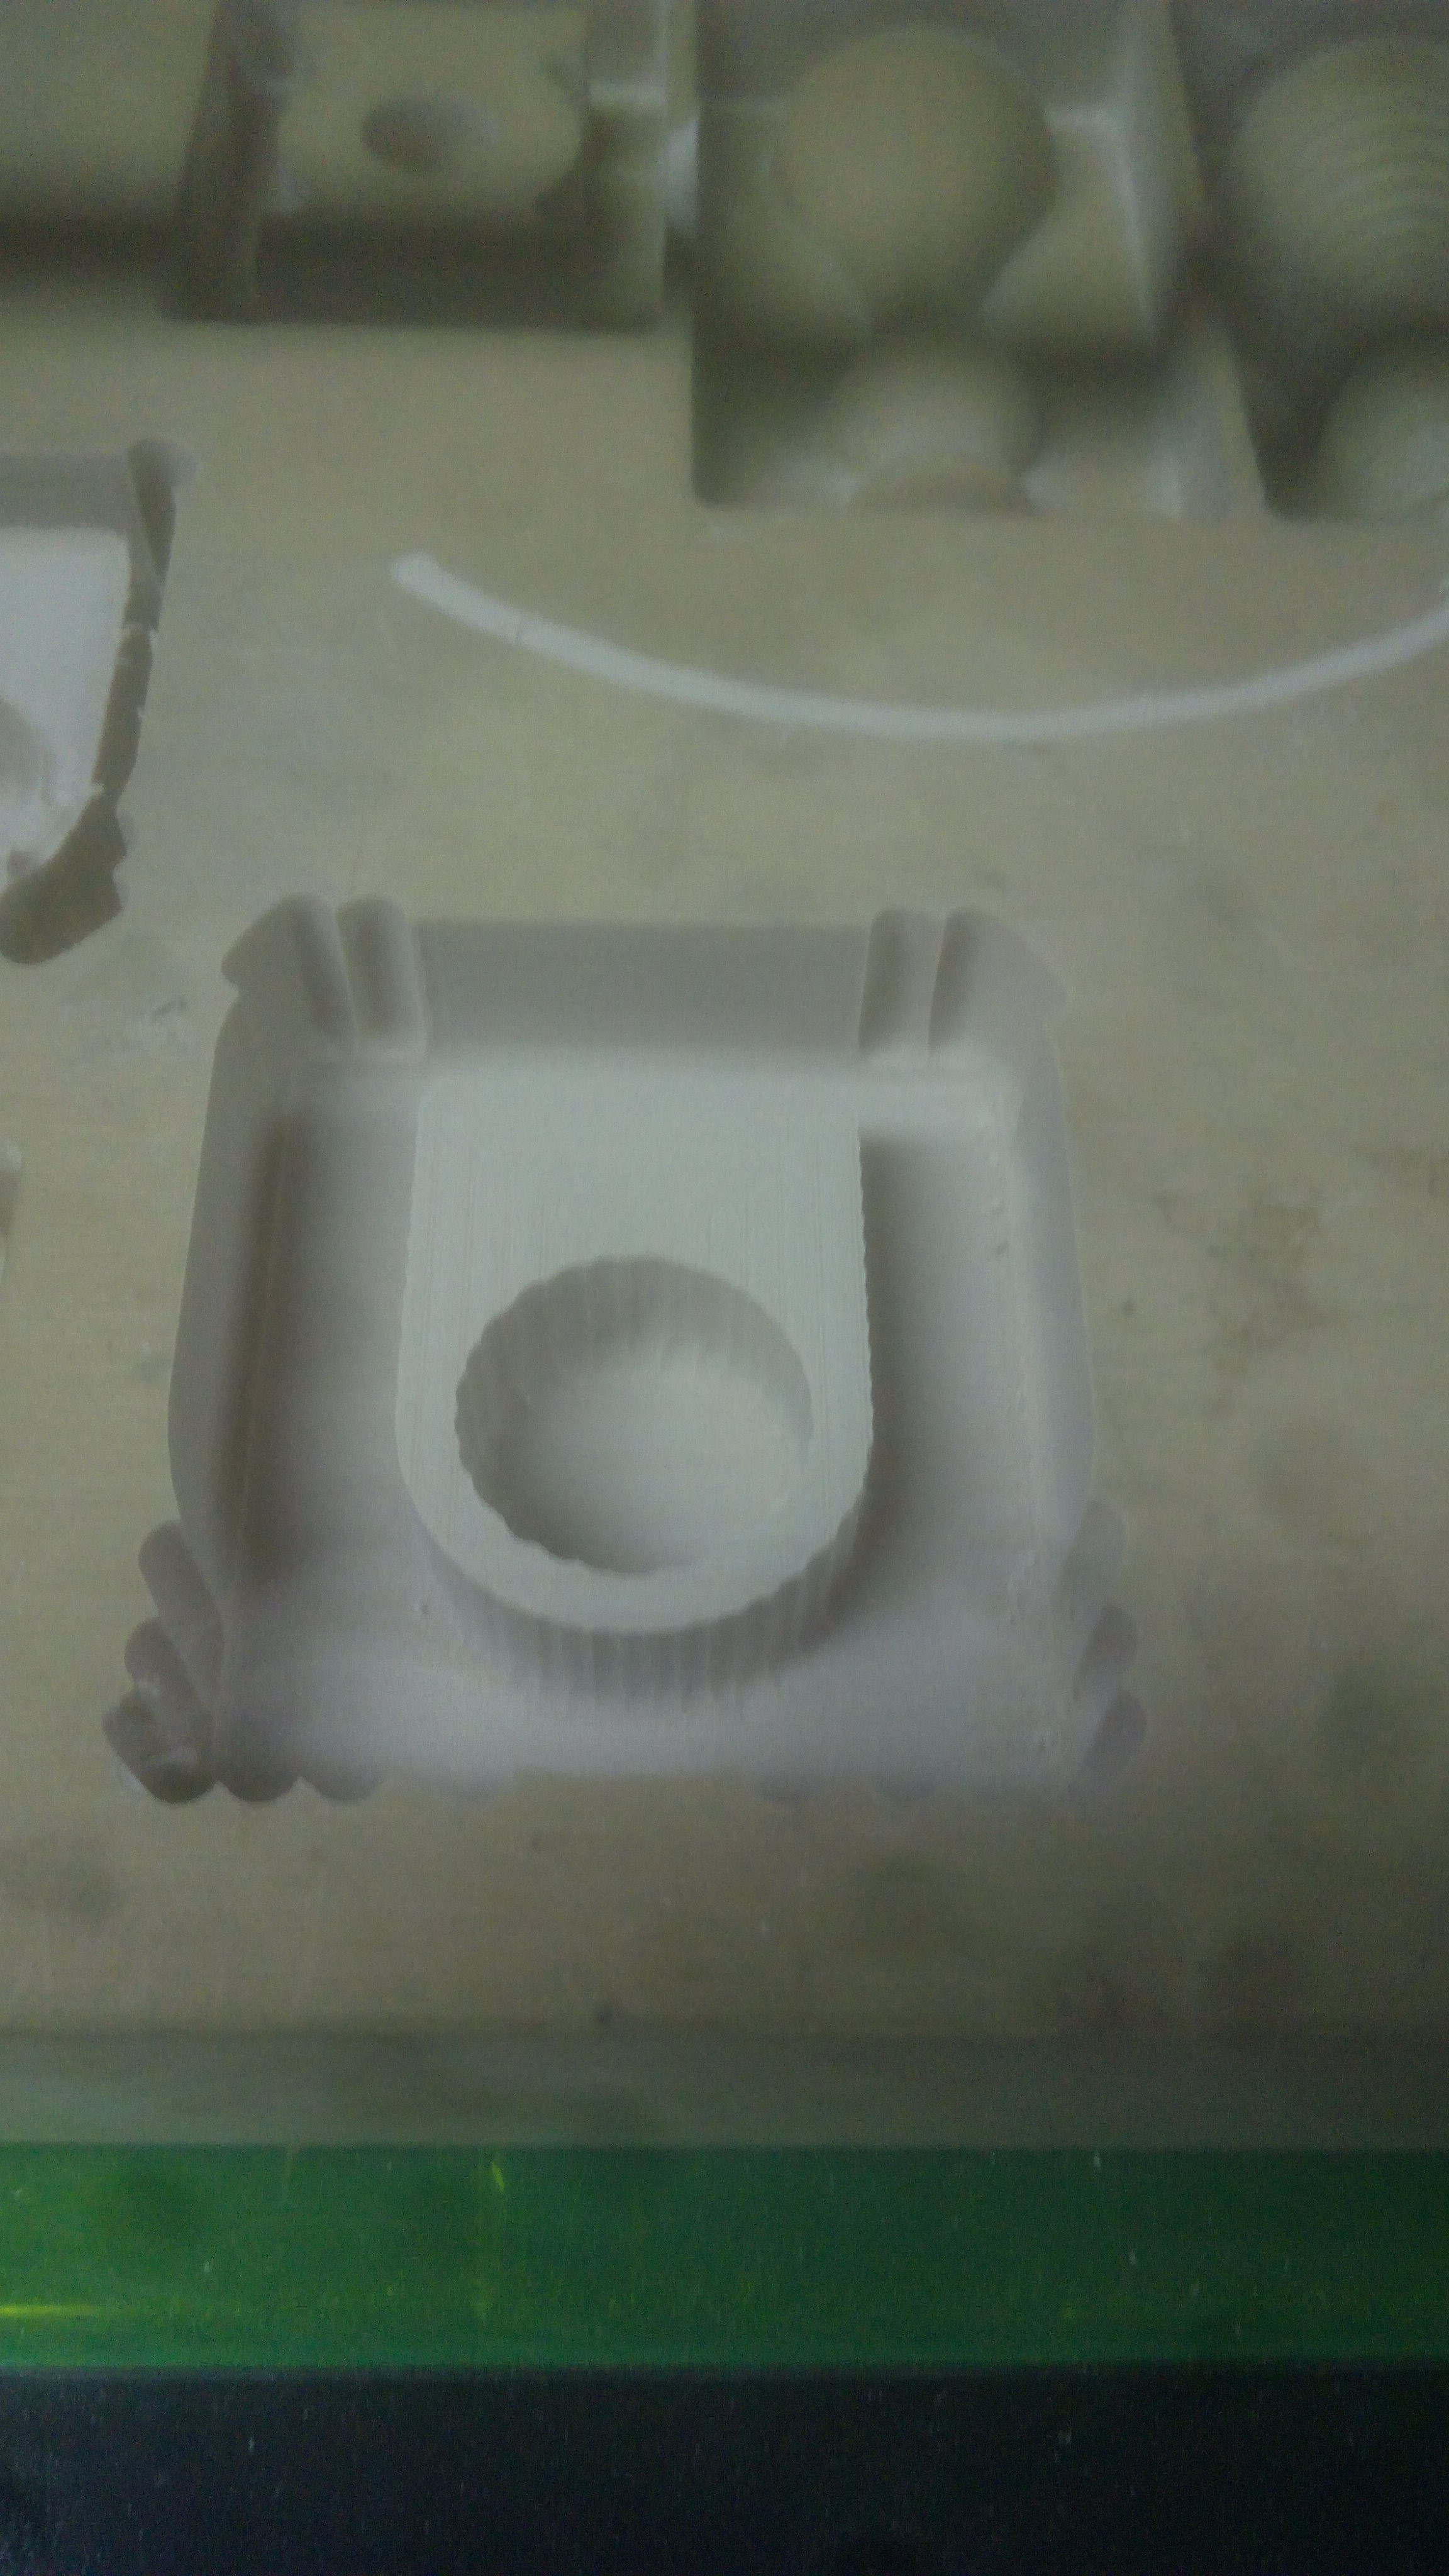
After finishing milling
Here it's how it looked after machining, it could have better surface finish if I use finishing cut after rough cutting process.
Adding liquid soap
I added some soap before pouring the silicon to make it easier for the silicon to get out from the wood and to make the surface smoother.
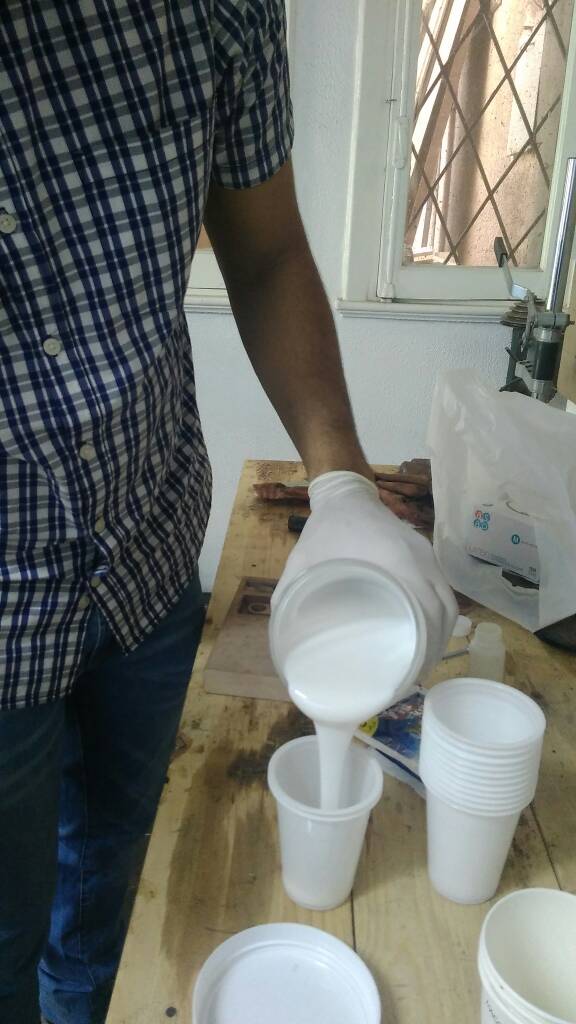
It's time to make the mixture
We couldn't find a datasheet for this kind of silicon.
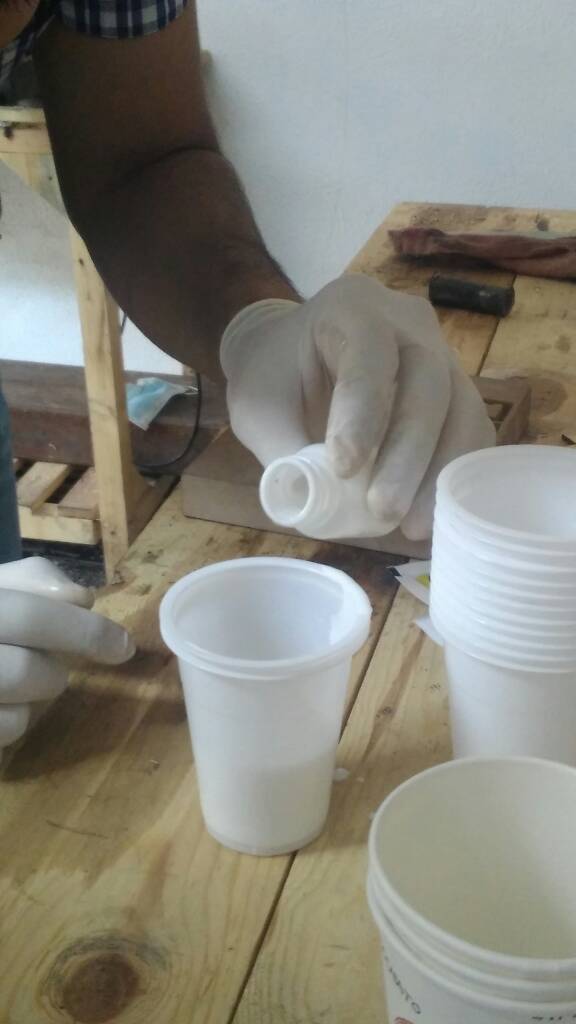
but the vendor told us we need to put a volume of hardener = the volume of the cover of its bottle with every half cup of the silicone.
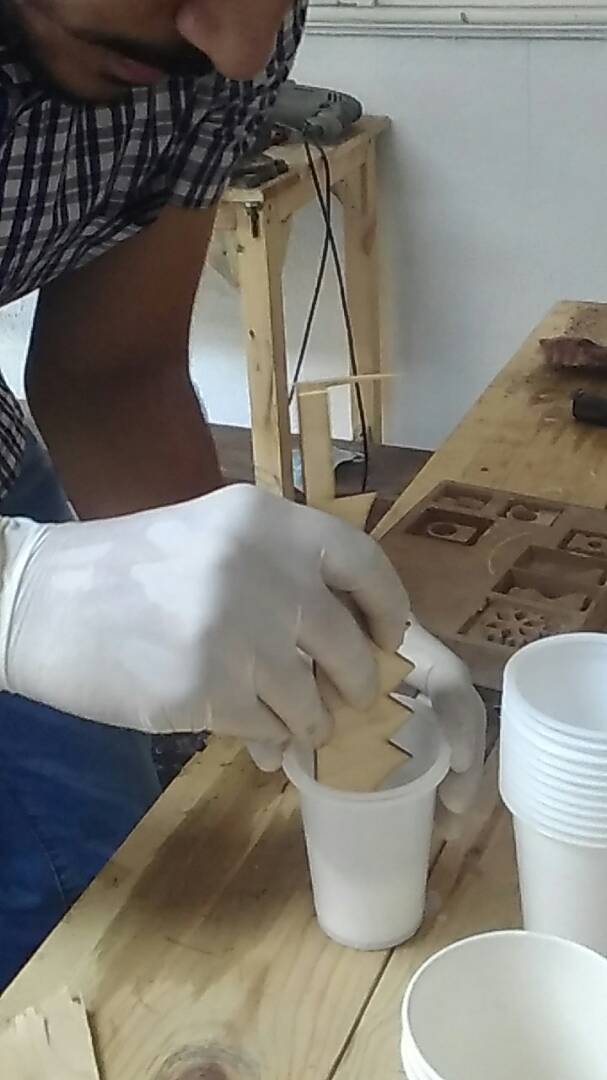
for the safety we used gloves.
Mixing
Now it's time to stir gently to make the mixture of the rubber silicone.
don't stir roughly or quickly or you will get air bubbles in your mould which are so bad for surface finish of you final object.
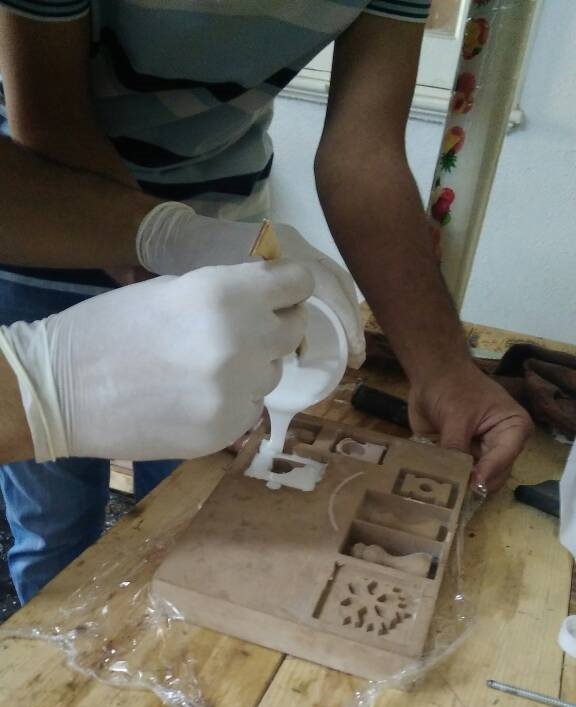
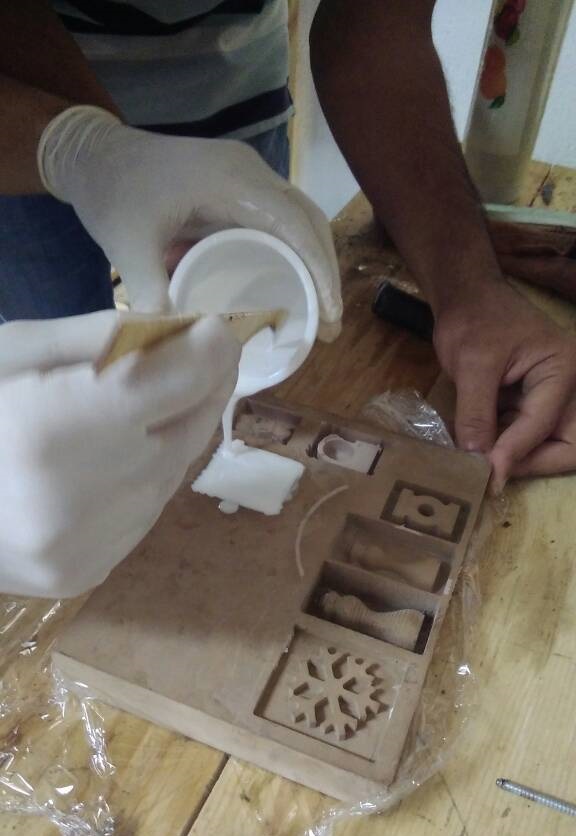
Pouring the silicon
now it's time to pour the silicon gently into the negative wooden mould, it's preferable to vibrate the wooden mould while pouring the silicon into it.
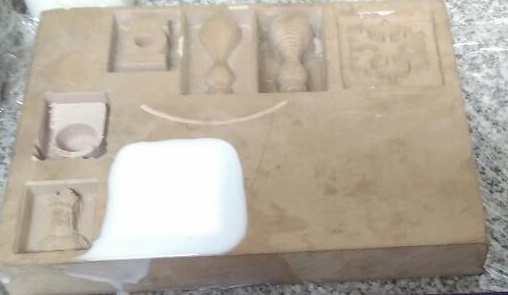
Waiting time
Now it's time to wait the silicon to cure, it should take about 1 hour at least.
Failure :(
this trial failed because I didn't put enough hardener in the silicon mixture, so I retried the same processes but with using the cover of the bottle to add the hardener as the vendor said to me.
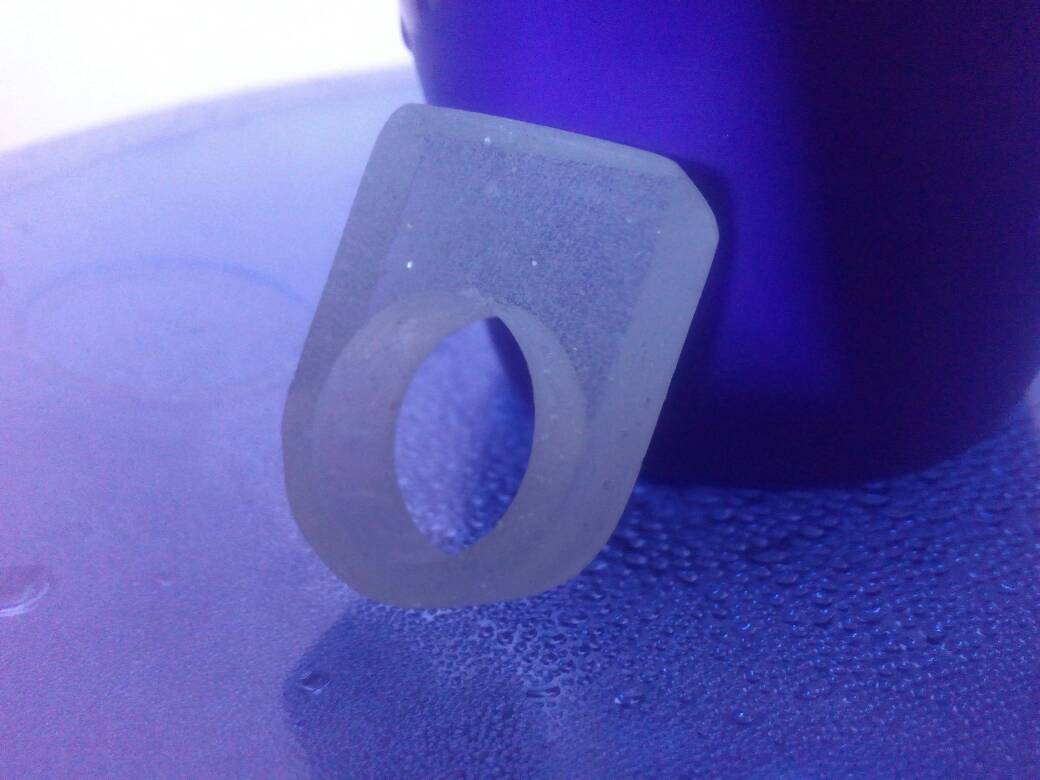
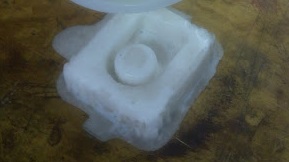
Success
This time it turned out to be nice after one hour of curing time.
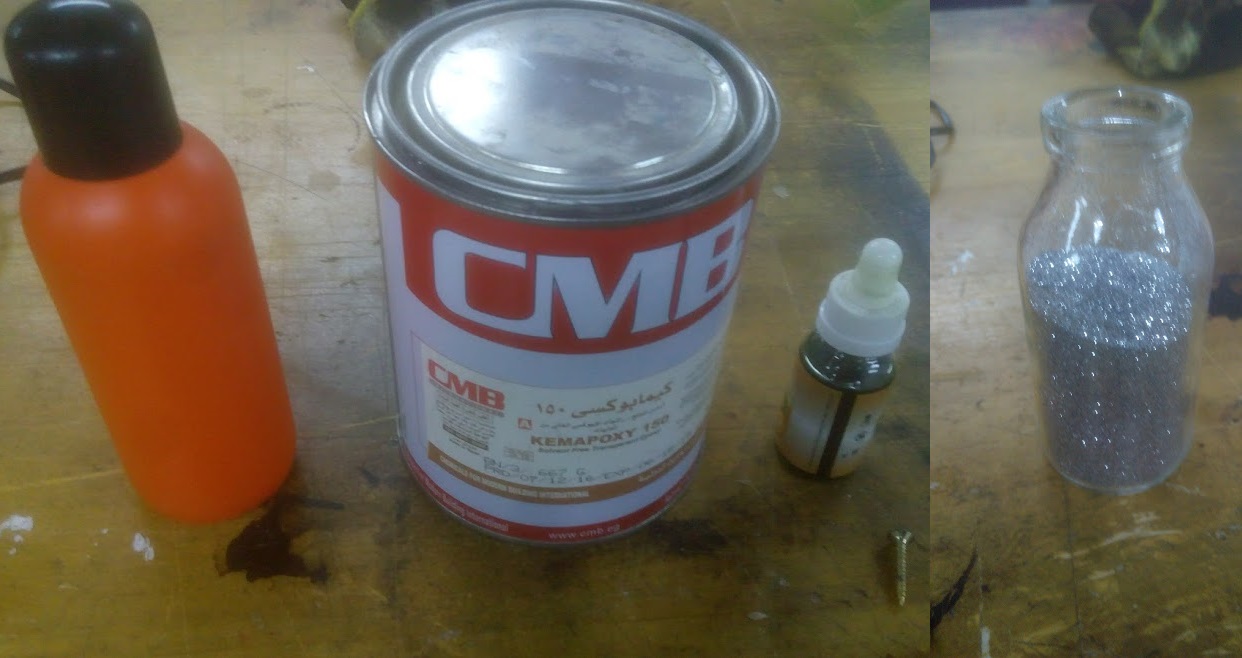
Preparing the casting mixture.
I've used Kemapoxy 150 from CMB and its hardener and I also used green colour and some glitter.
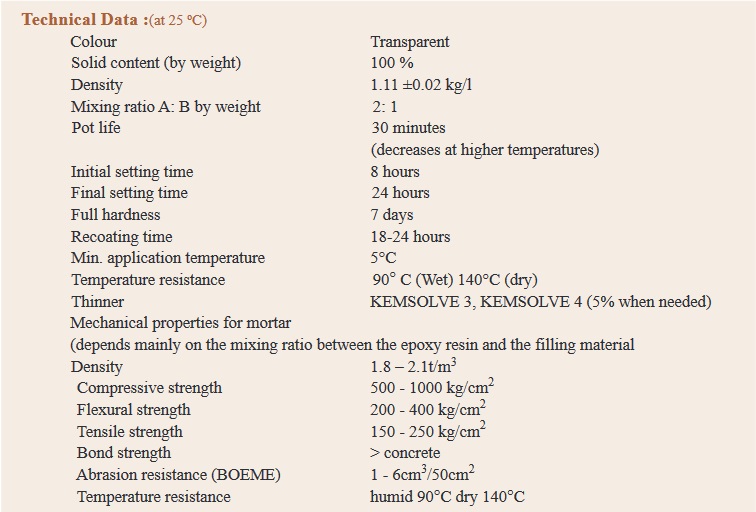
Kemapoxy 150 Datasheet
from the datasheet I've known the ratio of the epoxy to the hardener which is 2:1.
I've also known the safety precautions, and mixing method and some other useful data for getting the best out of the process.
you can download the full datasheet from HERE
Pouring the mixture
Now it's time to pour the mixture then wait it to cure

After Curing
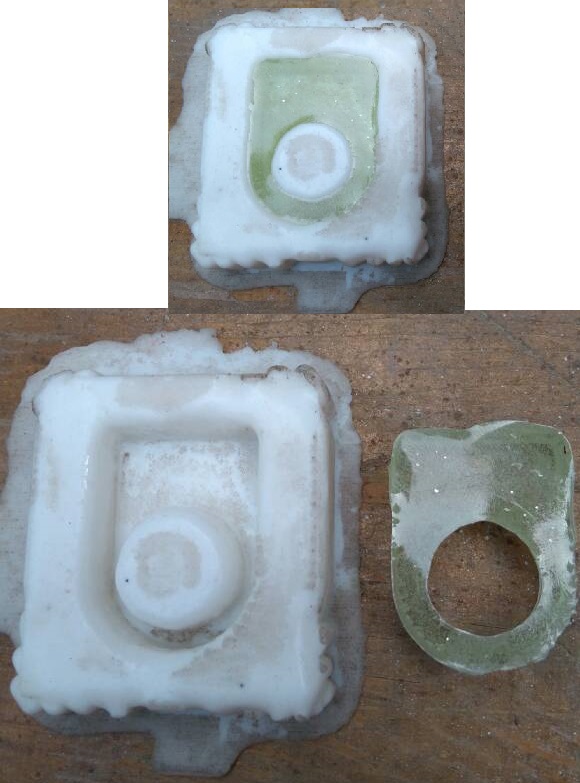
The Final Object.
And here it's how it looked after some polishing by sand paper.
you can download the files used in this assignment from HERE.