Computer Controlled Cutting
Introduction:
For this assignment, It was required to work as a team, make lasercutter test part(s), varying cutting settings and slot dimensions.
Our start:
For this assignment we did several tests:
- The press fit test.
- The Scanning and Cutting on different materials.
- Images scanning parameters.
About the Machine:
Our machine is MT3050D. It's a 60 Watts CO2 laser machine with bed dimensions of 60 x 50 cm. You can find full specification on Morn website.
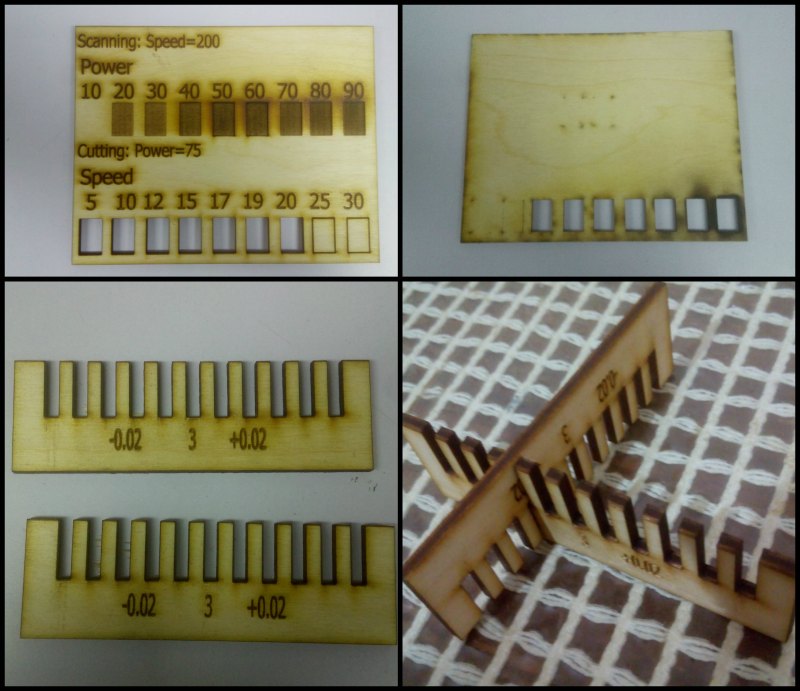
The Press fit test:
One of the important things while cutting on a laser cutter is to know which cut slot width is the right one. It could be done by making these two parts and making some tests.
after selecting the best cutting power and speed (the fastest one that could cut), We made these parts (which looks like a comb) to select the suitable width of the press fit which doesn't make a clearance fit.
And Here we Go!
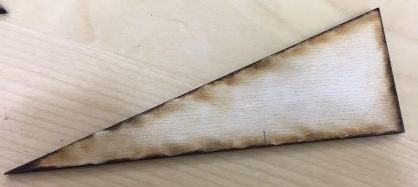
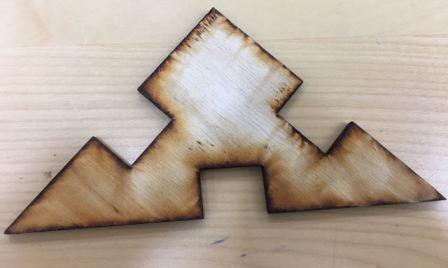
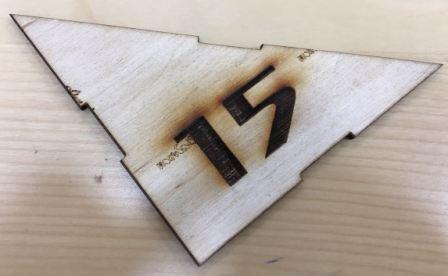
The scanning and cutting on different materials:
The materials we tried are: Polywood of thickness 3mm, Acrylic of 3mm, Cardboard, Compressed white Foam and regular foam.
In those pictures, we were trying different cutting speeds to, also, review the burn traces at the back of the board. The test was made on Power 70, and speeds "10", "14" and "15".
| Front | Back |
|---|---|
 |
 |
 |
 |
 |
 |
And this was the trial on the regular foam and compressed one.
| Regular Foam | Compressed Foam |
|---|---|
 |
 |
After several trials of engraving and cutting on different speeds. We came out with the optimum following settings. Note that these depend on the laser tube lifetime. As time passes, the laser tube power becomes weaker and thus these settings change. So, you'll be needing to recheck those every 3 months of work.
| Material | Mode | Power | Speed |
|---|---|---|---|
| Polywood 3mm | Cut | 75 | 10 |
| Polywood 2mm | Cut | 70 and 50 (For Flexi-wood) | 10 |
| Acrylic 3mm | Cut | 75 | 8 |
| Acrylic 6mm | Cut | 85 | 8 |
| Foam | Cut | 20 | 25 |
| Compressed Foam | Cut | 20 | 50 |
| Cardboard | Cut | 85 | 5 |
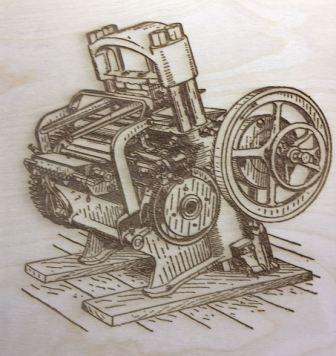
As for Polywood engraving, you can check the map we did for Polywood in the pictures below.


For the rest of the material, here are the recommended:
| Material | Mode | Power | Speed |
|---|---|---|---|
| Acrylic 3mm and 6mm | Scan | 30 | 220 |
| Foam | Scan | 50 | 350 |
| Cardboard | Scan | 50 | 100 |
Images scanning parameters:
As for pictures, we used Bitmap handle feature in RDWorks program to edit the picture. But first of all, you need to have a picture with a good resolution and little noise (secondary details).
This feature will open a window in which you can control various settings of the picture. Now, vary the following settings until you get the best out of the picture:
1. Brightness.
2. Contrast.
3. Resolution must be in range of 1000 up to 1500.
4. Frequency must be in range of 50 up to 70.
5. Dither, by select one of these types:
- Net graphic.
- Dot graphic.
- Black and White.
- Gray scale.
- Sharpen.
As for speed recommendation, we go for not greater or less than "150" to be able to get the finest details of the picture; and for power, we recommend, a maximum of "10" or "15".

 |
 |
One last thing you'll need to know about your laser, is to watch out for the temperature of the water serving the cooling cycle. It must not exceed "25 degrees celcuis", as if it does, the machine will not cut properly and you'll have a very low engraving quality as well.