Week 7
COMPUTER CONTROLLED MACHINING
ASSIGNMENT
- Make something big.
Getting started with this week's assignment, following tasks had to be done :
- Designing cutting file in Rhino
- Preparing roughing and finishing toolpath using Partworks
- Setting up the Shop-bot for cutting the designed pieces
- Assembly


DESIGNING
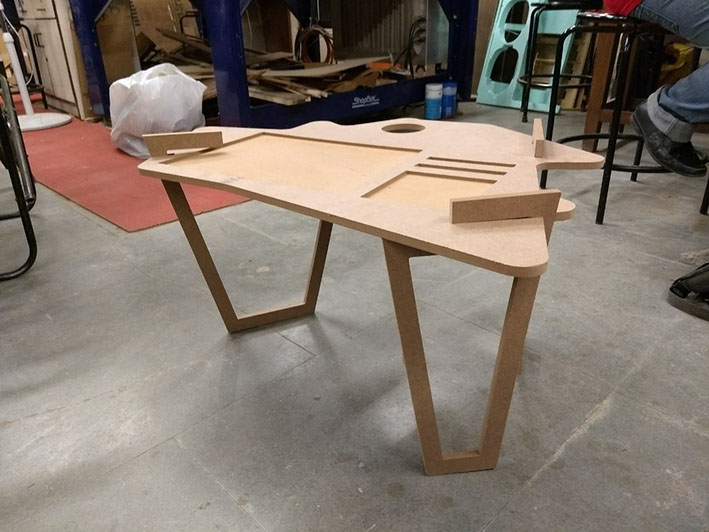
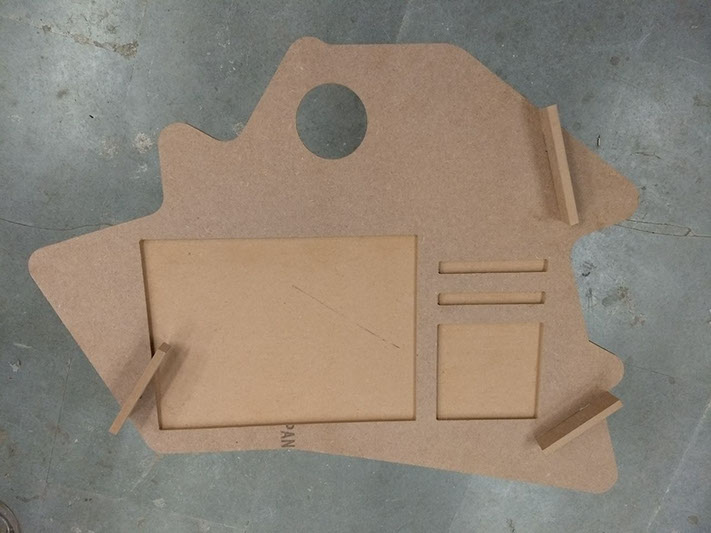
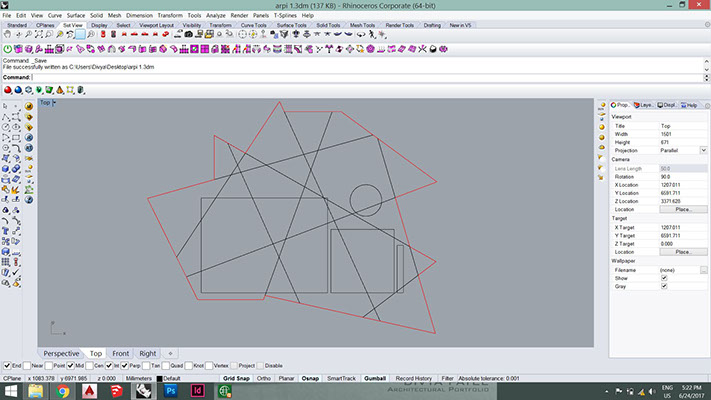
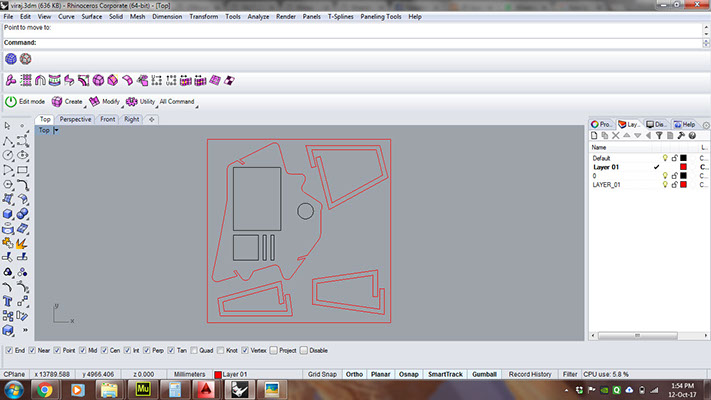
I wanted to make a small table, which can hold my Laptop, mouse, coffee mug and a pen. I decided to use Rhino to design my cutting file.
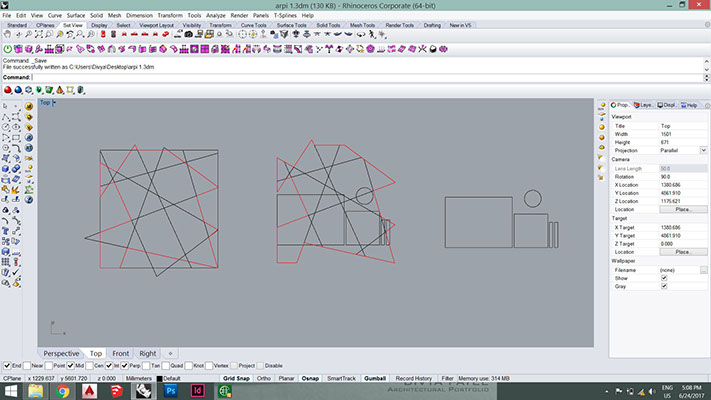
I made a square boundary and drew random angular lines. I picked certain lines to derive angular border of table. Then I took measurements of my Laptop, mouse-pad, coffee mug and pen to place their outlines on the table.
This is how my table top would look like.
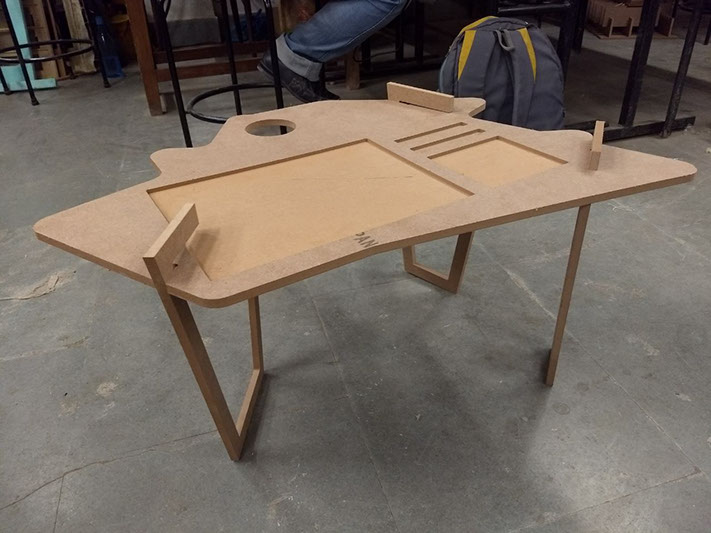
Then I determined 3 lines on the table-top where I wanted my supports to come and drew rectangles with these widths and equal heights.
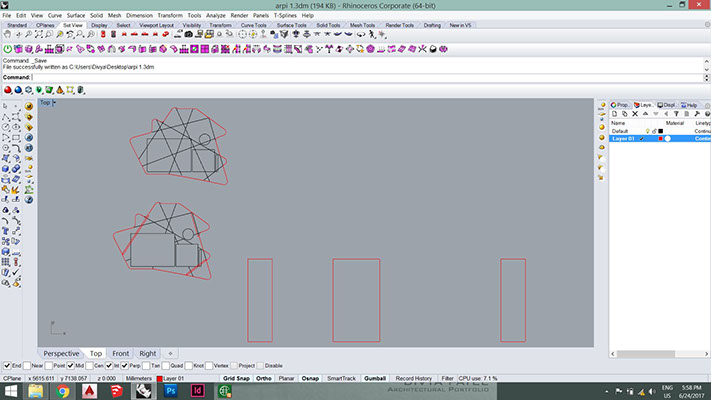
Then I started making my supports.
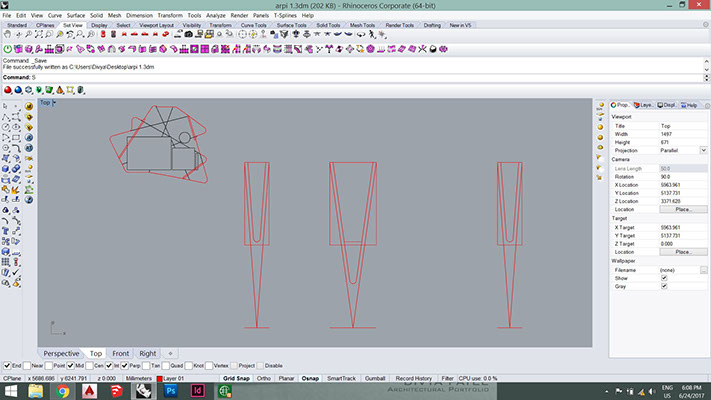
I designed the top of the supports such that the table-top can slide onto them.
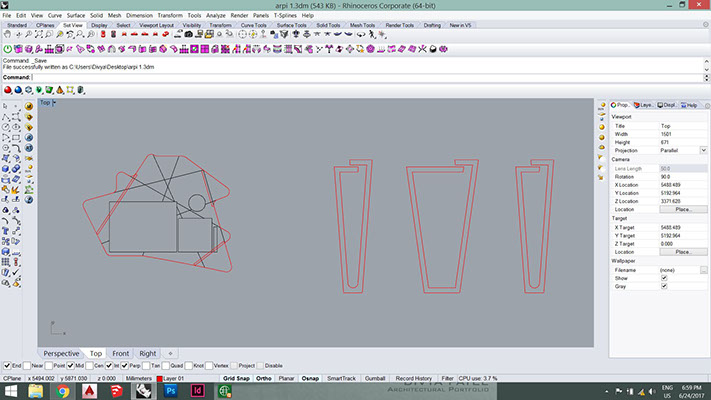
This is how my final file looked like after nesting. The black lines indicate pockets and the red lines indicate cut lines. I imported this file as .dxf format.
PARTWORKS
I used Partworks software to generate toolpath for pockets and profile cuts.
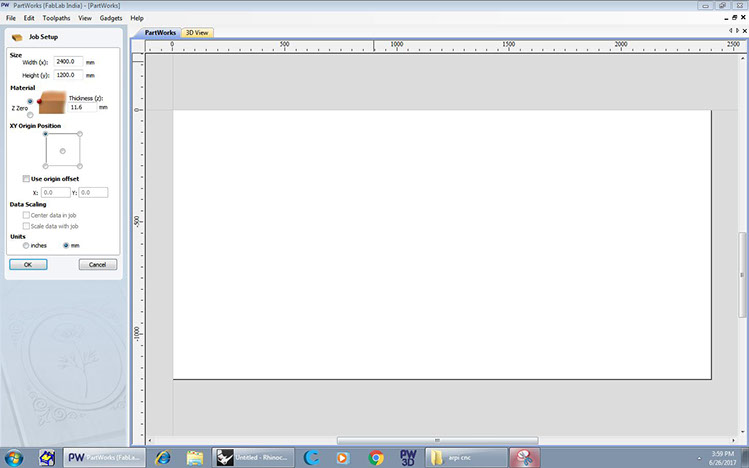
First I set the bed size as 1200 * 2400mm and the material thickness as 12mm with the origin point. After this I imported the .dxf file into Partworks.
I selected the lines for pocketing to generate the Pocket-toolpath.
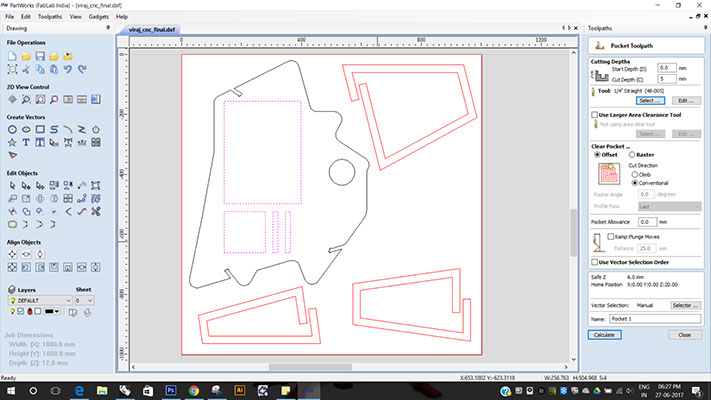
I selected the following parameters for setting up the Pocket toolpath:
Cut Depth = 5mm
1/4th inch Straight bit
Feed Rate= 1.5 inches/sec
Plunge Rate= 1.5 inches/sec
Spindle Rate = 7000 rpm
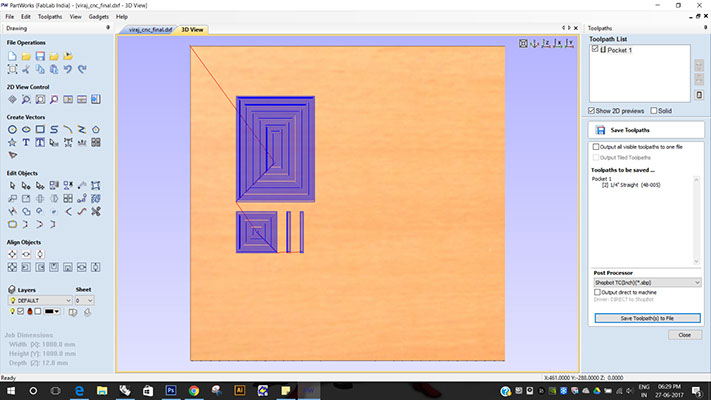
Here is the 3D preview of the toolpath.
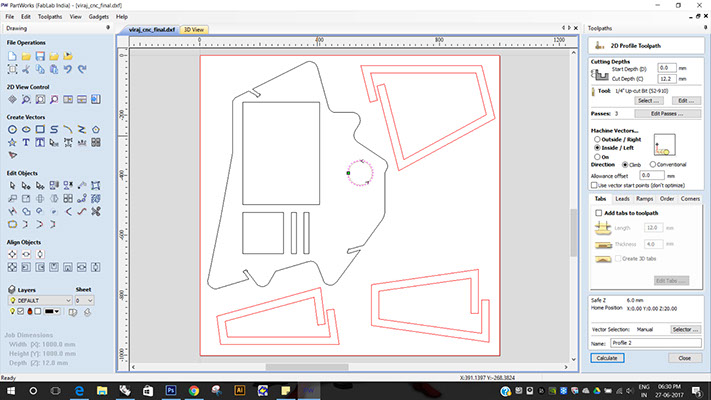
Next I selected the circle which would hold my coffee-mug because this toolpath will be Inside-cut
I selected the following parameters for setting up the Pocket toolpath:
Cut Depth = 12.2mm
1/4th inch Up-cut bit
Machine vectors = Inside/left
Feed Rate= 1.5 inches/sec
Plunge Rate= 1.5 inches/sec
Spindle Rate = 12000 rpm
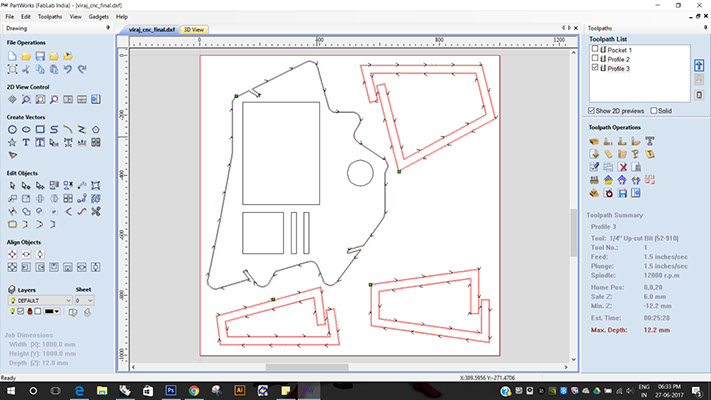
Next I selected the remaining curves for cutting toolpath.
Most of the settings for this toolpath was equal to the previous cutting toolpath. I changed the Machine vectors to Outside/right. And I added Tabs so that the cut pieces do not get removed from their position while the job is still going on.
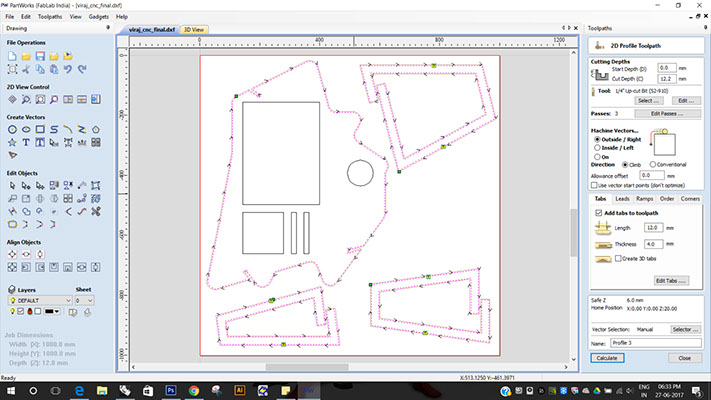
Thus, I created 3 toolpaths and downloaded them one by one.
SHOPBOT ALPHA
Sequential steps have to be followed to turn on the ShopBot Alpha machine.
- Turn on the single phase motor and single phase power.
- Rotate the Red switch to On position.
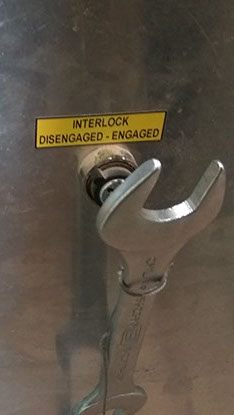
- The key with the spanner is kept at Disengaged, this will be turned to Engaged once the bit has been attached.
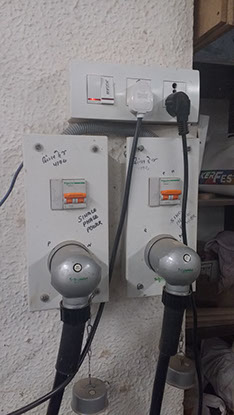
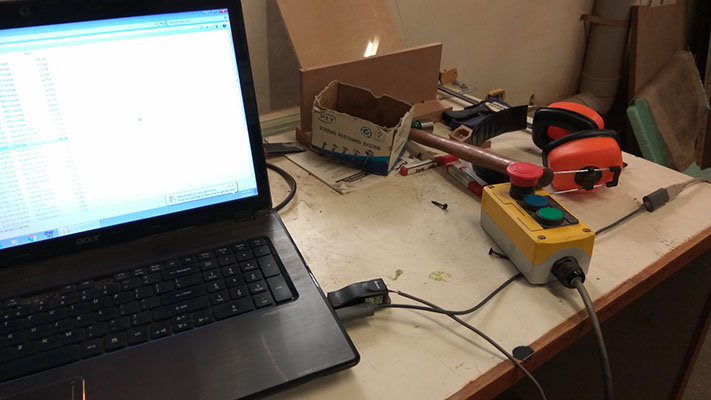
There are emergency buttons attached with Shop bot.
Red is for Stop
Blue is for Reset
Green is for Start
.jpg?crc=4292537722)
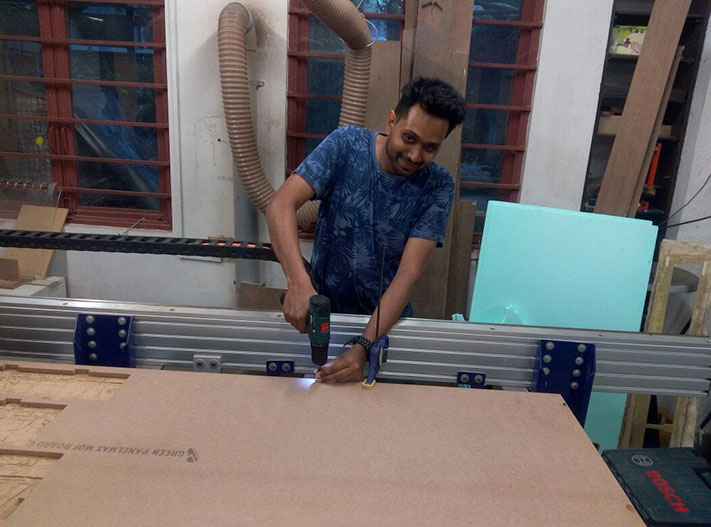
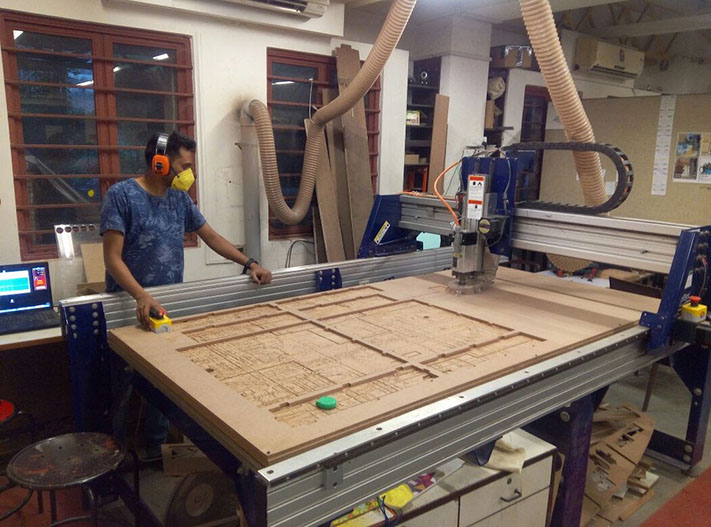
Once the Machine was set-up, I used Screws and Clamps to make sure that the 12mm sheet is stuck to the Machine-Bed. Also, very important to make sure the Vacuum is connected to the Machine to extract the dust and small waste bits generated while cutting. Otherwise this can cause serious damage to health.
Now I started the ShopBot software.
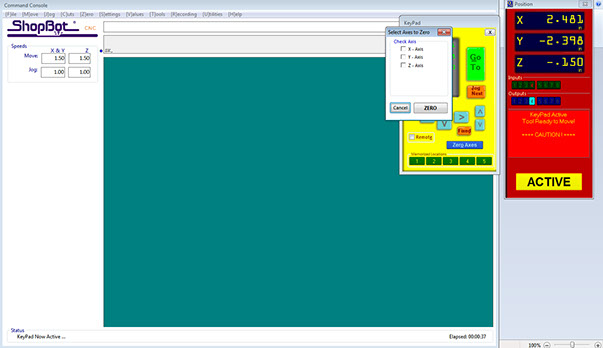
The red dialogue box is used to set the Origin. You can click on small yellow button to select X,Y,Z movement of the spindle.
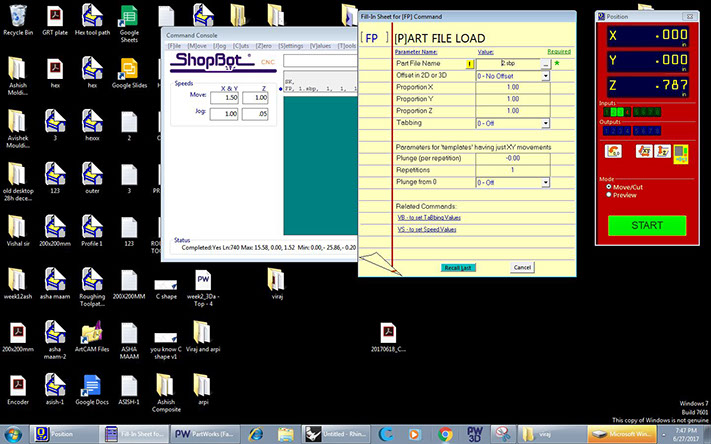
Once you have Set the Bit on the machine in the desired Origin Position, Check X,Y and Z axis to Set the Origin to that position.
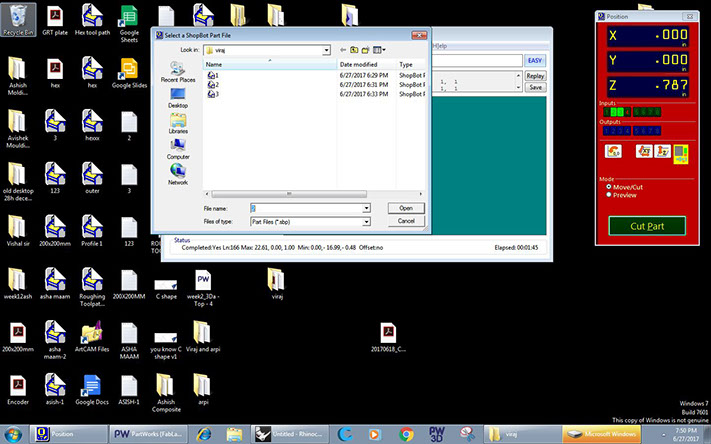
I selected Toolpath 1 and pressed CutPart.
Spindle warmup get activated and the spindle is rotated at 9000rpm to prepare it for cut.
Once this is done, I press Start to start cutting the First File.
This was Pocket Toolpath. Once that was done I repeated the process for other Toolpaths.
LEARNINGS OF THE ASSIGNMENT
- Learned how to program Attiny based boards using Arduno ISP
- Learned how to download board files and get support for more controllers for Arduino ide.
- Finally I have a board working completely made my myself and self programmed. now more confident to make more such boards
Following images show the process of cutting.
.jpg?crc=4151996195)
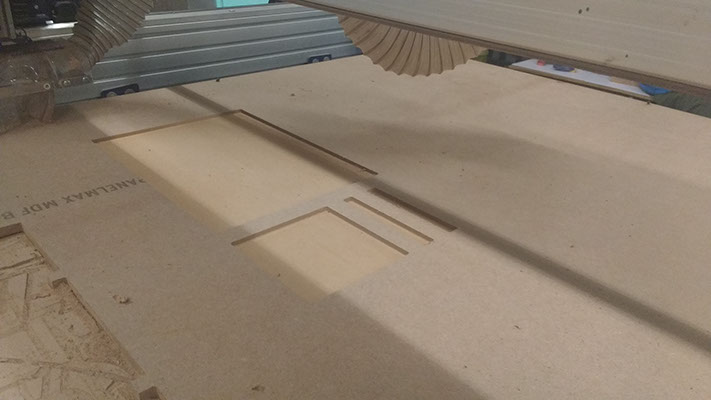
.jpg?crc=4075397255)
.jpg?crc=4108478138)
Once the cutting was done, I assembled the pieces to make my personalized Table.