Week 14: Composites
Tasks for the week:
- Design a 3D mold
- Read the material safety data sheet (MSDS) and technical data sheet (TDS) for the resins that you're using
- Cast a composite into the mold
This week before I start my task, I decided to test molding using Jute fabric and Epoxy.
For this week, I chose to use the Araldite XIN900 adhesive. My Fab Academy colleague Siddharth Arya, got the material as a pack that included Epoxy and its hardener.
Important points from the Product's data sheet:
XIN 100 IN have following outstanding properties:
1. Excellent adhesion to many different materials.
2. Great strength, toughness and resilience.
3. excellent resistance to chemical attack and to moisture.
4. Outstanding electrical insulating properties.
5. Absence of volatiles on curing.
6. Negligible shrinkage. XIN 900 IN joints are water-proof, heat-proof, stress-proof & resistant to most chemicals, Non-corrosive and Non-toxic.
1st Trial:
Status: Success!
Materials Used: Araldite epoxy and hardener along with Jute Fabric
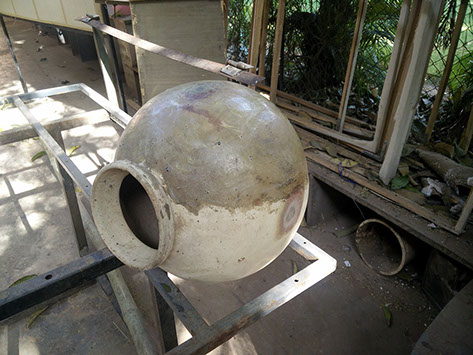
Mold: Earthen pot
Step:01
Anti-Absorbent- Preparation and application
Since the idea was to cast a mold over the earthen pot, it needed a layer of anti-absorbent before applying the epoxy, so that the clay of the pot doesn't absorb the epoxy liquid.
Preparation:
I contacted the local sculptors in my city, to understand the technique of casting using epoxy and hardener.
They advised me to make a Soap-Oil solution as and anti-absorbent before applying epoxy. They locally make it by mixing liquid soap and grease oil.
So, my colleague Siddharth and I tried to make the solution ourselves, with the materials available at out lab.
We mixed the following to prepare the solution. And the solution actually worked!
1. Hand-wash soap liquid
2.Dish wash soap liquid
3. Motor-Grease
4. Mustard Oil
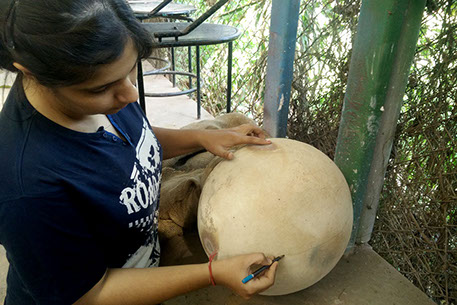
So first step was to mark the edge till where I needed to cast a mold. So I did this using a pencil.
Next step was to apply the anti-absorbent
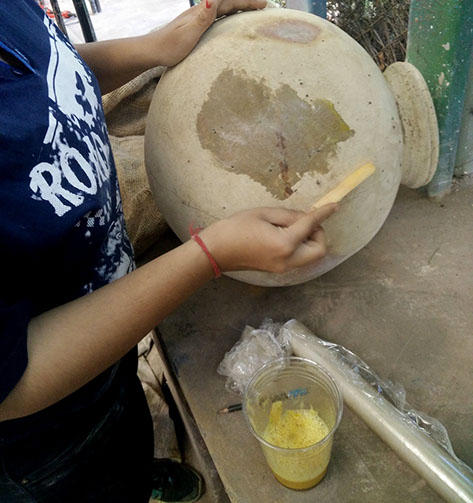
The image shows the pot after applying the layer of anti-abosrbent
Application: The anti-absorbent need to be applied as a layer on the earthen pot. I used a flat pine-stick to evenly apply it. Since it is a mixture of oil and grease, it spreads smoothly over the surface. Also, it is non-toxic in nature, so can be applied using bare hands.
Step:02
Composite: Preparation and Application
Preparation:
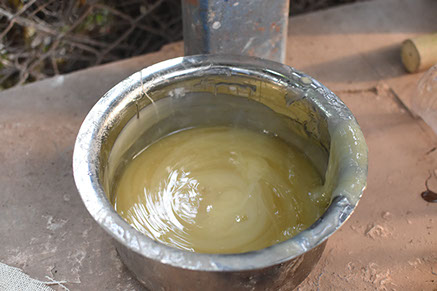
I decided to use Jute fabric and epoxy to make my composite material this week. So first I needed to prepare the epoxy solution by mixing hardener into it.
Proportions for Epoxy liquid : Hardener is 1:1
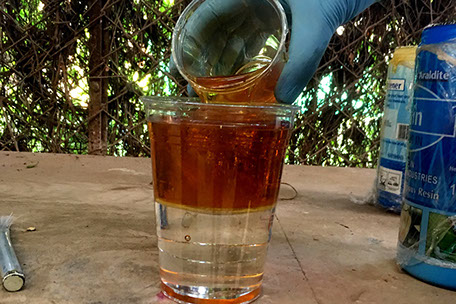
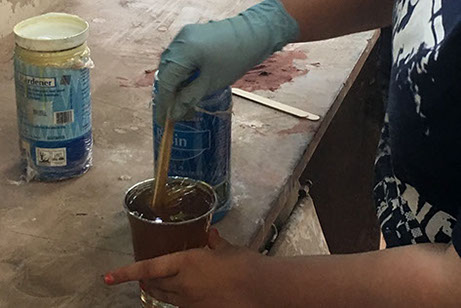
So, I mixed both solutions in equal quantities
And then mixed it well
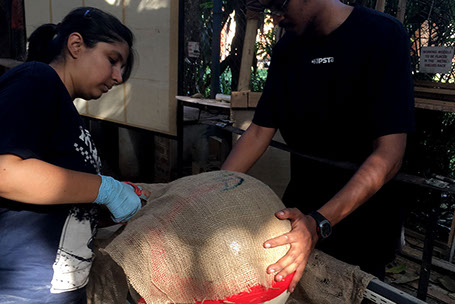
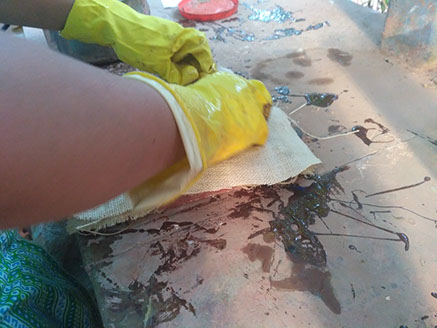
Next, I laid jute fabric over the mold and cut it as per the required quantity around the edges. I marked the edges using a red tape.
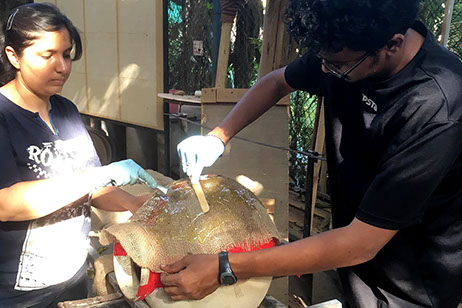
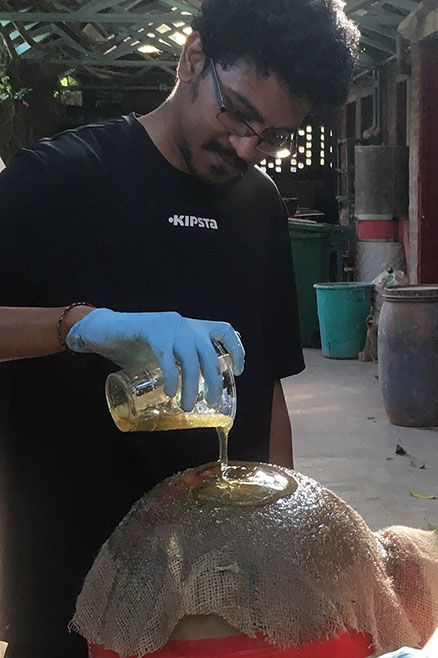
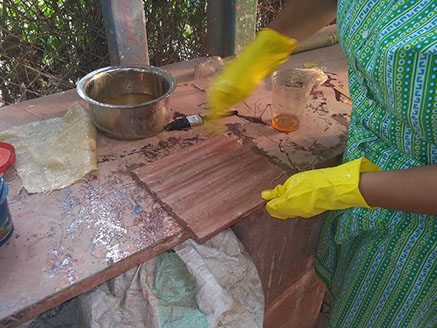
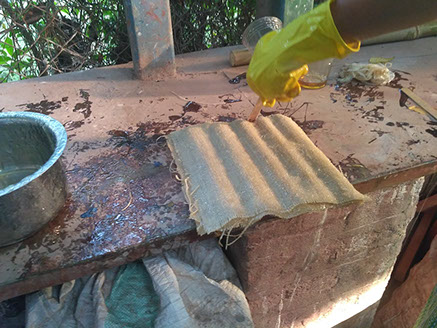
Application: Next Siddharth and I poured the epoxy solution over the jute, and started spreading all over the required area using a pine-stick and a brush. It was mentioned on the epoxy container, that one shouldn't touch the solution with bare hands, hence we wore gloves.
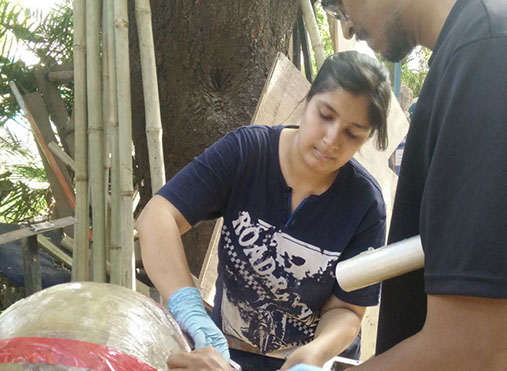
Also, I applied cling wrap on half of the surface to see which one works better as an anti-absorbent
Step:03
Removing the cast from the mold
I first removed the tapes and then tried to peel of the casted surface, Since it had been only 2 hours, the cast was still flexible. The cling wrap couldn't be separated from the mould but the grease part didn't let the cast liquid get absorbed. So the grease worked better.
The video below shows the removal process.
2nd Trial:
Status: Successful!
Materials Used: Araldite epoxy and hardener along with Jute Fabric
Mold: Self-Designed 3D mold
Step:01
Designing the 3D mold
For the mold, I decided to make a mold onto which I can cast a surface. I chose to make a wave like mold onto which I can cast the surface.
I designed the mold using Rhinoceros.
.jpg?crc=4050266310)
_2x.jpg?crc=3813376285)
The image shows the basic line drawing of the mold which I extruded it to get the form. The thickness of the mold is 22mm. For this I would join two 11mm thick MDF board pieces to achieve the desired height while milling.
The image shows the 3D view of the mold
Step:02
Fabricating the Mold
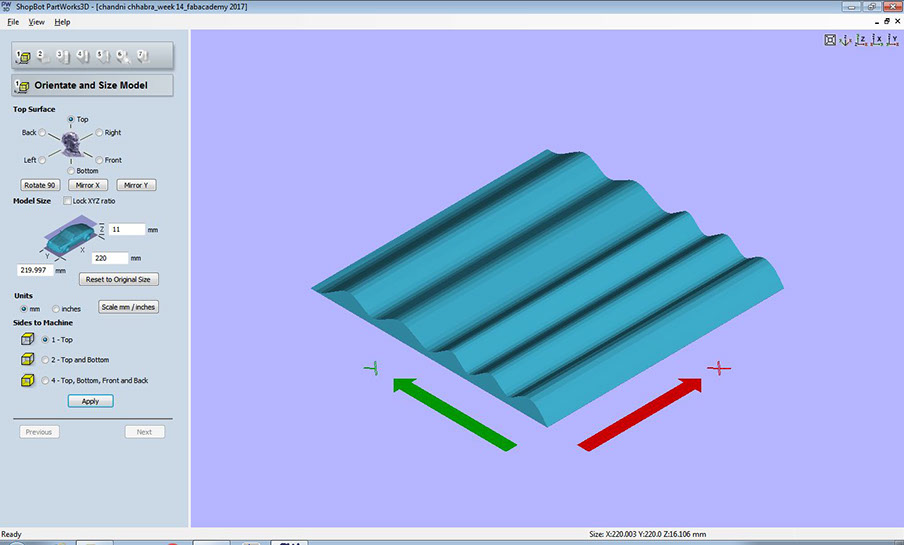
I opened the '.stl' file in Partworks 3D and the below screen appeared. Here, the first stage of setup was to set orientation and size of the model. The parameters I can be seen below:

Next, I entered parameters required for material size and margins. The parameters can be seen below:

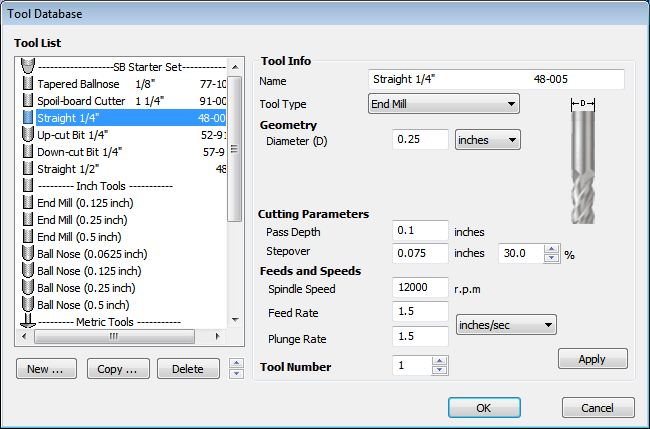
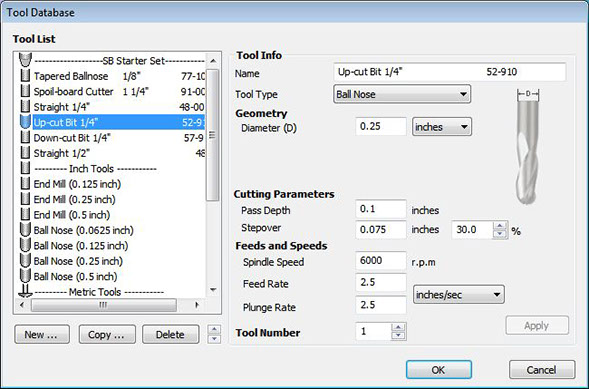
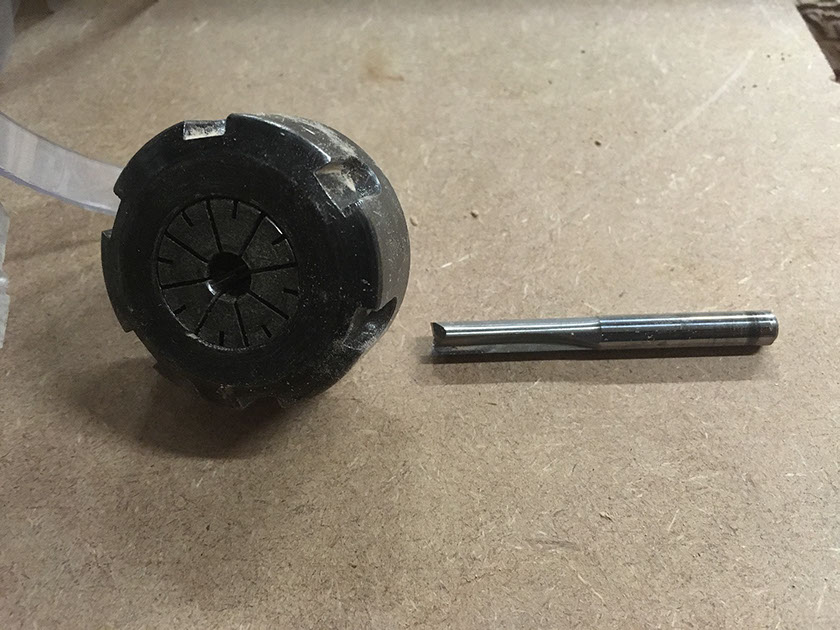
Next step was to set parameters for the roughing toolpath. The important parameter here is for the tool being used. I used 1/4th straight cut bit at the following parameters:
Spindle Speed:13000 r.p.m
Feed Rate:1.5 inch/sec
Plunge Rate:1.5 inch/sec
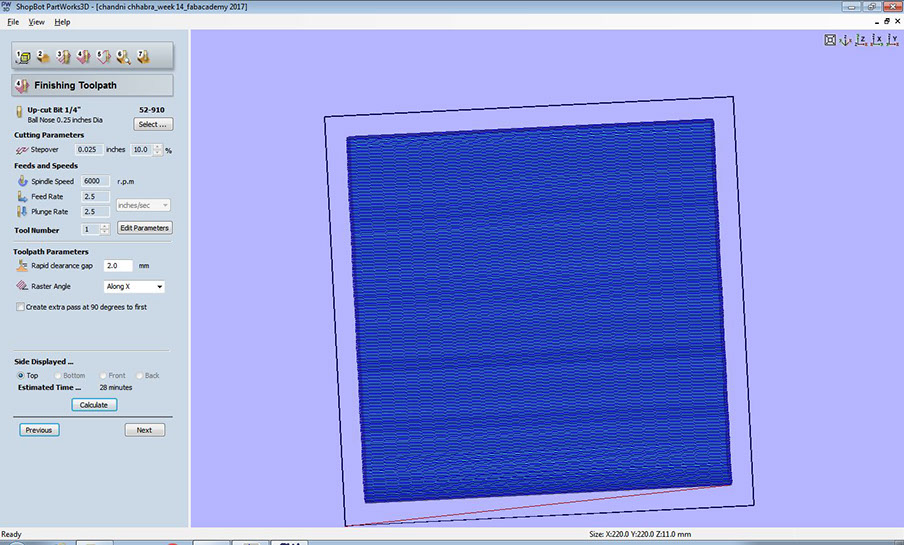
After roughing, I set parameters for the finishing toolpath as seen above.For this I used an 1/4th inch Upcut- ballnose bit at the following parameters.
Spindle Speed:6000 r.p.m
Feed Rate:2.5 inch/sec
Plunge Rate:2.5 inch/sec
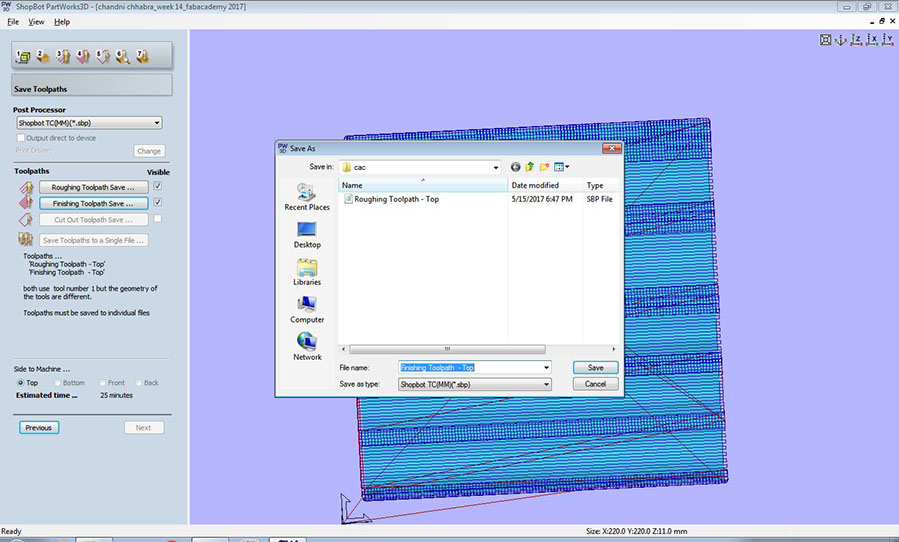
I didnt require a cutting toolpath as the board I was using was of the required dimensions. Hence, I previewed the toolpath and saved it to get started with the cutting.
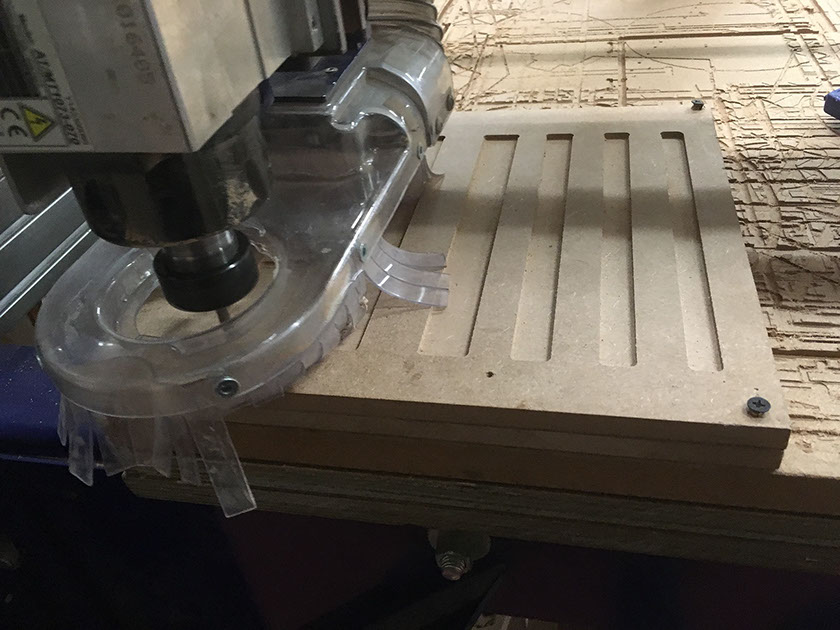
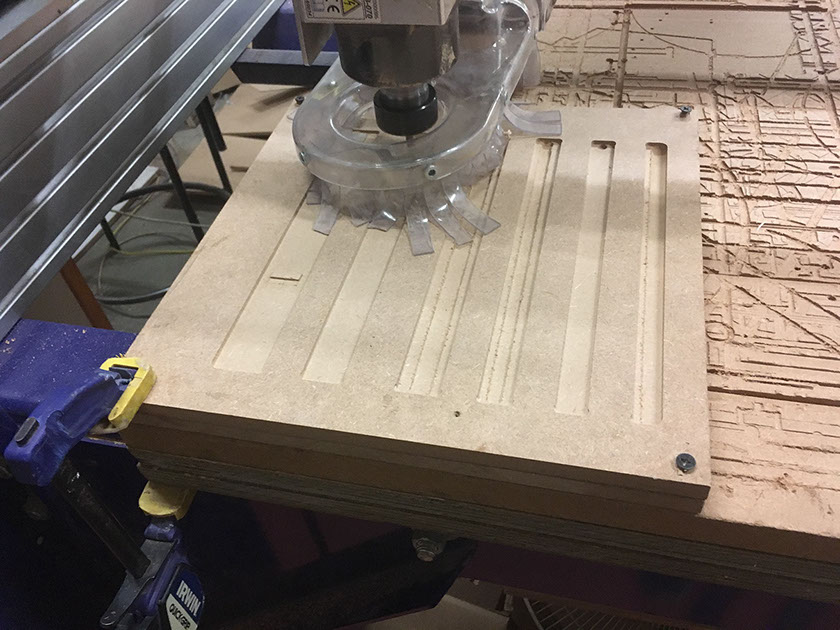
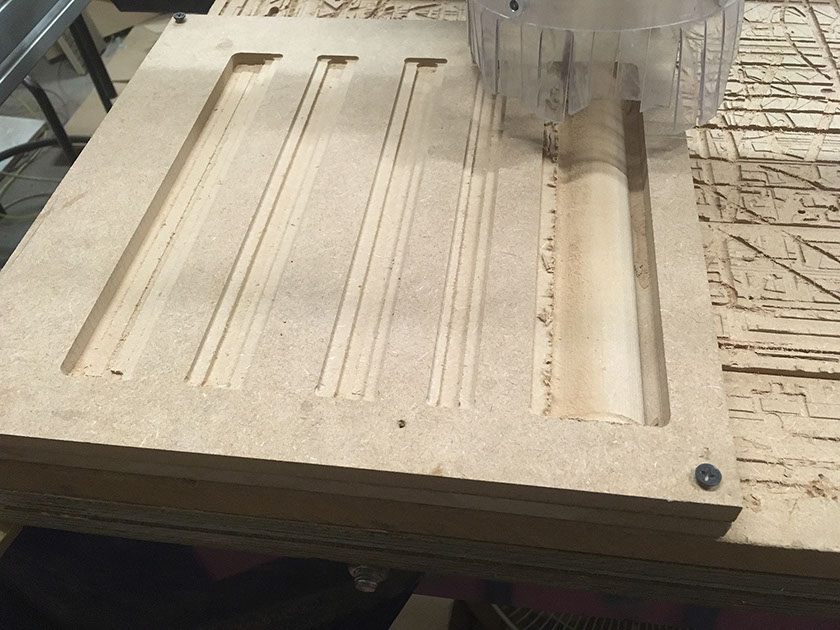
Below are the images that show the fabrication of the Mold:
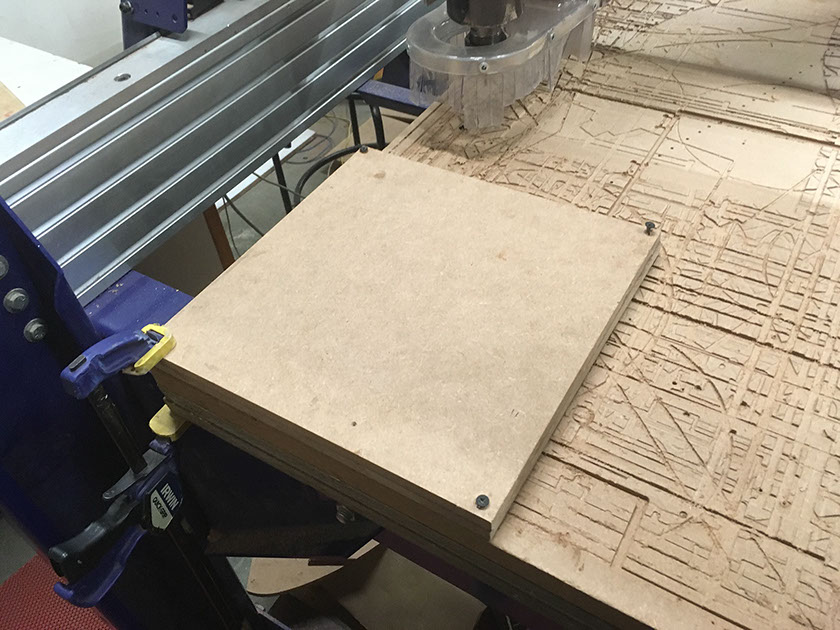
<
>
Step:03
Casting the Composite
My idea was to use 3 layers of burlap with epoxy resin for this assignment. I chose to use Araldrite AW-106 Resin and HV 953 hardener.The datasheet can be referred at this link.
Important points fromthe product's datasheet:
- Curing temperature range is 20 Deg C to 180 Deg C and curing time is 12 hrs.
- Resin will be creamy viscous liquid and the Hardener will be Amber looking liquid.
- The surfaces need to be cleaned from dust to be applied before.
- Thickness of each layer should be .05mm to.1mm between the layers.

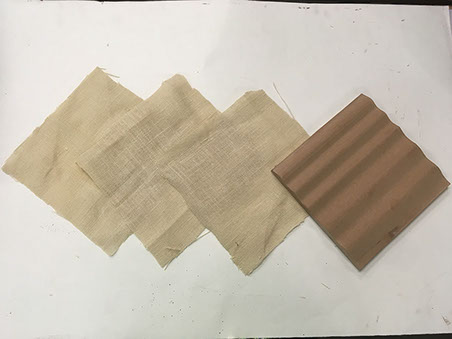
To begin with, I took the mold and applied the anti-absorbant mixture onto it to avoid the MDF board from absobing the Resin mixture. Next, I cut 3 pieces of jute cloth that I shall use as fibre layers for my composite.
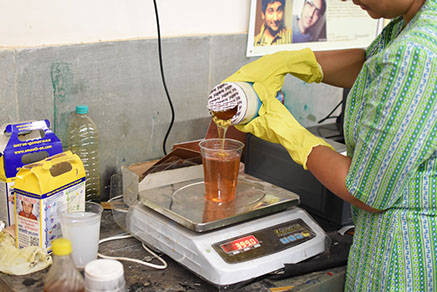
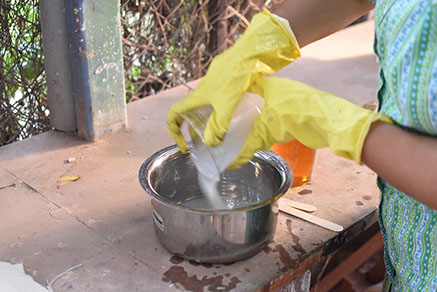
Since Avishek and I were doing this assignment simultaneously, we made the batch of resin together. Hence we mixed both part A and part B in 1:1 proportion as suggested in the data sheet.

Next, I applied coat of resin and then layed the jute cloth over it. I repeated this process 3 times and spread out the resin mixture evenly over each layer.
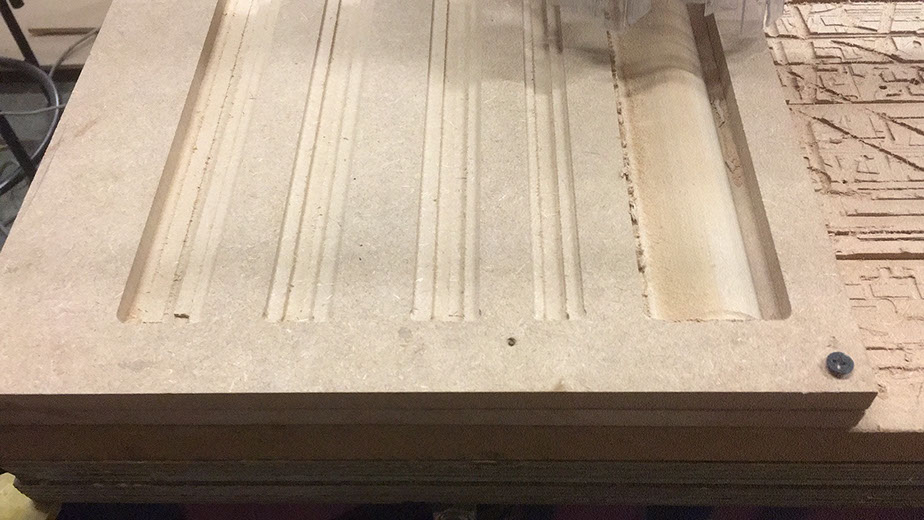
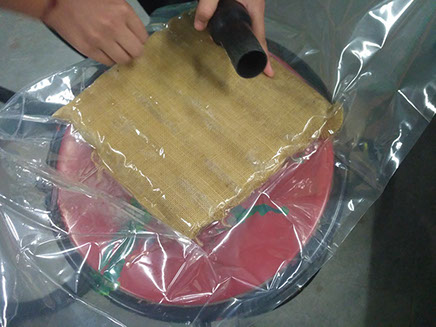
This is how my mold looked like after applying 3 coats of resin and jute.
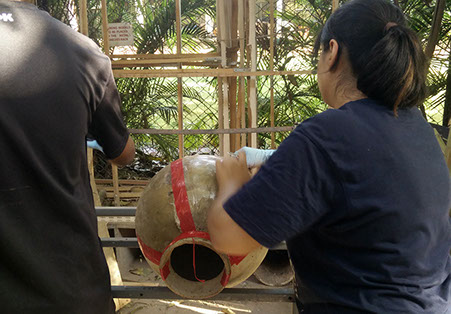
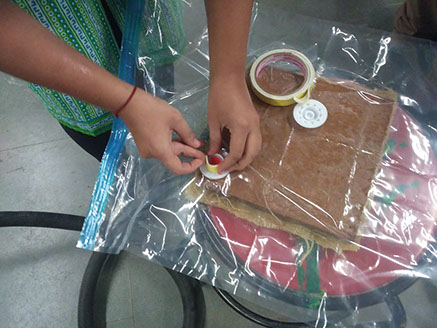
Now, for compression I used a vaccum bag. For this, I placed my mold inside a vaccum bag and sucked out the air inside the bag by using a vaccum pump.
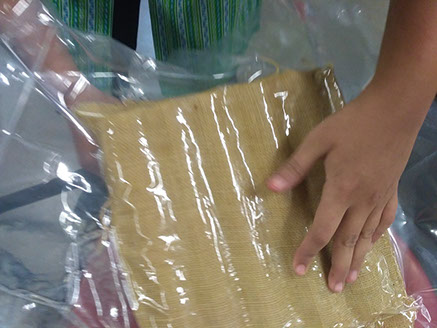
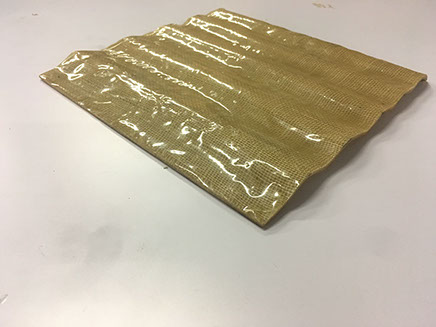
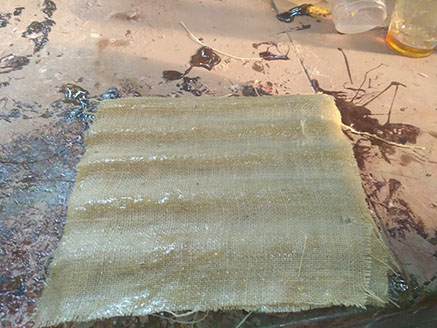
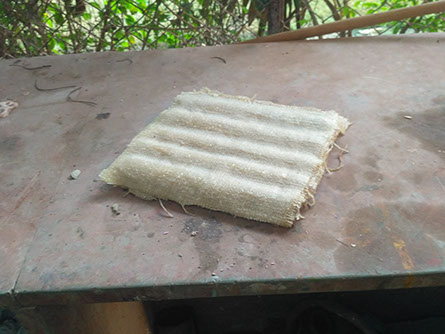
After, curing my composite looked like this:)
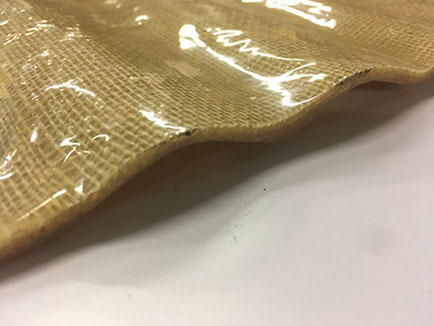
The surface came out smooth because of the vaccum bag.
Images for the final composite:
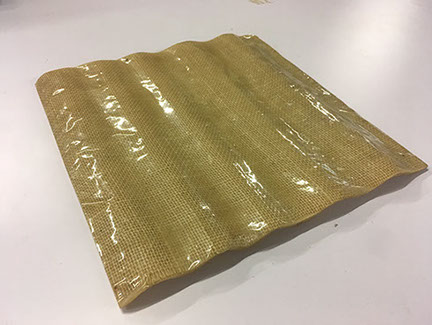
Hero shot of the composite
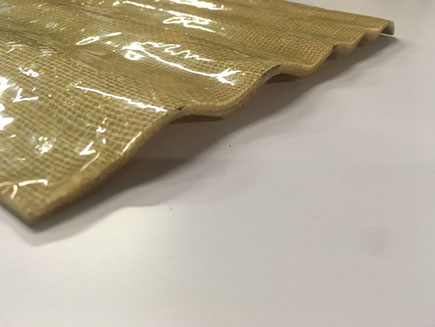
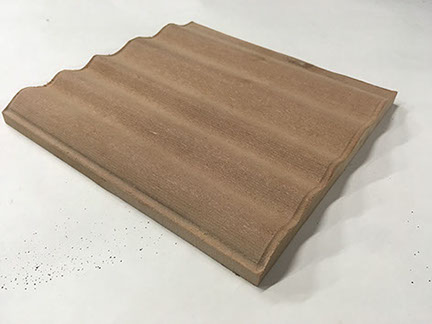
Hero shot of the mold
It looks like there is a layer of vaccum bag over the composite, but its not. The vaccum bag got separated easily. The glossiness over the composite is actually resin.
Step:01
Milling the FabISP
To start milling the FabISP , I first understood the method of working using Ubuntu (basics).So I documented each step of opening a file and creating .rml file for milling.

EX-TERRA-DUR by Chandni Chhabra is licensed under a Creative Commons Attribution-ShareAlike 4.0 International License.