Week 02
Computer Aided Design
The second lecture on Wednesday February 1st was about Computer Aided Design, different software and tools to model in 2D and 3D. Assignment given by Neil for this second week was:
- Model (draw, render, animate, simulate, ...) a possible Final Project and post it on your class page
2D Image Manipulating: the GIMP
I used the GIMP 2D raster image manipulation software from GNU Project to sketch MailPlus concept as a potential Final Project. This was for me a smooth choice since the GIMP it's released under GPLv.3 License and, as far as I can, I prefer using Free Software. Getting the GIMP is very simple on GNU/Linux system, like Debian or derivatives (e.g. popular Ubuntu and Mint distributions), as opening a terminal and using apt-get package manager:
~ $ apt-get install gimp
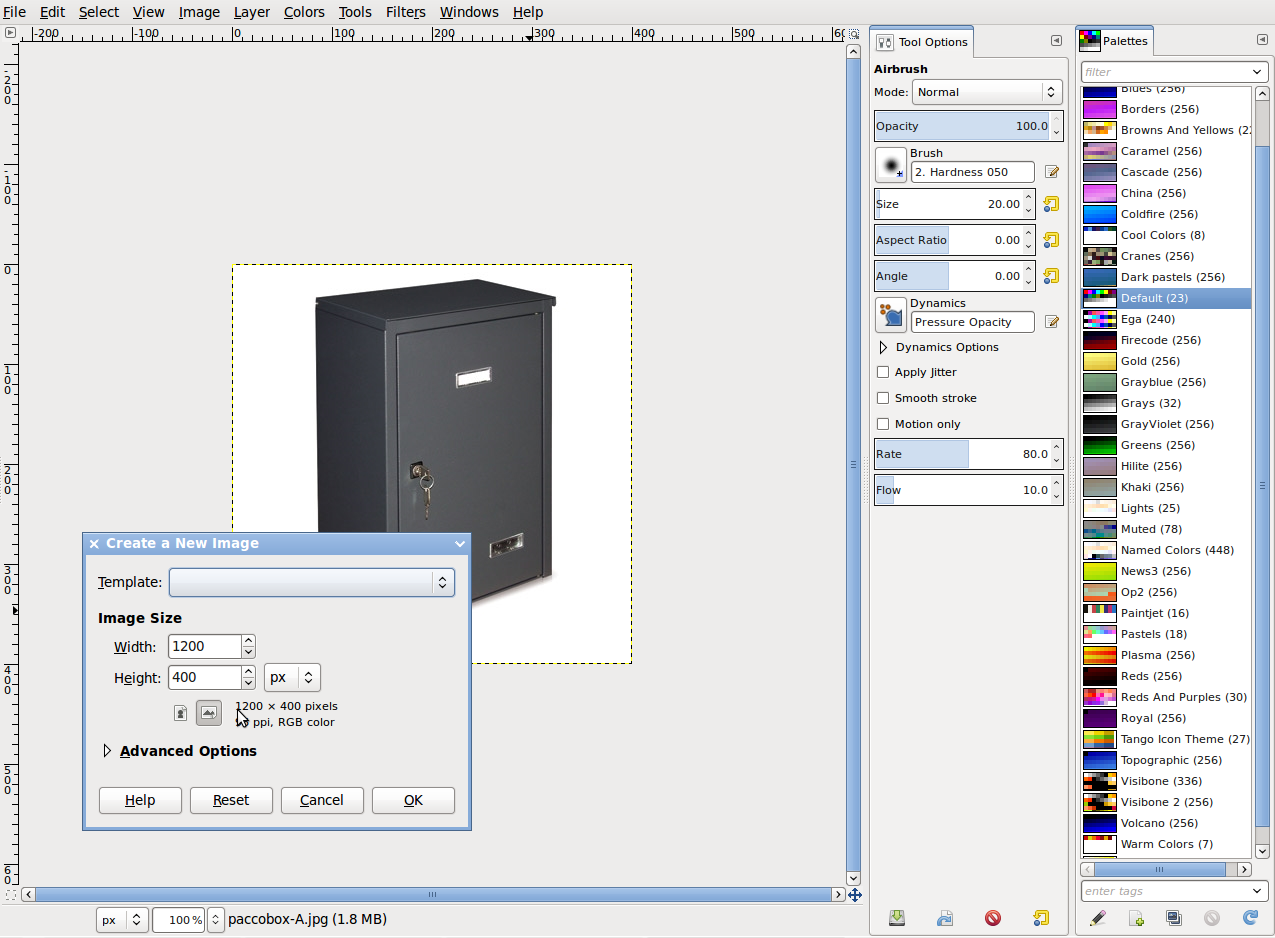
Inkscape User Interface did not seem to me very intuitive, at least until I switched to Single Windows Mode (Menu => Windows => Tick on Single Windows Mode) which is available from 2.8 Release; this mode consists in a the Image Window where the image to manipulate is displayed, and in a number of Panels (Main Toolboox & Tool Options, the Layers/Channels/Paths/History Dock, and Brushes/Patterns/Gradients Dock). After creating a new image and fumbling with different tools, I felt confident about putting together some different single images
then I edited in a different layer the yellow "Plus" operator symbol
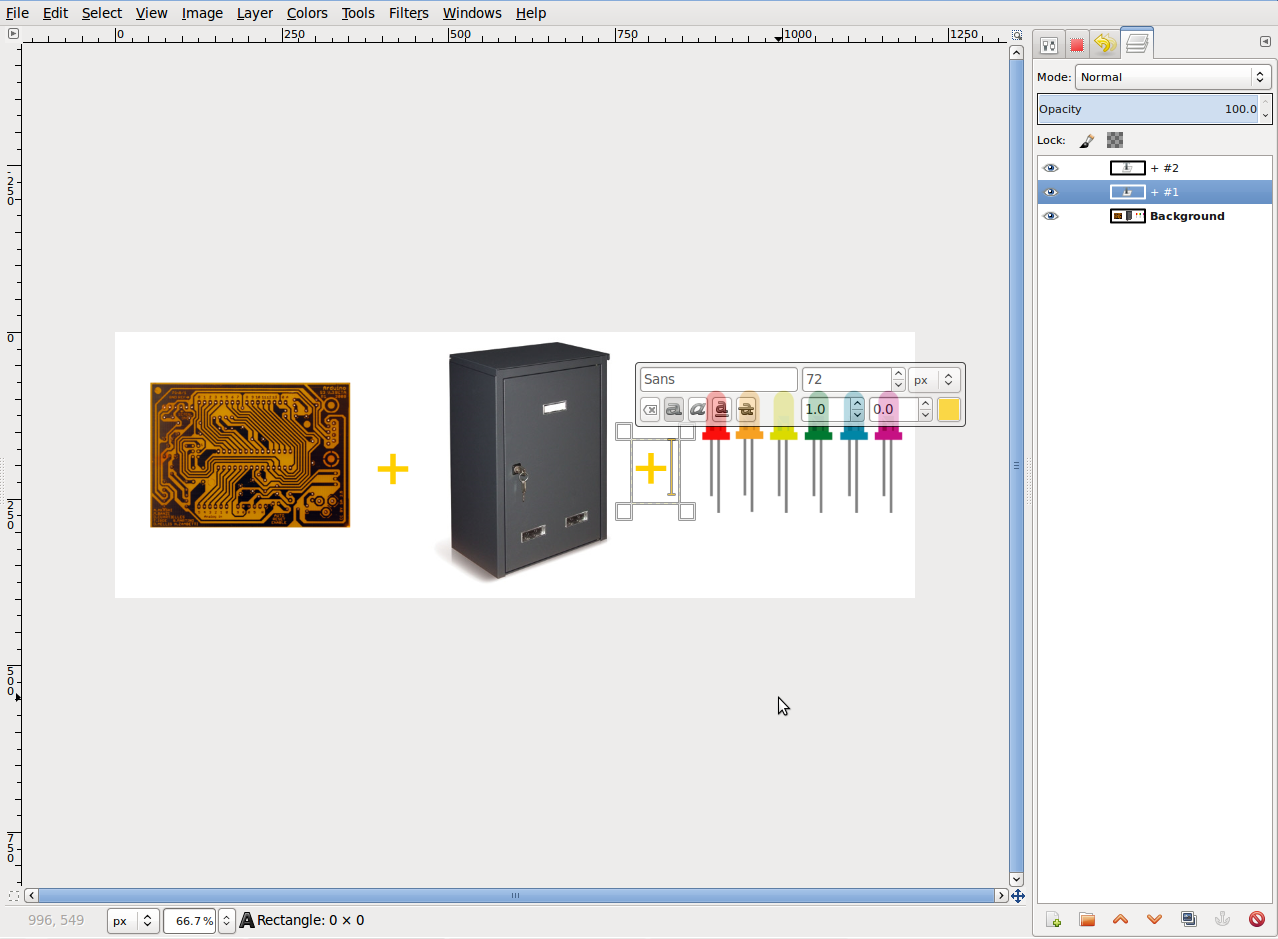
and here's the GIMP final .png file format output

The GIMP is indeed a very powerful software: it supports macros (so called "Script-Fus") a lot of plugins: some of them very useful for Fab Academy purposes, like the BIMP (Batch Image Manipulation Plugin) by Alessandro Francesconi to properly resize file images for web-publishing purpose, as pointed out by guru instructor Enrico Bassi during italian regional review.
2D Drawing: Inkscape
After taking a look at the different vector 2D softwares presented by Neil during the weekly lecture, I decided to make first vector 2D model of my potential Final Project using Inkscape; again, a straightforward choice for me: it's released under GPLv.2 License and, as far as I can, I prefer using Free Software. Getting Inkscape software is very simple on GNU/Linux system, like Debian or derivatives (e.g. popular Ubuntu and Mint distributions), as opening a terminal and using apt-get package manager:
~ $ apt-get install inkscape
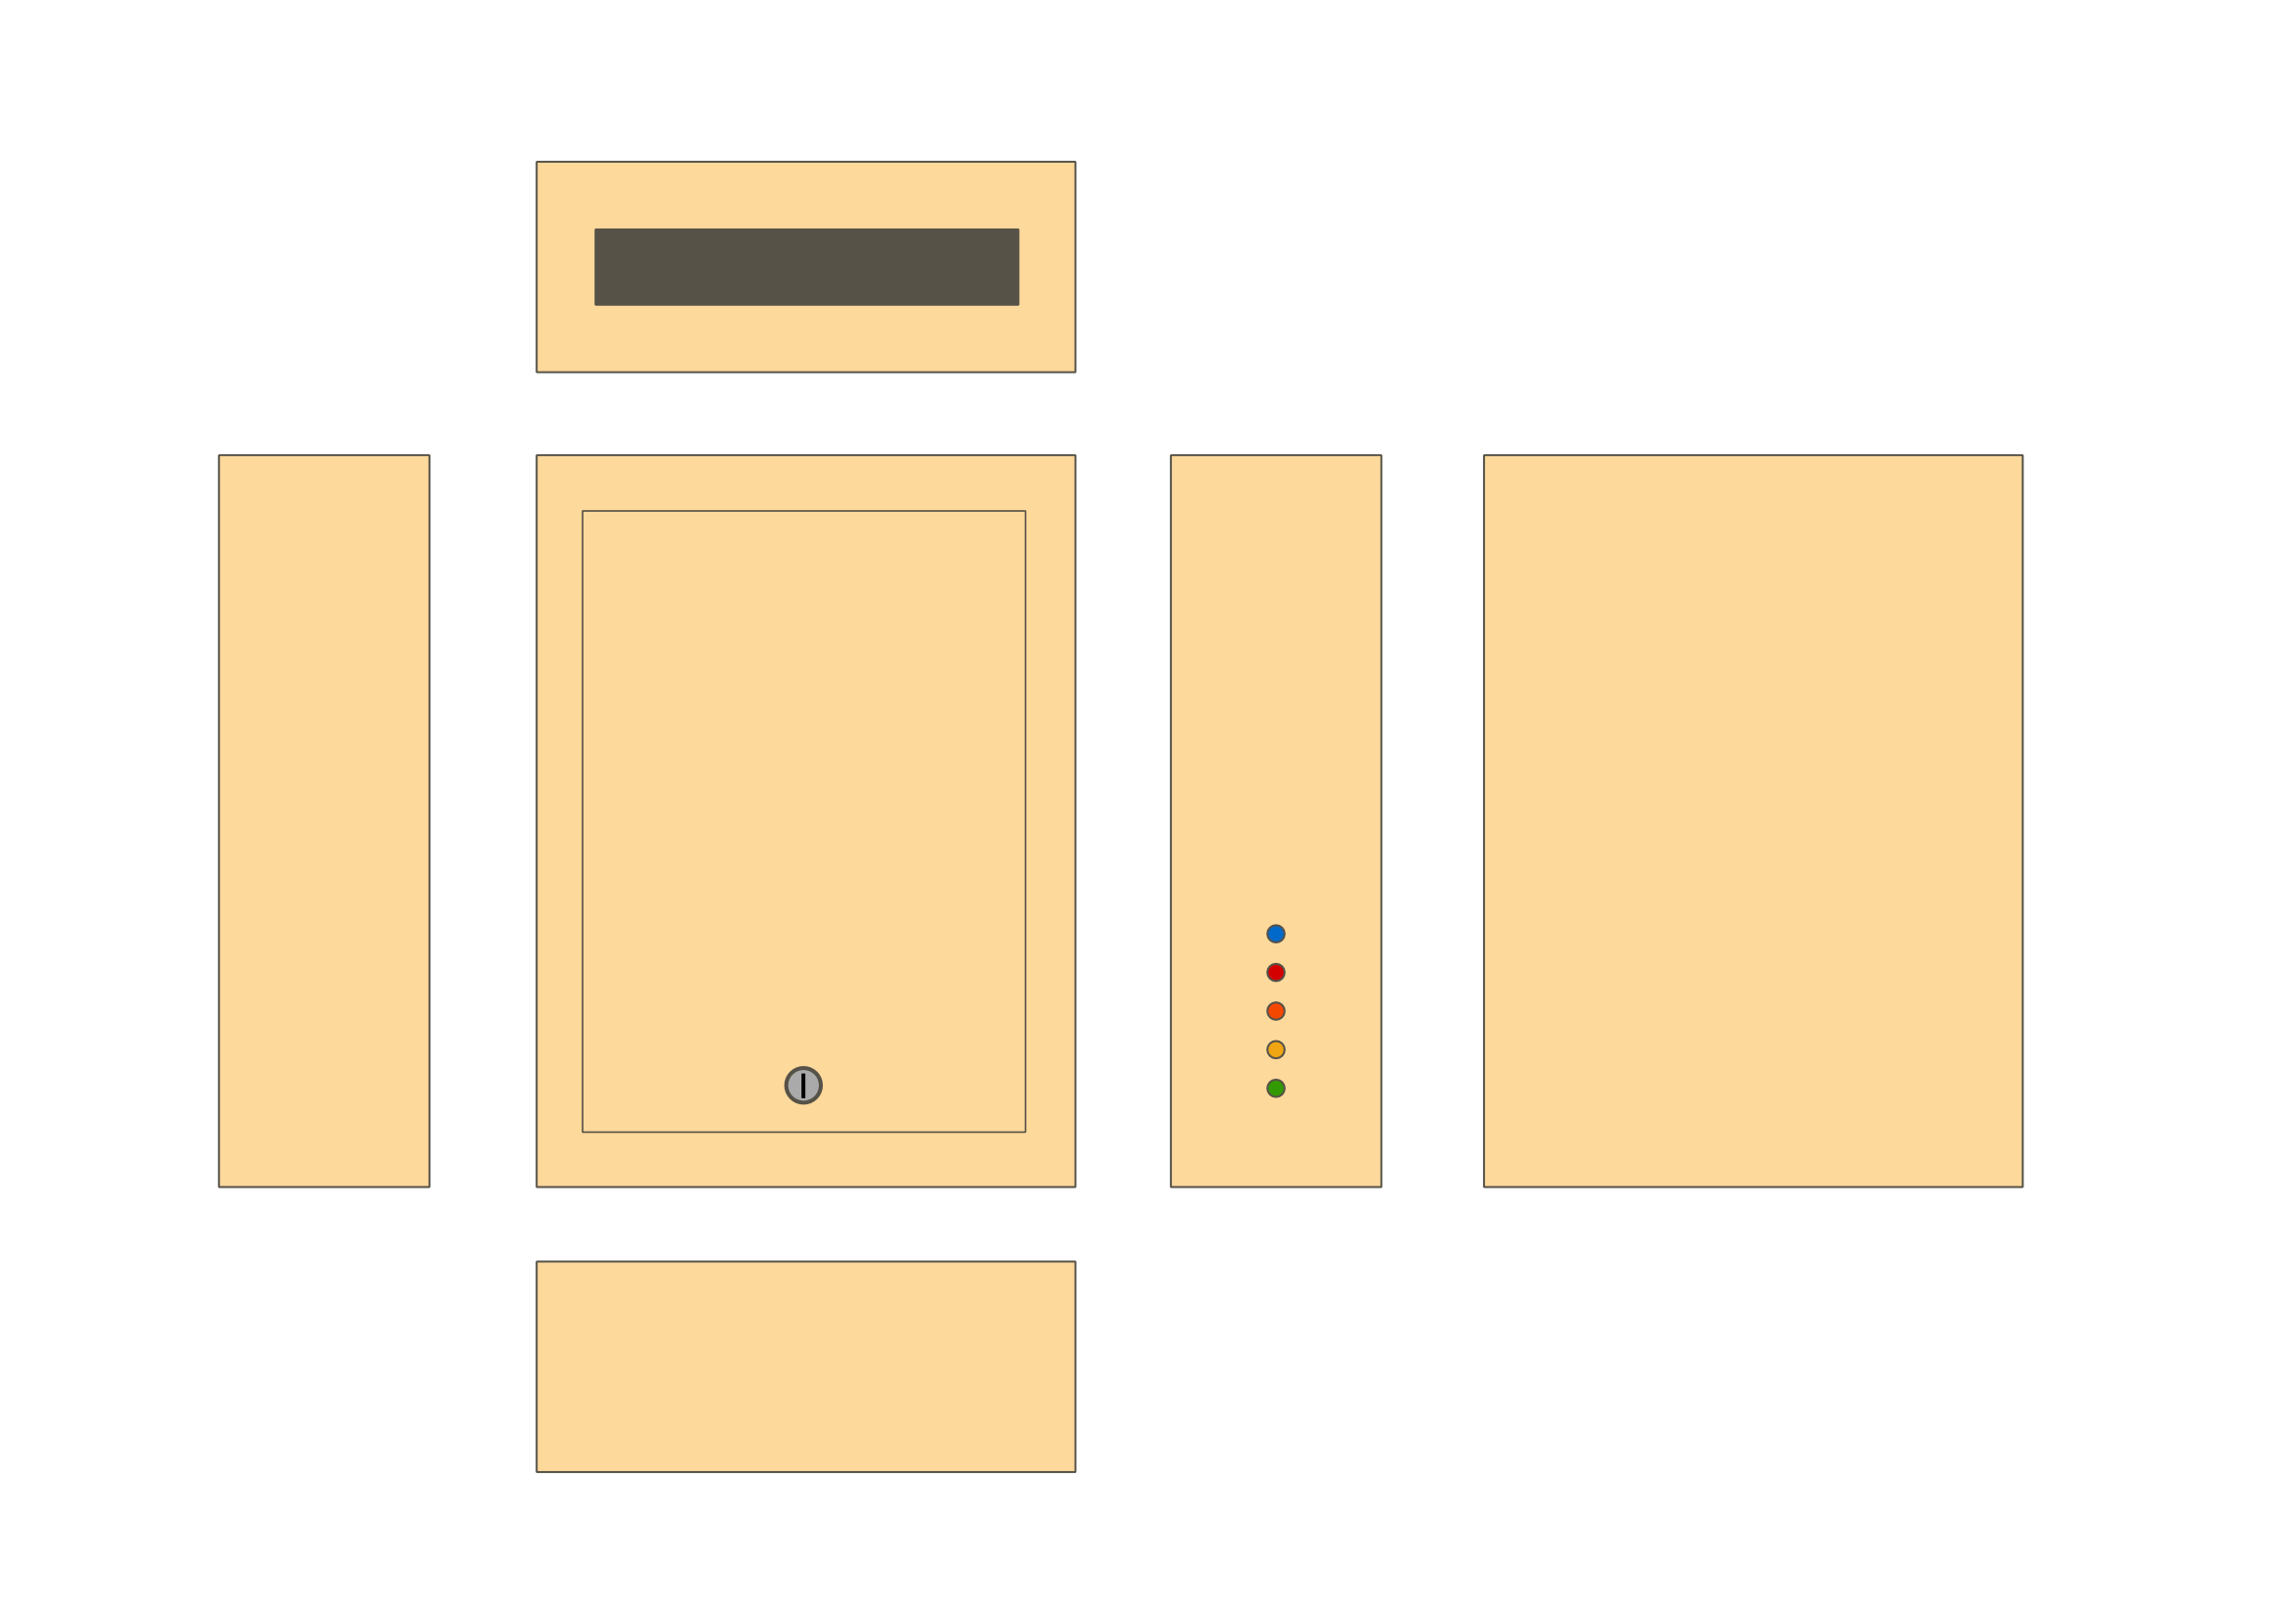
Inkscape User Interface is, in my opinion, very friendly; it consists in the Canvas as main workspace, Menu & Commands Bar, Toolbox & Toolcontrol Bar, Ruler and Guides. After creating a new image and playing around with different tools, I felt confident about drafting the 2D surface development of MailPlus as a potential Final Project:
and it's easy to export current working file in raster format (Menu => File => Export PNG image...) ; to obtain a .png file format export output. In general converting an image described in a vector graphics format (shapes) into a raster image (pixels or dots) is called Rasterisation and through the Inkscape Export dialog it's possibile to select export parameters such Export Area (Page, Drawing, Selection, Custom...), Image size, Filename:
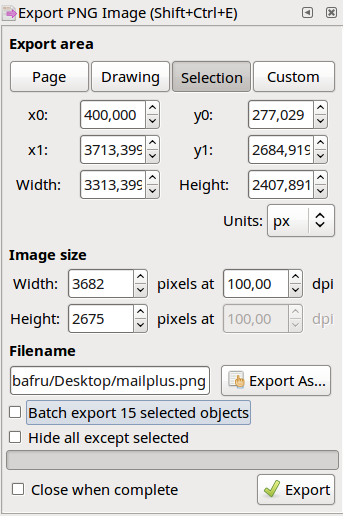
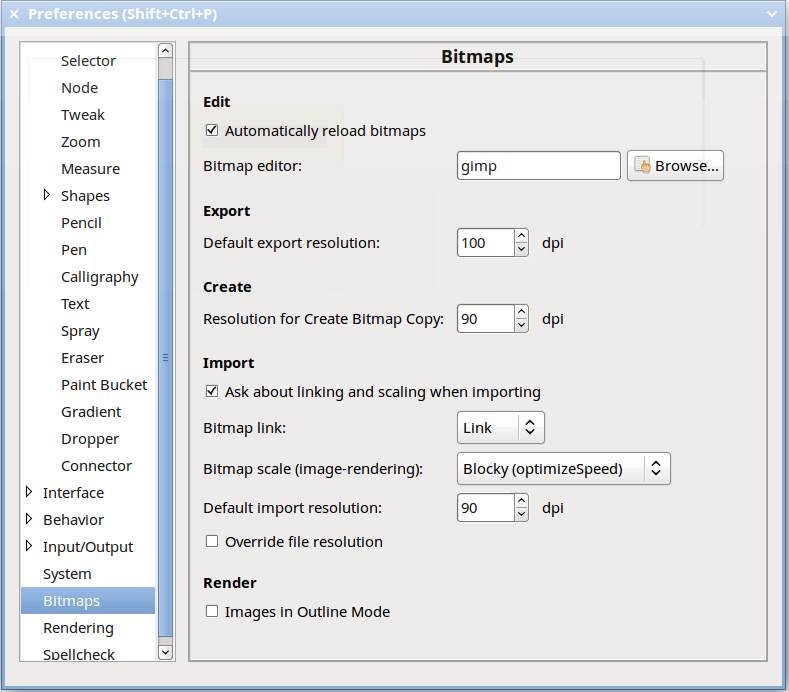
Some notes about Image size: "DPI" stands for "Dots-Per-Inches", when printed; Pixels and DPI parameters are linked, since modifying Width and Height turns out in modifying also DPI and vice-versa; the DPI setting just indicates a scale factor and it's unrelated to the exported image's print resolution, that it's supposed to be set on the printer itself; indeed DPI information is not even saved in the exported image; however, it's possibile to change in any moment default Export, Create, Import DPI value (Menu => Edit => Preferences => Bitmaps):
The result is as follows:
3D Modeling: Onshape
Between different 3D Modeling Software at first I decided to give a try to Onshape, a full cloud CAD solution usable through the web browser, and in particular I used Firefox web browser, that is released under Mozilla Public License 2.0 -and again, as far as I can, I prefer using Free Software. An old friend of mine recommanded using Onshape for it's ease of use and learnability, and I also found interesting the Onshape story as a corporation with first full commercial official release at the end of 2015 and already very usable and complete, being co-founded in 2012 by Solidworks main creator and former project leader, and CAD industry master Jon Hirschtick.
Designing MailPlus 3D model was my very first time using a professional 3D Modeling tool; inside Onshape website it's possibile to find a bunch of introductory video tutorials from basic level. Modelling at a basic level it's not very difficult, after understanding at least two fundamental concepts: Sketches and Extrude.
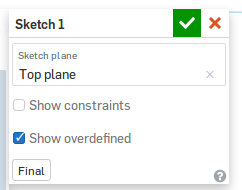
Sketches are created in Part Studios and consist of sketch curves (line segments, polygons, rectangles, etc.); are the basis for models and are stored parametrically. A click on the Sketch icon

and the selection of a working Sketch plane

will open the Sketch dialog and activate the Sketch menu, with all the different drawing tools; as long as Sketch dialog remains active, it's possibile to modify the Sketch itself:
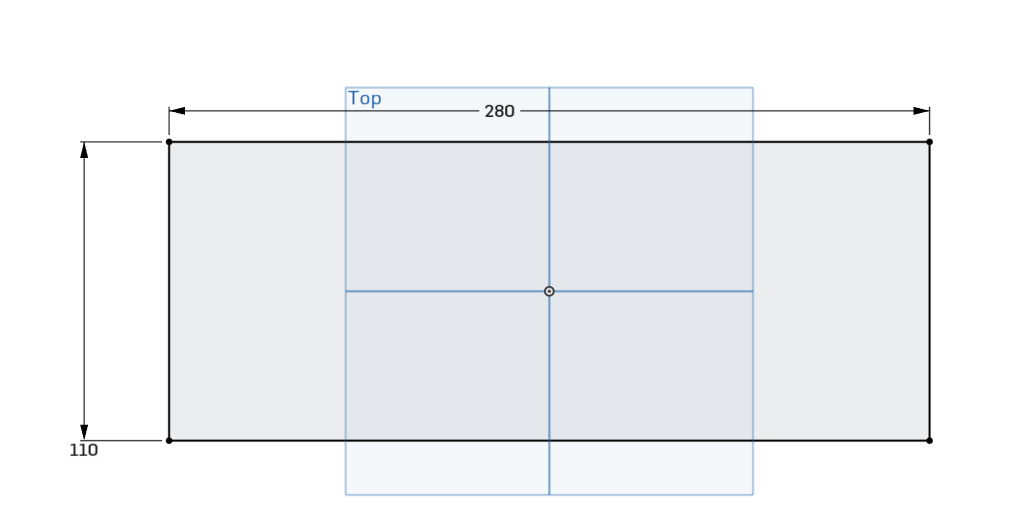
in this way, using different tools (Rectangle, Dimension) it's possible to draw the 280x110mm MailPlus Model Base, then close and save the Sketch
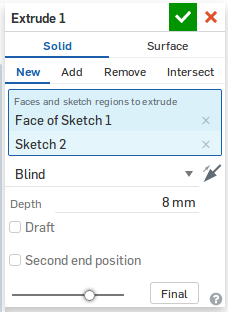
Time to go 3D with Extrude! The Extrude command adds depth to a selected region or planar face along a straight path; creates a new part or modify an existing one by adding or removing material, or intersecting bodies in its path. After selecting the Sketch it's possibile to Extrude it -a click on the Extrude icon will open Extrude dialog with the different extrusion options (Add-Remove-Intersect, Depth, Direction, Up to Next-Face-Part, and so on):
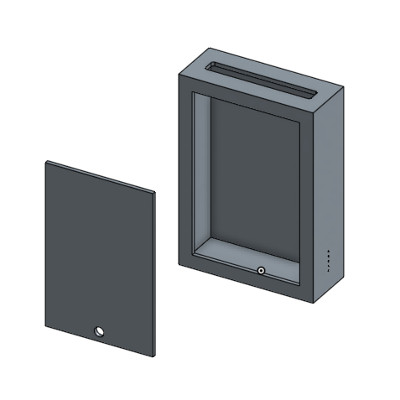
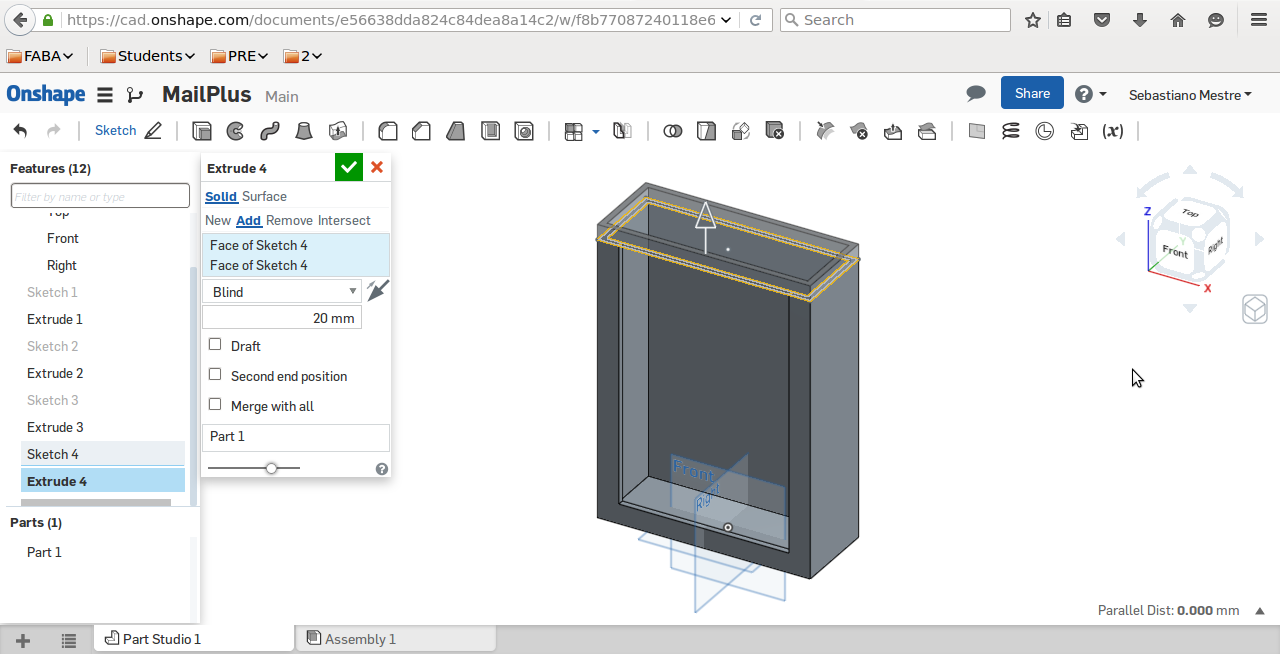
Since MailPlus is in fact a mailbox and a mailbox is in fact -as told by the name itself- a "box", it was not so difficult to 3D model MailPlus: through a series of Sketches and Extrusions, I managed to model the two Parts ("Box" and "Door")
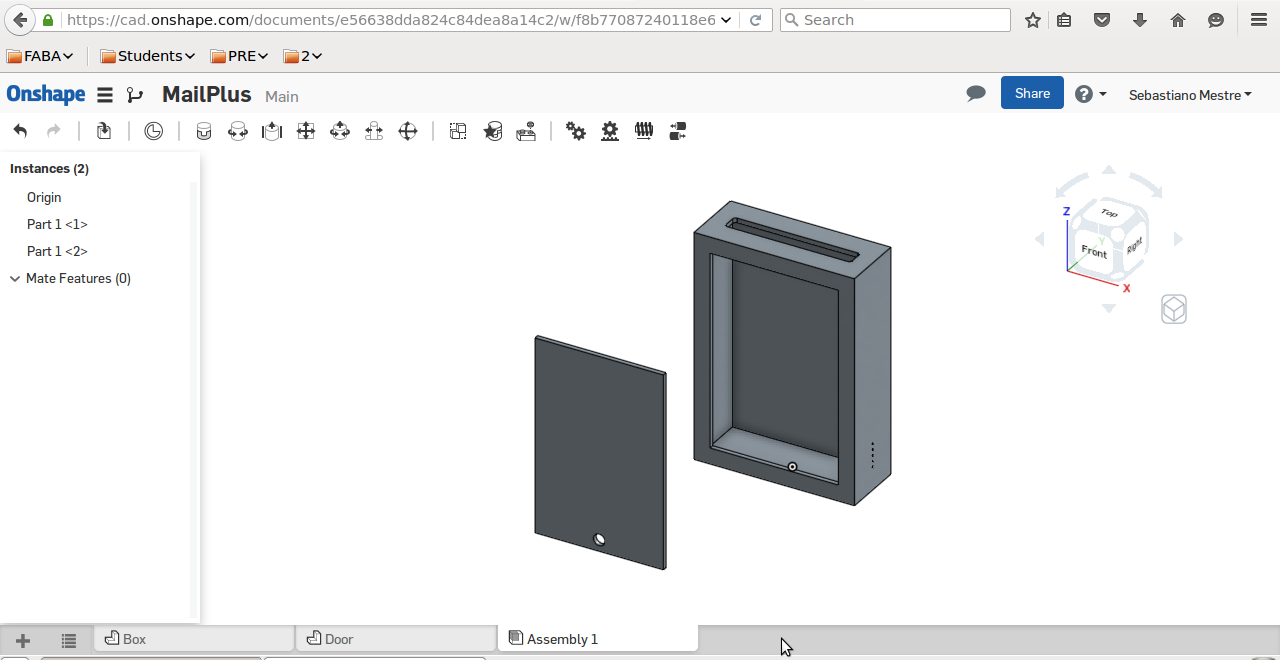
then I "assembled" them as a unique model:
As a conclusion, my first experience with a 3D modeling software was fine; although still at a very basic level.
Source files:
- mailplus.xcf -GIMP output XCF File
- mailplus.svg -Inkscape output SVG File
- mailplus.sldprt -Onshape output SLDPRT File