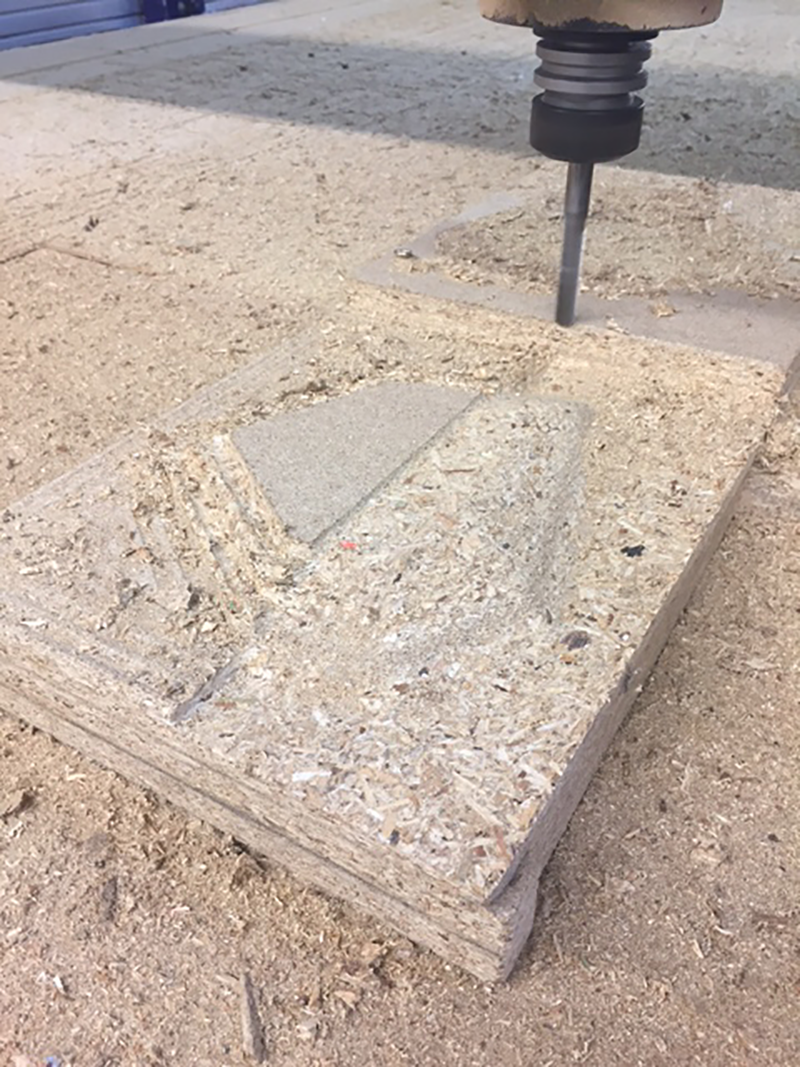
I finally wanted to get on some 3D milling so decided to do a set of dinner ware. I modeled a dinner plate, a bread plate and a cup for 3d milling. I ended up only doing the dinner plate due to time and materials available.
I created two halves of the mold with the aim of doing in effect a 'resin transfer molding' method, but instead tightly compressing the two molds with any excess material being pushed out the side. As we were lucky enough to have a composites expert to come in and do a two day work shop, I used one half for this and the other for doing a more traditional cast using epoxy with layers of material in the vaccuum table.
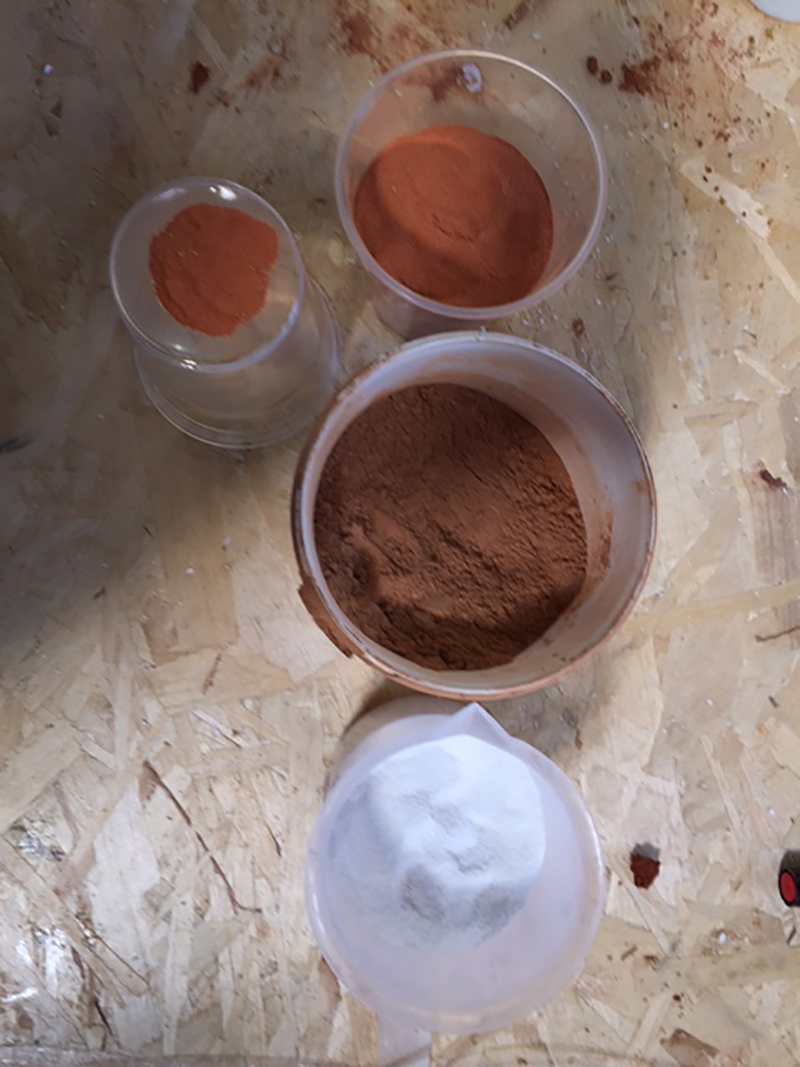
Joaquin Melchor, our composites expert told us about 3 different types of composites. Mineral, vegetable and petroleum. We split into several groups and I decided to go with the 'no bake clay' group aka silicates. For this we used a combination of potassium silicate (binder) and clay and marble (load). the mixture we used was 1:1 water and potassium silicate and then added a powder mix of the load at a ratio of 30:30:60 (clay 0-0.8mm : marble largest grain : clay 0-1mm) until to correct consistency was achieved (so you can just squeeze out the liquid and slightly crumbly).

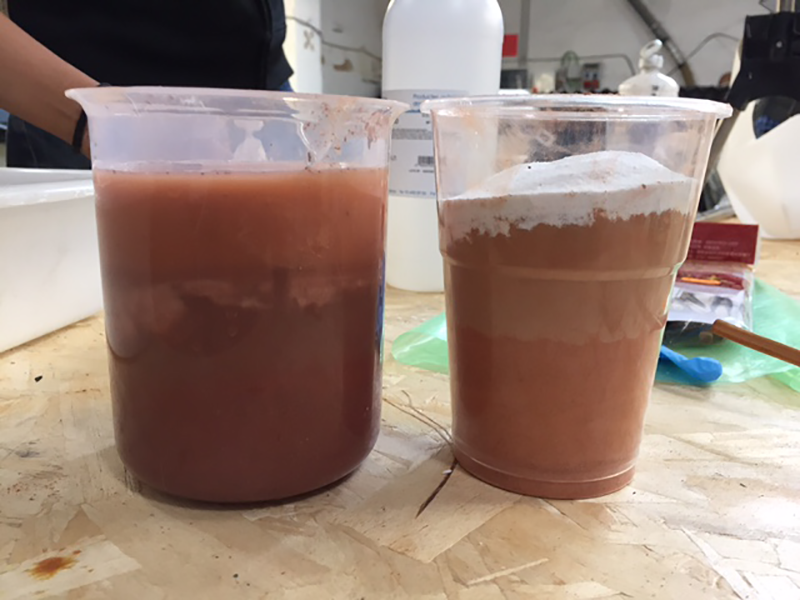

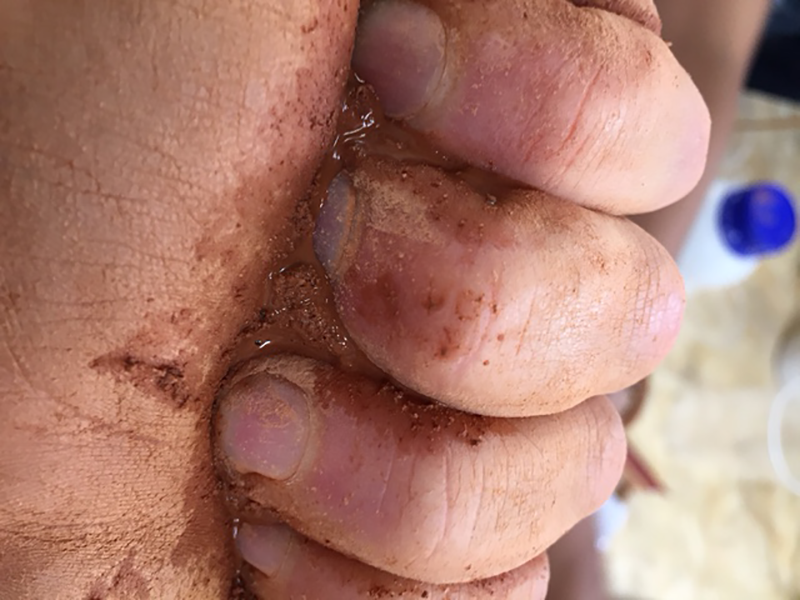
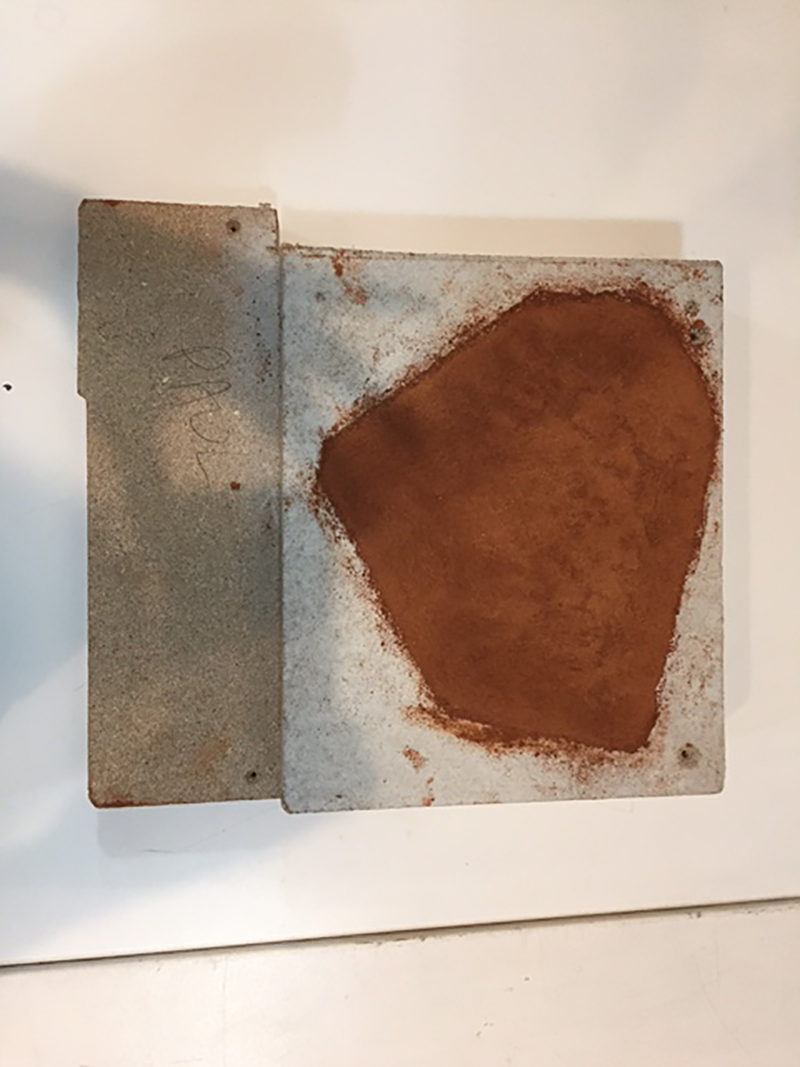
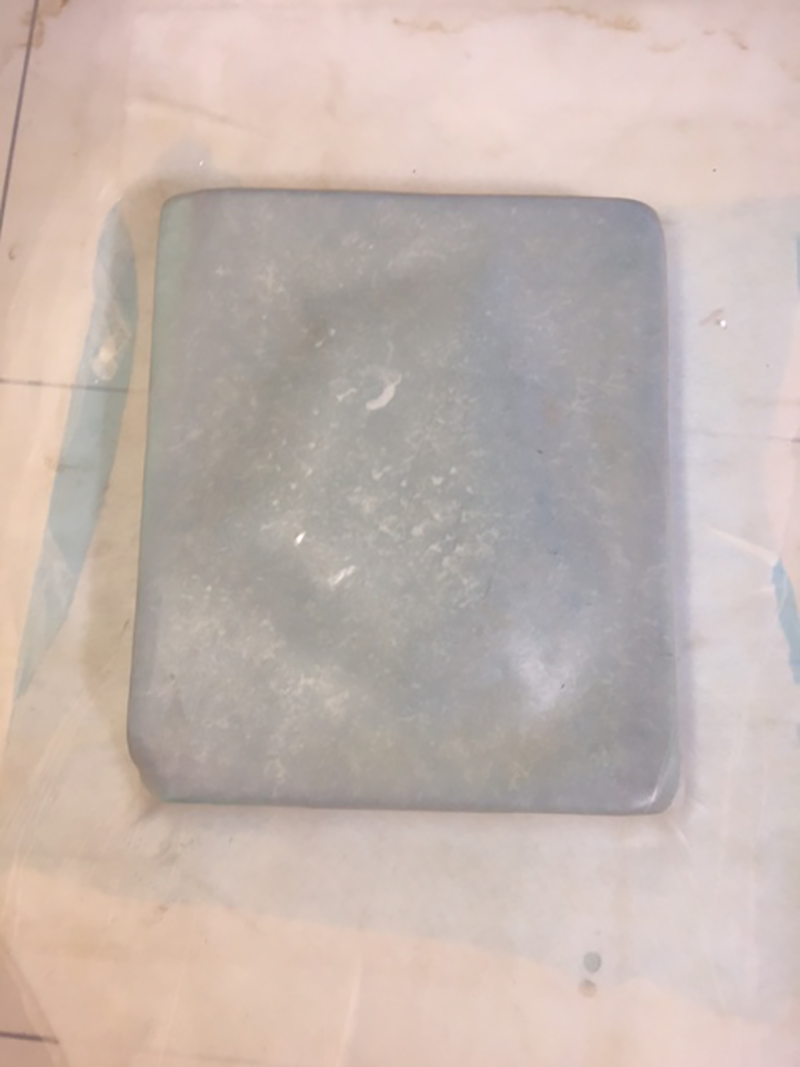
The aim of this mix was to fill all the gaps that are present in each of the individual components with the binder to hold them all together. I painted my MDF mold with plastic paint to seal it and then covered the area I was going to line the clay with vaseline as an extra protective layer.

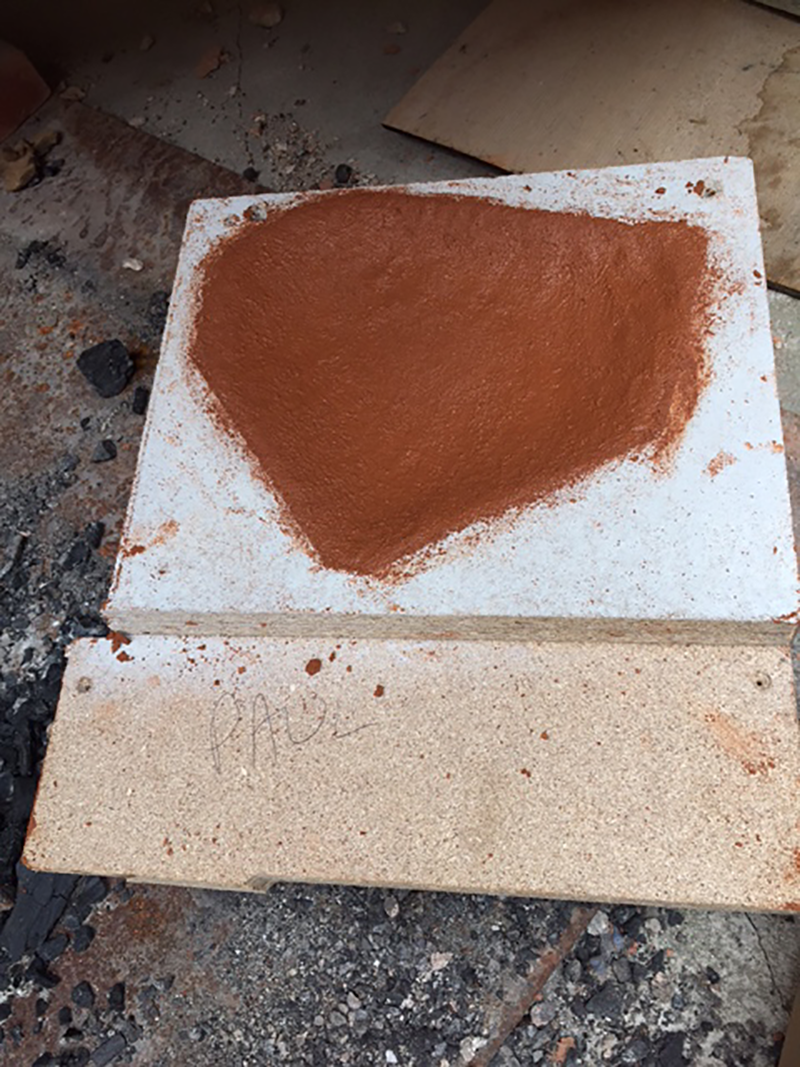
Now was just a waiting game. The day after some pieces were inspected and they broke very easily. I have decided to leave it a bit longer to allow to dry fully. My next challenge will be how to remove the dish from the mold. I am hoping that heating the dish will melt the vaseline and allow the dish to become free.
My next piece is to use the vaccuum table using material and epoxy.
The epoxy we used was called Entropy resin. This stuff is pretty nasty and the correct PPE should be worn, such as gloves and used in a well ventilated area. The safety data sheet can be found here. The difficulty with this material is that it only has a pot life with about 15 minutes so it was important to be prepared with all the materials needed for this technique.
For my layers I used a combination of muslin, jute and a golden fabric I found in the middle, as a sandwich there was a total of 7 layers of fabric. I hoped the layers would show through each other and create an interesting effect.
It is important to work fast with the epoxy before the reaction starts and the mix heats up, so once everything was prepared I got on with my layers and placed it in the vaccuum.
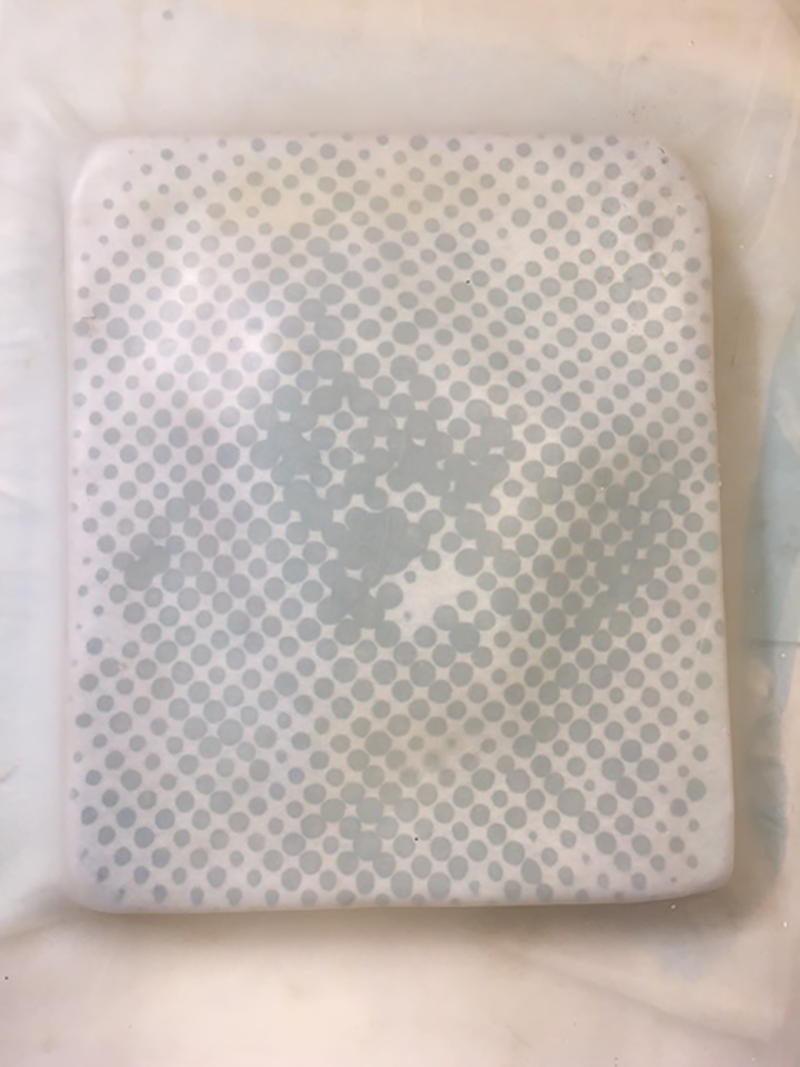
Initially the piece looked good. The Lichtenstein effect showed I used the correct amount of resin. As time went on however it was clear I used far too much.
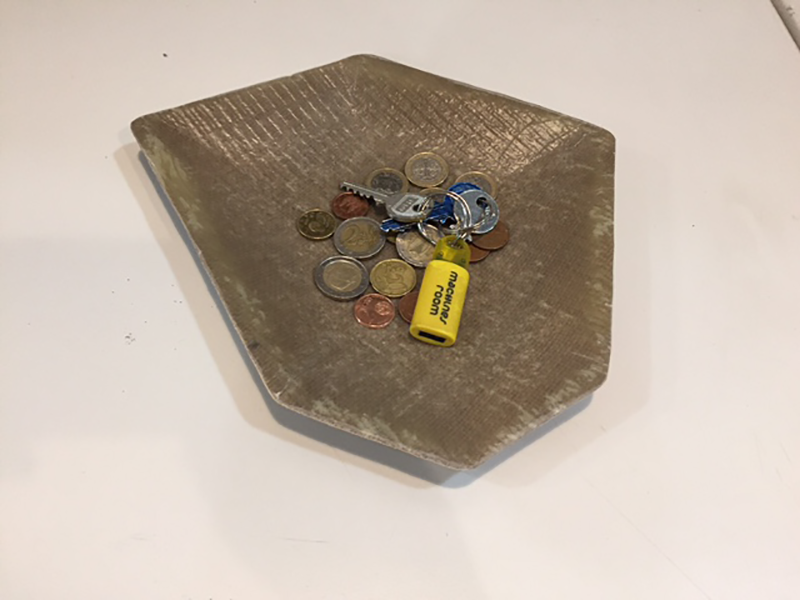
The next morning I unveiled the piece. It looked good and strong. Unfortunately the layers of different material were not too obvious with the jute coming through the most. I trimmed and sanded the edges to the shape and I have myself a mighty fine bowl. I was happy to find the layers did show trough on the edges, for future projects it would be interesting to really play around with bright colours sandwiched in the middle to reveal at the edges.
I need to add a clear coat to finish of the piece for two reasons. Firstly to make the piece food safe as the epoxy I used is not and also to seal the edges that were cut.