HTML and css
Using this language to create a website is relatively simple once you get your head around the basics. There is a lot of detail you can go into, but for my purposes it was a case of sifting through all the information and picking out what I needed. Html is the architecture, the structure of the website and CSS encodes our ‘style’, how the website will look, the colours and detailed layout etc..
Having said that my first play left something to be desired...
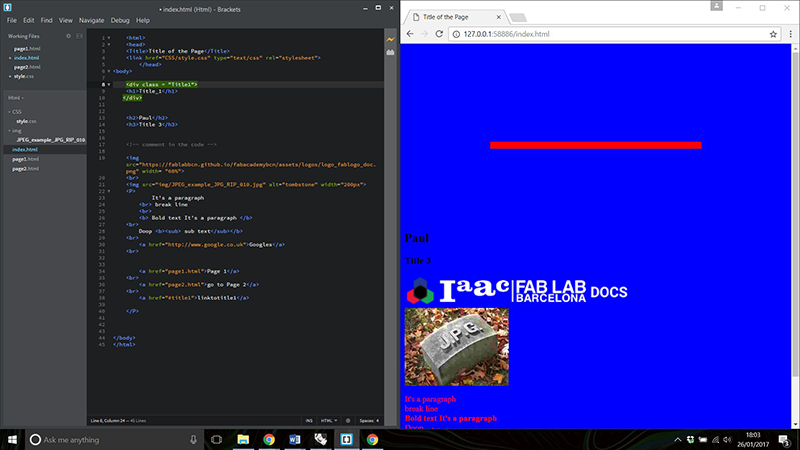
We used ‘Brackets’ http://brackets.io/ the write the code. I have found it intuitive to work in and it allows me to view a live preview of my website as I change the code.
A fantastic resource for HTML is w3schools
It is interesting to know you can look at the code on any webpage by right clicking on the mouse and selecting ‘inspect’. (You can do this for my page right now!). I had only ever come across this before with a rogue cat wondering across the keyboard.
I was initially taken with the many templates you can download with lots of interactive features. I took some from these websites;html5up, themeinthebox
I didn’t want to just change the info on these templates, but I wanted to understand how my website is working. I tried to reverse engineer some of the templates, but they were very complicated and many of the features used Javascript and other coding languages that I could not understand. Back to the drawing board of building a website from scratch. I did at least take some inspiration on layouts and features from the templates.
I found some great tutorials on creating a responsive page that changes depending on what size screen you are looking at. http://www.dwuser.com/education/content/creating-responsive-tiled-layout-with-pure-css/ I hope to find more features like this and add to my website as the week goes on
Some interesting html/css features;
- Ctrl + k when hovering over code in Brackets this opens up ‘Quick Docs’ which gives information on the variables
- Colours! using rgba instead of HEX or other color format allows you to add a degree of transparency with the last value. E.g. background-color: rgba(38, 133, 216, 0.32);
- ‘Class’ setting classes allows us to separate our code and reference sections directly in the CSS document.
- Class:hover {} – in the CSS, allows me to say what happens when we hover over a certain part of code.
- Google fonts Just a quick link in the ‘head’ section allows us to choose any font we like from this resource (along with specifying text in css).
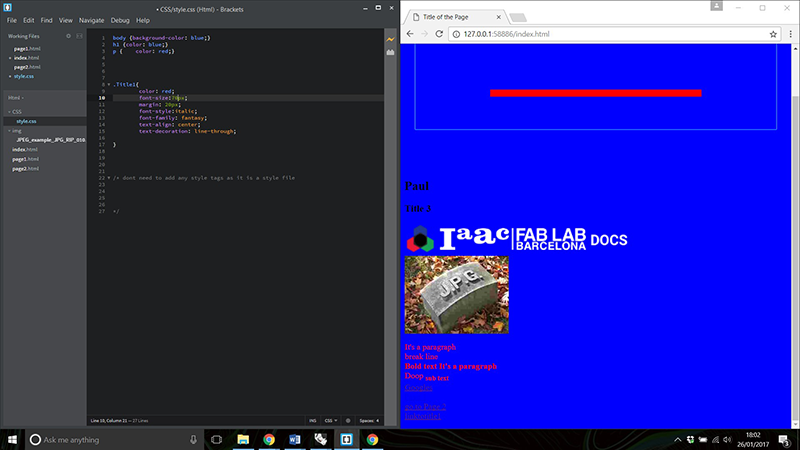
My first attempts at the website – requires some aesthetic and navigational improvement (Home button!), but I am getting to grips with html and CSS.
To complete this week I have to write a bit about myself and also describe a potential final project. For this I created my landing page and final_project page
It is all good and well creating a website, but it is necessary to get this up on the web for our tutors, colleagues and the whole world to see. For this we used GIT…
What is GIT?
GIT is a widely available, compatible, secure and open source version control system. It is widely used for exactly these reasons and can allow multiple people to work on a single project and ‘push’ updates to a common server. GIT also saves all previous versions so the history of a project can be seen and retrieved should an error occur.
Its performance and flexibility means it is used in a lot of open source projects, so learing it now will potentially be extremely useful for future projects.
First I had to generate a Secure Shell, ‘SSH Key’, which is my ‘private key’ that allows a secure communication channel between my computer and GitLab. I am using GitBash to run Git commands, a program that is added when I installed Git on my computer. The other option for entering commands when using Windows 10 is the ‘Command Prompt’.
cat ~/.ssh/id_rsa.pub
I did not so I went onto generate a new SSH key;
ssh-keygen -t rsa -C ”$paulnichols89@gmail.com”
I am prompted to add a location for the key and a password. To show my key I enter:
cat ~/.ssh/id_rsa.pub
The key is then copied and added to my Git account. I then cloned the Barcelona FabLab archive to my computer.
To update my website on the archive
I had a working website folder on my computer containing my html and CSS. When I am ready to update the online version, I copy the contents of the working folder to my folder in the FabLab archive on my computer, replacing anything in there. I then run the following commands in GitBash:
cd ~/Desktop/fablabbcn
Then I pull the undated archive to my computer
git pull
I add my new files to the repository The next command checks to see if there are any differences between my new files and those on the archive
git status
I add my new files to the archive
git add .
I confirm my changes and add a reference e.g. date or iteration number
git commit -m "commit message"
finally I push any changes back to the online archive, updating my website.
git push