


Mid April to Mid May 2017 diary
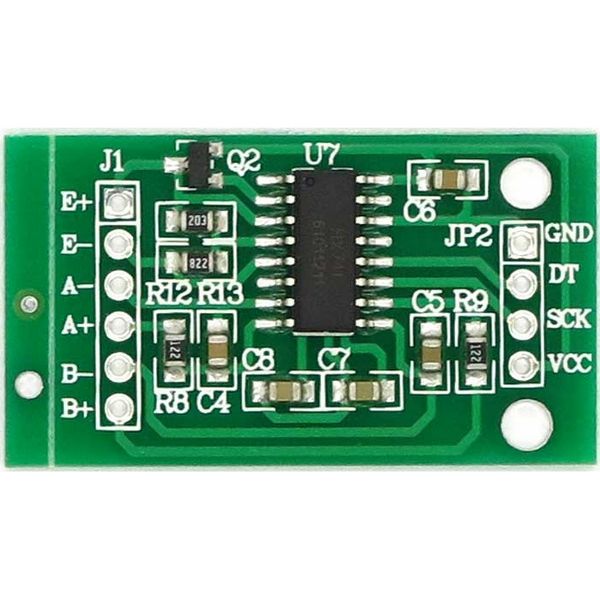
I initially started by sourcing from amazon a 500g load cell and an HX711 amplifier from amazon. The reason I need an voltage amplifier is that the current data we get back from the load cell is so small it needs to be amplified to be read accurately in Arduino
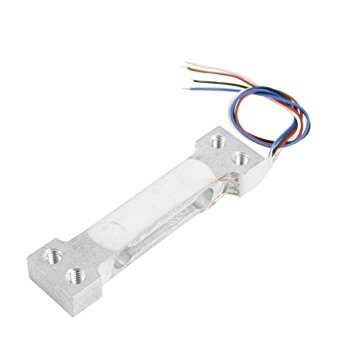
The first hurdle was to get the load cell to work. During the first days I could not get any data values, so I started resoldering the cable of the load cell, but no sucess. So I decided to purchase another load cell (10kg value this time) and another amplifier. After a few days they arrive and could start working on it again.
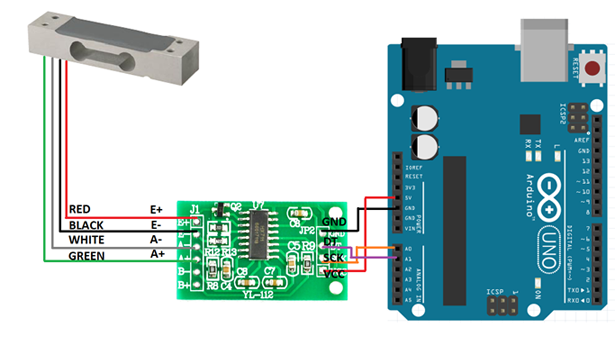
Arduino Set up
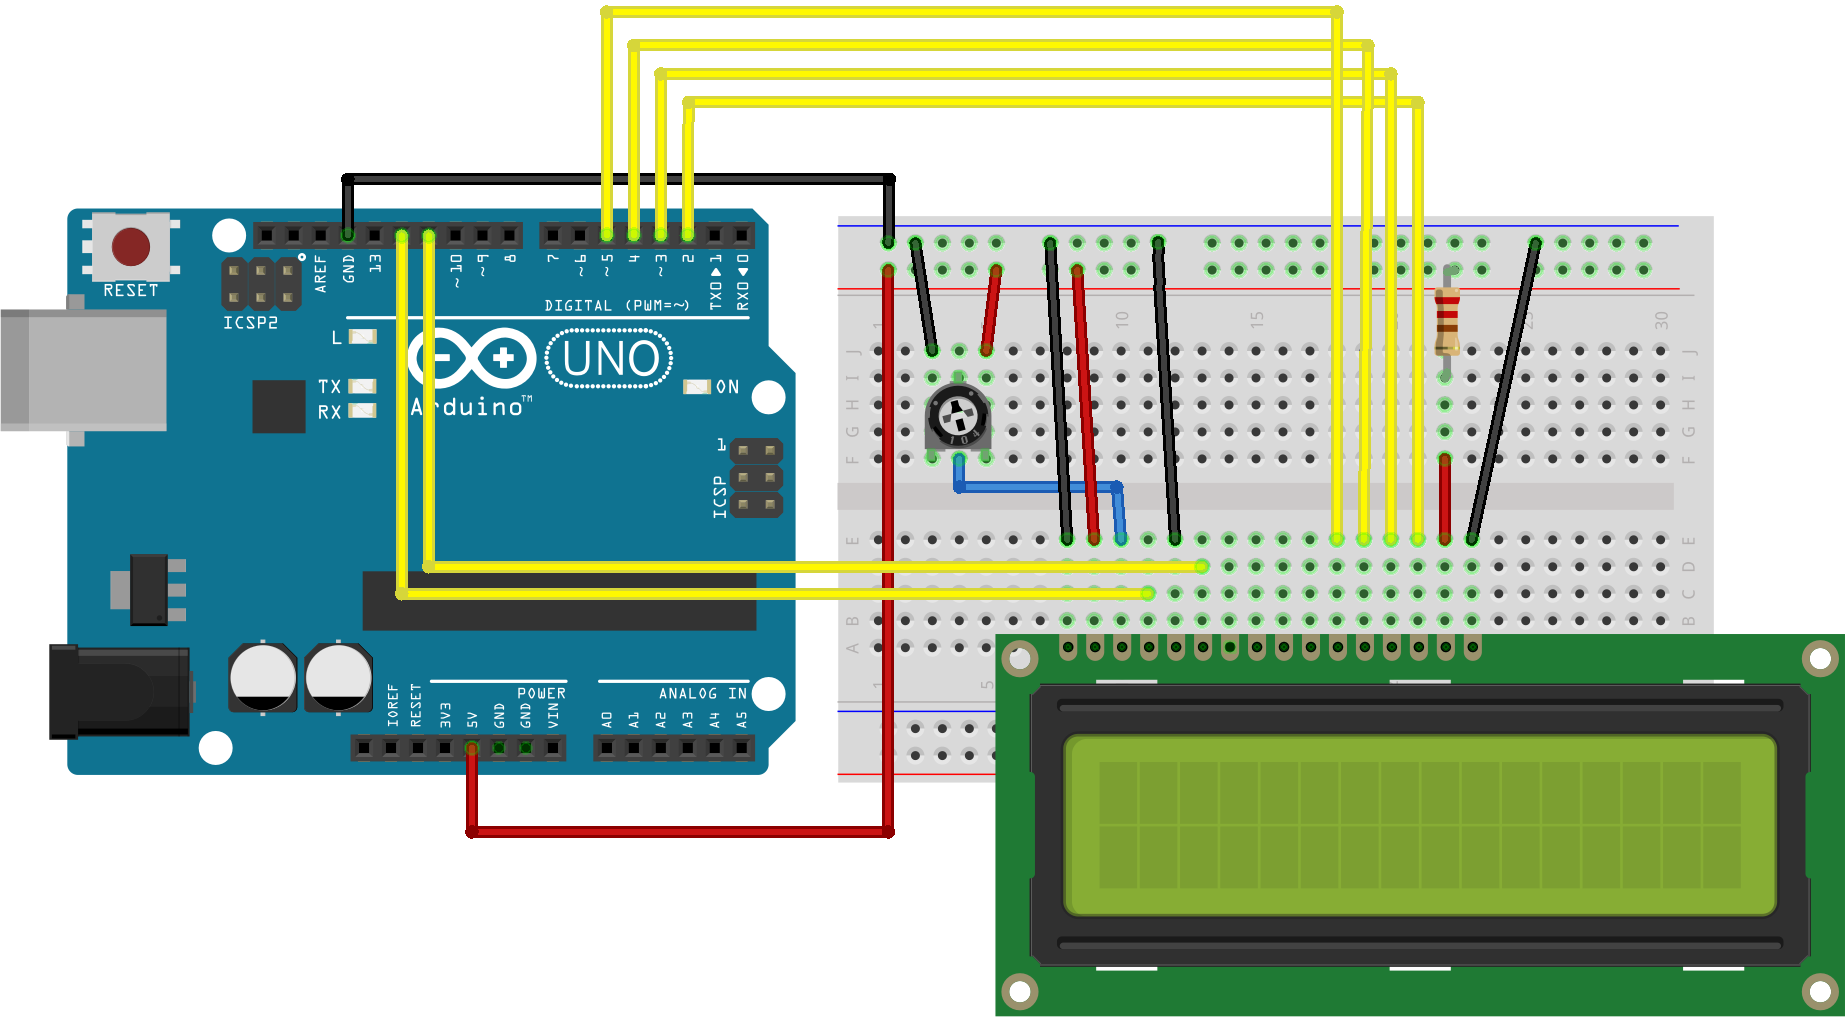
Soruce: https://www.arduino.cc/en/Tutorial/LiquidCrystalDisplay
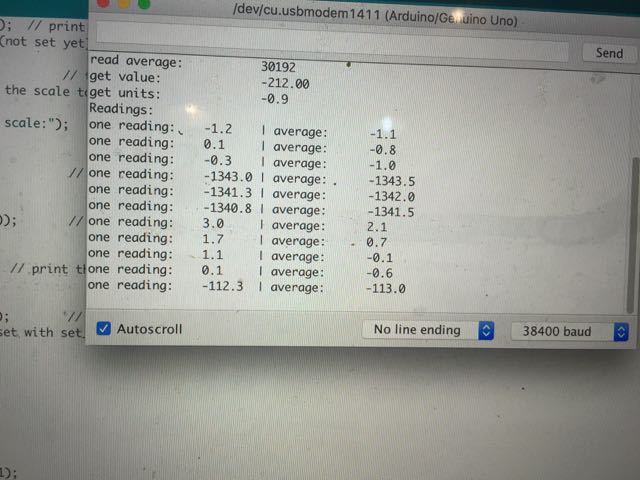
Calibrating the load cell
I followed a couple of instructables to do this, and not all were working. Actually only one arduino code would work for me. To achieve this I installed the HX711 library in Arduino and started running the calibration sequence with a 100g weight

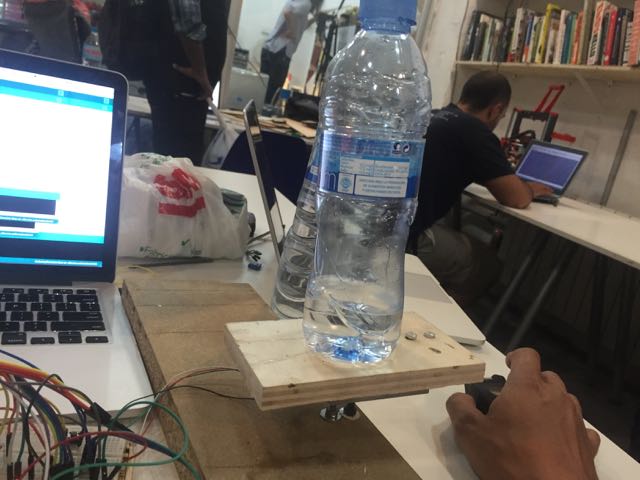
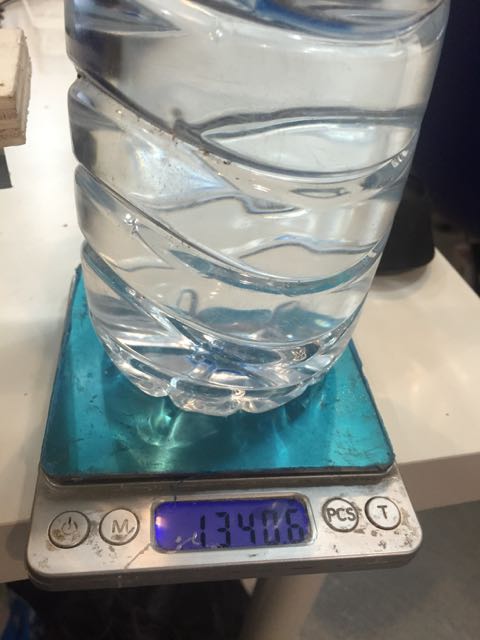
Based on the data input, I could modify the calibration in the script, to achieve the 100g weight reading. I then went on to do the same with a heavier weight (which is recommended), a bottle with water of 1340g
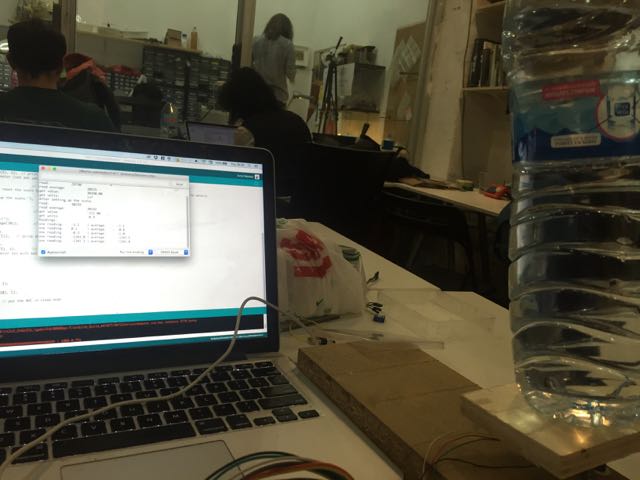
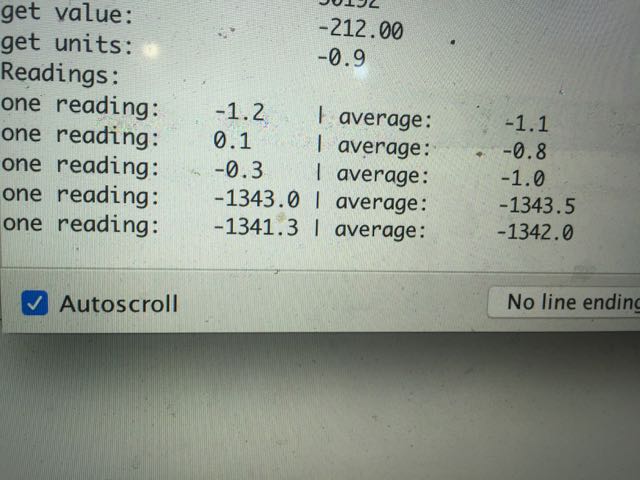
Testing a lower weight and changing from negative to positive value: for some reasons the calibration was working but my values were negative, so I first check the exitation of the load cell was correctly wired, and it was, so I modified the code to display positive values by multiplying by minus 1
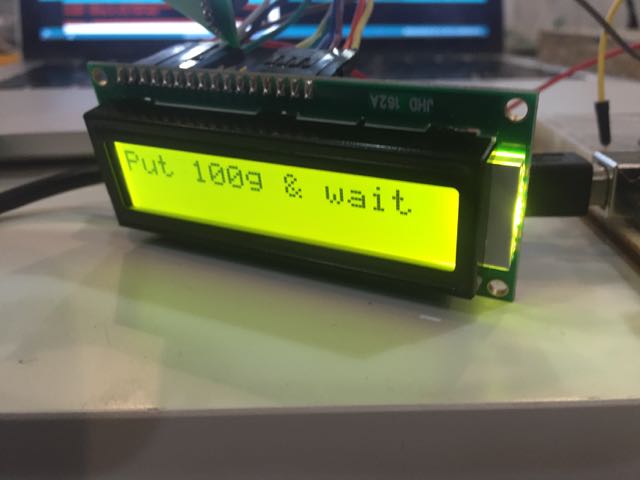
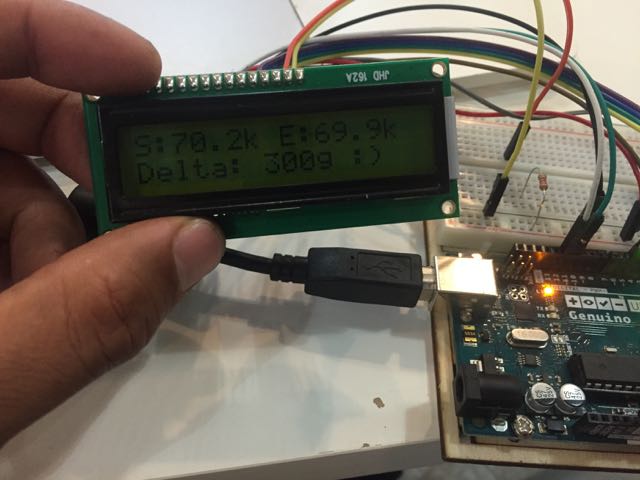
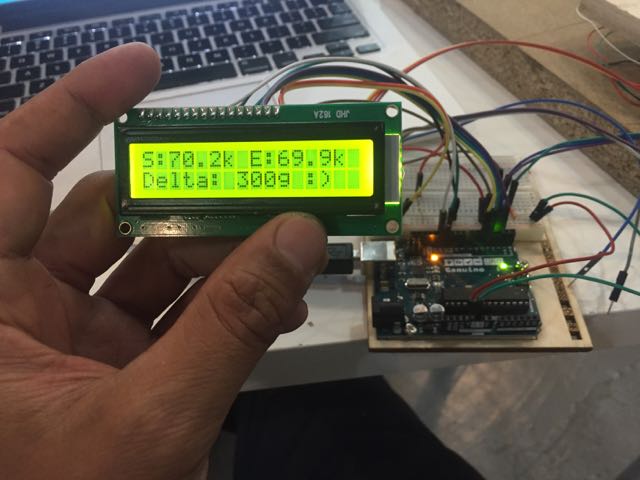
Adding a LCD screen to visualise the data
After following the instruction on how wire a LCD to an arduino, adding the LCD.Crystal library, i had to play with the potentiometer to get the right constrast display of the LCD. I also amended the code to display some text
Next steps: storing data values either during the duration of the sktech or when arduino is off, and replicating the same set up with 3 wires load cell.
Mid to End of May: Issue with the load cells with 3 wired
best tutorial of a very similar project
Monday 29th May: trying reading the value from the 4 load cells with the board OpenLoad Scale Arduino
4rth June: Testing the devices live on a toilet
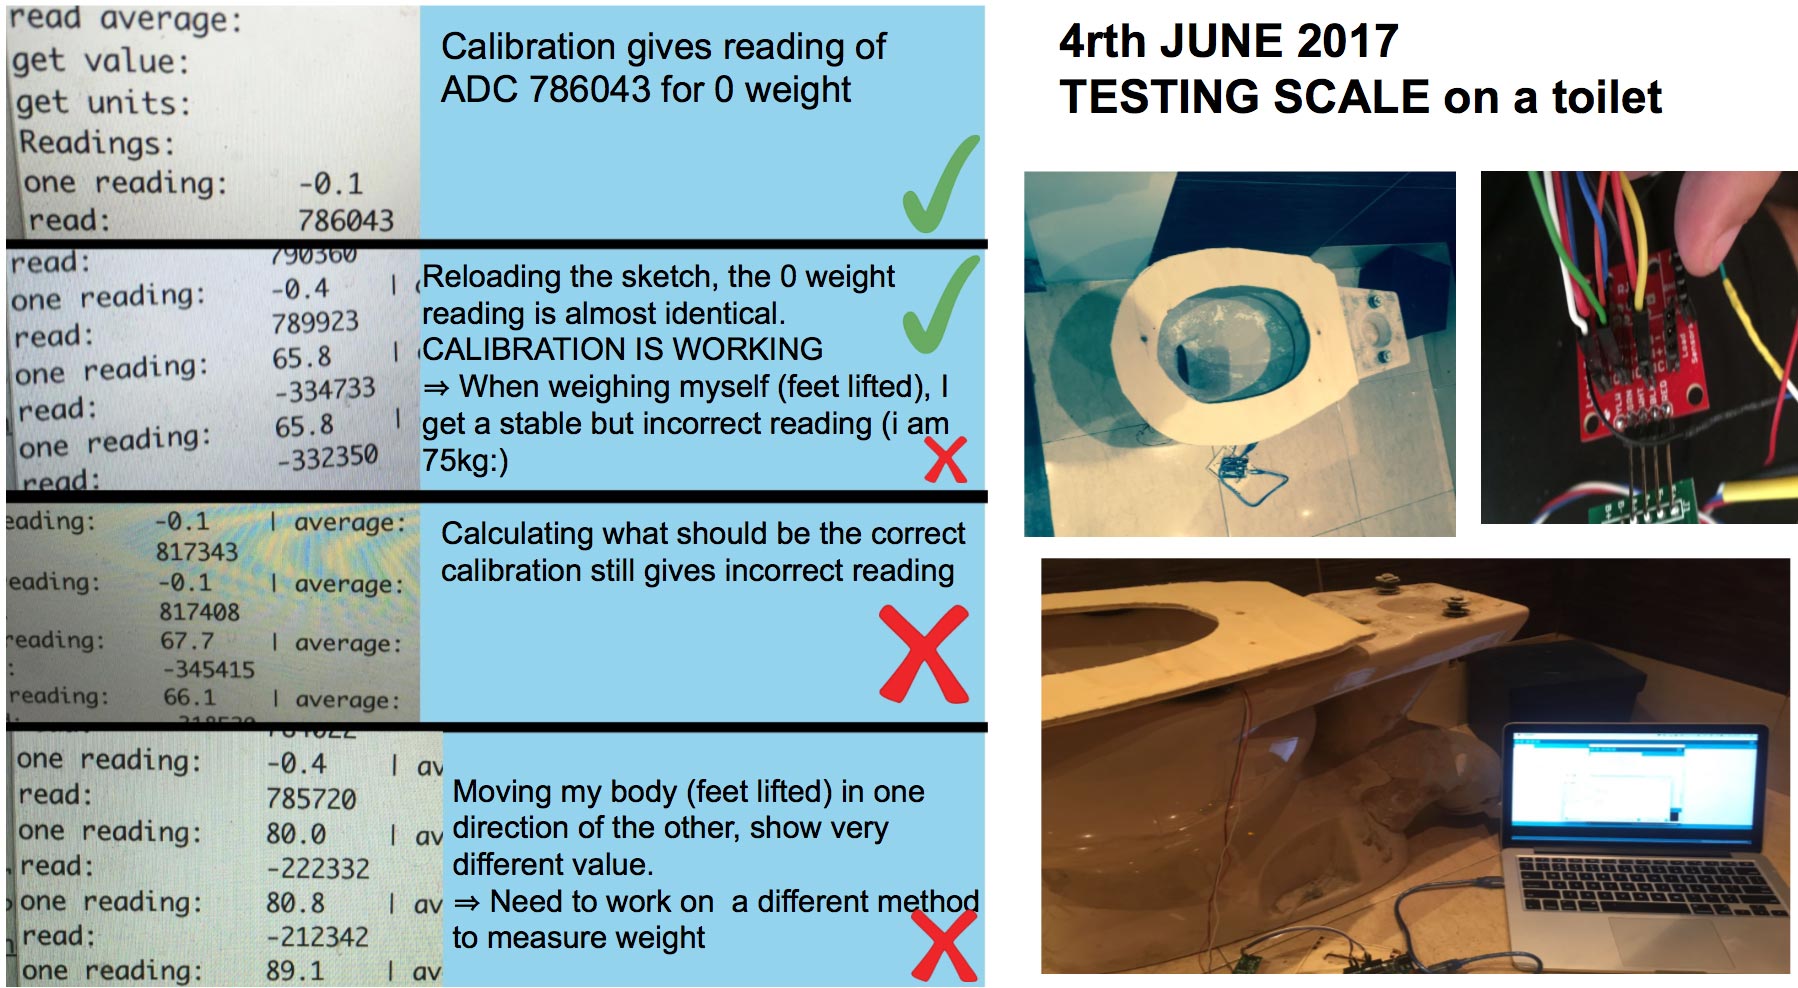 Load cell calibration>
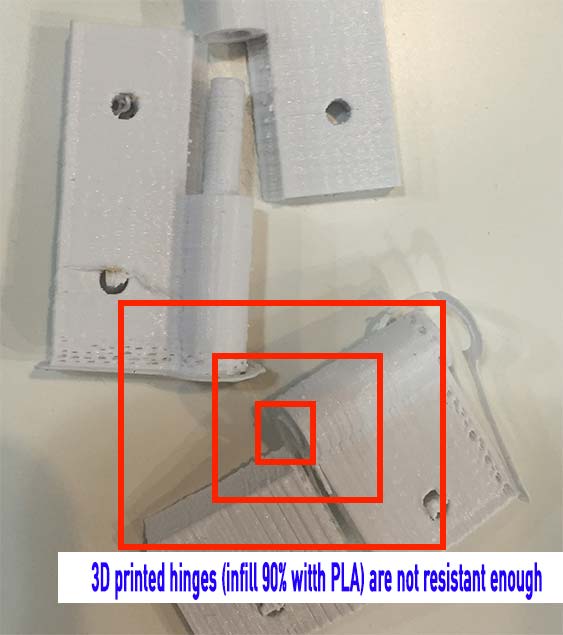
5rth June: 3D printing the hinges
download the hinge in thinguniverse
12th June
I used existing 3D designs made by other person for my project. On thingiverse I downloaded the 3D files I would need for my prototype. I 3D printed them after. This was a big time saver even though I did not use all parts at the end
.Milling the toilet seat from jc thuan on Vimeo.
Milling the toilet seat: 6th June
Later in the fab academy course I had the opportunity to use the CNC milling machine for my project (toilet seat scale), on 2 pieces of 10 and 20mm plywood (1 containing the electronics, the other being used as the seat itself )
Cnc millling a toilet seat
Milling the toilet seat from jc thuan on Vimeo.