Mechanical design
Link to the group assignment's webpage
I did this assignment together with Julia Leirado, Esteban Gimenez, Nicolo Gnecchi & Pablo Huerres.
Our objective was to create a computer controlled machine, based on Jens concept. We also wanted to do this machine modular, so it can grow in case it's nedeed.
This first week we did a first prototype to test the main idea, and see how the machine behaved with different materials and supports, without any programming yet. We worked with wood and acrylic as we had some material left in the lab and was good enough for what we wanted. We did almost all the work the four of us together, although we had personal tasks to do.
I was in charge to do the wood frame of the first prototype and mount all the pieces together.
We wanted to do a very quick and experimental prototype so we took some material left from the lab. Therefore we had to adapt our mesuarements to the stock of material we found, and did a smaller version of the machine we built finally.

I cut some big pieces of wood with the handsaw, and then cut 4 pieces of acrylic with the lasercut machine. These pieces fit together in the middle as a puzzle, but weren't really stable. We add later some screws to make it more rigid and to fix it with the wood structure.
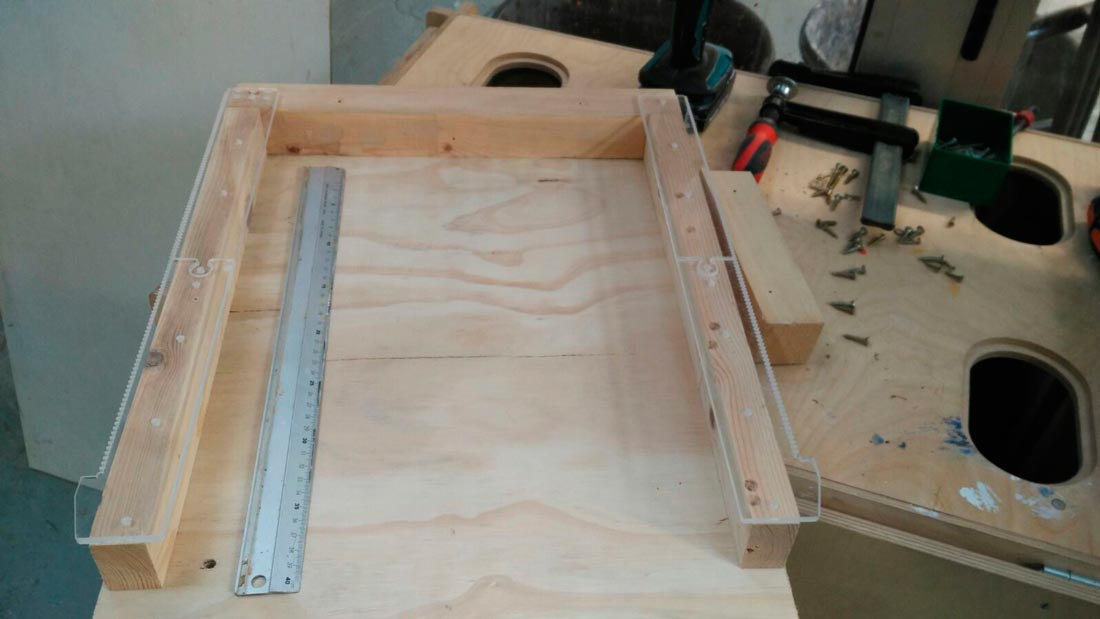
One main problem we had (together with Esteban) is to make all the structure straight and parallel. The wood I cut wasn't really straight, as I cut it by hand and not with a computer, so it was difficult to then set the same distance from the top part than the bottom part.

We cut some more pieces and placed the motors on top, just to see how they should be placed.

So far we achieved to move the machine by hand, but it get stuck in the middle, due to the puzzle join we did. In the next version we skip this, as we didn't find a proper solution to make this work.
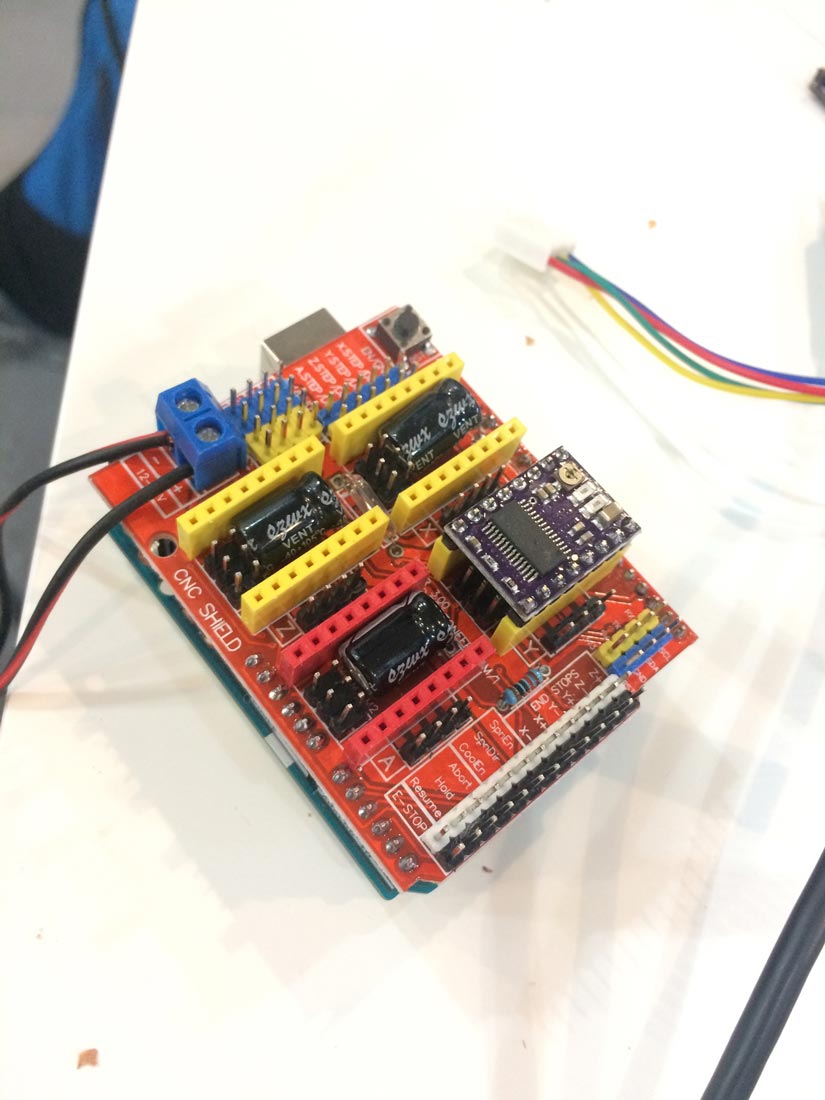
Another thing I did is to program the polou 8825 stepper drivers. Basically each stepper motor is connected to one of this, to receive signals from the shield + Arduino.
We forked the following GitHub repository: https://github.com/grbl/grbl
And followed these instructions:
1. Download the Grbl source code (v0.9j).
· Click the Download ZIP button on the Grbl home page.
· Unzip the download and you'll have a folder called grbl-master.
2. Launch the Arduino IDE
·Make sure you are using the most recent version of the Arduino IDE!
3. Load Grbl into the Arduino IDE as a Library.
· Click the Sketch drop-down menu, navigate to Include Library and select Add .ZIP Library.
· IMPORTANT: Select the Grbl folder inside the grbl-master folder, which only contains the source files and an example directory.
· If you accidentally select the .zip file or the wrong folder, you will need to navigate to your Arduino library, delete the mistake, and re-do Step 3.
4. Open the GrblUpload Arduino example.
· Click the File down-down menu, navigate to Examples->Grbl, and select GrblUpload.
5. Compile and upload Grbl to your Arduino.
· Connect your Arduino Uno to your computer.
· Make sure your board is set to the Arduino Uno in the Tool->Board menu and the serial port is selected correctly in Tool->Serial Port.
· Click the Upload, and Grbl should compile and flash to your Arduino! (Flashing with a programmer also works by using the Upload Using Programmer menu command.)
We also looked at the driver datasheet (see here) to understand more about it and to consult some doubts we had about how to make it work properly (how to send the instructions basically)
Esteban programmed some basic instructions (X,Y,Z) to send to the steppers, which were responding fine.