
Feb 15: electronics production
This week the task was to make an in-circuit programmer. I need to mill the cooper board first, then solder and programm it.
Designing the board
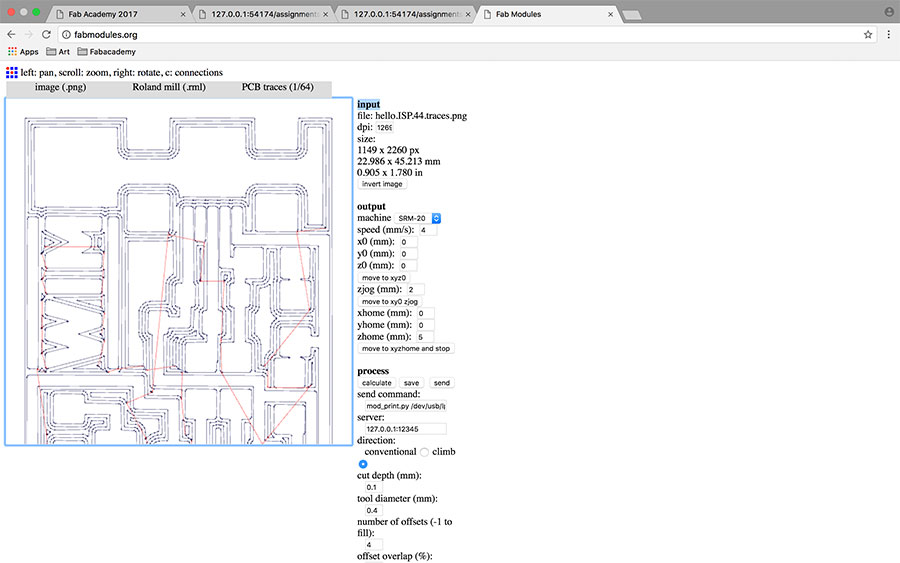
I started to make my personalized board. For that I downloaded the fabisp, "png" traces and lines and made my name in photoshop on it. When I was happy with the design I loaded it in the fabmodules site, selected the Roland SRM-20 for milling and put all the specs to zero. Only changed the "zhome" to 5mm. It's for when the milling ends it takes the drillbit in the air and goes back. If you don'tchange this specs, chances are that it scratches your board. After that step I uploaded my files in the iaac cloud. You need one file for the traces and one for milling the outline. And you need to put the specs for the right drillbits. "1/64" for the traces and "1/32" for the lines.

Milling with the Roland SRM-20
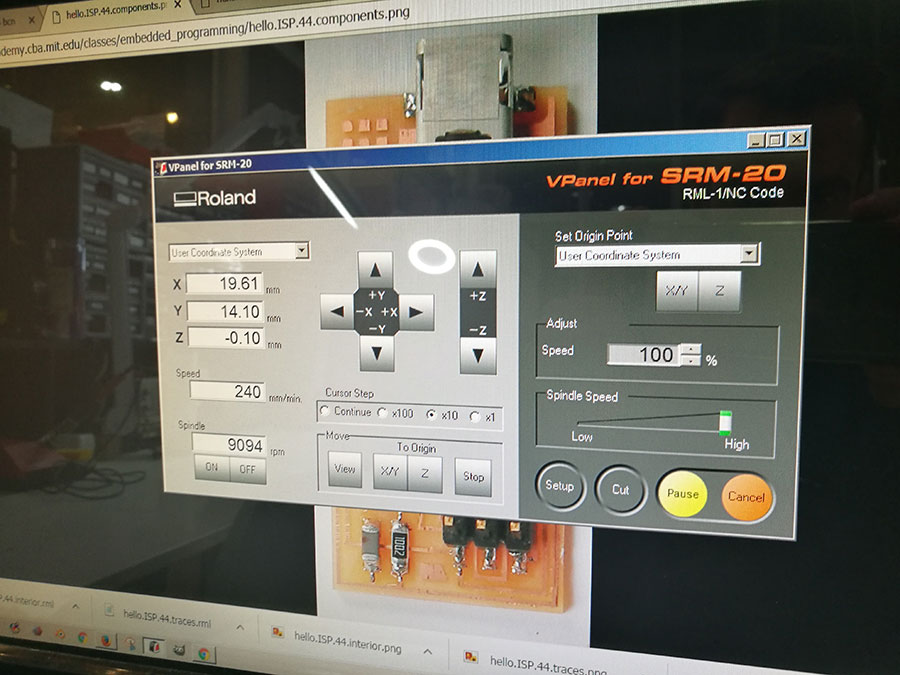
I started with cleaning the wood thing to put my cooper plate on it. If its dirty you can clean it the best with some alcohol to get also the last bit of dirt away. Then I put the drillbit for the traces in it. After this step you can make up the coordination point with the "X/Y" axis. When your happy you can set the axis that the machine know where to start. after that you adjust the drillbit with the "Z" axis. Go down with the drillbit to see where its good. After that you can adjust the drillbit so I sits flush on the cooperplate. Now you can finally define your "Z" axis and upload the file when you press on "cut". Be sure that you deleted all the old files so it will be your file that mill. For the outlines just change the drillbit and send the file to the cutter.
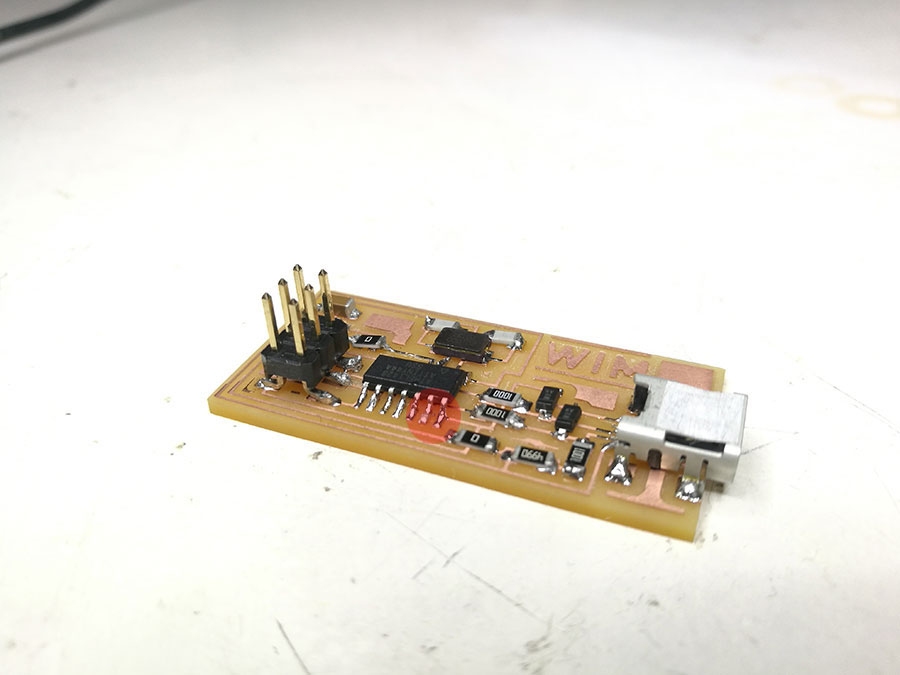
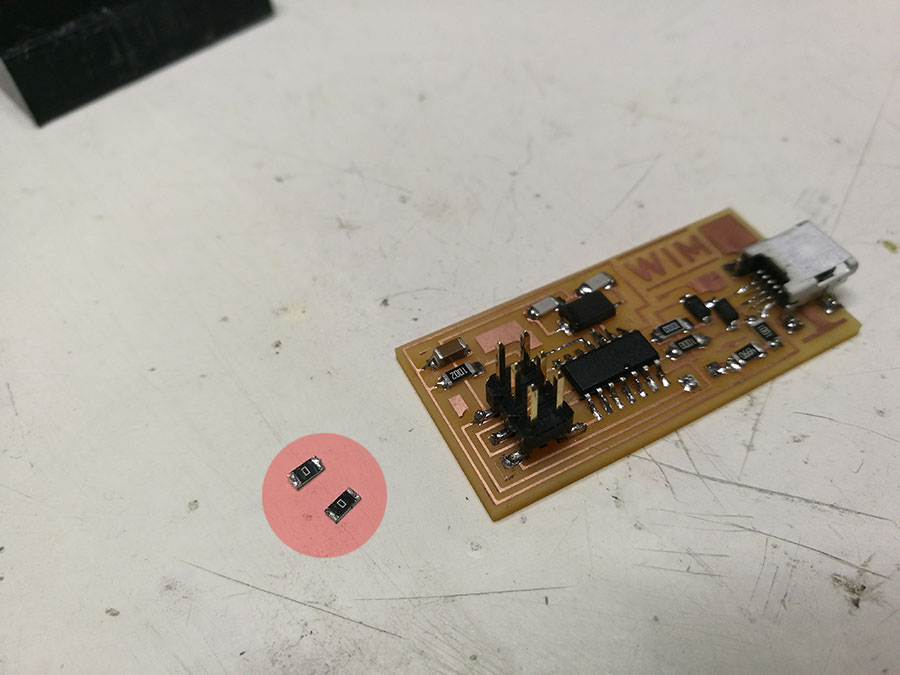
Soldering
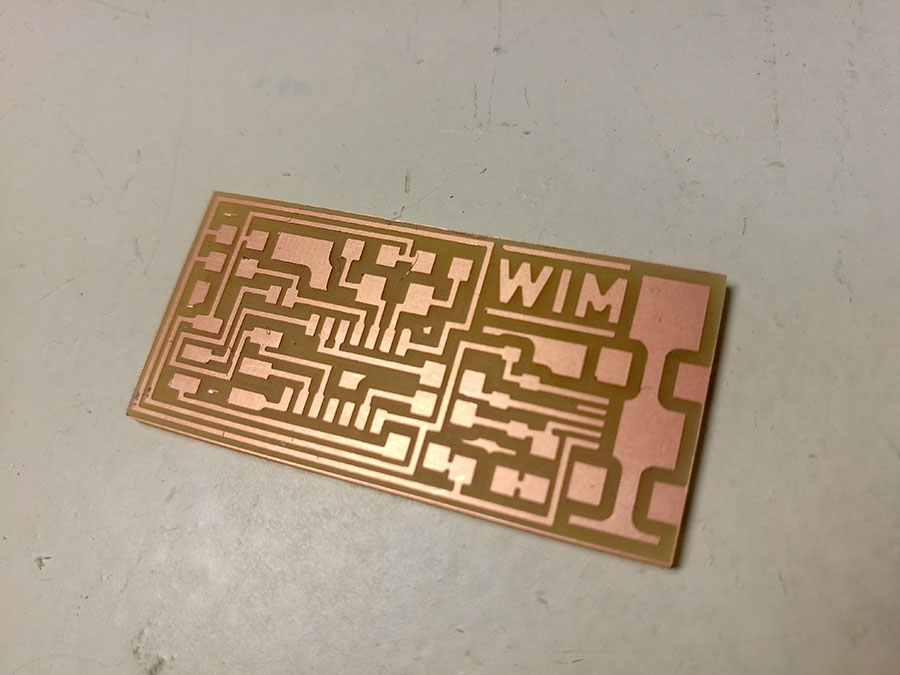
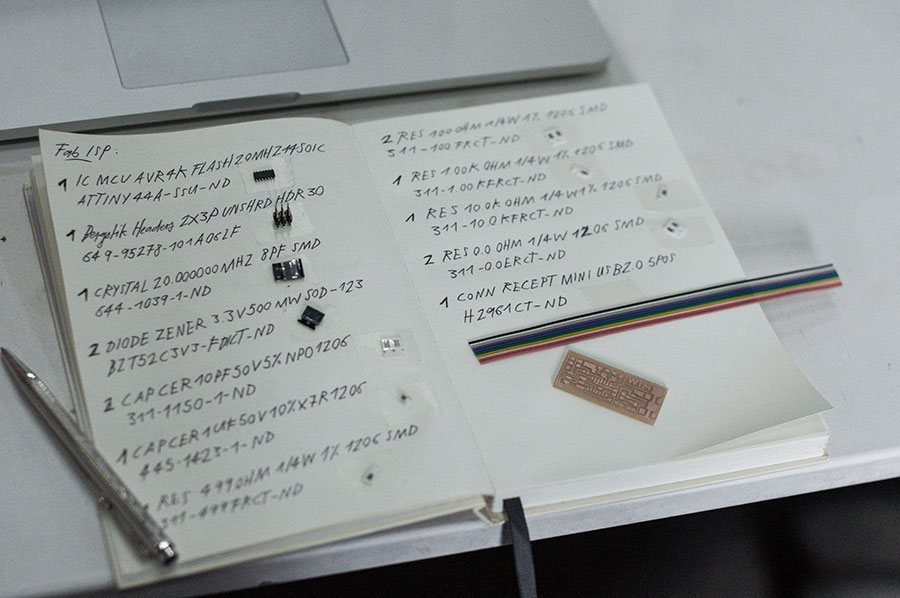
At first I needed to gather all the parts to solder my board. I looked at Ferdi's FabAcademy 2016 site, and written everything in my notebook. Then I started to soldering, which was quite difficult for the first time. I made a mistake at the usb, and when I want to solve my problem the cooper broke. I also didn't had the patience at the beginning. I needed to mill a second board and solver the whole thing again. This time I first learned to solder it a little bit on old boards, until I was confident to make my own board. I found out that its the simplest way when you solder one point on the board, then put the component on it and solder it together. When you look at my two boards you see that the new finished one is much nicer and cleaner made.

Programming
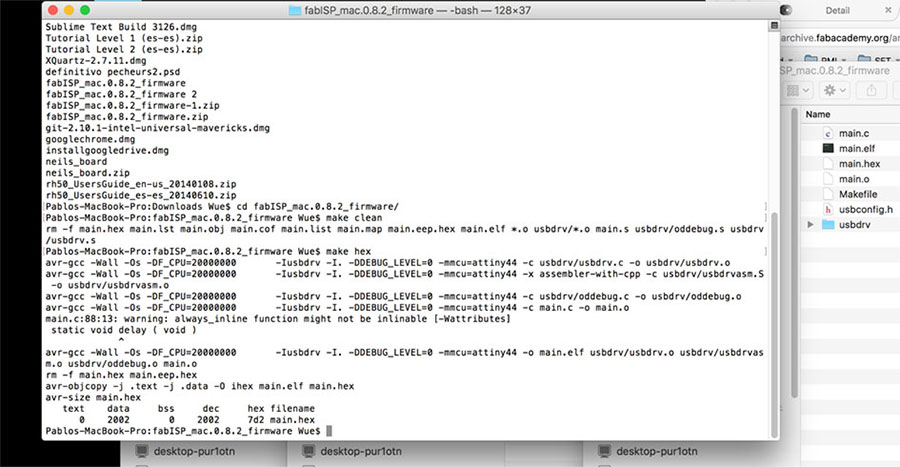
Go here to FabIsp Programming, and use the tutorial to programm your FabIsp. At first test your board and check if you soldered everything. If the programmer blinks green it should work. Download crosspack avr and be sure you also have xcode, then download the adequate firmware. Save the firmware on your desktop, go to terminal and follow the instructions. I used a macbookpro with mac osx sierra installed.
type: make clean
type: make hex
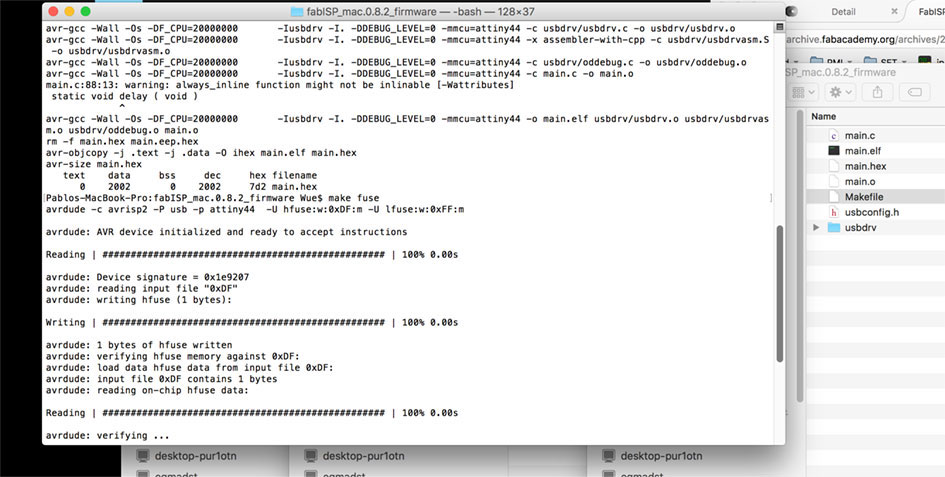
type: make fuse
type: make program
For me it worked well. Afterwards you need to desolder the "jumpers" and be sure you see the FabIsp as a usb device. I didn't see it first and checked my board again. I had one connection that wasnt soldered well so I changed that and it worked perfectly!


Click here to download all the files.