that you made and comparing as many tool options as possible.
Basic Bluetooth Communication using App Inventor
I wanted to make my first bluetooth communication with my smartphone and my computer. Because I will need App Inventor for my final project I decided this weeks assignment is perfect to getting knowing the software. The interface of App Inventor is easy to understand, it's based on Scratch which is a visual, blocks language for building Android Apps. You can install MIT AI2 Companion and just scan the qrcode to have it in real time on your phone which is super useful to check what you are building and if its working. Of course you also can install the App Inventor on your smartphone or tablet and work directly from there;) I started with this tutorial. I made myself through the whole tutorial until I realized I could just download the codes. But was good because of that I dived deeper into the software. You can install MIT AI2 Companion After that I downloaded BlueStackswhich is an Android Emulator for your computer. It worked out surprisingly well I made my first bluetooth server and client connection.


Life Hack: Problems with MIT AI2 Companion and Android Phone:
The only problem I really had at the beginning was to get my Smartphone connected with App Inventor. I troubleshooted a long time what it could be, if my Smartphone or Android is too new (Huawei P9) or what else caused the problem. I searched a long time in the Internet until I found out it could be because I installed the app on my SD-Card and not on my internal Storage. You can go to your "settings", then "storage" and change wherever you want to store your stuff. After I changed that it worked perfect. Of course this doesn't happen if you don't have a SD-Card in your Smartphone.
Unity + CCODE
We had a tutorial about Unity with Roger Anguera of Neuroscapelab. If you don't know them check them out they make really crazy stuff and bridging the gap between technology and neuroscience. A good example is there Glassbrain Project. There you can see how powerful Unity can be and that you don't only can use it for Games, Apps, etc.
With the help of a friend I made basic moves via CCODE so I could control for example the Cube and in which direction he should move. Unfortunately I didn't had really a lot of time to play more with it but will definitely come back.
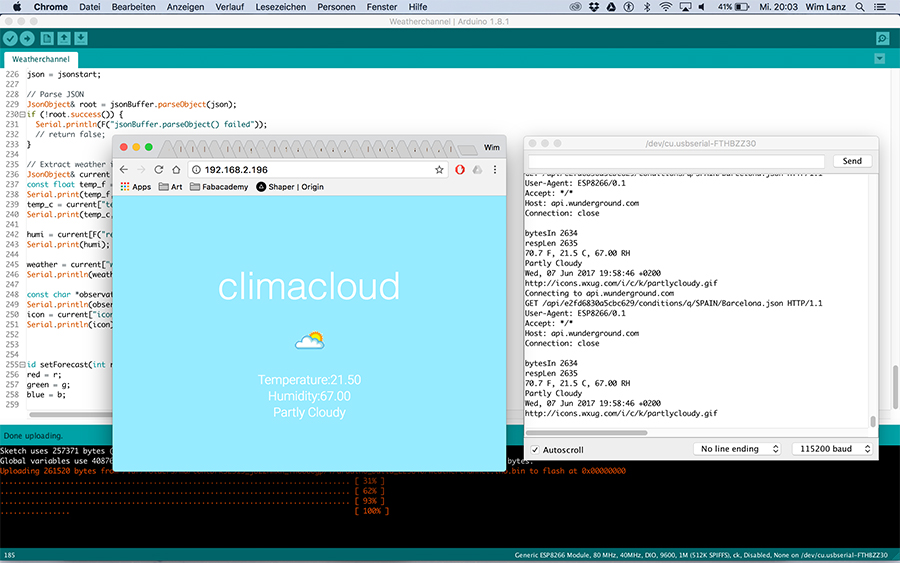
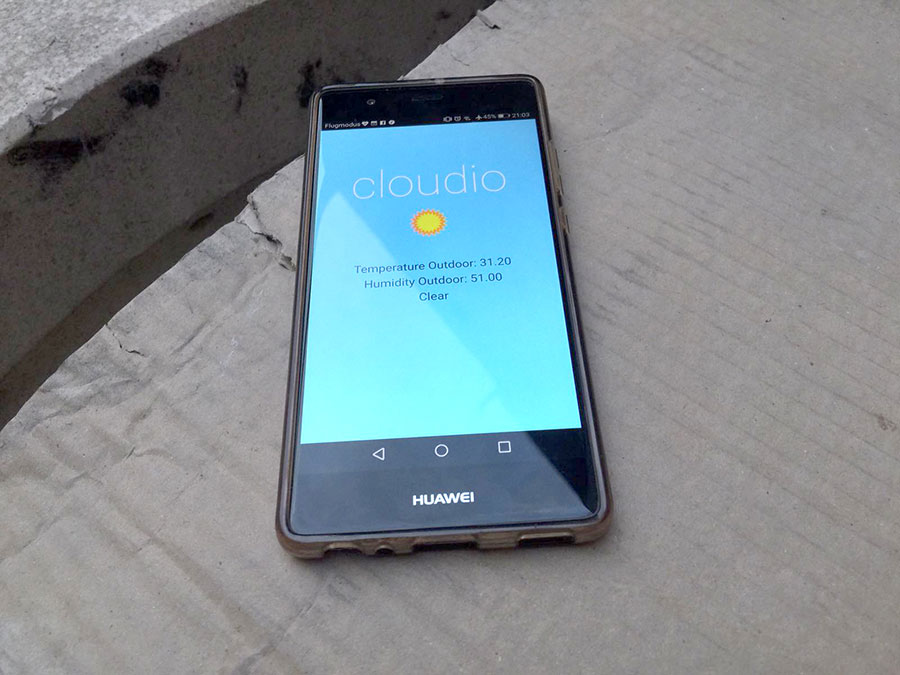
Using my Wifiboard and creating a nice Interface
After last weeks setting up my Arduino Code and my .json script which gives me all the informations that I want, now even more(at the moment it is weather, humidity, observation time and a icon) I made myself to the task to setting up a small html code for my ip adress to have a nice interface. Remember when you put your html code into arduino and you don't have any storage on your board (SD-Card, etc…) that you only can implement different colors or different fonts. In my case I integrated a google font that the page doesn't look to boring. If you want to integrate pictures it is possible but only if they are smaller than 1mb. You can go to base64 image and upload your picture/icon. It transforms your picture in a code which you can integrate in your html code. In my case I didn't needed it because I included the "ICON" from the .json script which gives me always a different Icon depending if its cloudy, stormy, clear etc… I really like how simple my Interface looks like and I am one step closer to finish my final project.
Click here to download all the files.
The only problem I really had at the beginning was to get my Smartphone connected with App Inventor. I troubleshooted a long time what it could be, if my Smartphone or Android is too new (Huawei P9) or what else caused the problem. I searched a long time in the Internet until I found out it could be because I installed the app on my SD-Card and not on my internal Storage. You can go to your "settings", then "storage" and change wherever you want to store your stuff. After I changed that it worked perfect. Of course this doesn't happen if you don't have a SD-Card in your Smartphone.
Unity + CCODE
We had a tutorial about Unity with Roger Anguera of Neuroscapelab. If you don't know them check them out they make really crazy stuff and bridging the gap between technology and neuroscience. A good example is there Glassbrain Project. There you can see how powerful Unity can be and that you don't only can use it for Games, Apps, etc.
With the help of a friend I made basic moves via CCODE so I could control for example the Cube and in which direction he should move. Unfortunately I didn't had really a lot of time to play more with it but will definitely come back.
Using my Wifiboard and creating a nice Interface
After last weeks setting up my Arduino Code and my .json script which gives me all the informations that I want, now even more(at the moment it is weather, humidity, observation time and a icon) I made myself to the task to setting up a small html code for my ip adress to have a nice interface. Remember when you put your html code into arduino and you don't have any storage on your board (SD-Card, etc…) that you only can implement different colors or different fonts. In my case I integrated a google font that the page doesn't look to boring. If you want to integrate pictures it is possible but only if they are smaller than 1mb. You can go to base64 image and upload your picture/icon. It transforms your picture in a code which you can integrate in your html code. In my case I didn't needed it because I included the "ICON" from the .json script which gives me always a different Icon depending if its cloudy, stormy, clear etc… I really like how simple my Interface looks like and I am one step closer to finish my final project.
Click here to download all the files.
With the help of a friend I made basic moves via CCODE so I could control for example the Cube and in which direction he should move. Unfortunately I didn't had really a lot of time to play more with it but will definitely come back.