We had a small introduction through the whole process to understand what we will need to do.
Designing the model
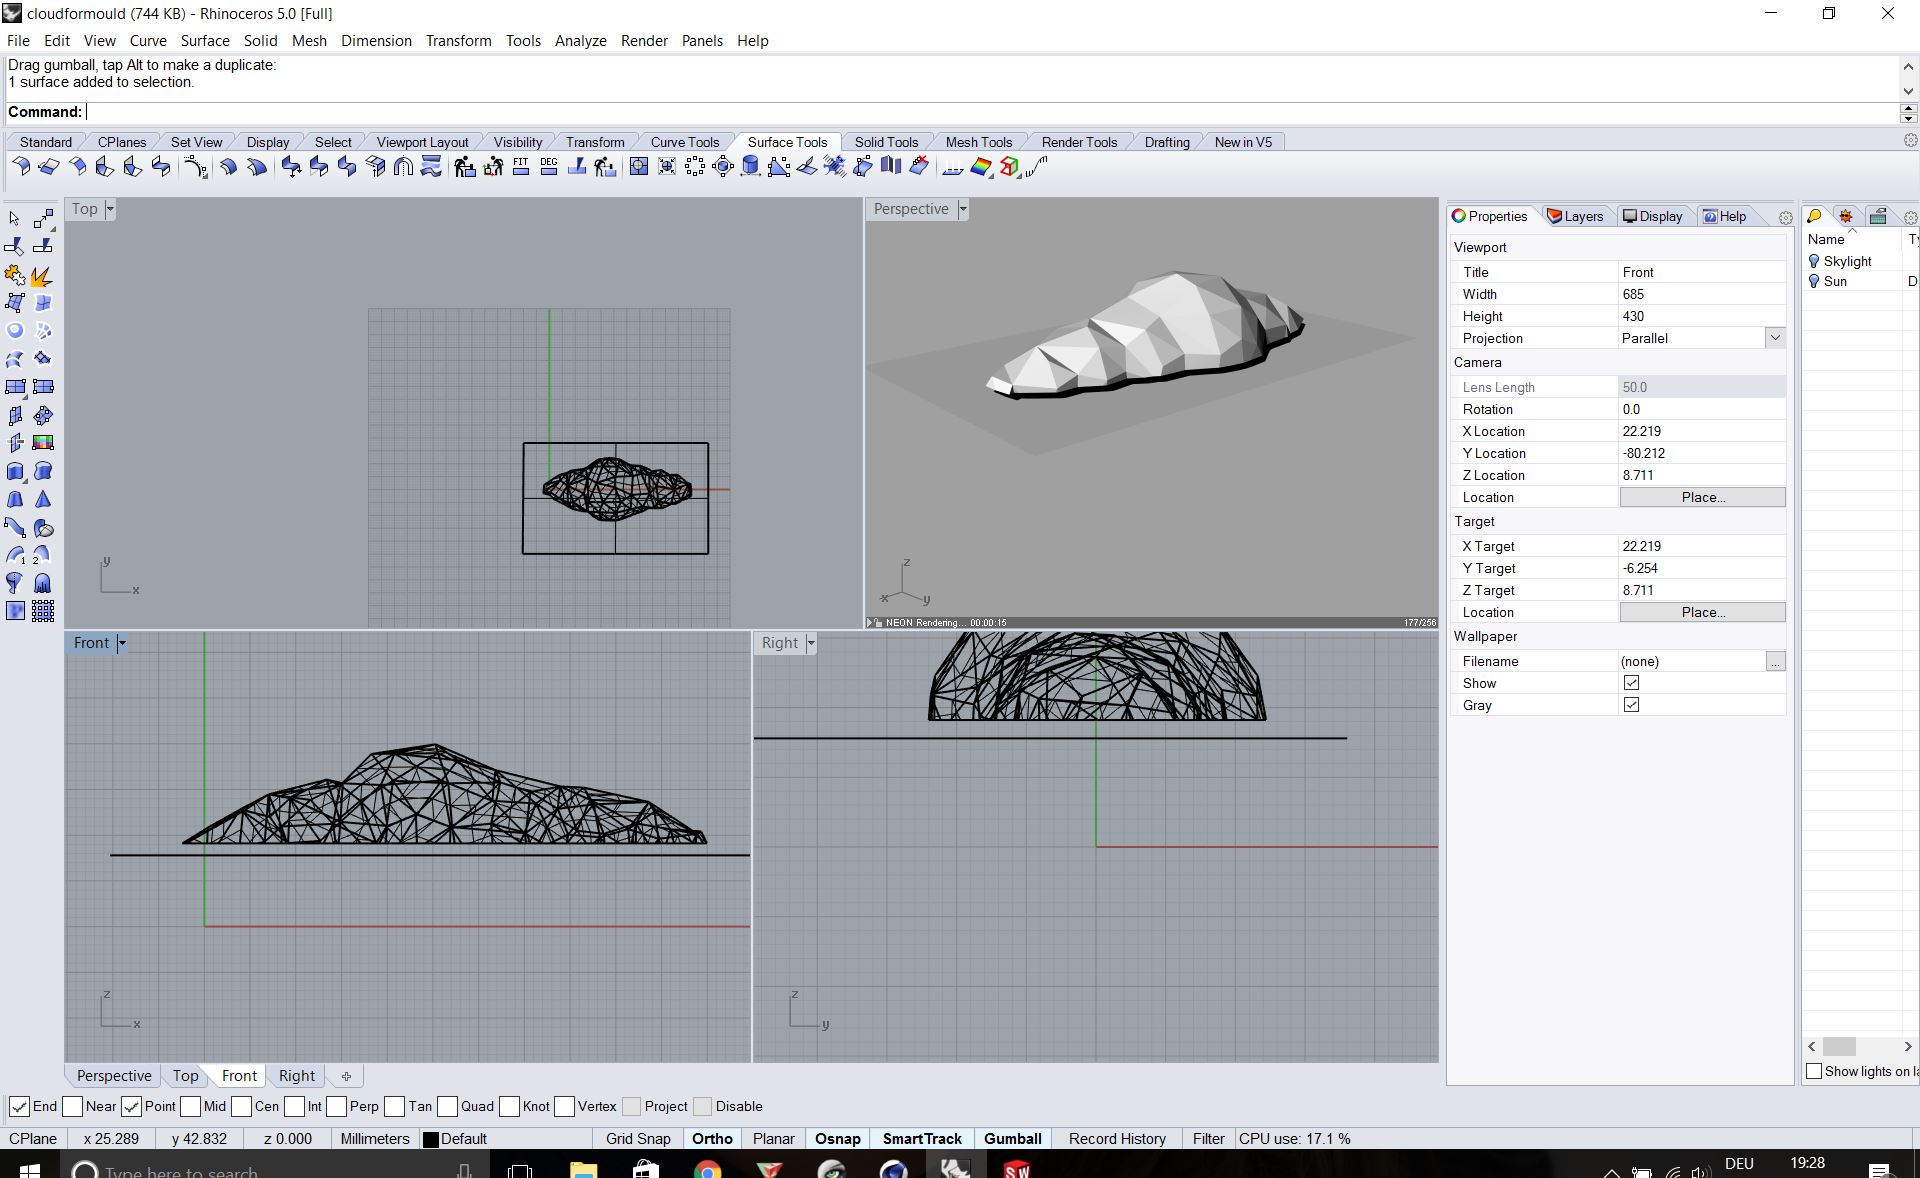
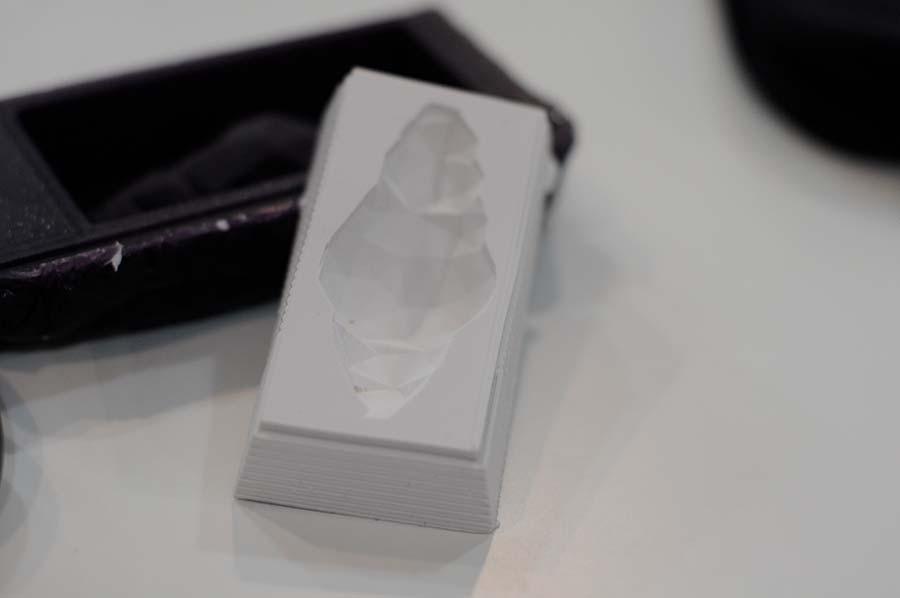
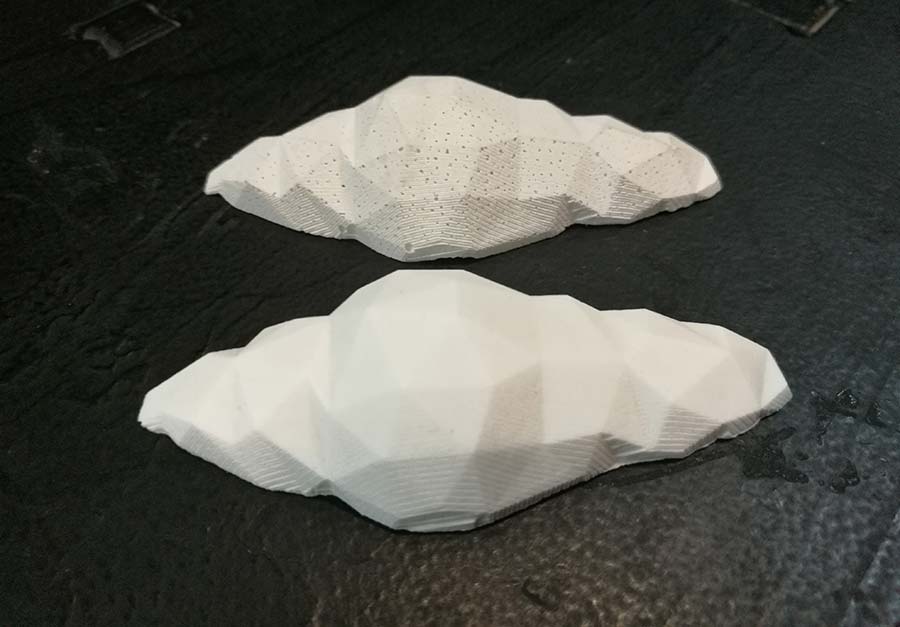
I designed my model of a small cloud in rhino. Be sure to make the negative walls of the mold in a concave design. It's because if you use the milling machine (Roland SRM-20) you need to think about the drillbit that it have enough play to mill. I keeped it simple for the first time and only made a one sided mold. I used again the lowpolylook to see how detailed it can be in a small scale.
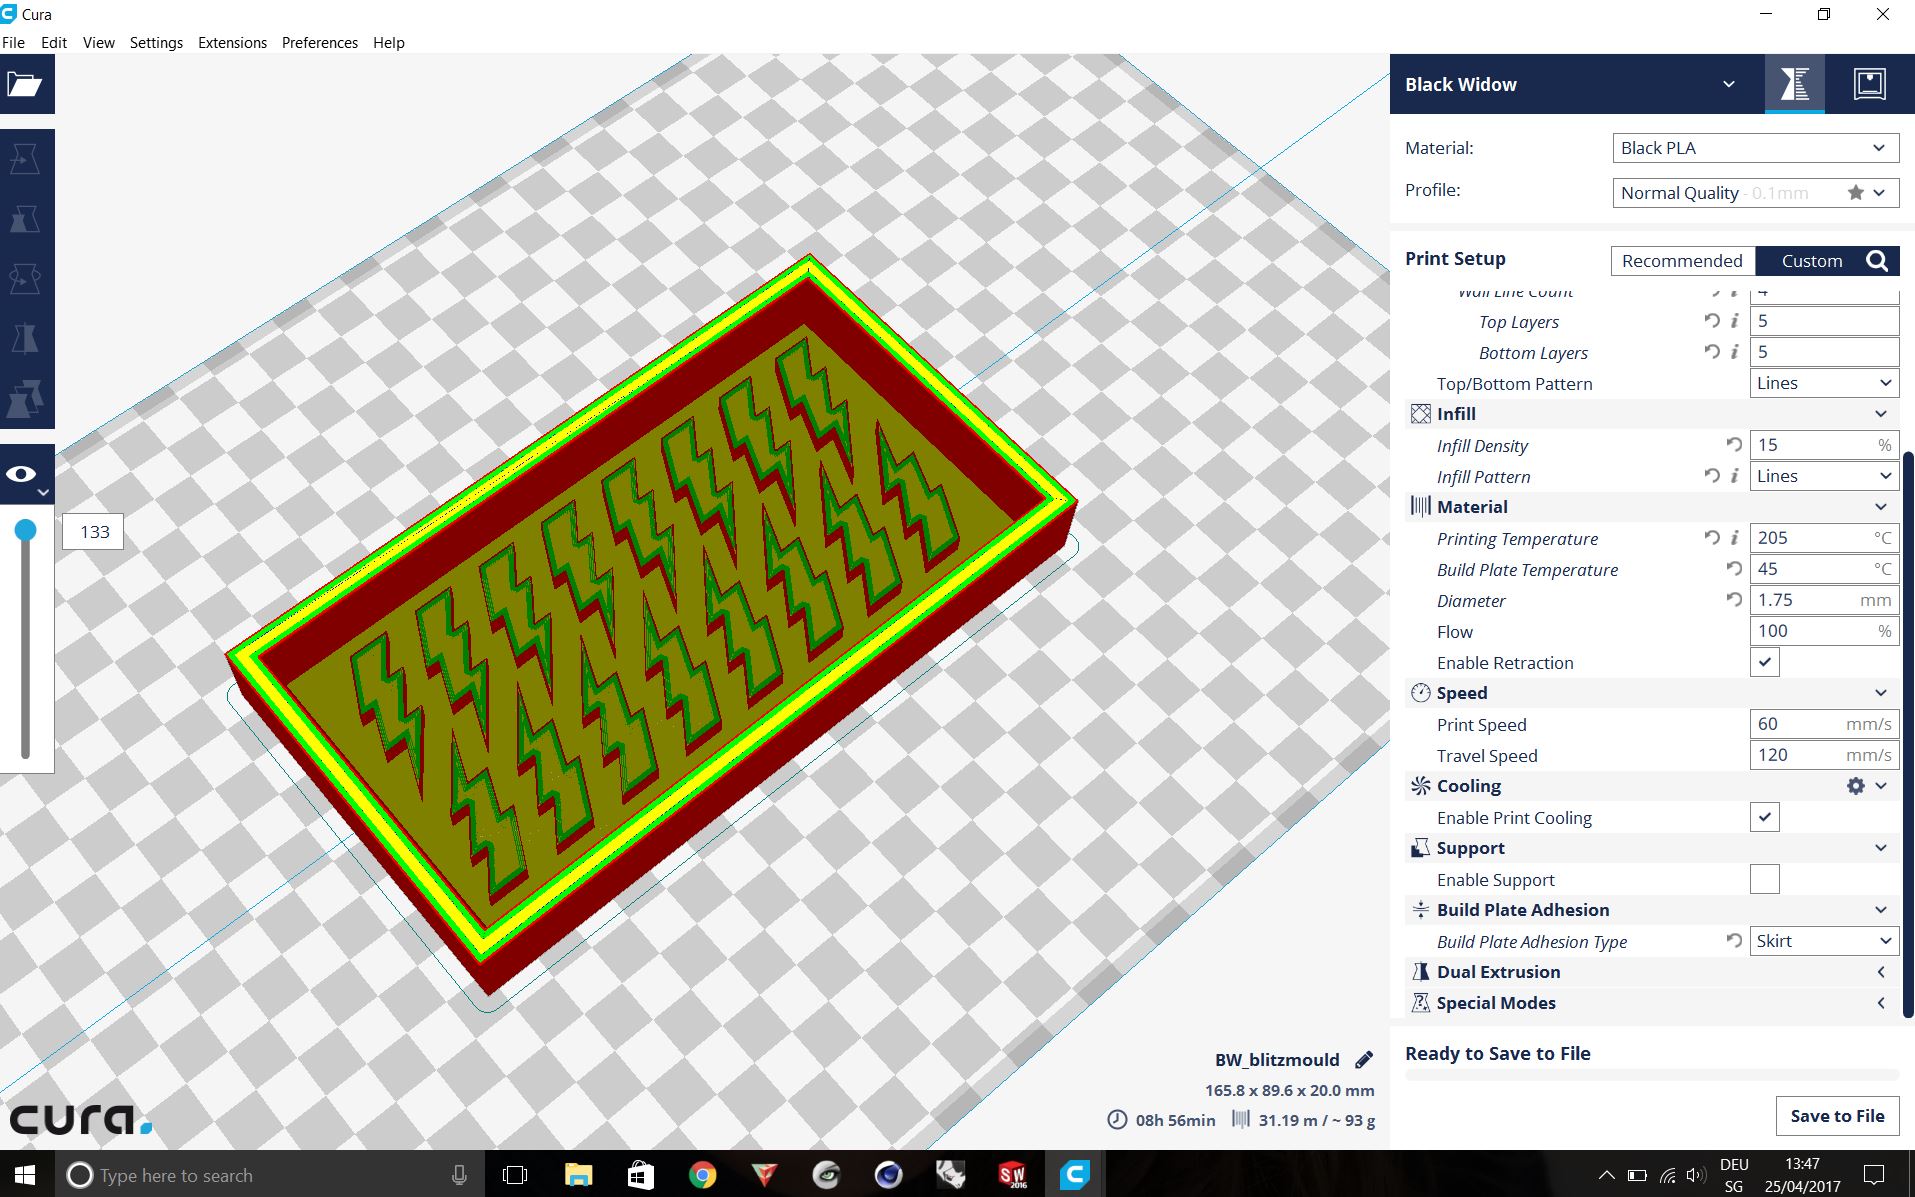
Because at this moment we weren't sure if we have enough wax blocks I also made a small design for the 3dprinter.

Making our own wax blocks.
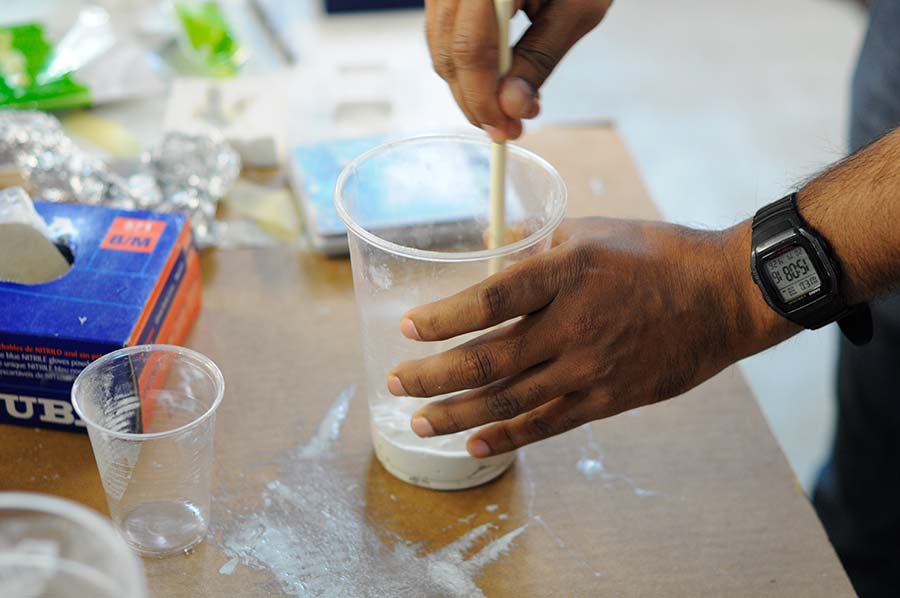
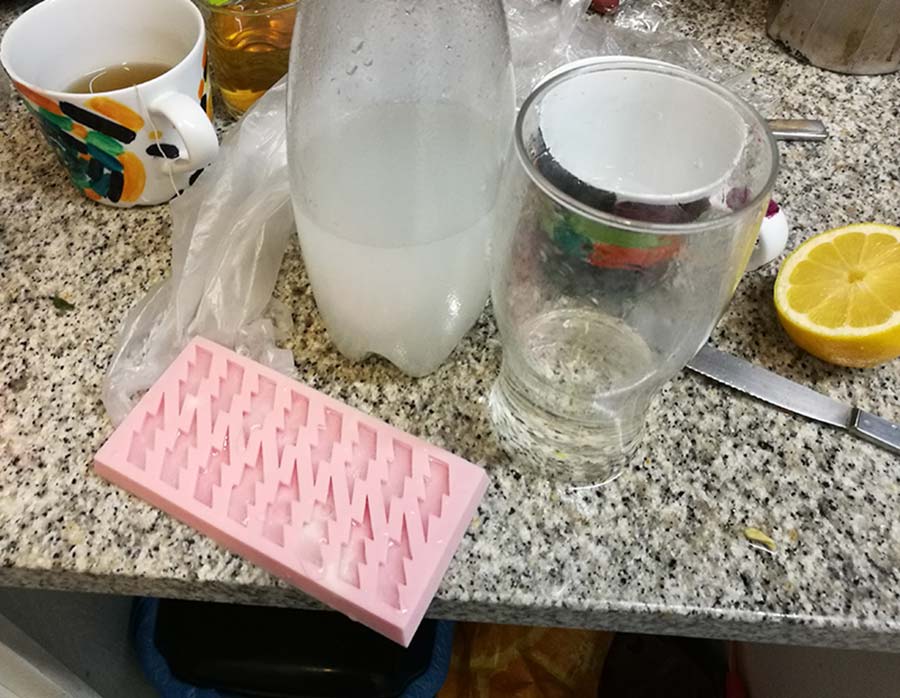
We realised that we don't have enough blocks so we set up a heating system and created a mould to recycle leftover wax materials. At first we tried it with a small oven. The problem was that it only had a maximal temperature of 90 degrees. In the user manual of the wax we found out that it would need something around 100 degrees to get liquid again so it took forever. I used the blue matt wax from Dumatt waxes. We decided to use a pan and heat it there up. Worked much better. After that step we put the liquid wax in the mold and put it in an oven which have the same temperature to cool it down slowely. We where getting better time after time and had at least four new wax blocks at the end of two days.


Setting up Modela Player 4 and mill the wax blocks on the Roland SRM-20
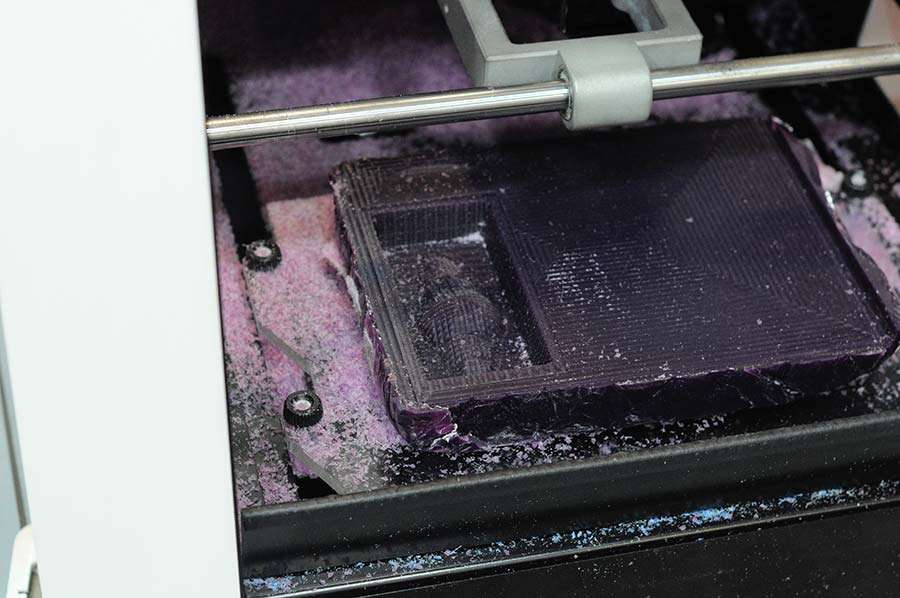
I had to set up the modela player 4 setting for roughing and finishing. It's a two step process which generates gcodes. But before that I had to flatten the surface of our own created wax blocks. For the roughing you need a 3.175mm bit and for the finishing I used a 0.79mm bit.
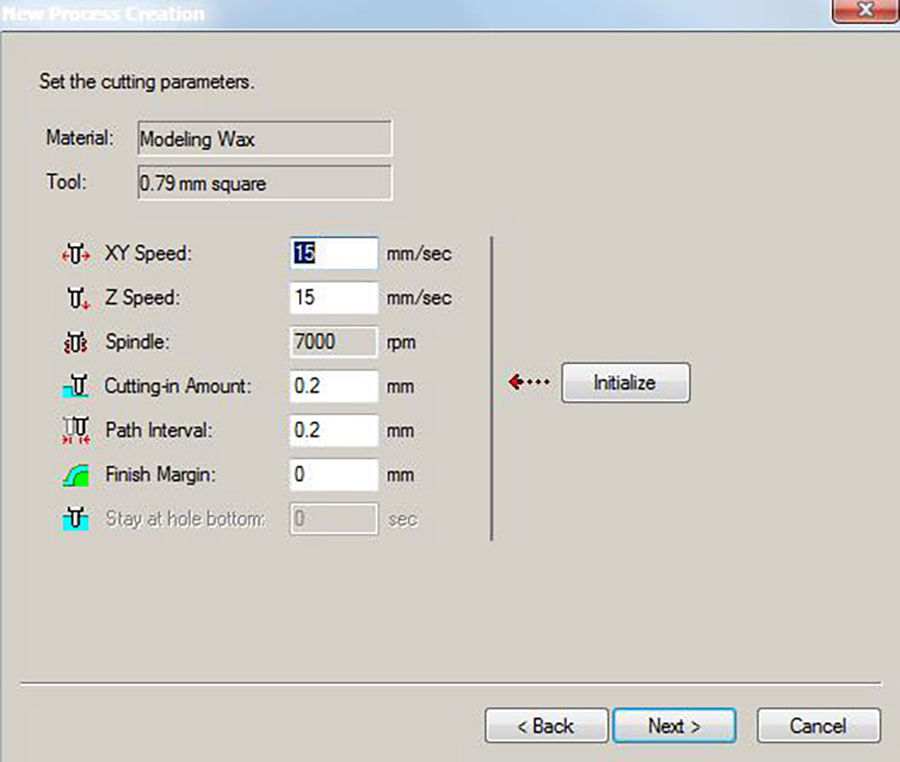
First you need to select your machine which in our case was the Roland SRM-20. Then you set up the milling bit for roughing (3.175mm). Next step is to define the material, in our case Modeling Wax. Then further to the process which was roughing. Then set the scan lines and in the end set the origin so it knows where to start.

The cutting parameters for roughing:

For the finishing process just select Finishing in the process section and set up the milling bit to 0.79mm.

The cutting parameters for finishing:
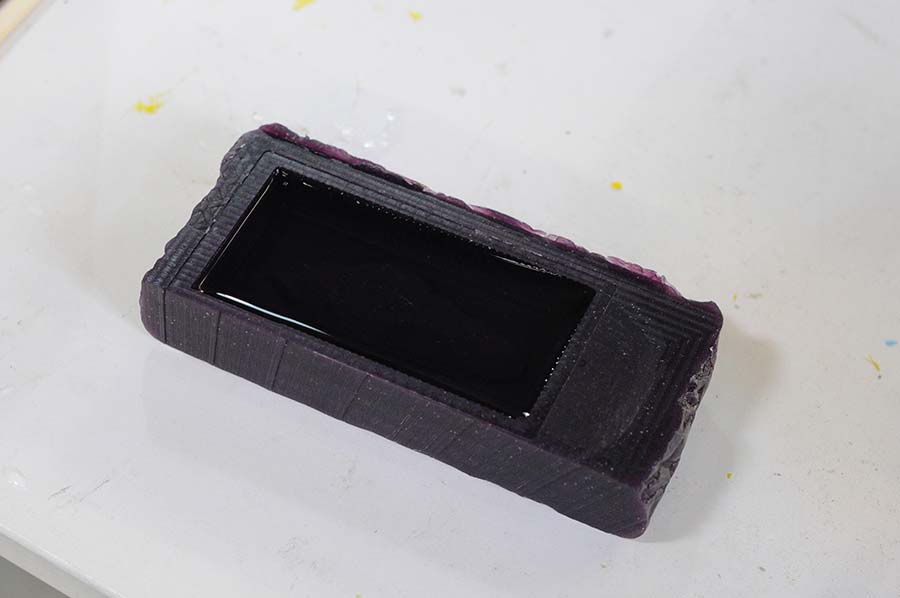
Finishing took 3 times until I was happy with the wax model. Time it took was something between two and three hours.


Casting the mold in silicon
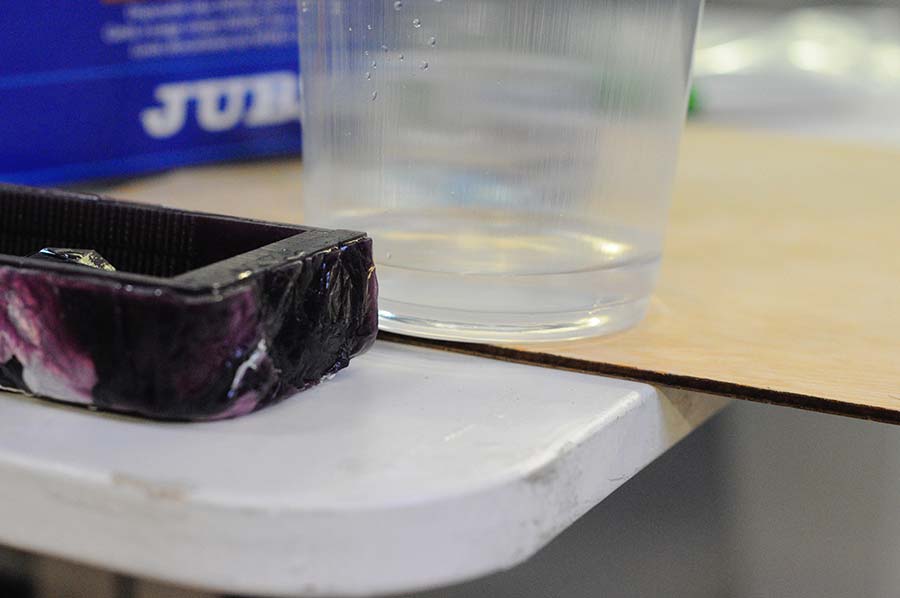
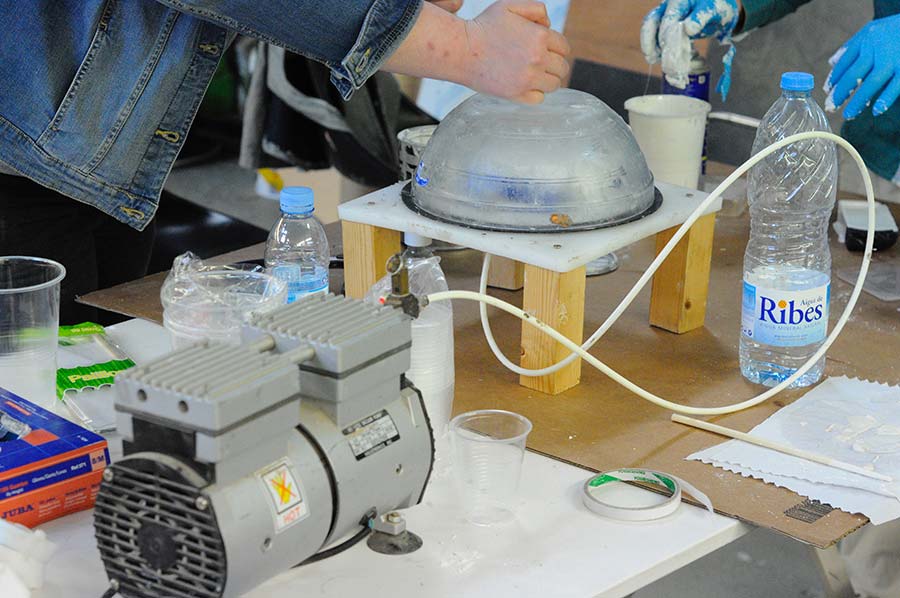
Then I took the negative wax mould to our workshop cleaned it good with air pressure and set the silicon up. At first I filled it with water to know how much silicon I needed. At mine it was something like 62.5 gramm so I made 100 gramm because there will always stay some silicon in the cup. You can read on the silicon how you need to mix the components. In my case it was 100 gramm and 3 gramm to get good silicon material. If you filled your mold up with the silicon just put it in a vacuum machine to get the rest of the air bubbles out and making the finishing nicer. It worked super without any leftover bubbles. Curing process took like four hours.

Casting with different type of materials
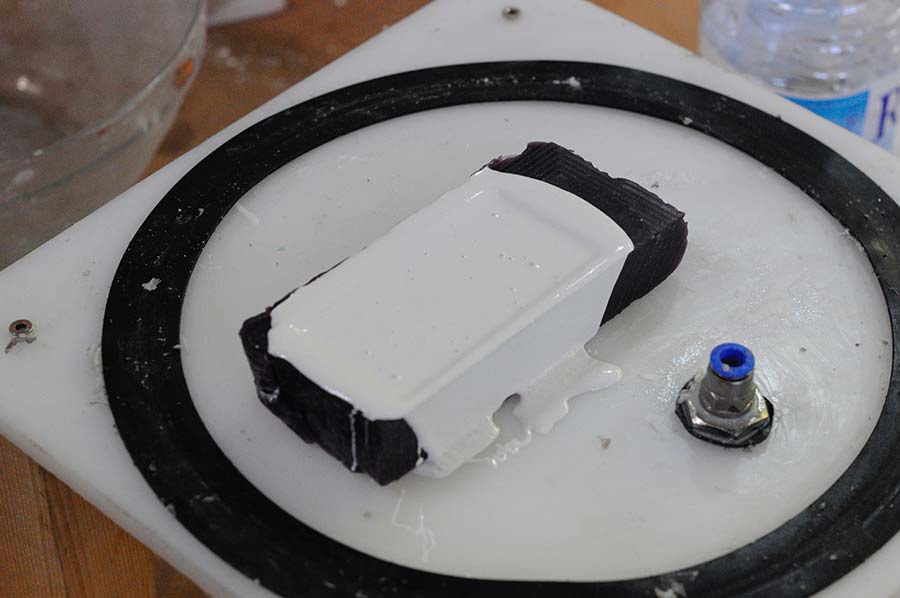
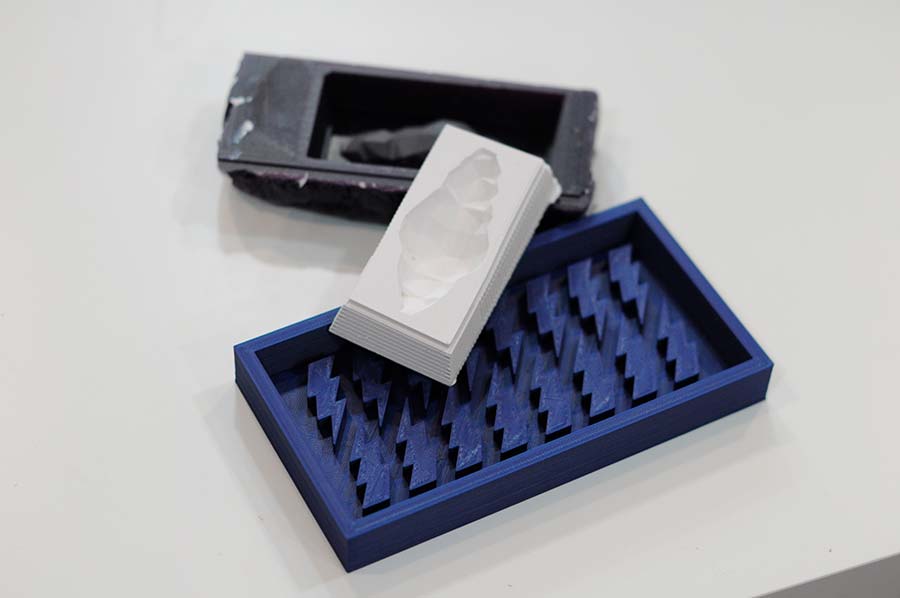
I casted my first try with FormX Hydrocol White and made almost the same procedure. Curing time was something around thirty minutes. Had a little bit of airbubbles in it but really liked the finish. I experimented with different materials like a marble type of silicon and made my flashmould with a food silicon "940" to use it with food or liquids.


Click here to download all the files.
Setting up Modela Player 4 and mill the wax blocks on the Roland SRM-20
I had to set up the modela player 4 setting for roughing and finishing. It's a two step process which generates gcodes. But before that I had to flatten the surface of our own created wax blocks. For the roughing you need a 3.175mm bit and for the finishing I used a 0.79mm bit.
First you need to select your machine which in our case was the Roland SRM-20. Then you set up the milling bit for roughing (3.175mm). Next step is to define the material, in our case Modeling Wax. Then further to the process which was roughing. Then set the scan lines and in the end set the origin so it knows where to start.
The cutting parameters for roughing:
For the finishing process just select Finishing in the process section and set up the milling bit to 0.79mm.
The cutting parameters for finishing:
Finishing took 3 times until I was happy with the wax model. Time it took was something between two and three hours.
Casting the mold in silicon
Then I took the negative wax mould to our workshop cleaned it good with air pressure and set the silicon up. At first I filled it with water to know how much silicon I needed. At mine it was something like 62.5 gramm so I made 100 gramm because there will always stay some silicon in the cup. You can read on the silicon how you need to mix the components. In my case it was 100 gramm and 3 gramm to get good silicon material. If you filled your mold up with the silicon just put it in a vacuum machine to get the rest of the air bubbles out and making the finishing nicer. It worked super without any leftover bubbles. Curing process took like four hours.
Casting with different type of materials
I casted my first try with FormX Hydrocol White and made almost the same procedure. Curing time was something around thirty minutes. Had a little bit of airbubbles in it but really liked the finish. I experimented with different materials like a marble type of silicon and made my flashmould with a food silicon "940" to use it with food or liquids.
Click here to download all the files.