Assignment
Read the material safety data sheet (MSDS) and technical data sheet (TDS) for the resins that you're using
Design and make a 3D mould (~ft2 /30x30cm), and produce a fibre composite part in it
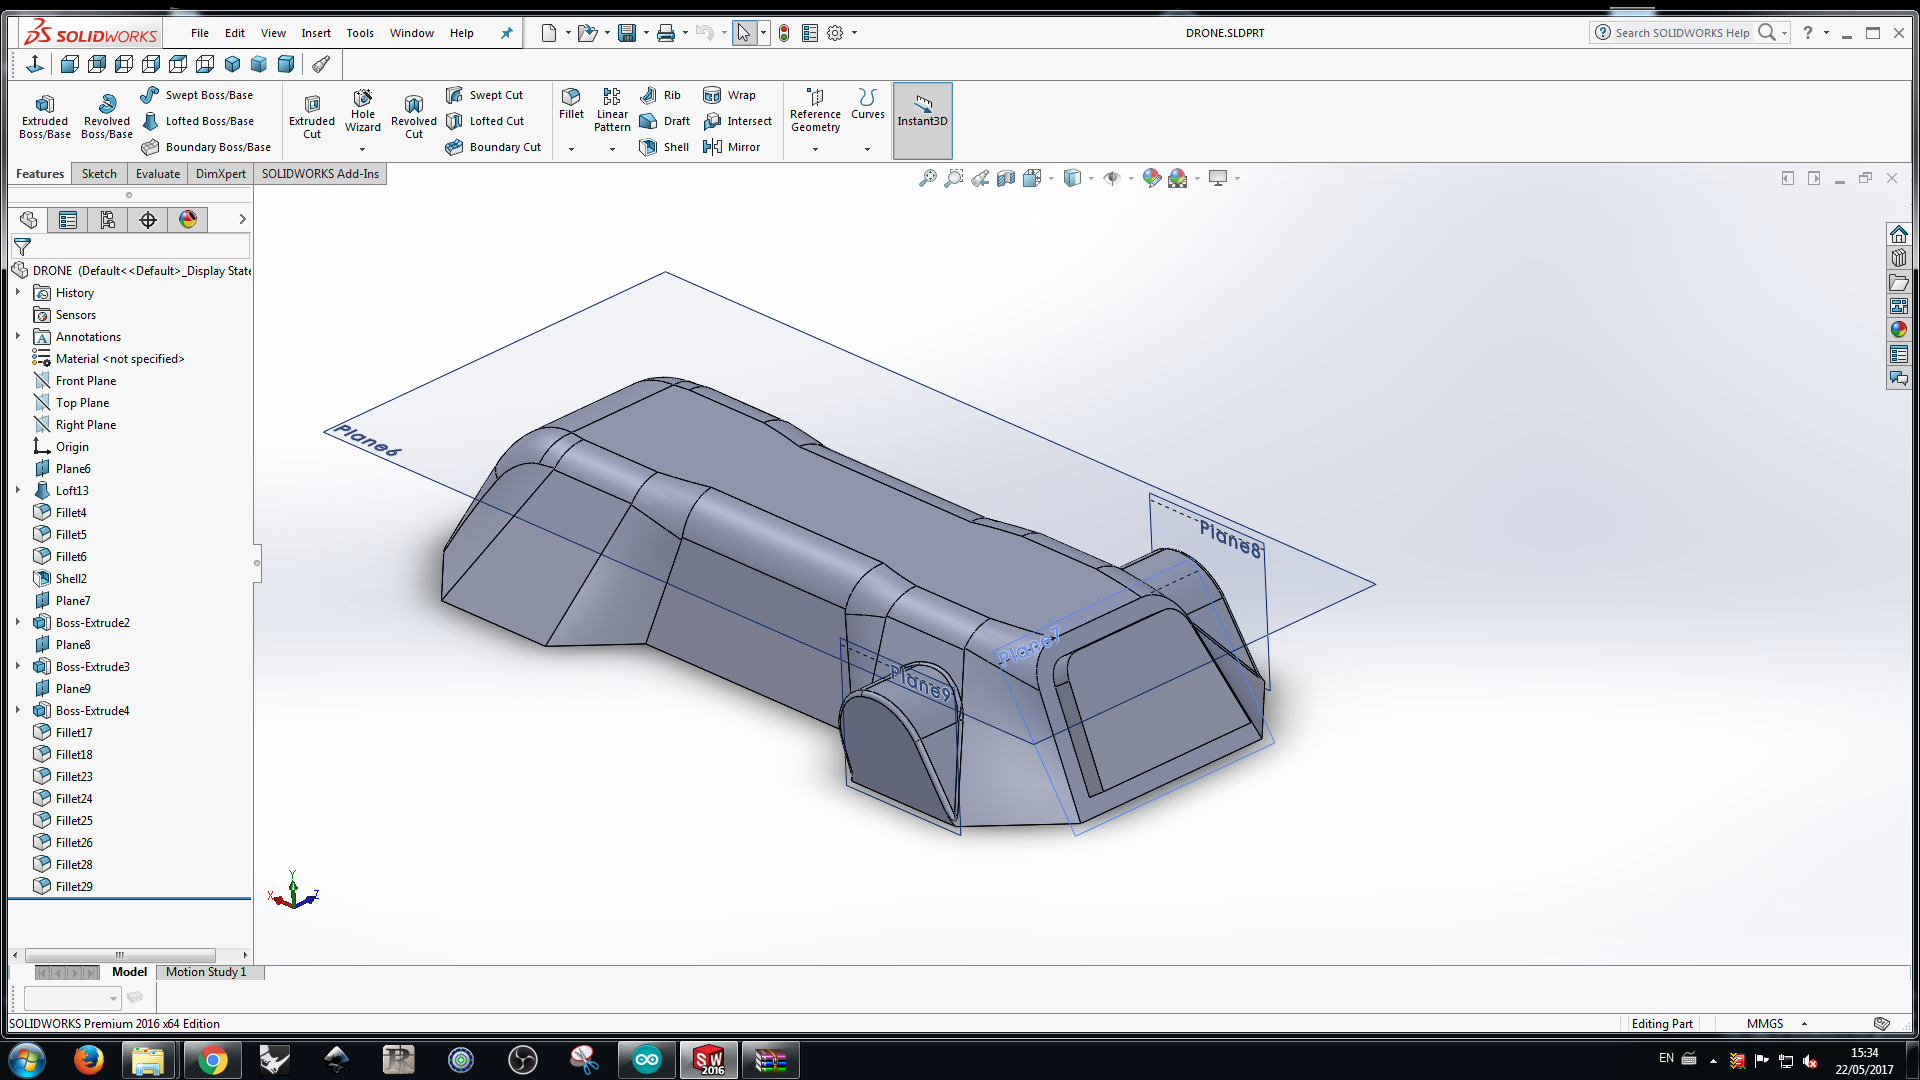
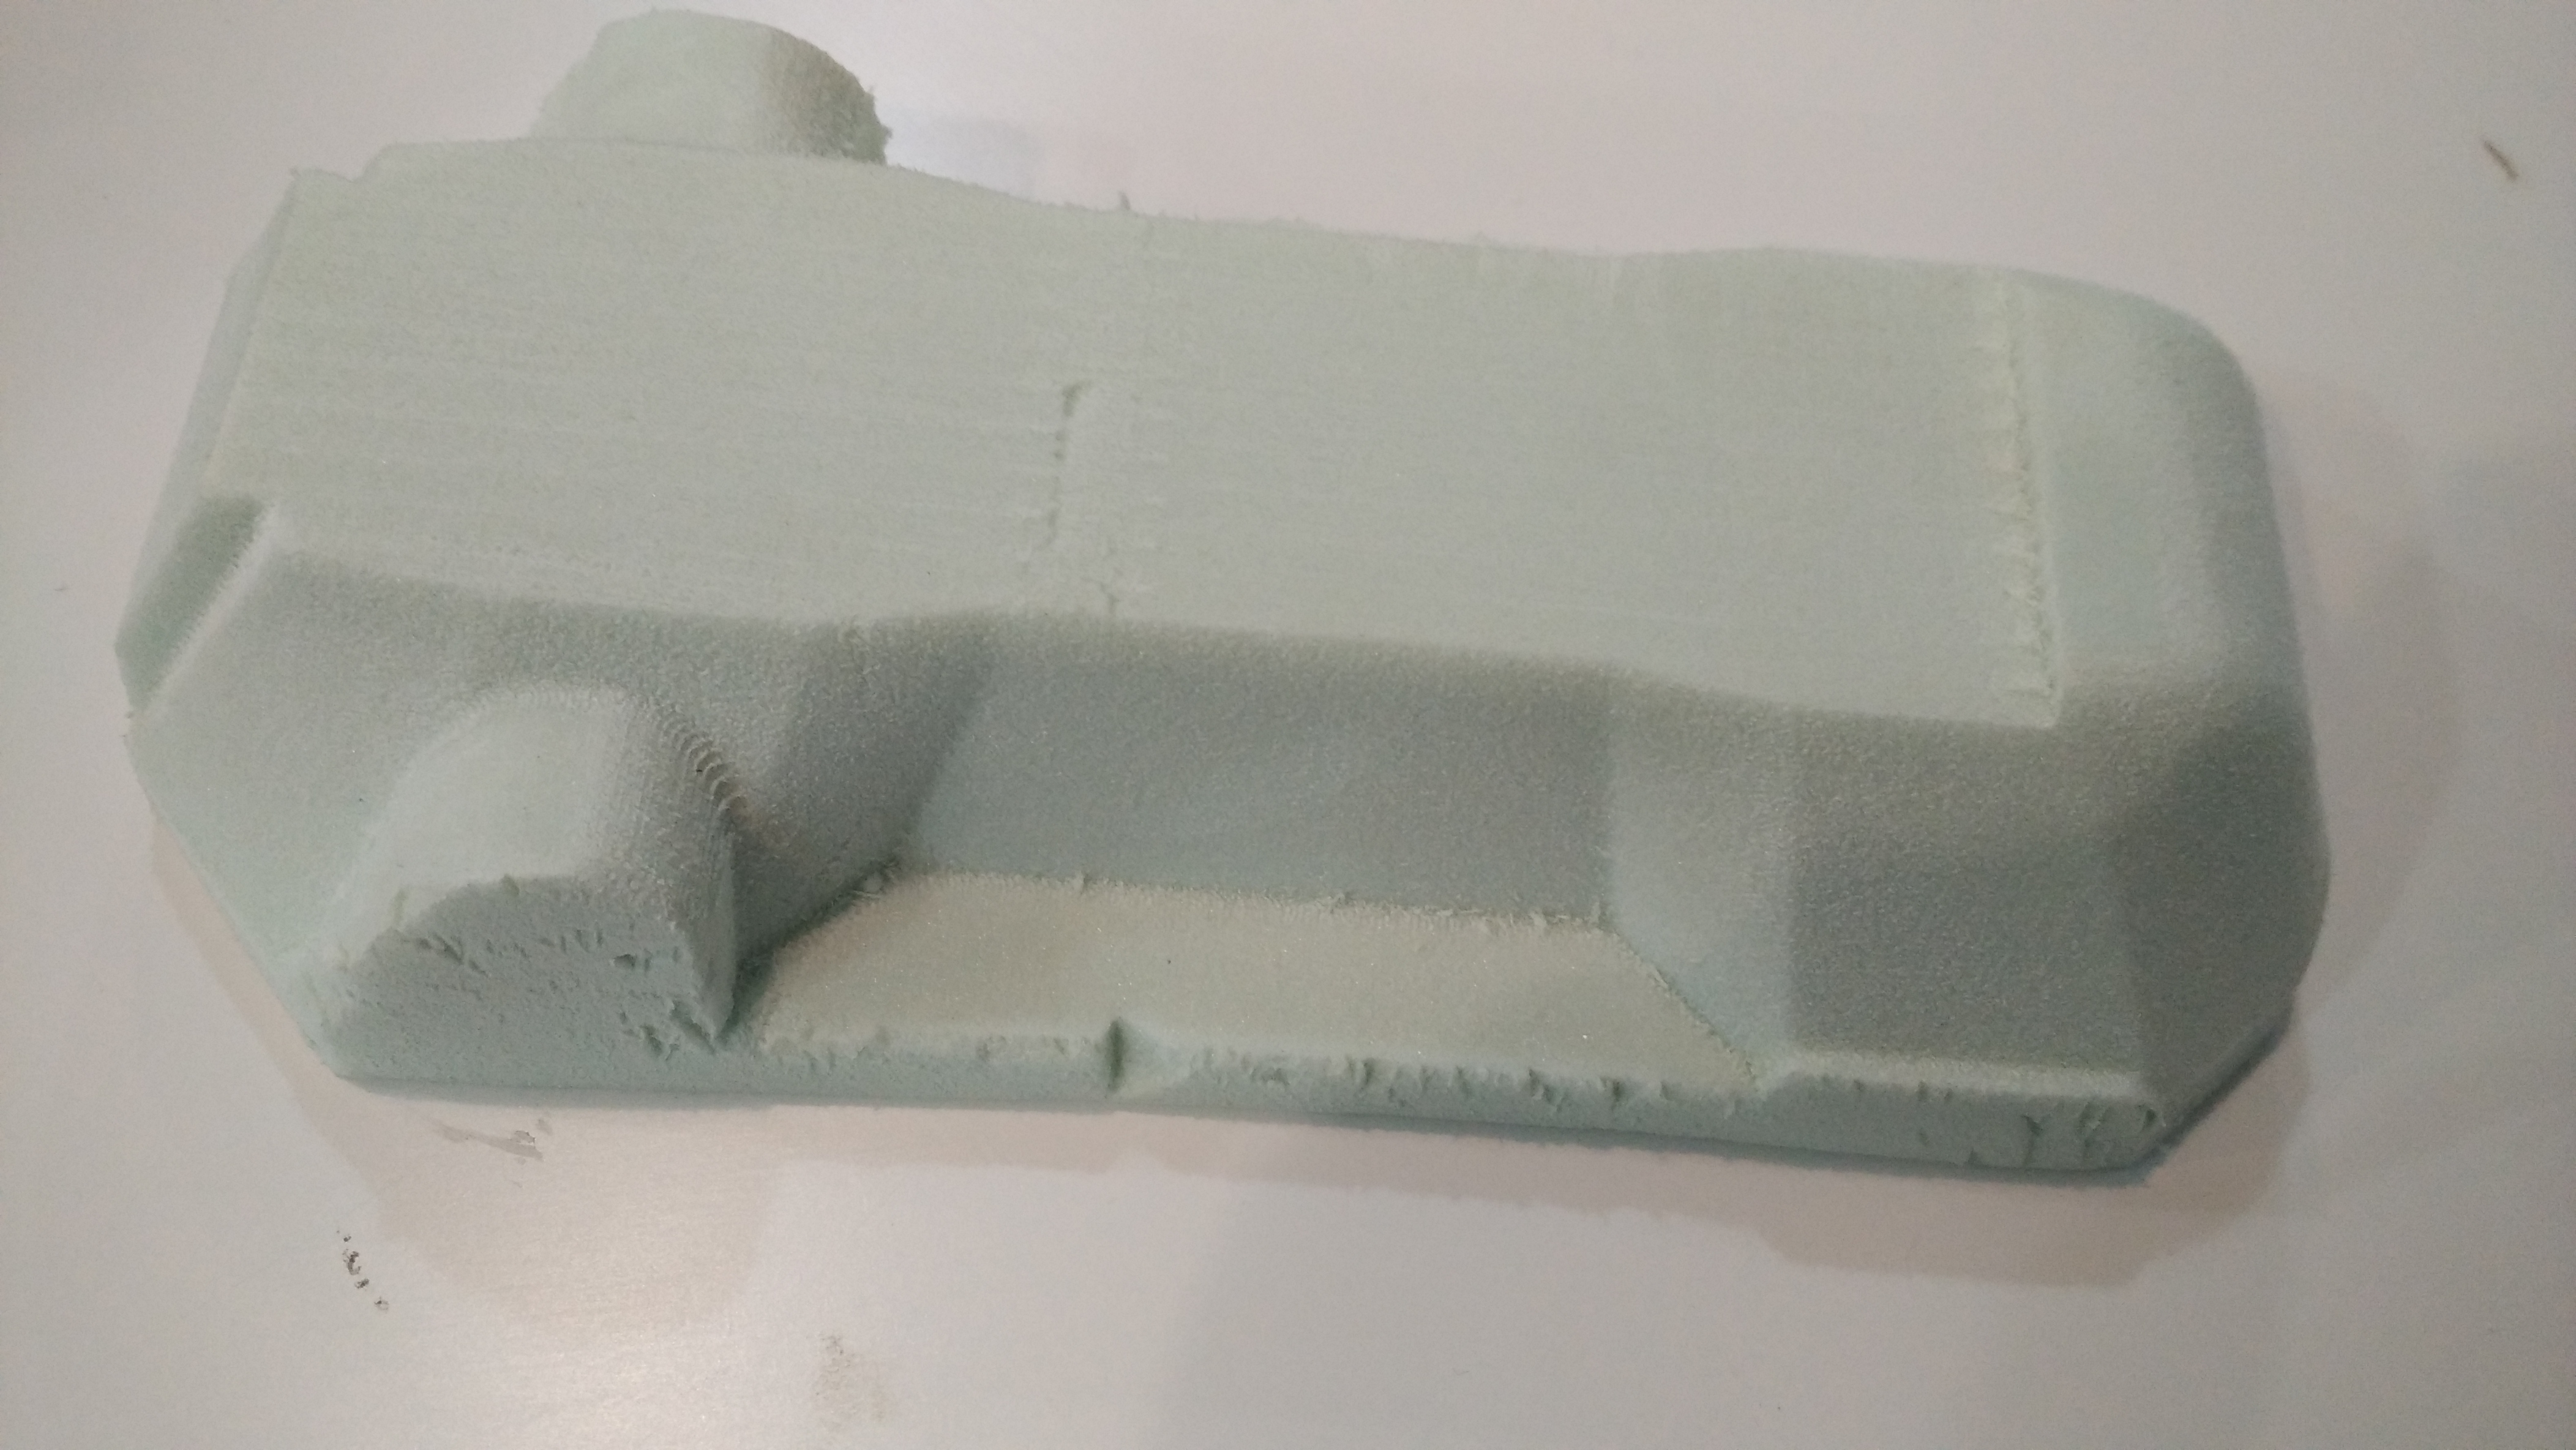
I decided to create a model using solidworks, ide is to create a cover for a drone, to avoid breaking the part of the electronics if it collides with some external element.
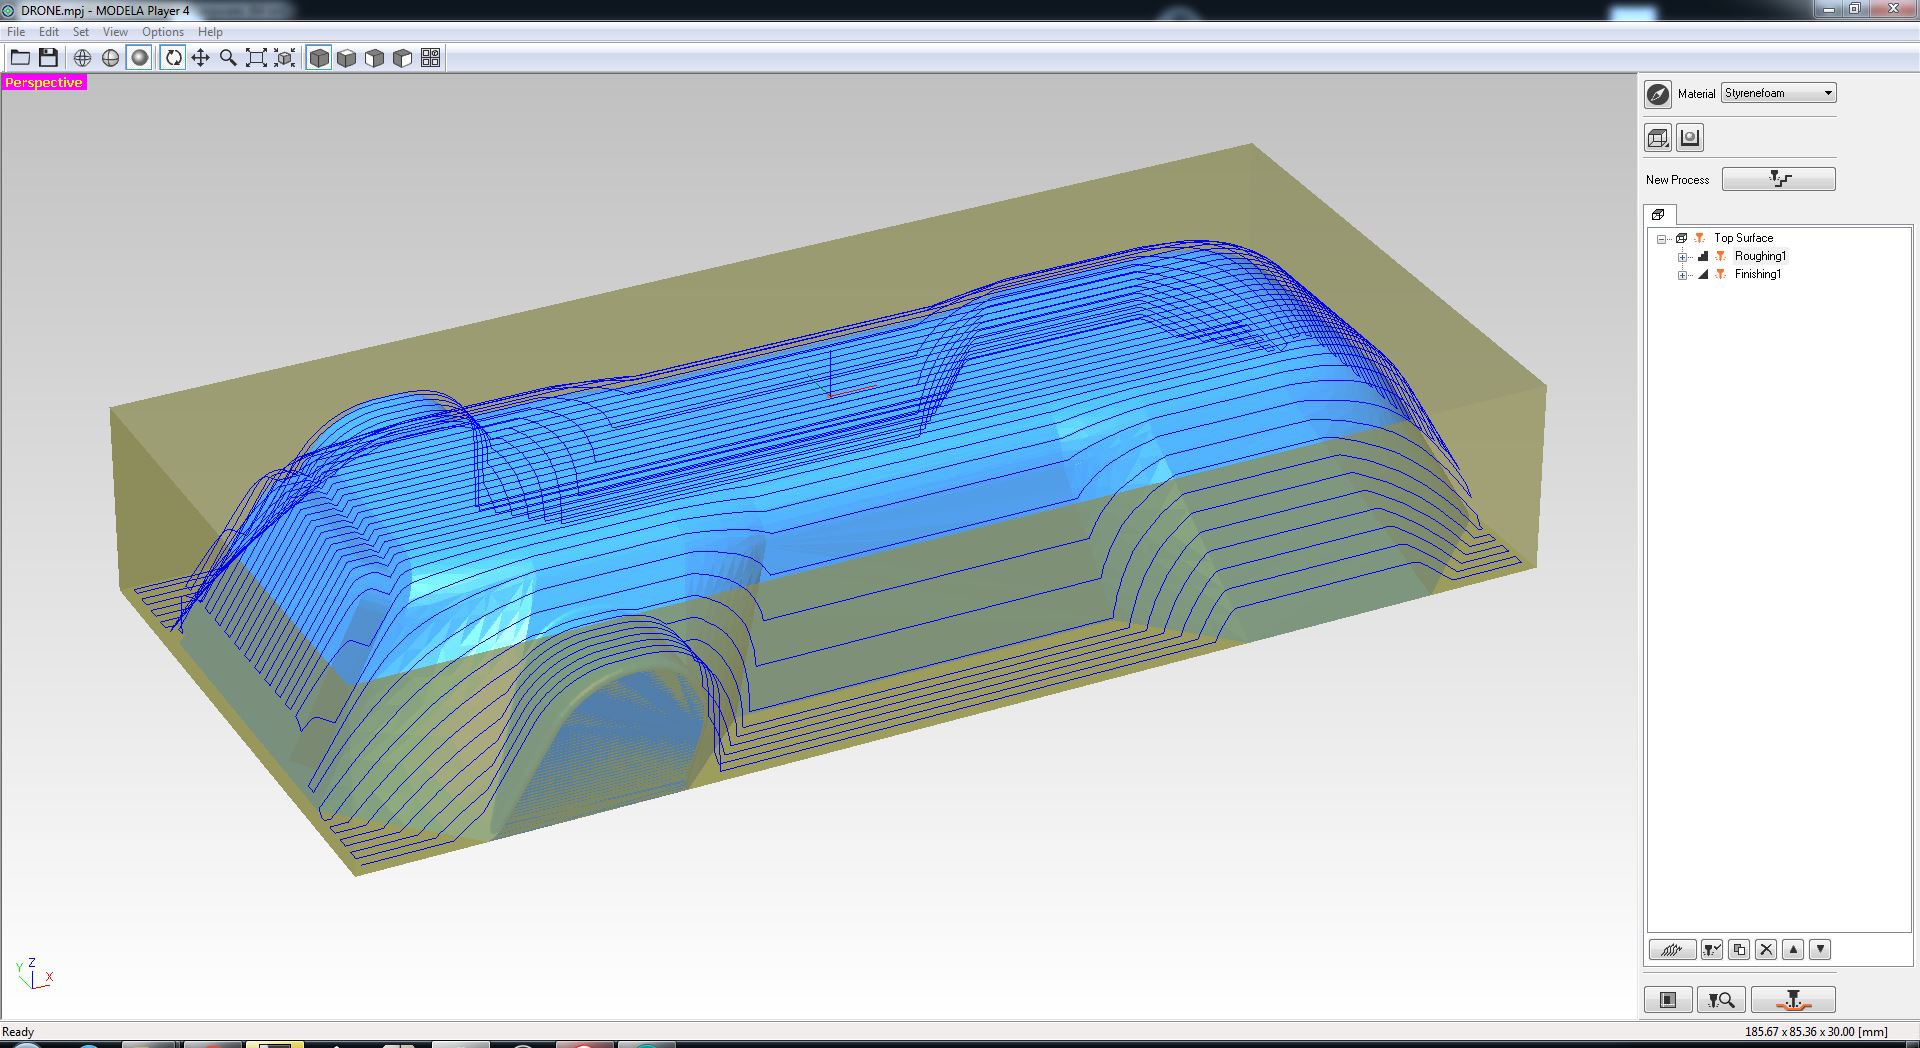
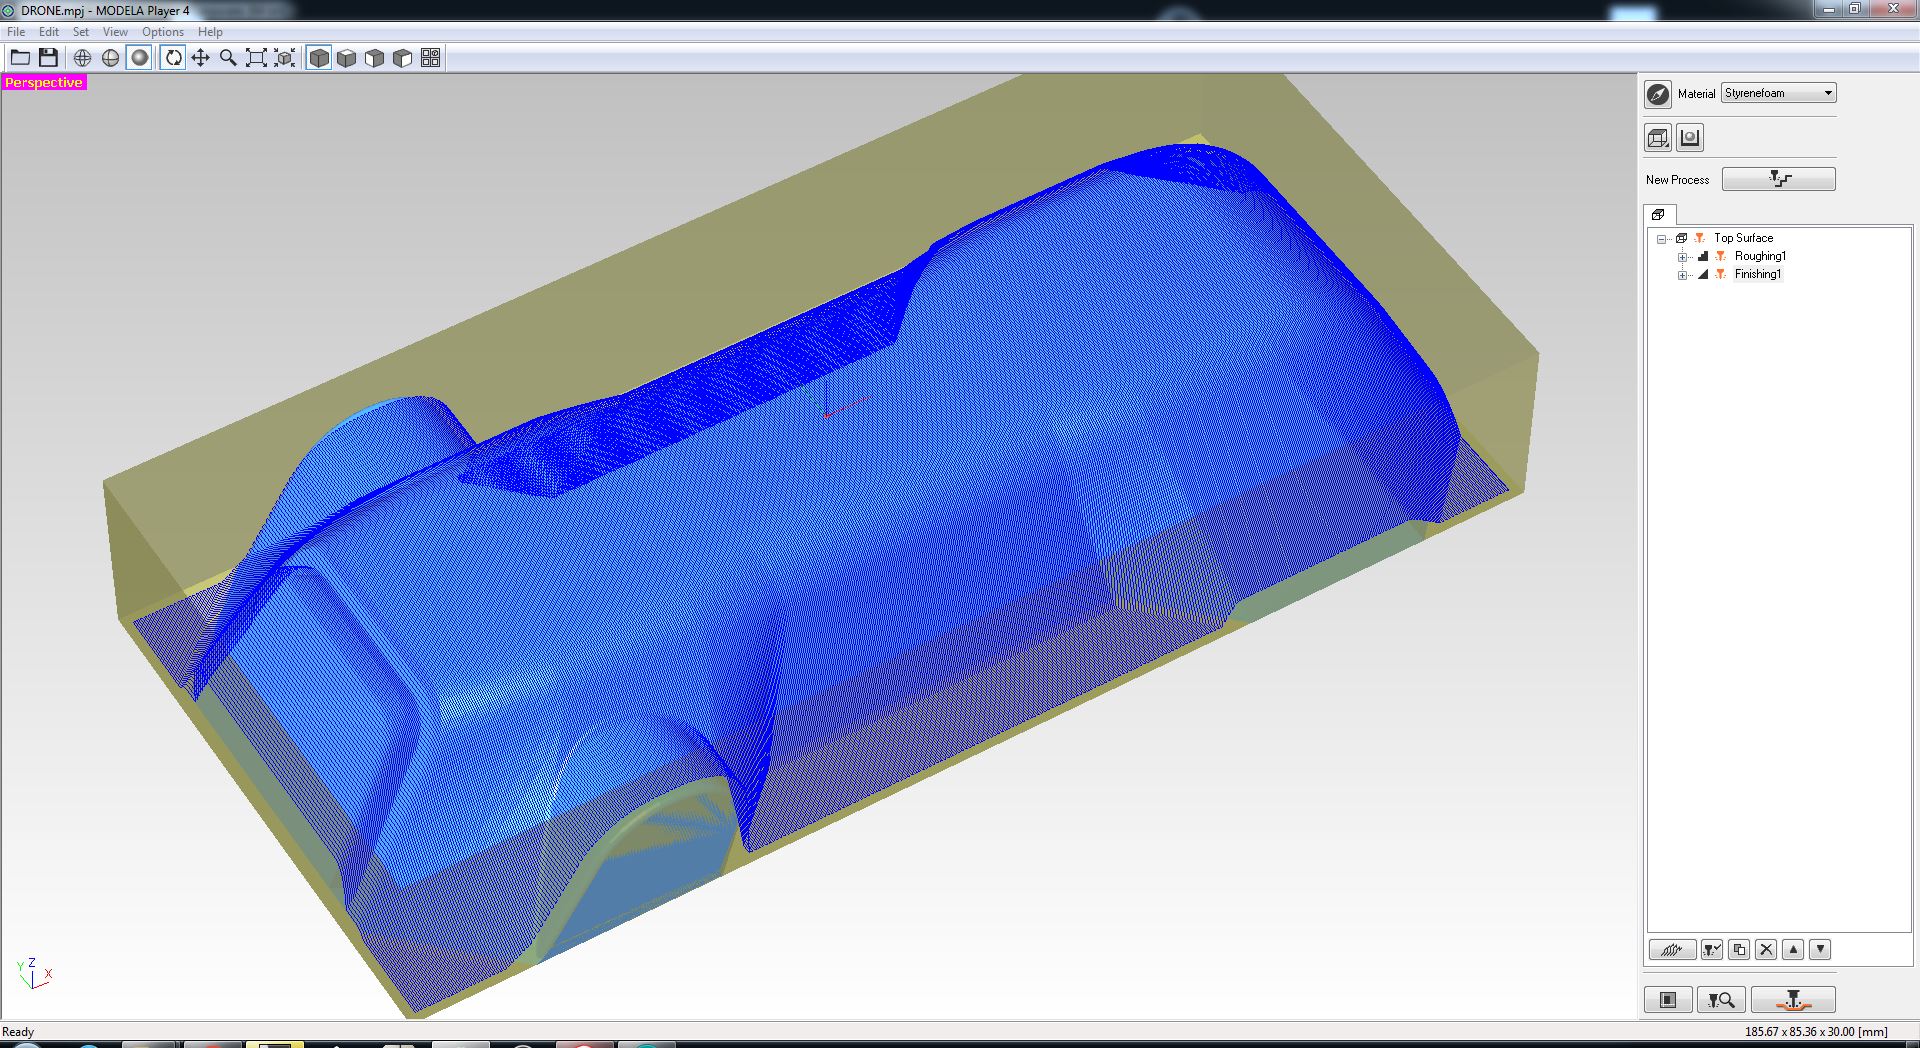
I have configured the machine to make two passes with the roughing and finishing strategy, obtaining a very fine finish, this type of material being quite soft allows us to cut at maximum speed.
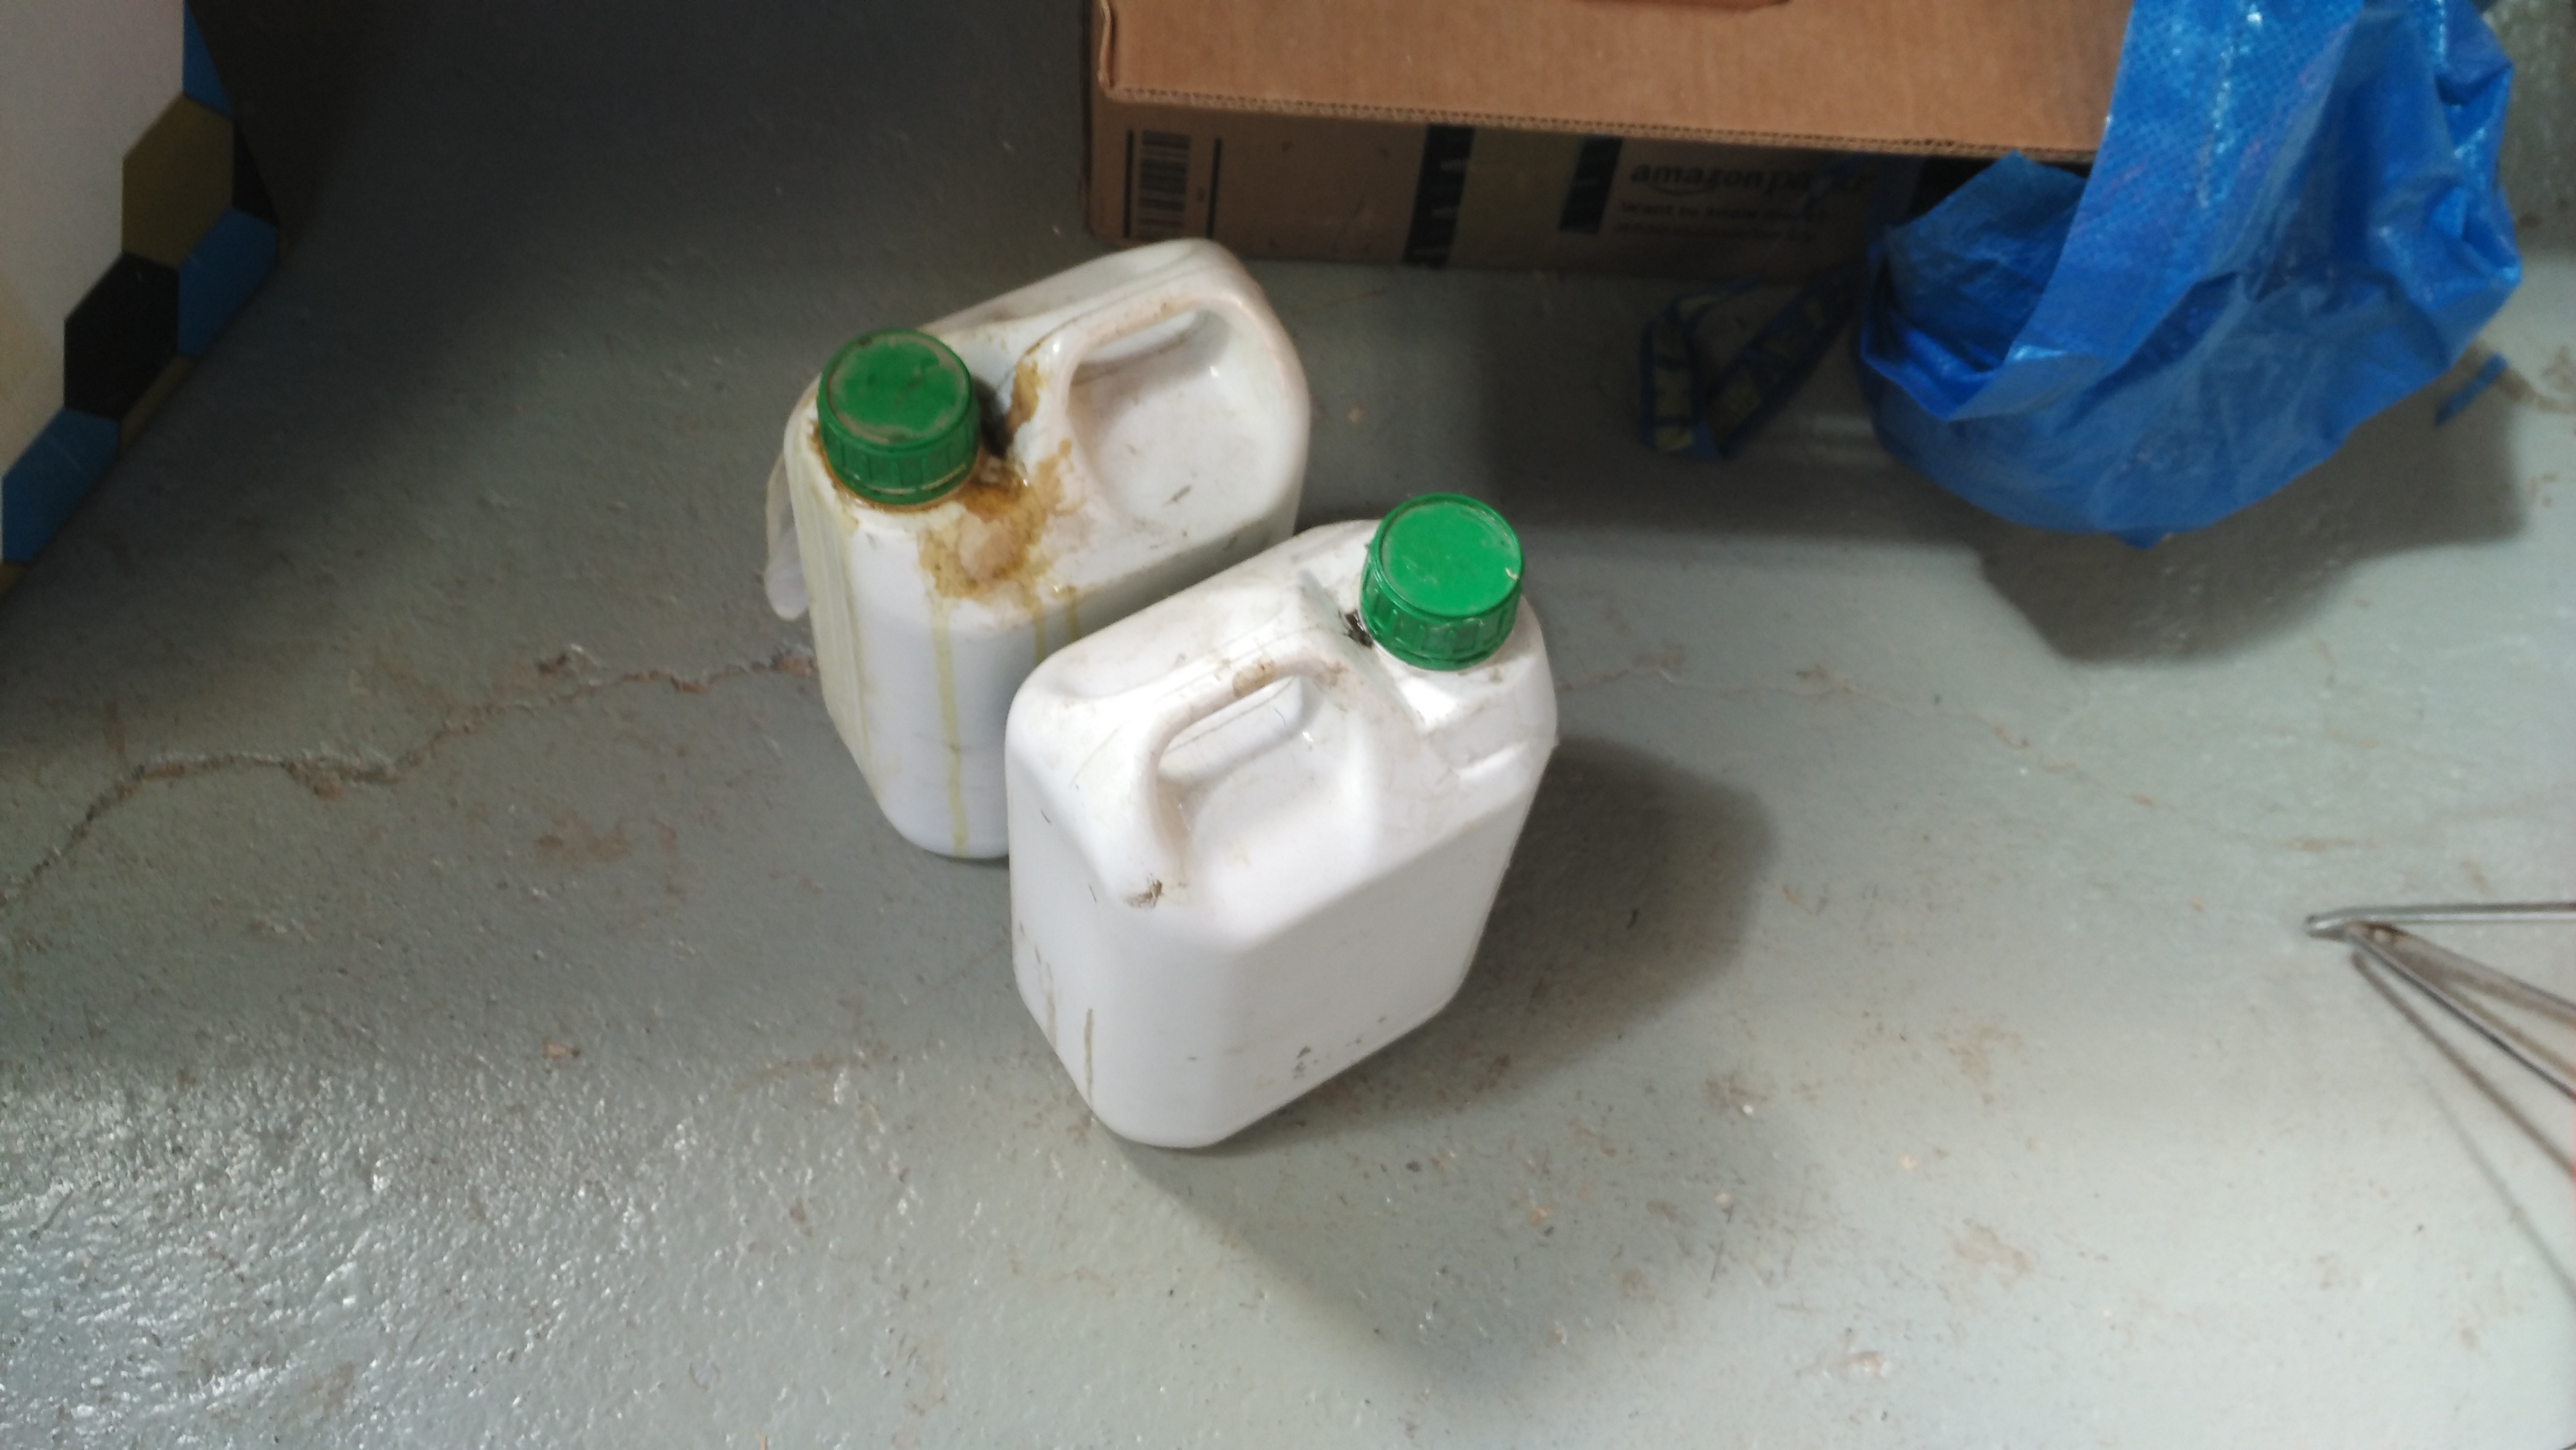
We use the Entropy Resin brand resin, specifically the "Super Sap ONF Hardener" which is ideal for laminating.
About this resin the fabircante says:
SUPER SAP® ONE System is the industry leader for USDA BioPreferredSM certified, ambient cure, laminating resin system. Based upon our original Super Sap 100/1000 formula, this new system features a faster speed, lowered viscosity, and includes quick air-releasing properties ideal for fiber-reinforcement composite laminations and coatings. Super Sap® ONE was designed to achieve and excellent balance of high performance and industry leading biobased renewable content.
Best Uses:
- Fiberglass composites
- Natural fiber composites
- Woodworking
- Epoxy coatings
- Fiberglass boat repair
- Adhesives and sealants
- Surfboards, standup paddleboards and handplanes
Super Sap – Make Things Better
- Employs new bio-based fillers for increased user safety.
- Available in Fast cure speeds.
- Fast Cure: 18 min pot life, 3 HR tack free time
- Two-part epoxy resin kits are comprised of Super Sap ONE Epoxy and ONF Hardener
Once the mixture is done we have a time of 18 minutes before the resin begins to cure, so it is important to have everything ready to apply the resin in our model.
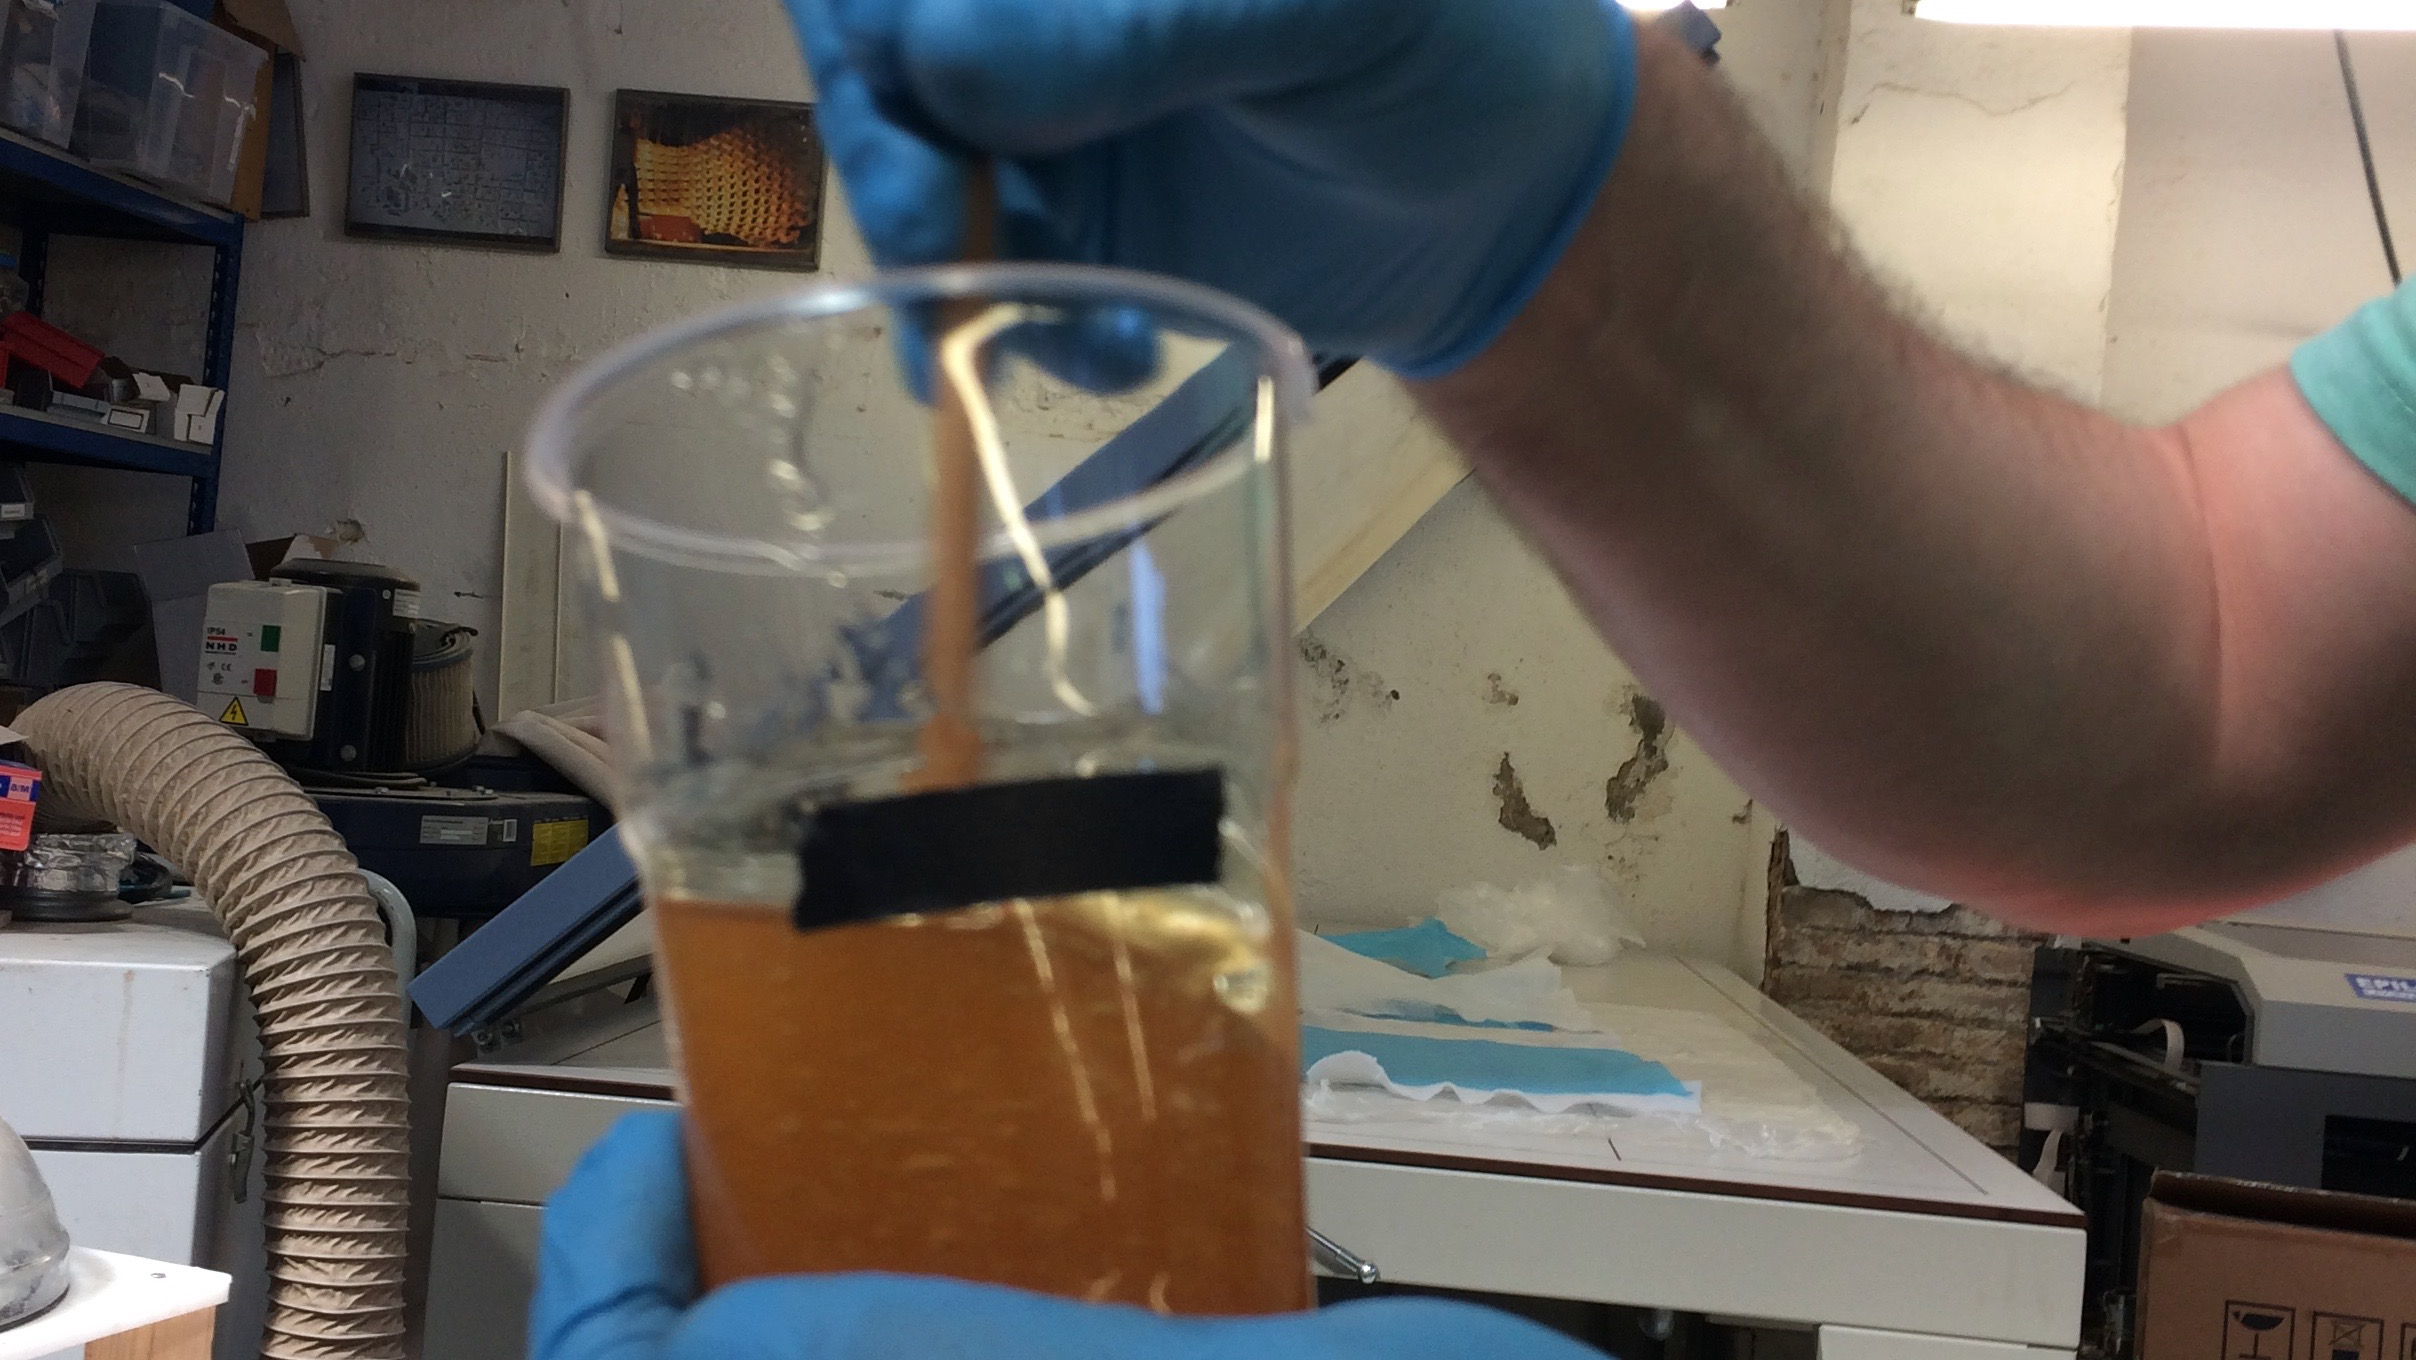
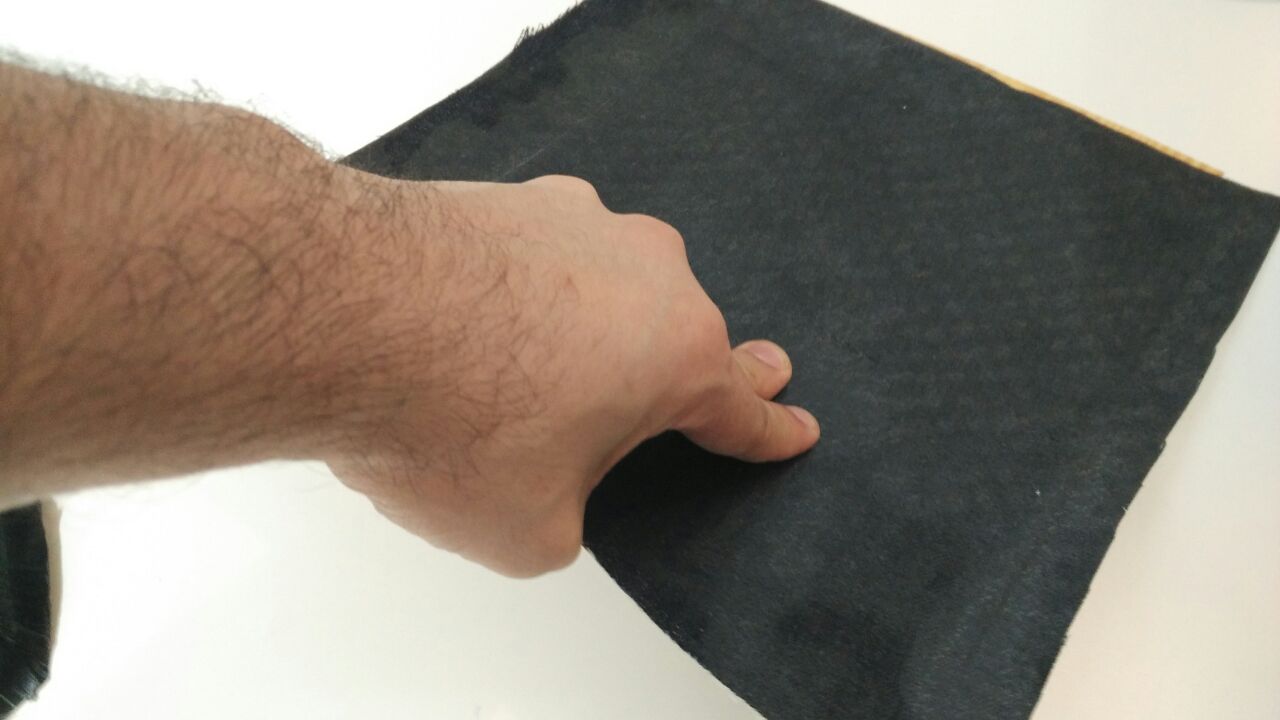
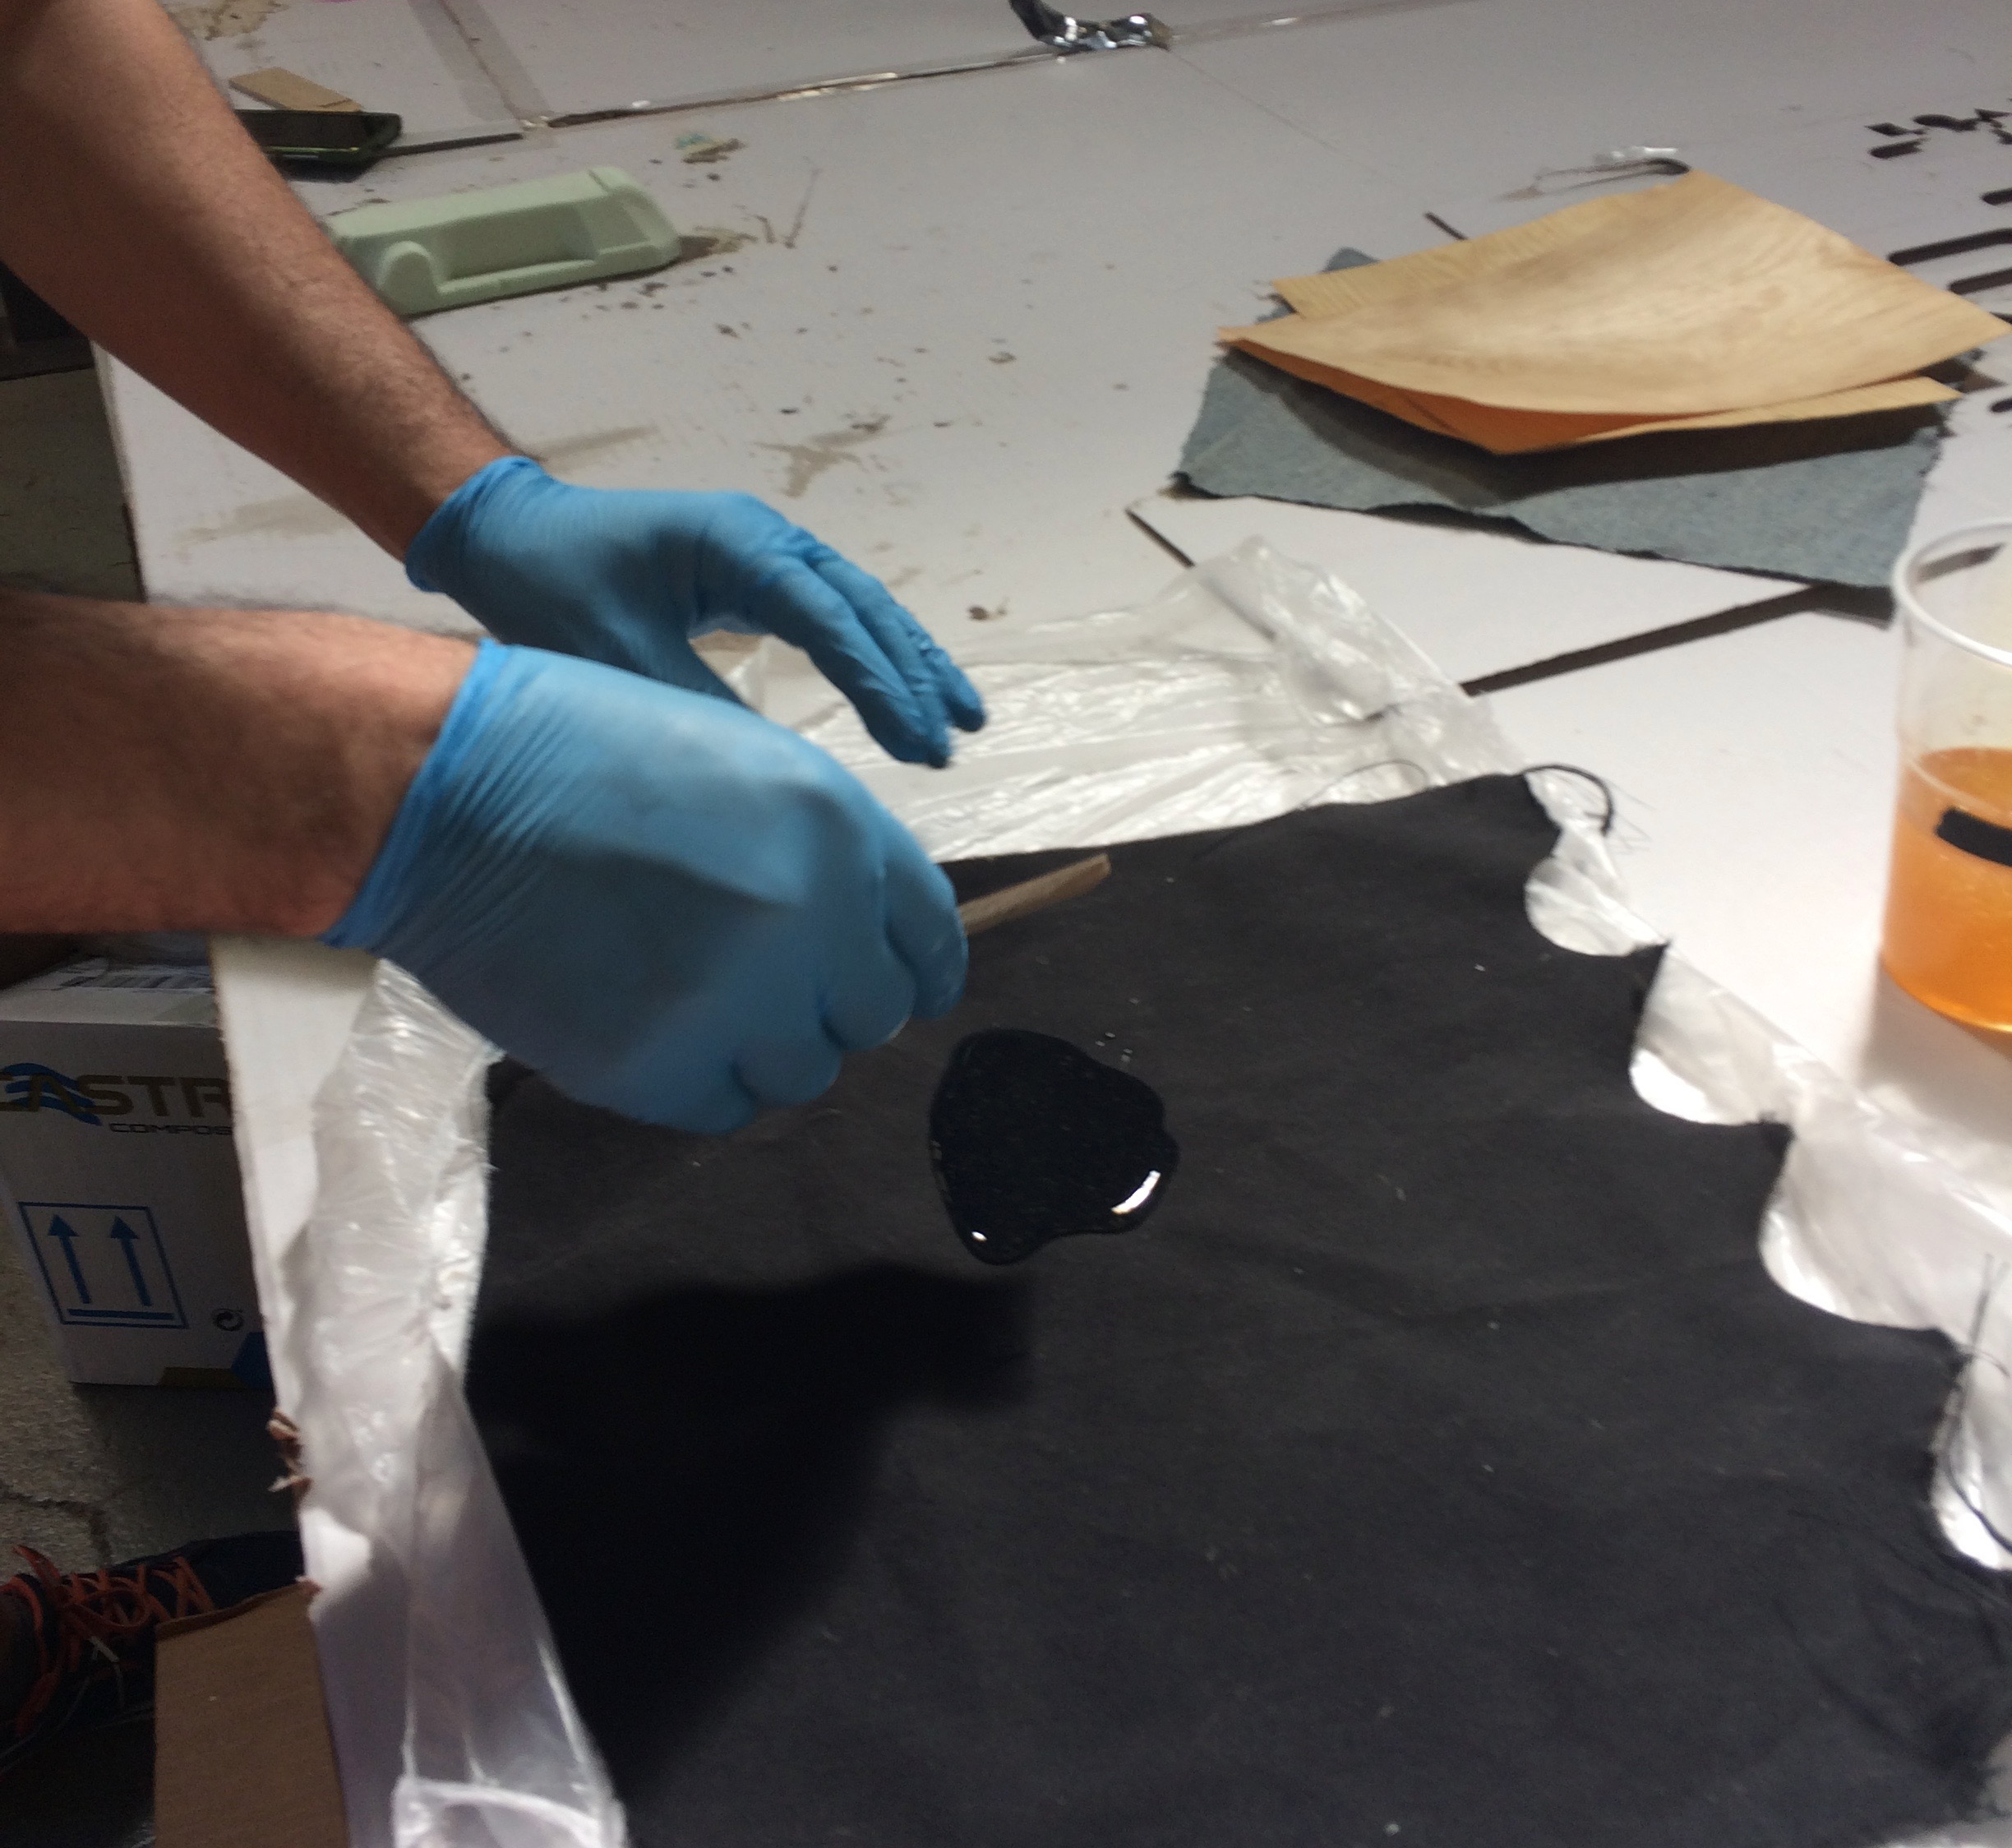
To apply the resin we need gloves, and a spatula to spread the resin on the material.
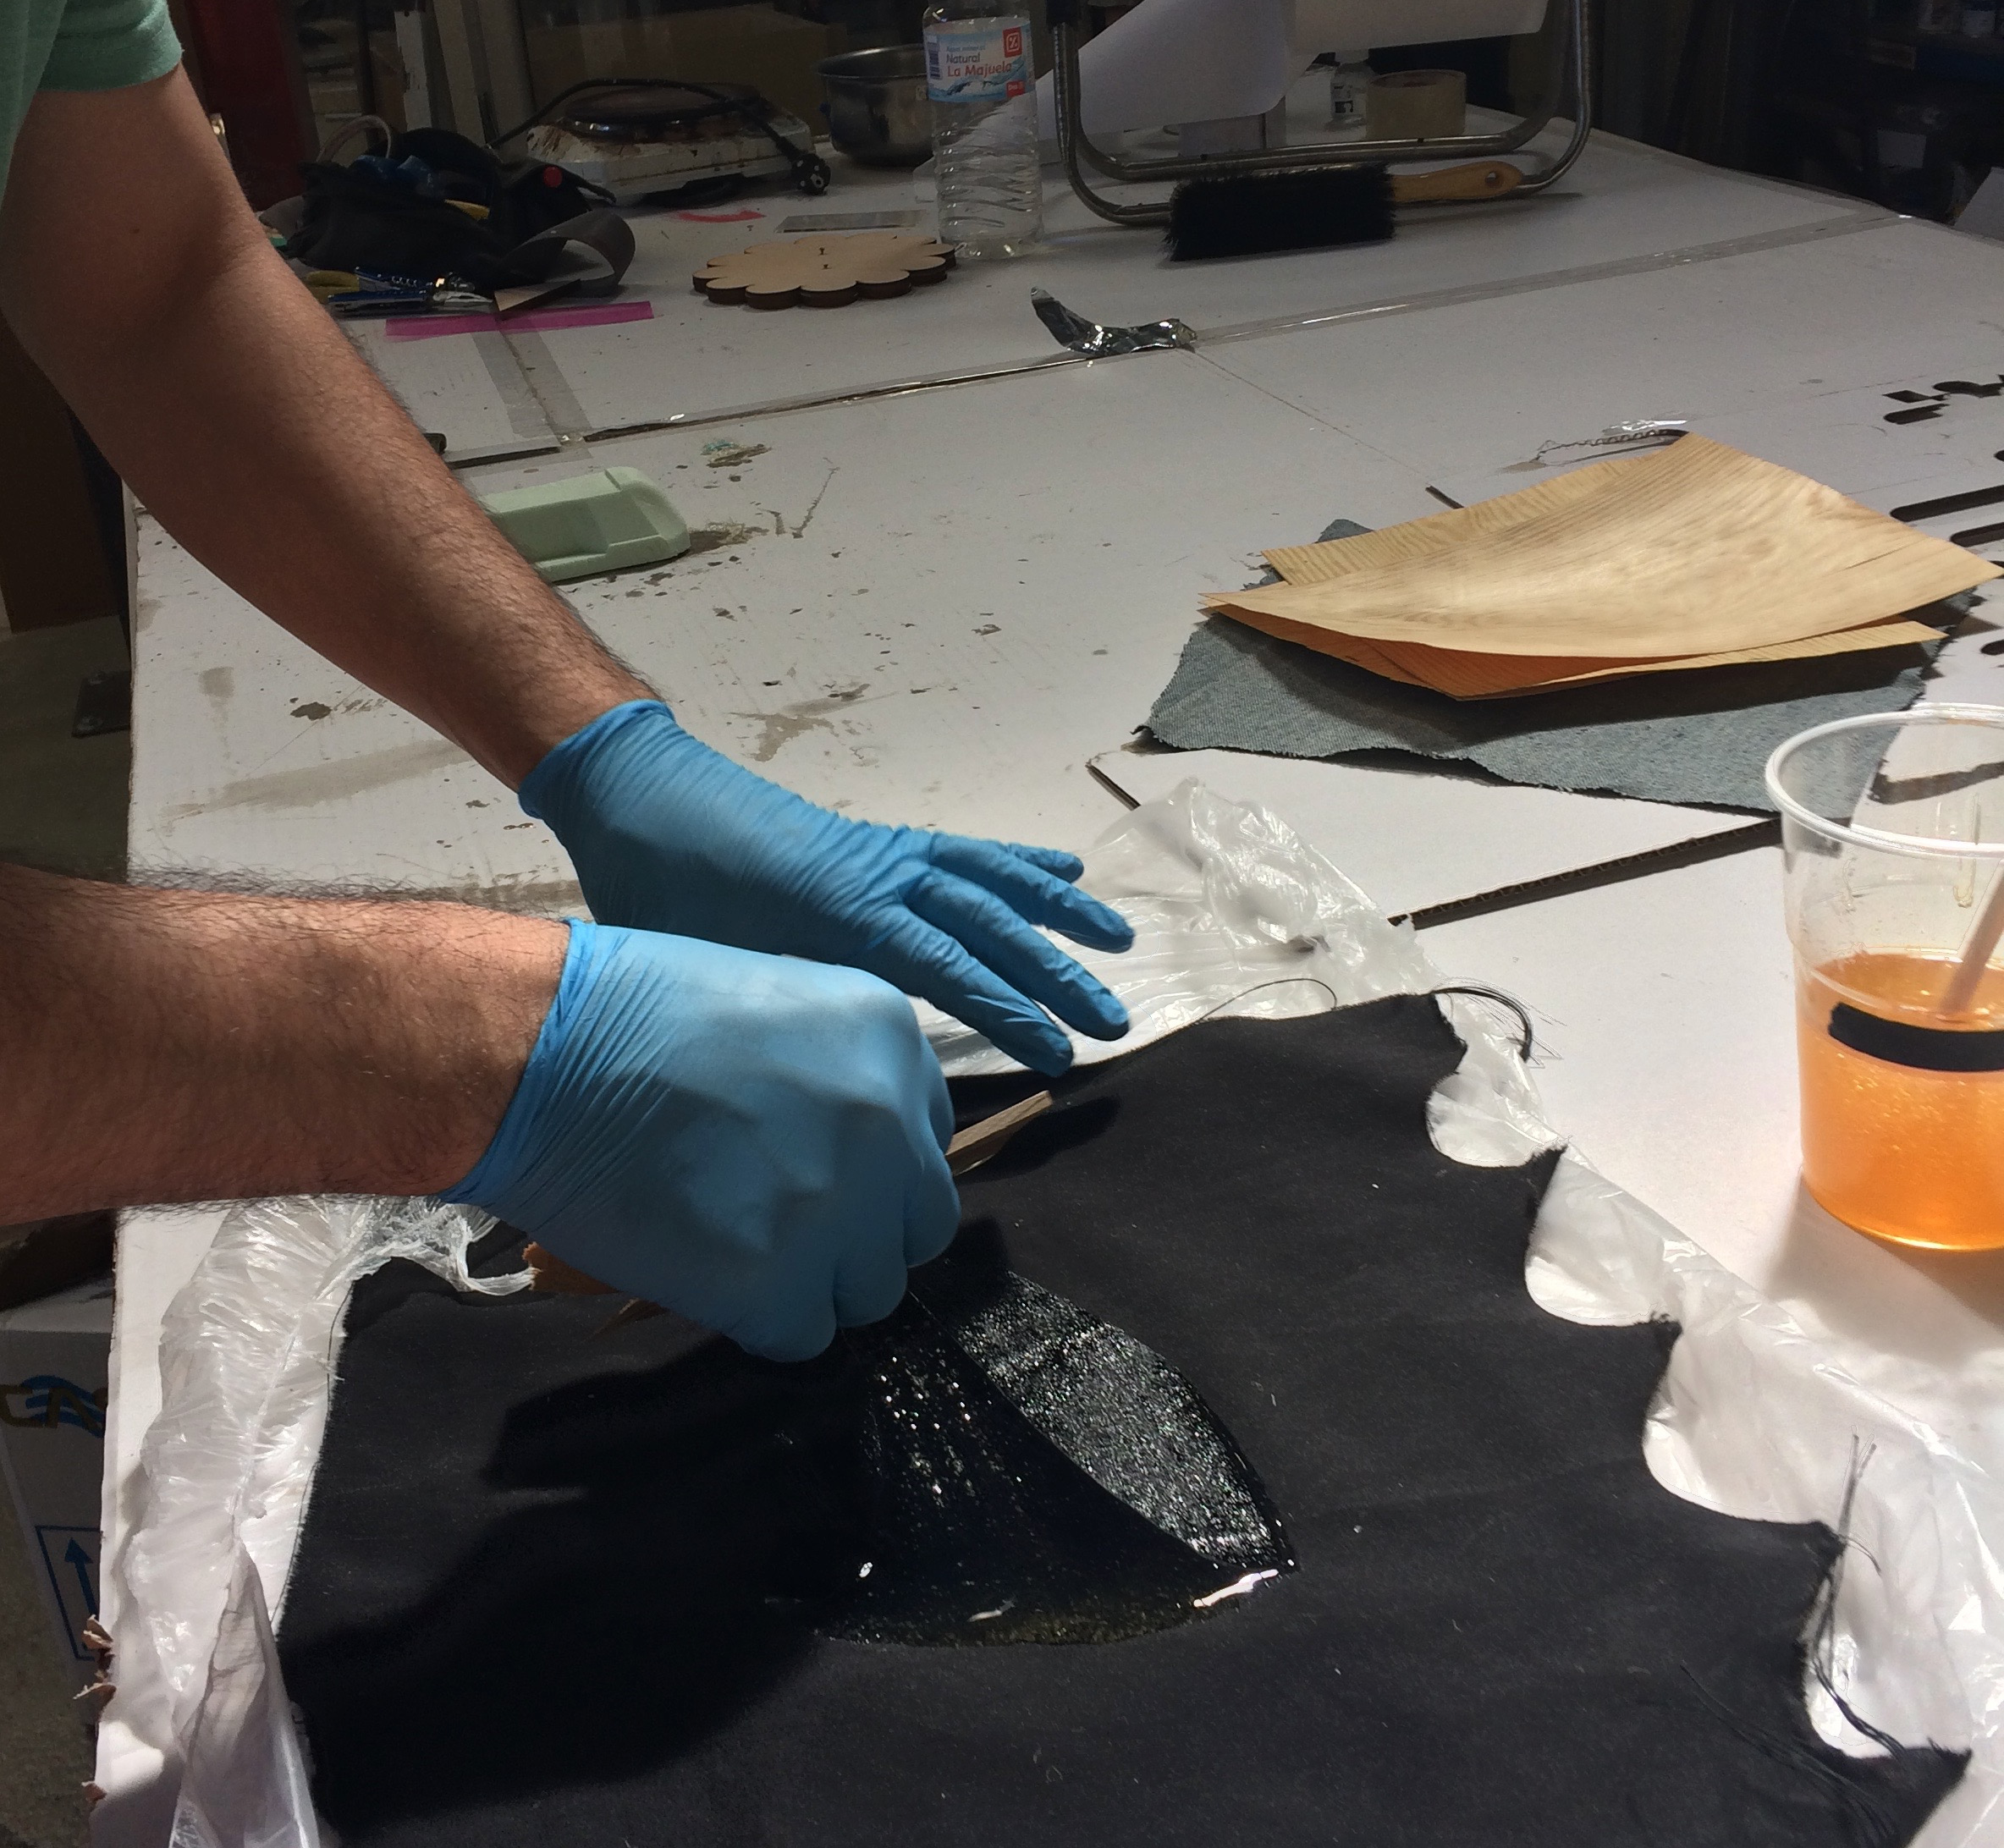
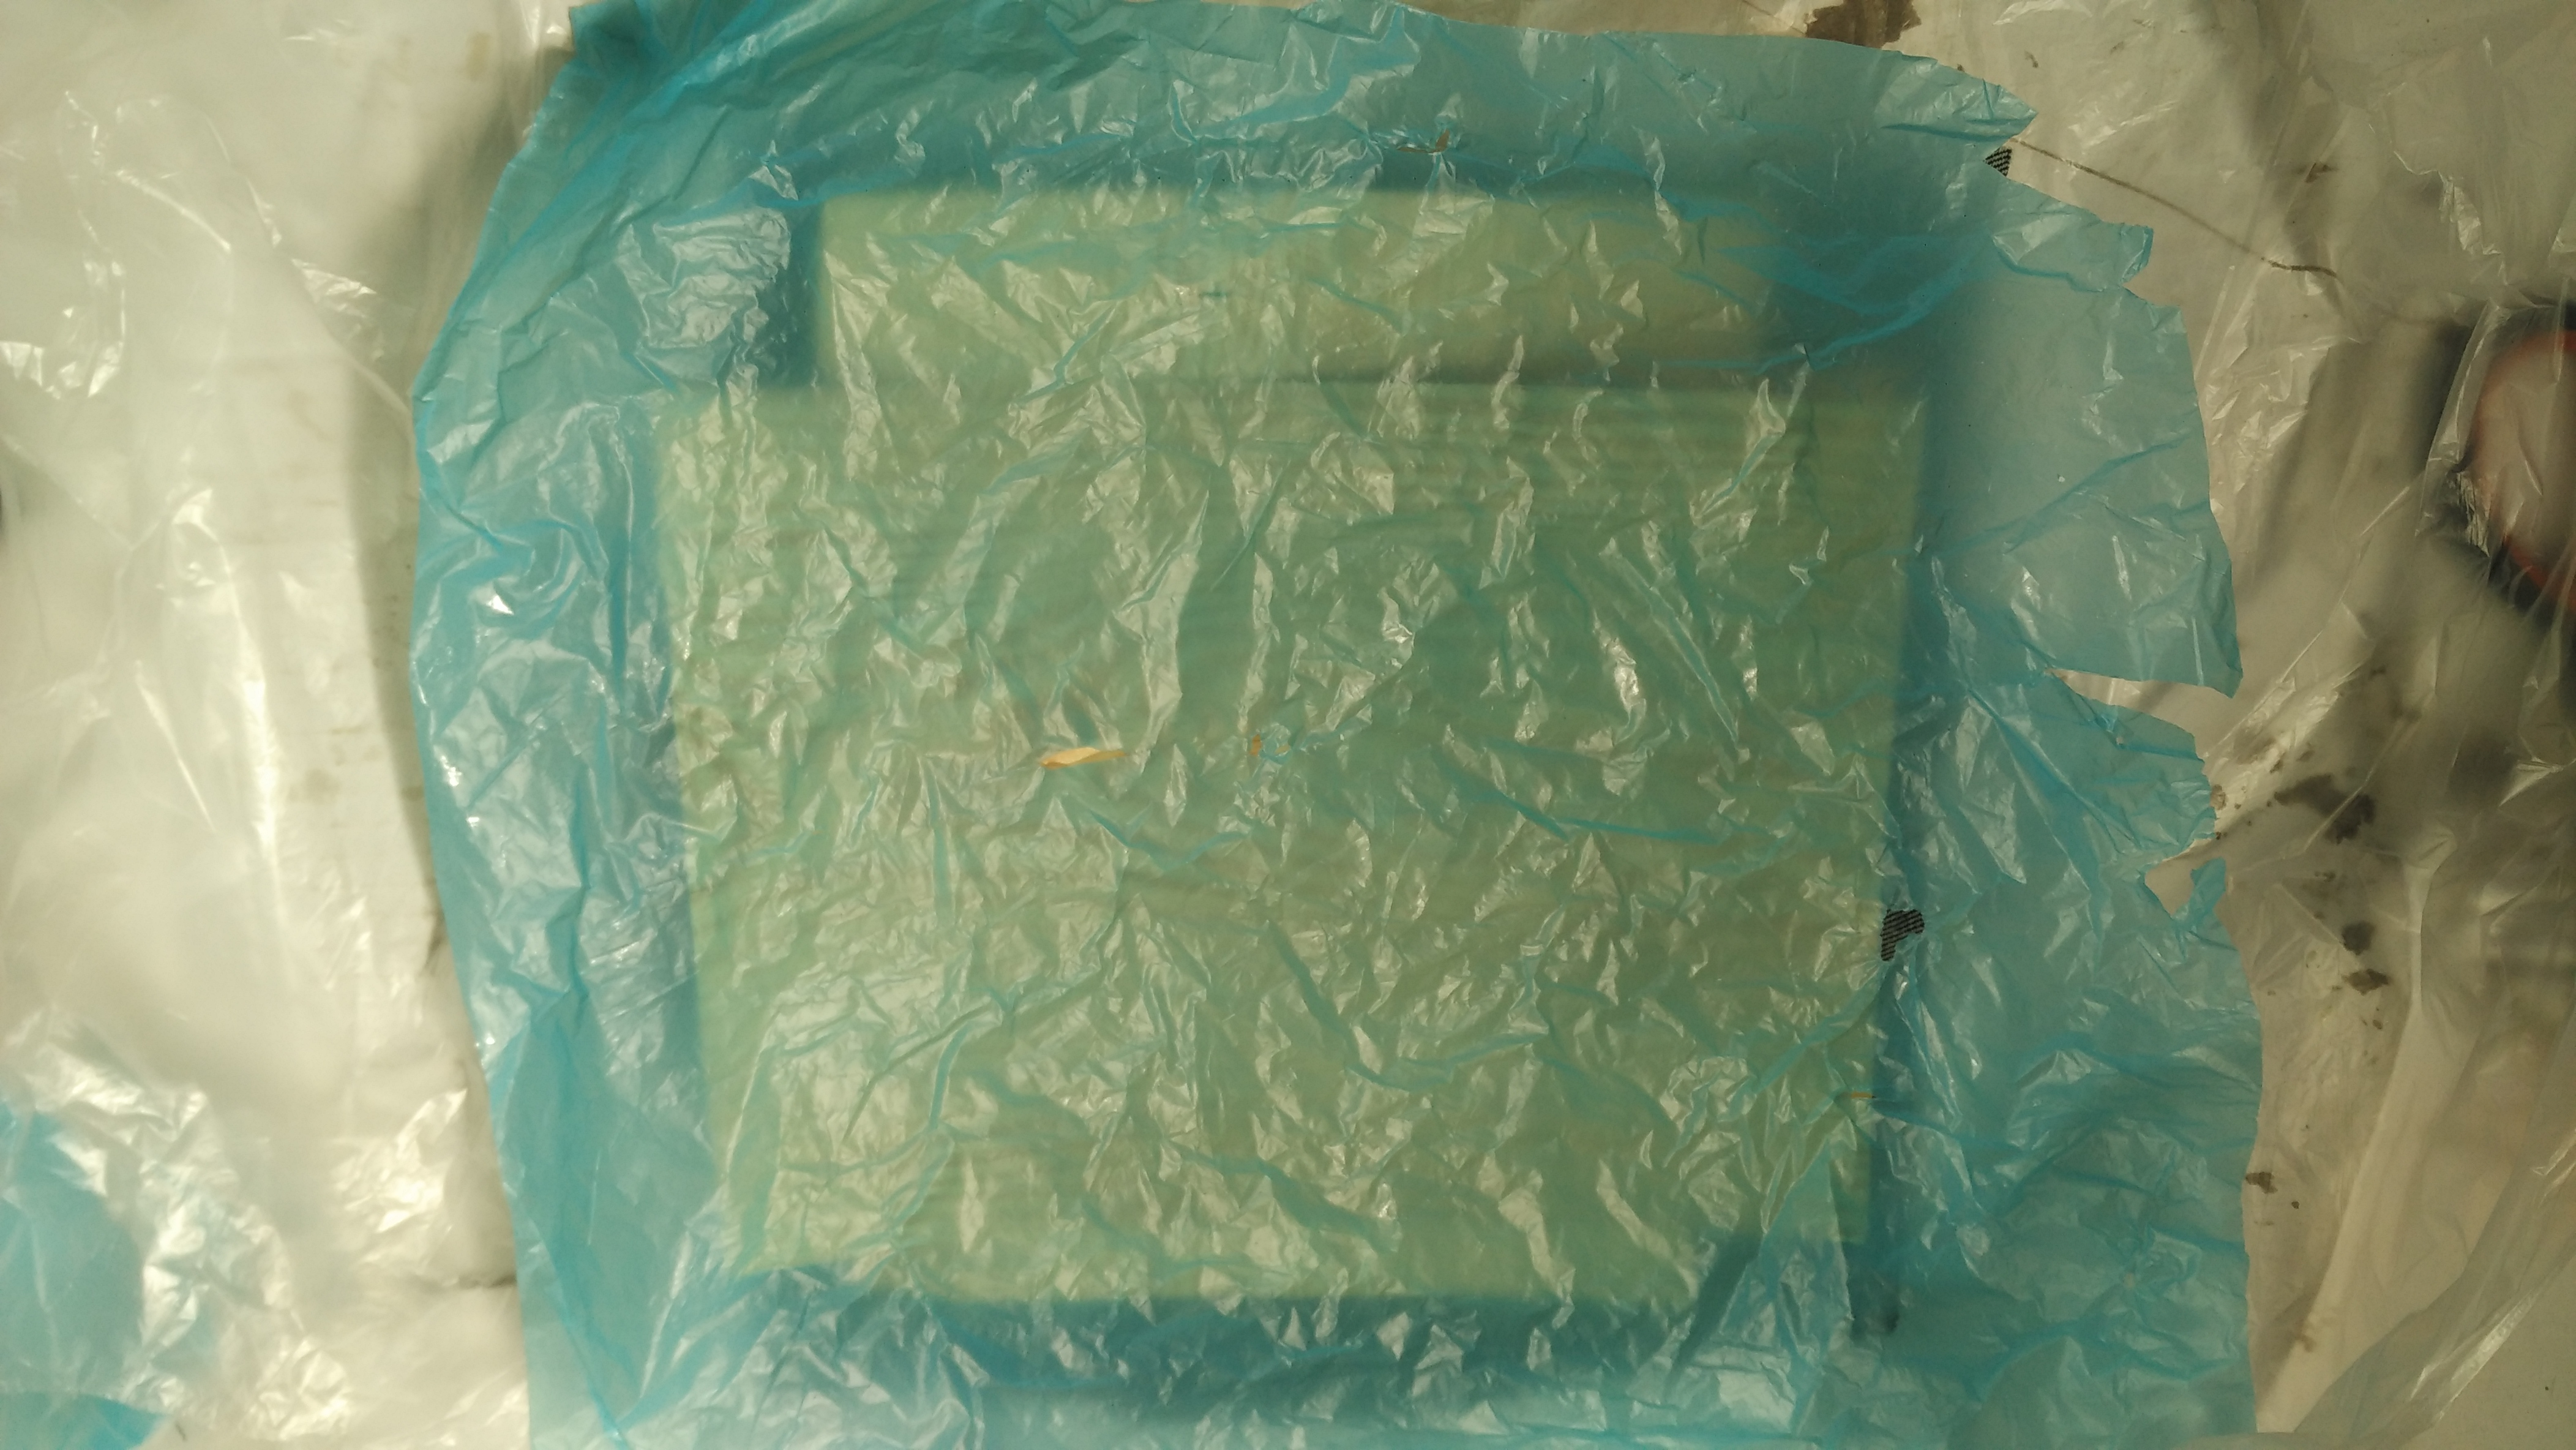
- First layer: green color in the picture. Its function is to release the final piece from the mold.
- - Second layer: here we have to add as many layers of fabric or any other material we want. Between them we have to put the mixture of components we did before.
- - Third layer (blue in the picture): it is a microperforated plastic, so the excess of resin can go through it until the
- - Forth layer: cotton layer that absorves the excess of resin.
- - Fifth layer: another releasing plastic, as the bottom one.
Once together all the layers are put in the vacuum machine, so that everything fit the mold that I created in the cnc.
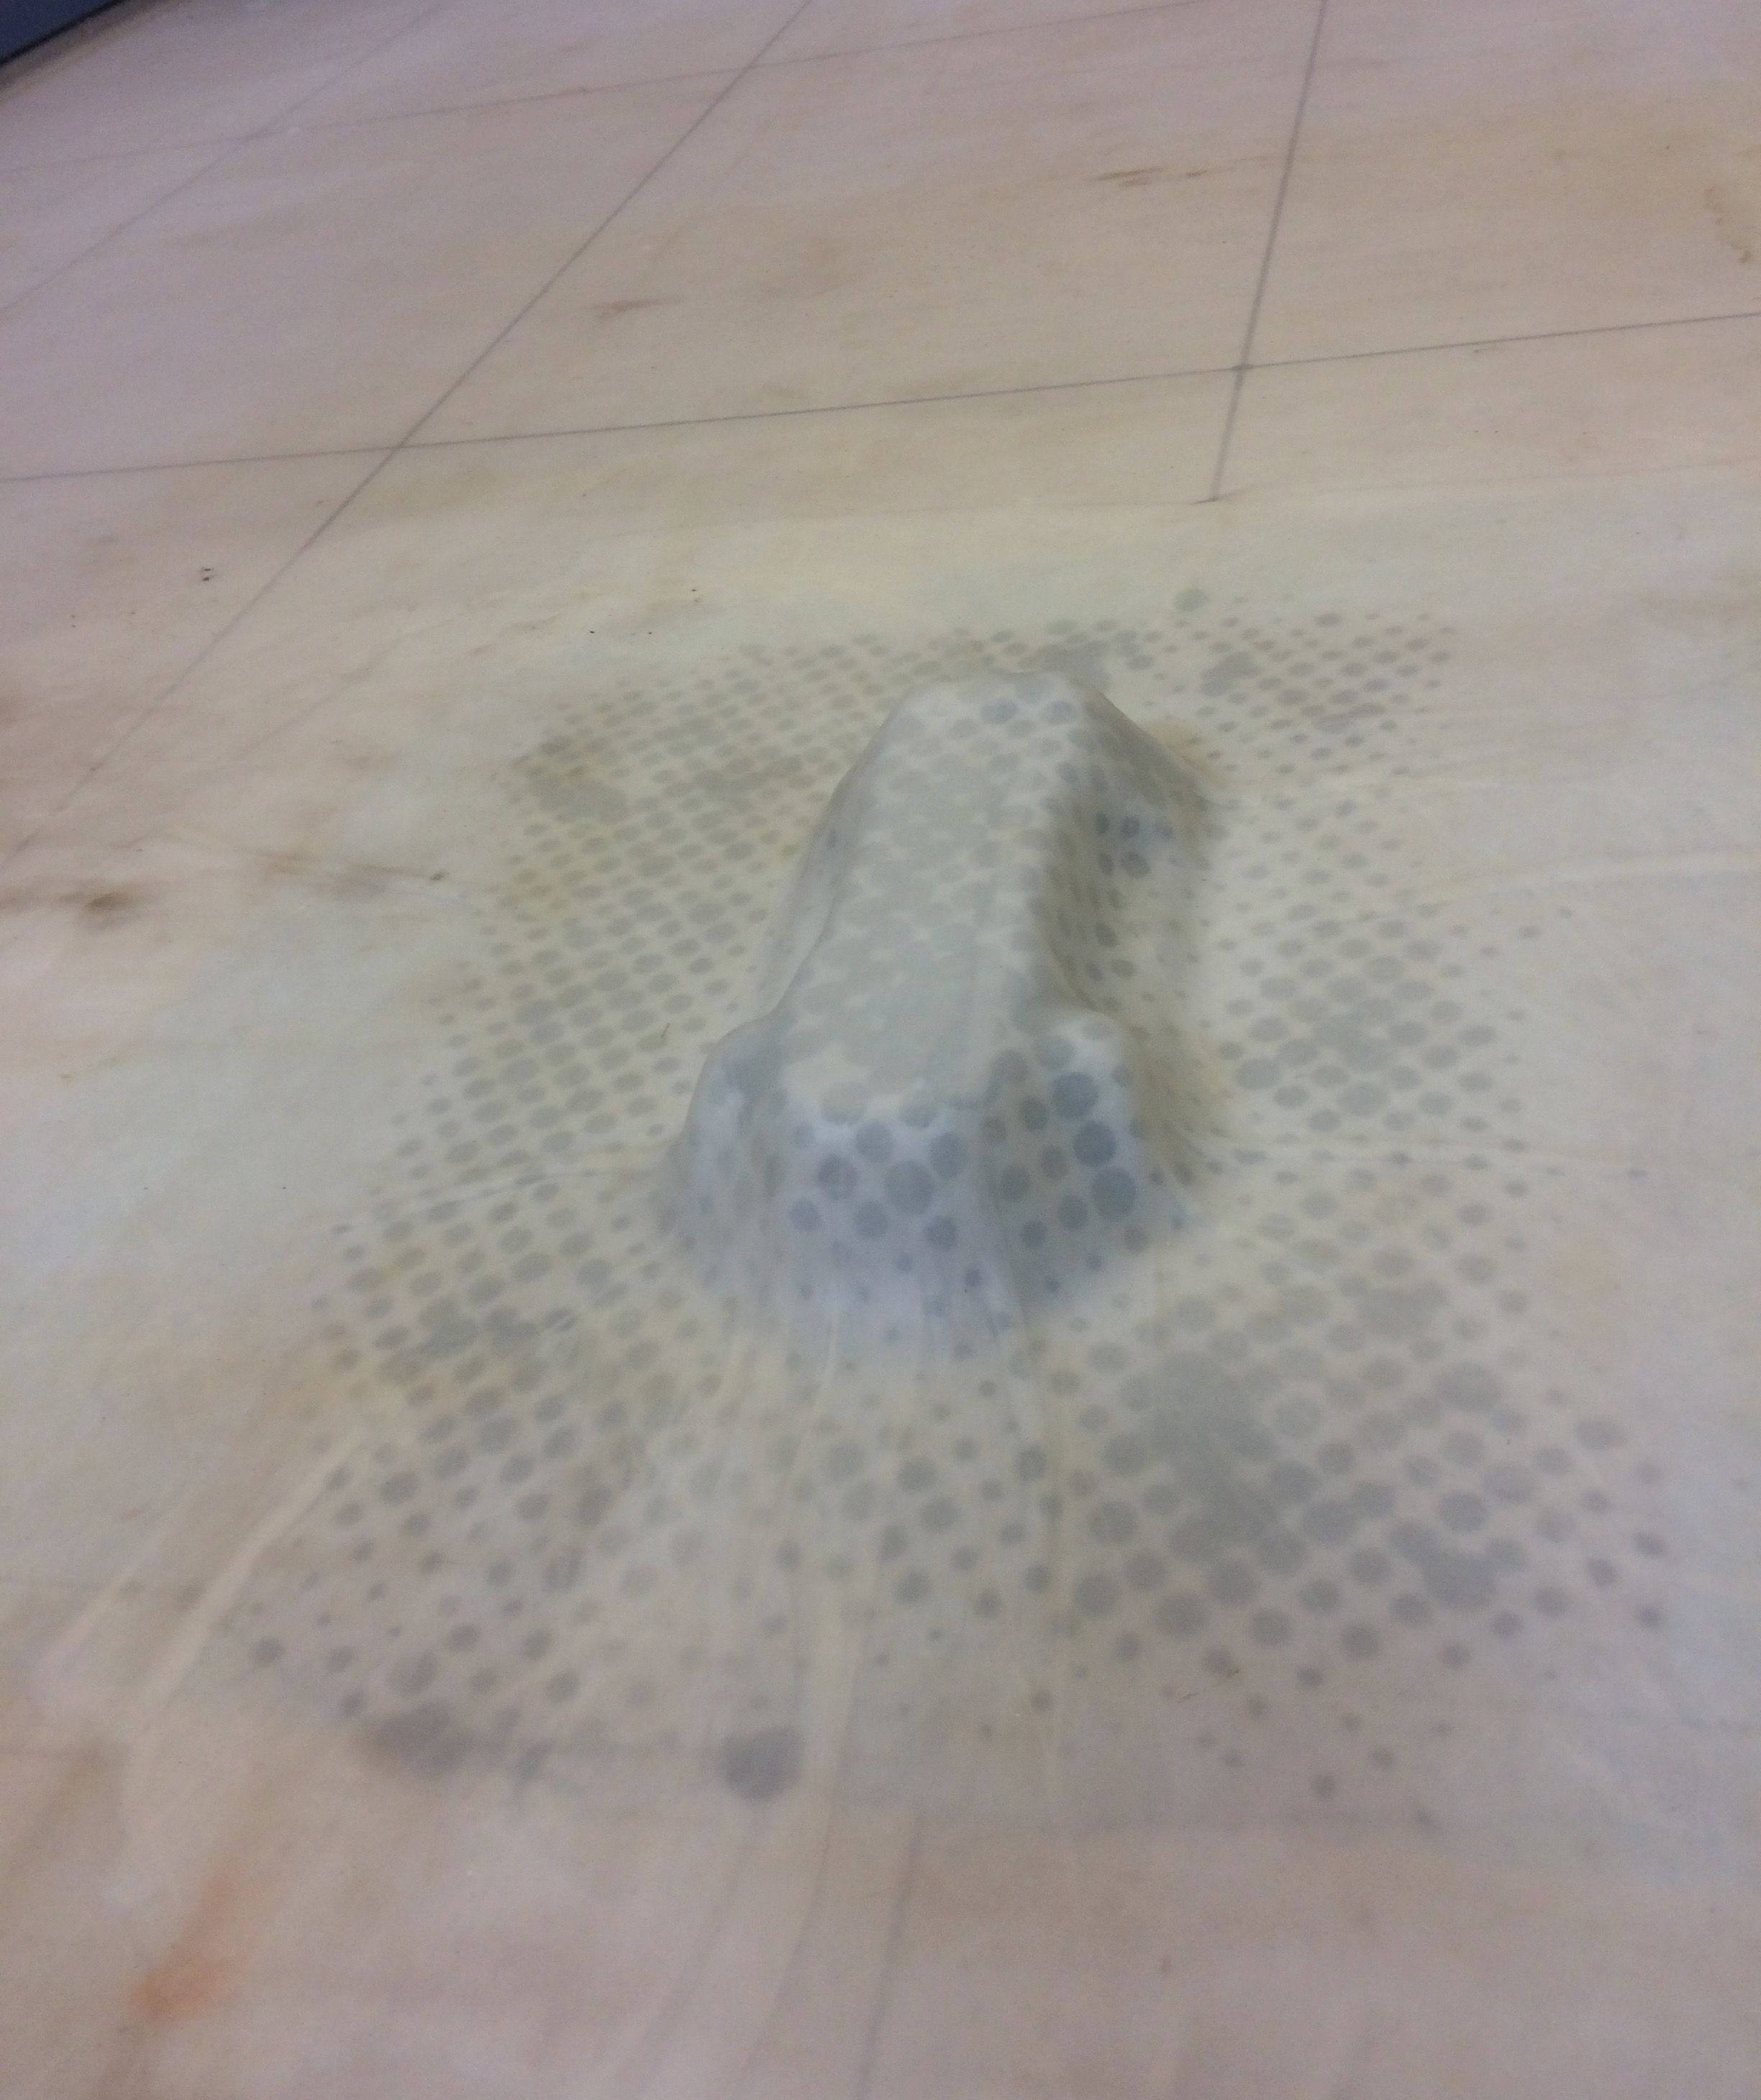
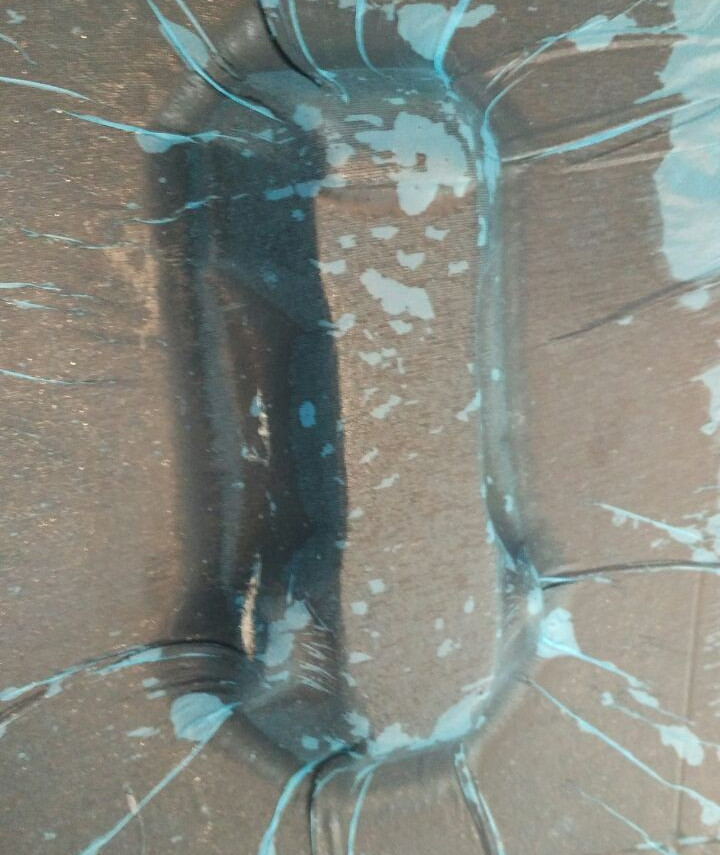
Once the drying process is finished, I realized that I forgot to put one of the plastic layers between the model and the fabric with the resin, so I had to break the mold, to get the final piece.
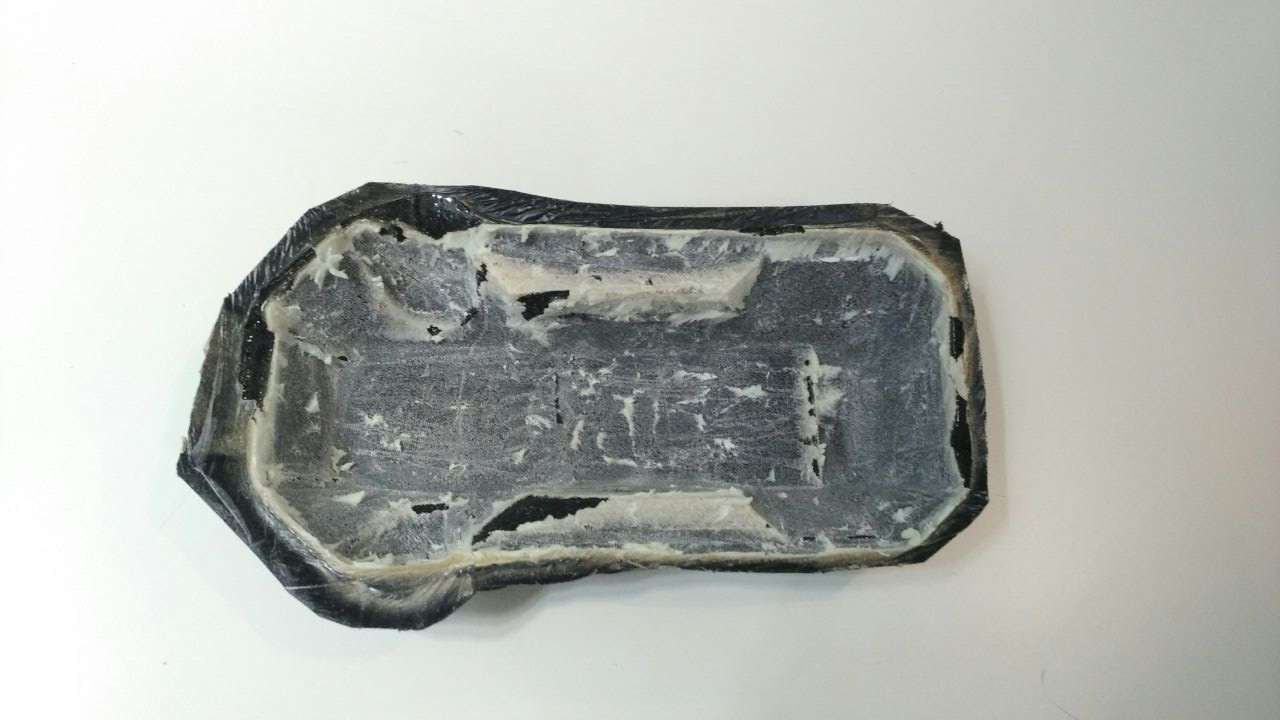
As the previous piece did not remain as I would like to, I decided to try another technique, I asked the teacher who gave us some classes on the use of resin.
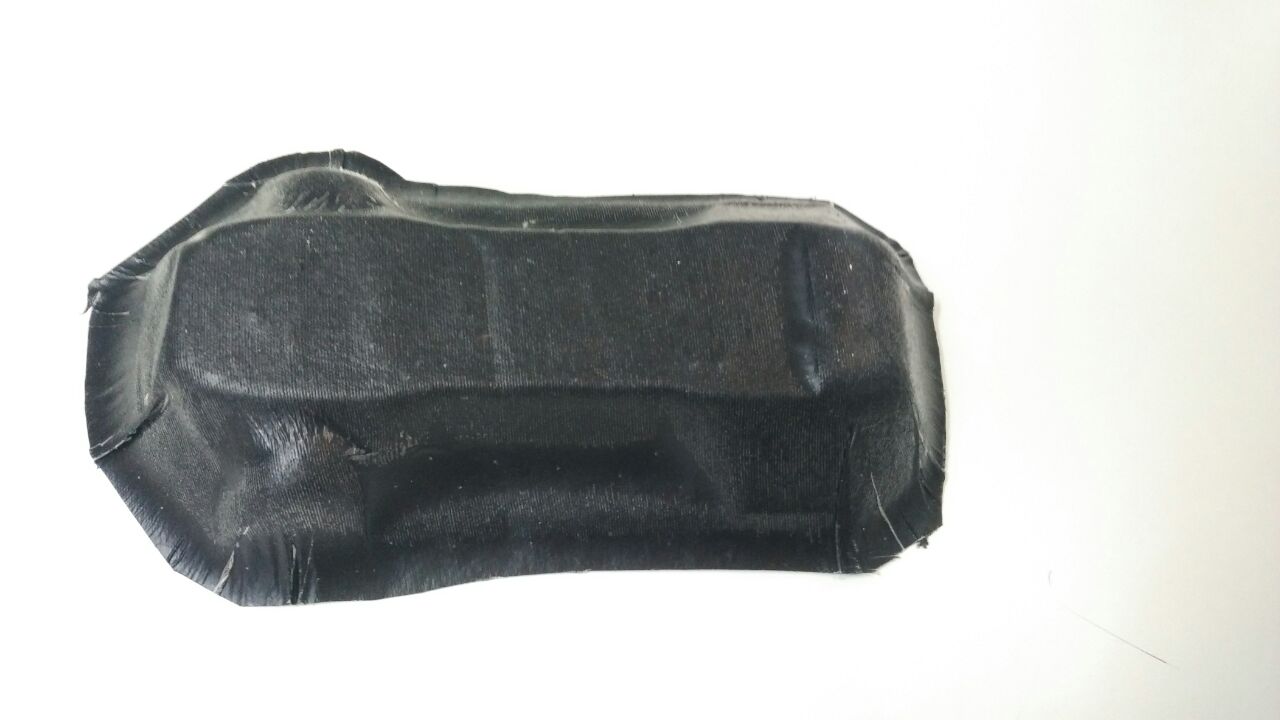
In this case I wanted to create a resistant and flexible material, with fabric and wood sheets.
To get this the important thing is the position of the sheets, since I have used 3 sheets, which have been put against beta among them to achieve a greater tension, in addition to put a queen between them and as a final part I used a jean fabric so that everything is perfectly united.

Final result