Assignment
Design a 3D mould, machine it, and cast parts from it.
I decide to reuse a piece that I have designed previously and use it to create a silicone model and be able to make a copy in resin or other material that is not using the 3D printer, this will allow me to make as many copies faster than a printer 3D.
I had to modify the part to be able to create the mold in two parts.

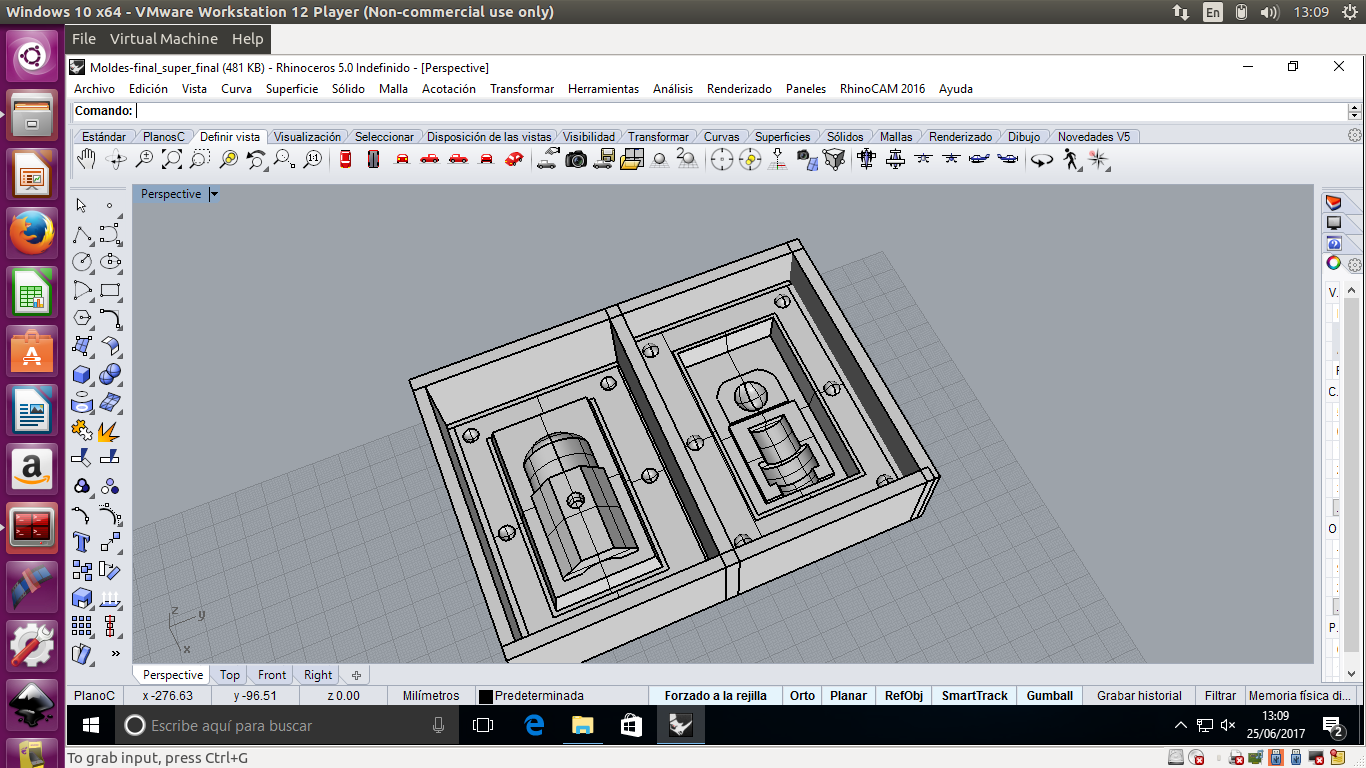
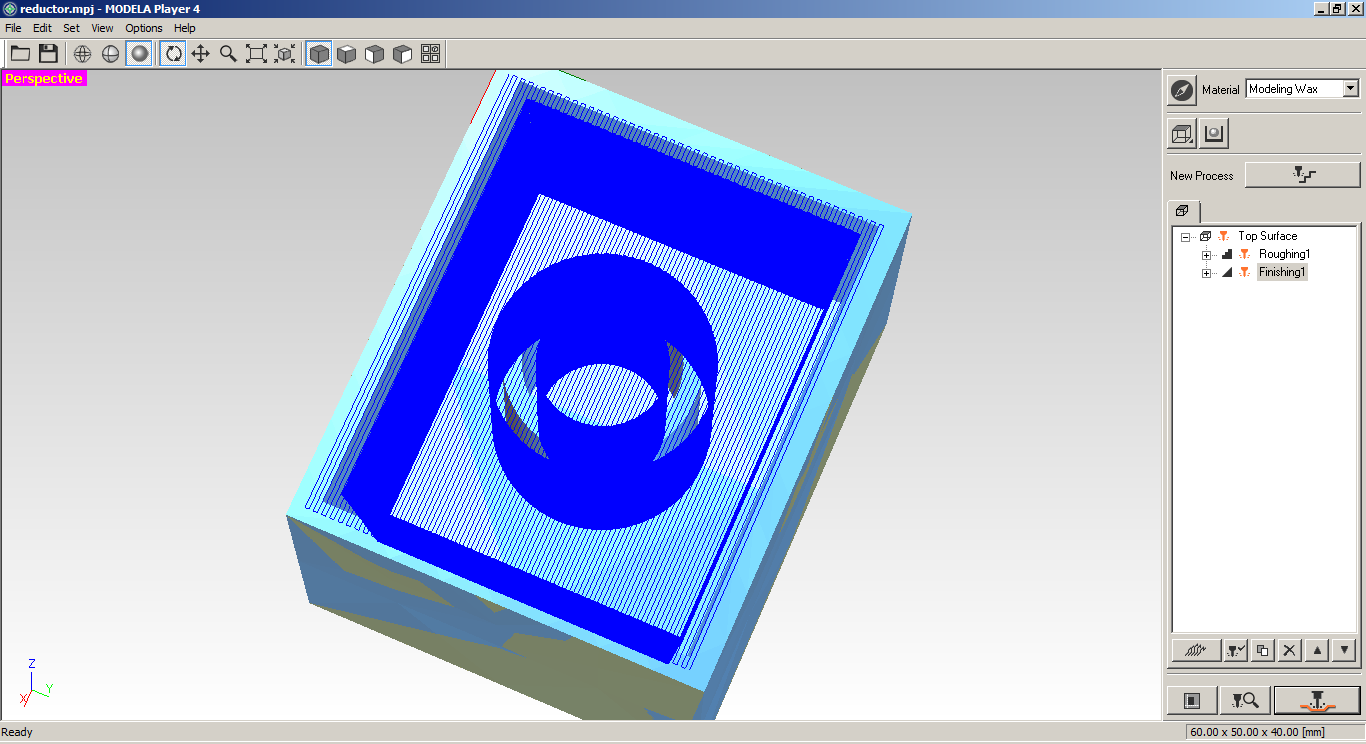
The model is exported as a stl, and this is opened in the program Modela Player 4, with this program we will create all the strategies necessary to create the mold in wax.
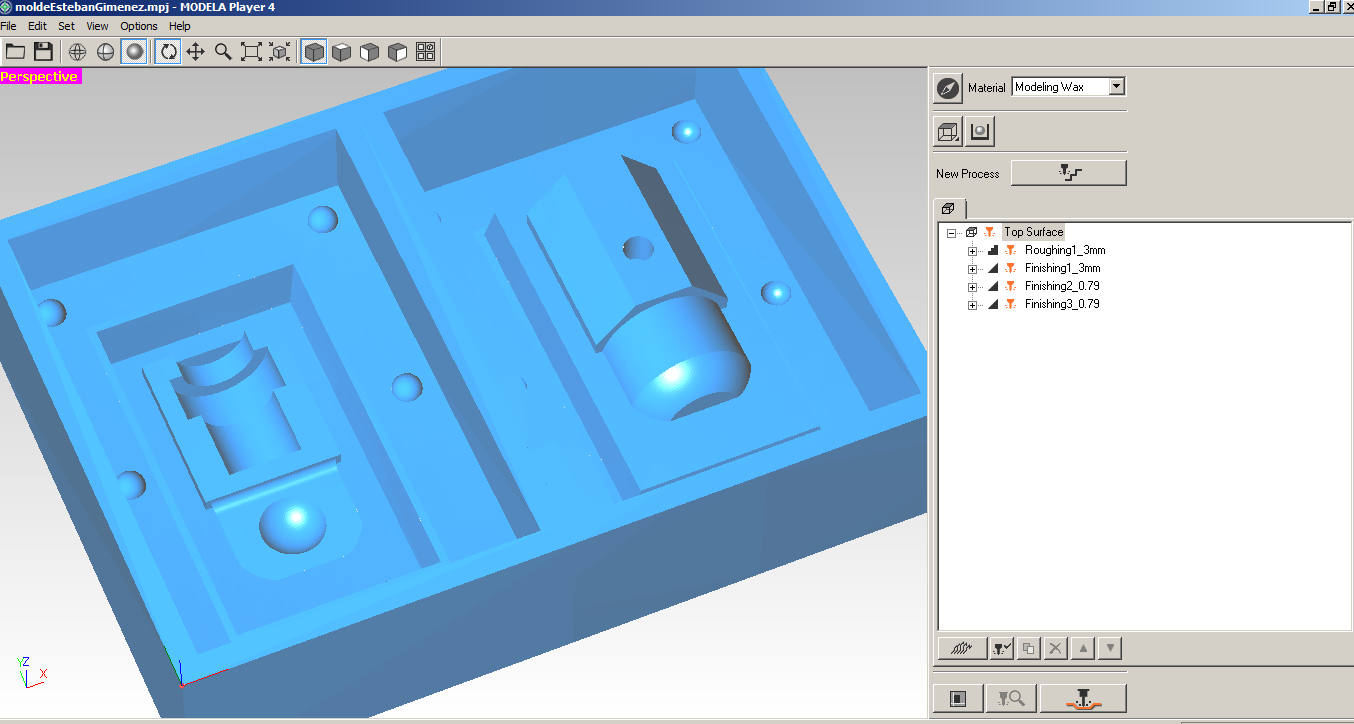
I have created 4 strategy that are necessary to have the final molds, the first is to make a quick roughing and have a part of the piece, the following 3 are a finishing to have a finer and accurate finish of the piece.
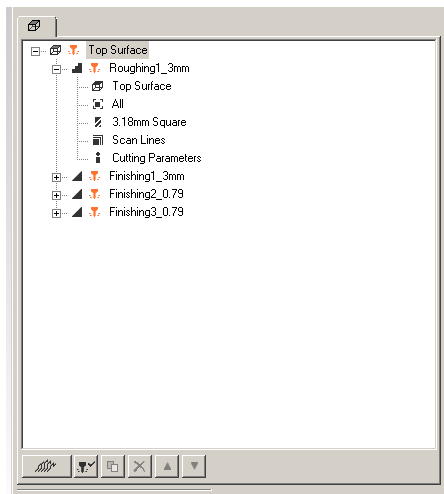
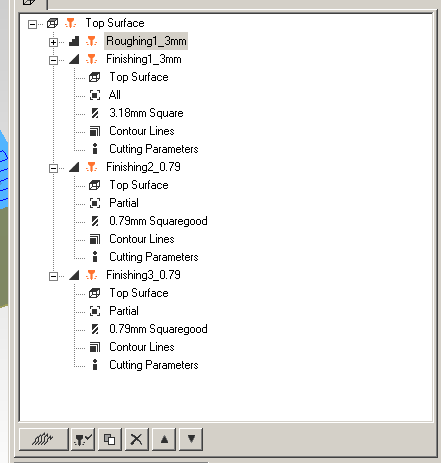
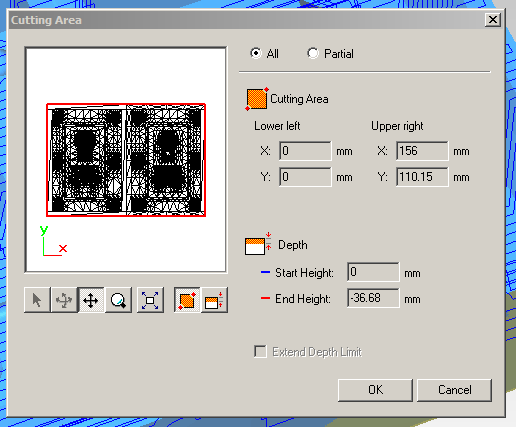
Another interesting part is that we can indicate the area of cut of each of the strategies we have decided, optimize the time of use of the machine and which parts will be more detailed.

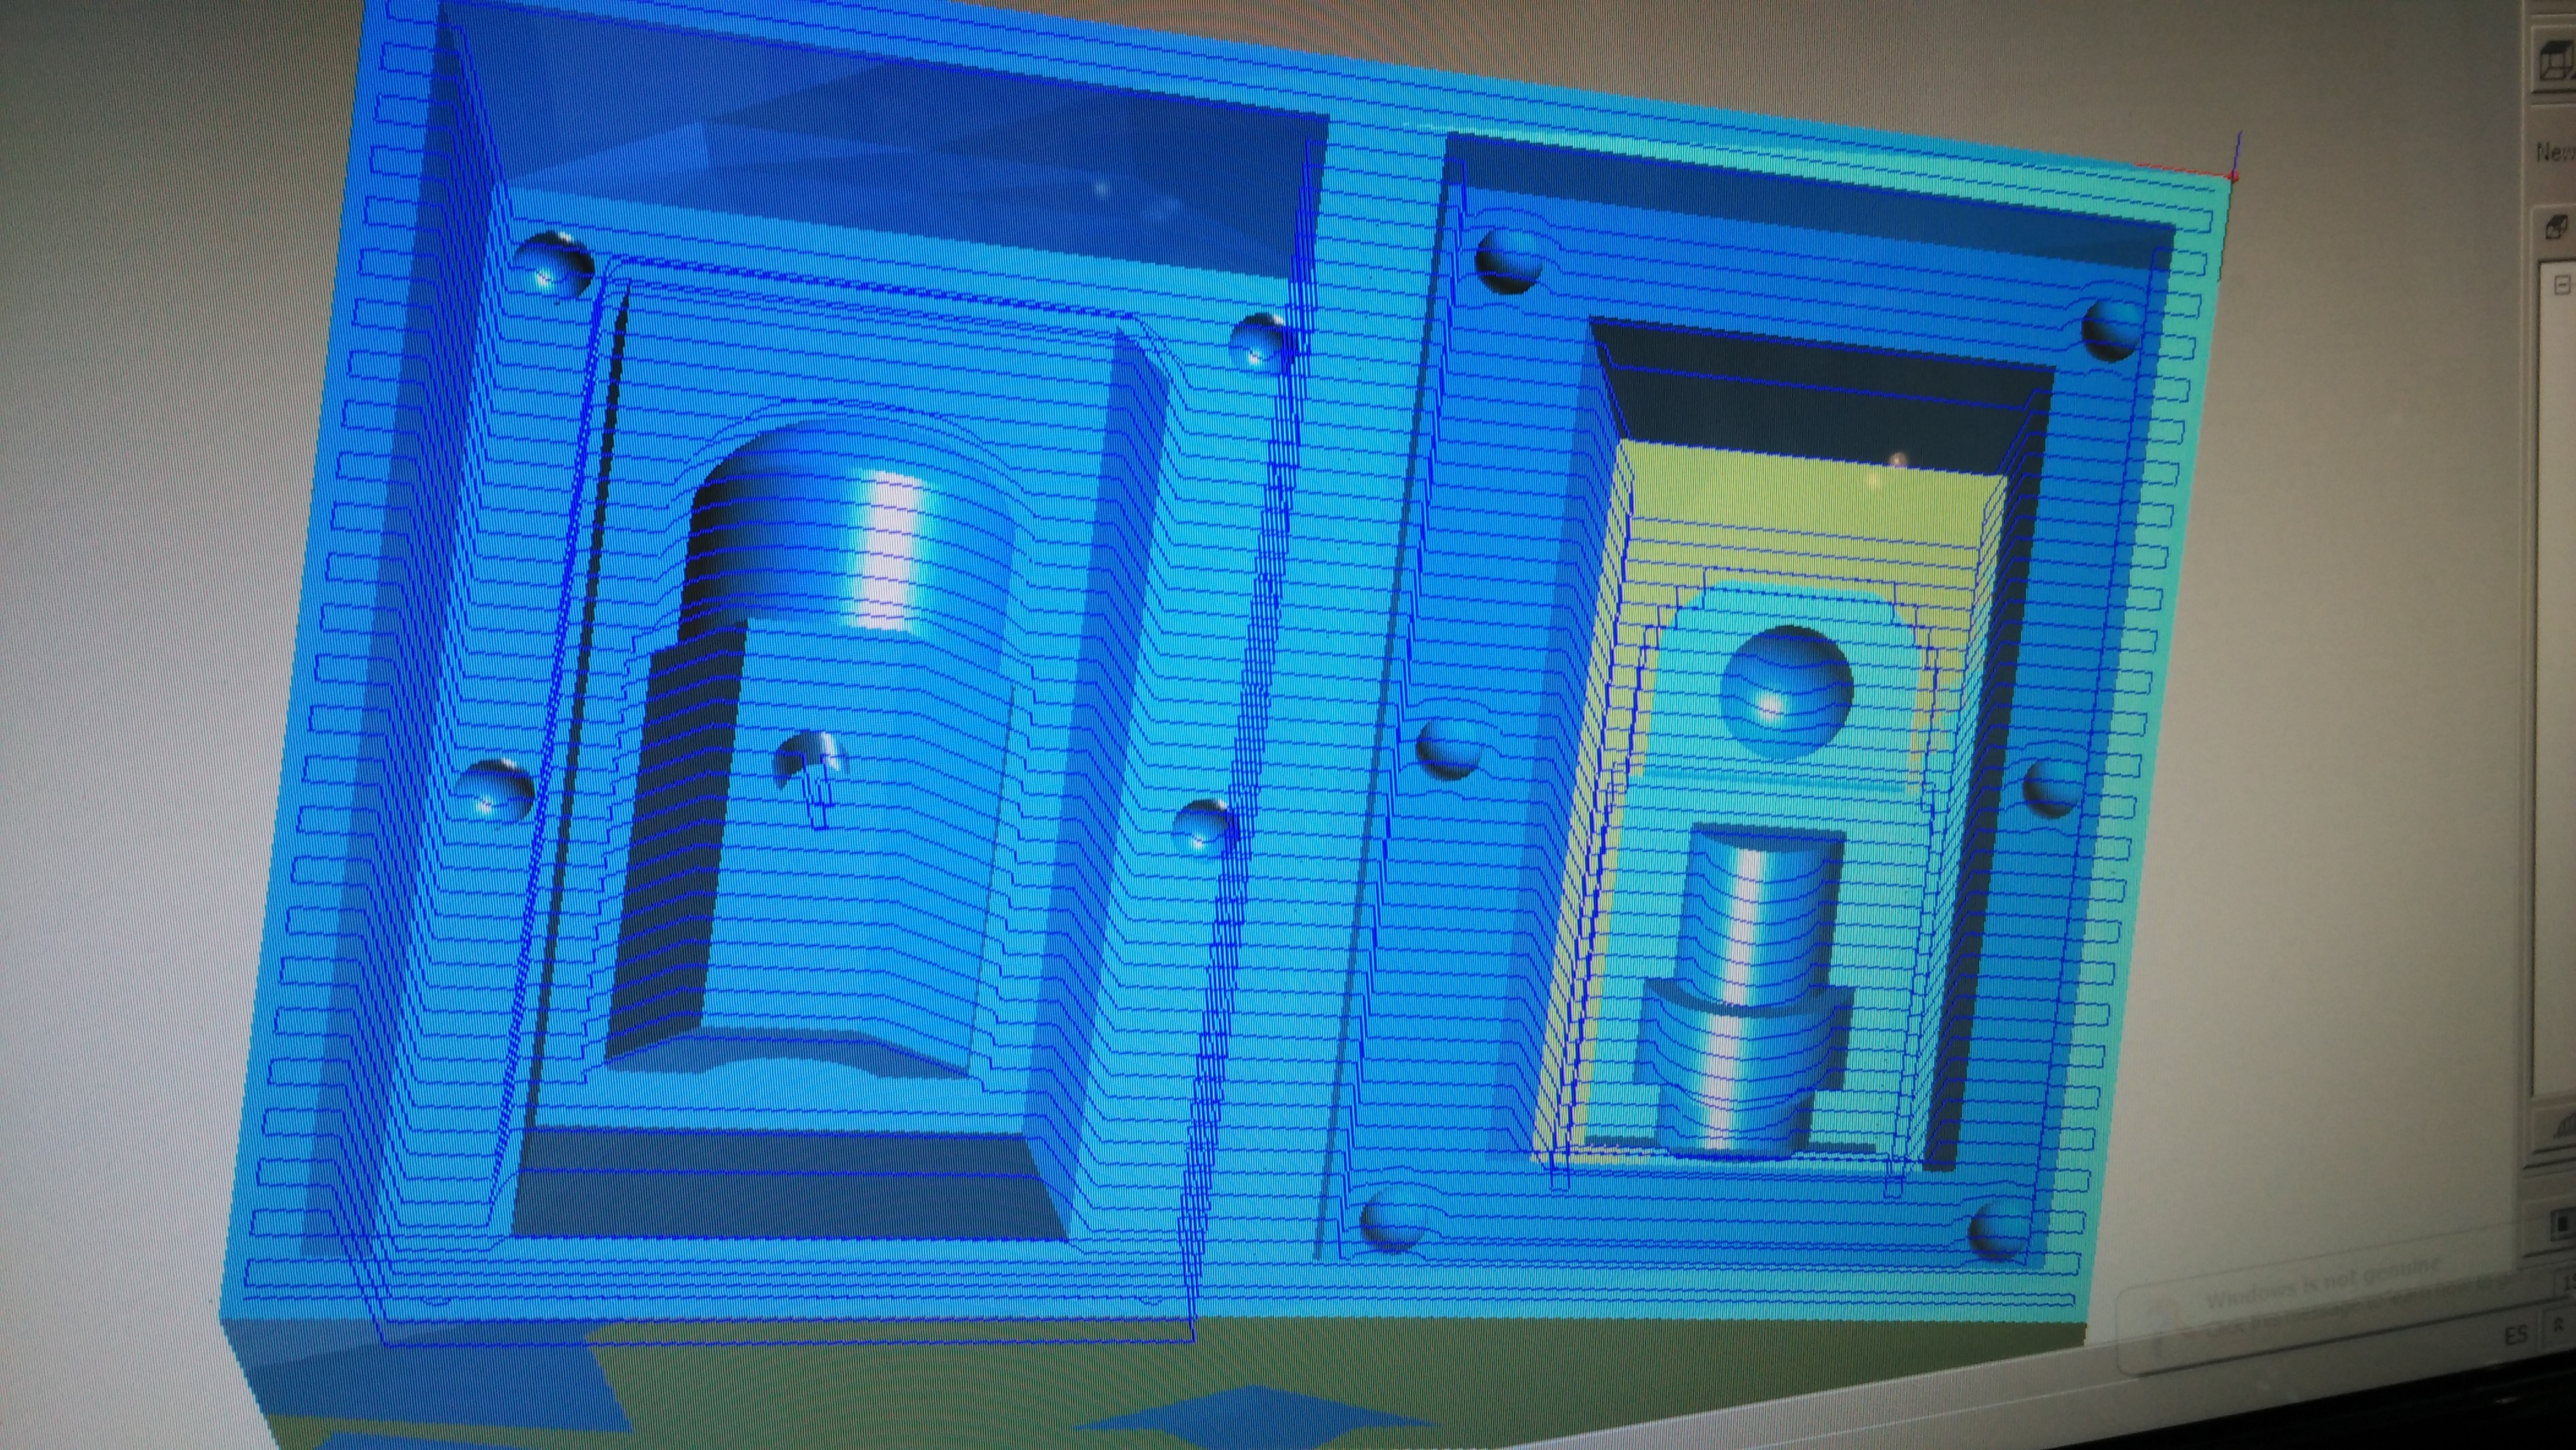
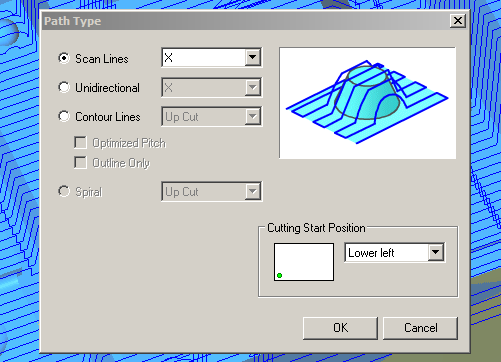
We chose the type of path that will follow the mill at the time of cutting the wax, I have selected the address x as it is the one that was more suitable for the piece I want to perform.
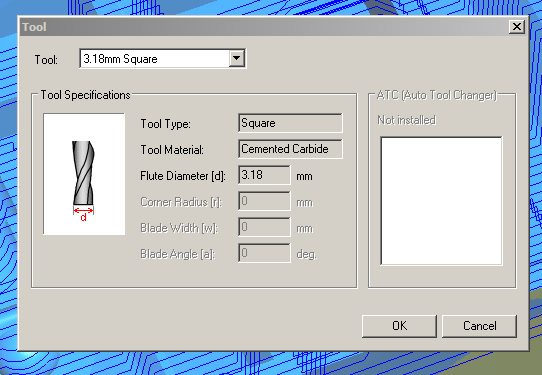
We chose the type of path that will follow the mill at the time of cutting the wax, I have selected the address x since it is the one that was more suitable for the piece I want to perform, the type of mill I use is a flat of 3.18, this for the initial roughing is perfect.
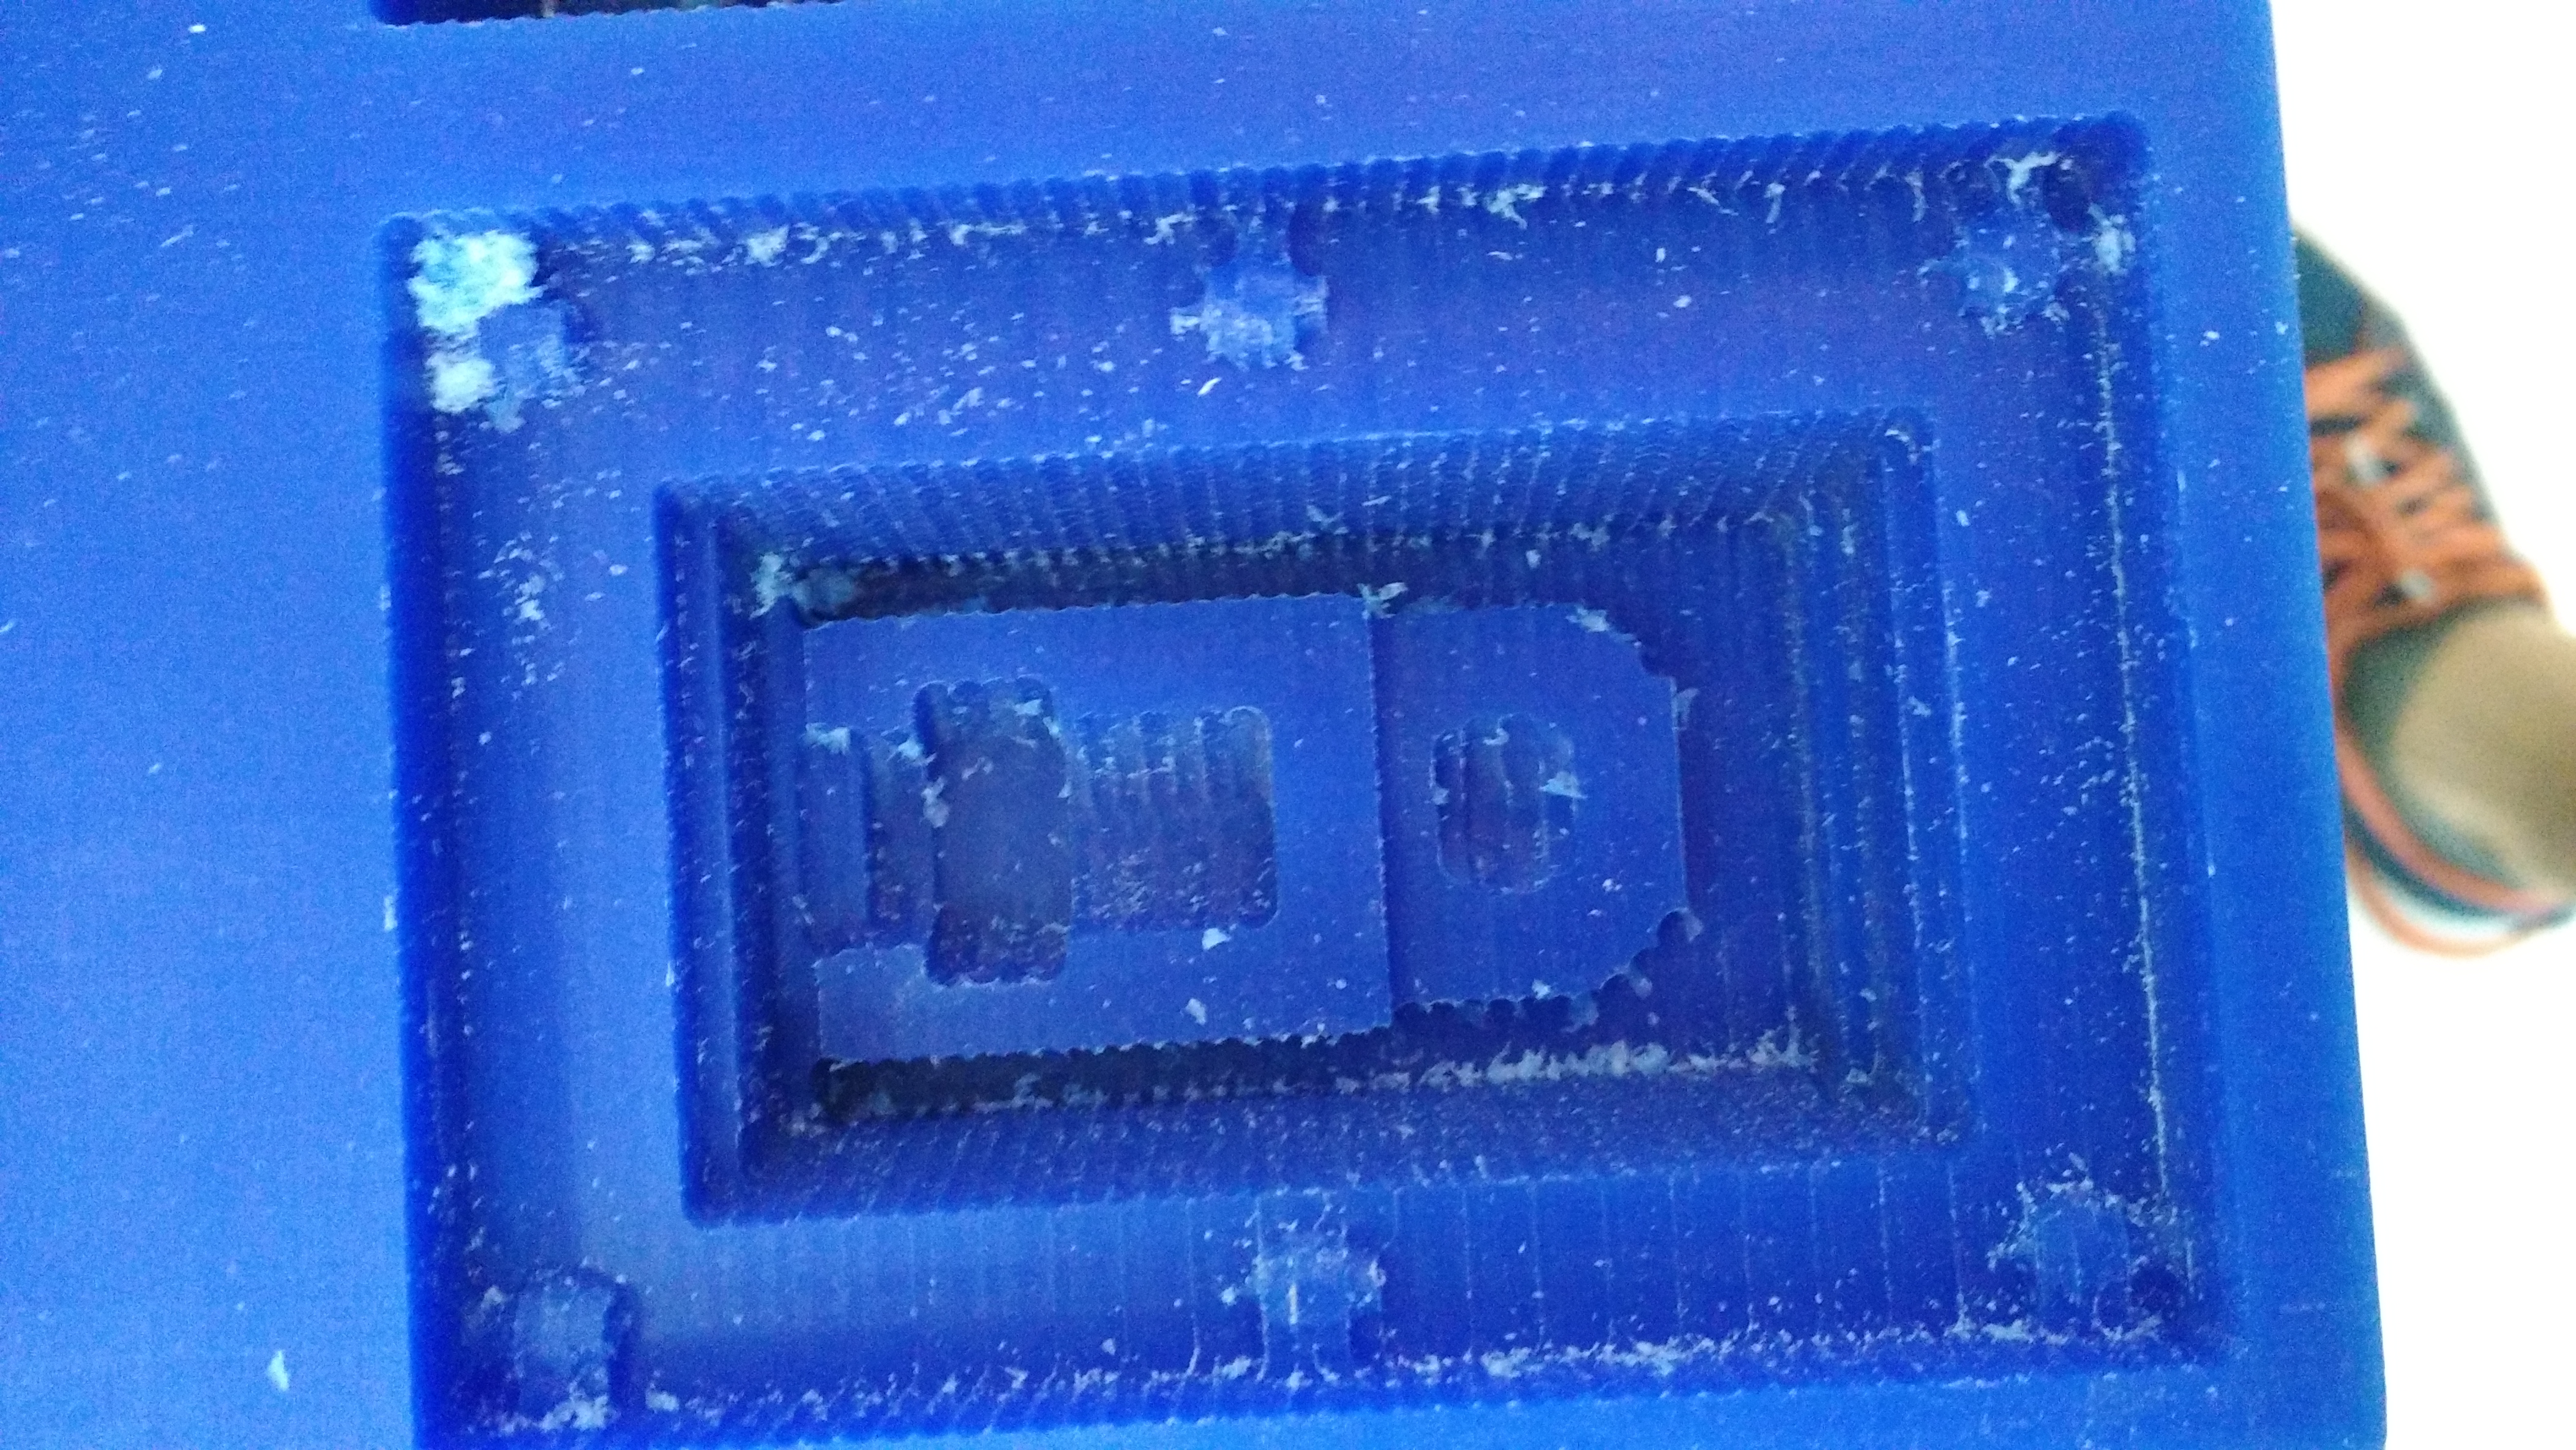
I had the problem that when the mill started to get to the bottom of the mold, the problems started since the mold design was too deep for the mill and this was beginning to touch the spindle of the cnc, so I had to stop the whole process and try to make another design simpler since the week of this was exactly finished, I learned a lot of how to work and prepare the mold to be totally successful the final result.

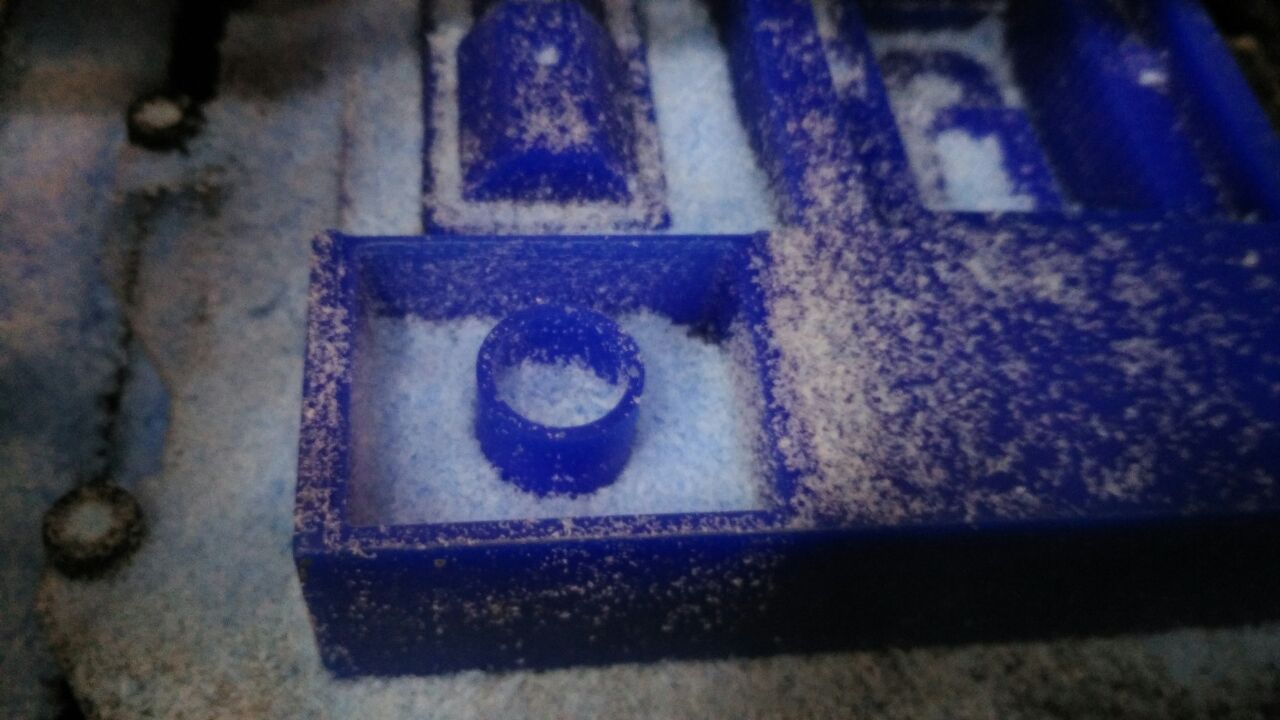
I have done the same procedure described above, but in this case I have taken into account the depth of the mold, this time I have been able to do it successfully.
And finished the cutting process we proceed to create the mold with silicone Formsil 25, the silicone is use catalizator components when they are mixed both the curing process begins, for the mix catalizator to add in a proportion of 3%/ 5%
With the mixture made apply a layer of release agent so that when the silicone is cured it is easier to remove without breaking the mold, one of the most common problems that occur when we make any type of mold are the bubbles that are created inside and this can corner the final piece, so to avoid bubbles in the fablab has built a vacuum machine that with it we managed to expel most of the bubbles quickly.

Once this process is finished we leave the mold in a place removed for 24 hours so that the silicone finishes to cure, and to be able to remove the mold without problems.

Silicone mold from an object
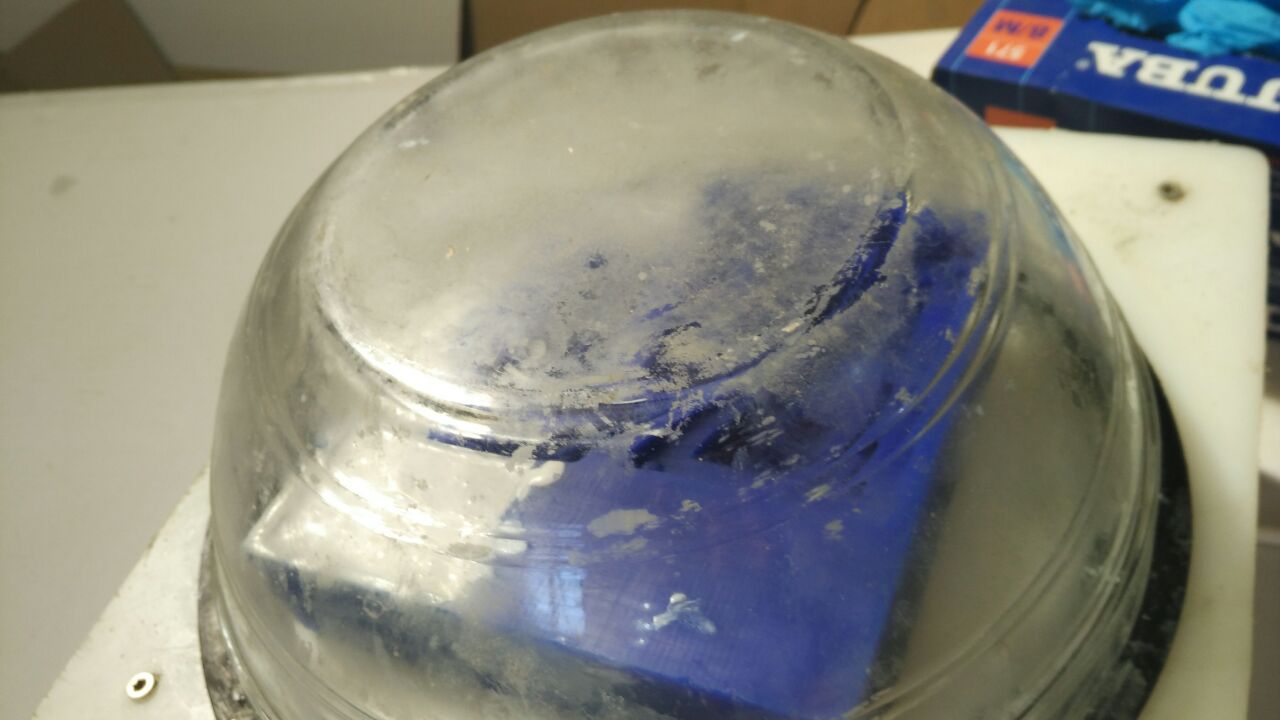
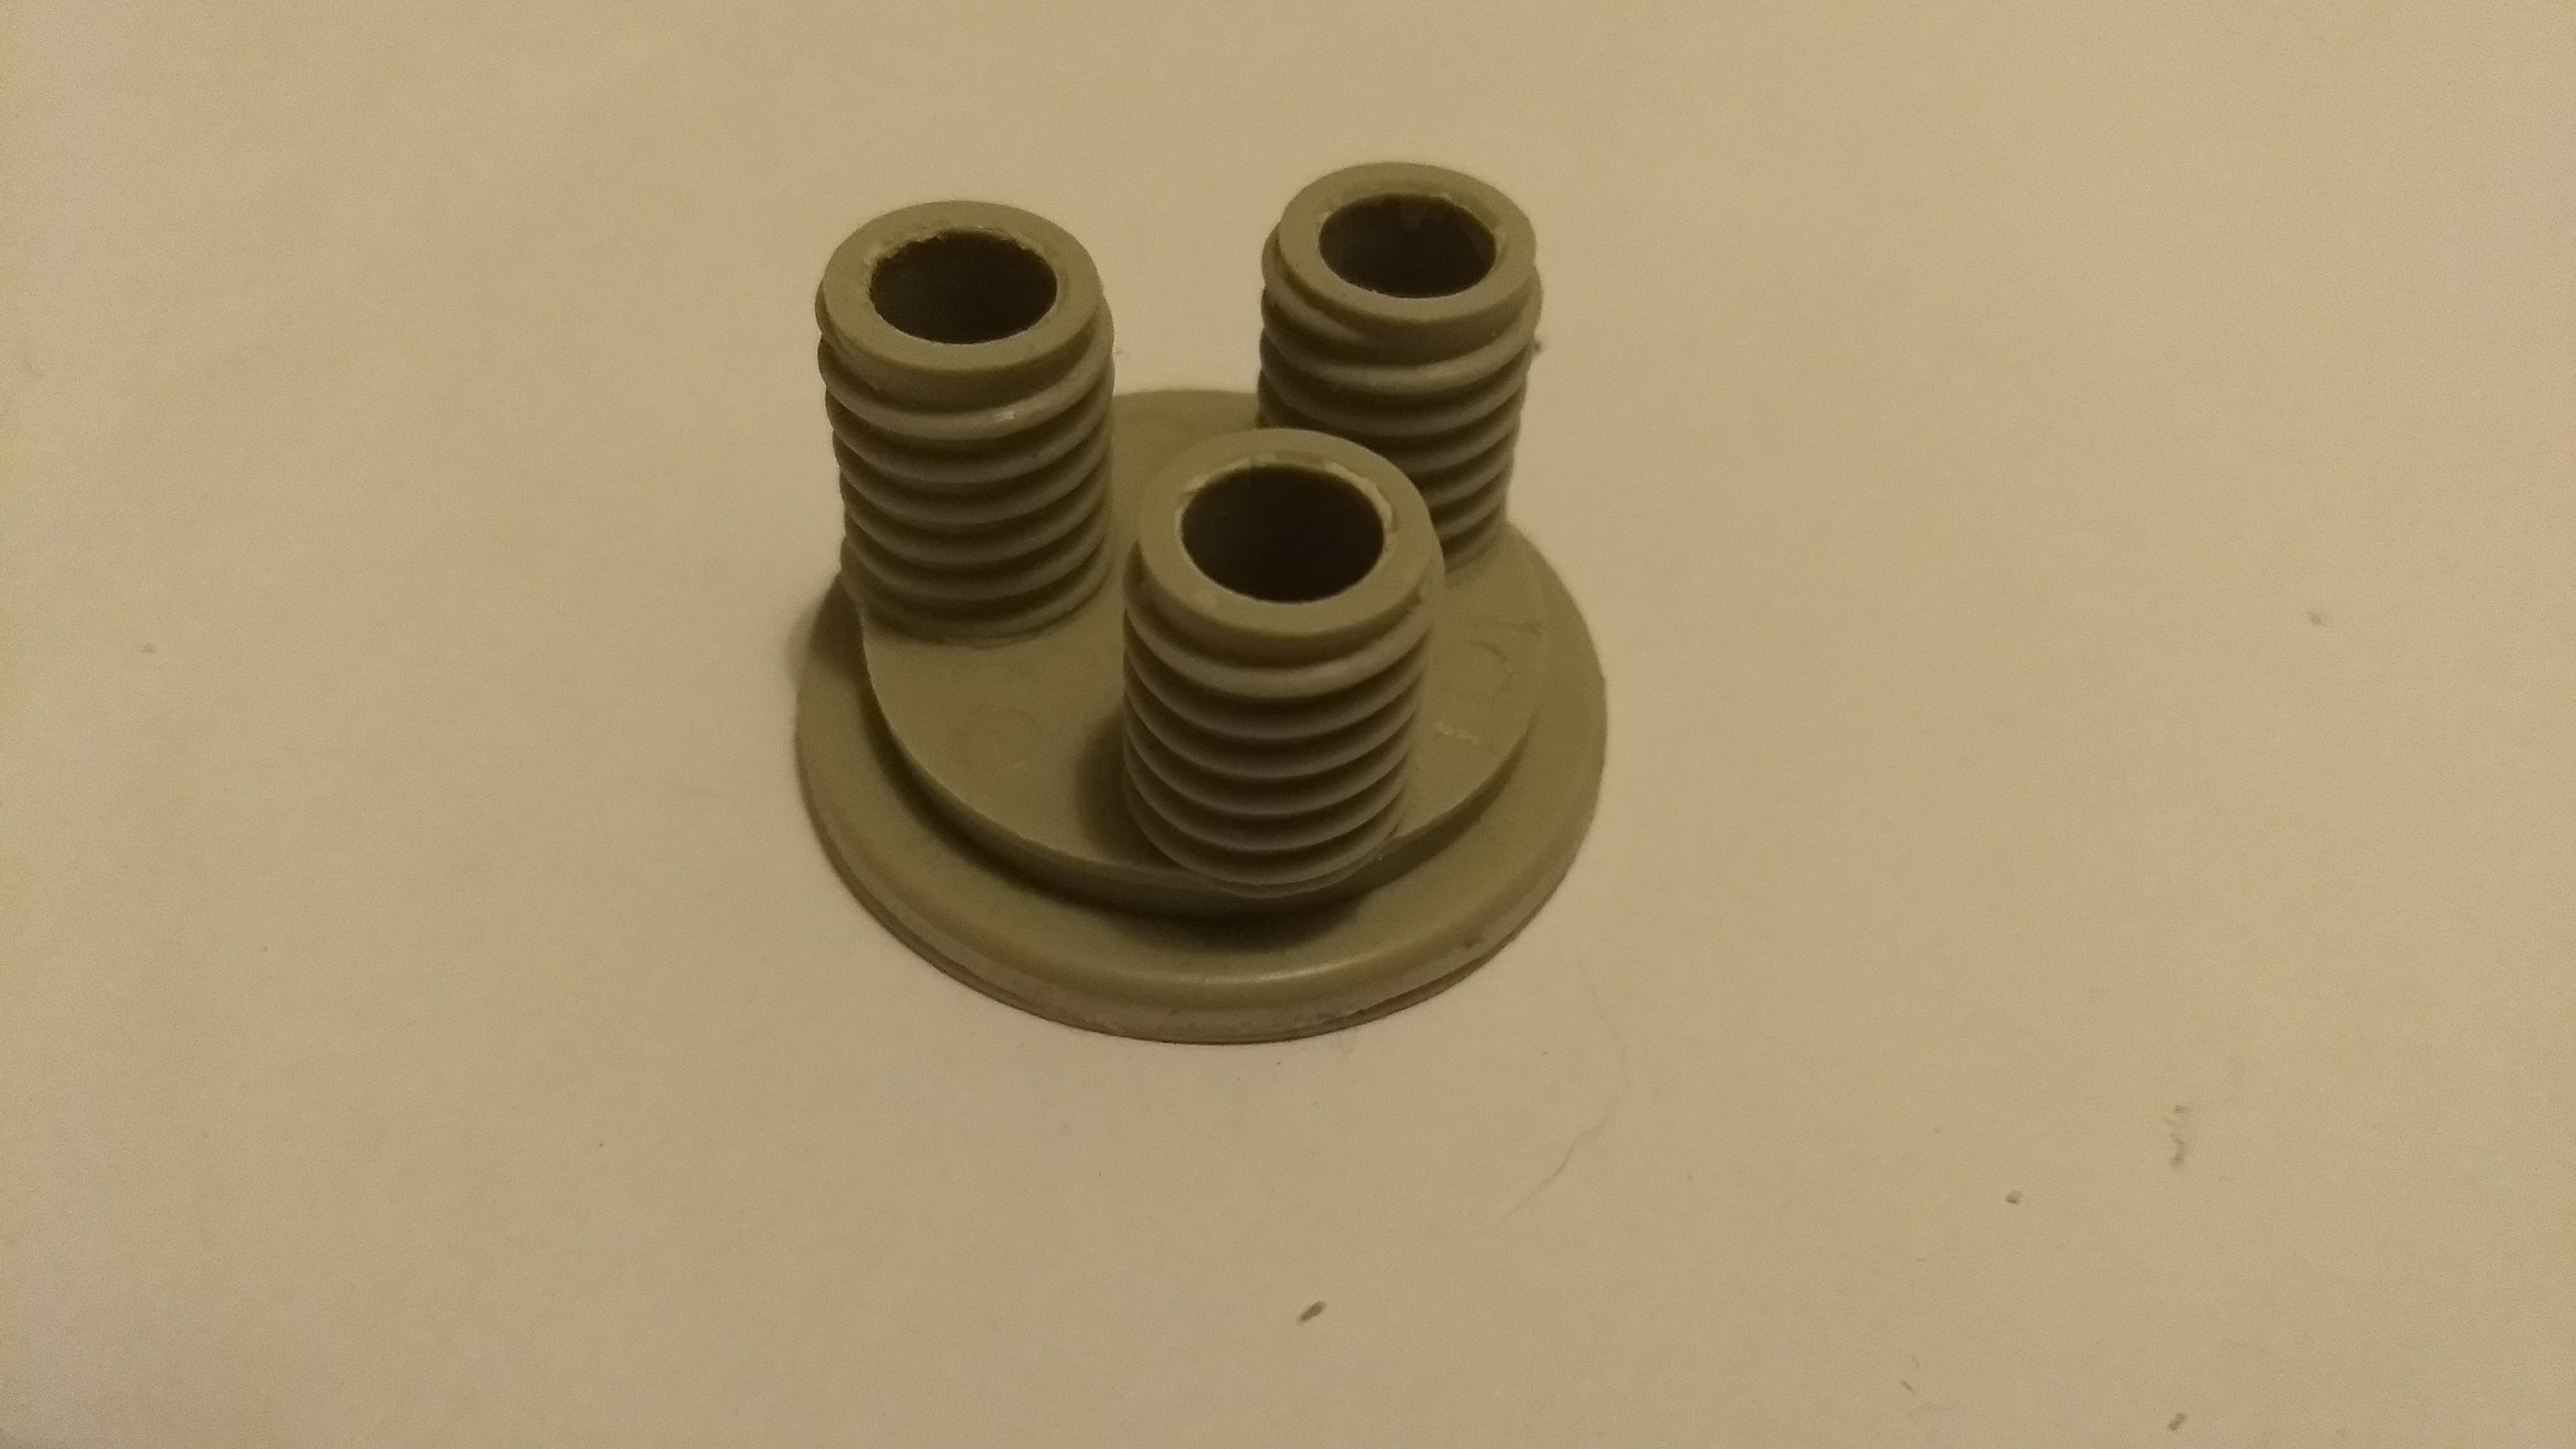
As I have had a failure in the first mold and the second one I have done is not very complex I have decided to work on an object that if I need for my final project , it is a 3 output connector that is used in the glass bottles, has a special cap through which several tubes are connected, this eg to feed spirulina directly or for any experiment that requires the exchange of liquids.

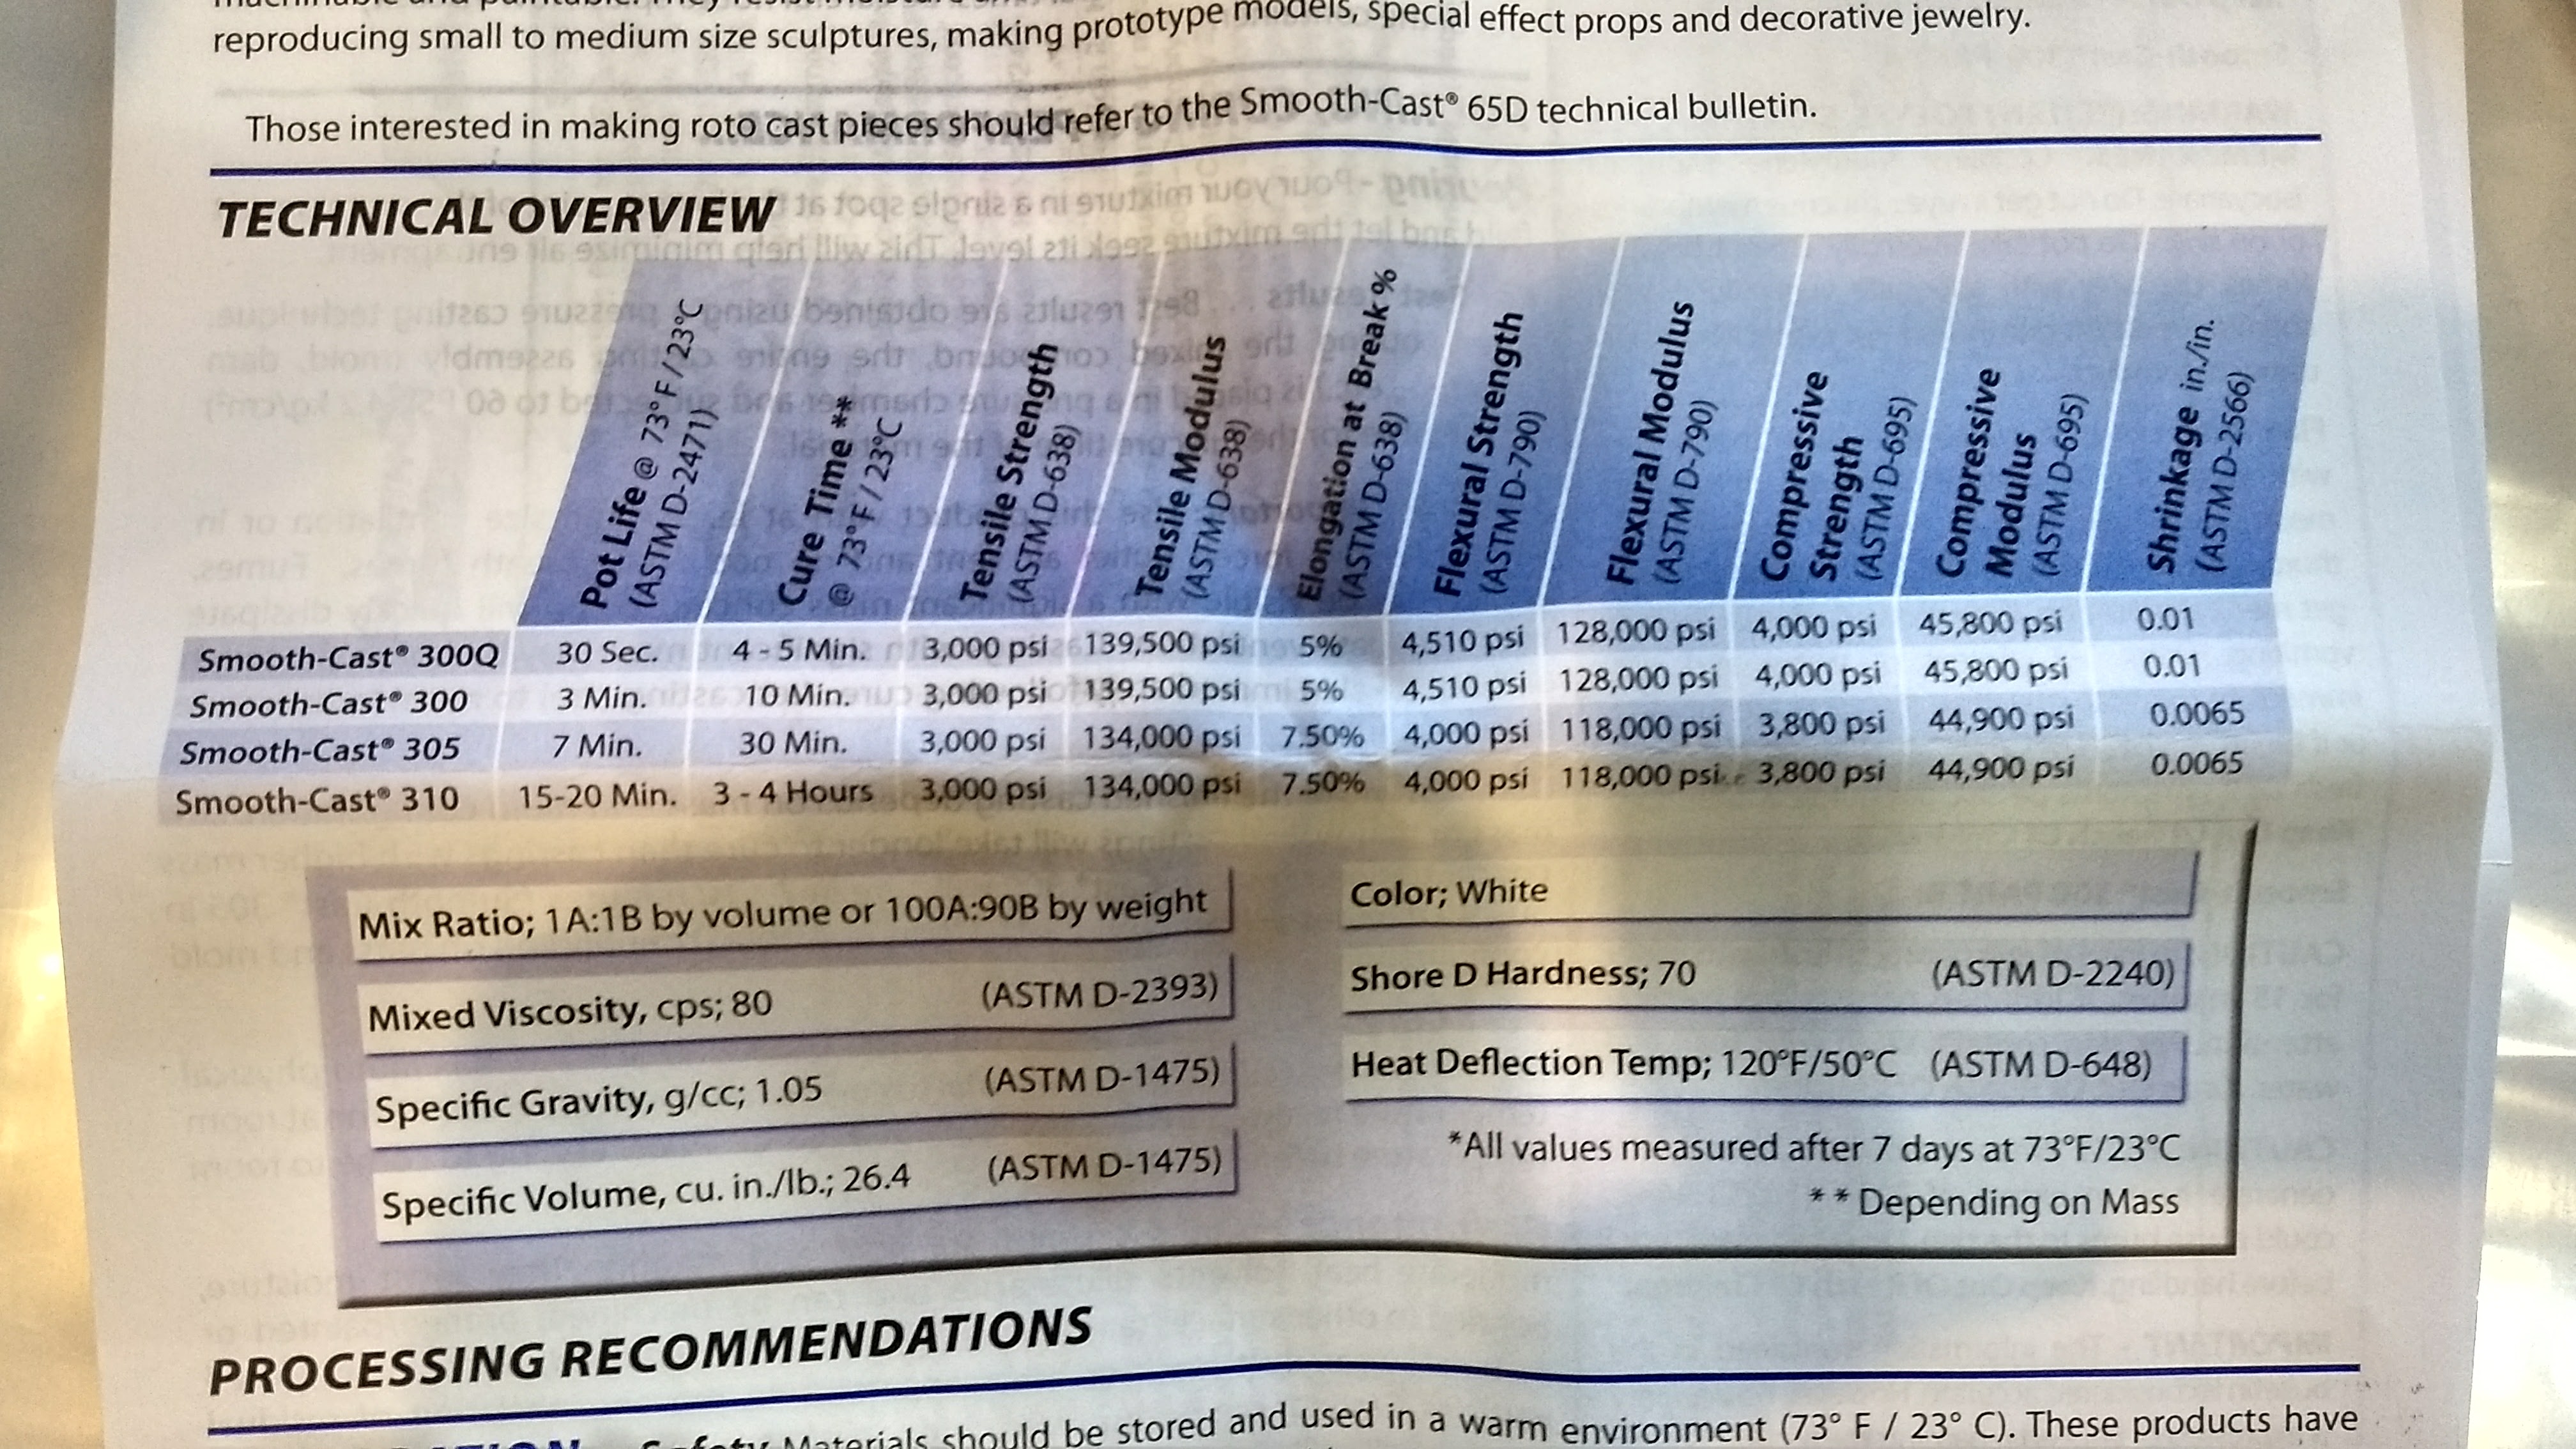
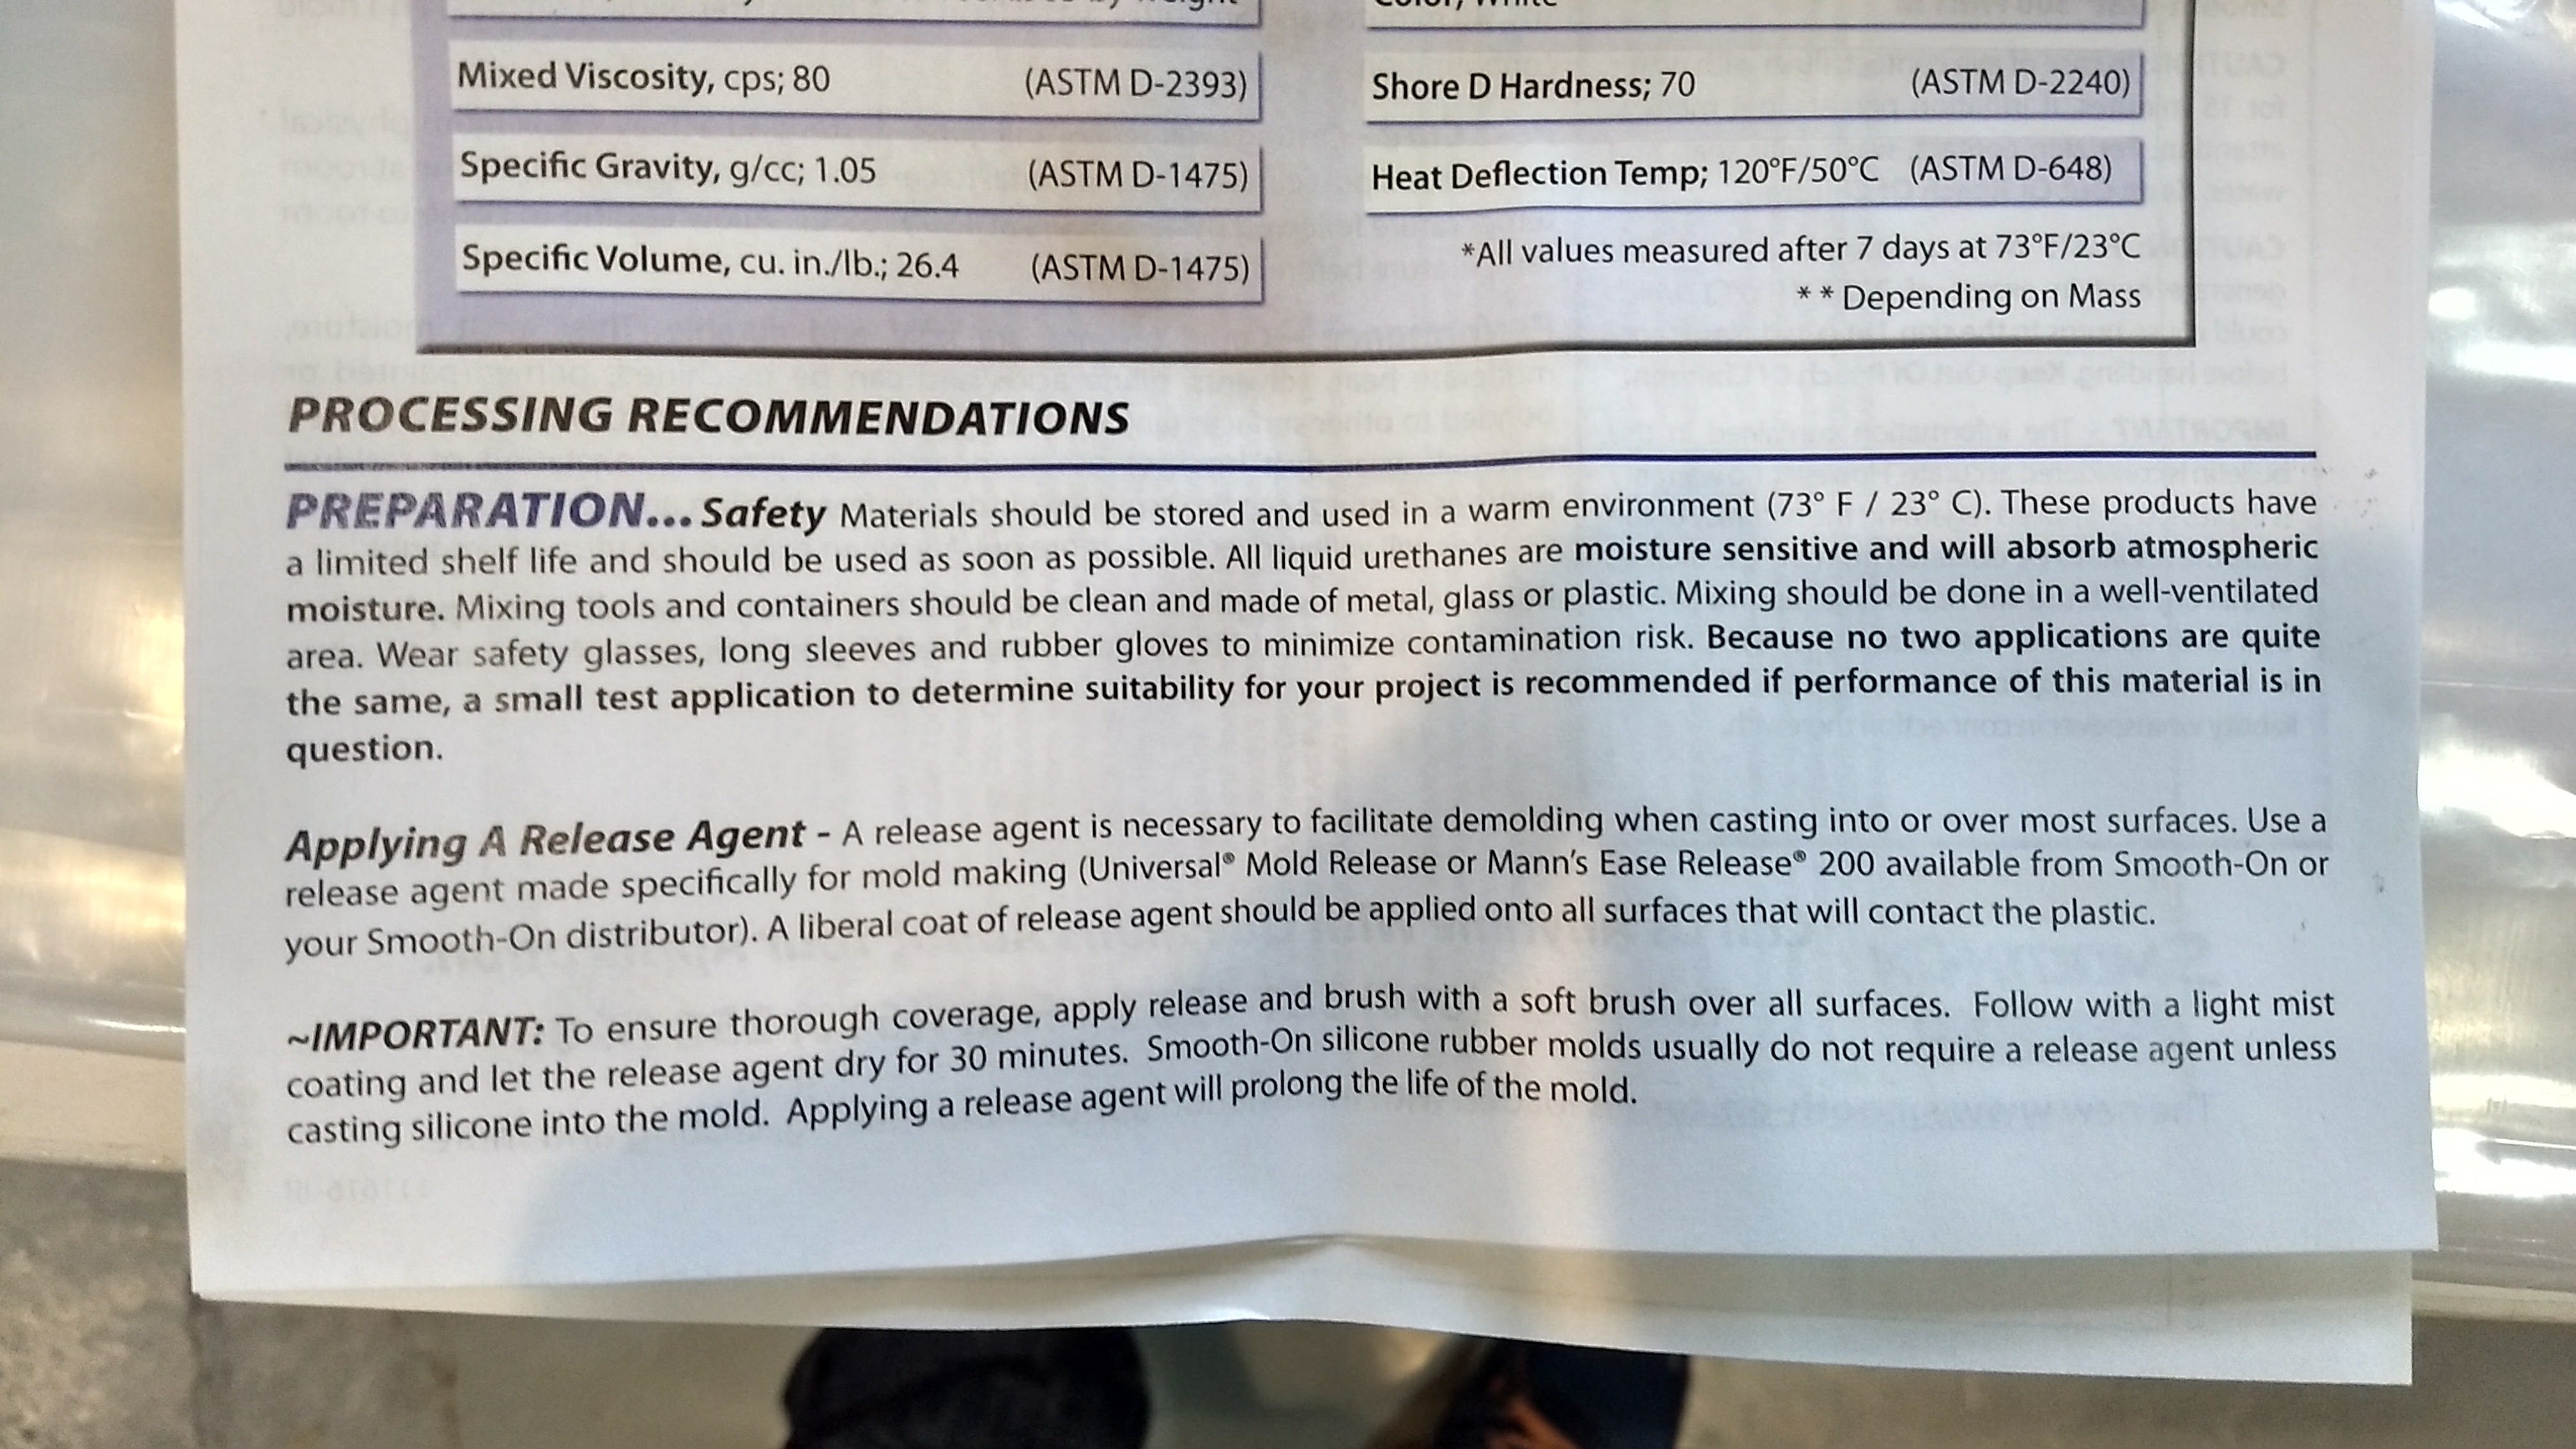
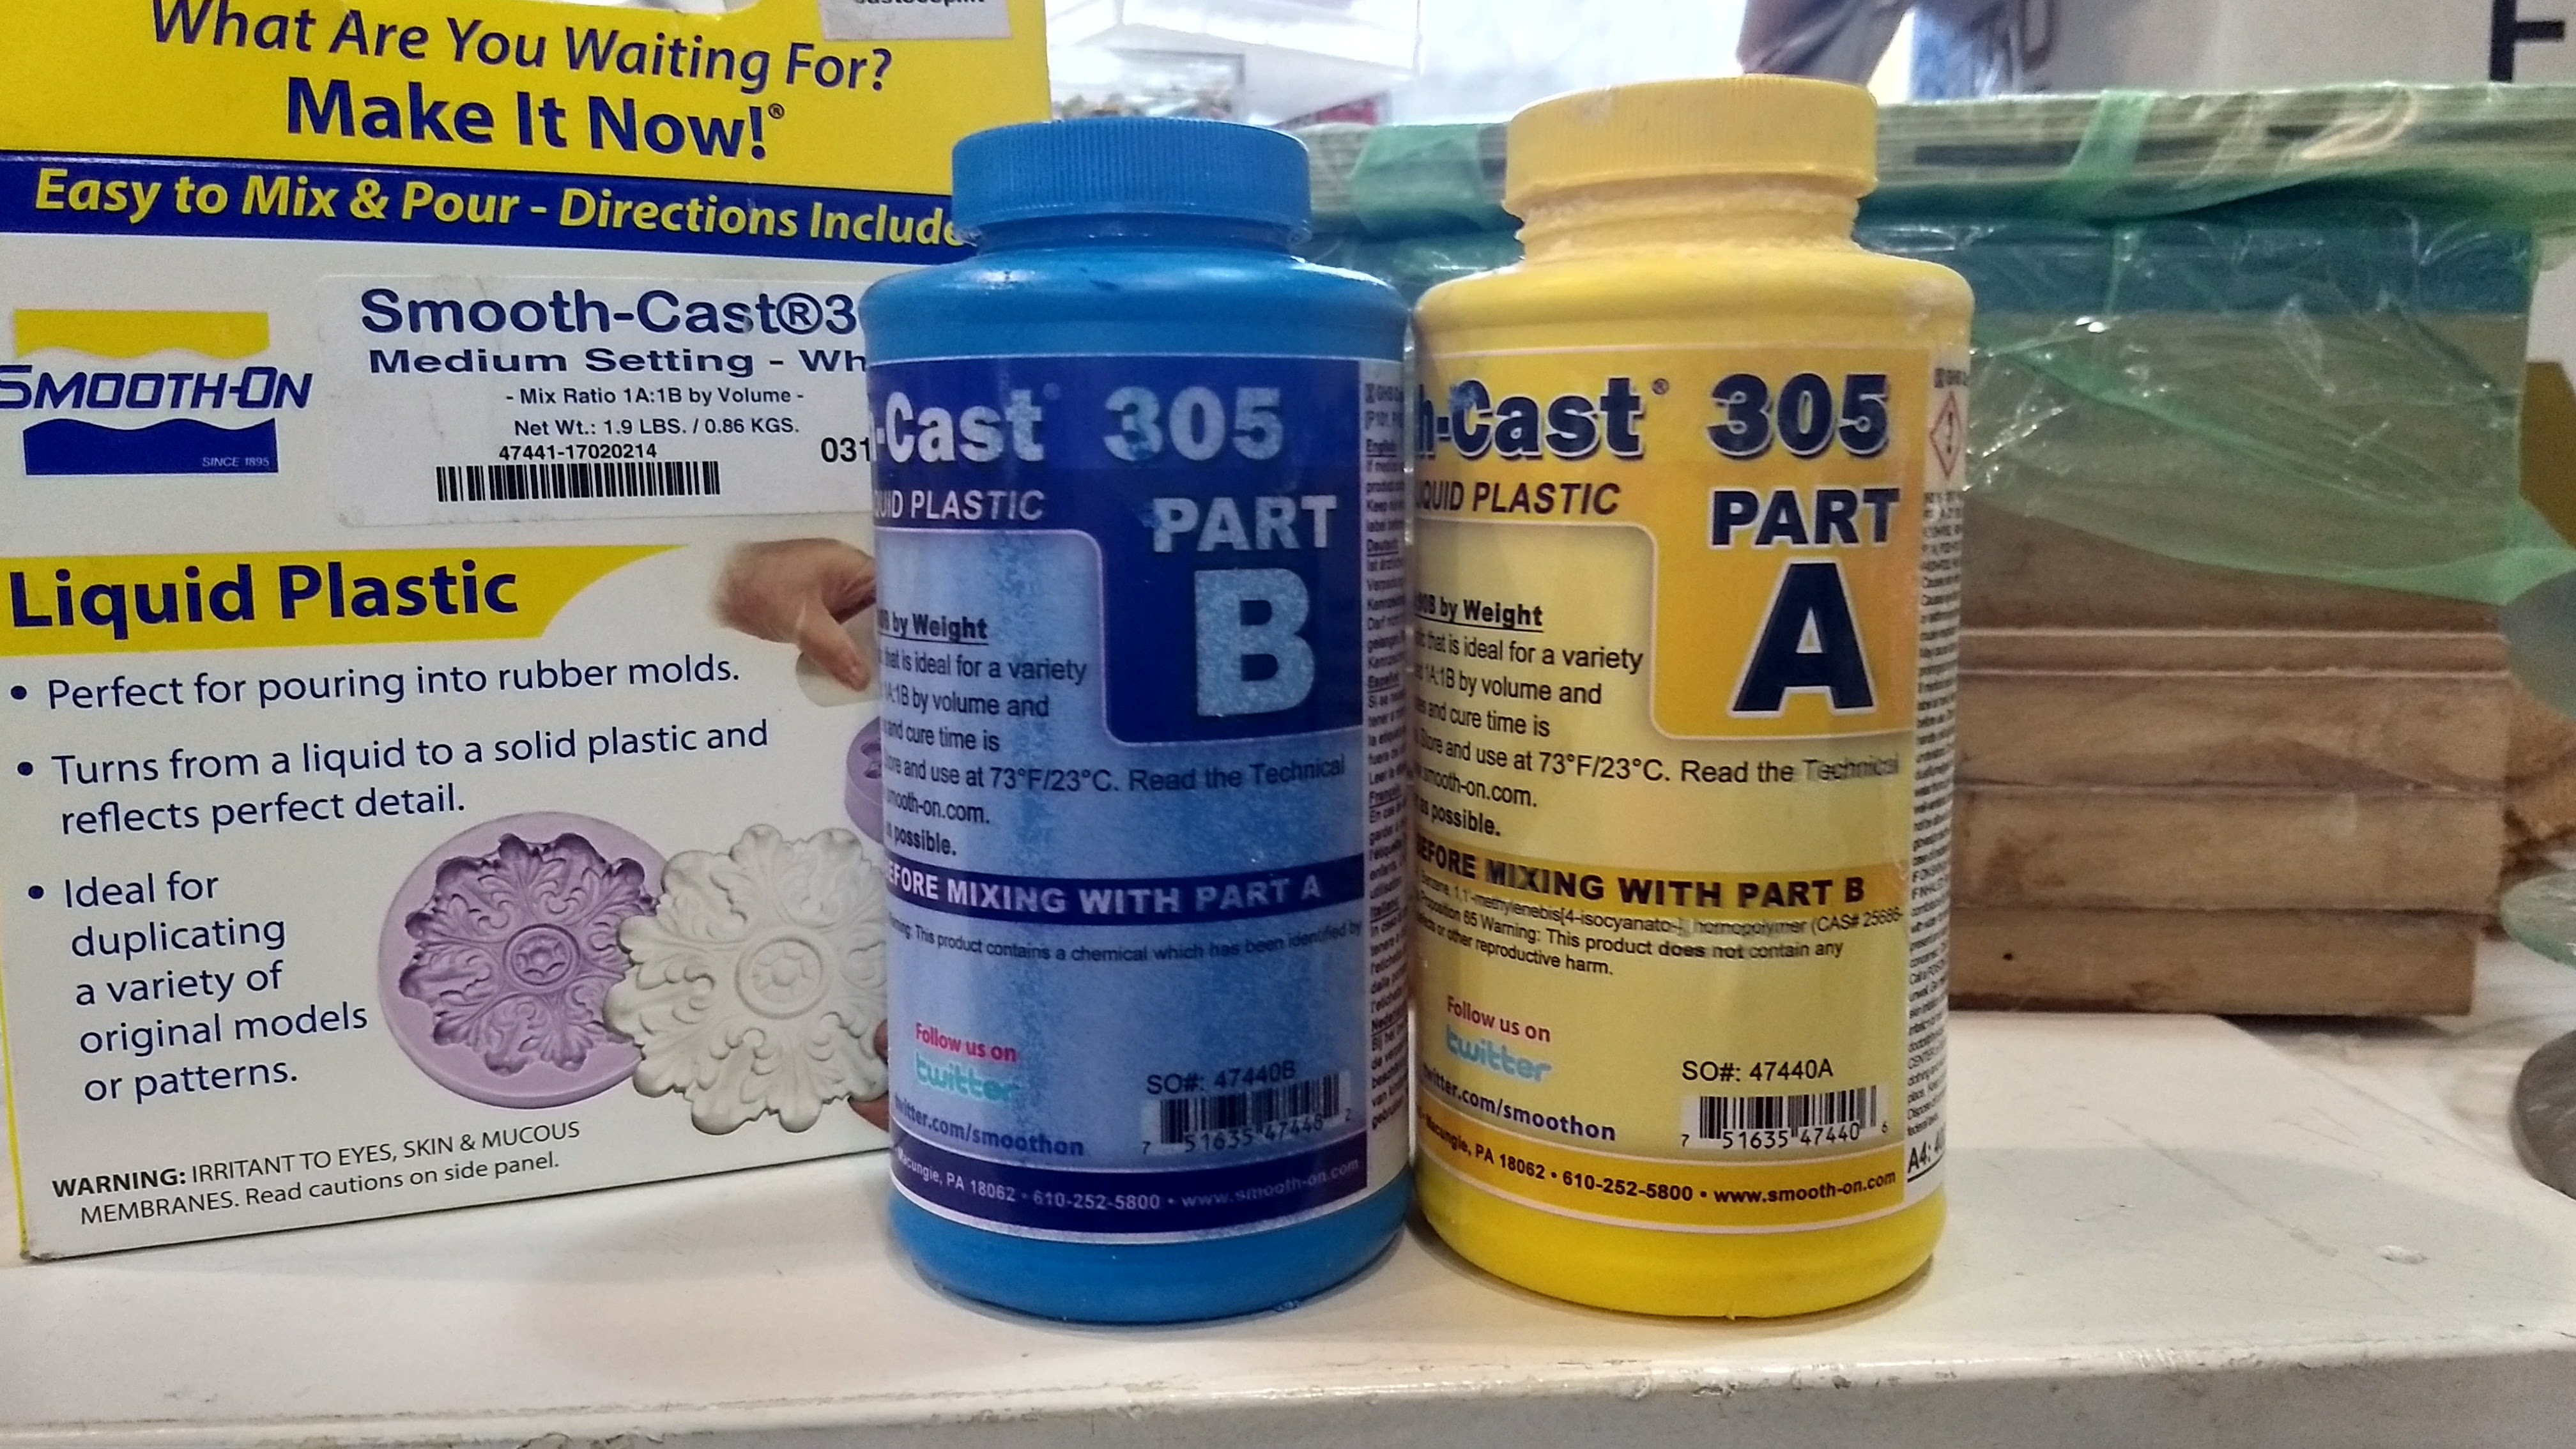
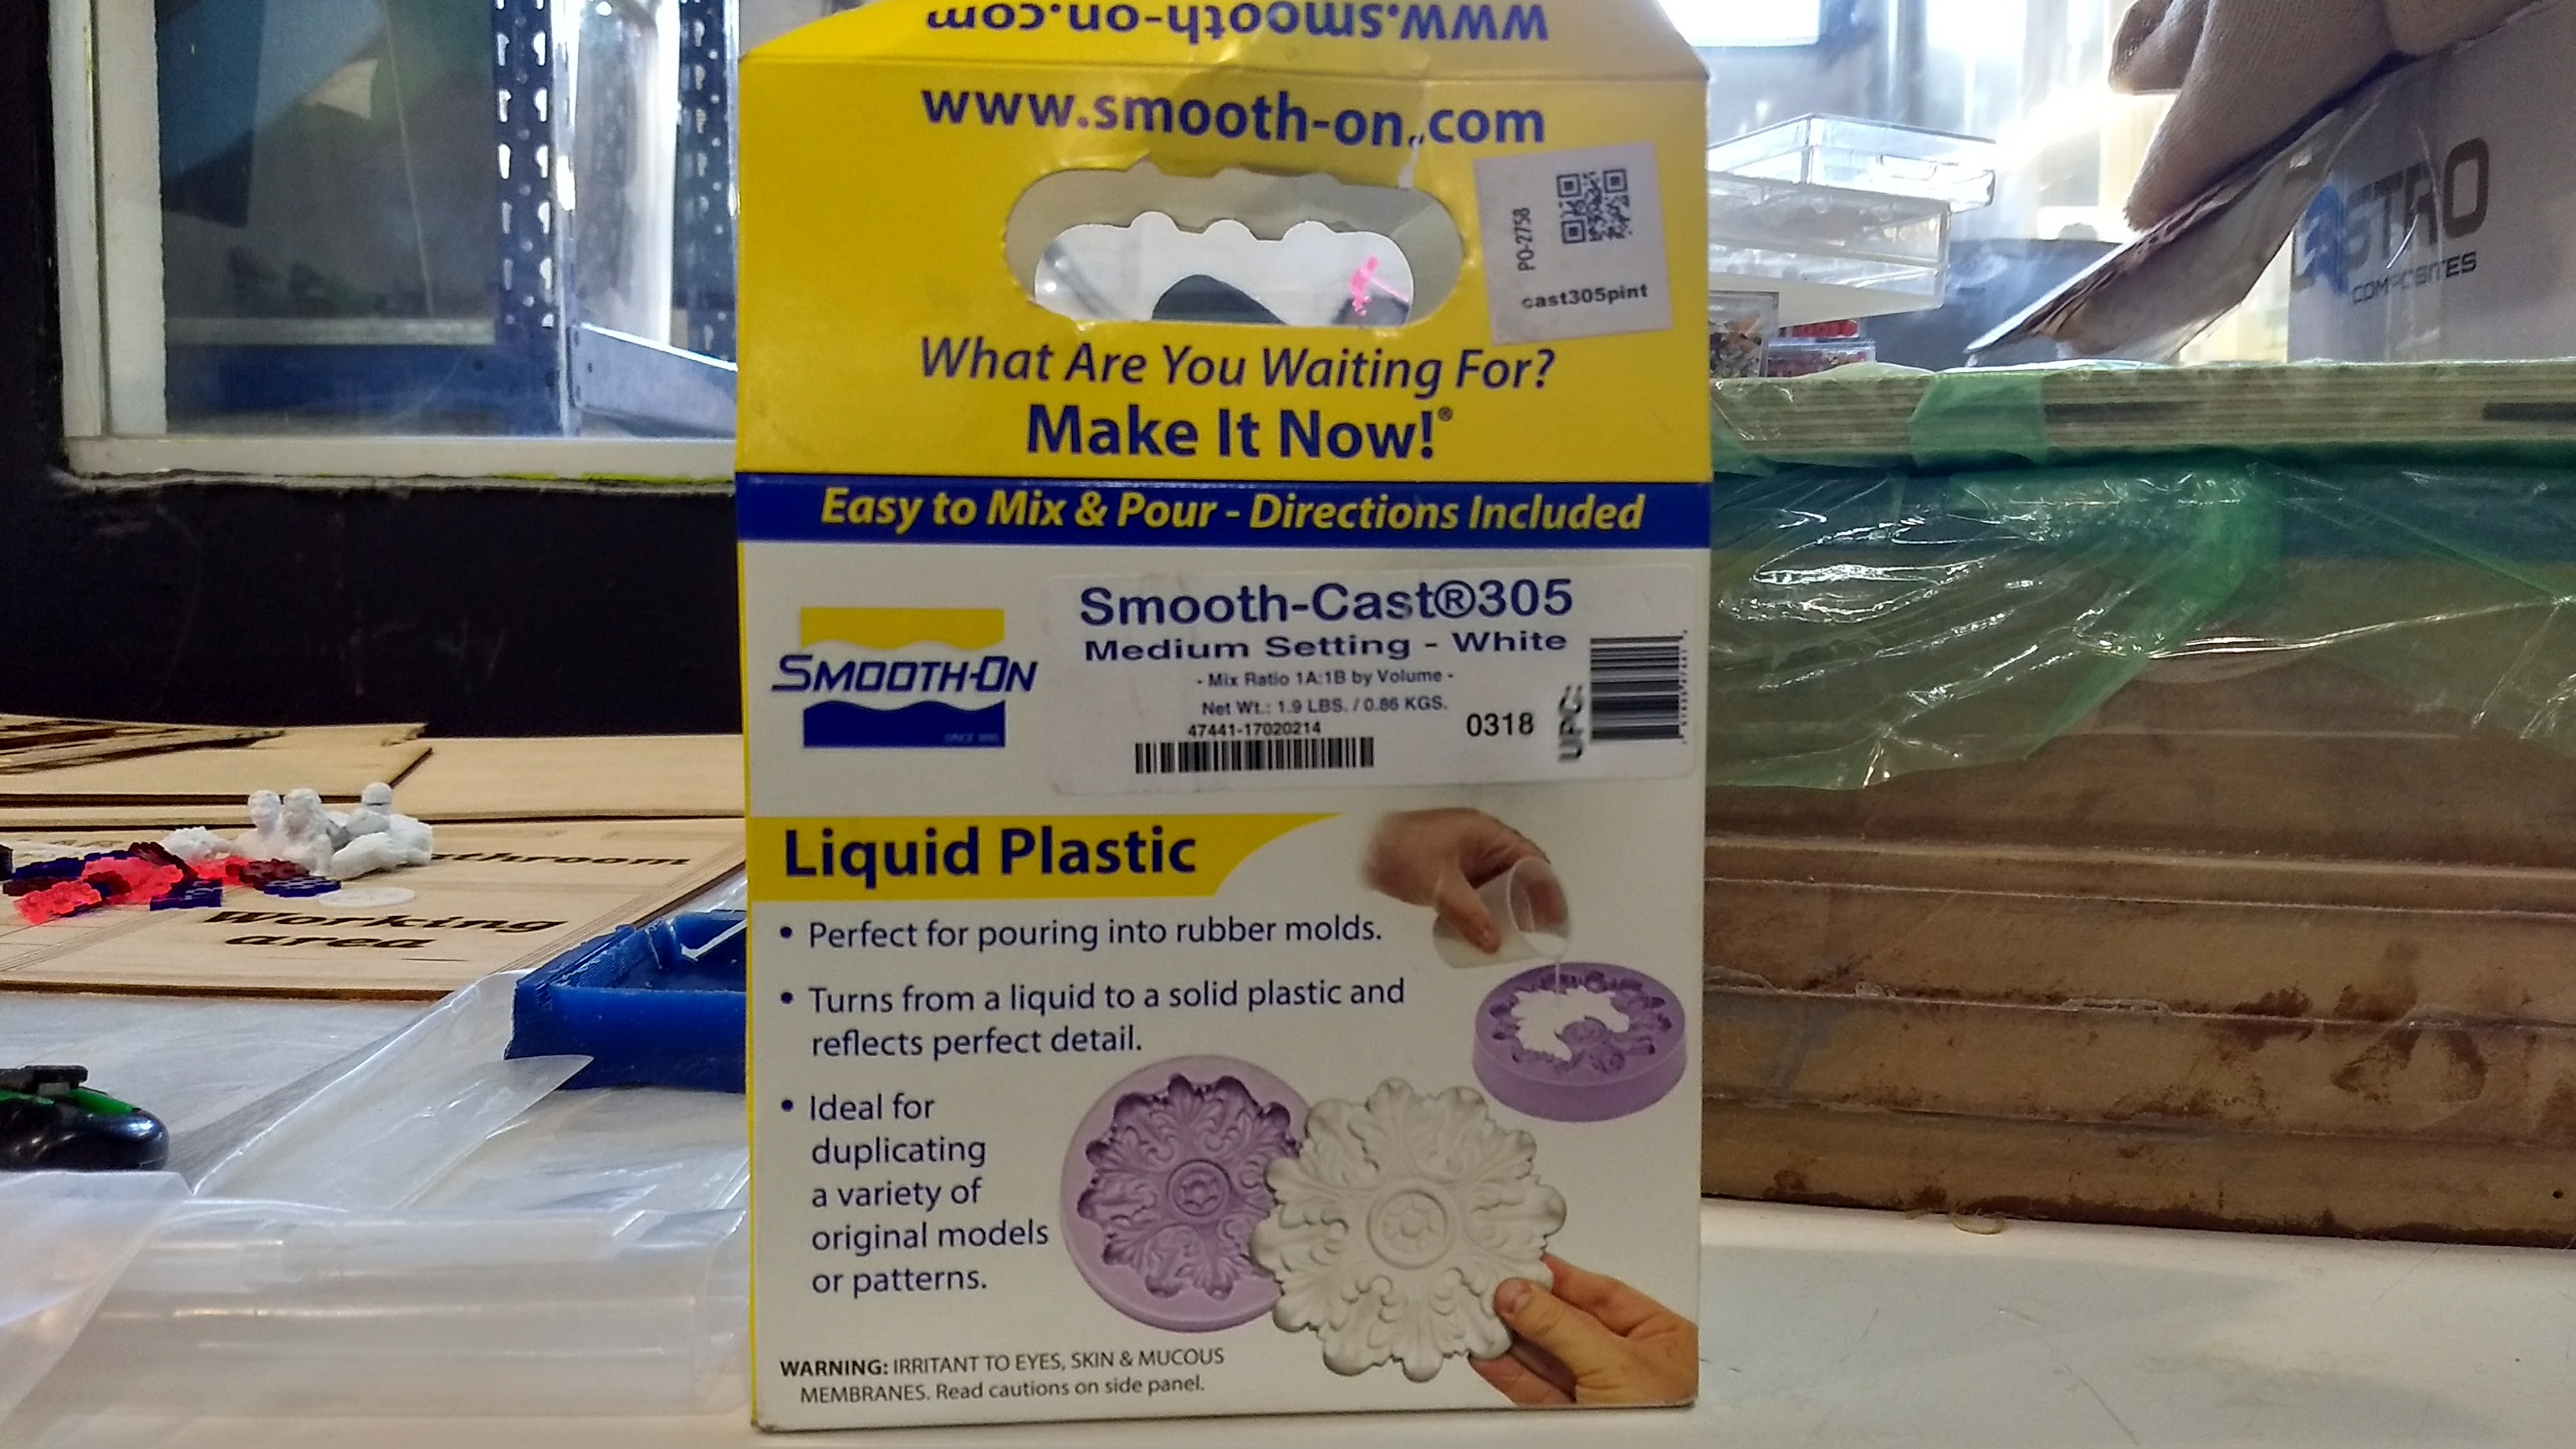
He used the liquid plastic, which is the Smooth-cast-305 version, which has special properties indicated in the table below.
| Mix Ratio By Volume | 1A:1B |
| Mix Ratio By Weight | 100A:90B |
| Specific Gravity | 1.05 g/cc |
| Specific Volume | 26.4 cu. in./lb. |
| Color | White |
| Pot Life | 7 minutes |
| Cure Time | 30 minutes |
| Tensile Strength | 3,000 psi |
| Elongation @ Break | 7.5 % |
| Compressive Modulus | 44,900 psi |
| Shrinkage | 0.0065 in. / in. |
| Tensile Modulus | 134,000 psi |
| Flexural Strength | 4,000 psi |
| Flexural Modulus | 118,000 psi |
| Compressive Strength | 3,800 psi |
| Shore Hardness | 70 D |
| Heat Deflection Temp | 120 °F |
| Mixed Viscosity | 80 cps |
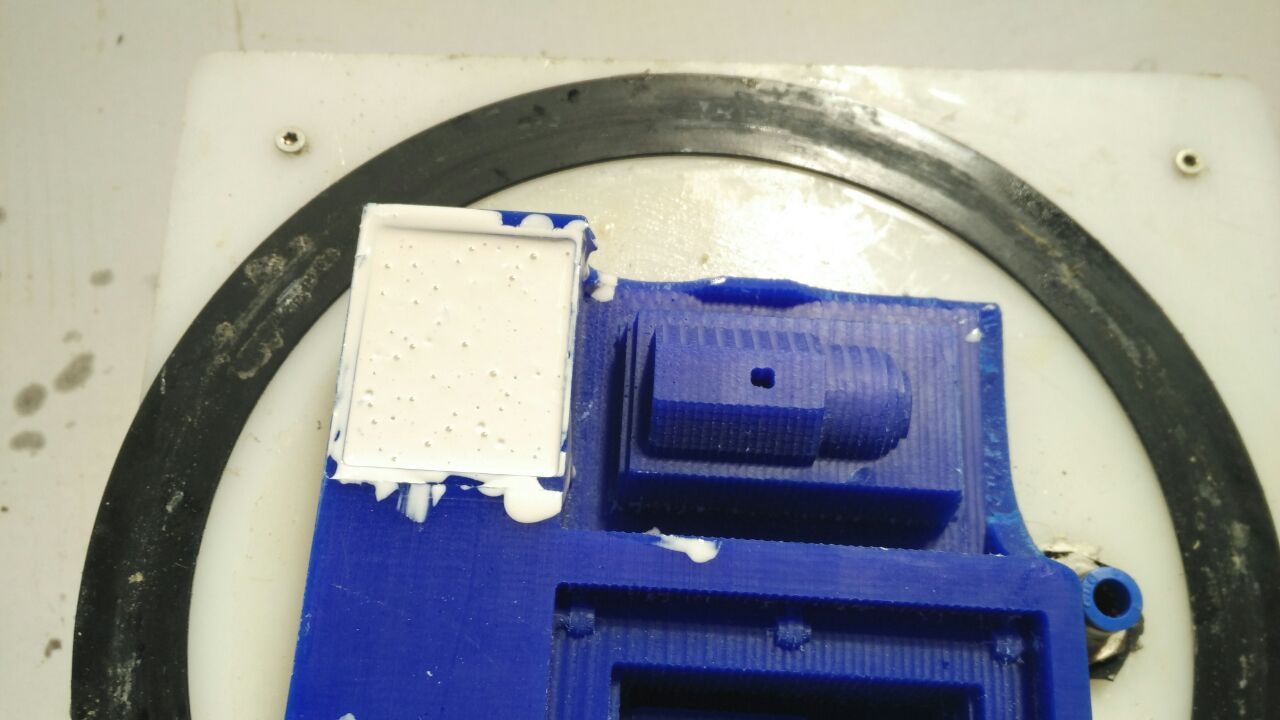
Being a one piece mold I have cut the silicon with a cutter, and I have done several tests since to obtain a decent piece it is necessary to go carefully so that the material fills all the interior of the mold and there are no bubbles inside it as we can see in the first image.
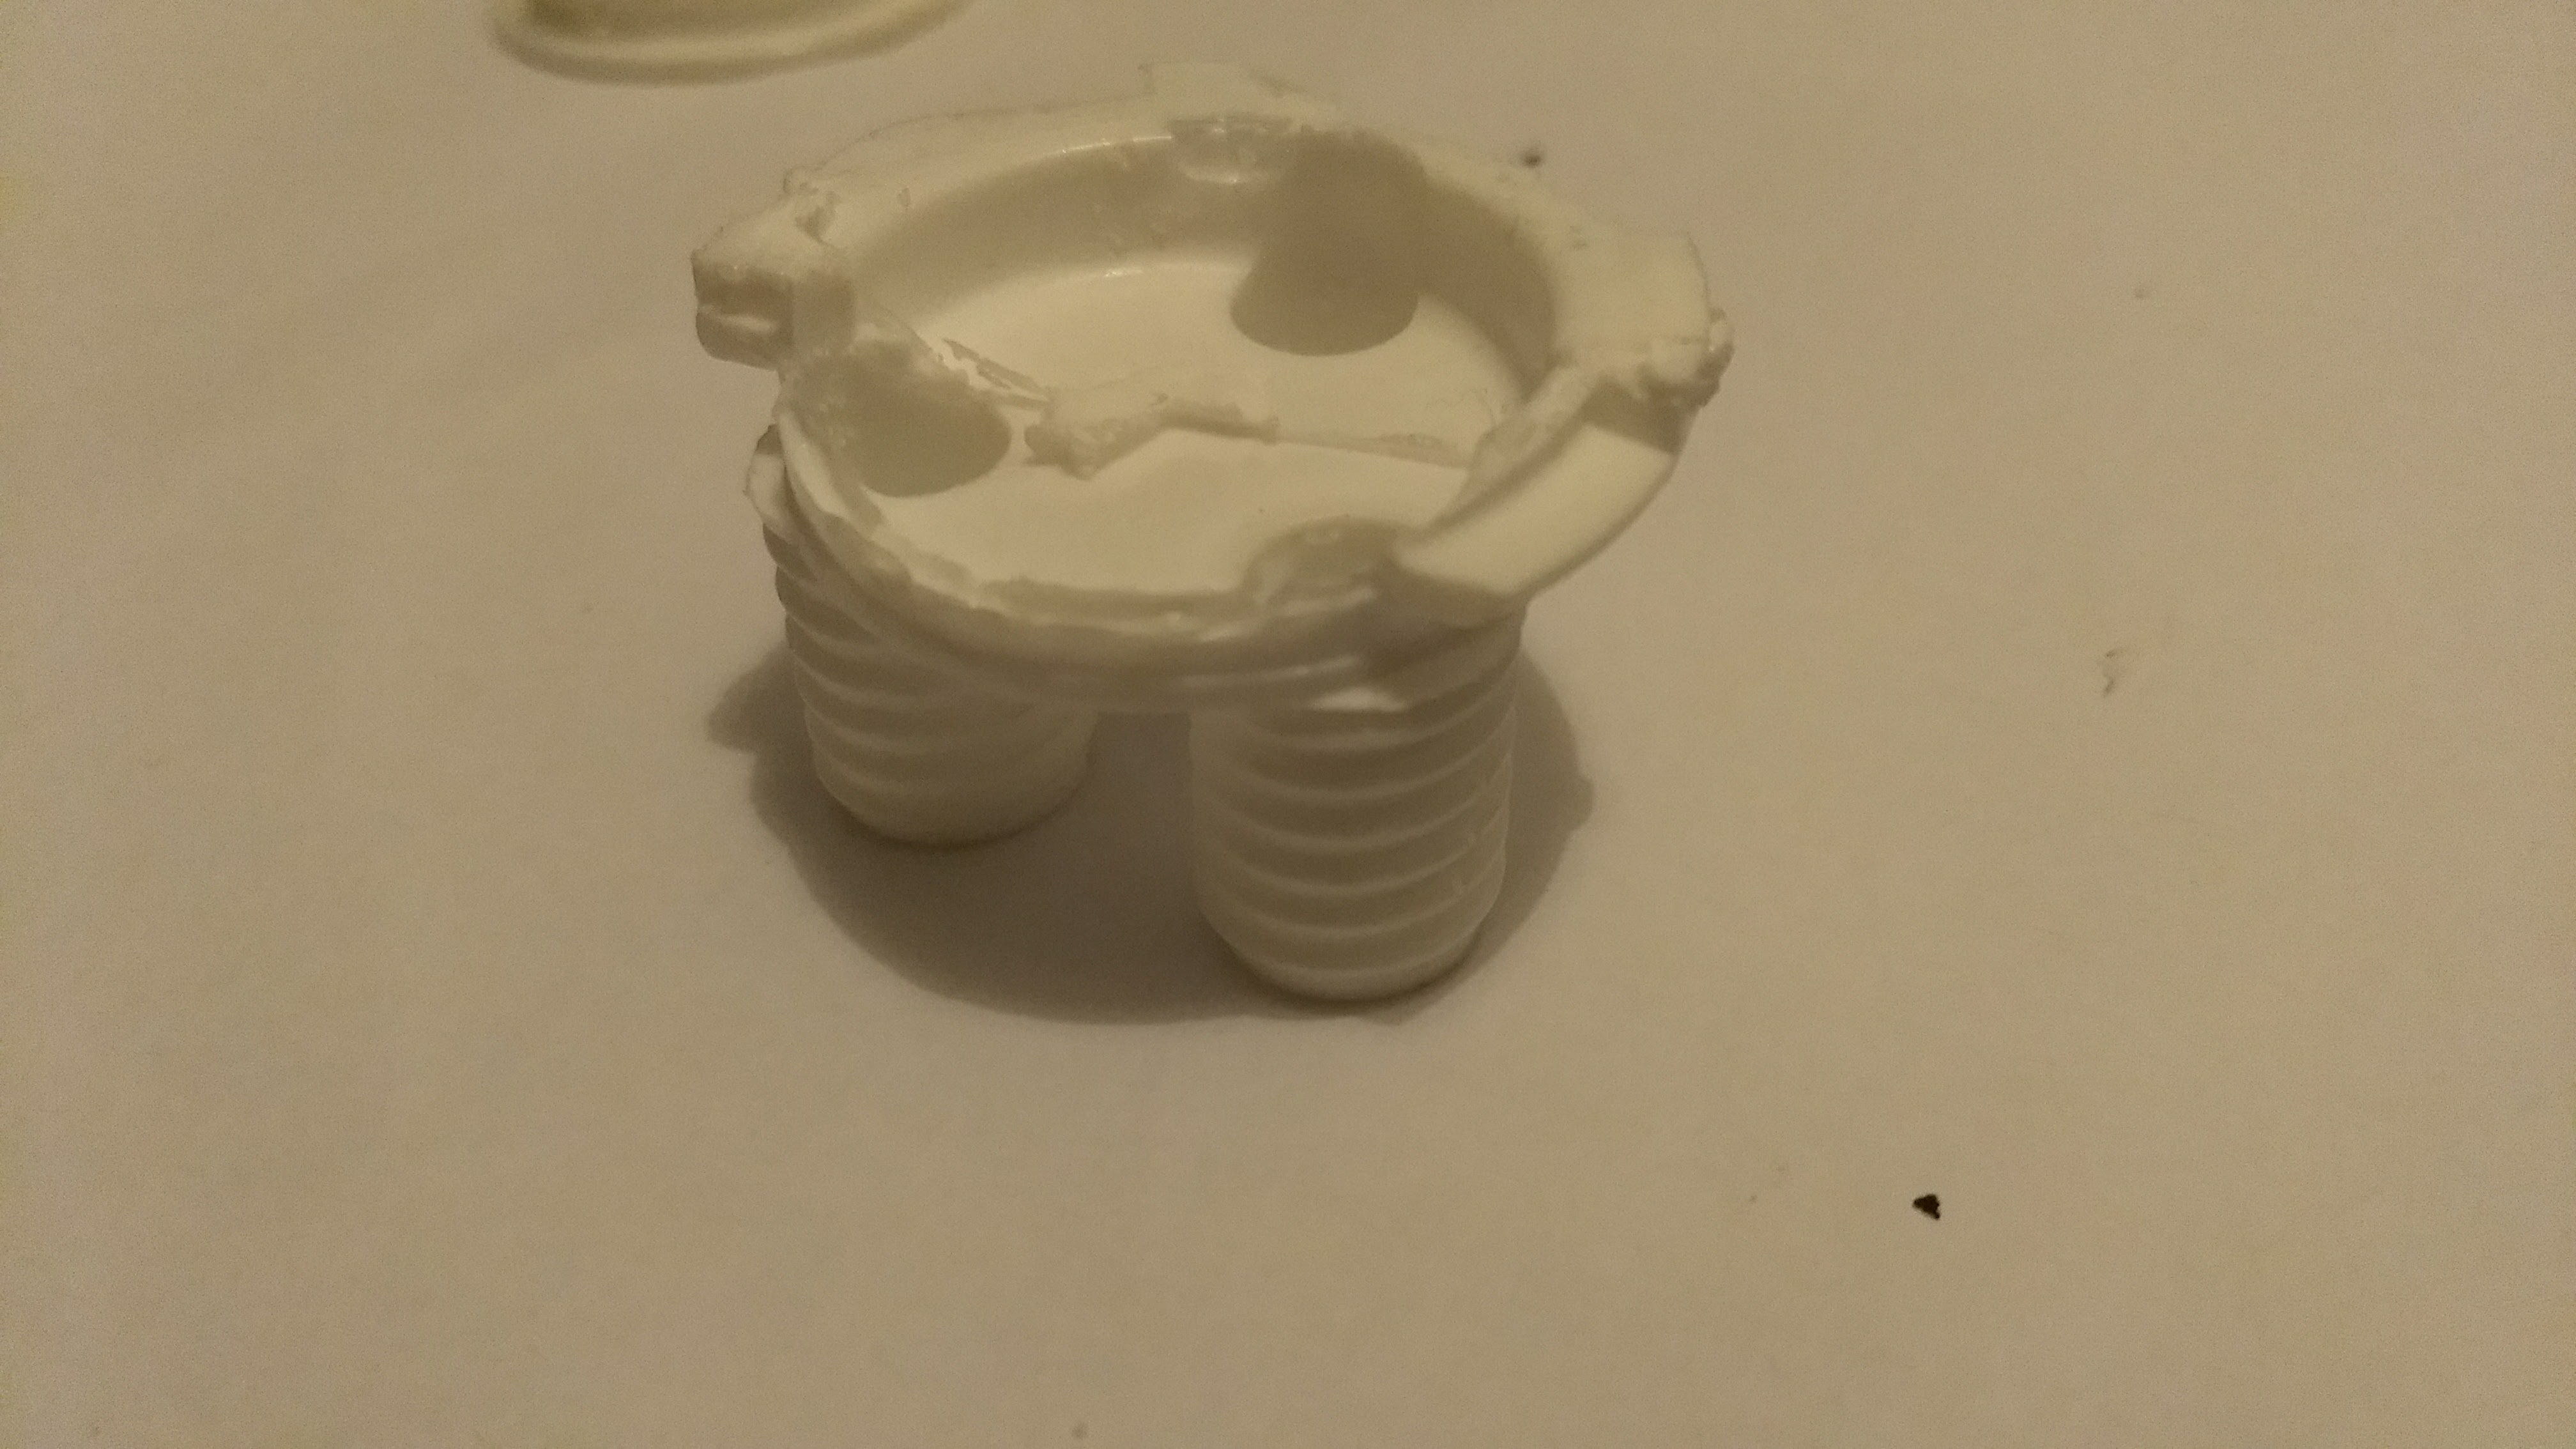

We can see how the object is placed on the plug after several attempts, this fits perfectly and we save the cost that is about 80 euros.

