Assignment
-
MECHANICAL DESIGN (week 1 of 2) -
MACHINE DESIGN (week 2 of 2)
-
Automate your machine. Document the group project and your individual contribution.
In this second part we will work on automating our cnc, the previous week we did our first test of how the machine would be assembled and we tried our cnc driver with nema 17 engines and their drivers.
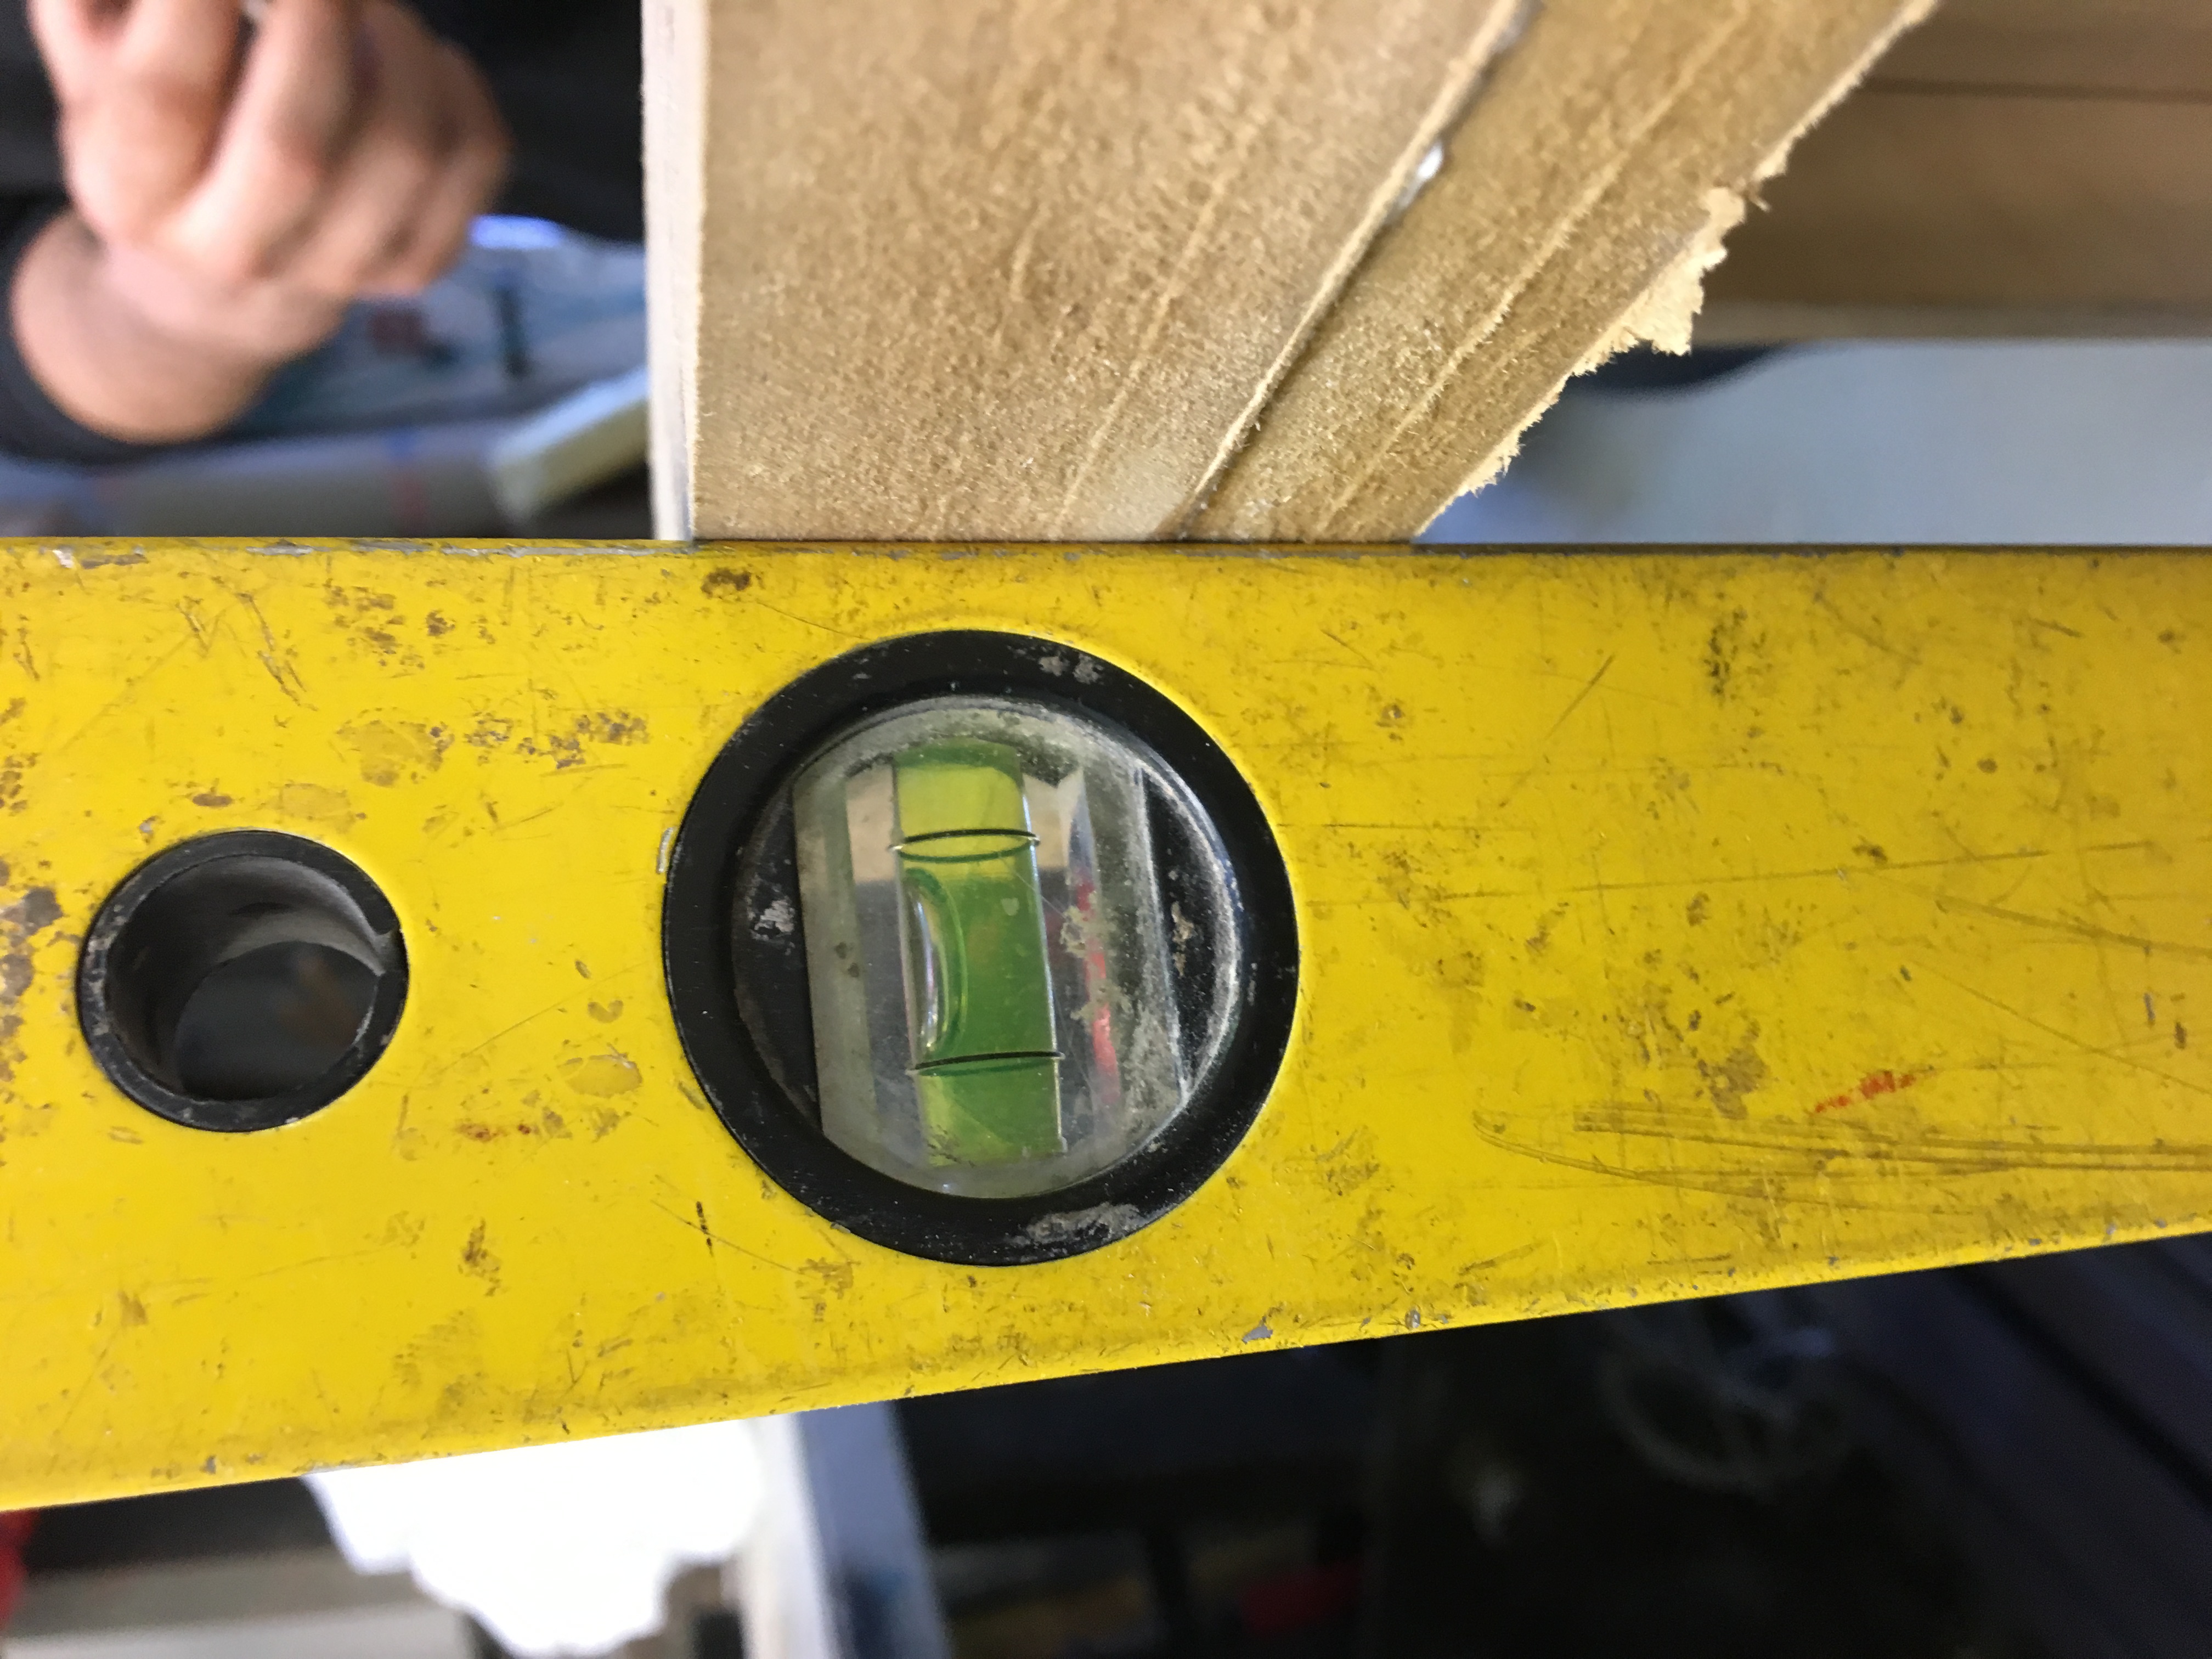
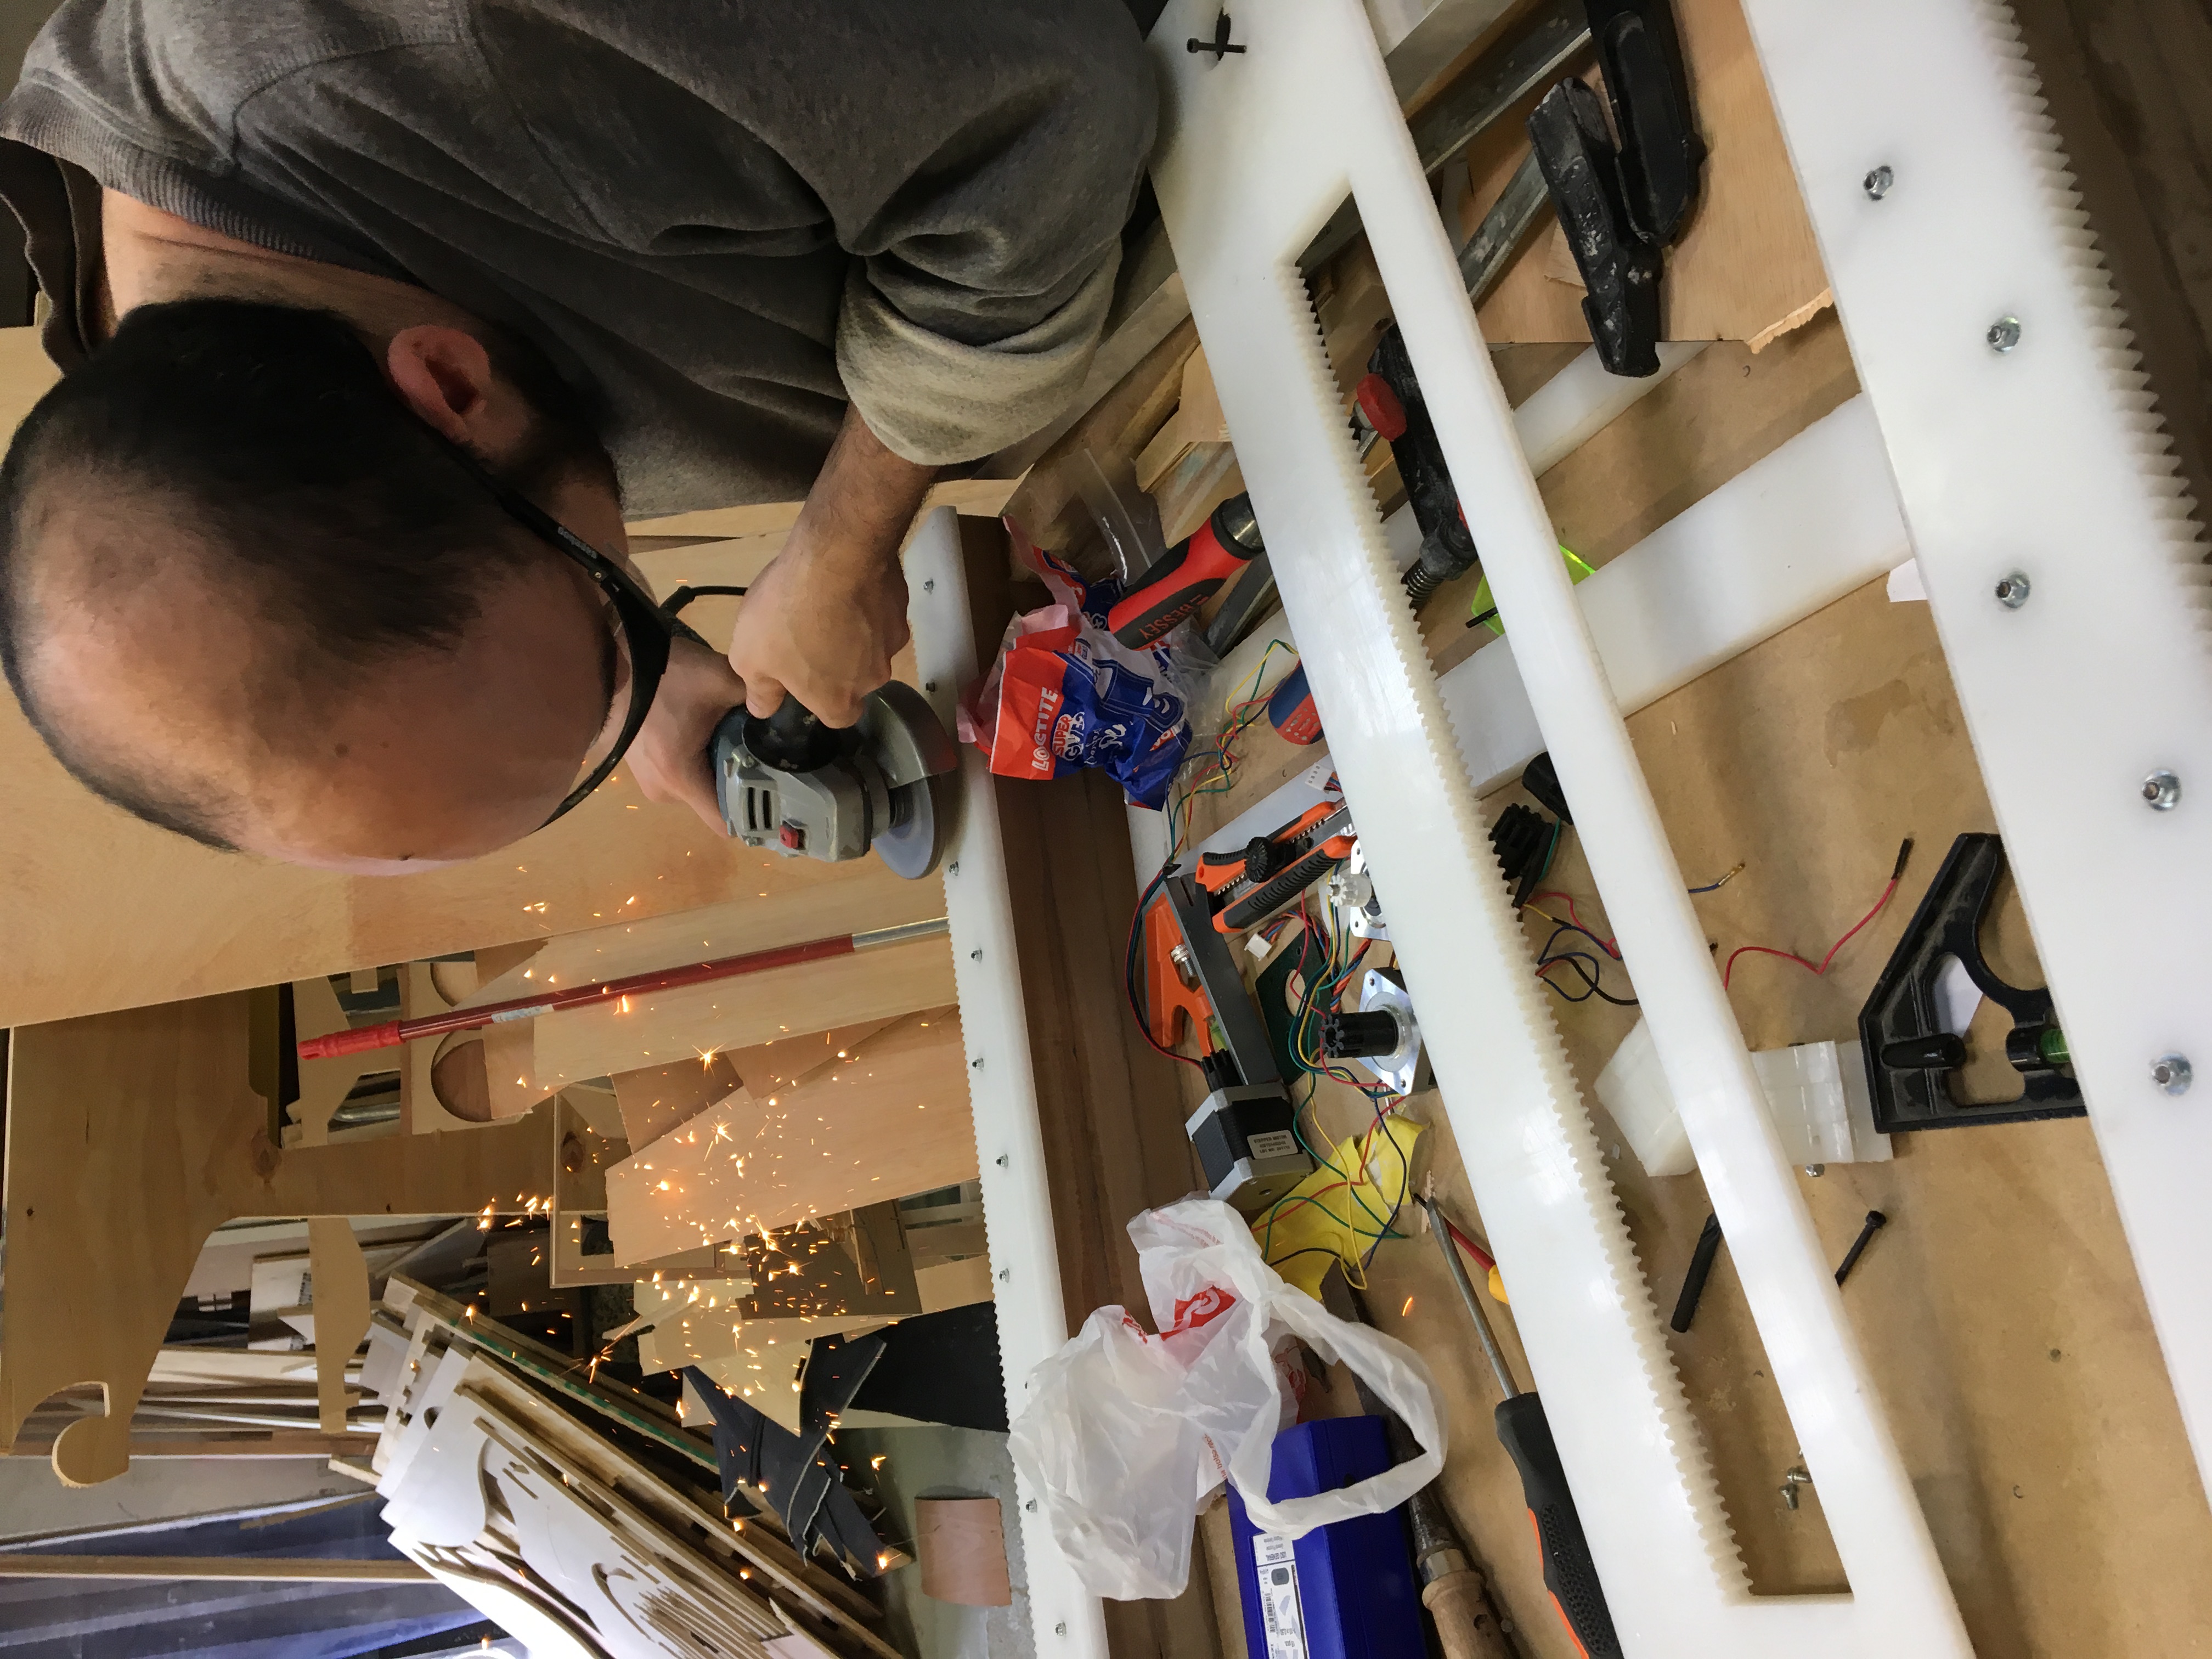
This week we worked on the final design of the machine, we decided to give it more height, since the one we had in the previous one was not high enough, besides making the whole frame mechanized, to avoid that it does not square and the pieces uncovered like in the test.


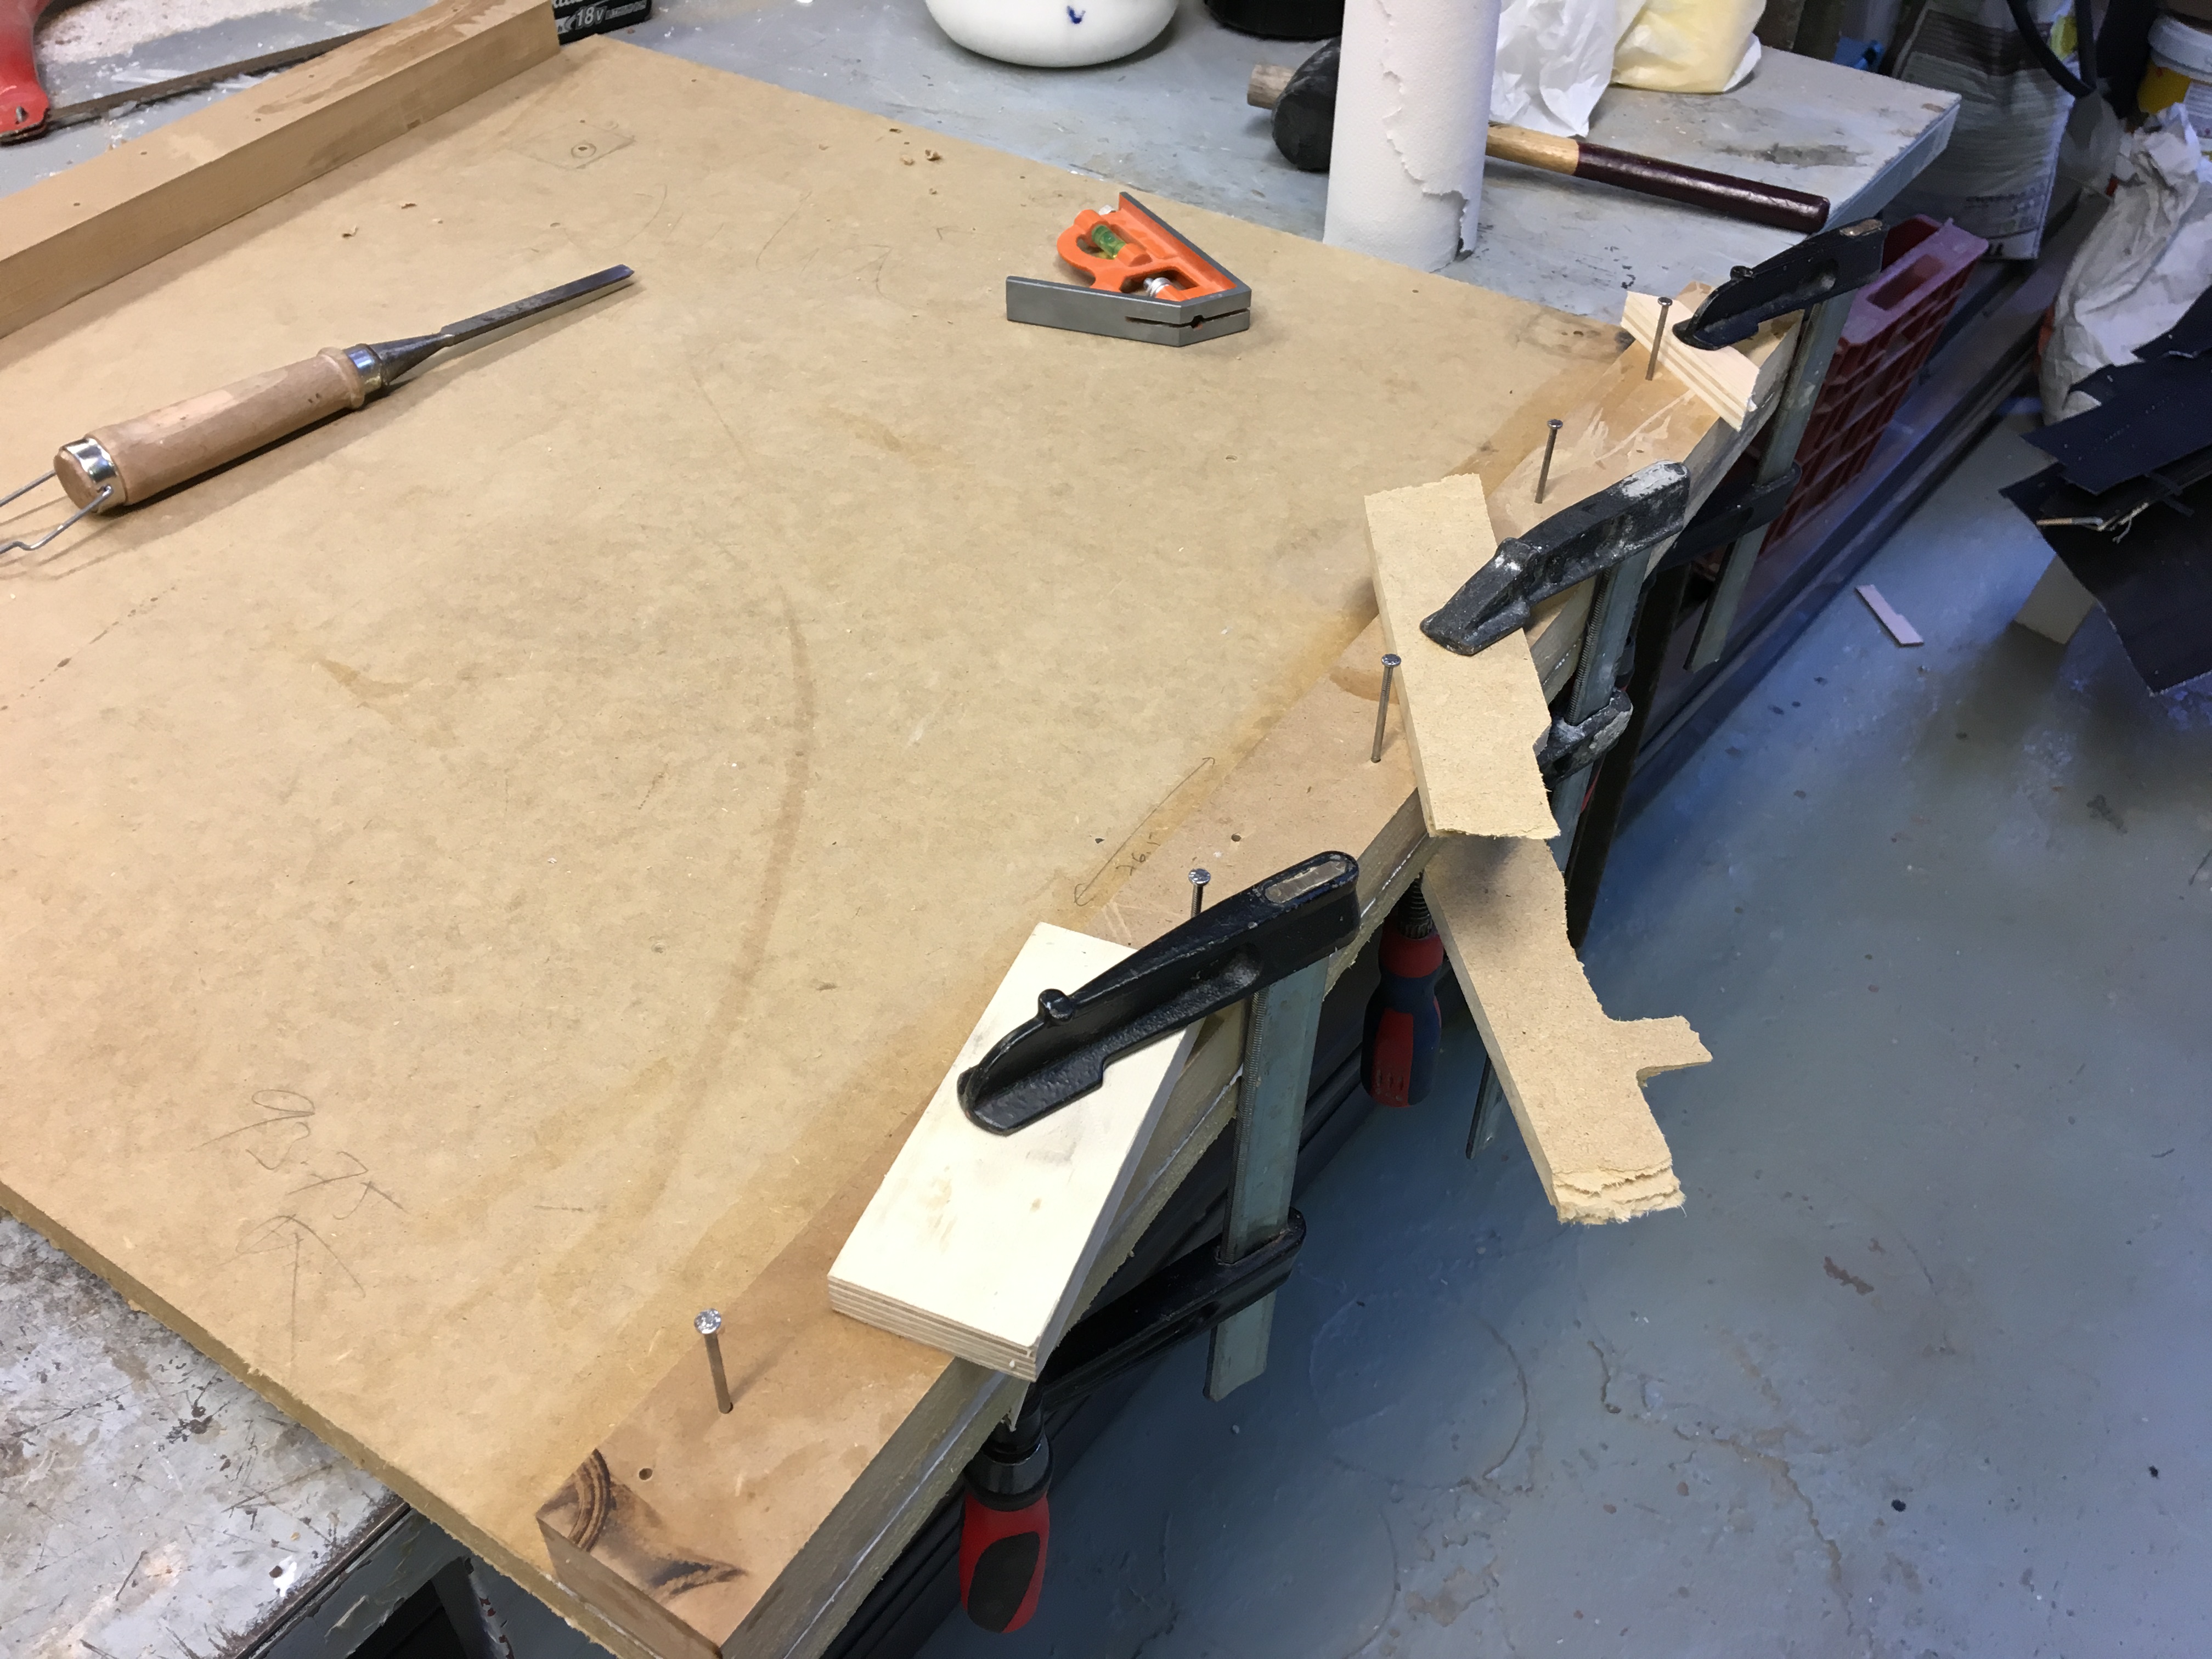
The pieces have been glued with a carpenter's tail and we used some nails so that everything encaged in place.

Gluing and aligning process we use tweezers so that everything is perfectly fixed in place.
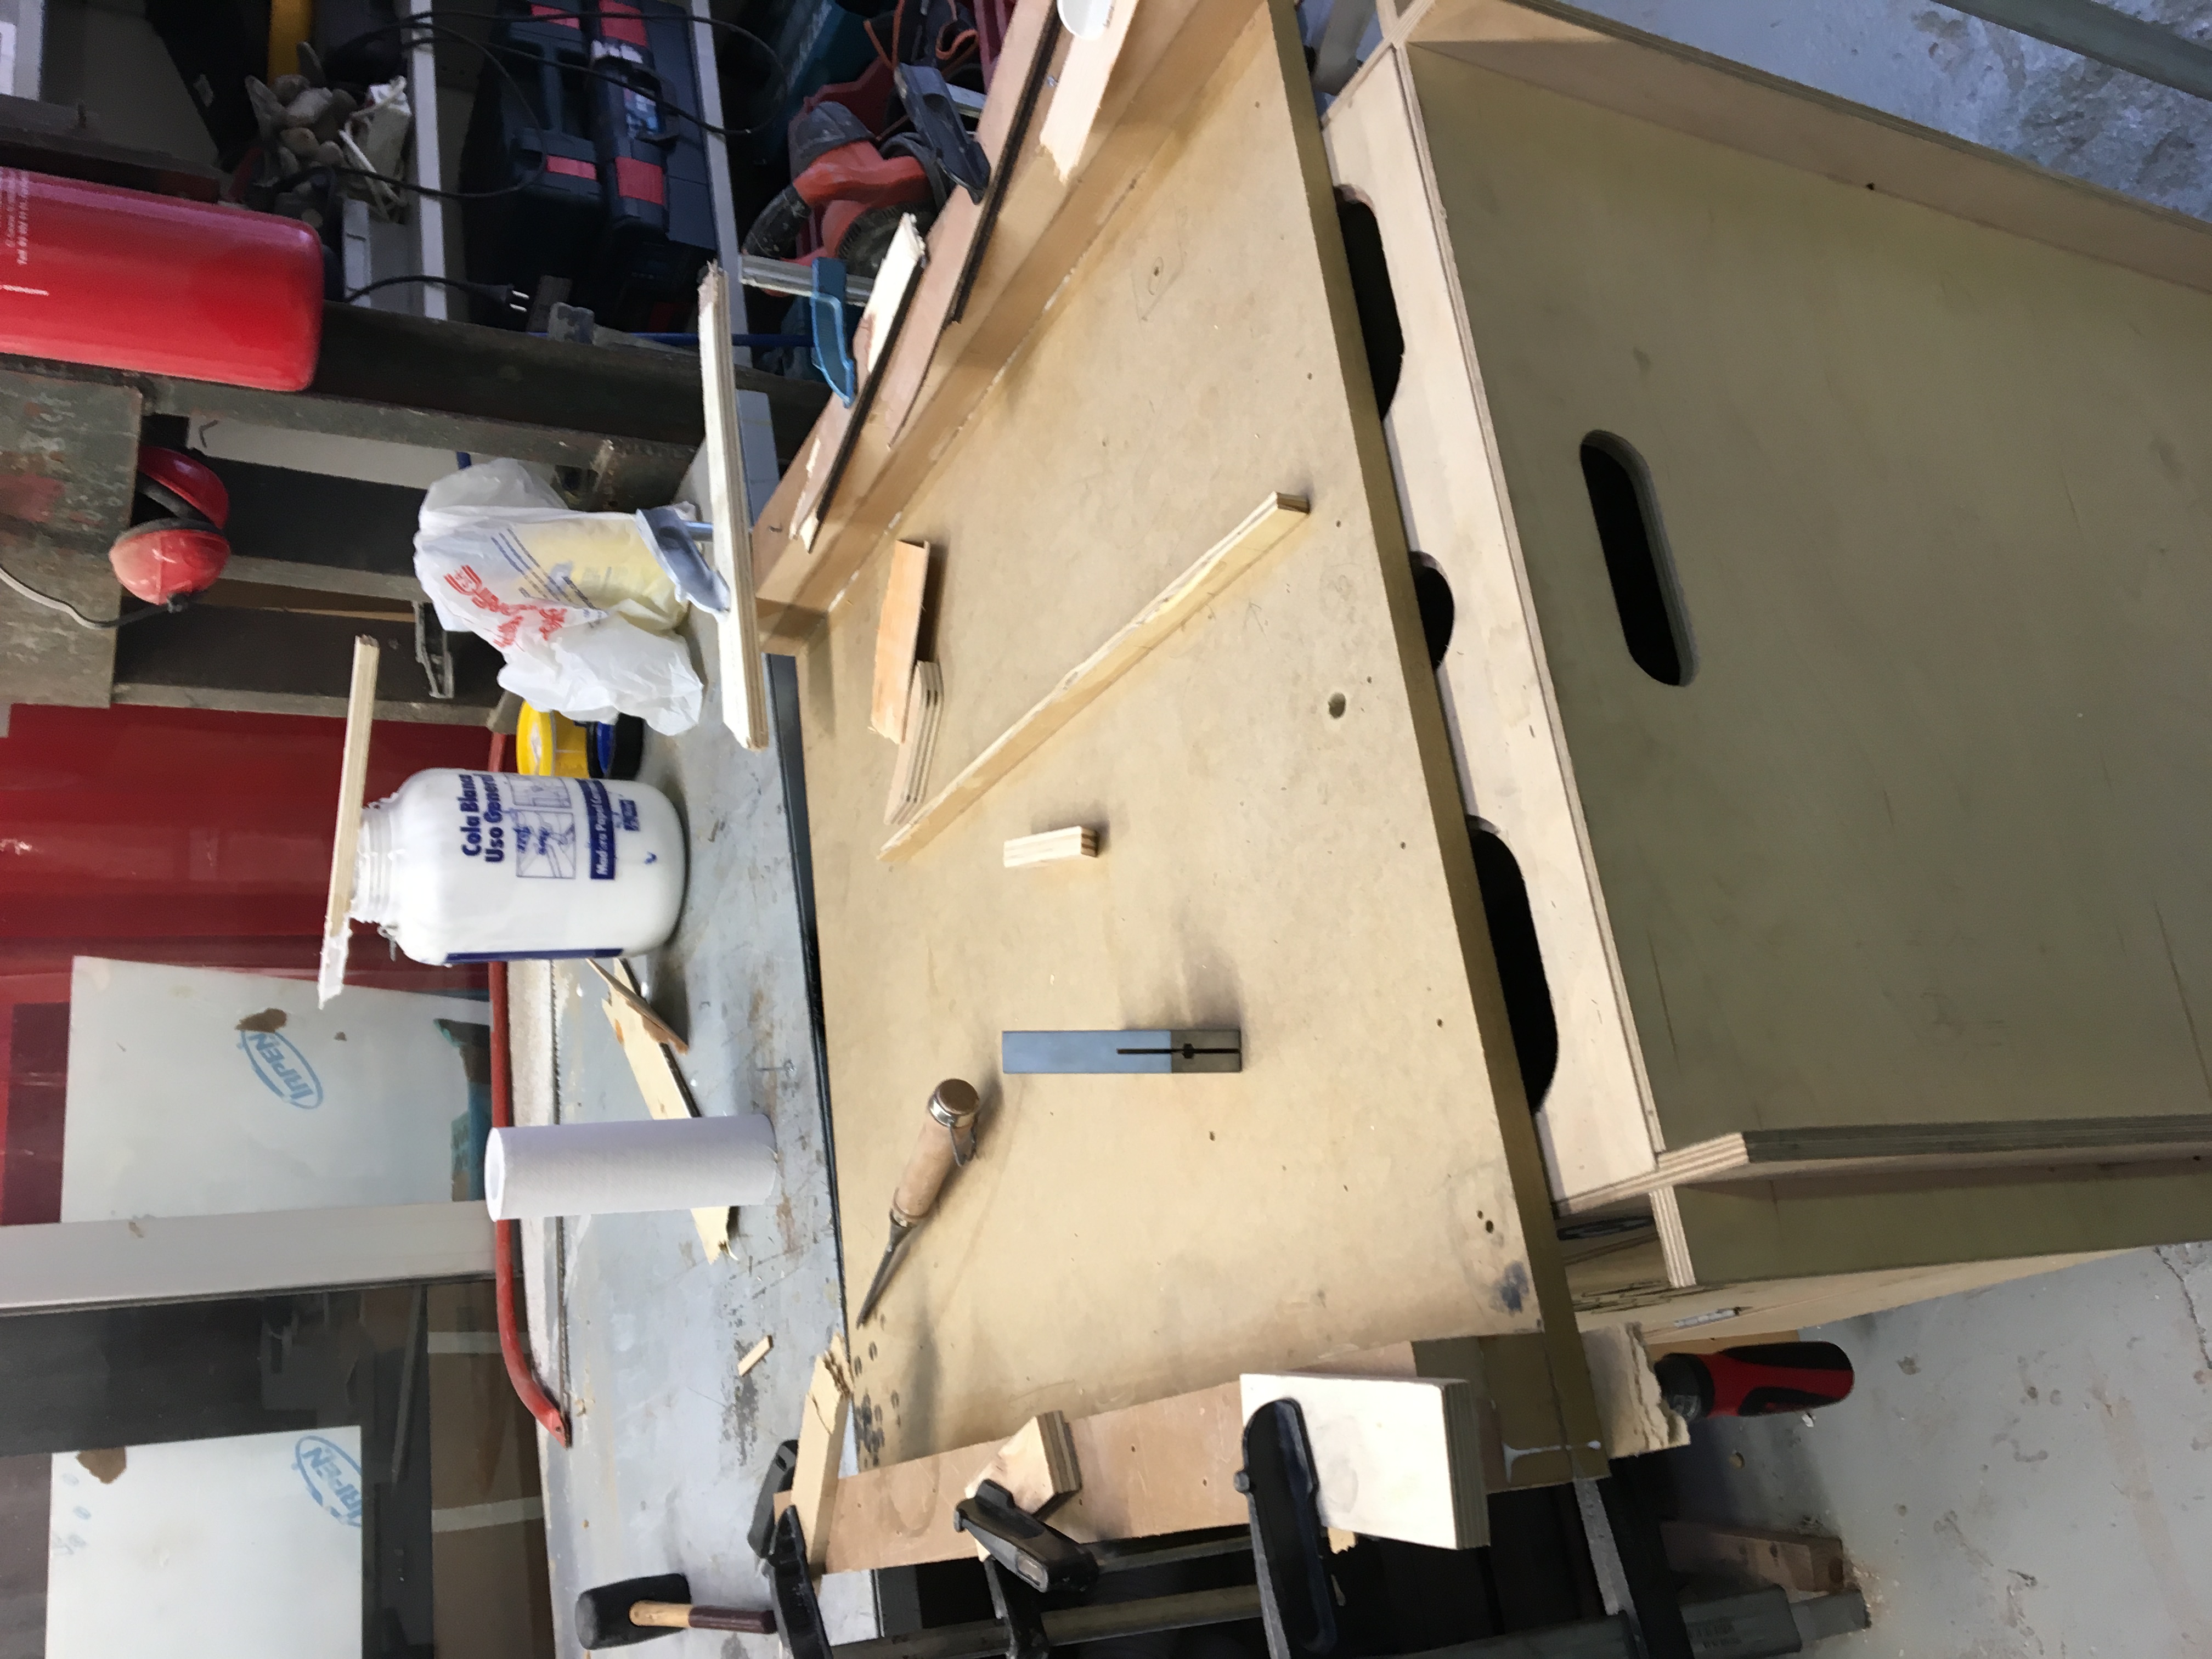
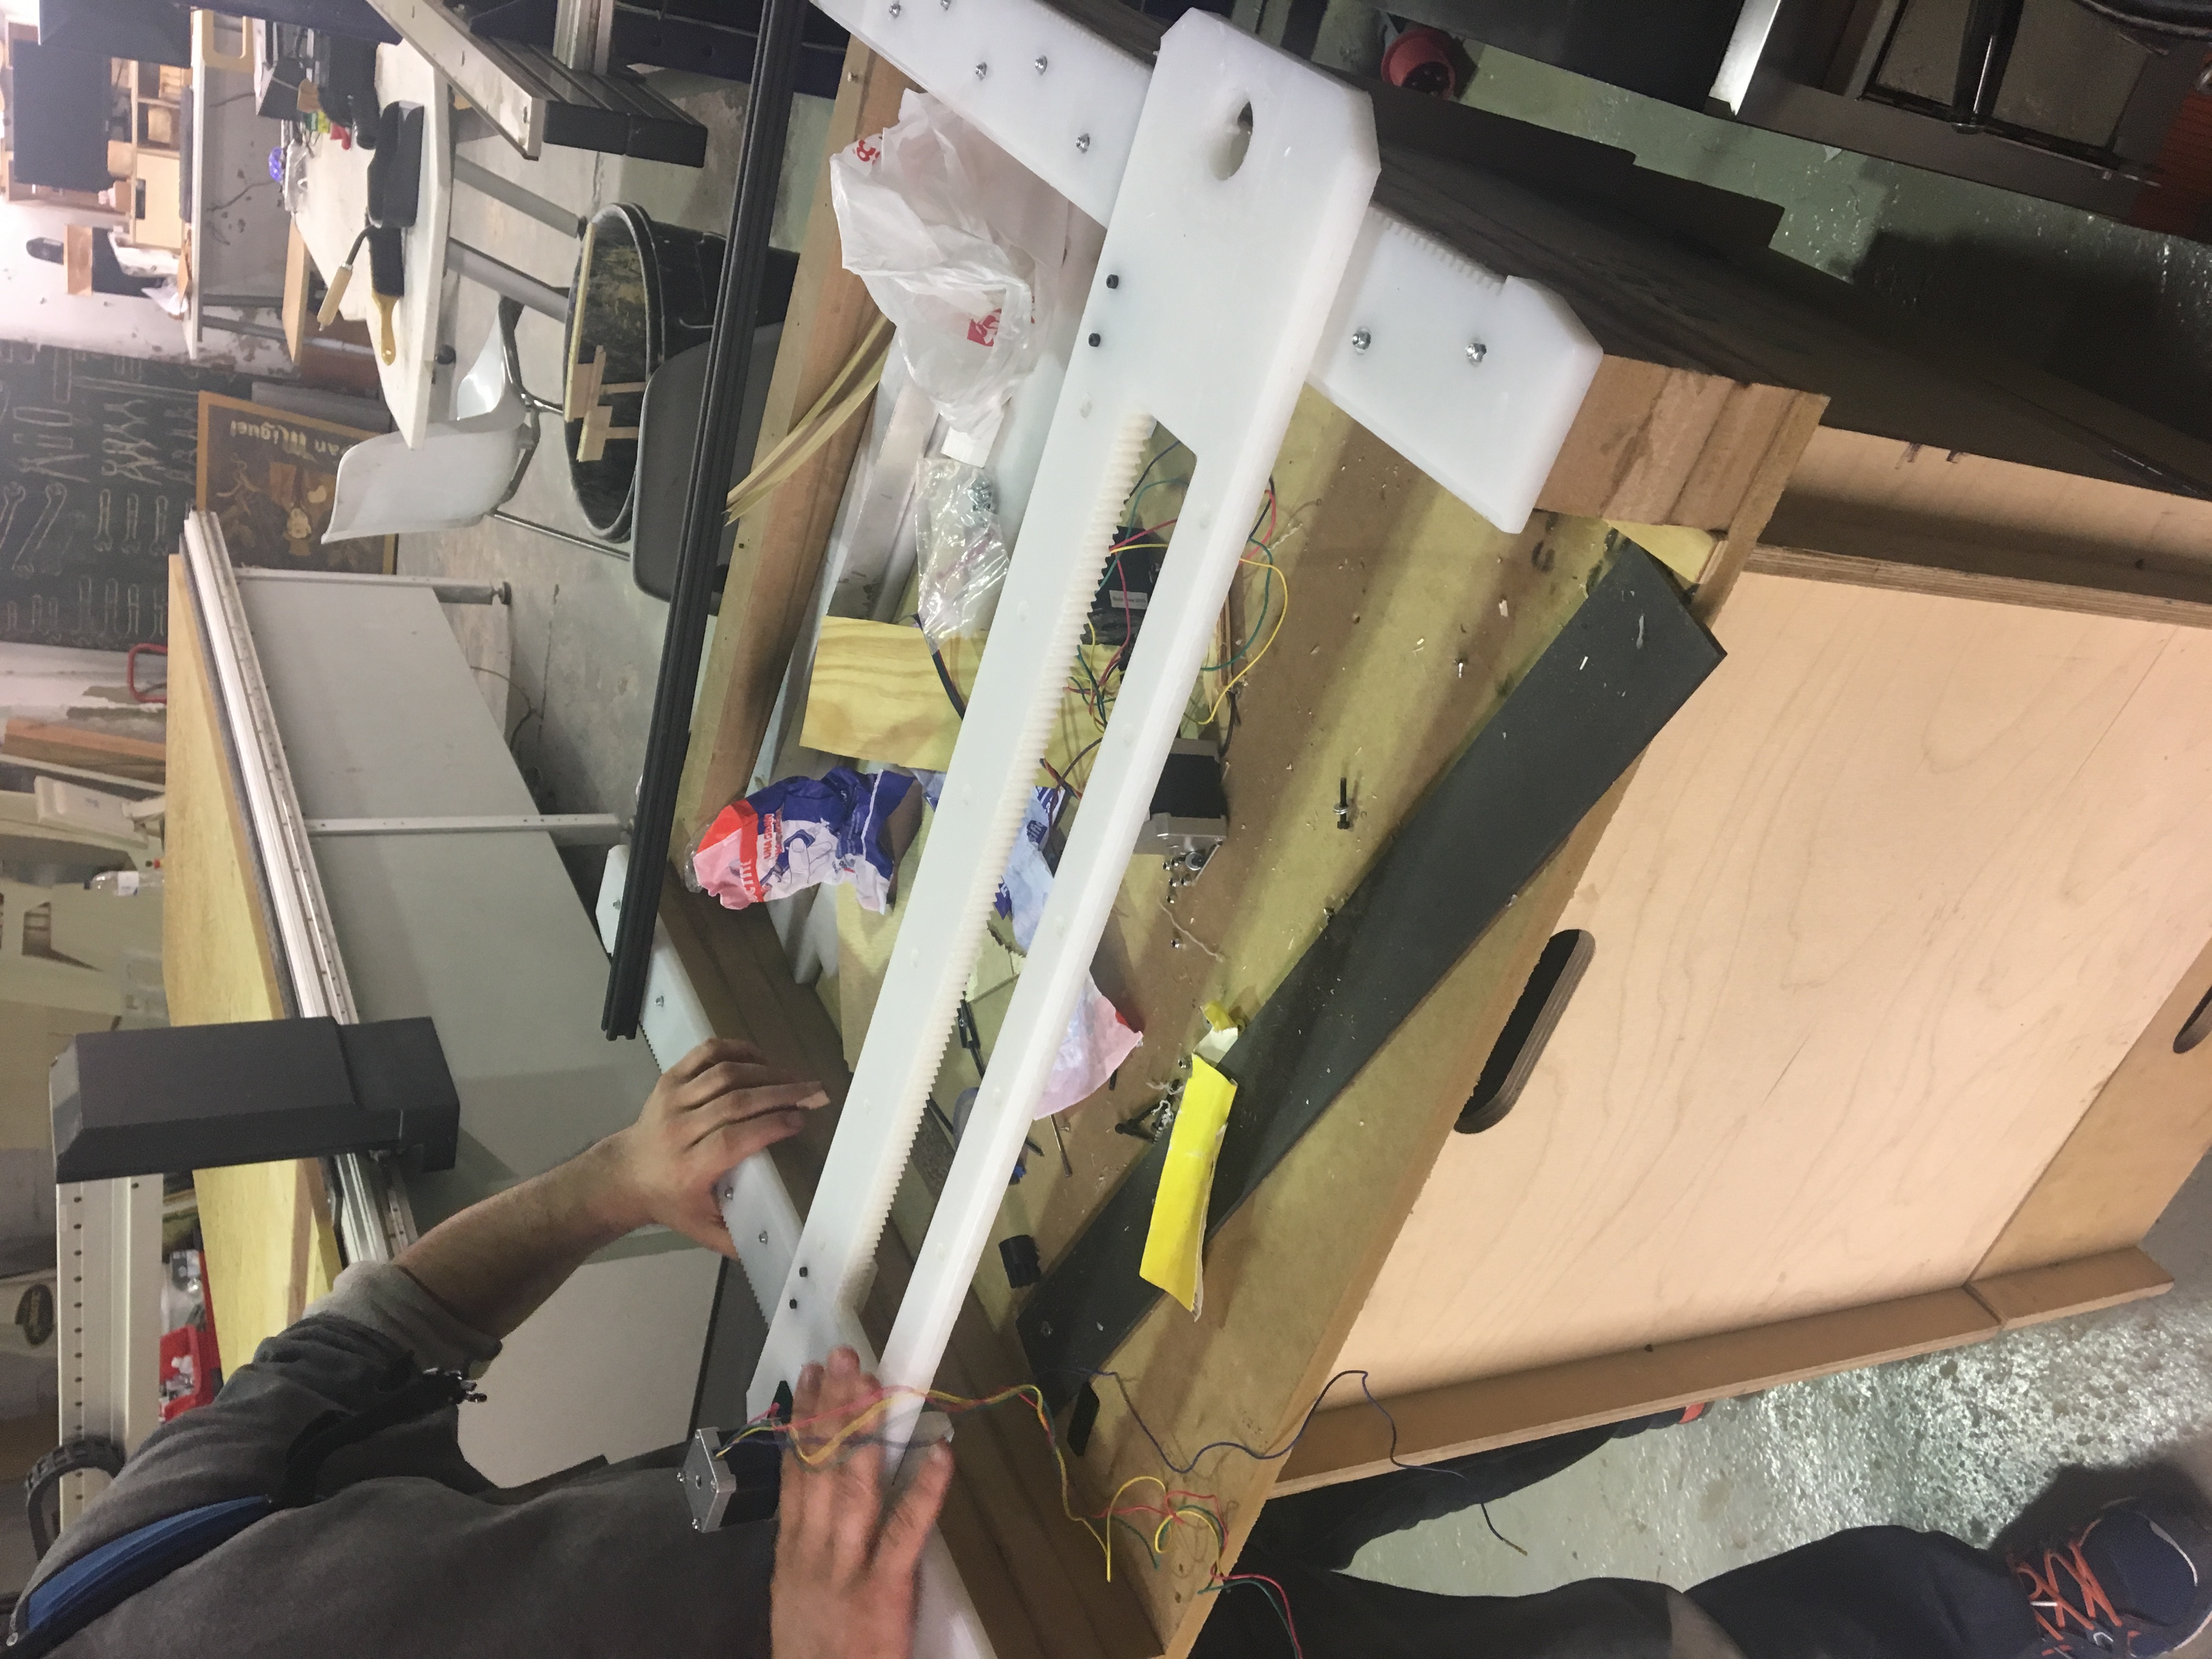
Before gluing the final piece we have put the rails that have been cut with the cnc, this have been put with a few screws.

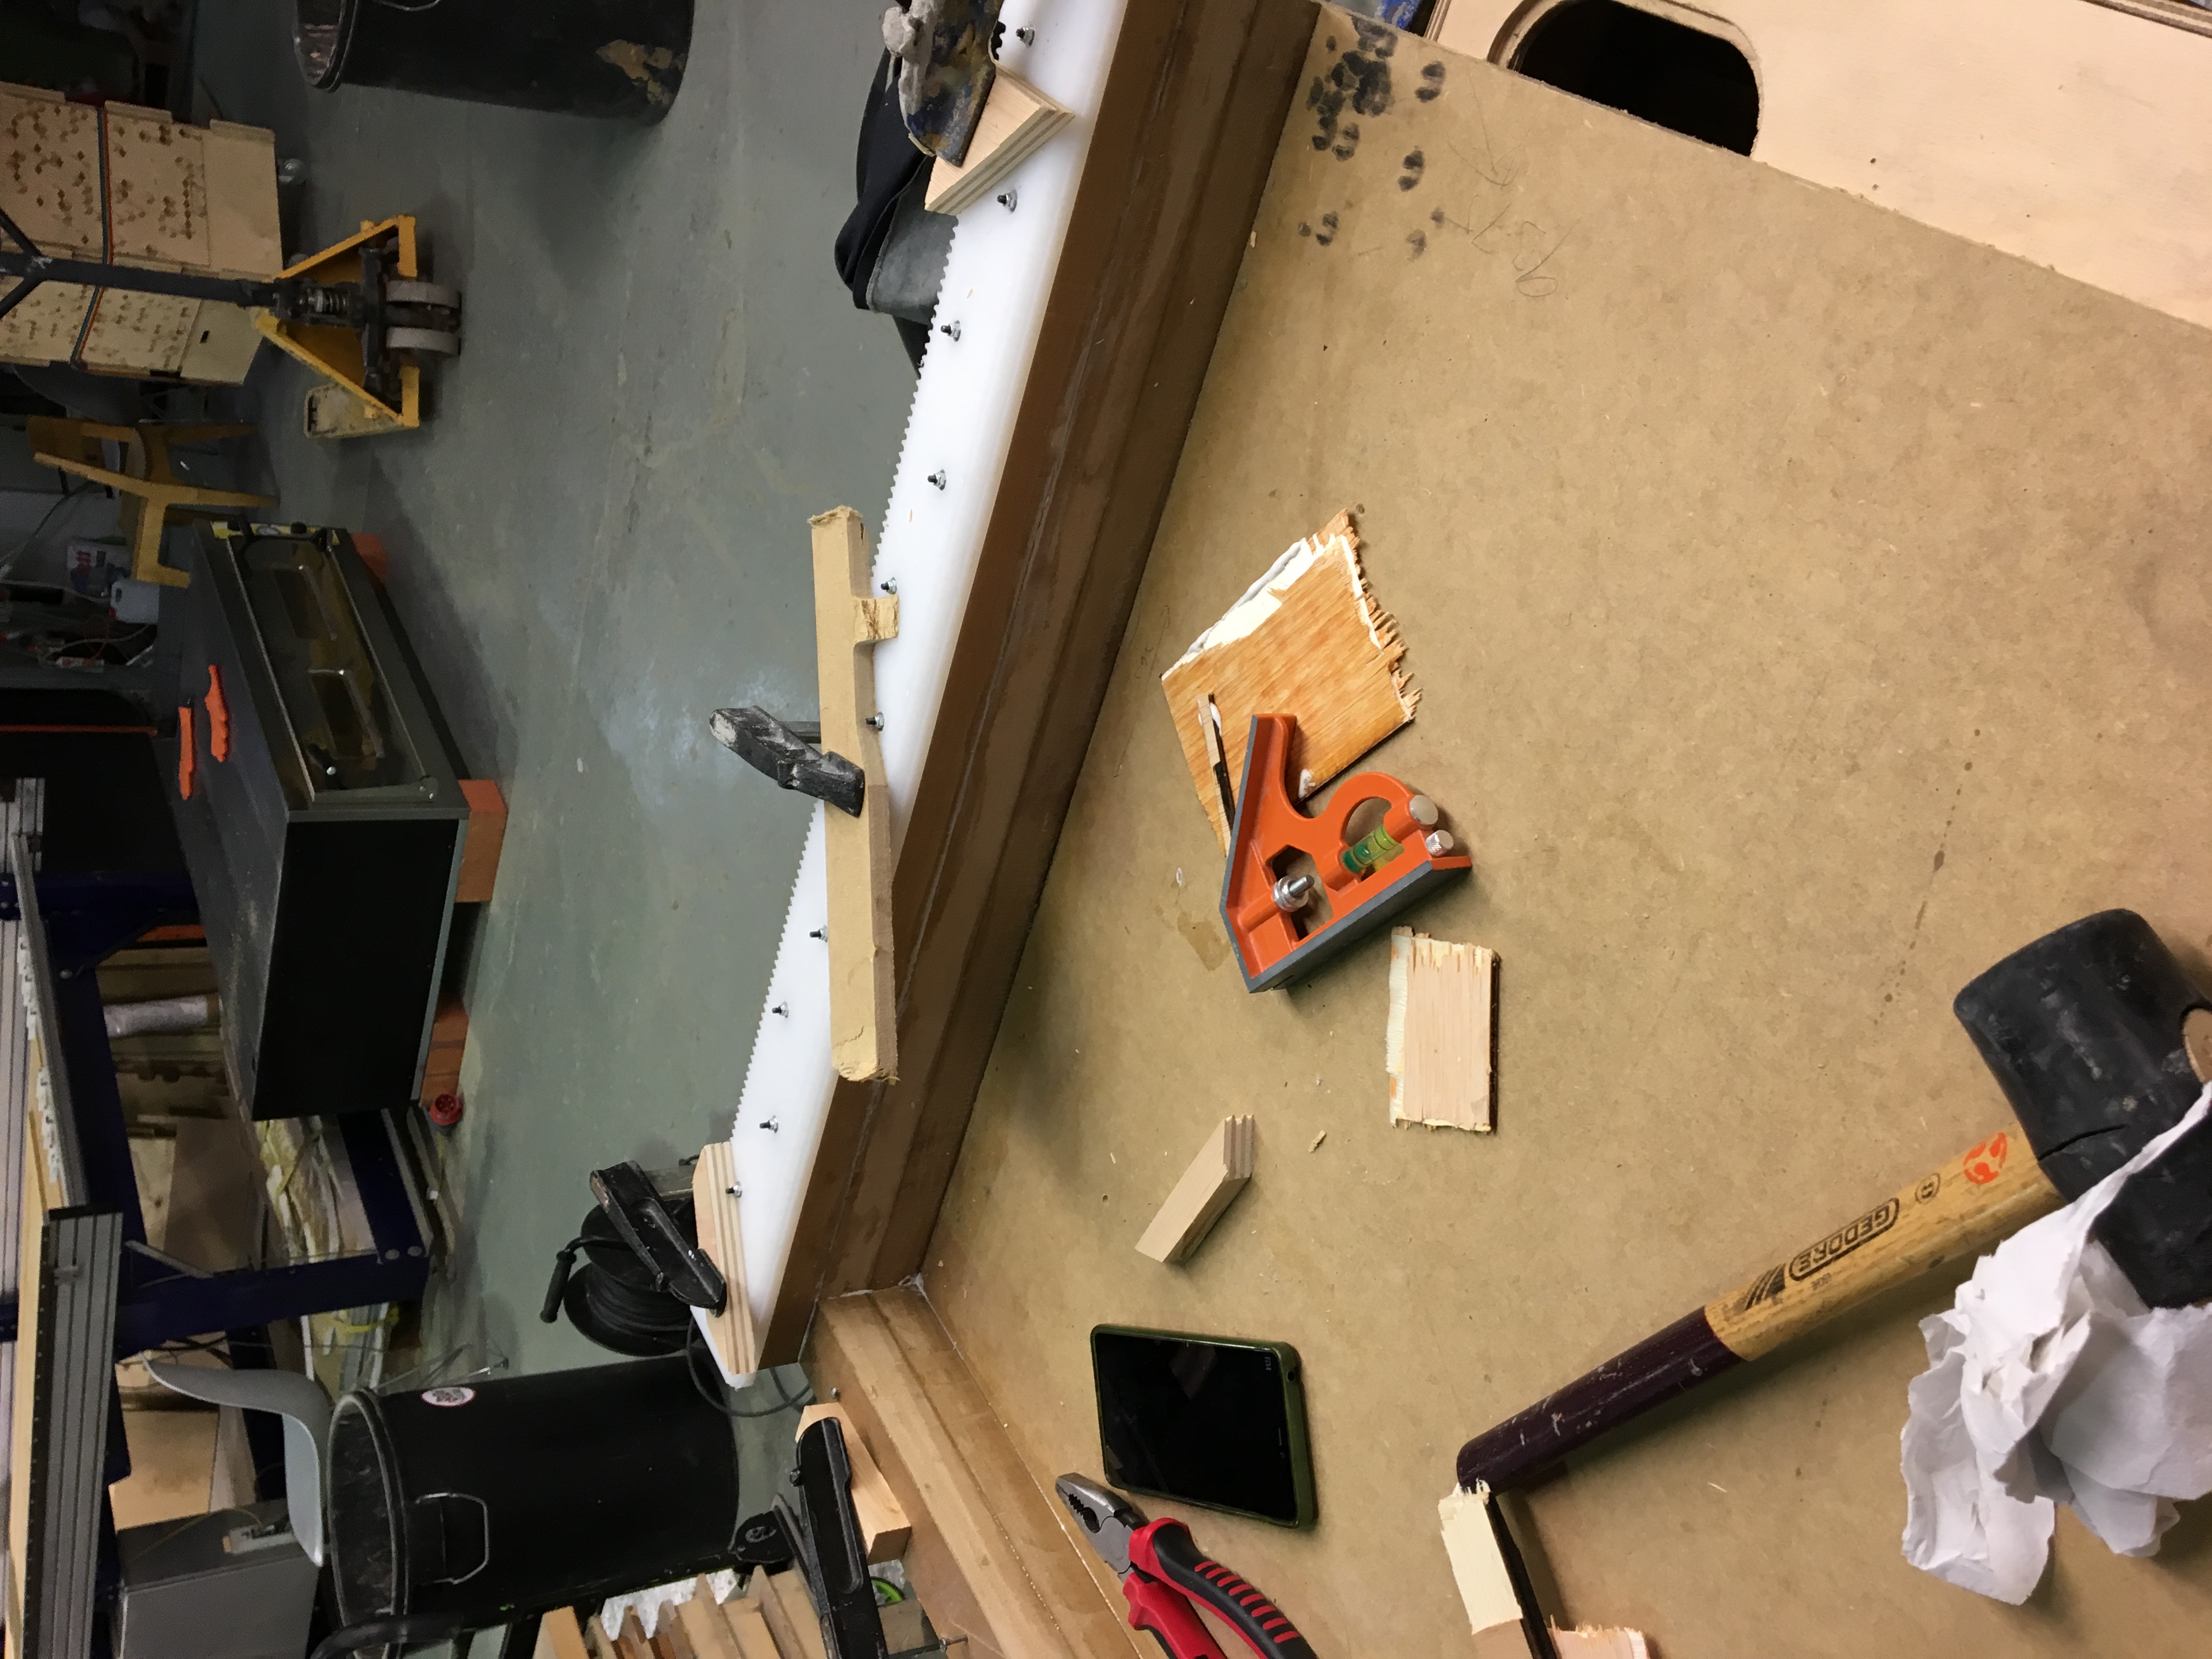
We used the grinder to undo the screws, since we have noticed that these were touching with the part of the X axis.
First move
For this test we send gcode directly from the arduino terminal.
1
2
	G00 = Rapid linear move
	example: G00 X## Y## Z## (X,Y,Z = position)
Controlling CNC using Chilipeppr
We are user this especial software in the cloud for controlling the cnc machine (Chilipeppr), the ventage for this software is very simple and is multiplatform(linux/mac/windows), only need install the host, this host use for conect the arduino cnc shild with the chrome browser, and send GCODE file to machine.
