Assignment
Make something big
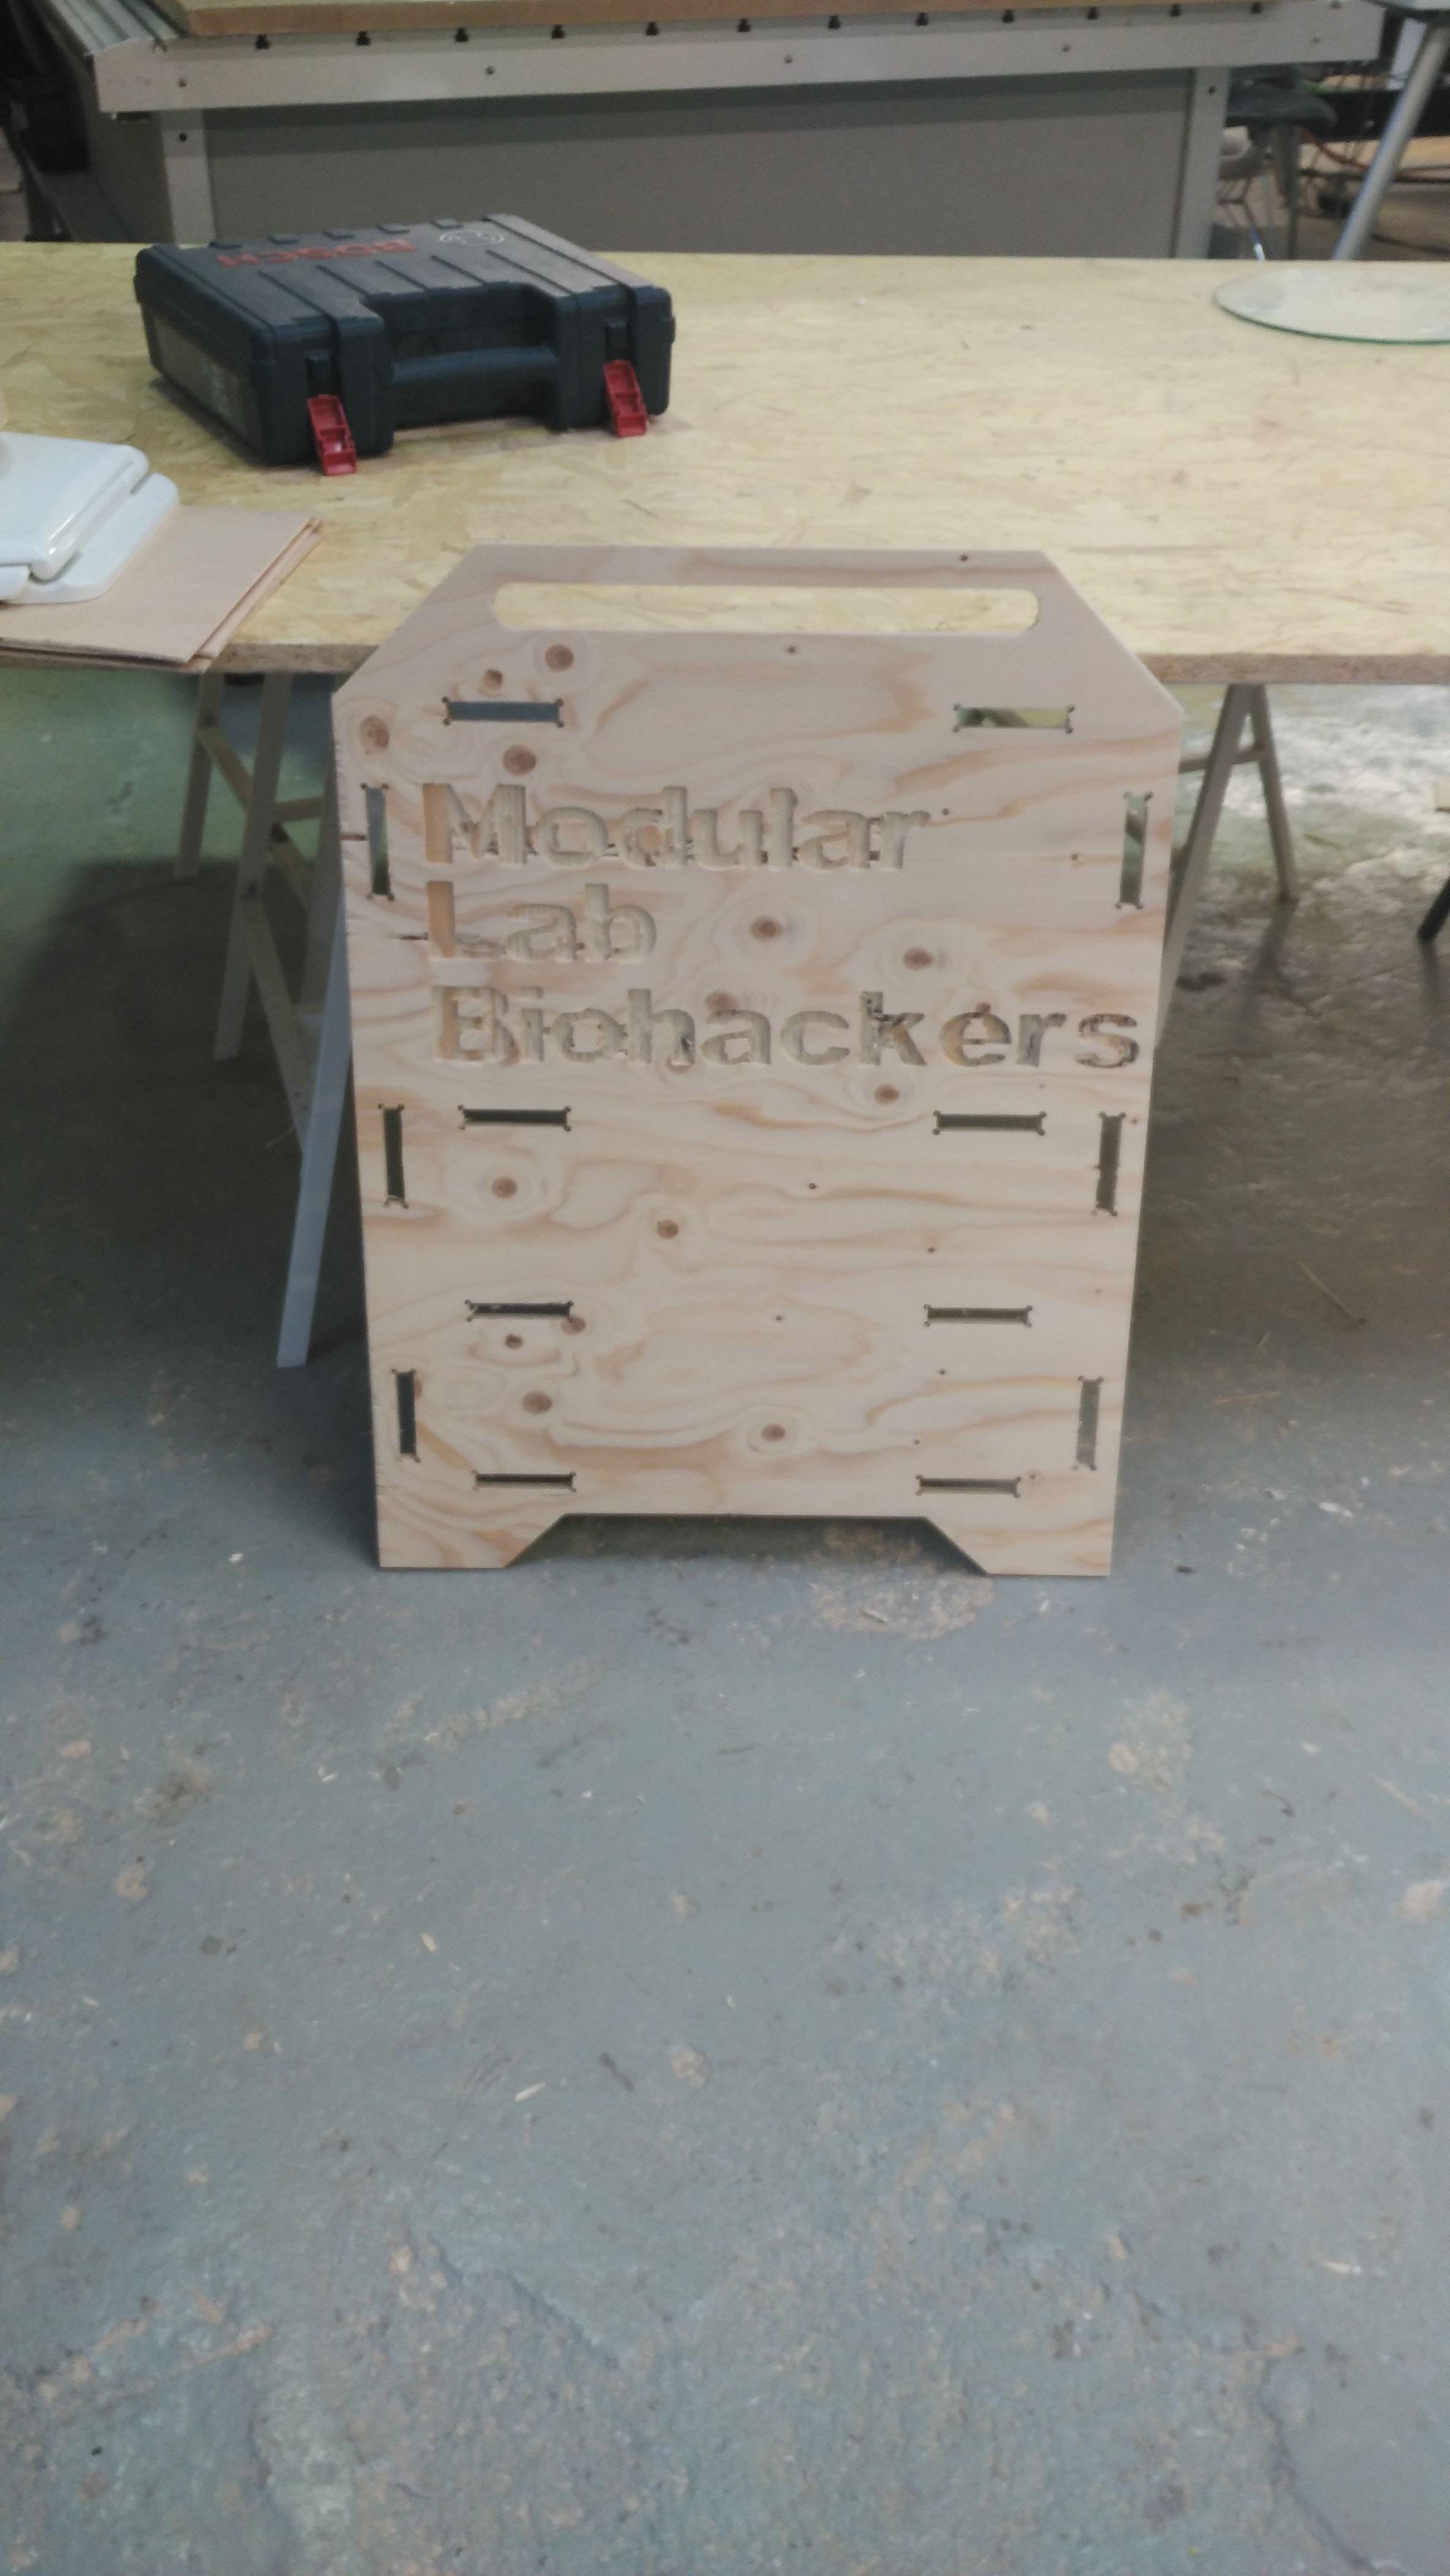
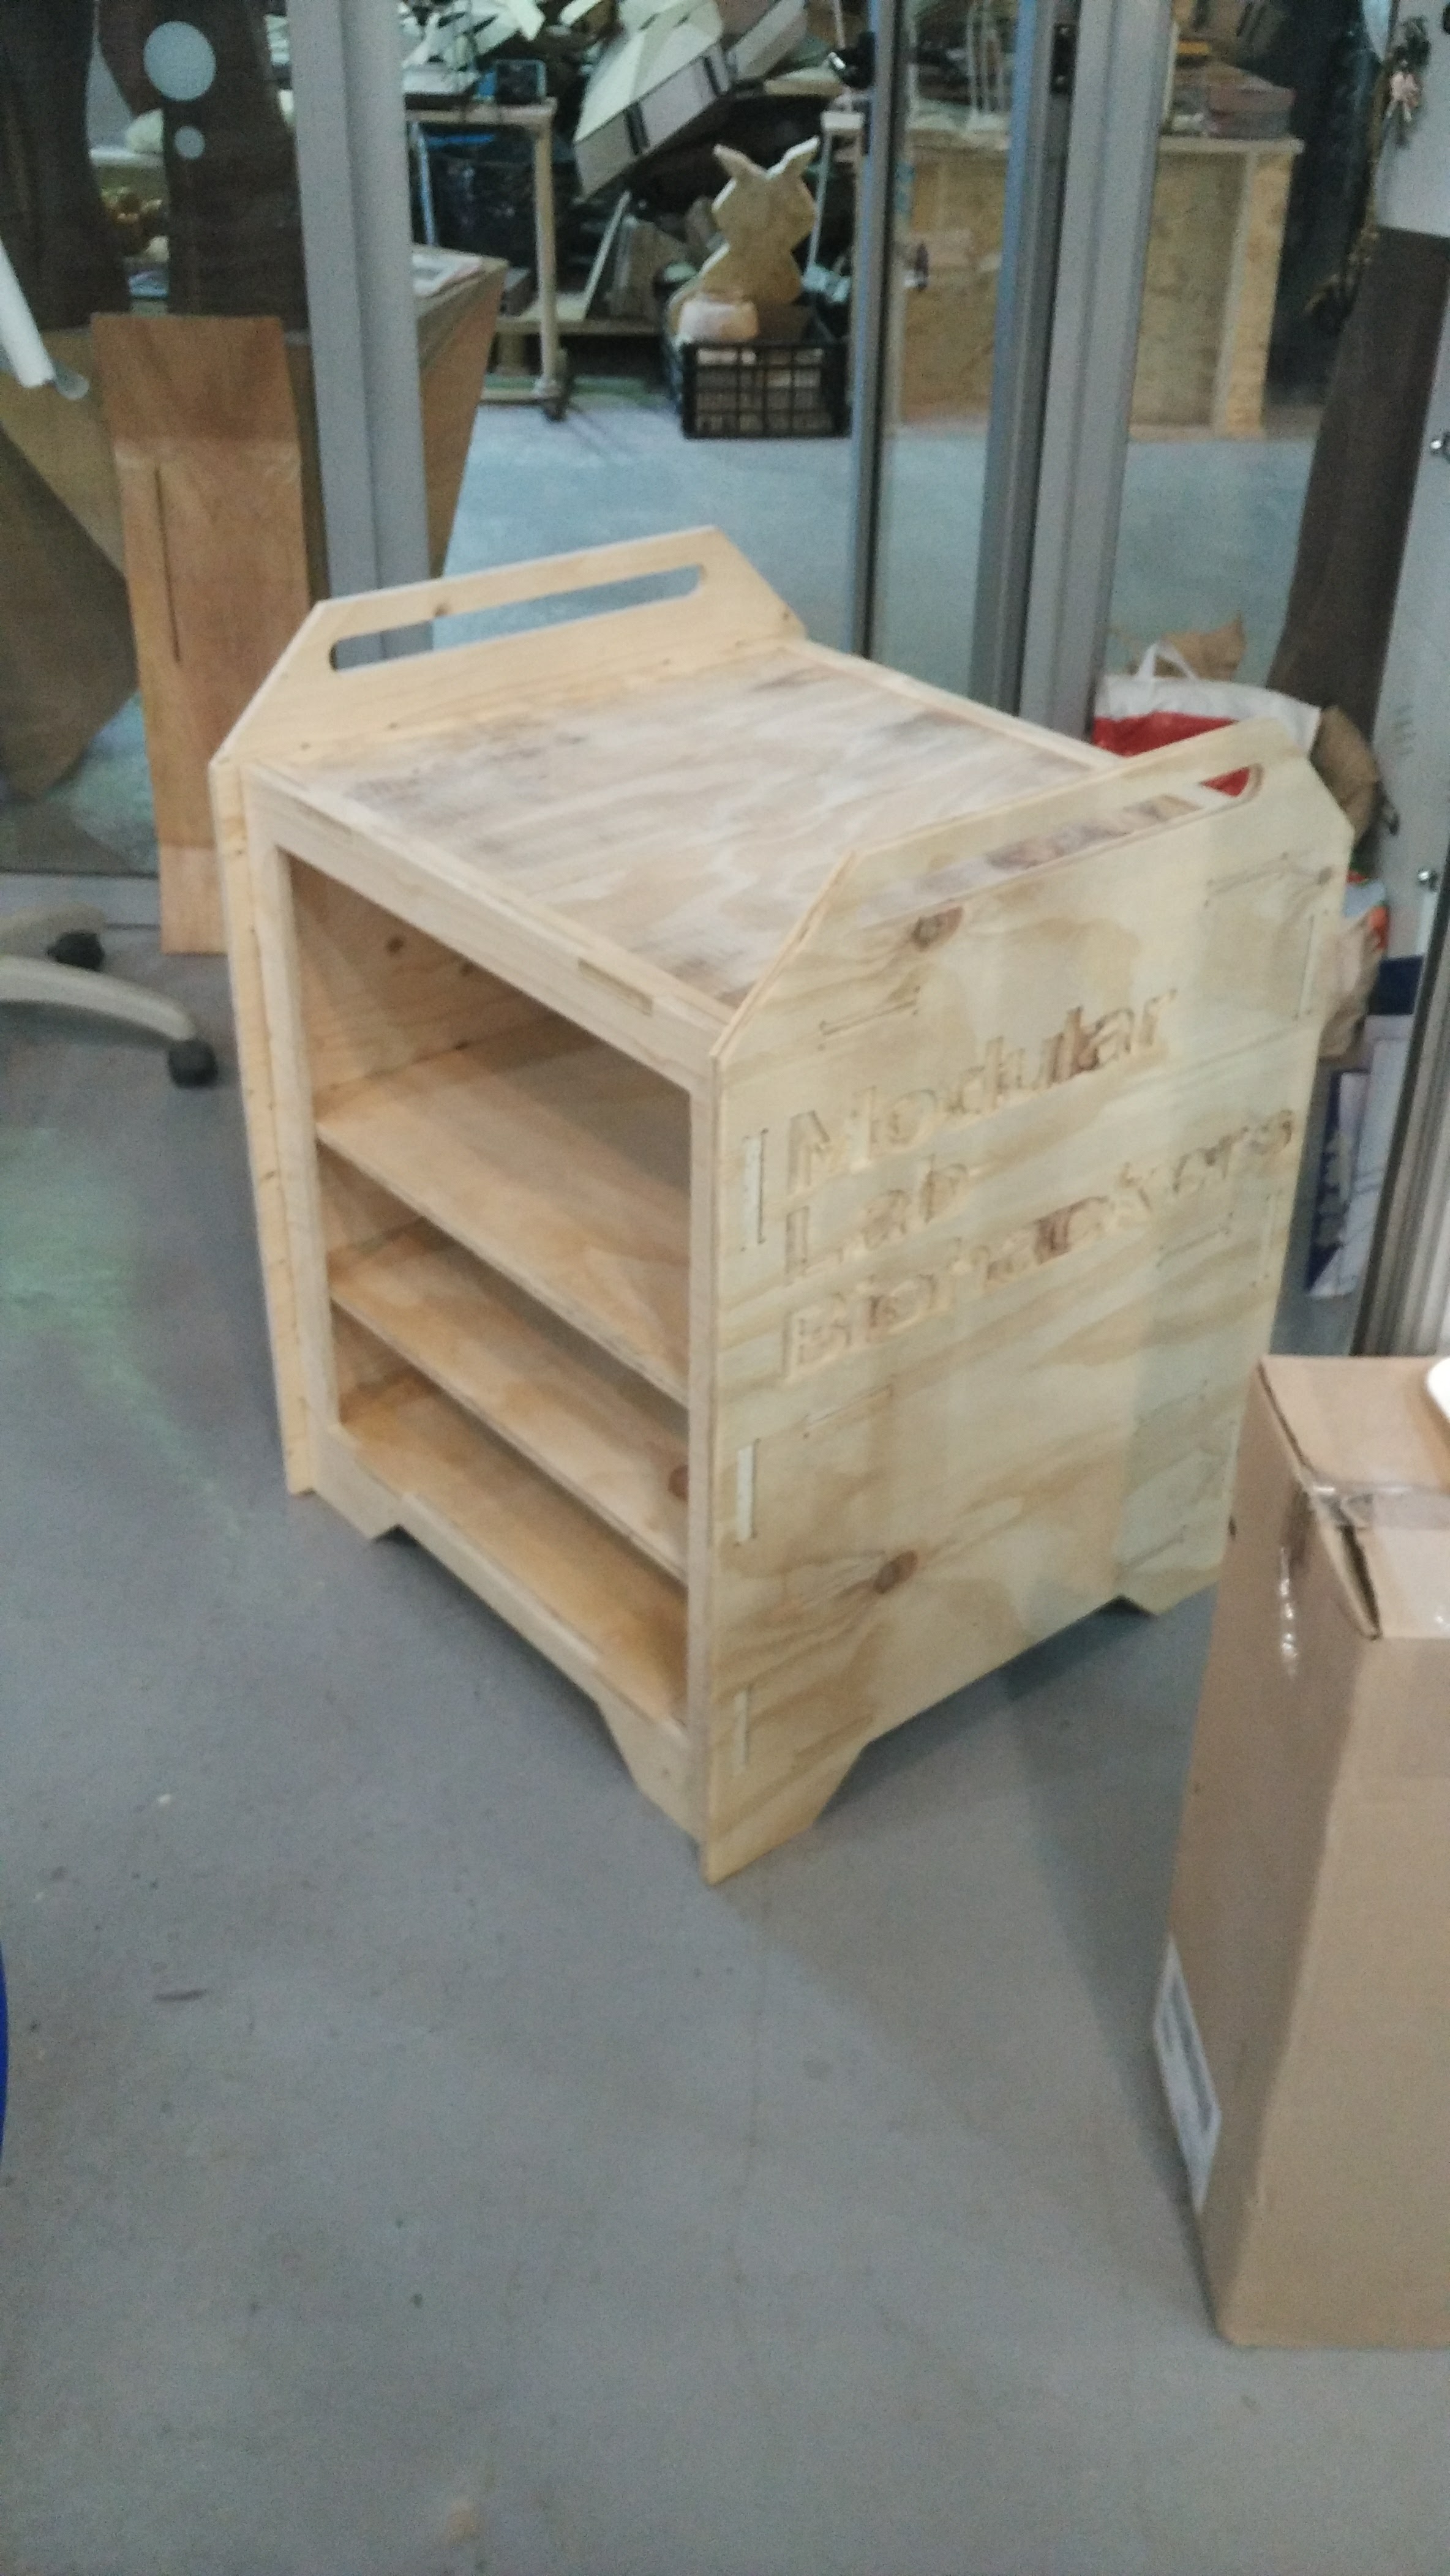
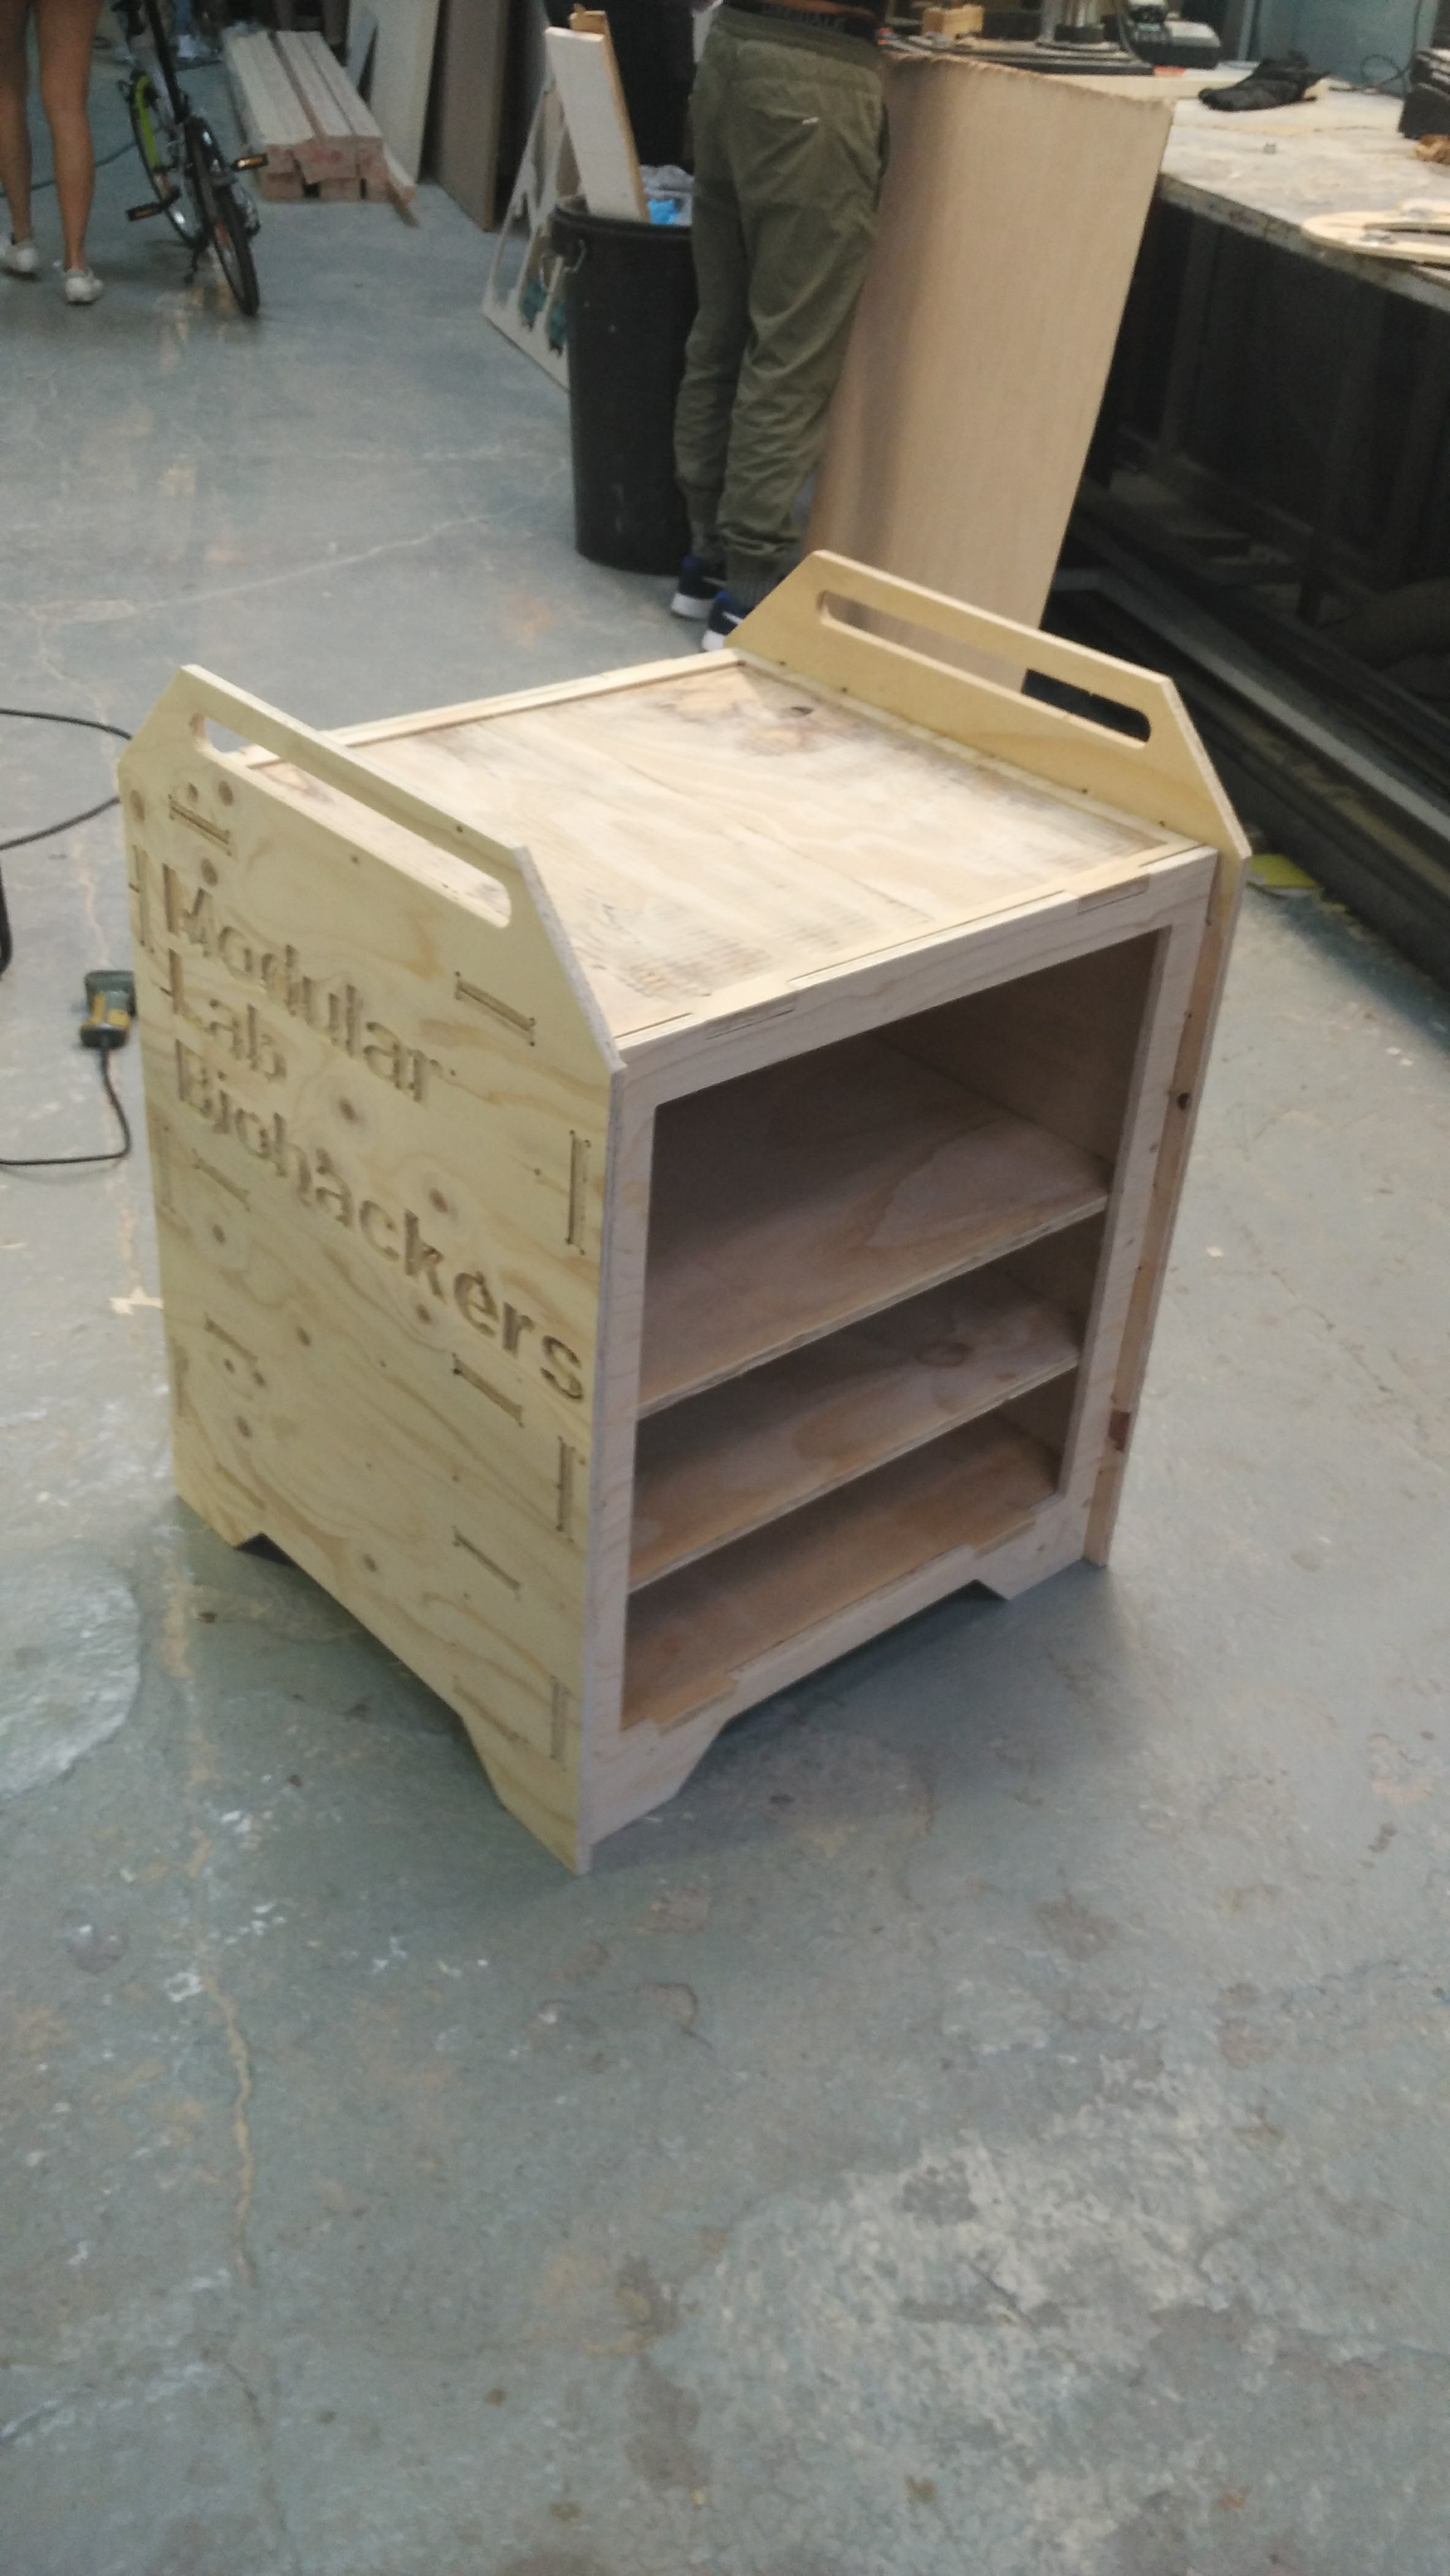
For the assignment I have decided to create a modular lab, this lab is designed to be carried to any event, and contains several machines from a laboratory, it is also intended to be the support of my bioreactor in my final fablab project.
I have used Qcad for the design of the panels that make up the modular lab.
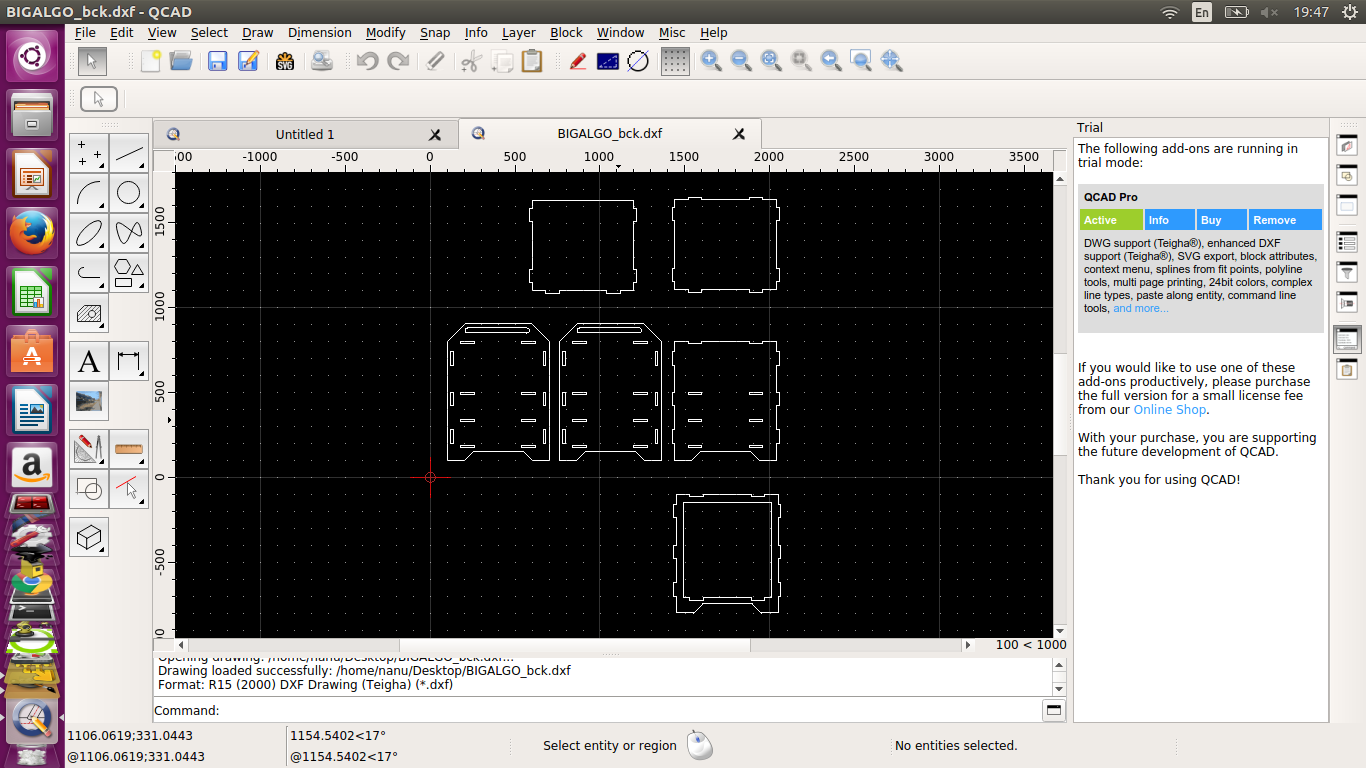
Once the 2D design is finished, I have exported a dxf file to be used in Rhino and create the 3D model and see if it has a bug, before creating the files to send to the cnc cutter.
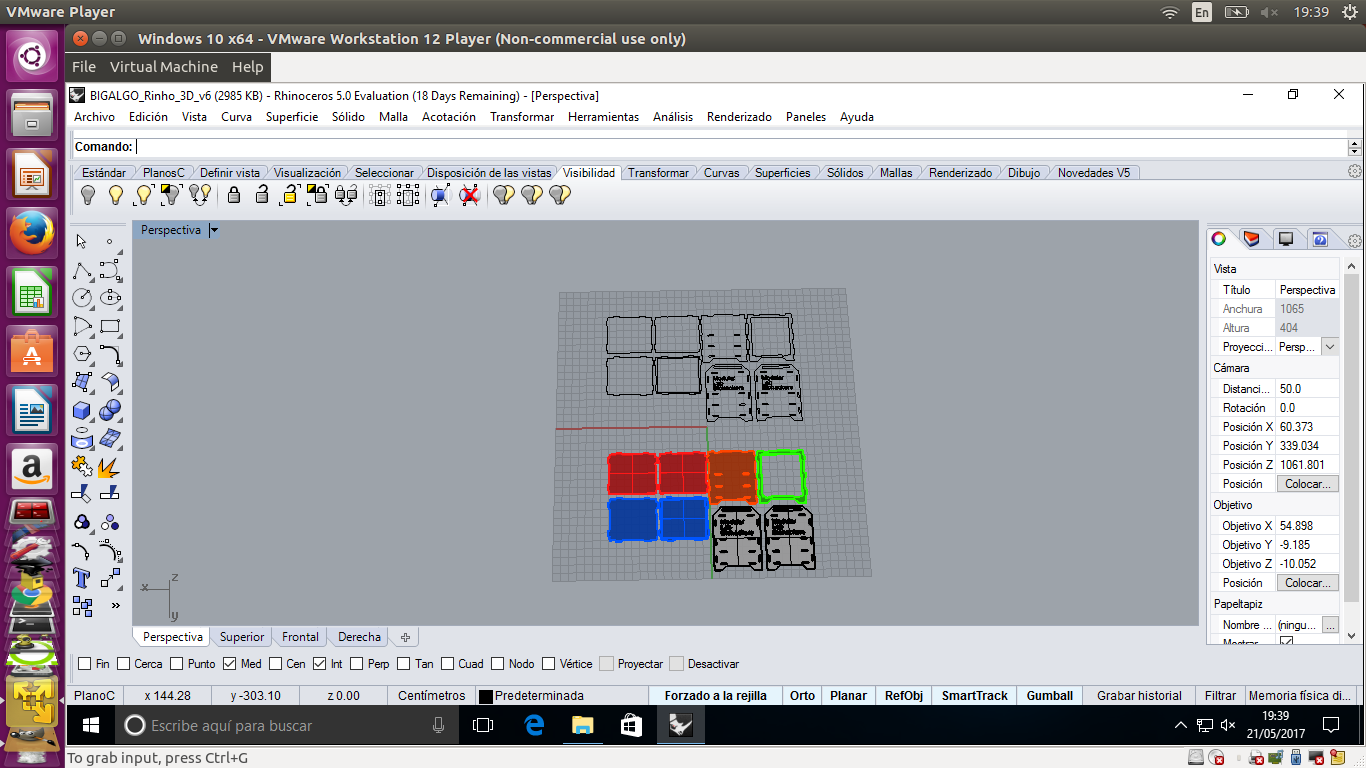
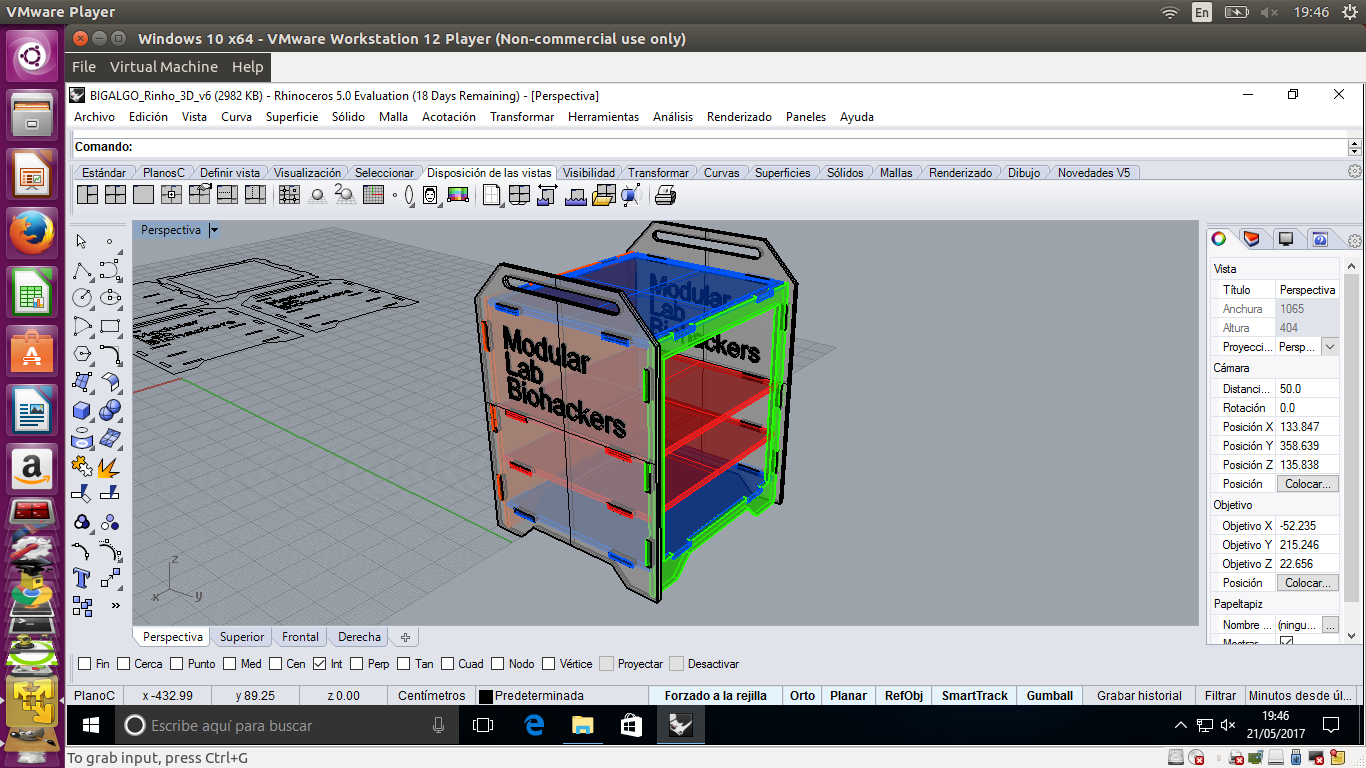
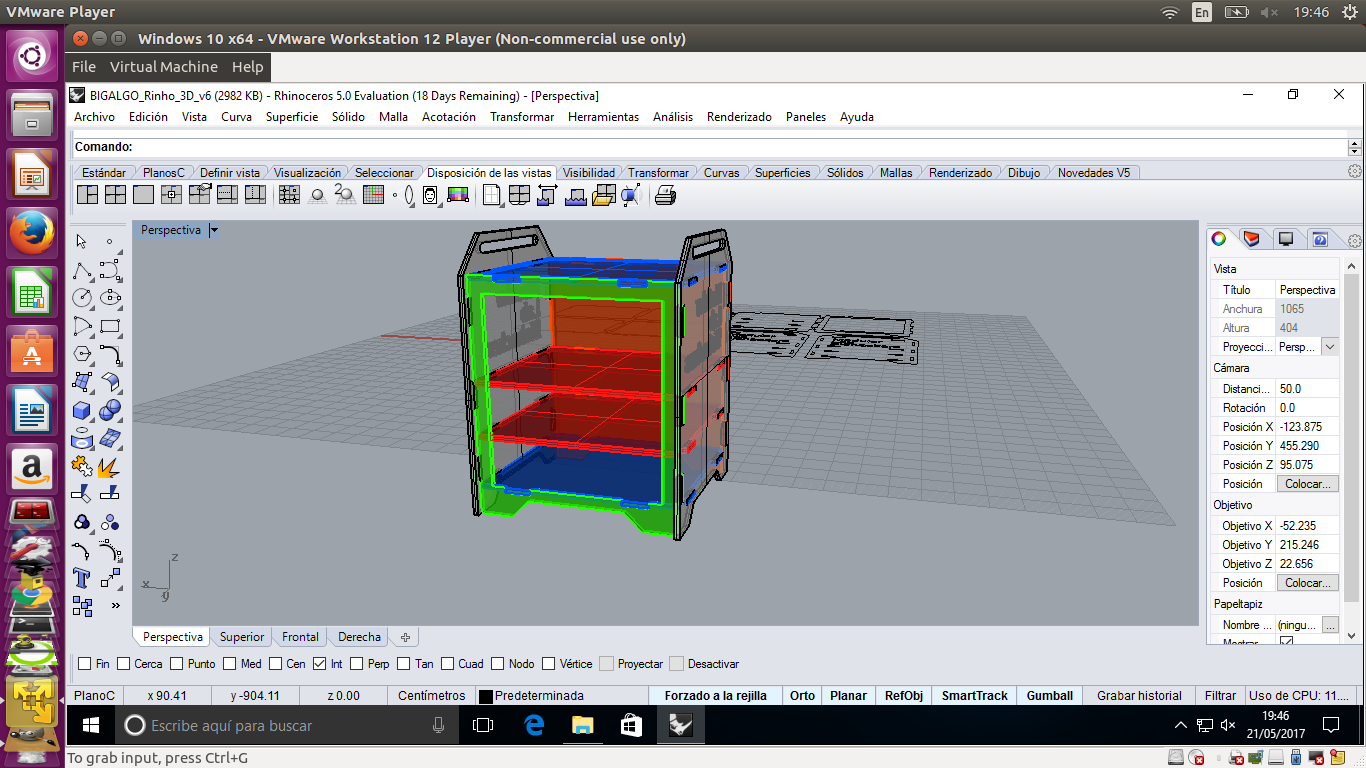
Once finished the ensemble of the pieces in rhino, I bought that all the boards properly correct, I had to correct some minimal error, but in principle everything fits perfectly.
One of the mistakes that I had to solve is the distance of the unions, since it is necessary to have a margin so that these fit perfectly, thanks to the help of some colleagues I have found this problem in all unions since no had this margin (0.1 mm), is enough to fit everything perfectly.
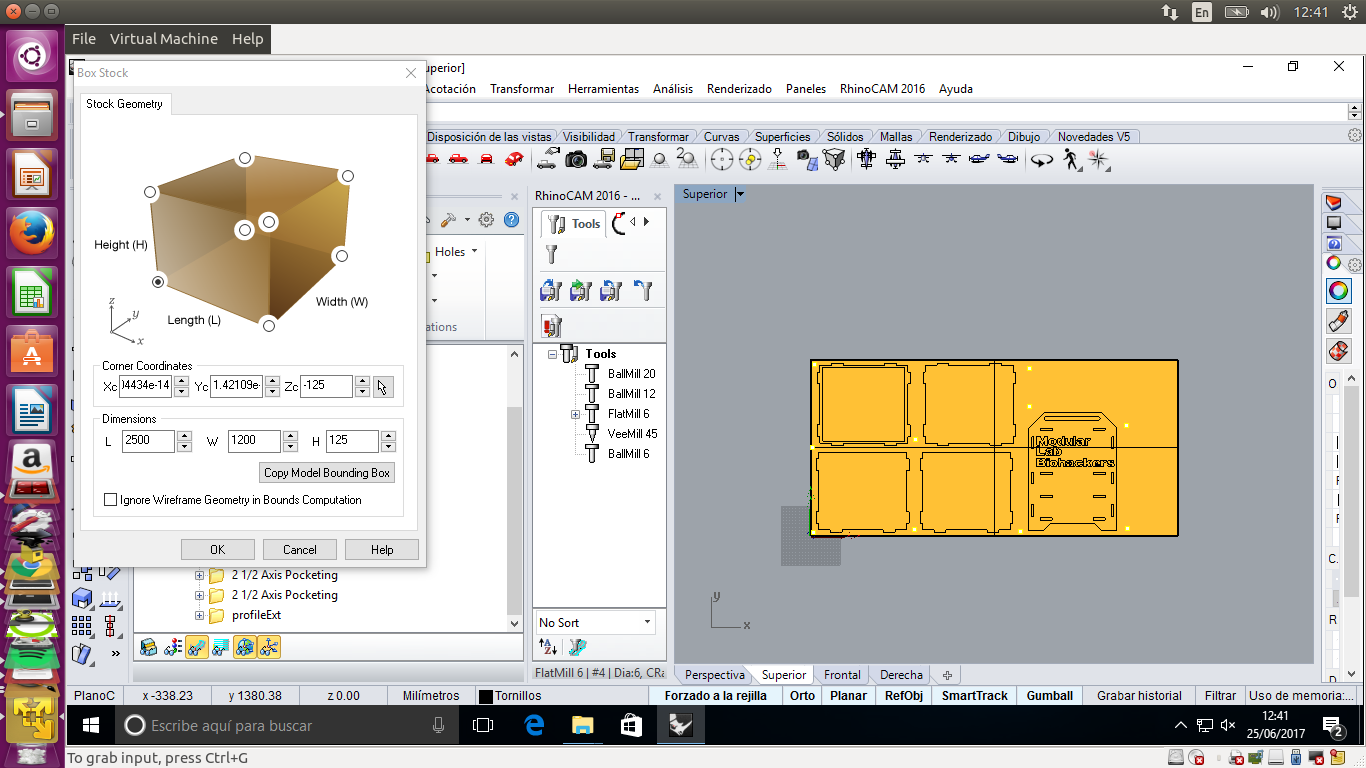
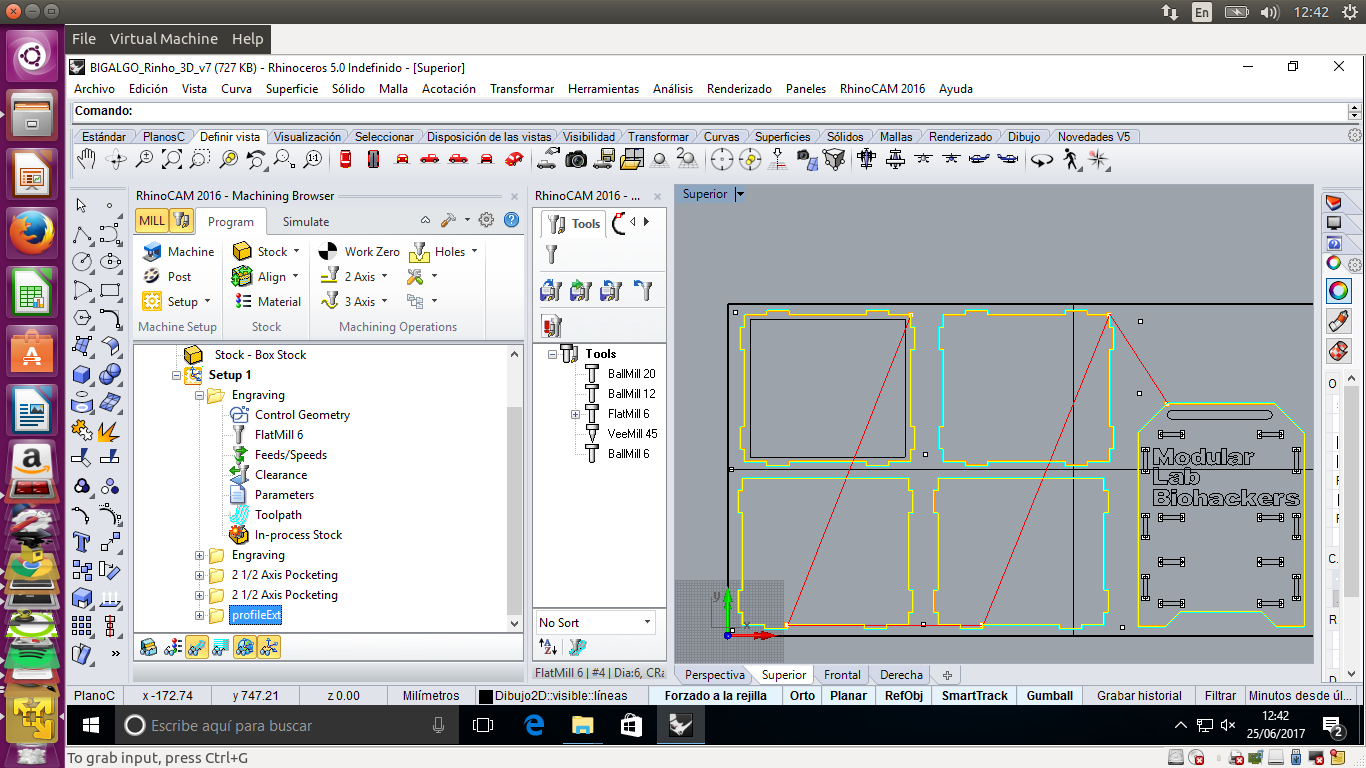
To create the file for our cnc, we use a spatial plugins for Rhino, which is the RhinoCam, this software is used to create different strategies to cut with cnc, such as bit type, cutting type, pocketing, engraving and profile.
I found this tutorial on how to use rhinocam Tutorial
I use 5 differents setups for create my big somethings
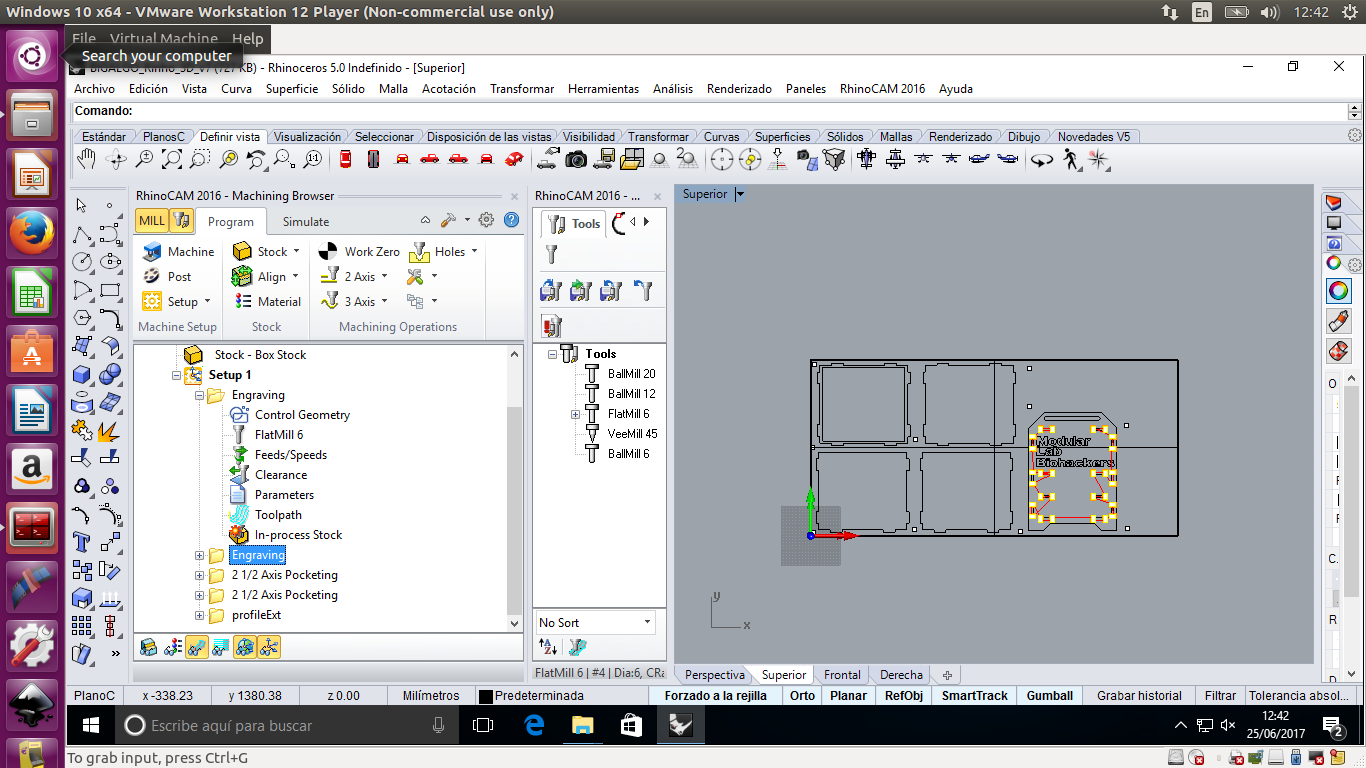
Engraving for holes to fix the table in cnc.
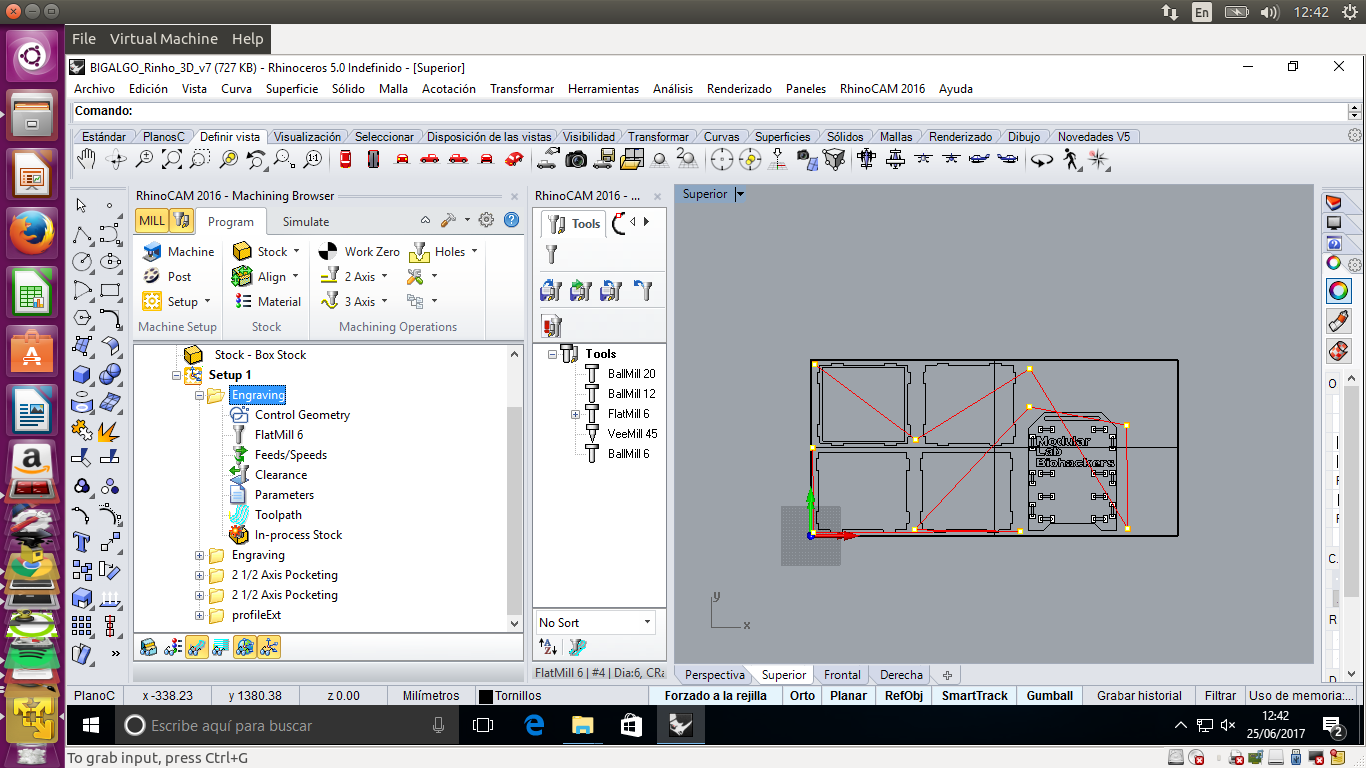
Engraving for joints can fit together.
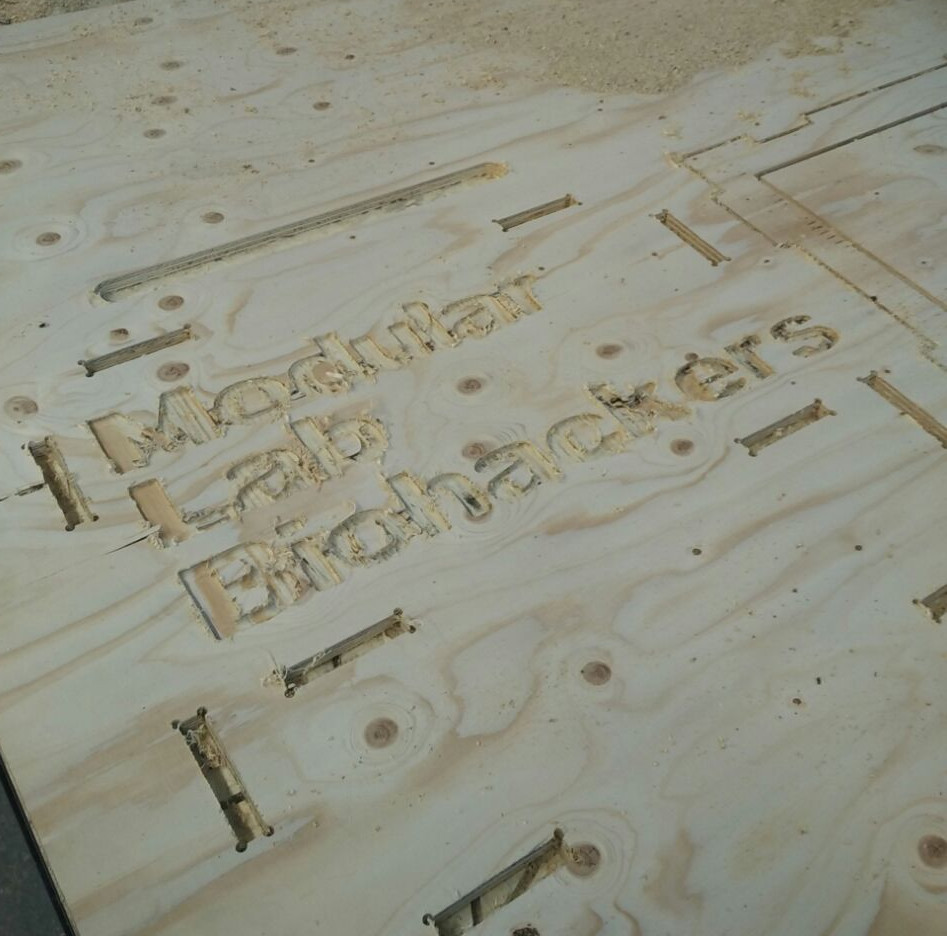
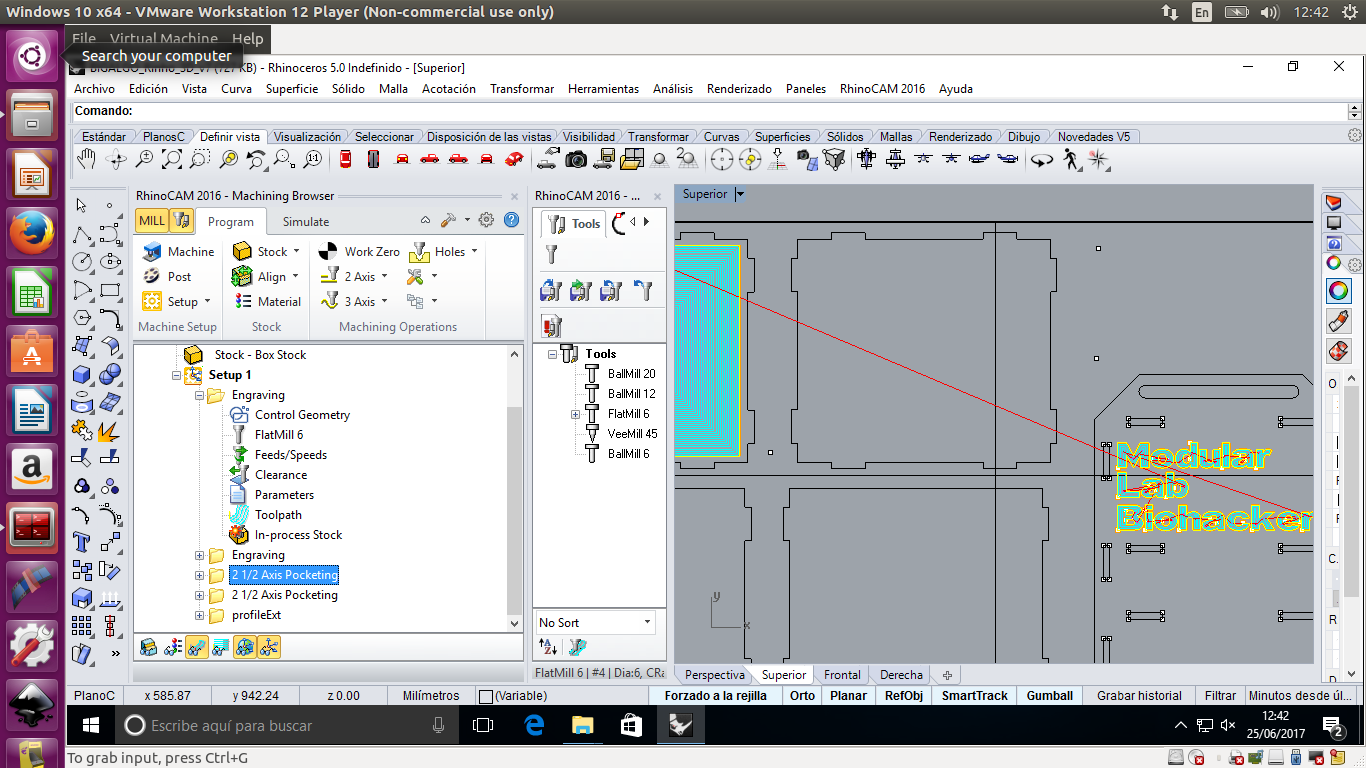
Pocketing for joints and letters.
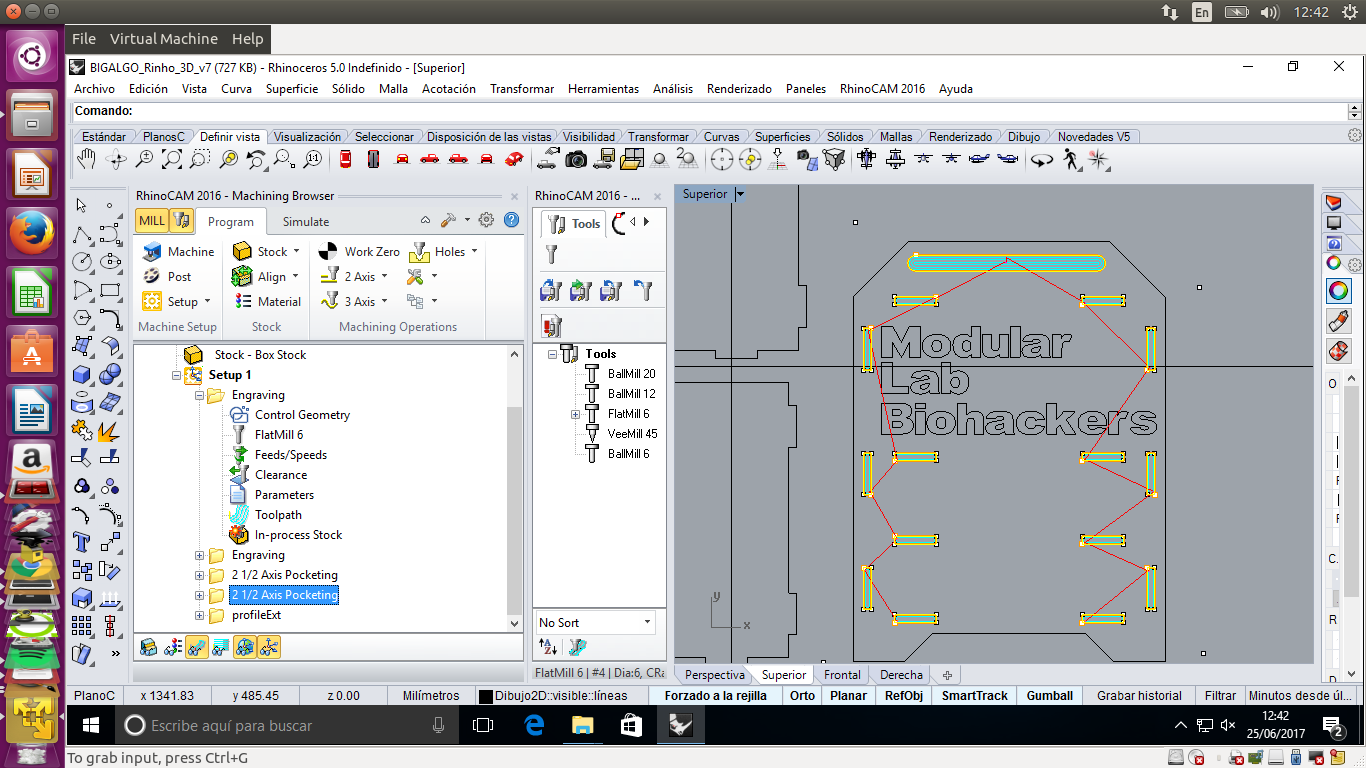
Profile for the external part of the modular lab.
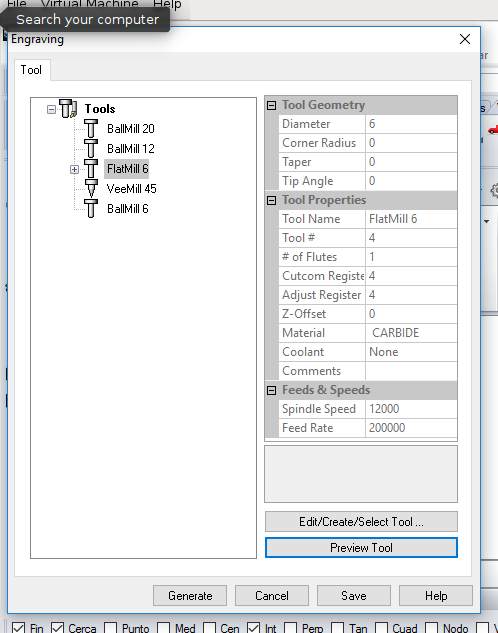
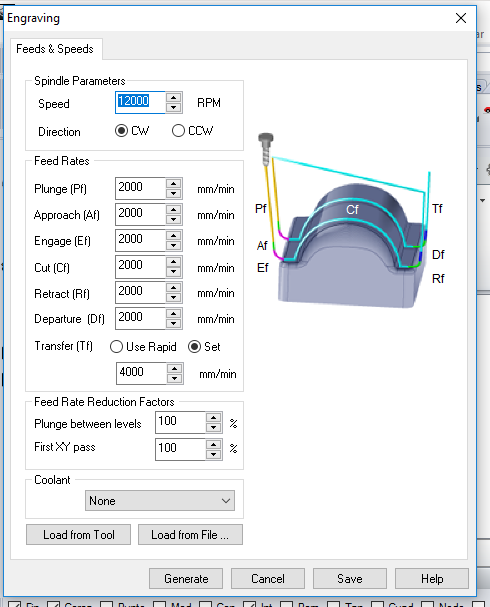
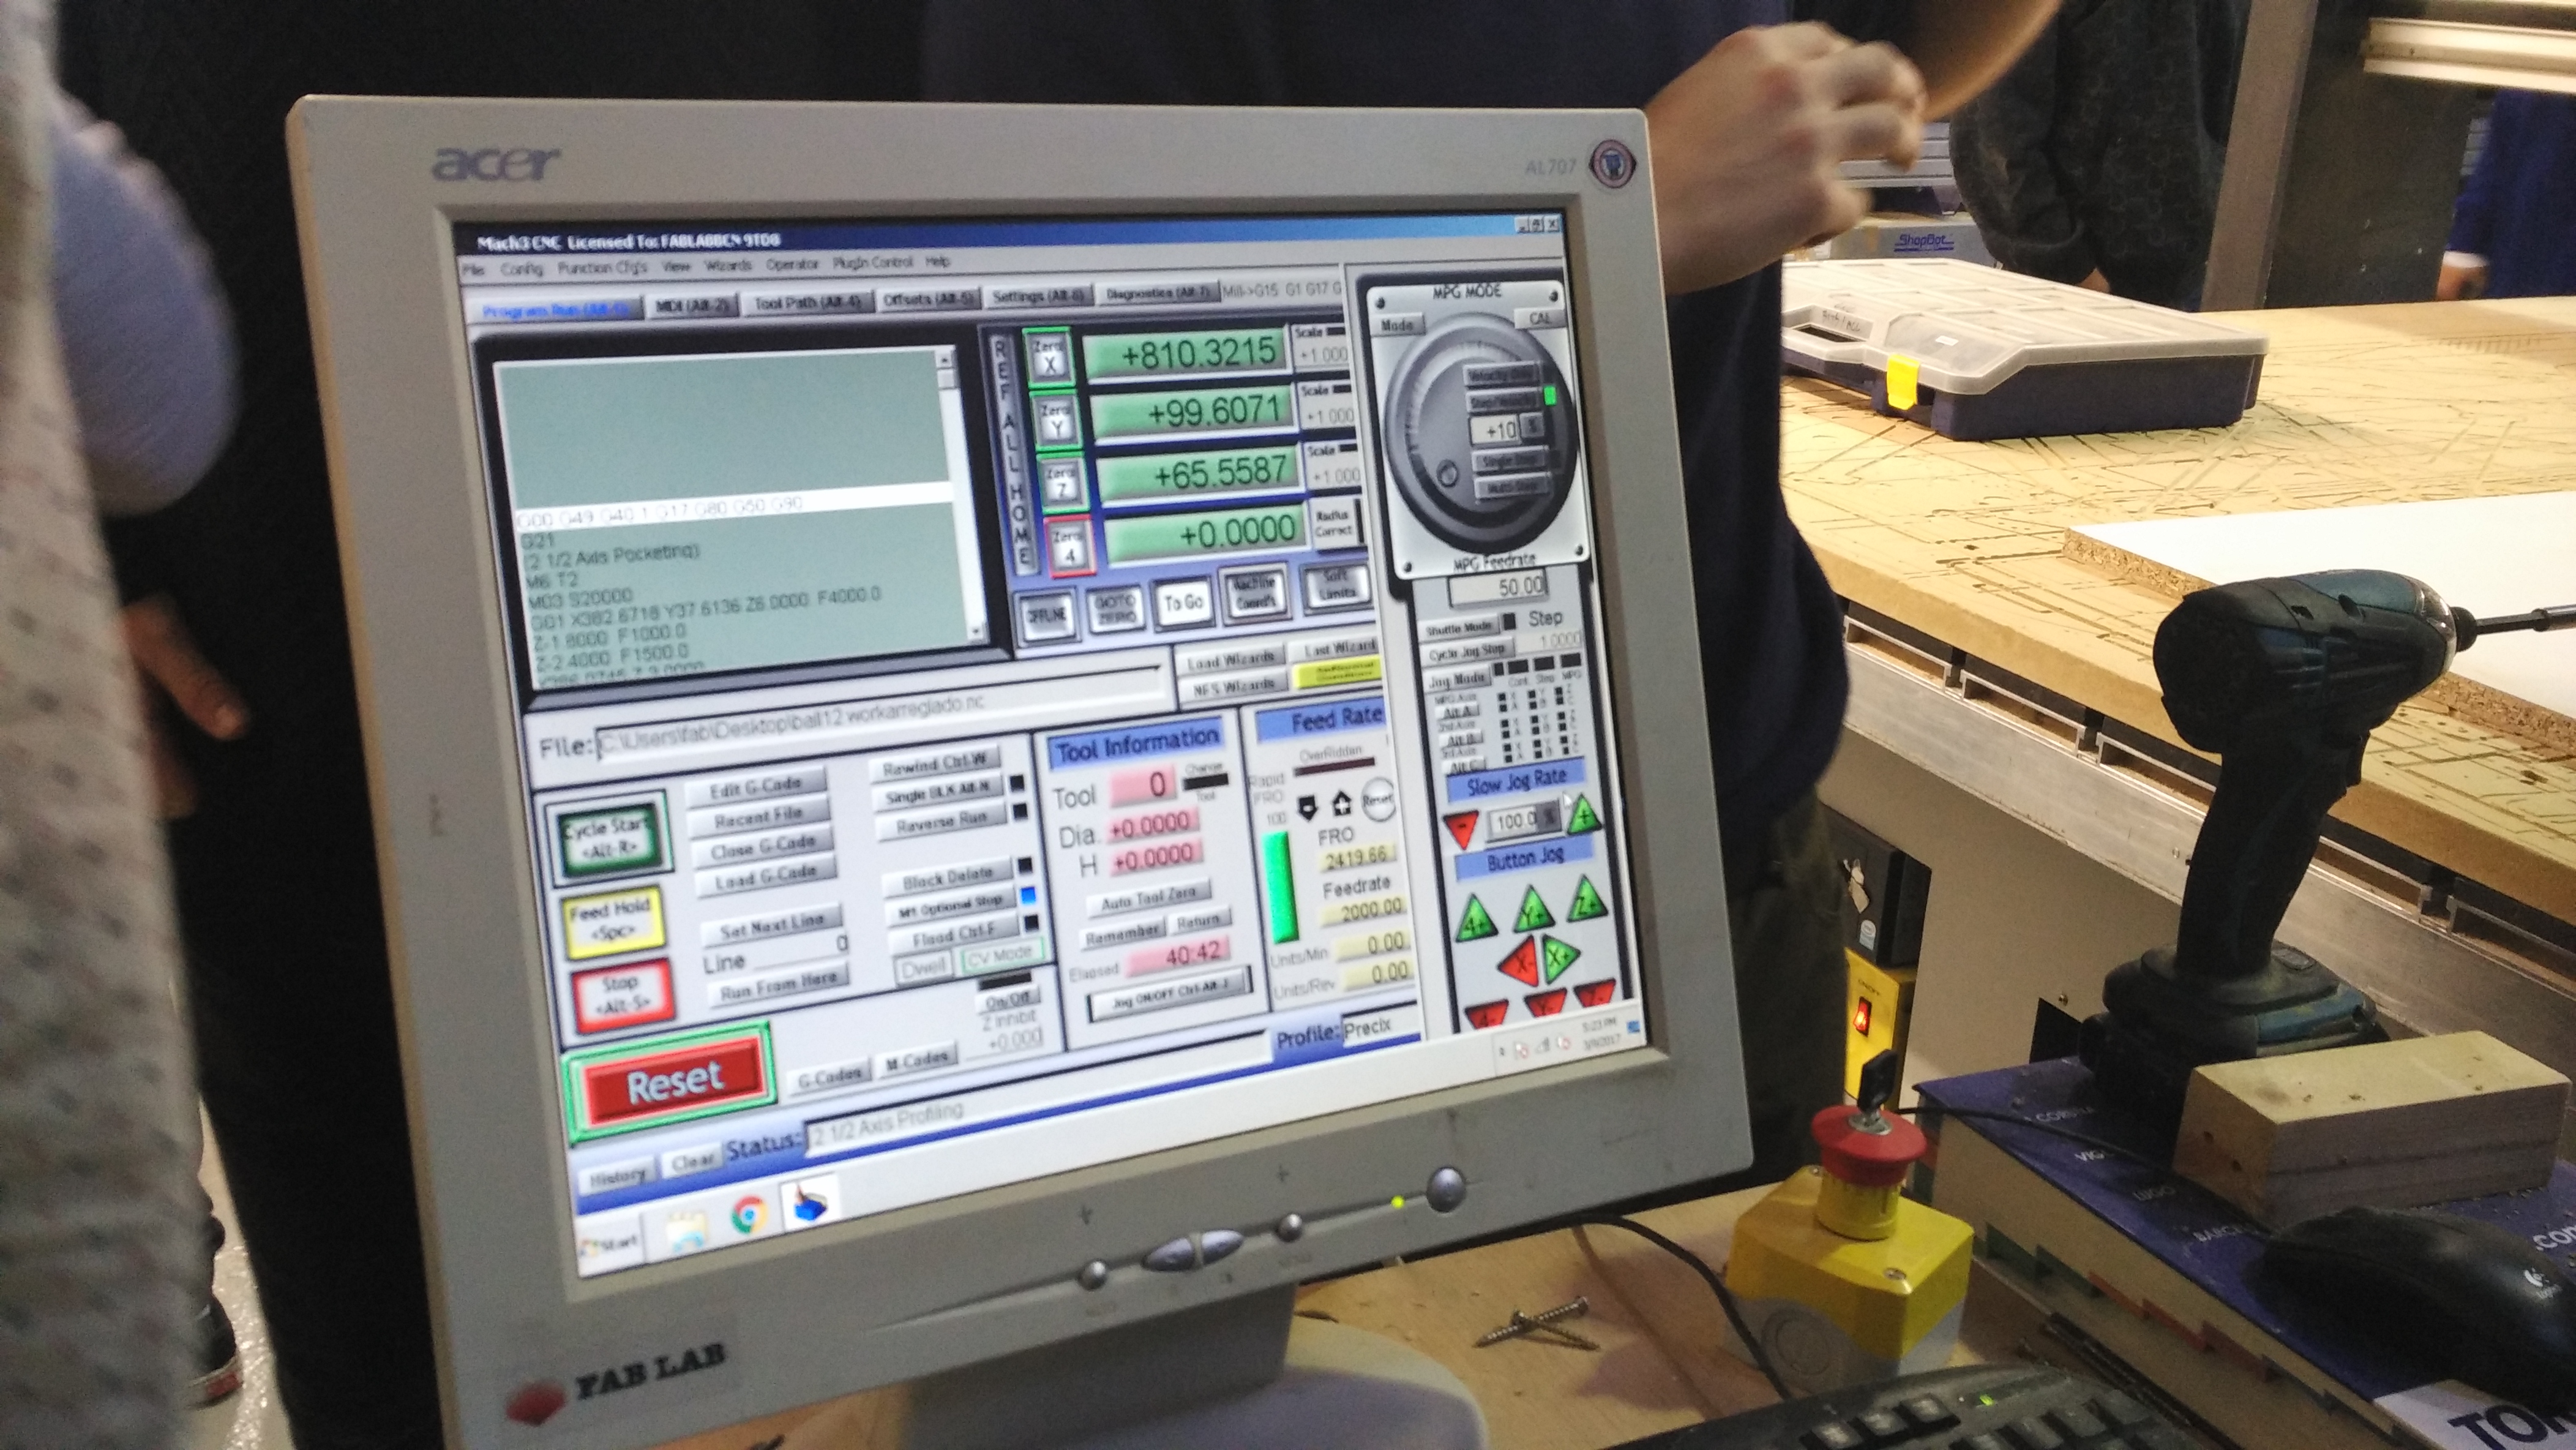
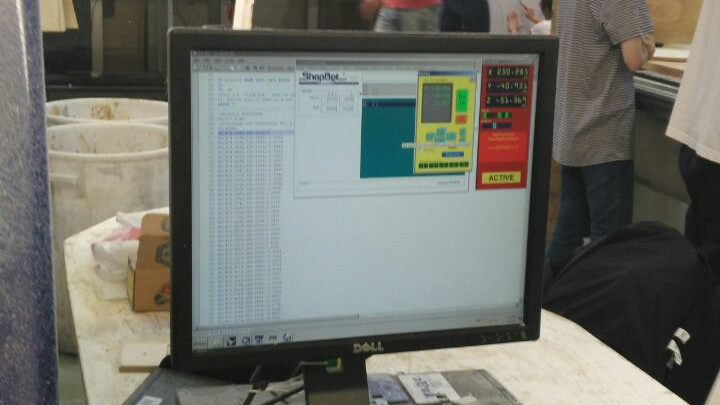
The speed we recommend Ricardo for the type of playwood and mill we will use is recommended to have a speed of 12000, and a feed rate of 2000, by default we have a speed of 12000 and a feedrate of 20000.
Ricardo, has shown us little should be used cnc we have in fablab.
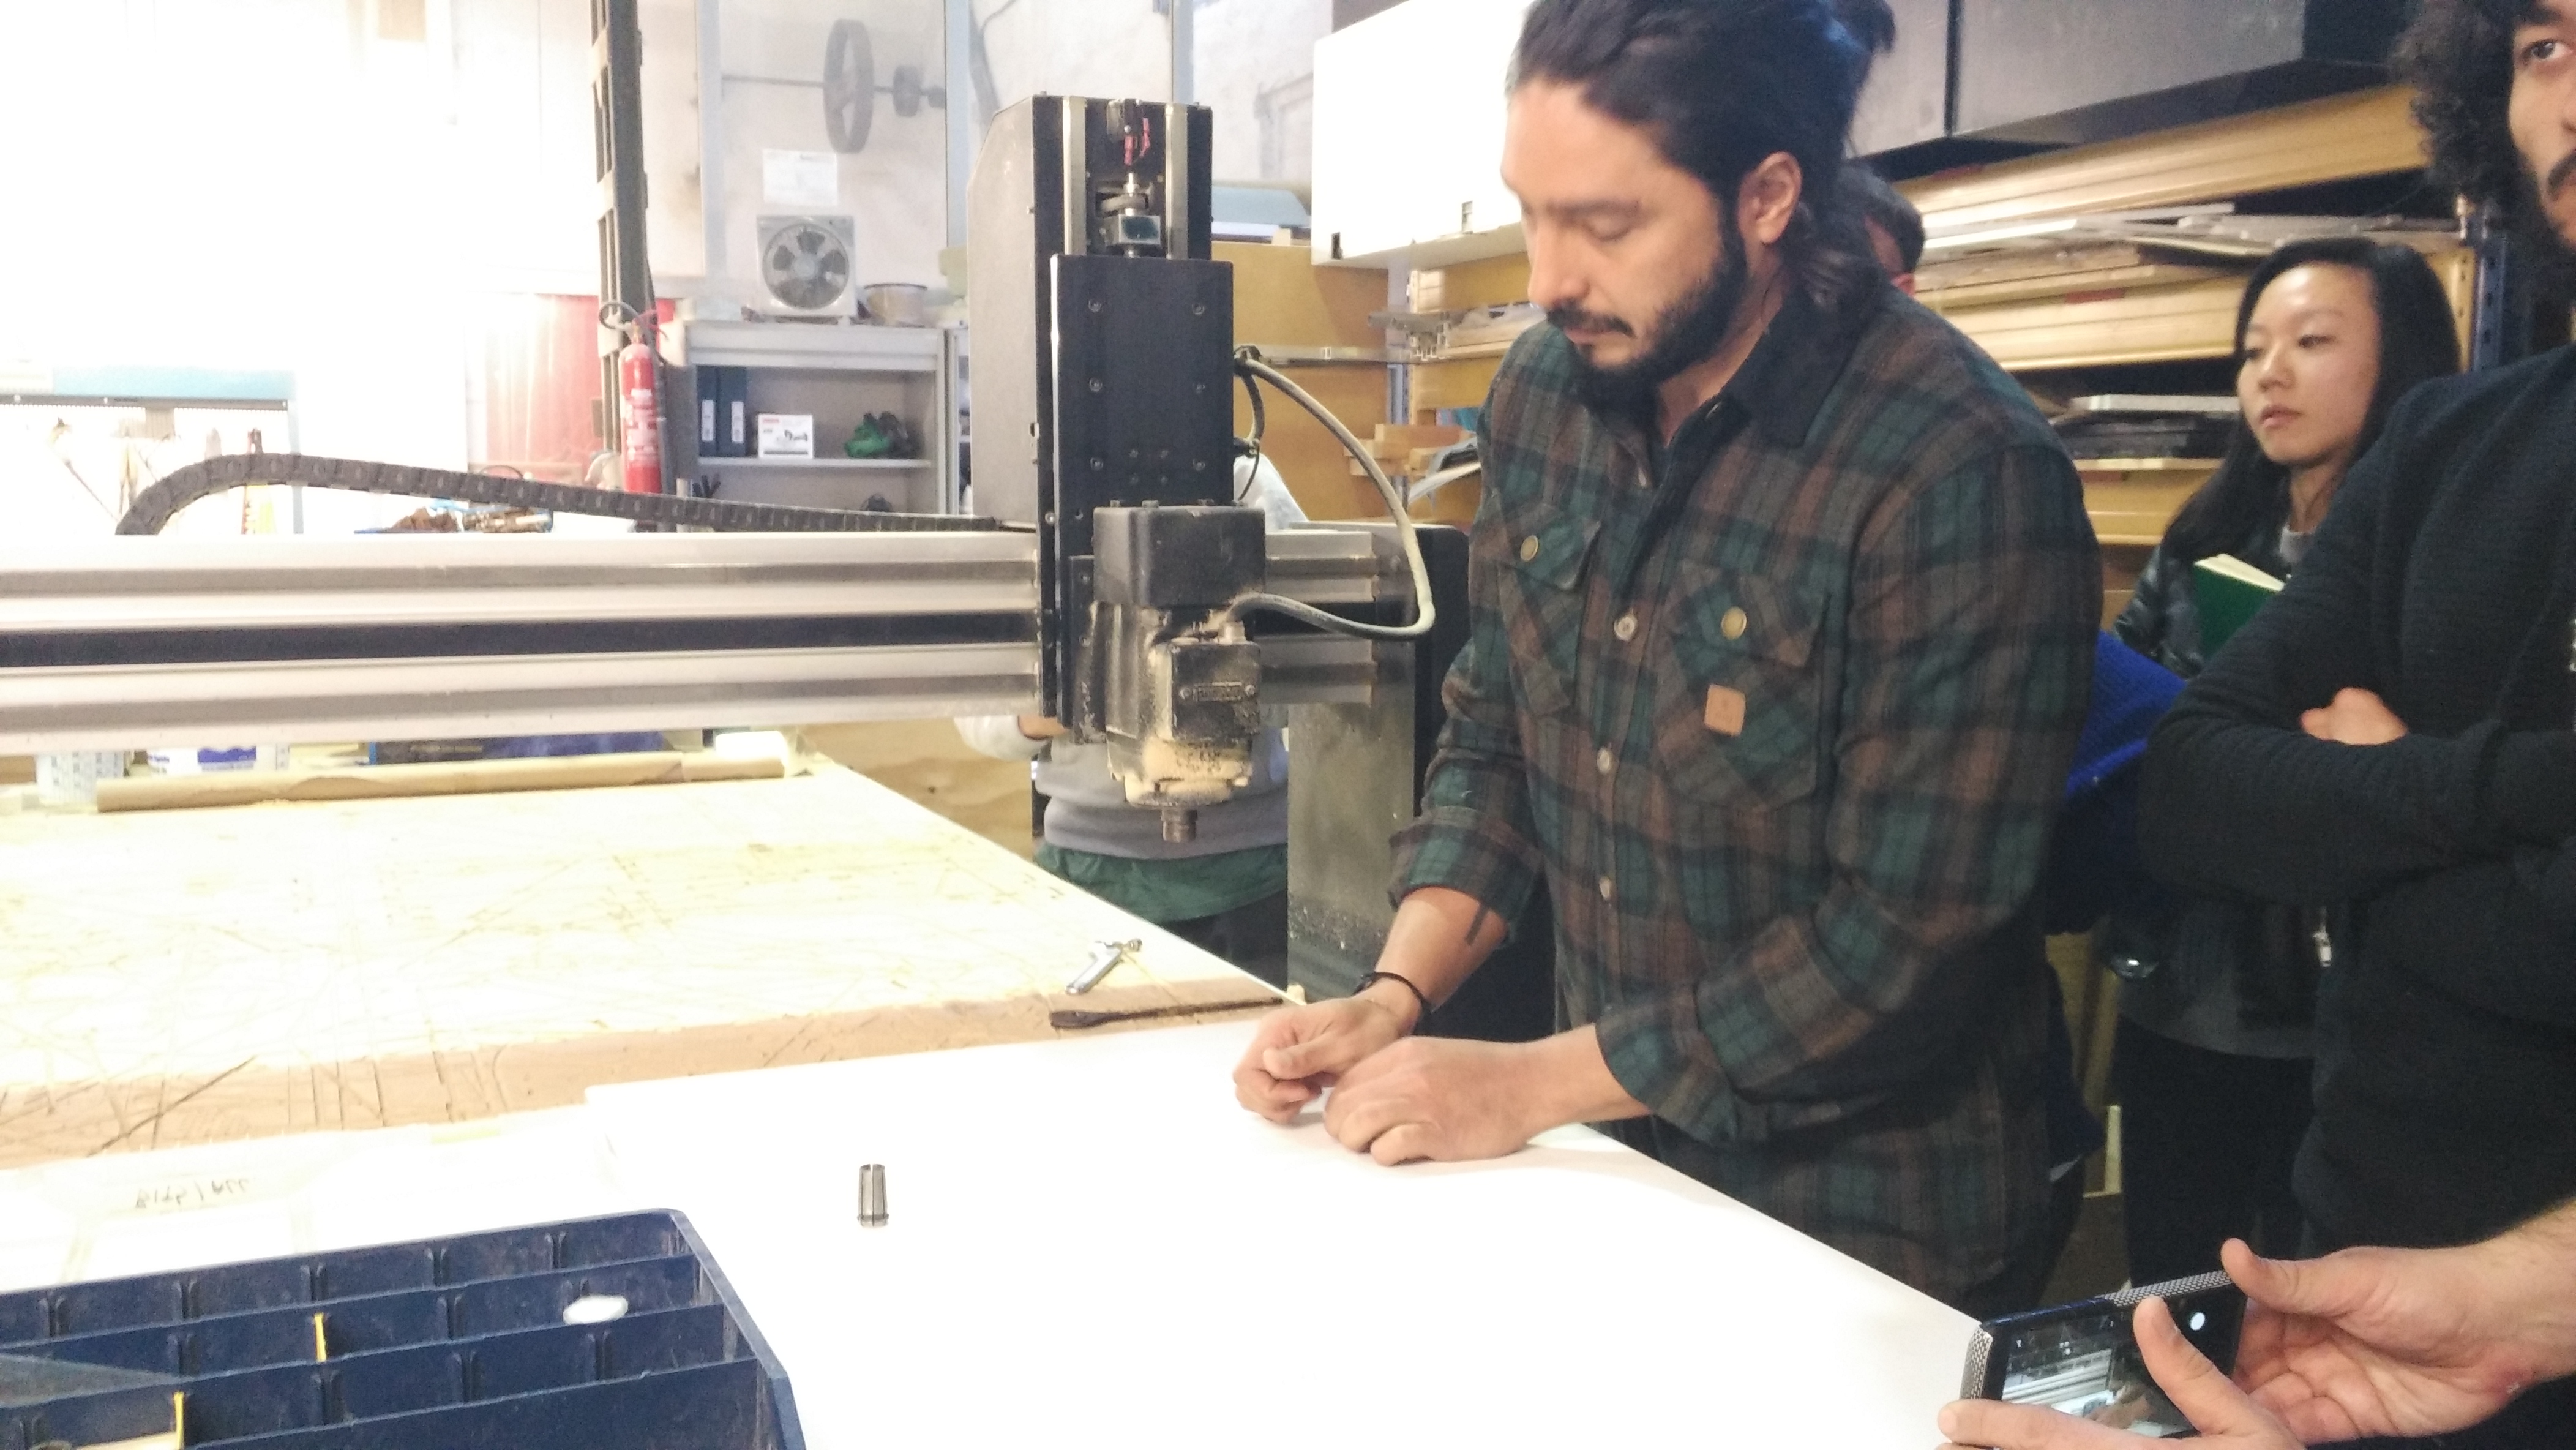
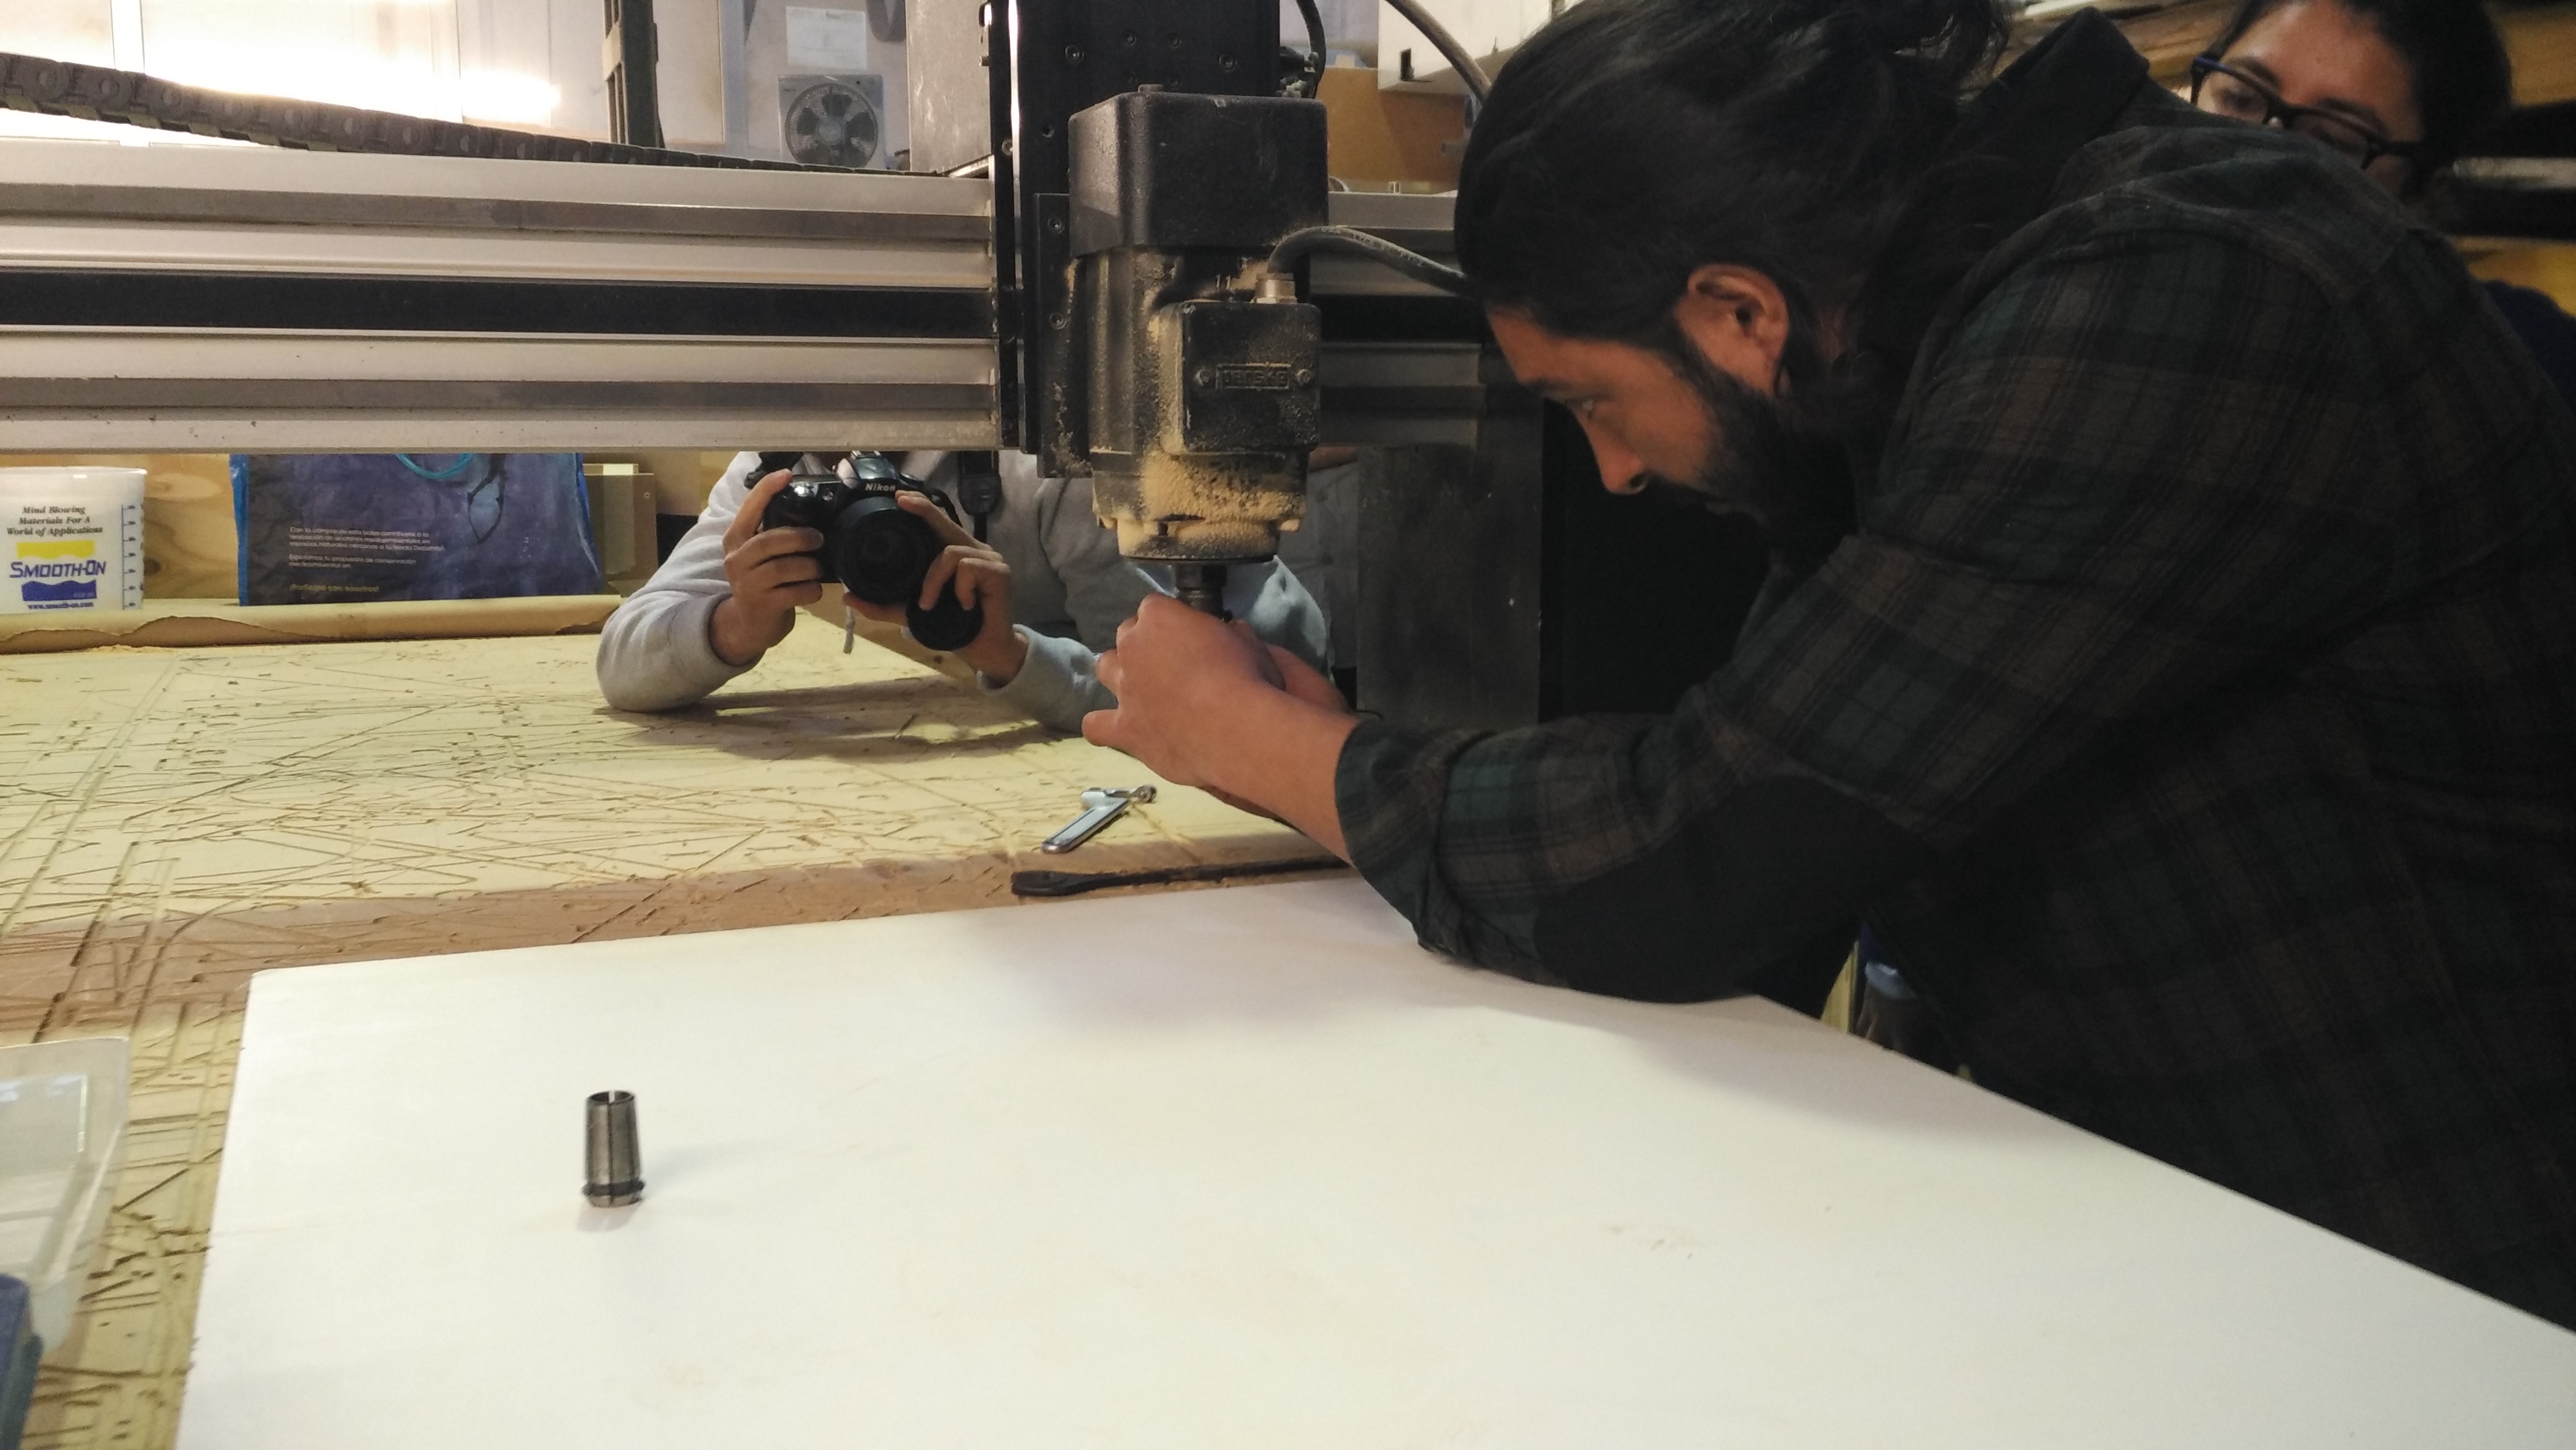
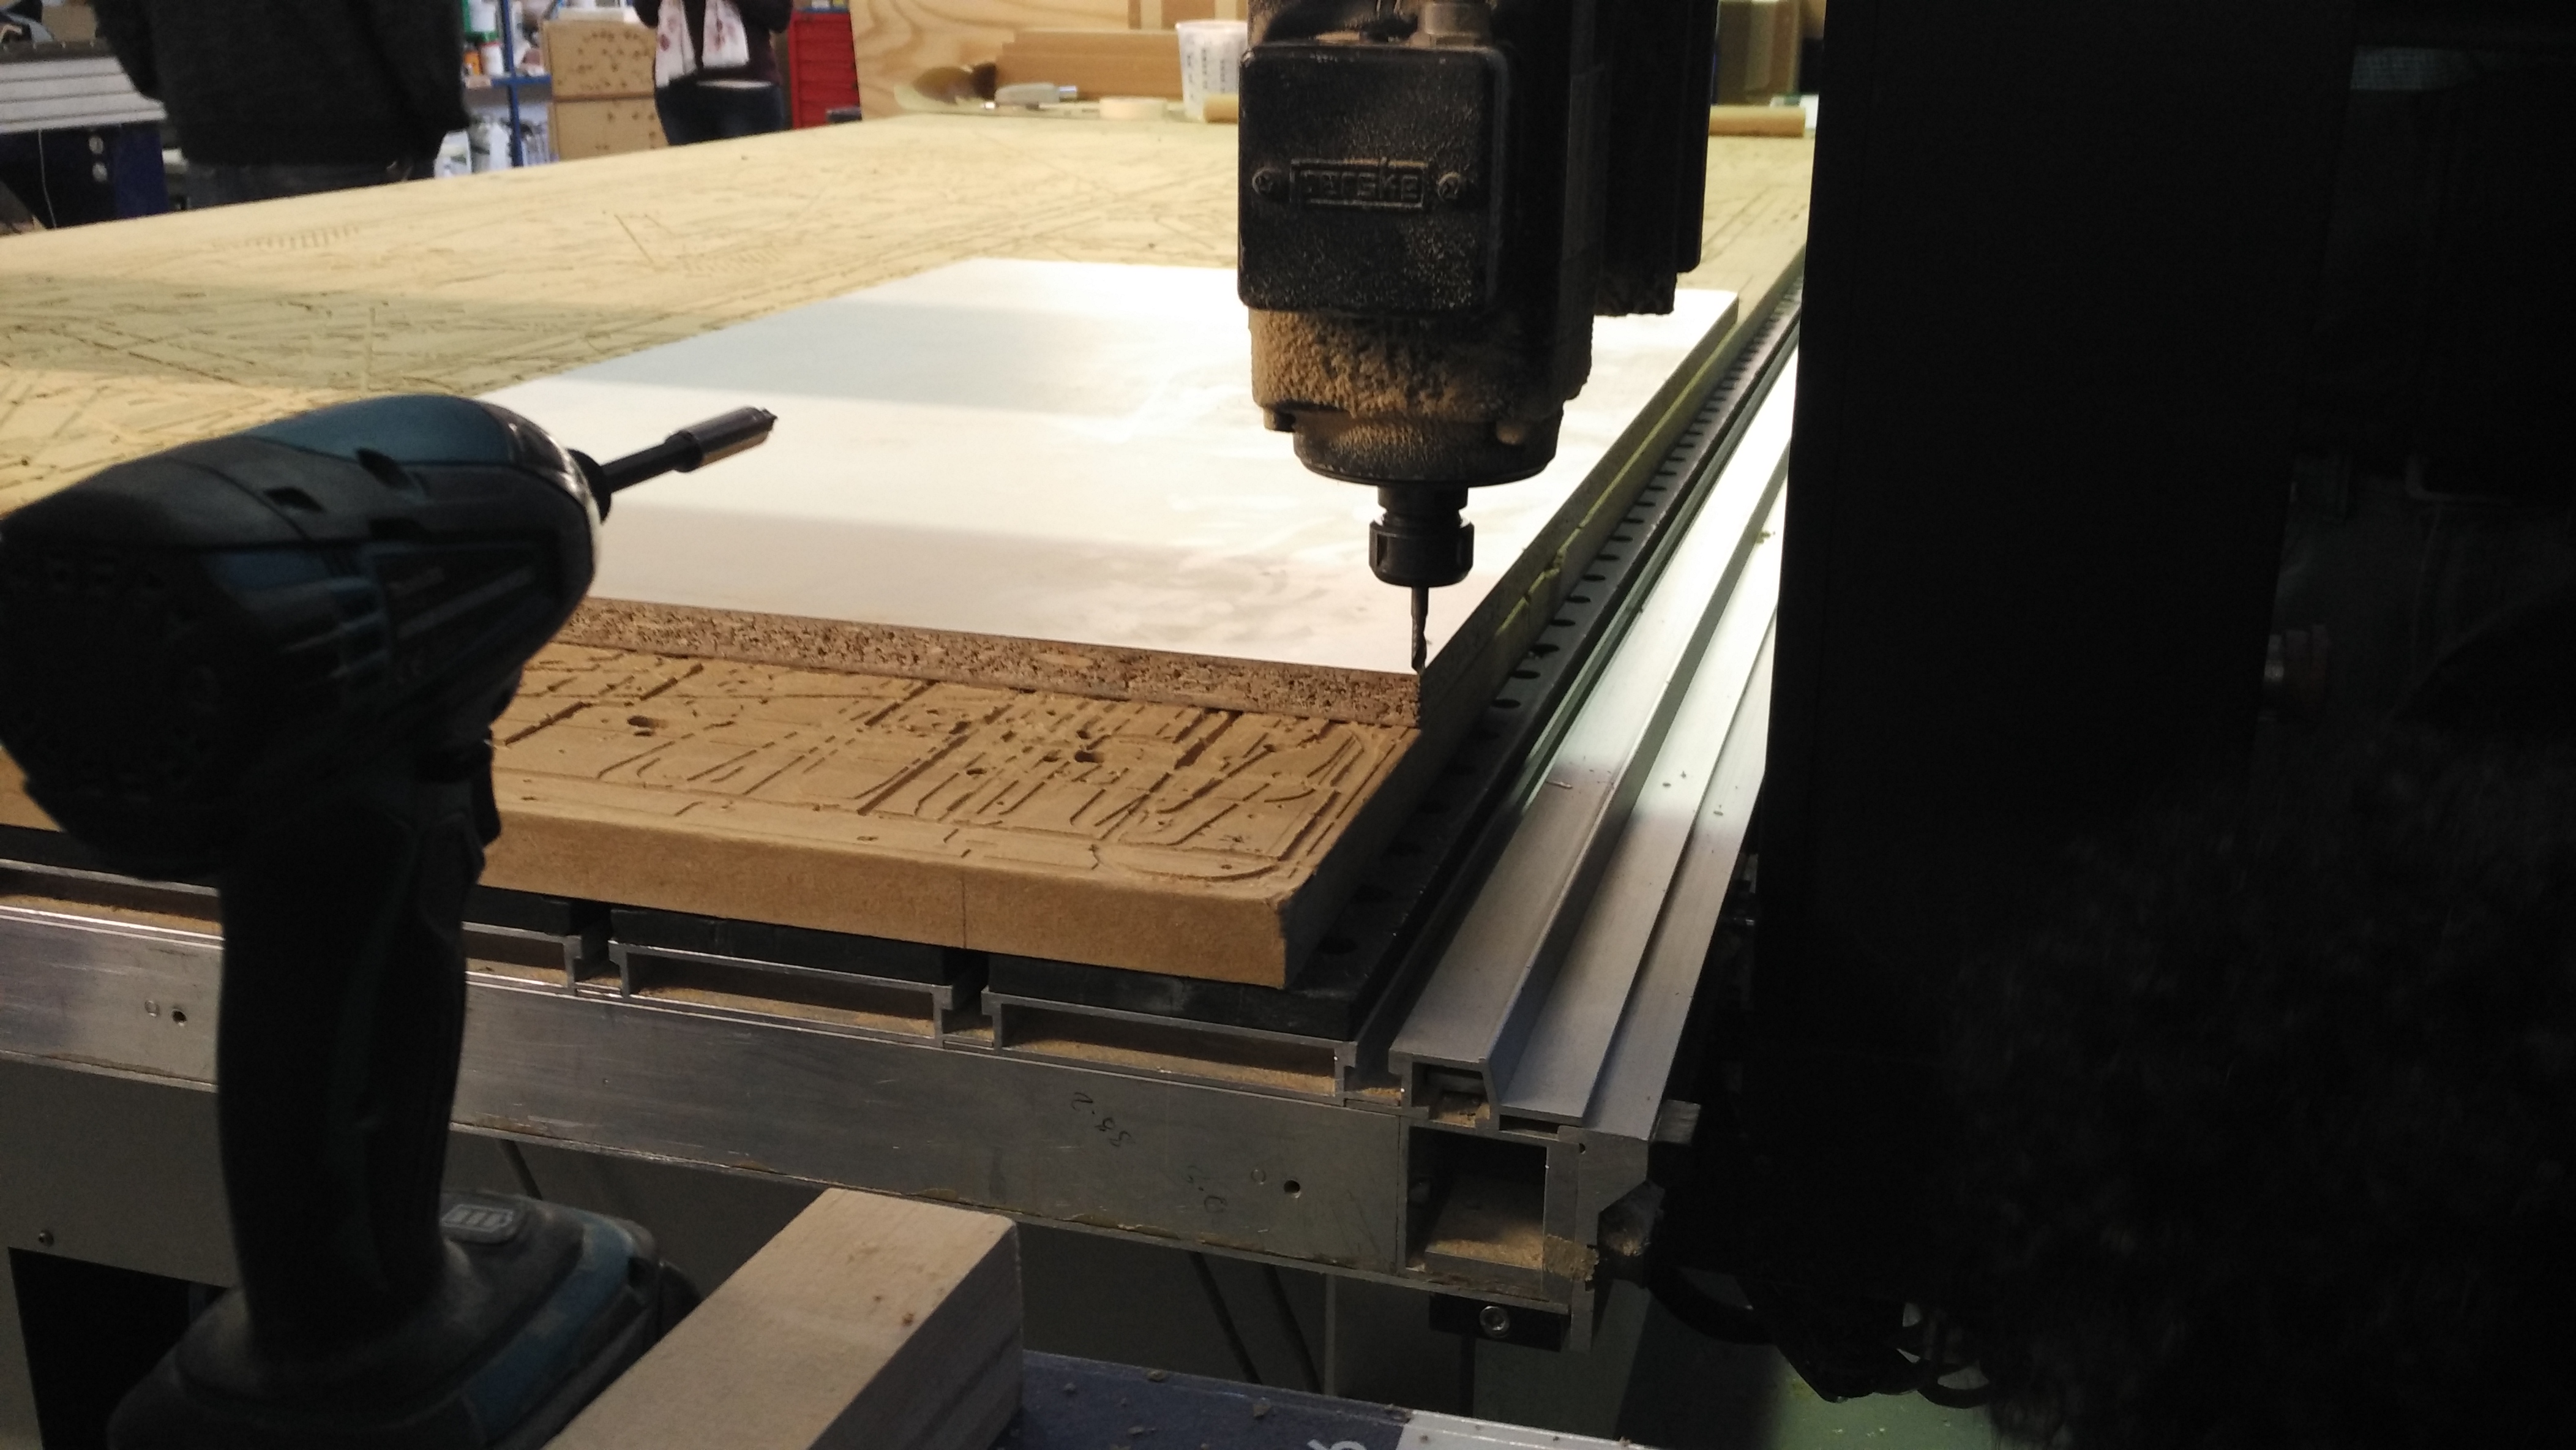
I used the shopbot machine to cut the wood, since the other machine was not working, once set the table, first I sent the gcode to create the loaves in the wood and be able to hold it with screws and thus prevent it from moving position.
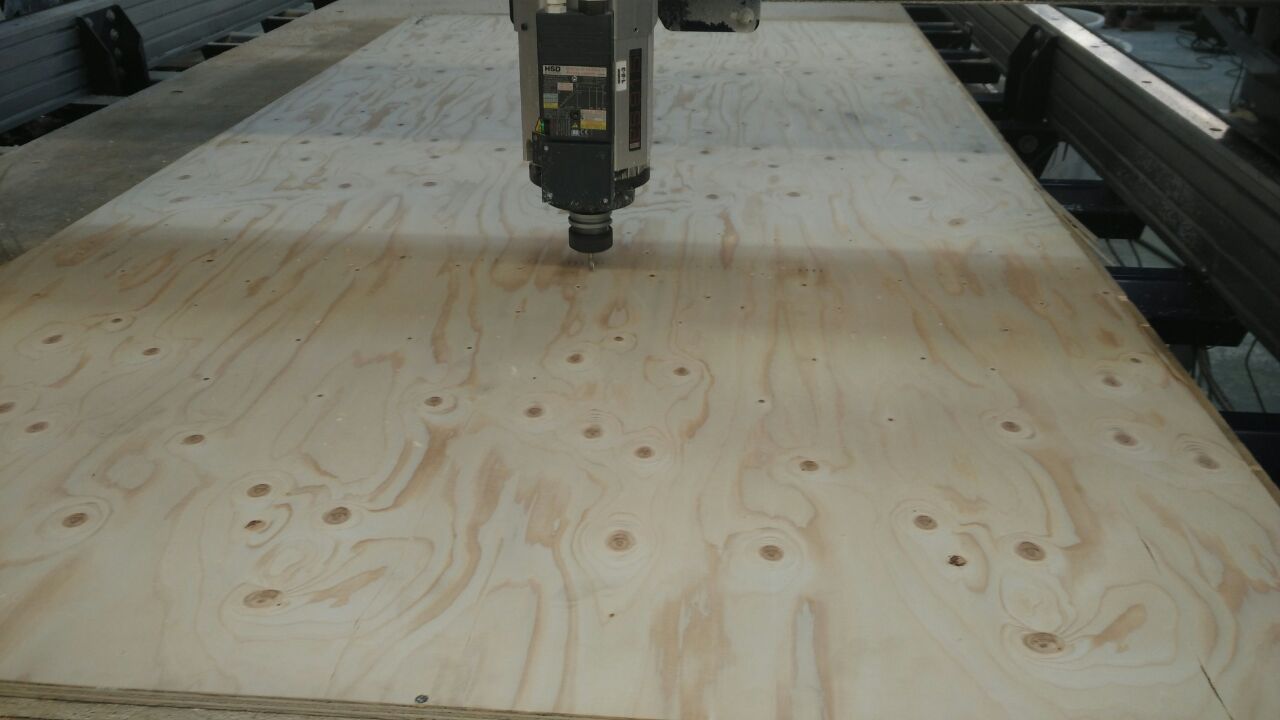
I have sent the rest of the file to cut wood, engraving for letters and joints, and the profile for external cutting. Unfortunately the images of the assembly do not have them, to be able to ensablar everything perfectly I have used a rubber hammer and with the help of a companion in less than 20 minutes I have been able to assemble the whole module.