Assignment
-
Make lasercutter test part(s), varying cutting settings and slot dimensions
-
Cut something on the vinylcutter
-
Design, make, and document a parametric press-fit construction kit,accounting for the lasercutter kerf, which can be assembled in multiple ways
Make lasercutter test part(s)
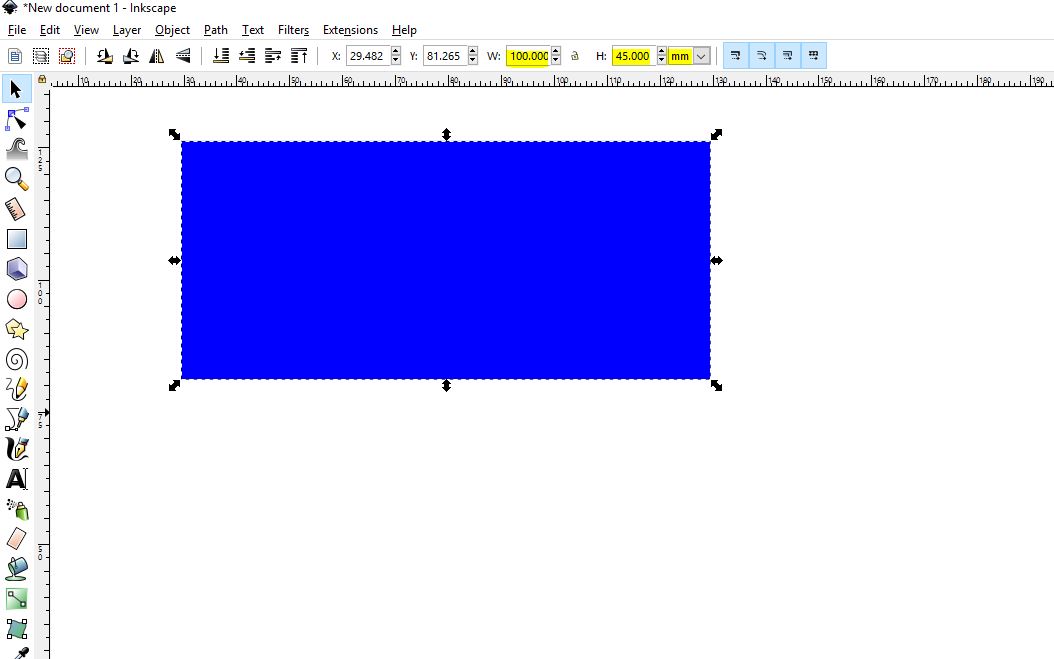
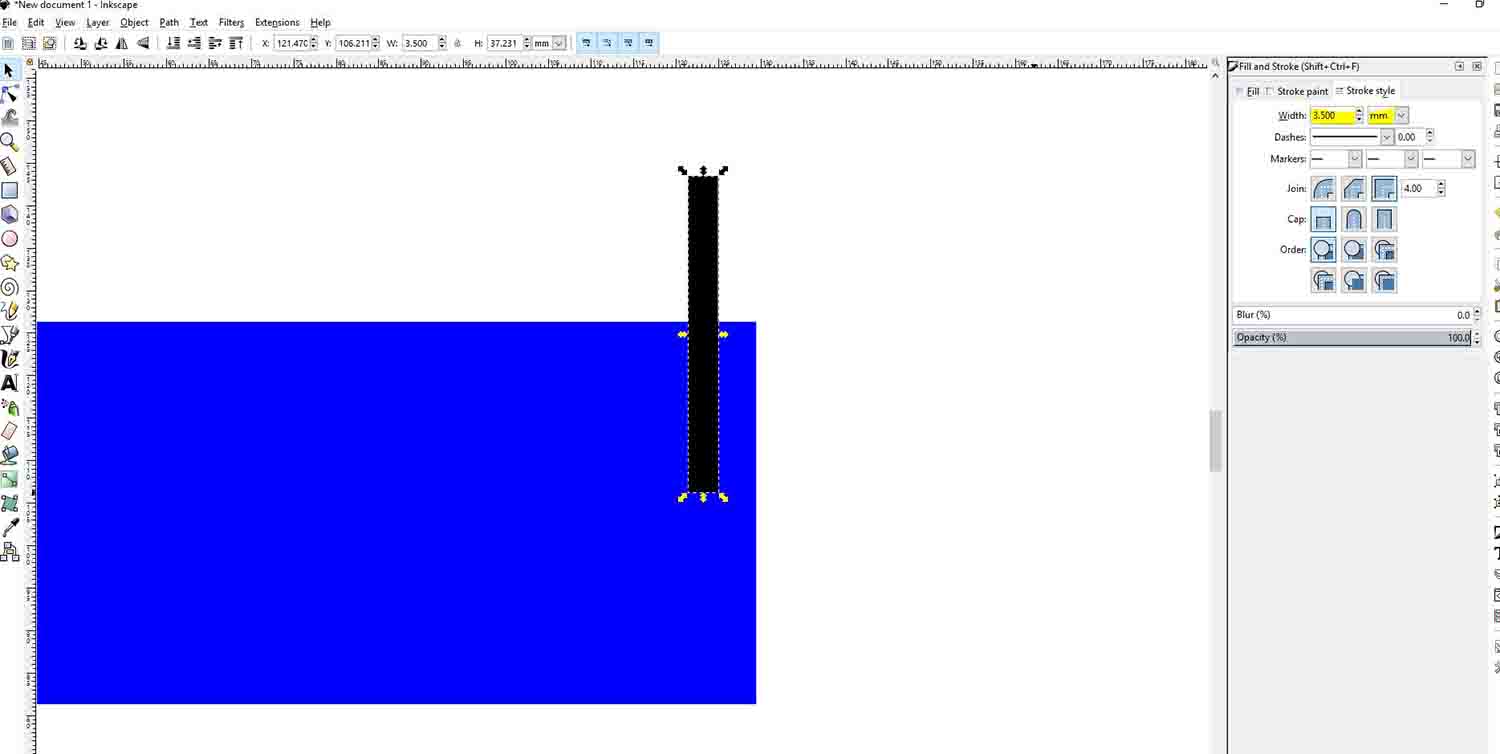
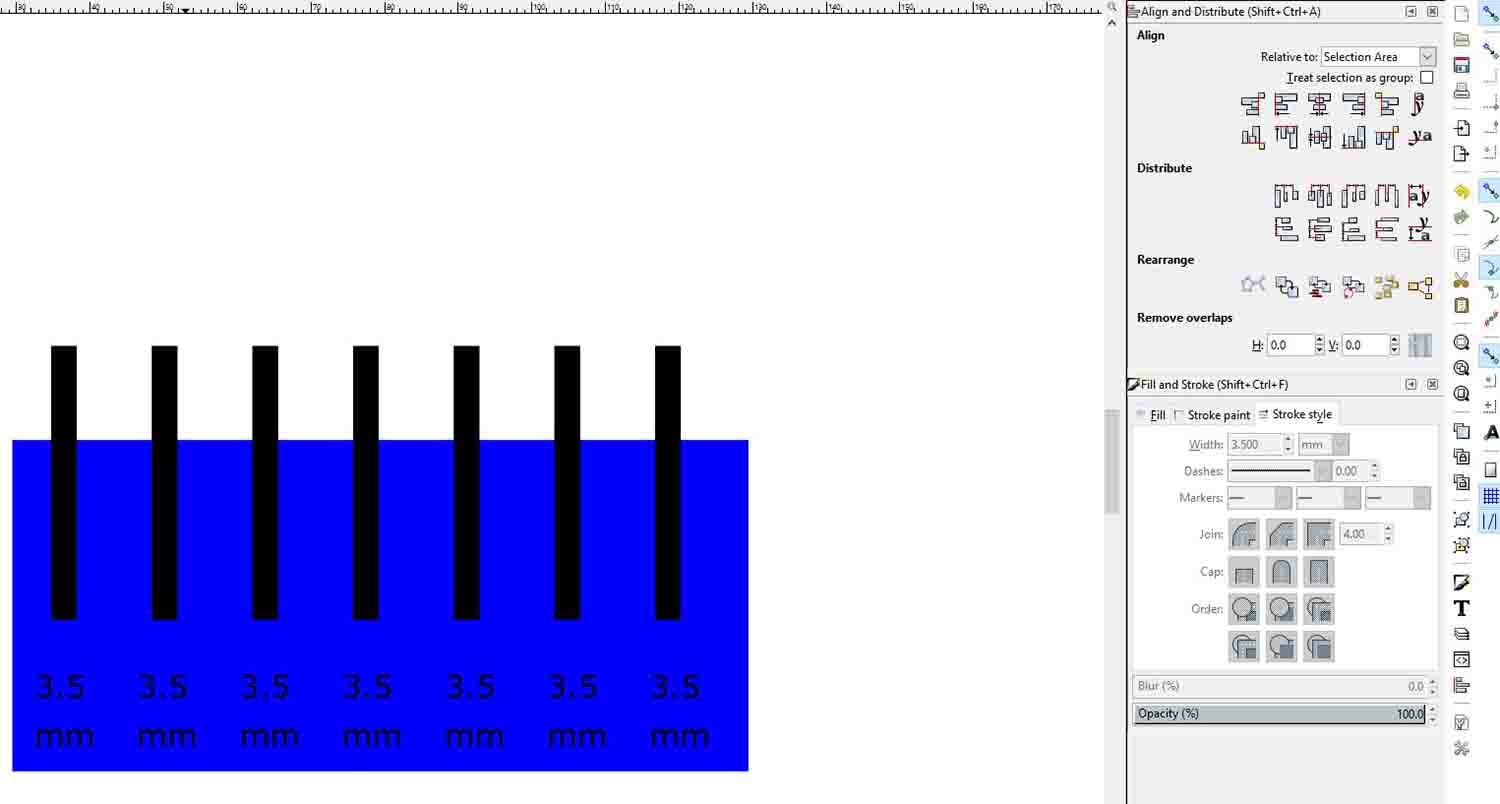
One of the more important parts is the offset create when cutting in laser, is very important calculate this offset, for making a right cut and all piece work together. In this exercise using Inkscape for creating a rule with different width. I make another rule in Qcad, is easier calculate correctly the different size and export to a rhino. Use Rhino for sending the file to a laser cut, and use especial software for change the power and velocity depending on the material cut.
Inskcape

Qcad


Prepare laser cutting
To send the file to lasercut we use rihno, we export our file, in my case a dxf to rhino, and we prepare everything as if we print a normal file, this allows us to change several parameters of the laser printer, such as type of material to be used, measurement of the working area, etc.

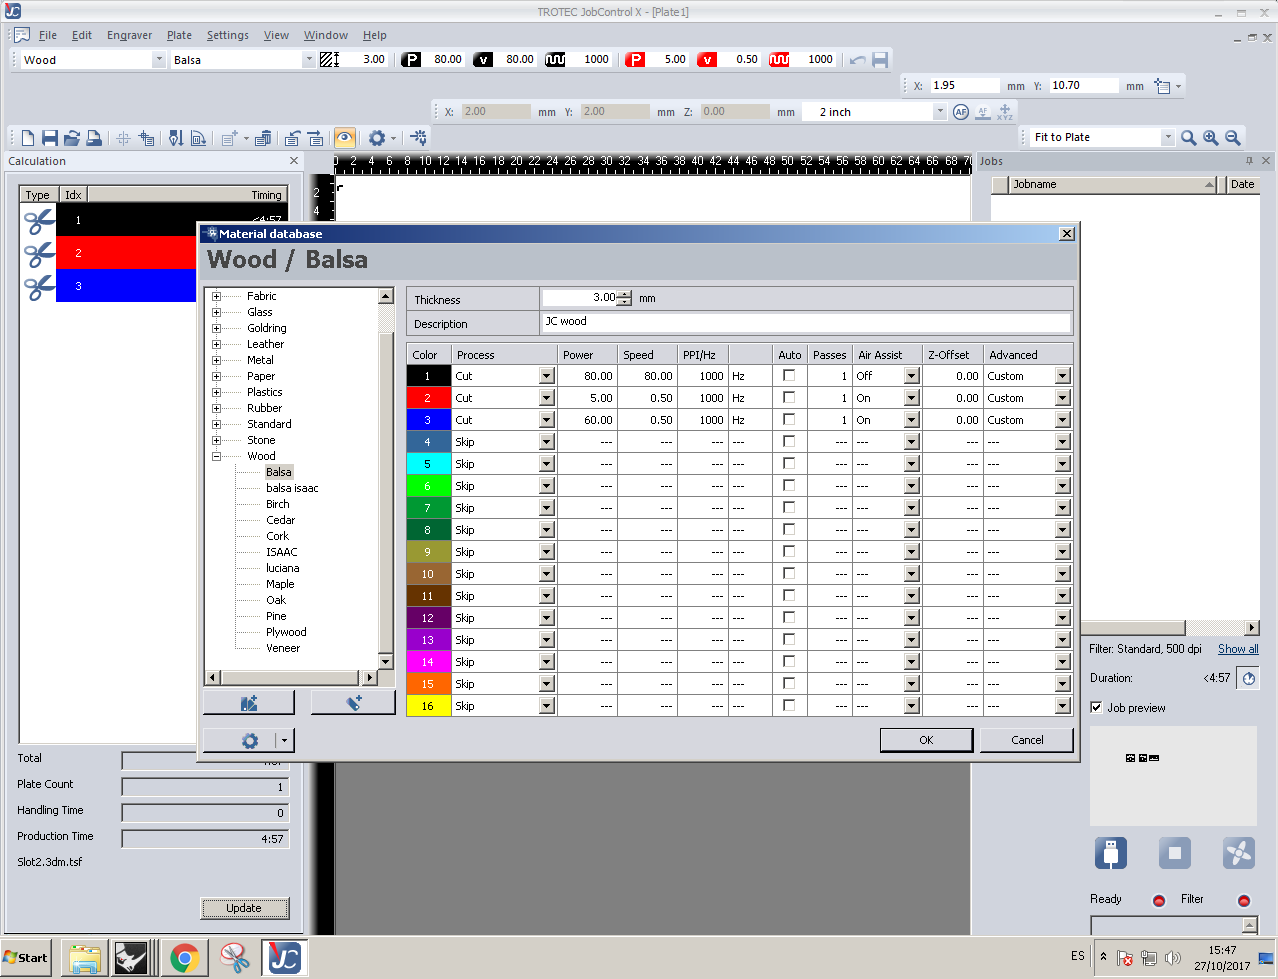
Windows printer for trotec laser cut

Once the file has been sent, a special trotec program is opened, which is the one that communicates with the laser cutter, this one is in charge of managing all the parameters that we need, if we use a files by layers of colors, in this we can indicate different parameters according to the color of this, to cut carton we will use the black layer, with the following parameters that are predefined by the machine, power: 15 and speed: 1,4.

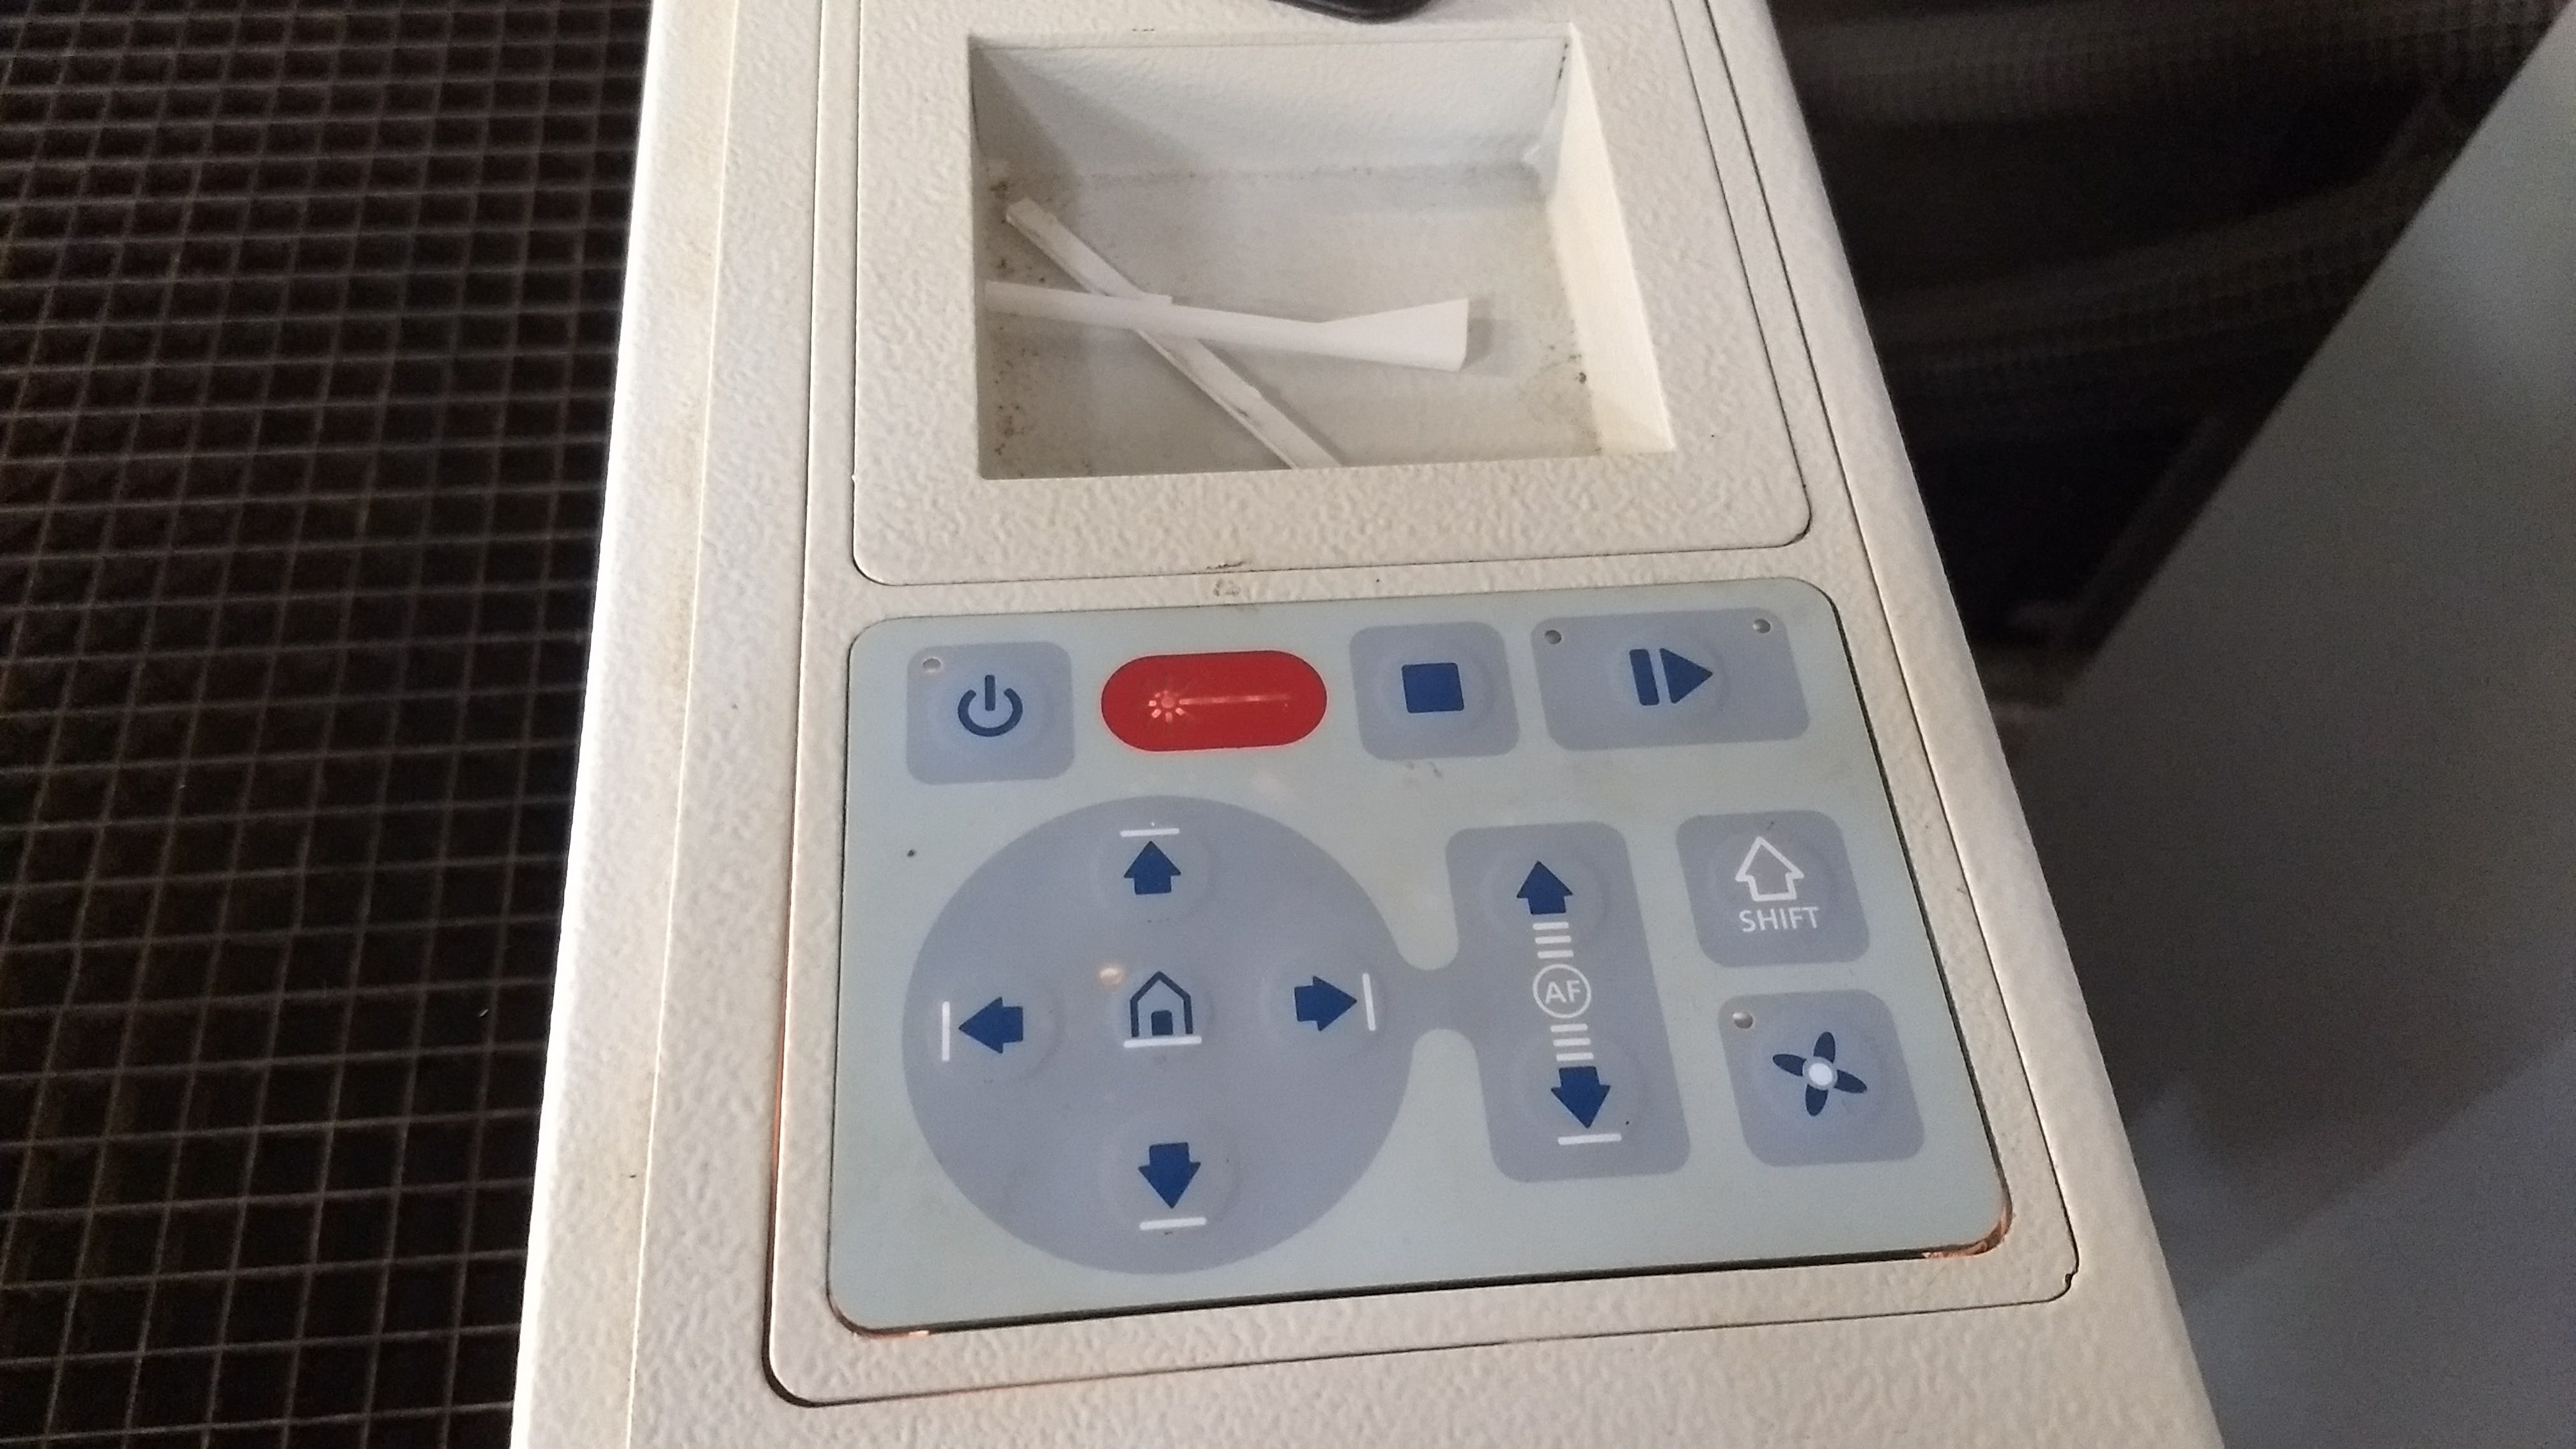
To locate the beginning of the laser we will use the cursors that we have in the machine, if we will see on the trotec program a cross that indicates where the laser is located and this will be our point 0,0.

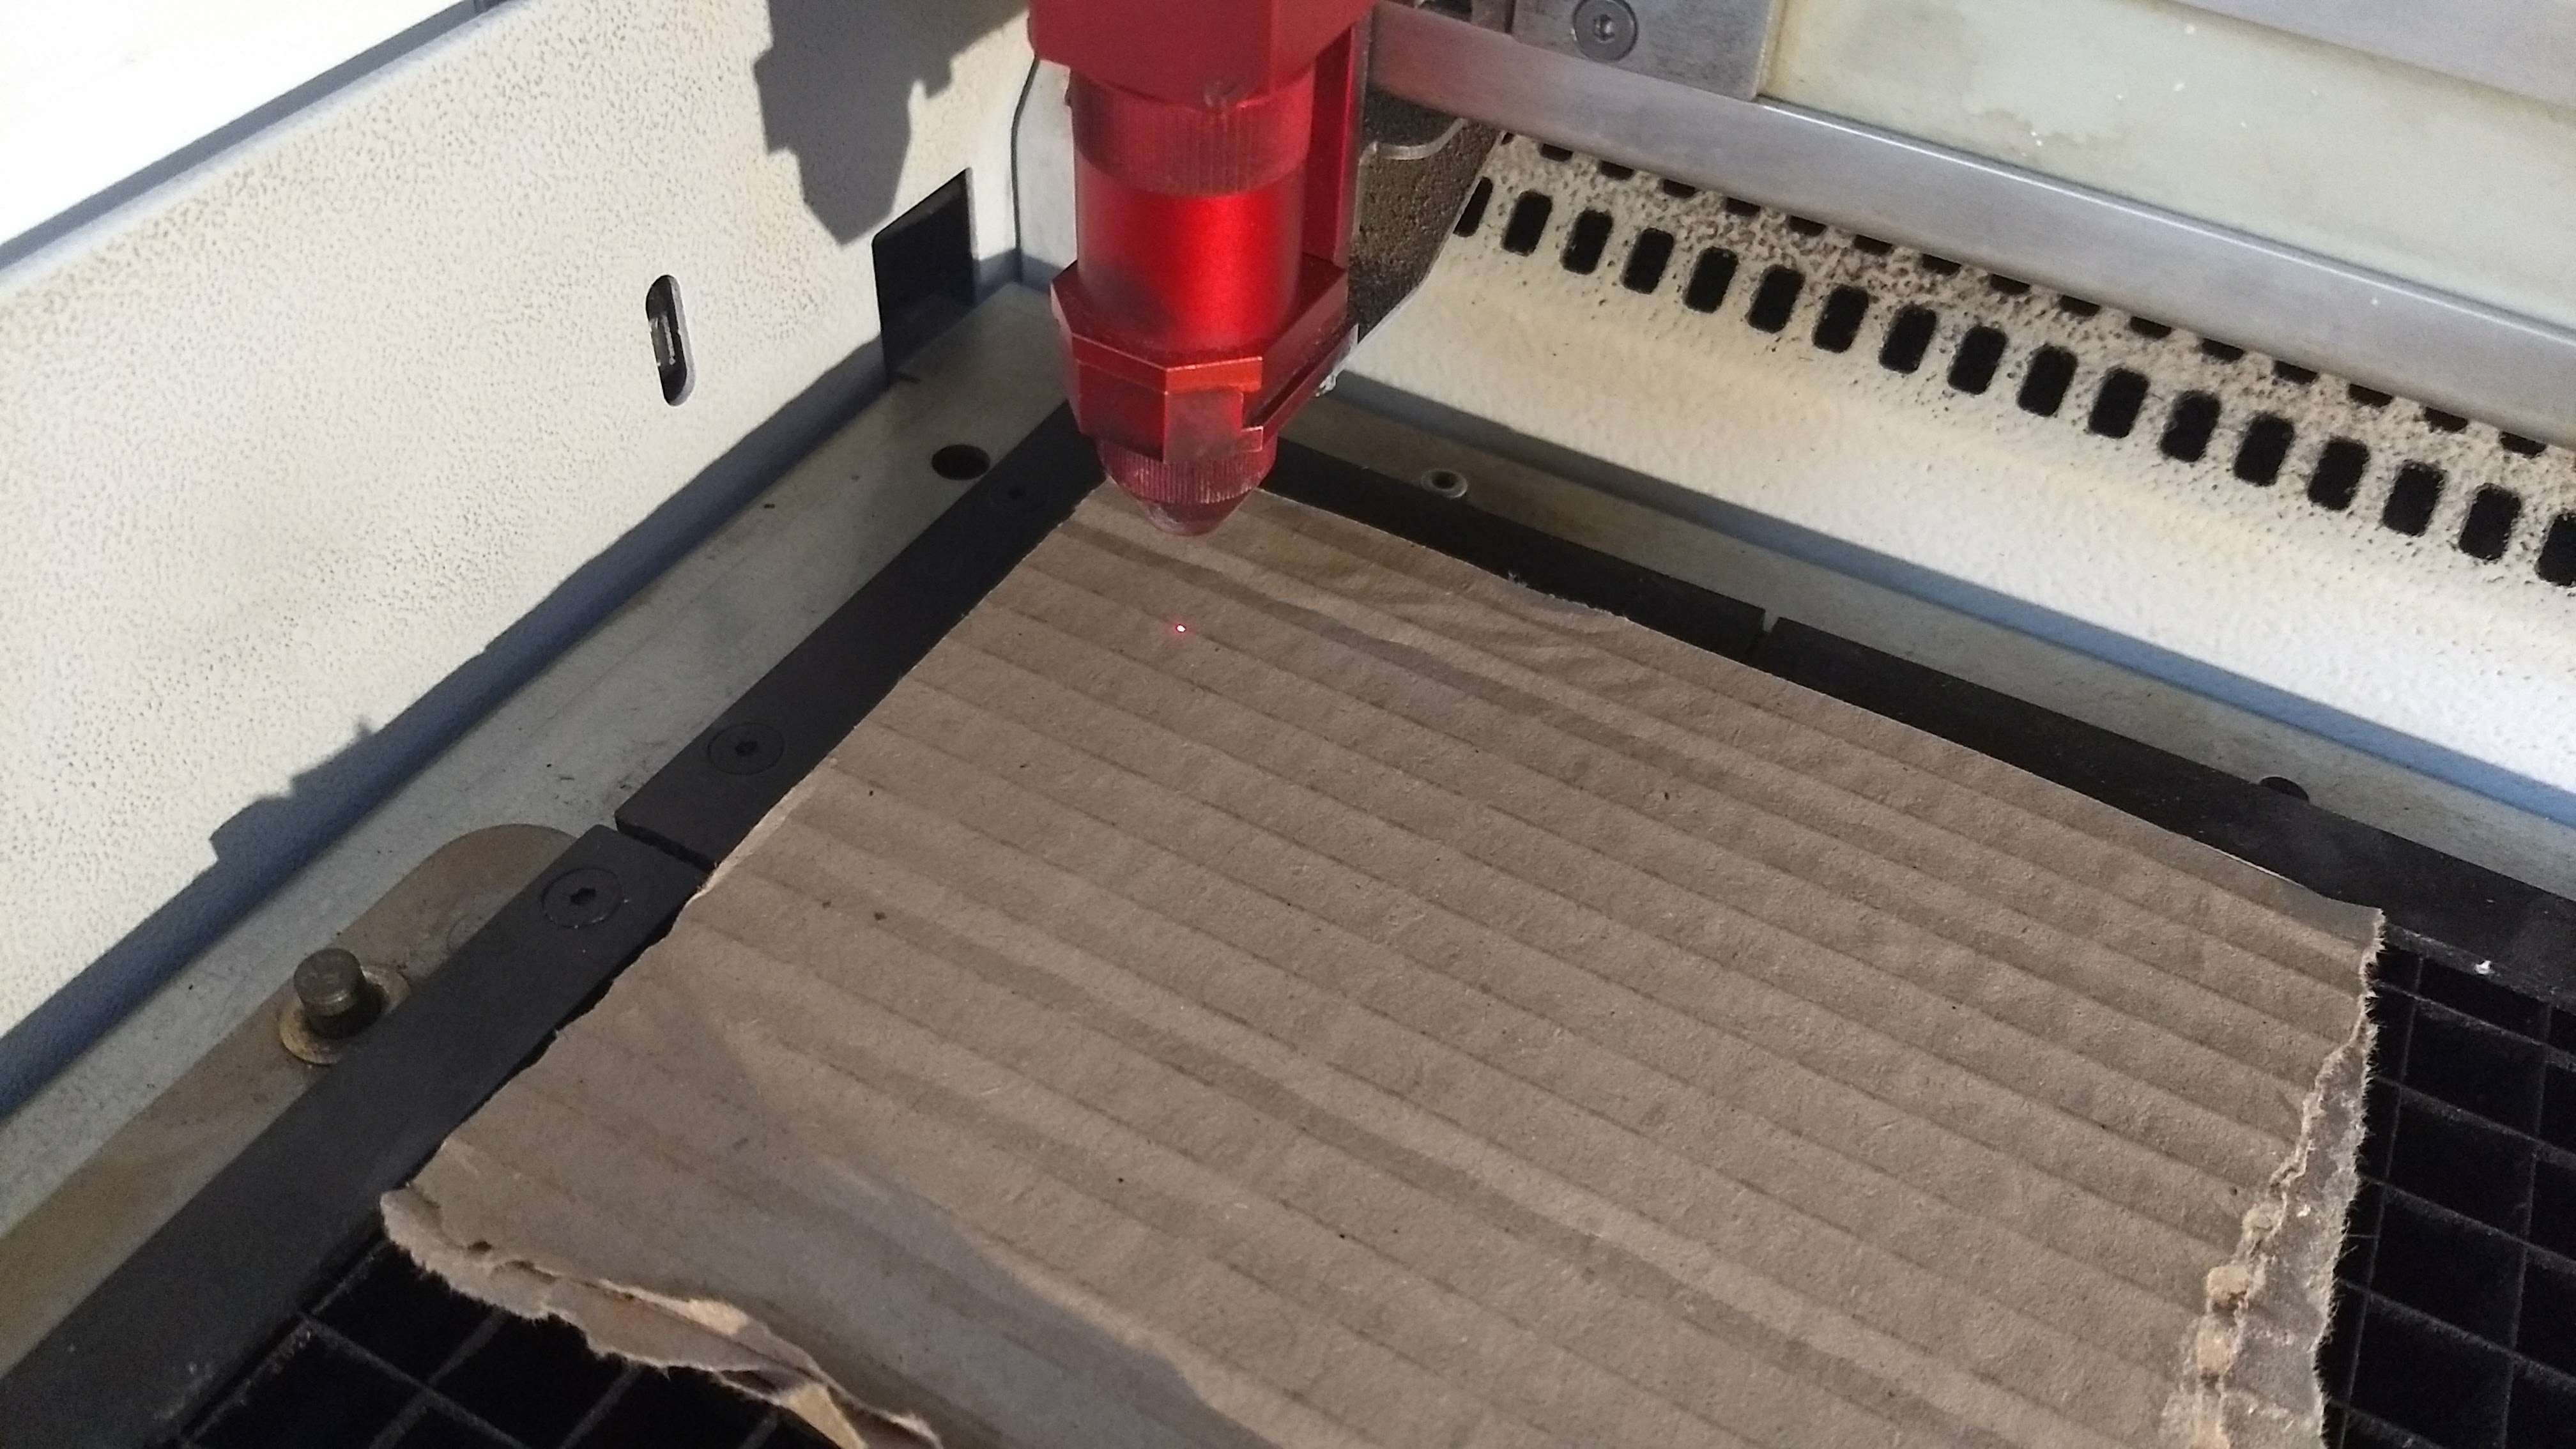
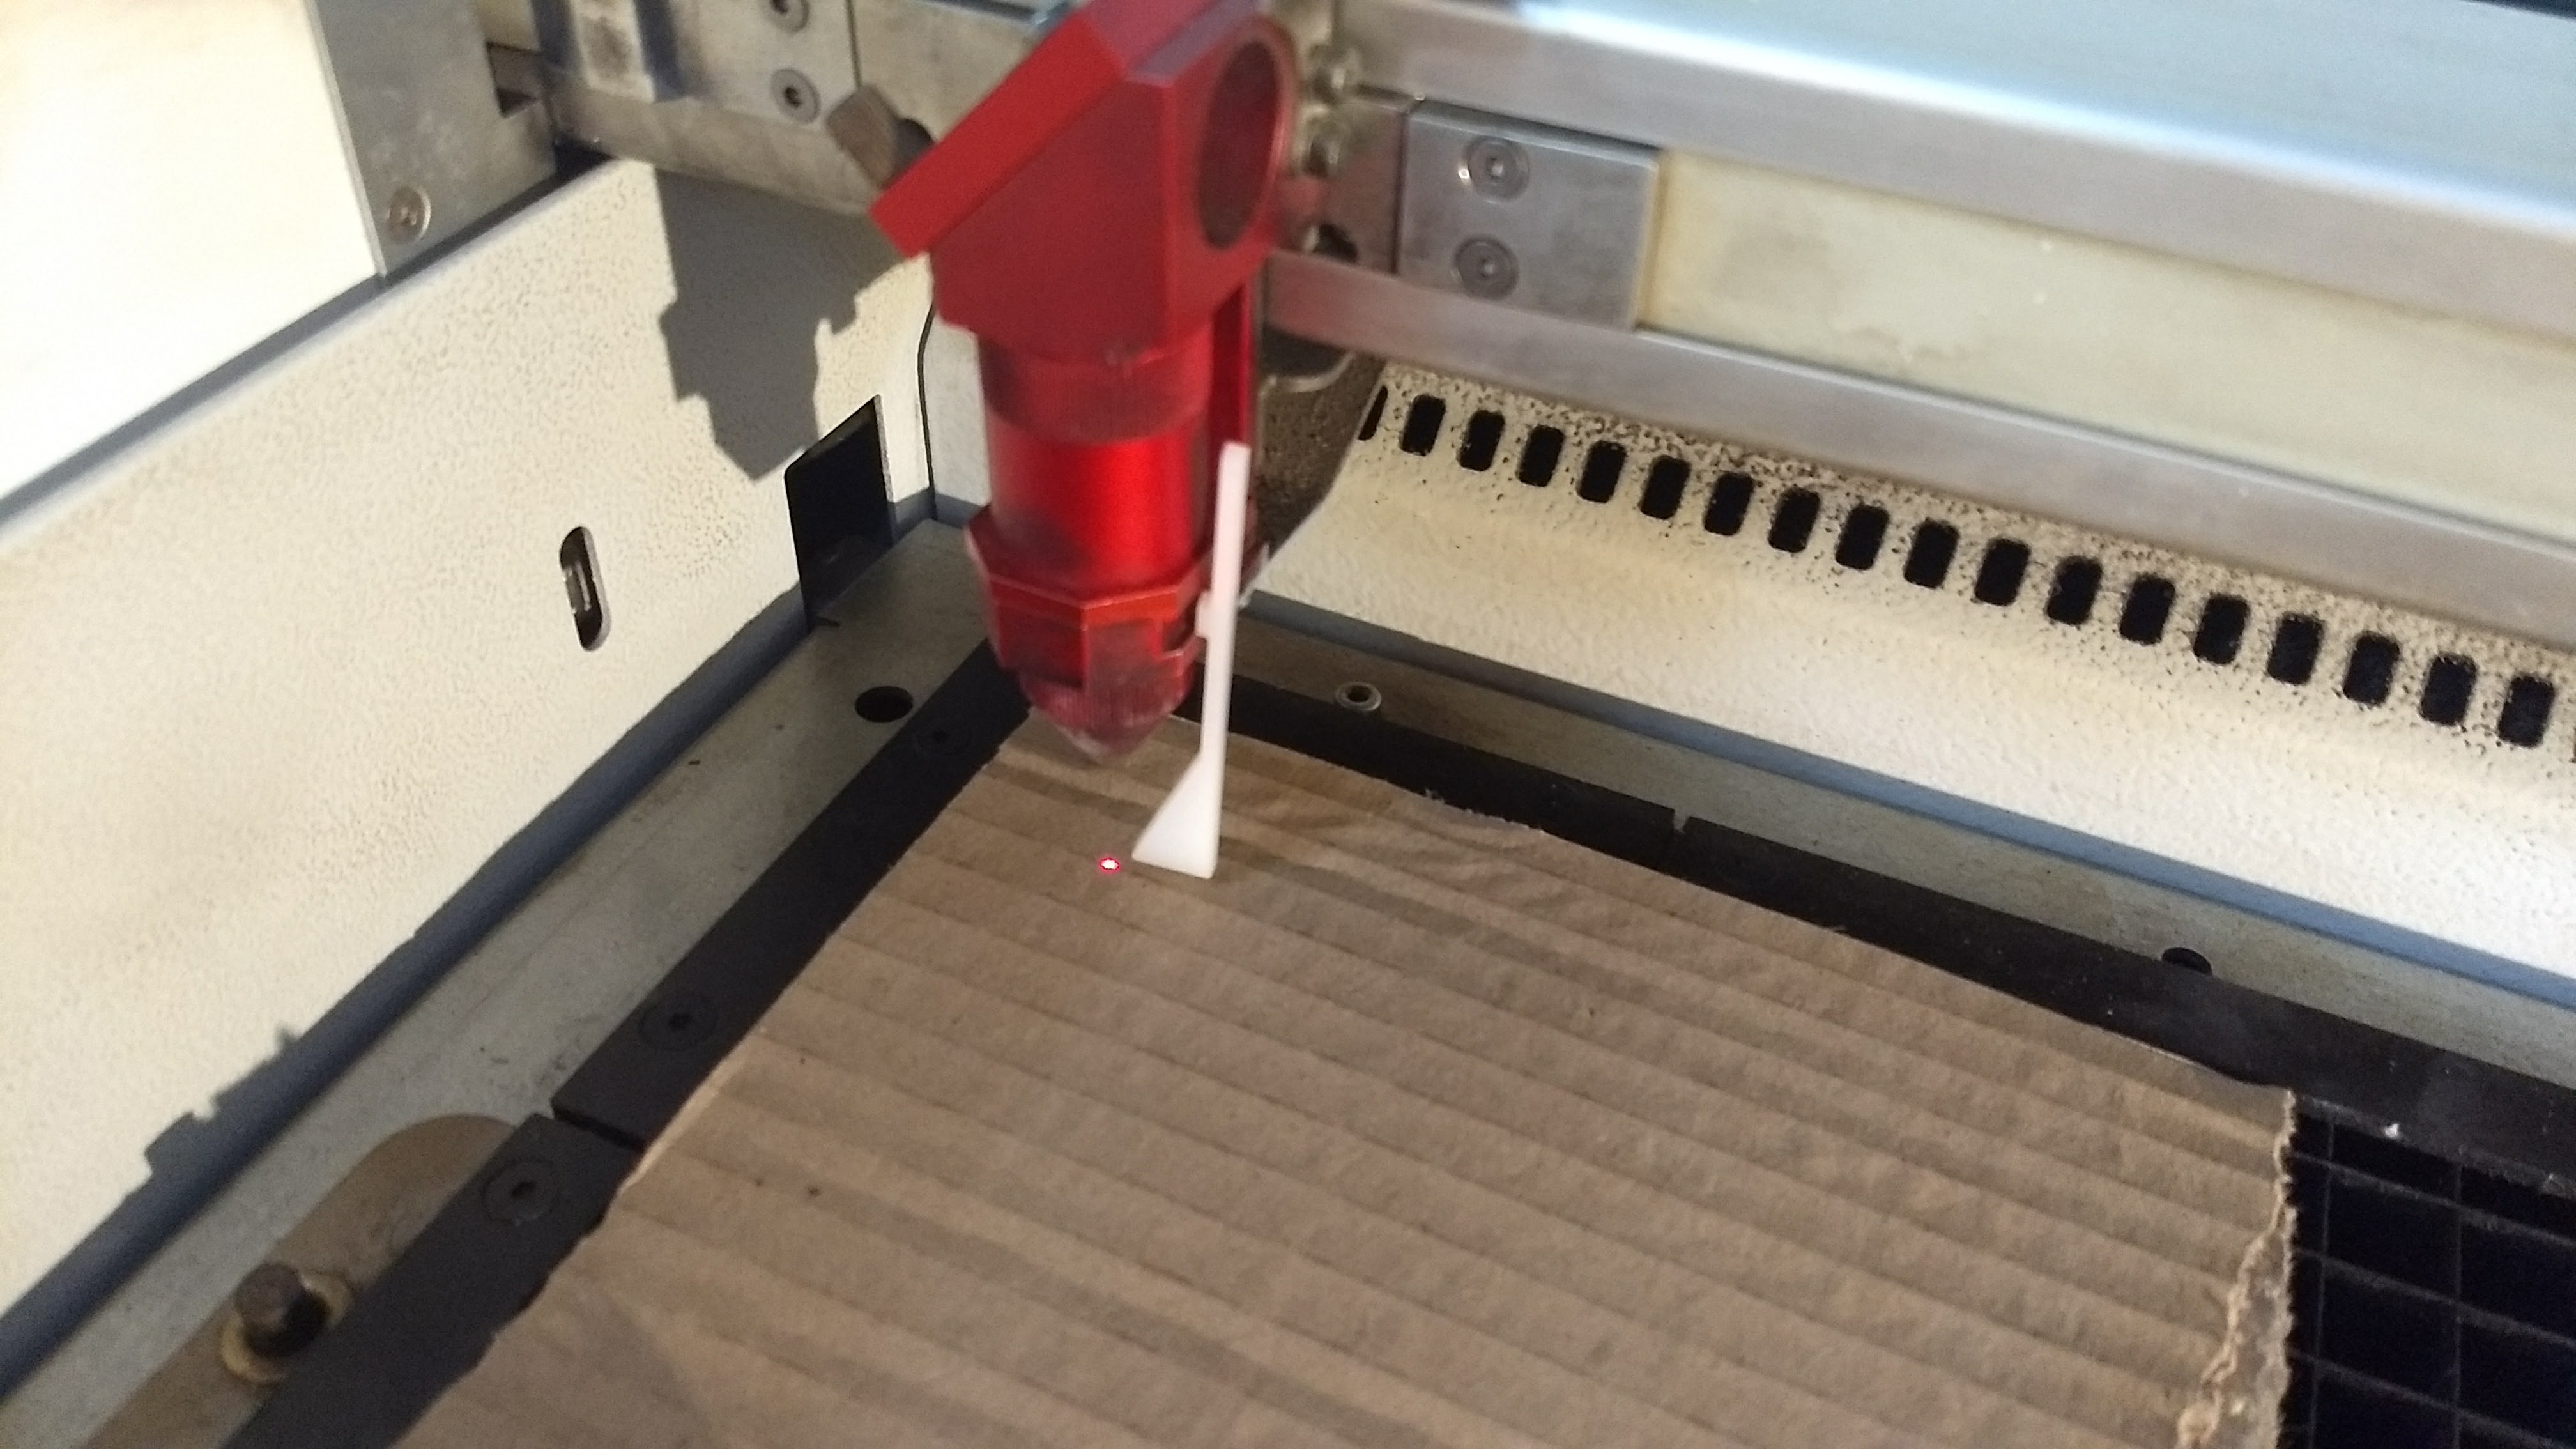
To calibrate the Z you must place the material in the machine and use the focusing tool, it is simply leaning on the laser and moving the platform until it touches and falls alone, this way we have the laser focused correctly.
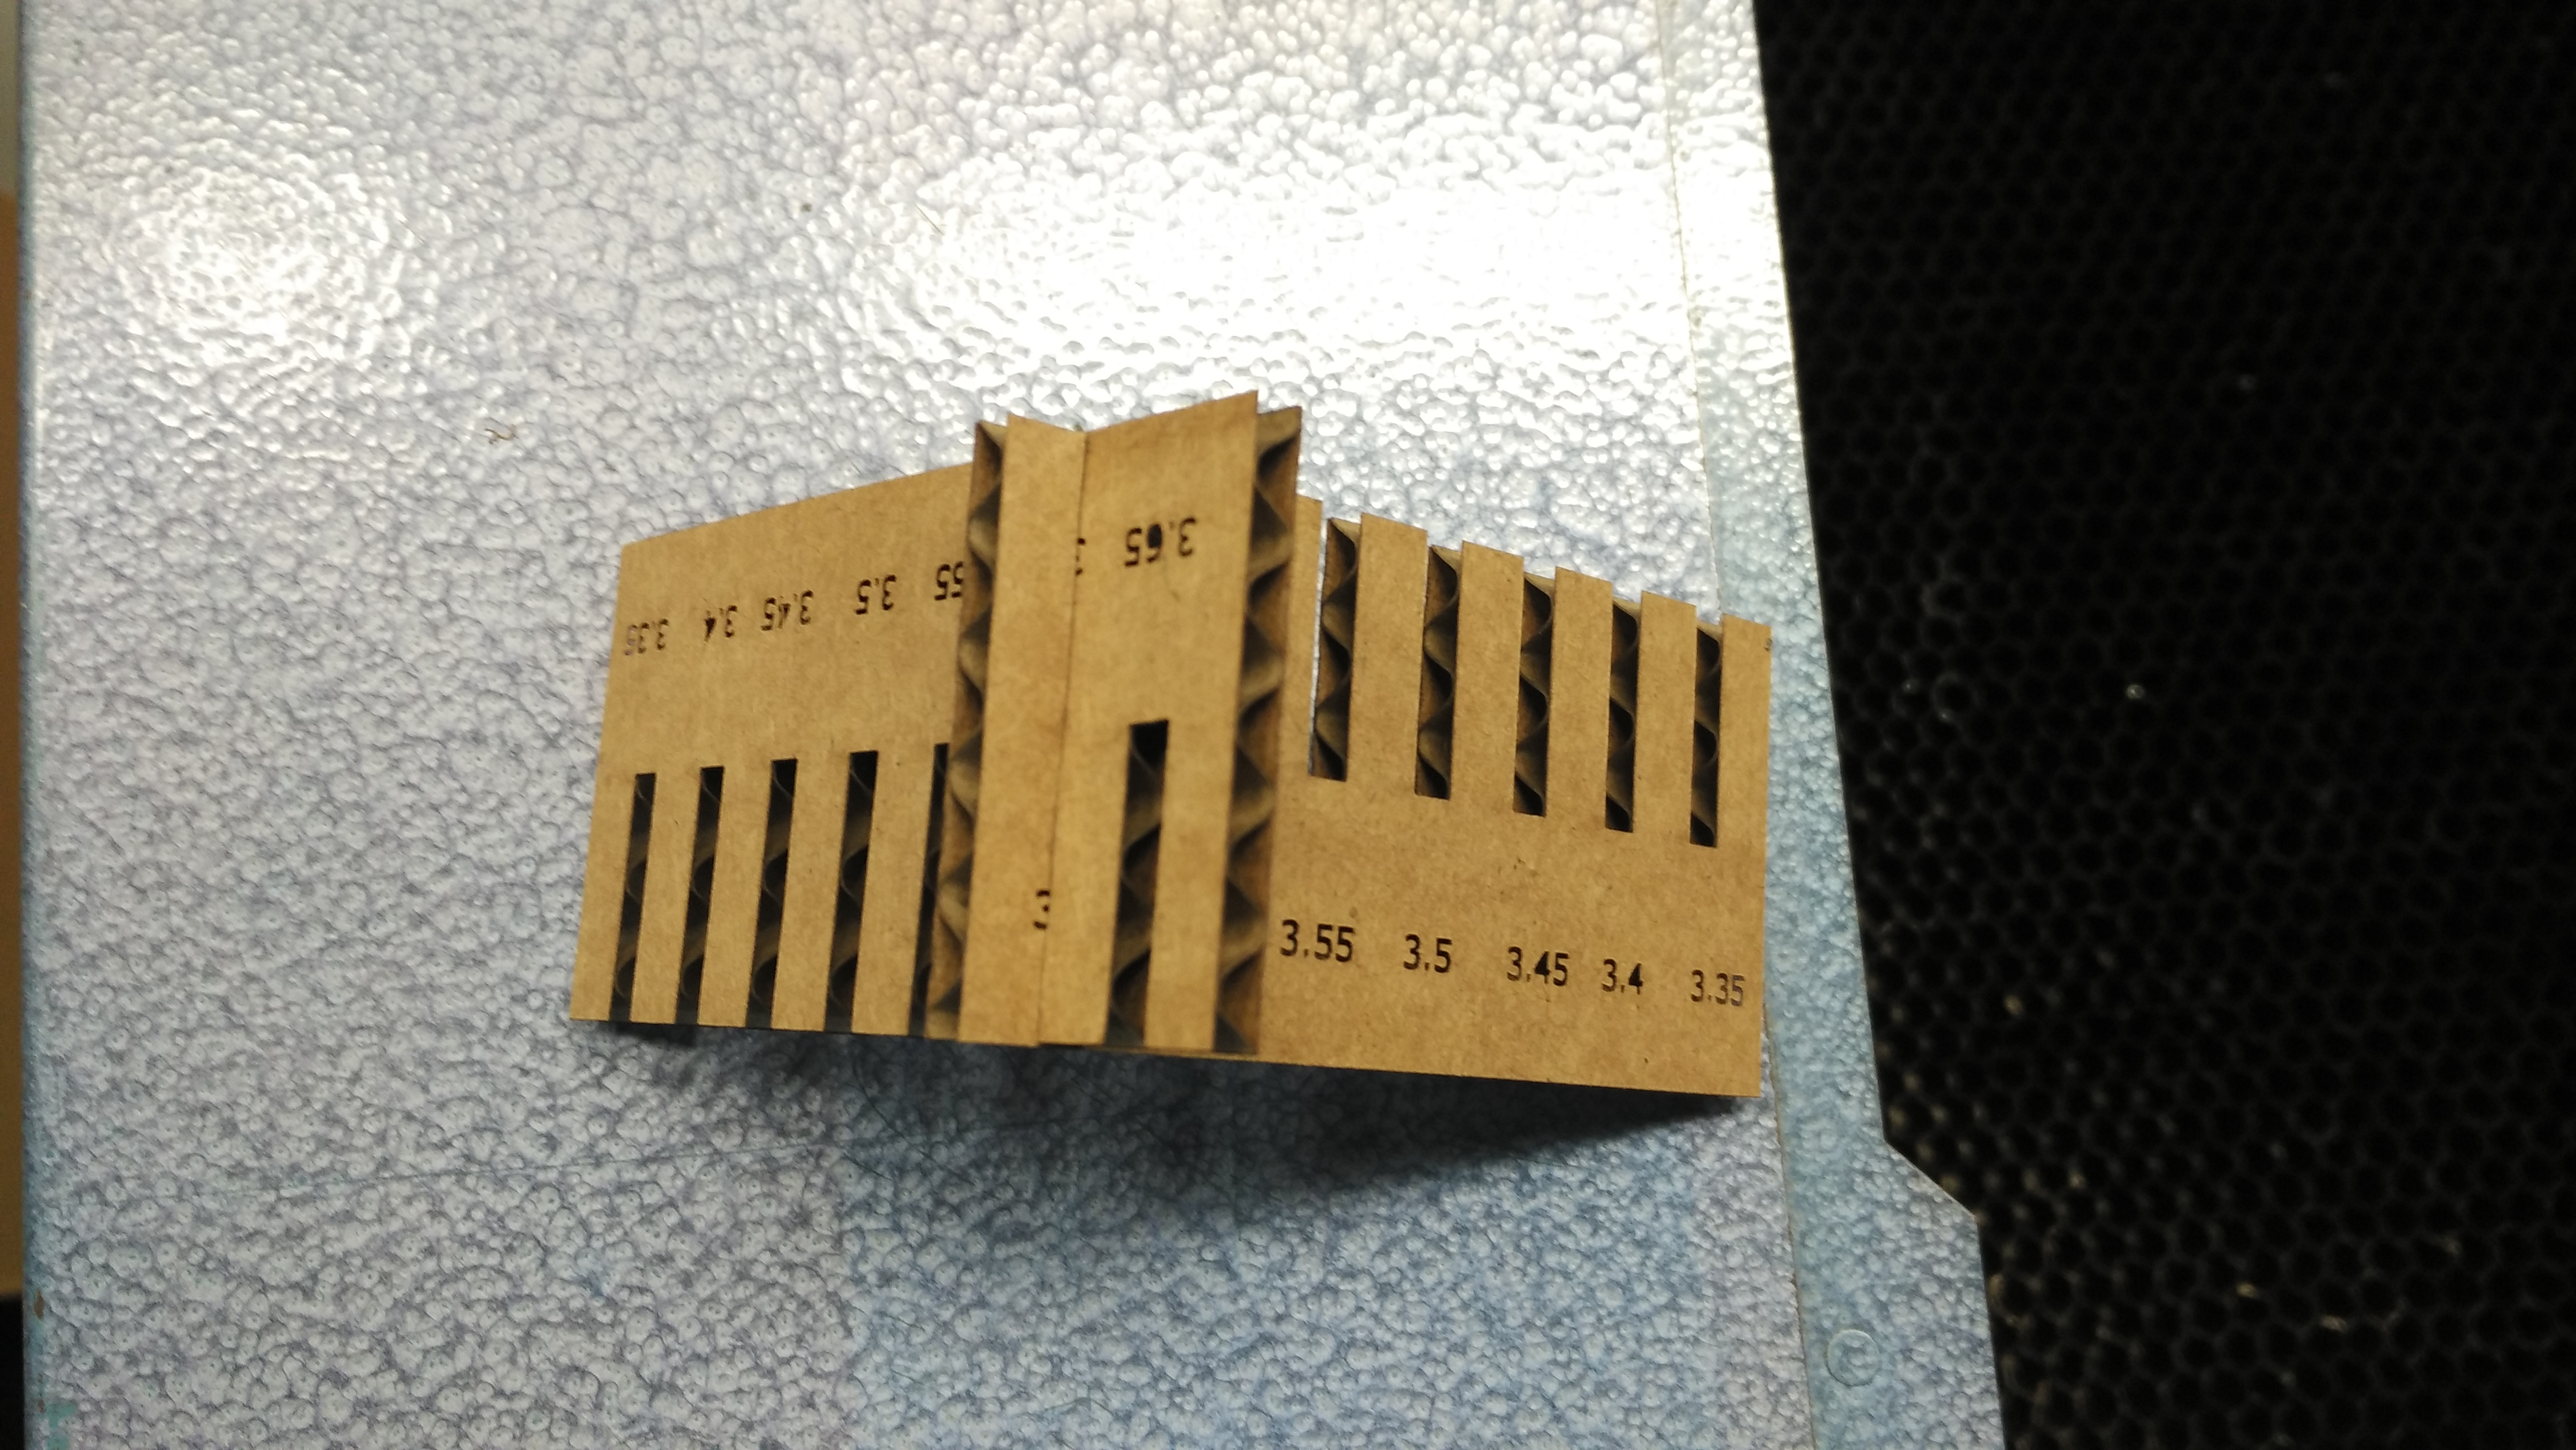
Final Test

It is important to do this test with different materials and configurations, to know how the laser cutter in them, in our case the carton so that the pieces fit perfectly we need to apply an kerf of 0.05mm, the thickness of the carton is 3.5 mm.

Engraving test
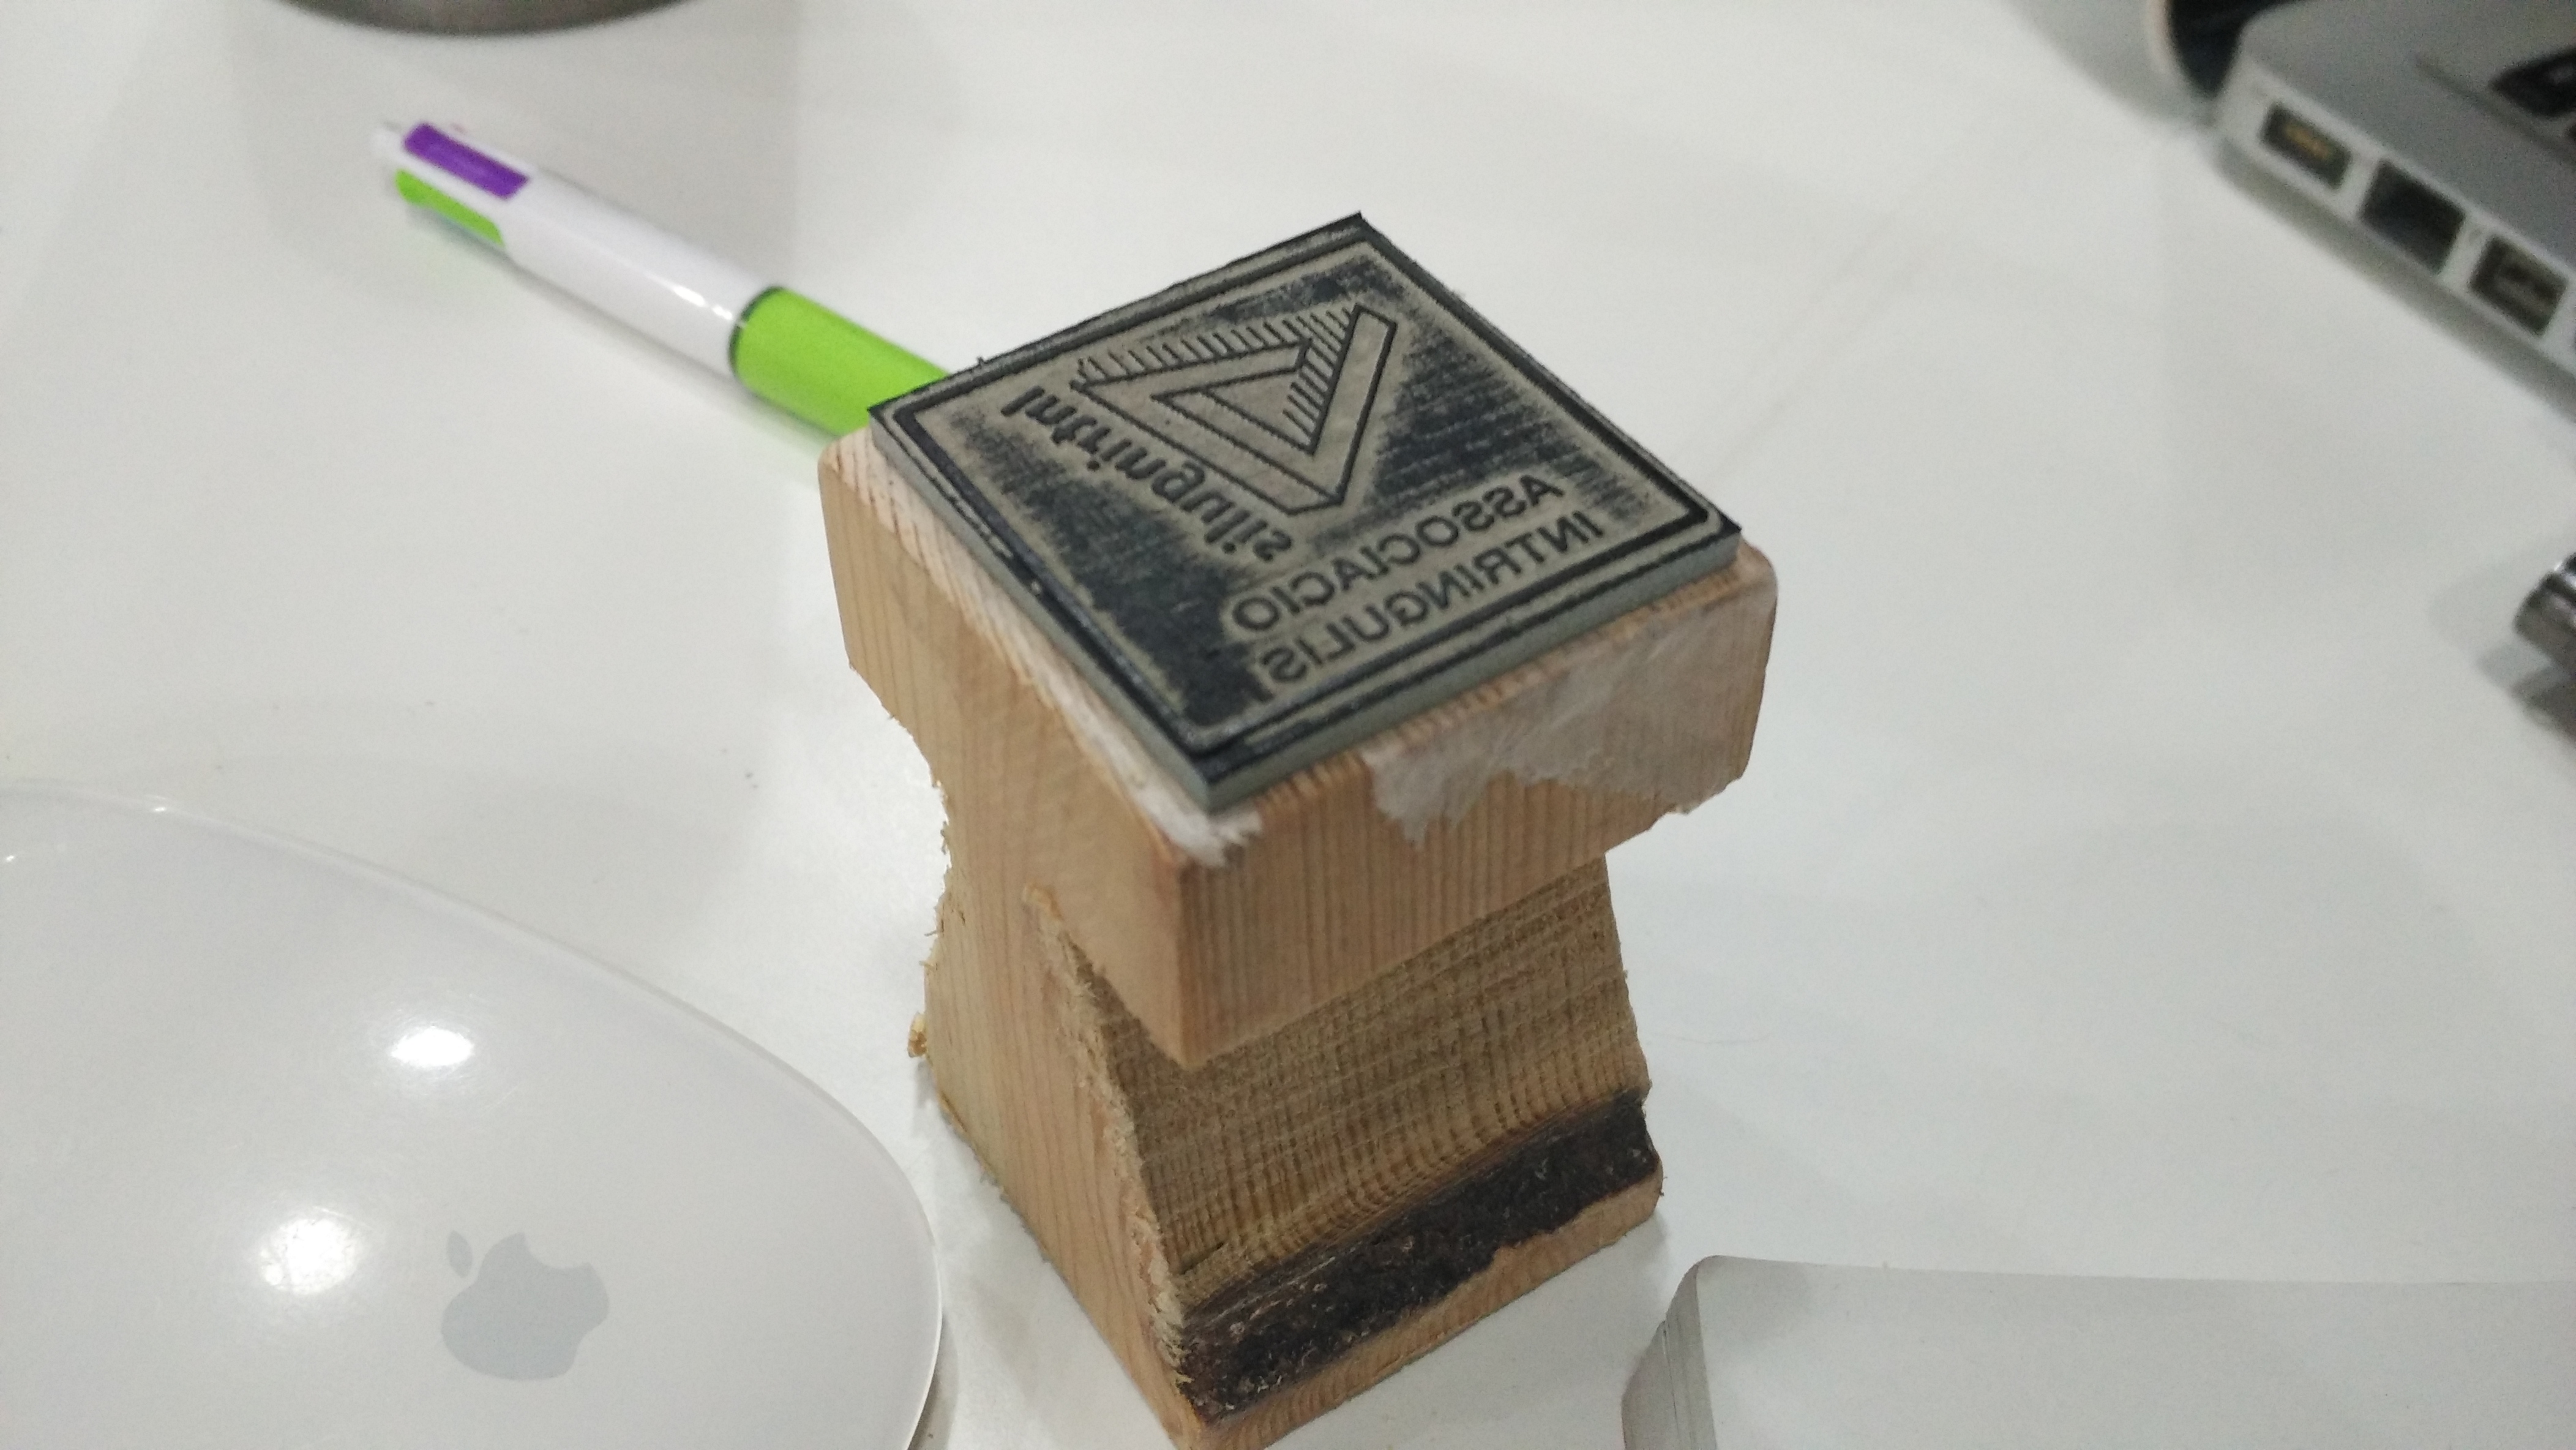
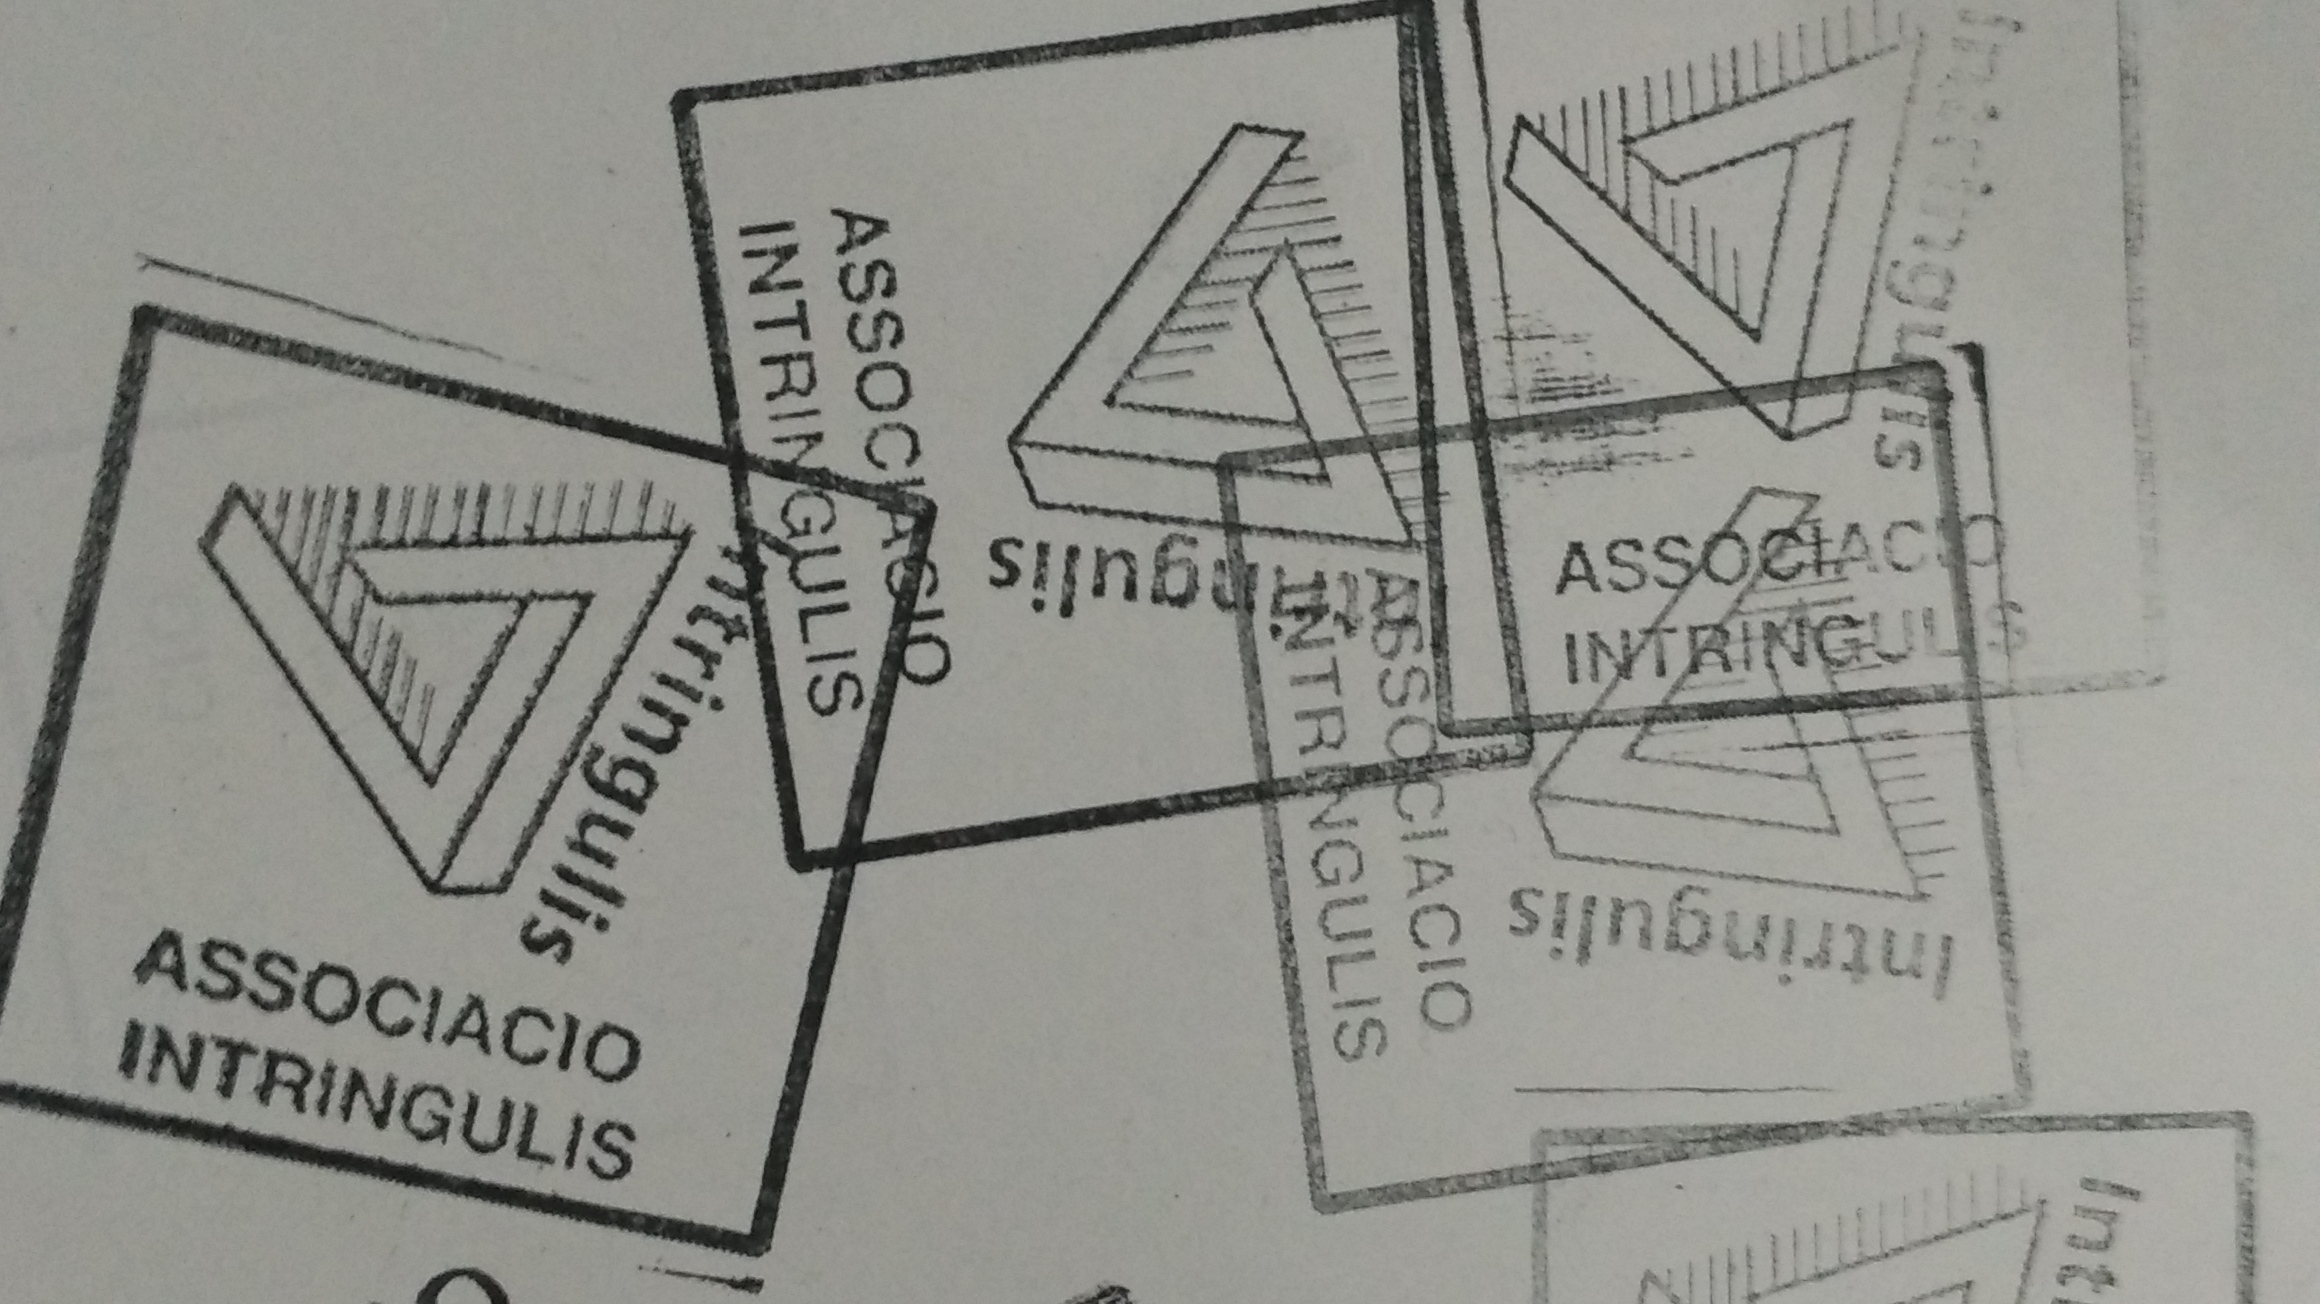
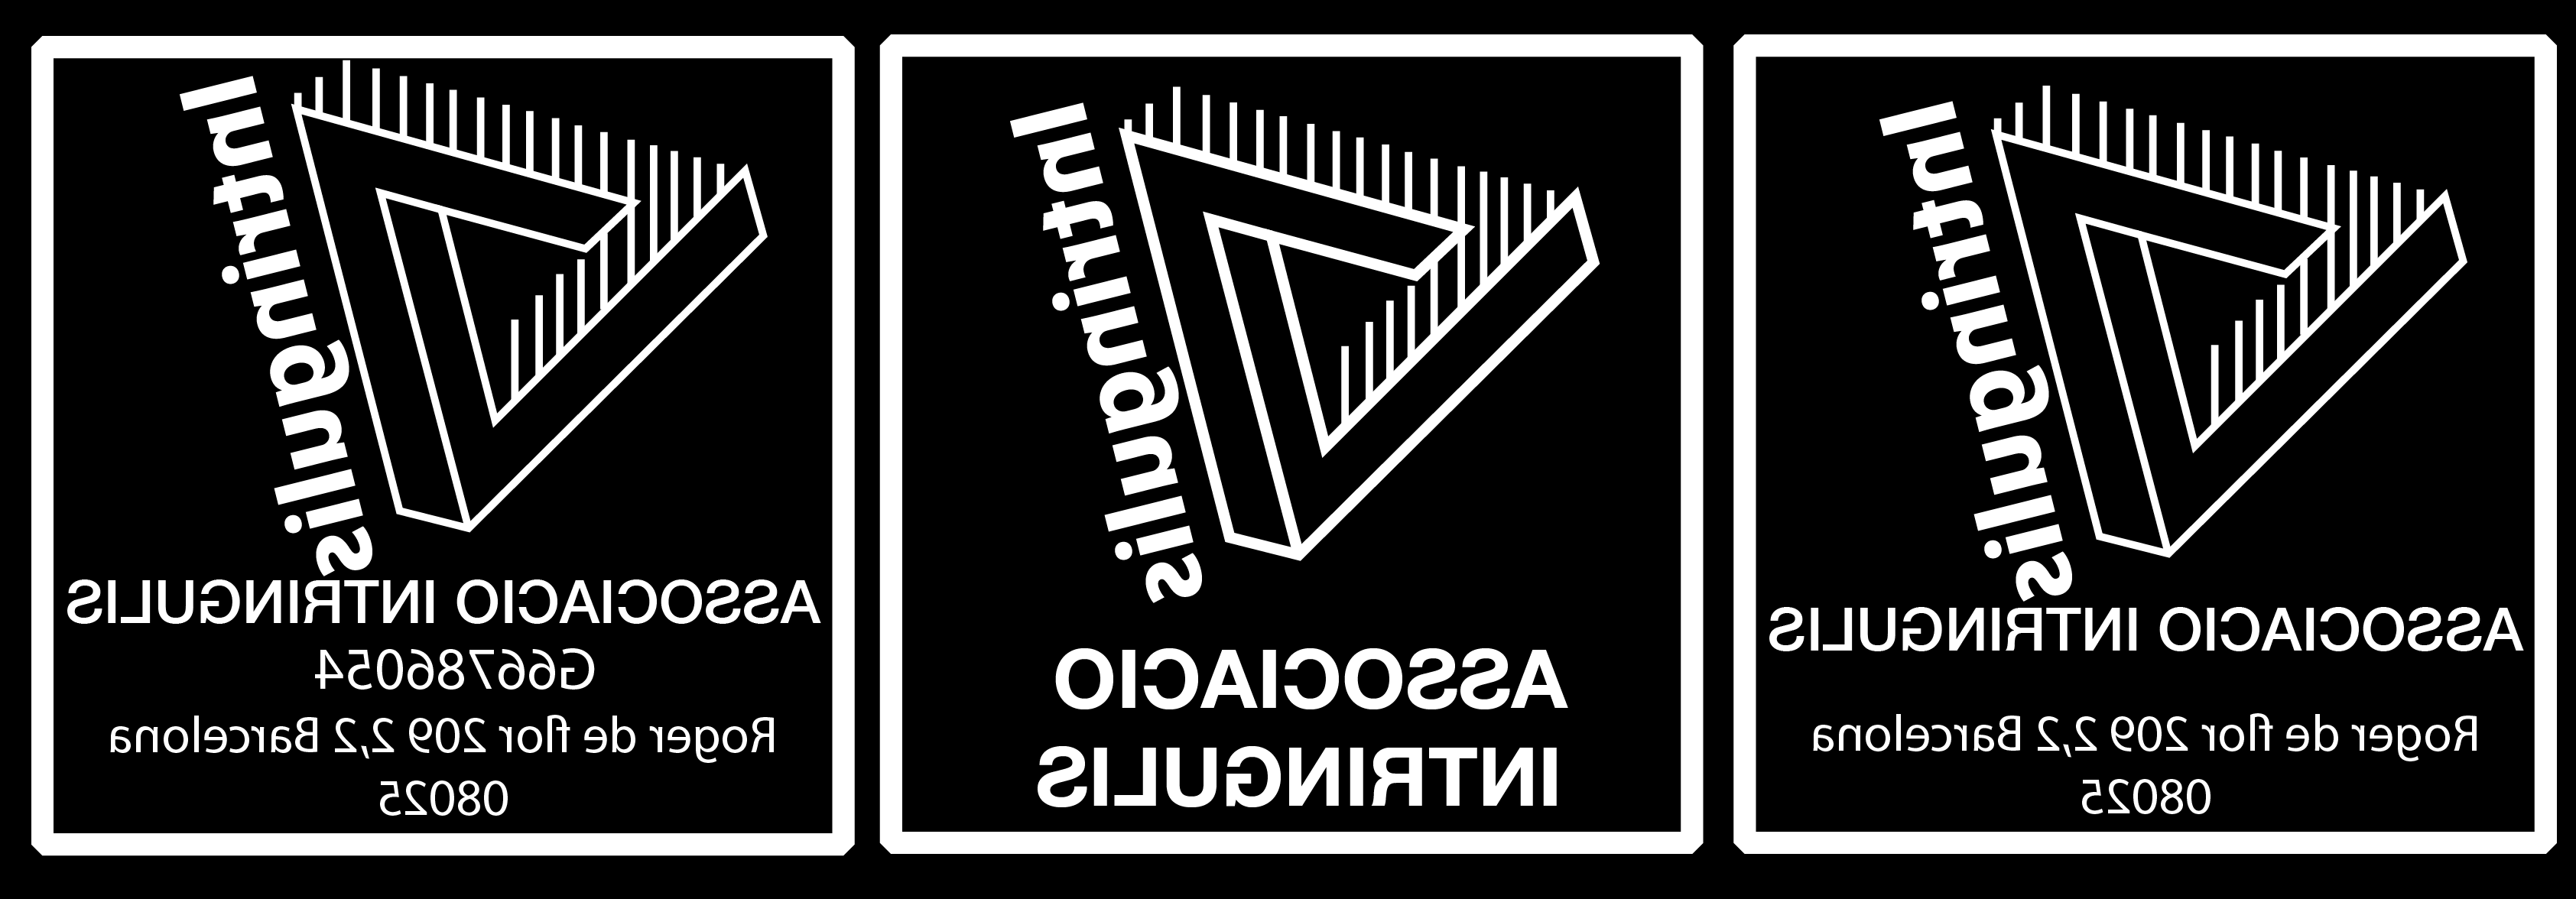
When I finish the kerf test, I decide to see what possibilities to use other materials with the laser cutter, and I decided to use the laser to create my own label, I went to the art shop and bought a linoleum sheet. I created the logo in Inkscape and I configured the laser cutter to make an engraving. The result has been very well, to finish the project I created the block in wood and pasted the seal there. To achieve this seal, I have combined the parameters of the laser to create an engraving and thus avoid cutting the linoleum, it is important to perform several tests to see if the result is expected.
Inkscape logo and engraving


Final result
Cut something on the vinylcutter
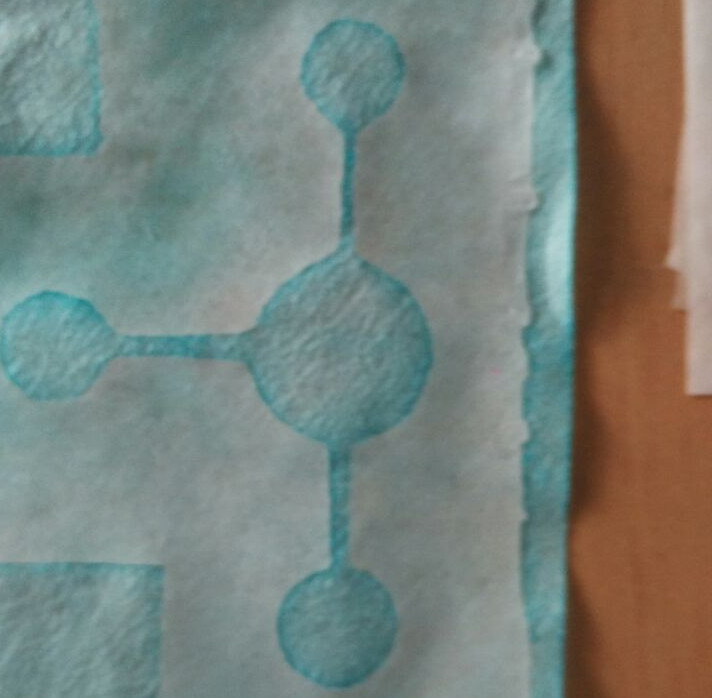
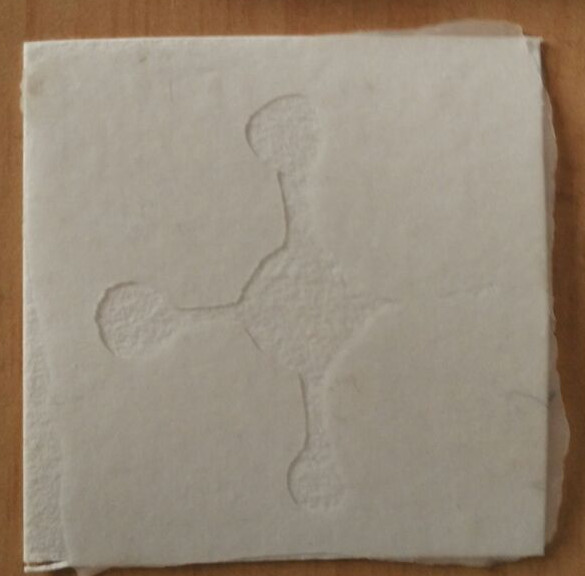
I decide use a vinulcutter for make some expiriment, user the parafilm (Link) i trai make a microfluidics device, using paper and parafilm example.
The drawings made in Qcad and exported to the program of the vinyl cutter, first he performed a test on the paper to see if the design he realized was cut possible. In order to be able to cut the parafilm with the cutter and vinyl, it is necessary to prepare it, which will age our parafilm sheet in a DINA4 since the parafilm but there is no correction of the correction of movement in the cutter. Another point to take into account is the position and size of our sheet, as the machine will take the dimensions of DIN4, so the values are put manually. After several tests, achieved that the parafilm is perfectly cut. Once we have our design in the parafilm, we now apply heat on it and a sheet that absorbs the sea, so that the parafilm is stuck in it and sealed, giving it the shape that we have designed.
Design and initial test
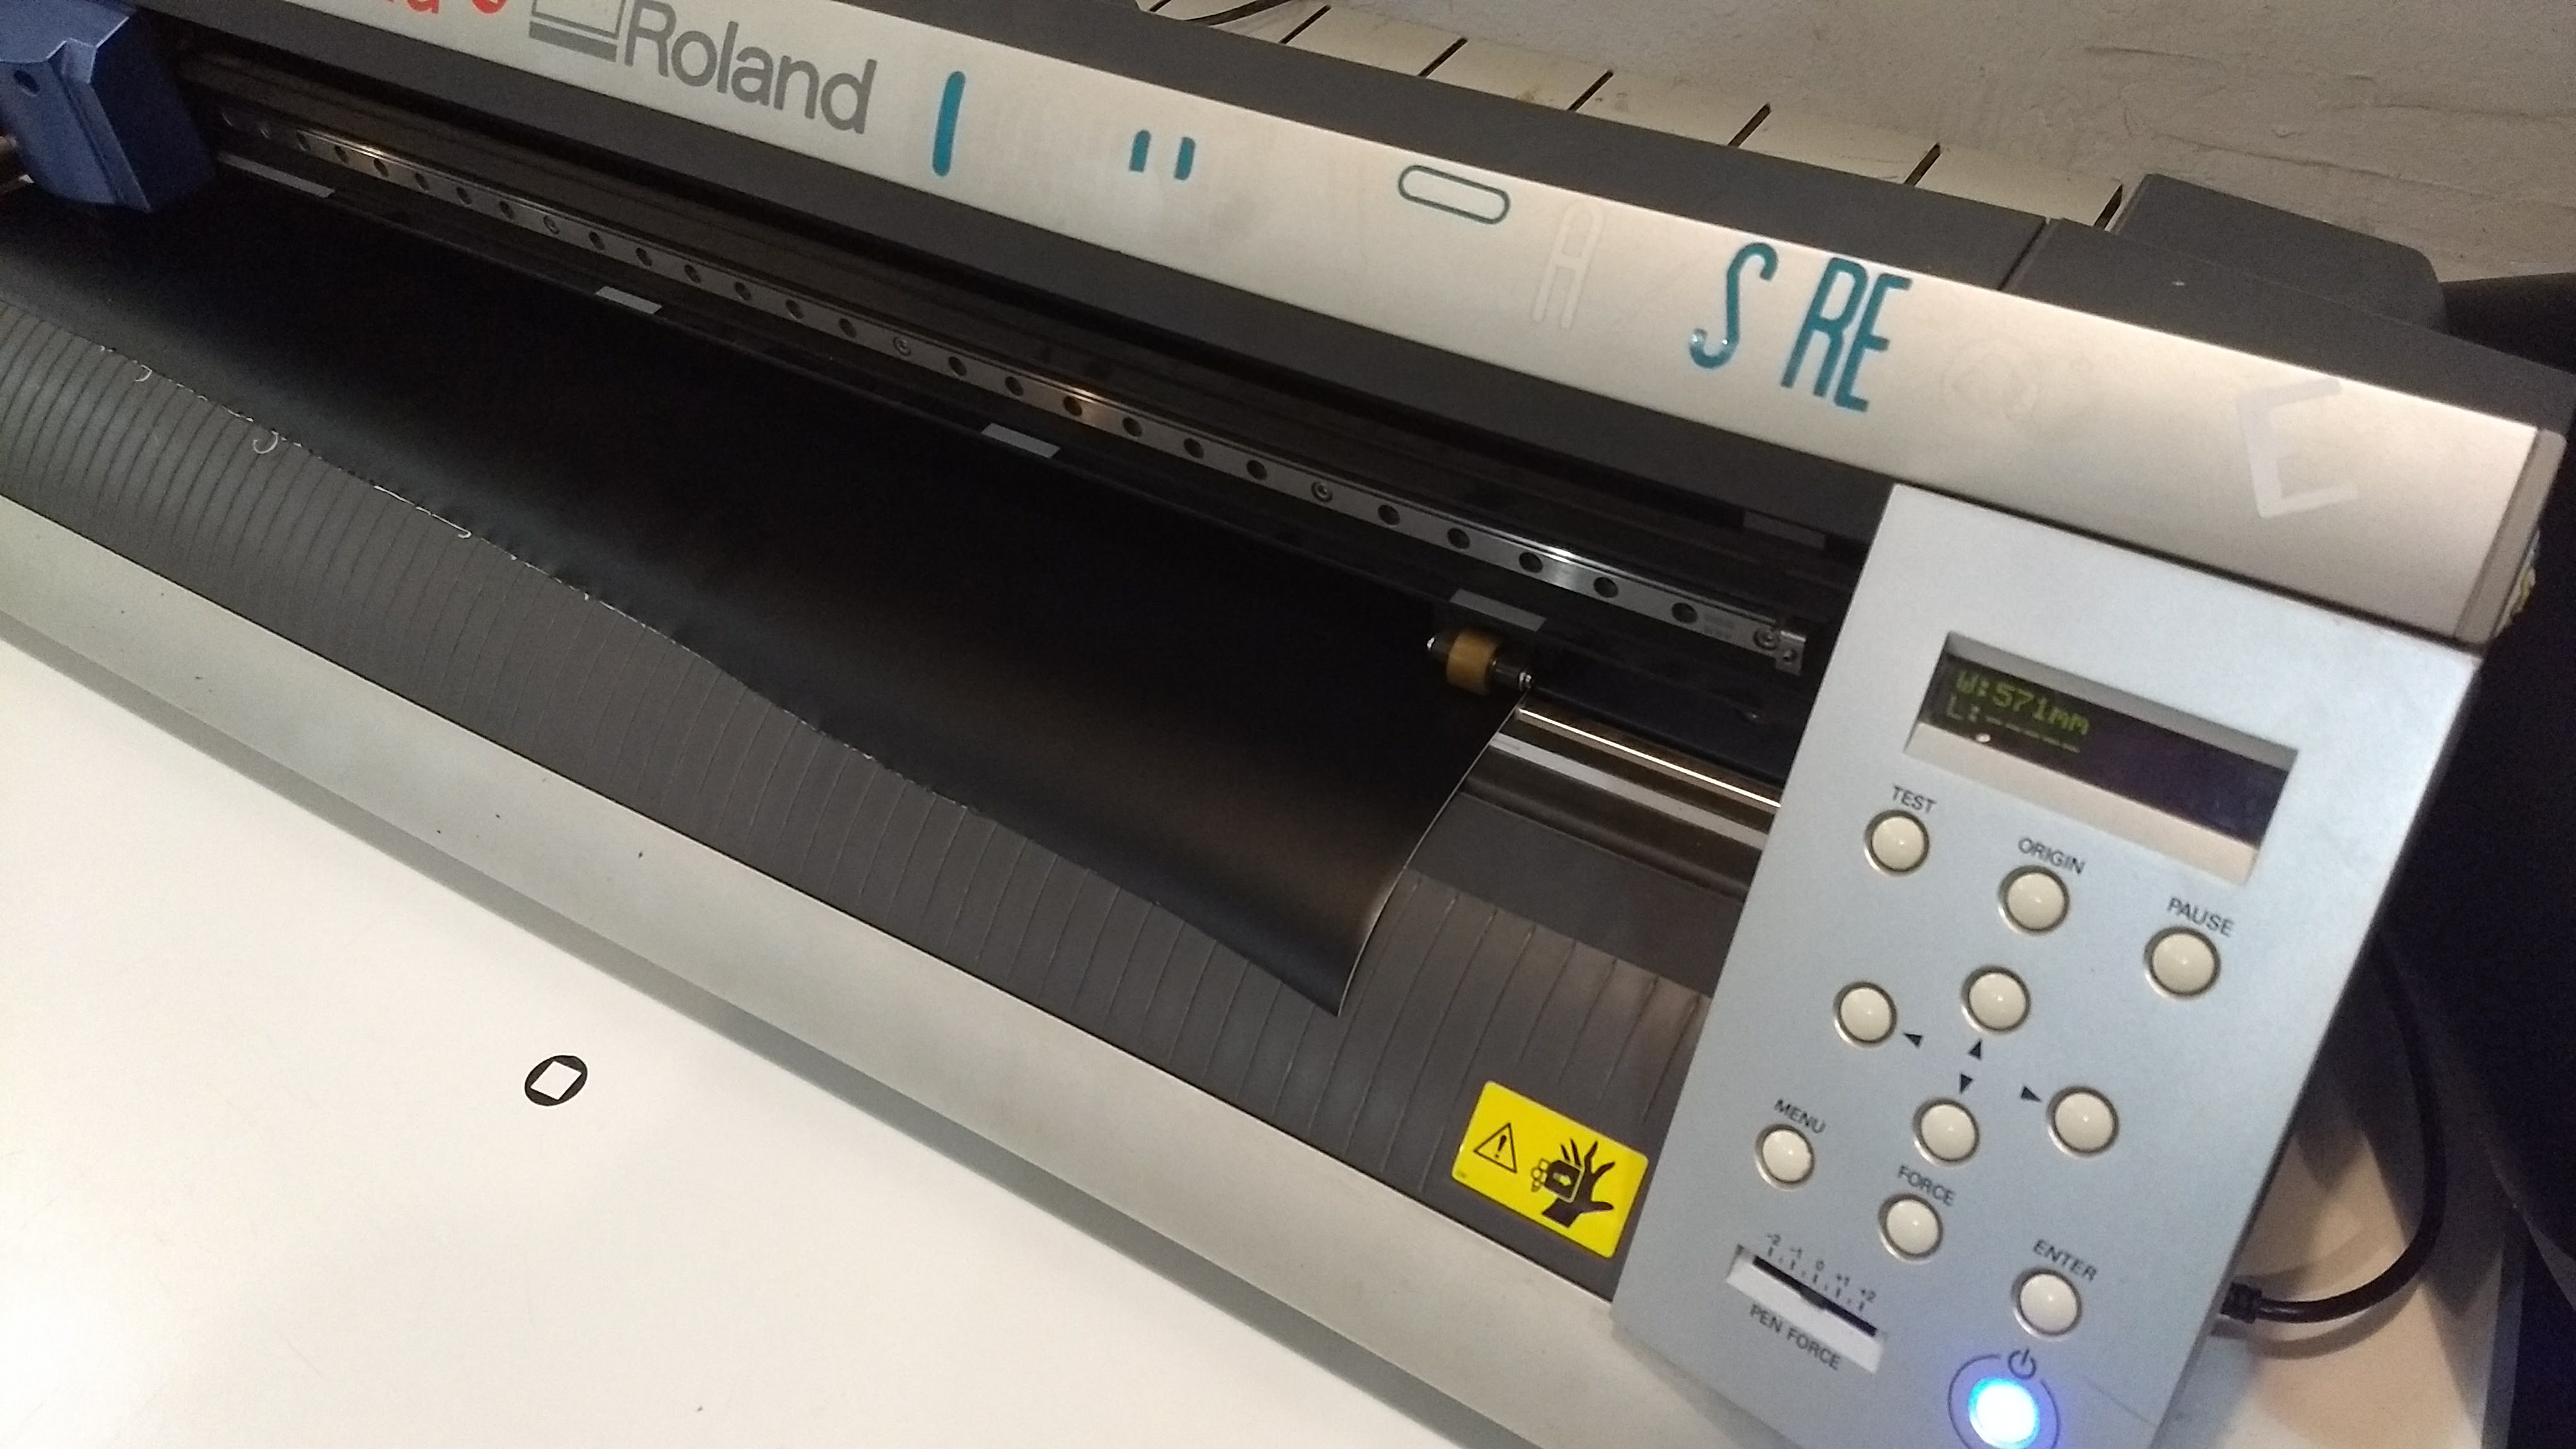
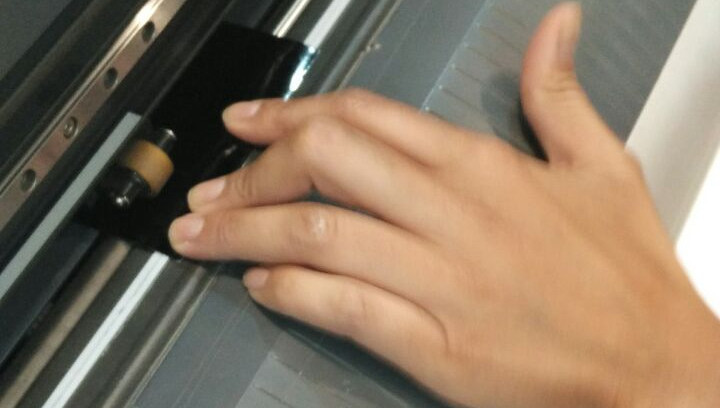
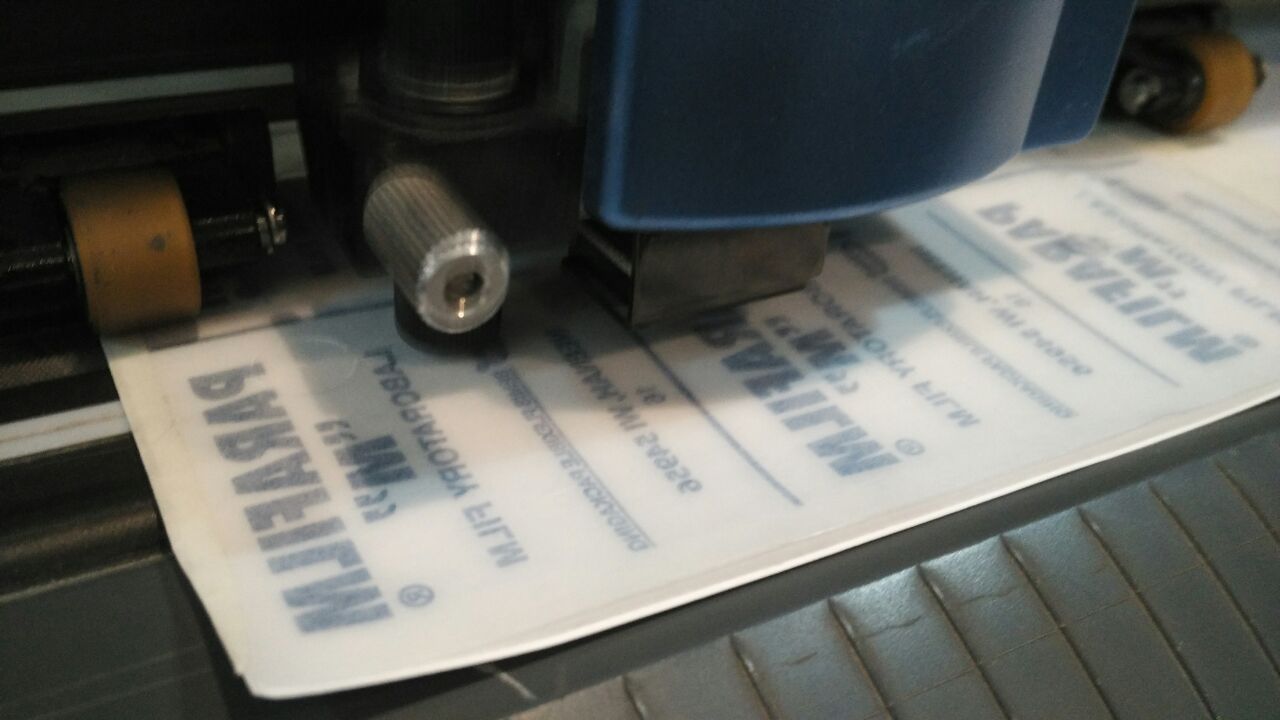
Before sending the files to be cut we must load the material we are going to use:
- First we unlocked the roll that would press the paper against the machine.
- We use the white rollers to hold the paper always has to be inside the white lines that we see on the machine.
- We introduce the paper and lower the lever that presses this.
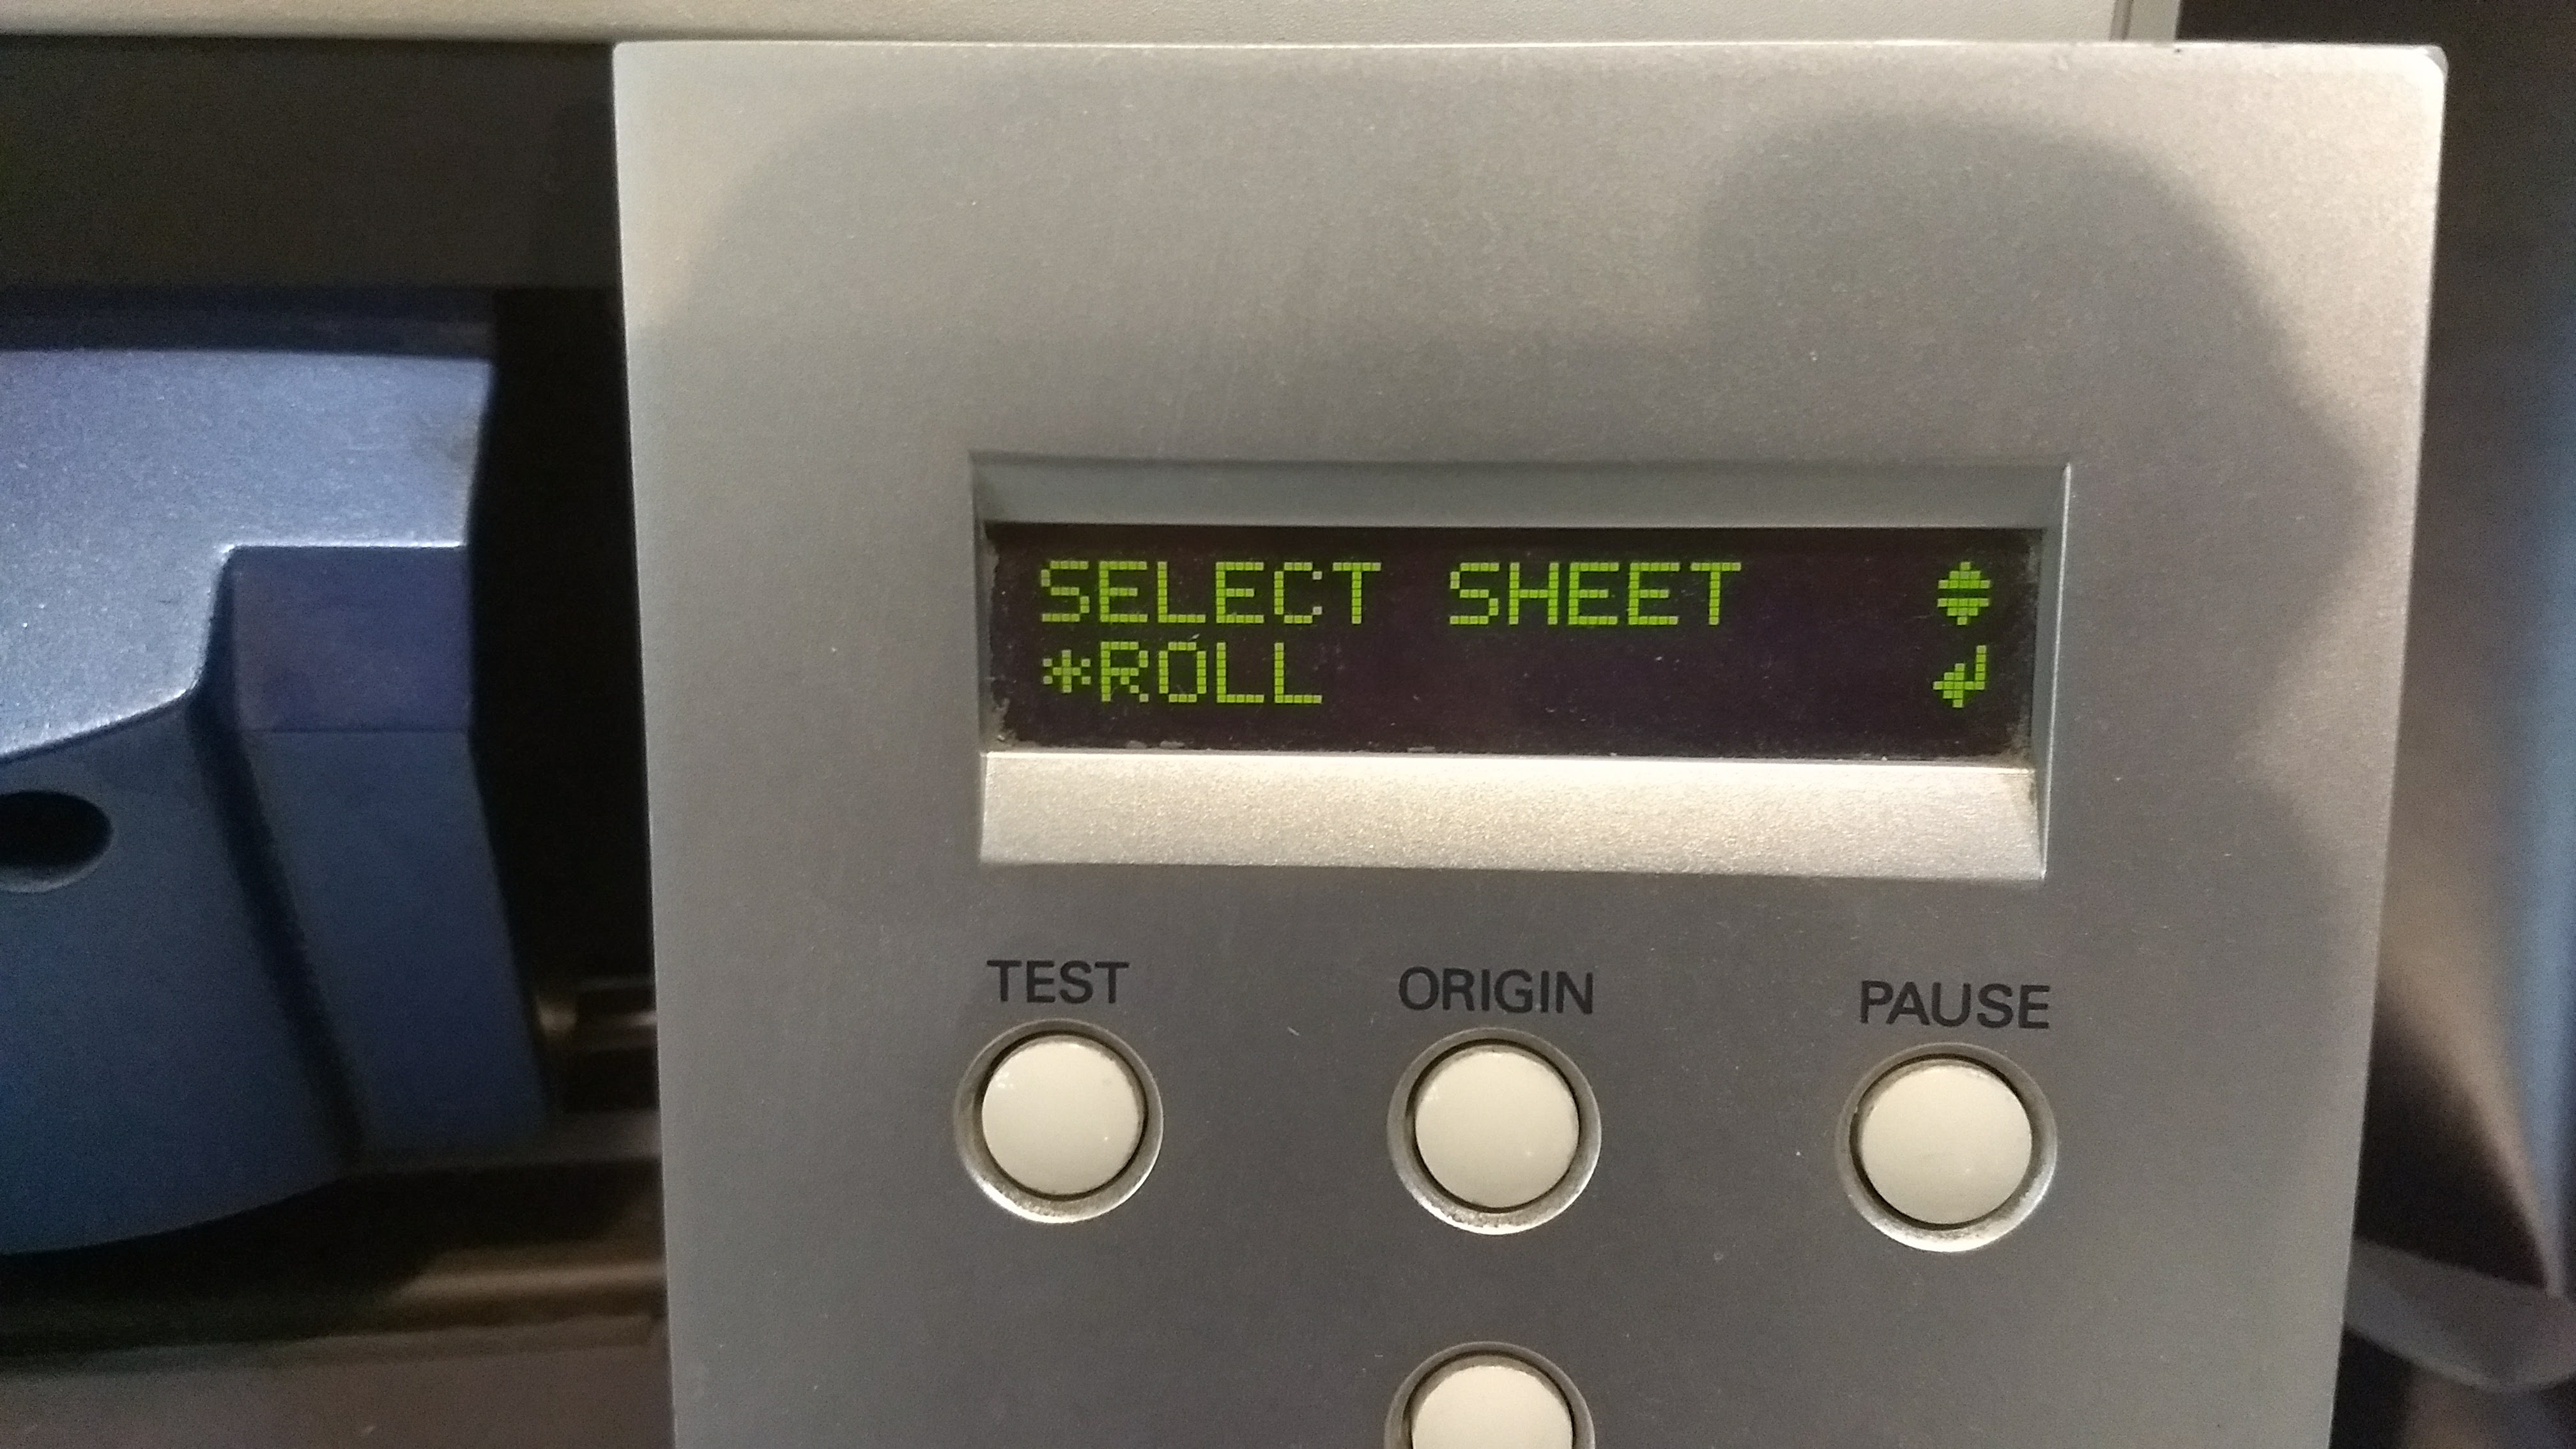
- The machine will detect the paper and ask us to indicate what type of format is (roll, sheet, etc).
- Depending on the format, the machine will automatically detect the measurements.
- Now we can use the program to send our file


The program that is used is the Roland Cut Studio, this is the one that sends the file to the cutter, is very simple to use, if the measurements of the material are detected automatically, we can see the workspace where we have to accommodate our design, once we have accommodated the design we sent short.
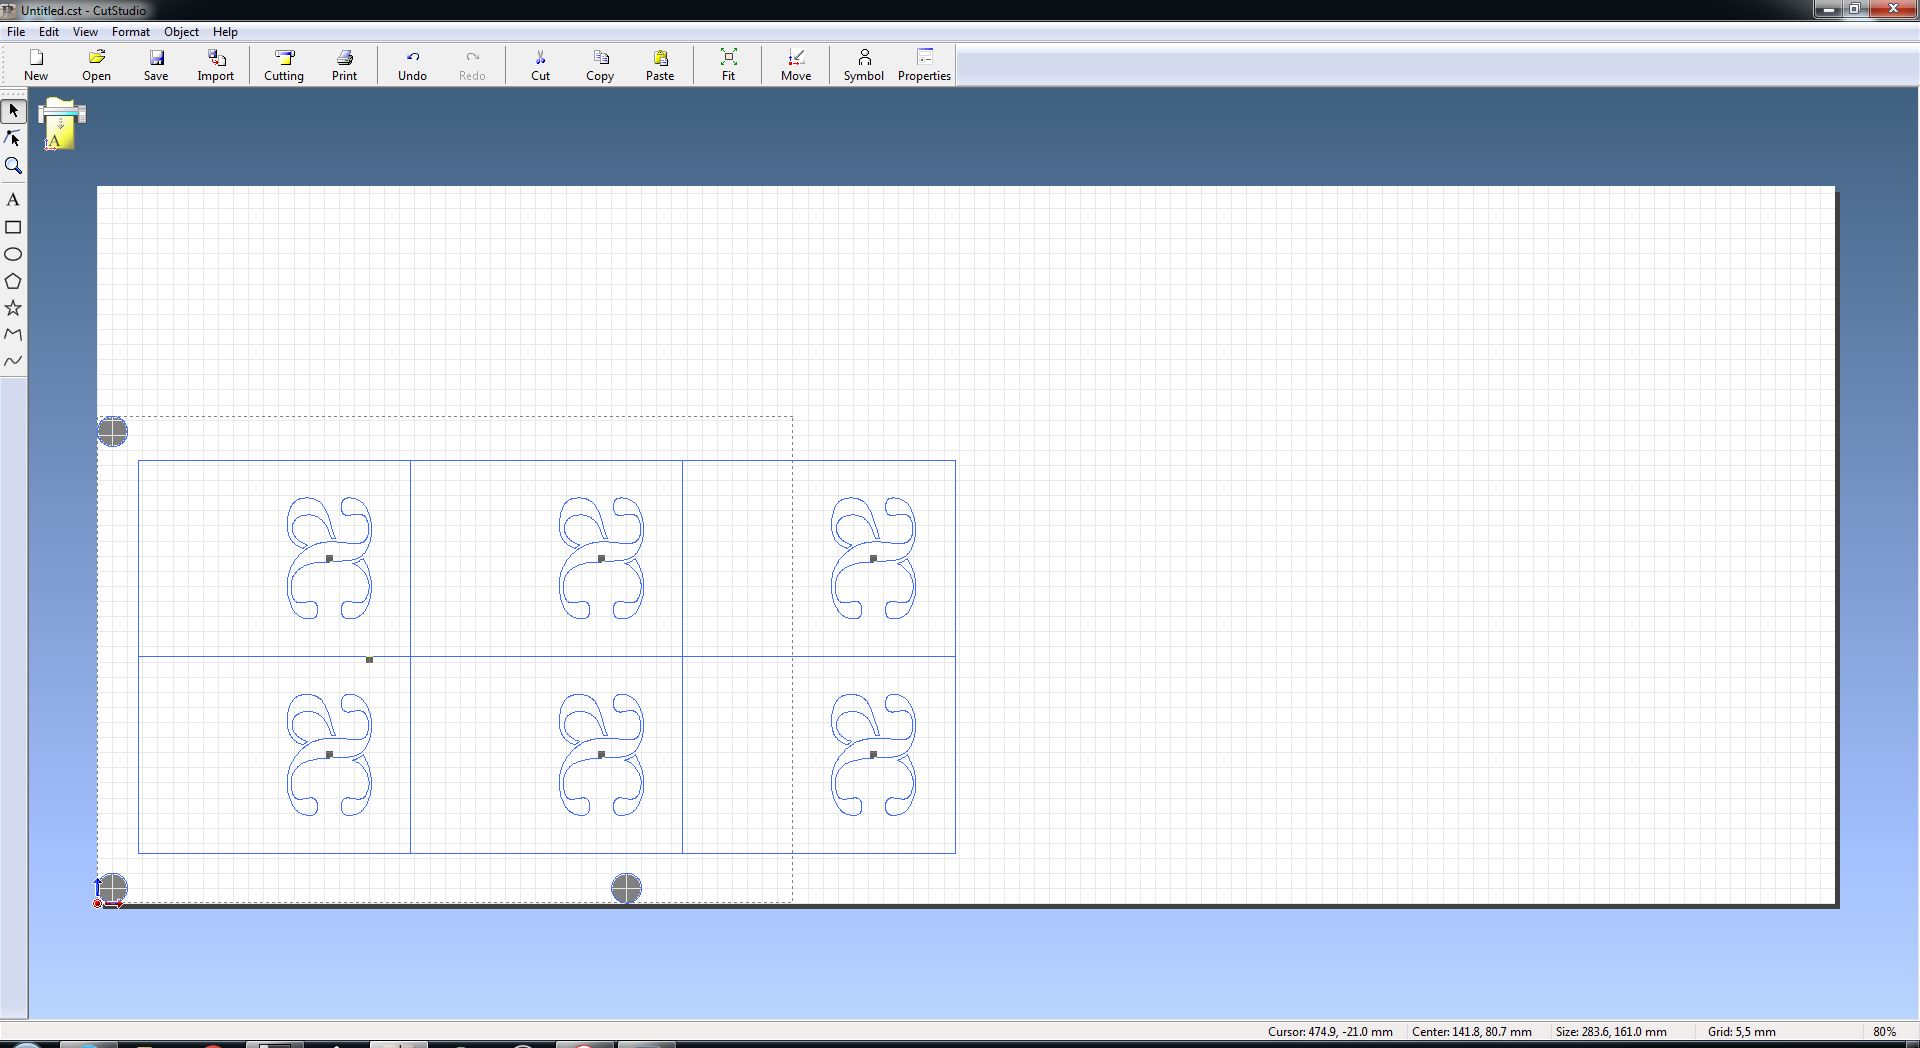
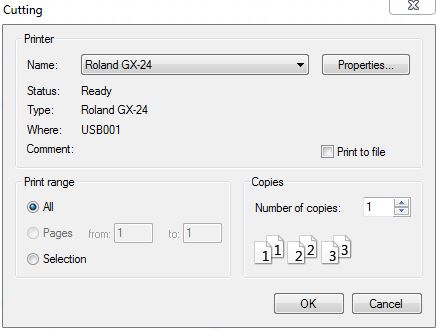

Cut Design

Final design and test
Parametric press-fit construction kit
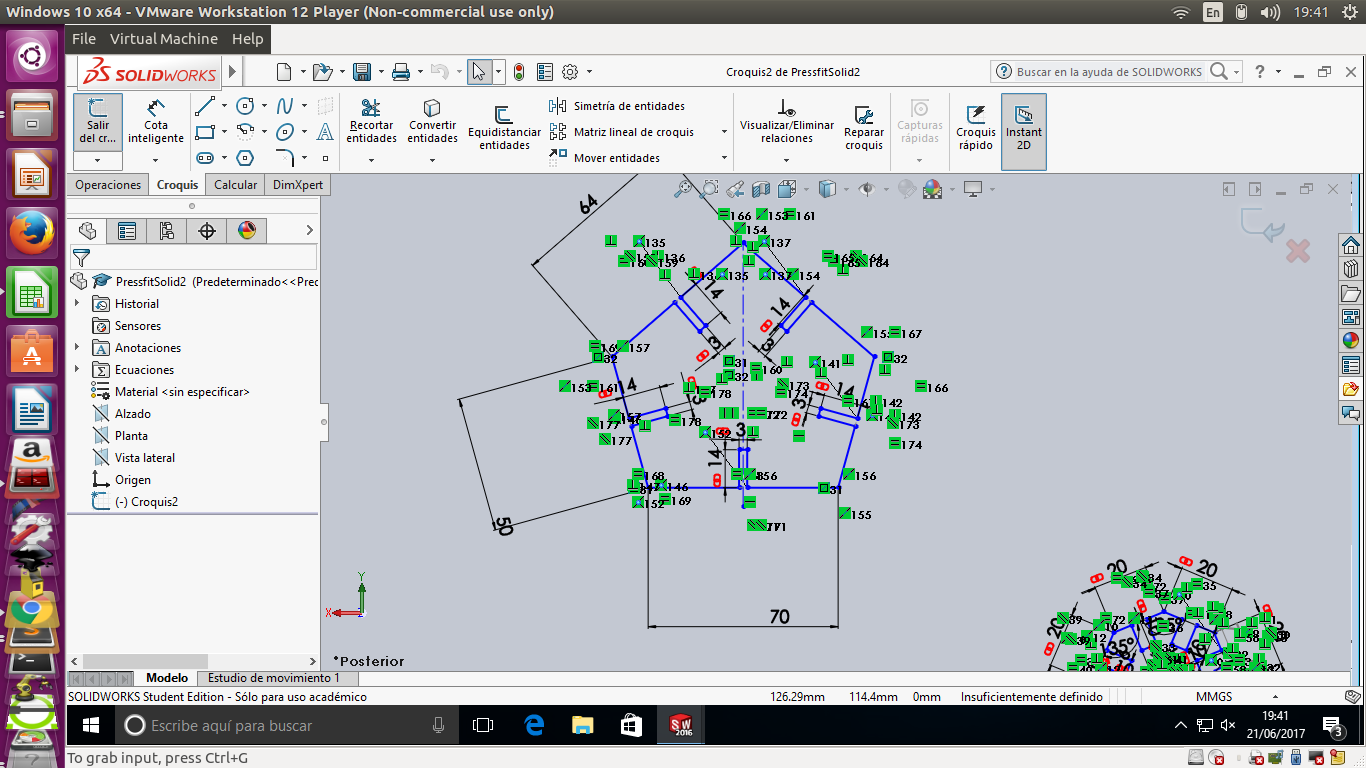
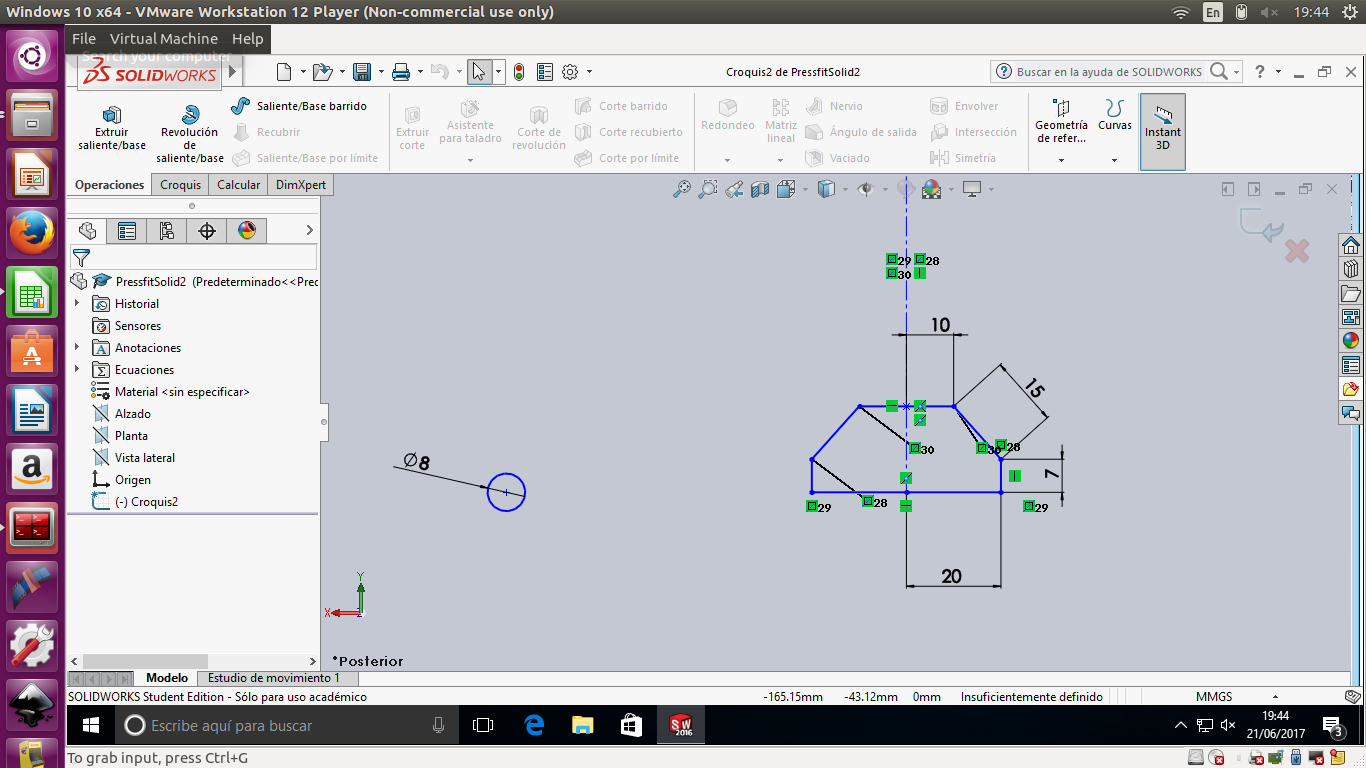
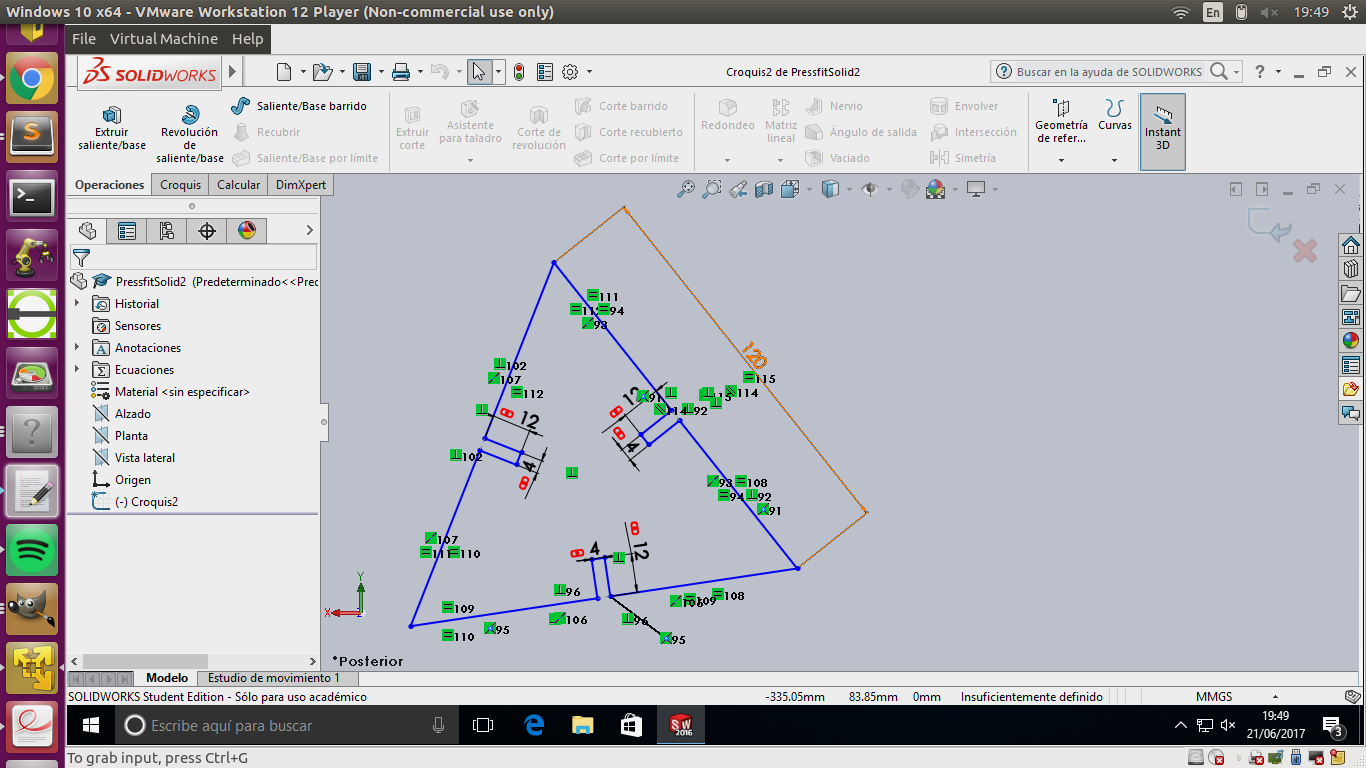
I decided to use SolidWorks for creating a parametric model, the advantaged of using solidworks is more easily control all measurement and relate them, this way if change some measurement all design is modified.
for the design of pressfix as it is the first time I have used solid works I have found that there are two ways of being able to dimension a model and that it resizes by modifying a dimension value. The first one I found is linking dimension values, ie we can link the values of the dimensions, when we change a value all the dimensions that are linked to this automatically change.

The second option is to create an xls file with which we will have all the values of our dimensions in which we can apply different equations for the correct calculation, I have attached a video of youtube which indicates how to perform this procedure.


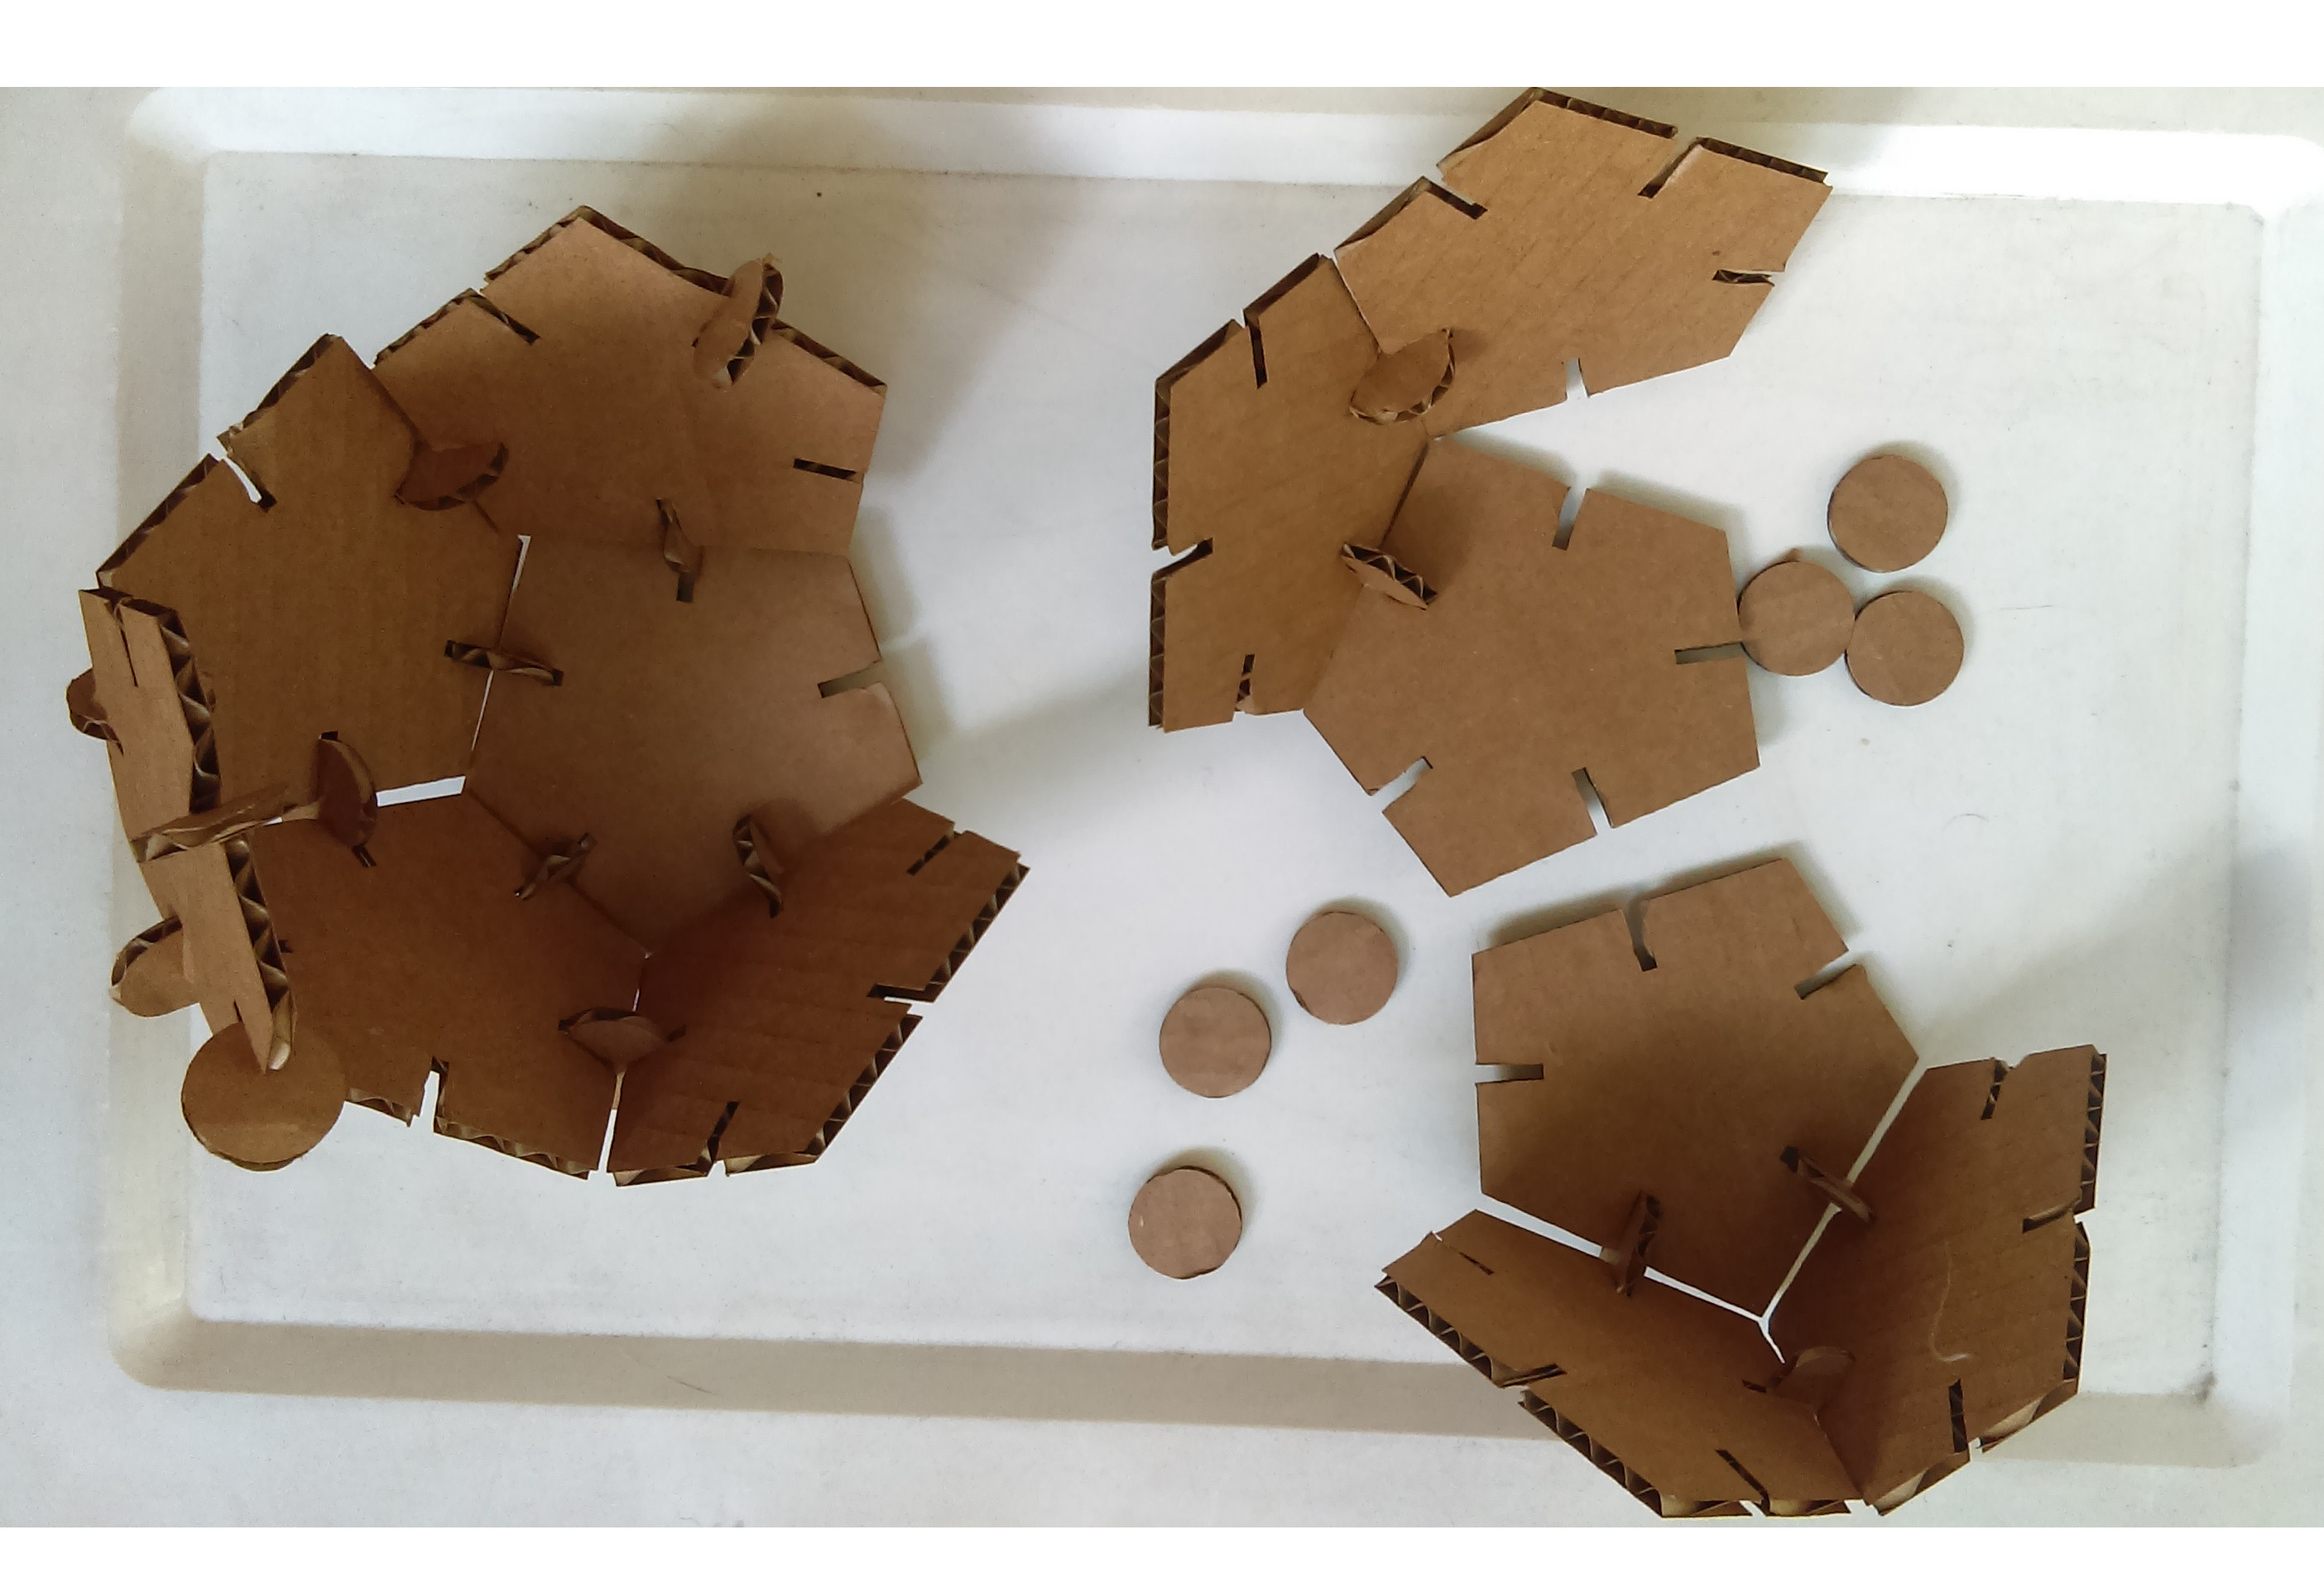
Final result

