Week 12 : Molding and Casting
This week's agenda for Fab academy was :
Design the mold you want to make and make a model of the negative of the mold
Mill the mold
Cast onto the milled mold to get the desired mold
Designing the Mold
My First idea while setting up the context of this assignement was an article I read online about how a 2d painting was made to 3d so that the blind can feel the painting in order to appreciate.Here are a few videos demonstarting the idea.
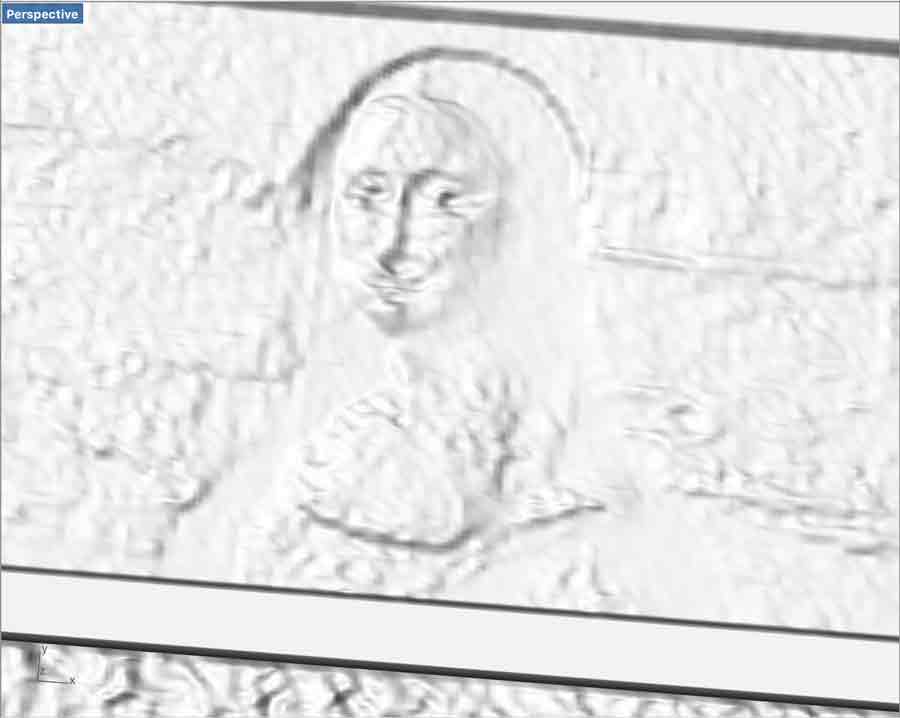
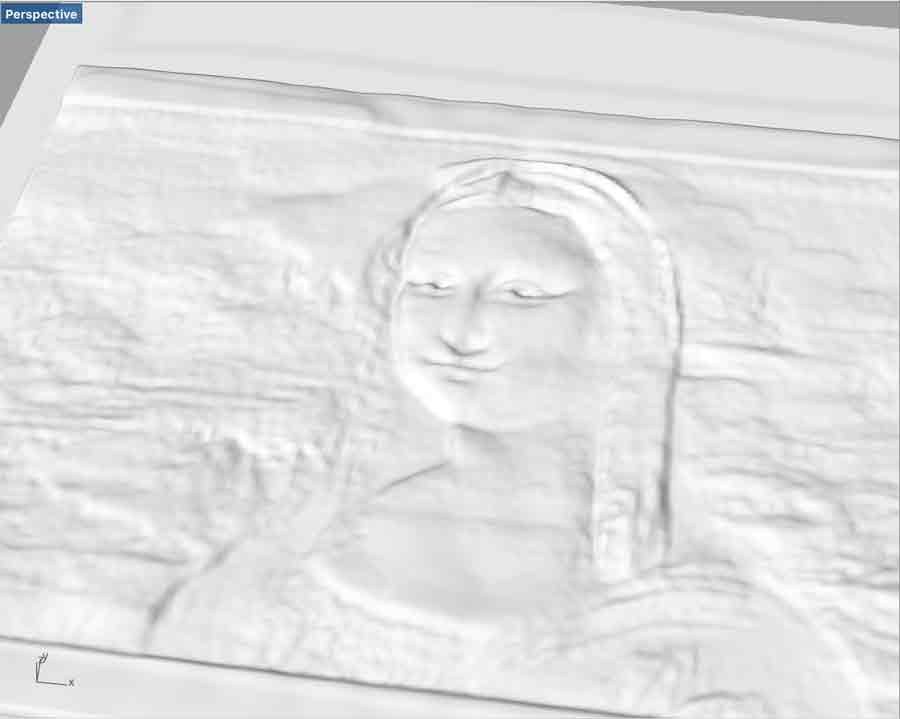
So, in order to start off, I downloaded an image of the famous painting of Mona Lisa.I tried to get a *Depth Map* of the image using RHINO,but I realised that I was losing a lot of details.
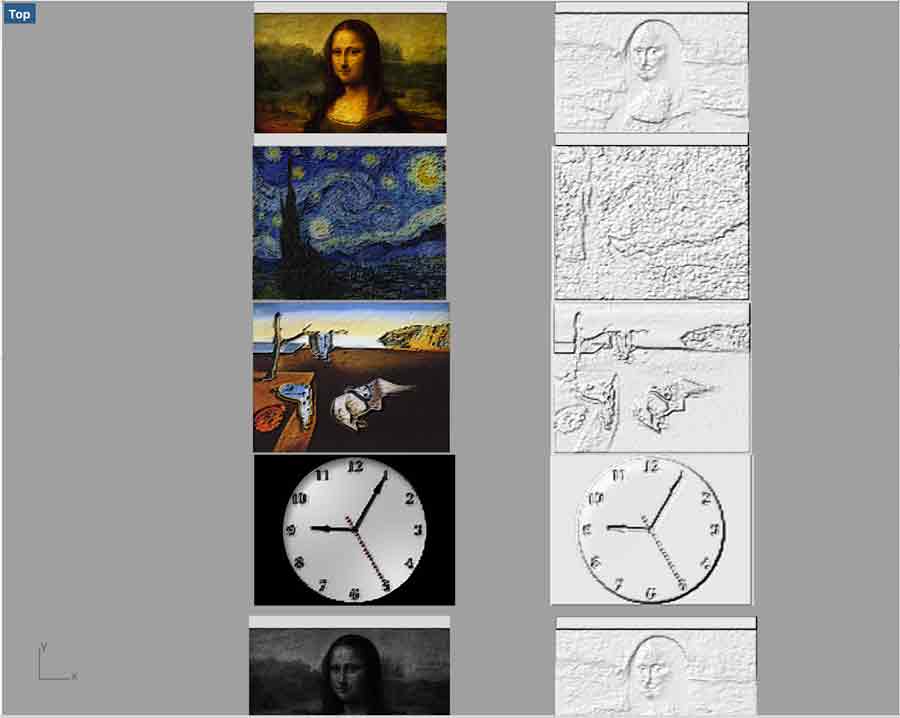
Here, in this image when I zoom in closer, you will see that I lose a lot of details.
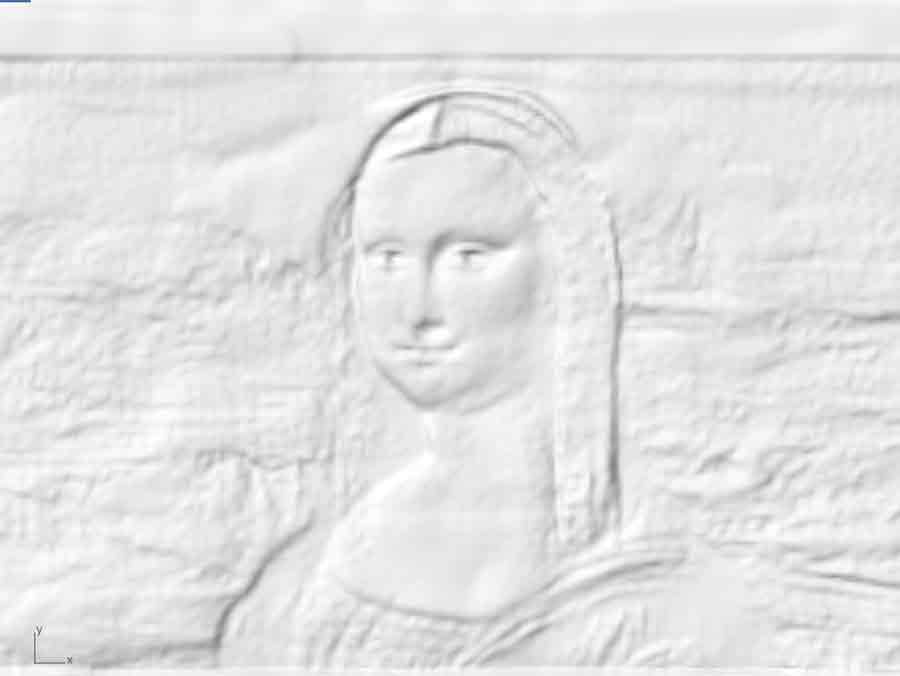
In order to solve this, I wanted to use another software which could give me better results.Abdullah Ibrahim , My fellow Fab academy classmate, suggested I use a software called ZBrush. This software is popular with sculpting 3d models.As I learnt how to use this , it was my FIRST time and I used online tutorials to learn and do my assignment.I used this tutorial listed below for my project.
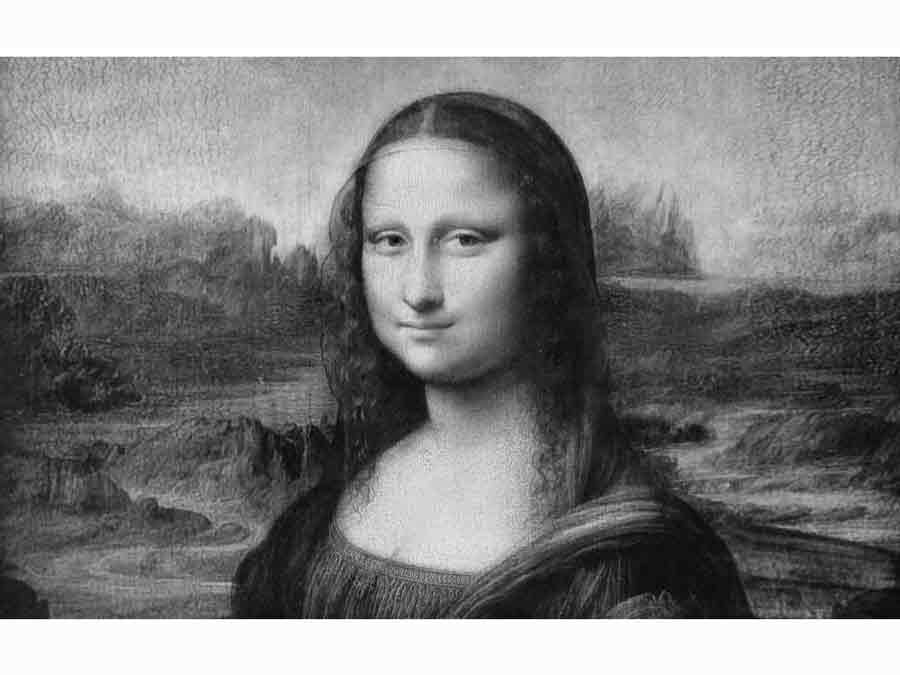
So, First step was to get the image in black and white from colour. I did this using photoshop, and it was quite simple.
Following the tutorial, the same steps mentioned, the result I got from the image was this.
Following the results on Zbrush, I exported it from z brush as an OBJ and altered it on Rhino software for sending the final mold design to the machine.
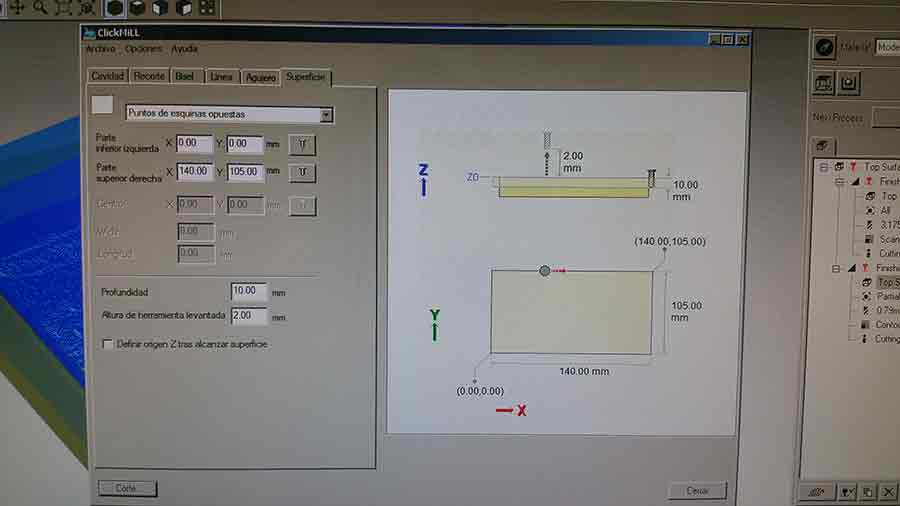
Once I had the final model on Rhino, I exported it as an stl file for milling it on the Roland Modela. We open the file on Roland Modela Player software in order to adjust the settings for the machine and send it to the machine. This detailed tutorial, Roland Modela Tutorial from the fabacademy webpage is very good to follow and understand.
We open the file on Roland modela player on the computer, for the settings,make sure you set the size of the wax bar that needs to be milled.
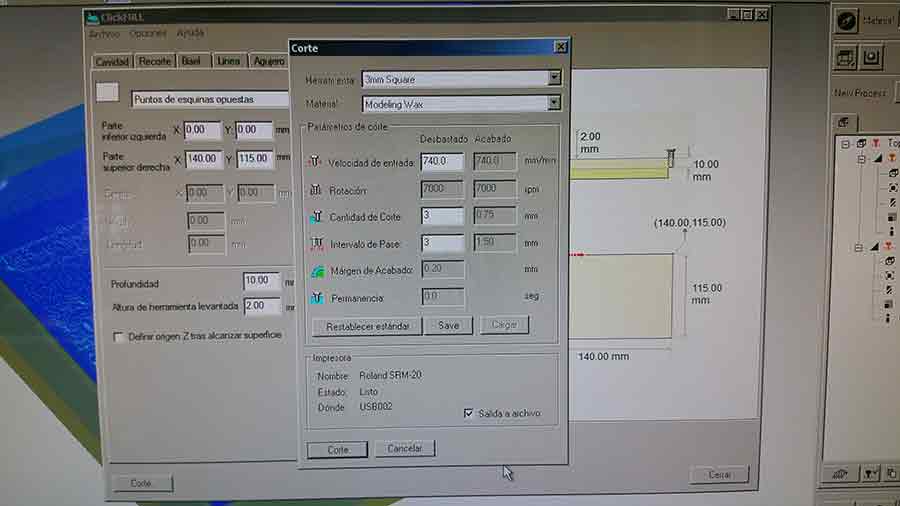
Make your strategies on the software, for mine, I had 1 roughing, and 2 finishing strategies. The first finishing strategy was with the 1/32 size and the second with the 1/64. I had minute details in the model, as you can see the face of mona lisa has the details, and as the scale of the model is small, in order to get better finish, I opted for these startegies.
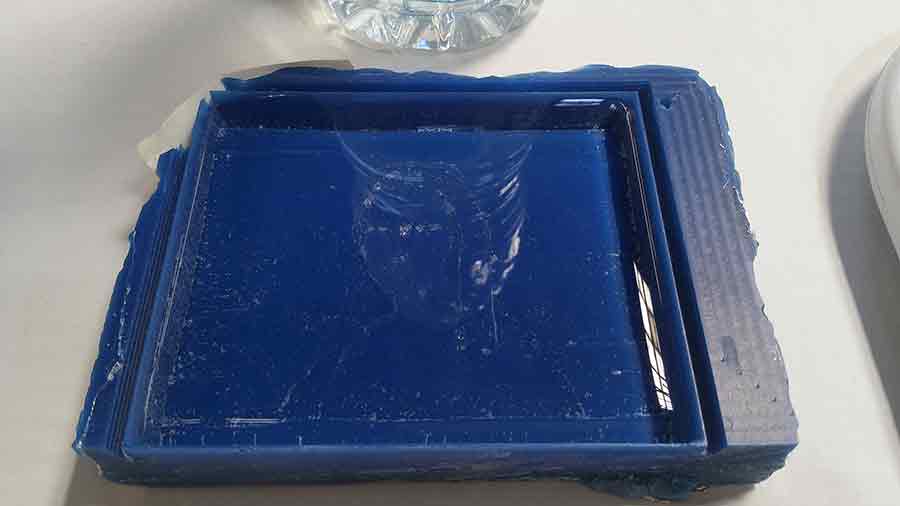
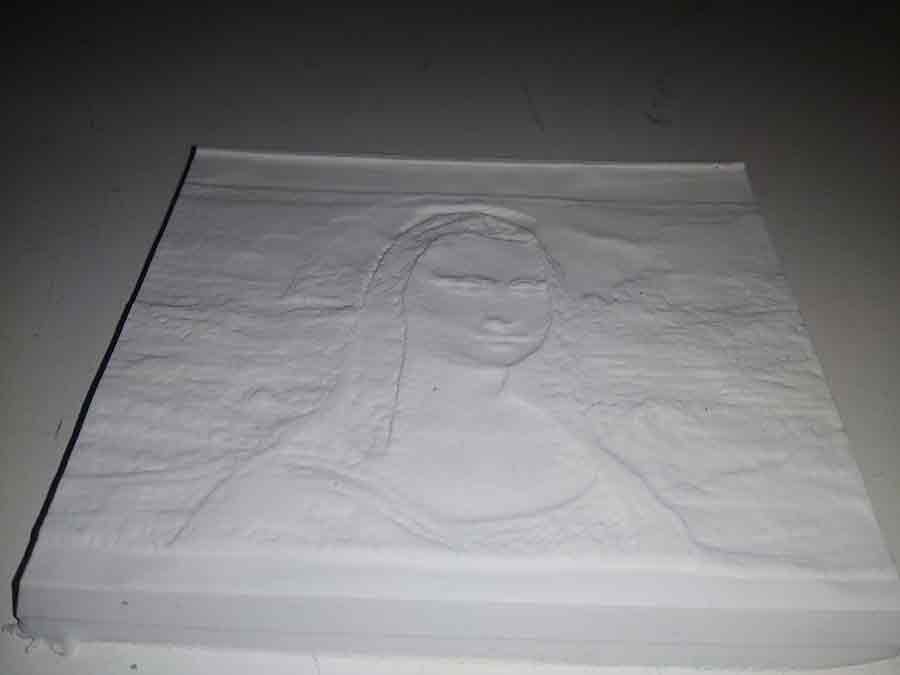
After the milling, my milled wax model looked like this, I was pretty happy with the details I got from milling, considering the scale of the model

The next part was casting the mold
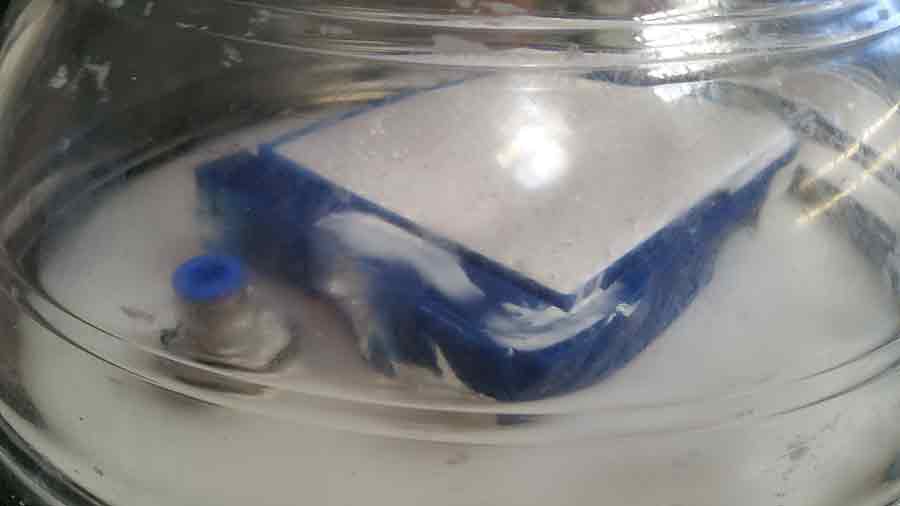
I covered the mold in water, to get an approximation of the volume of casting mix that I would need.
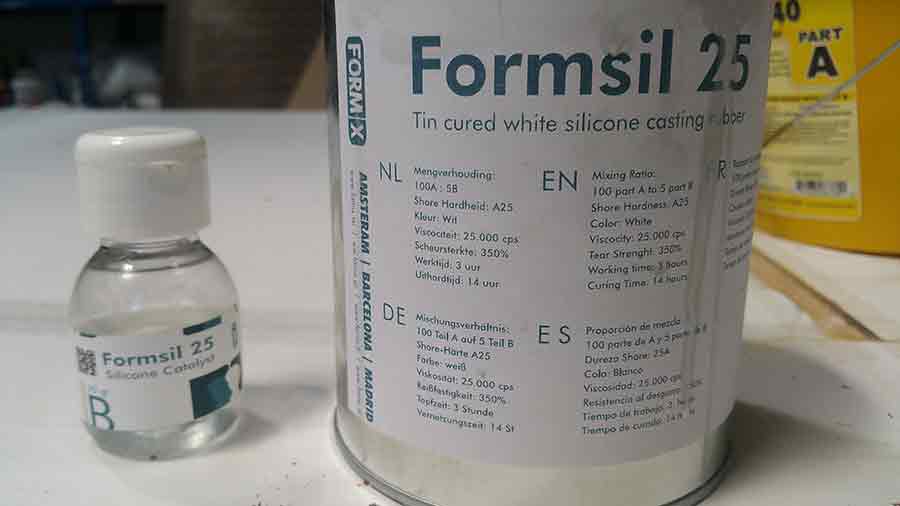
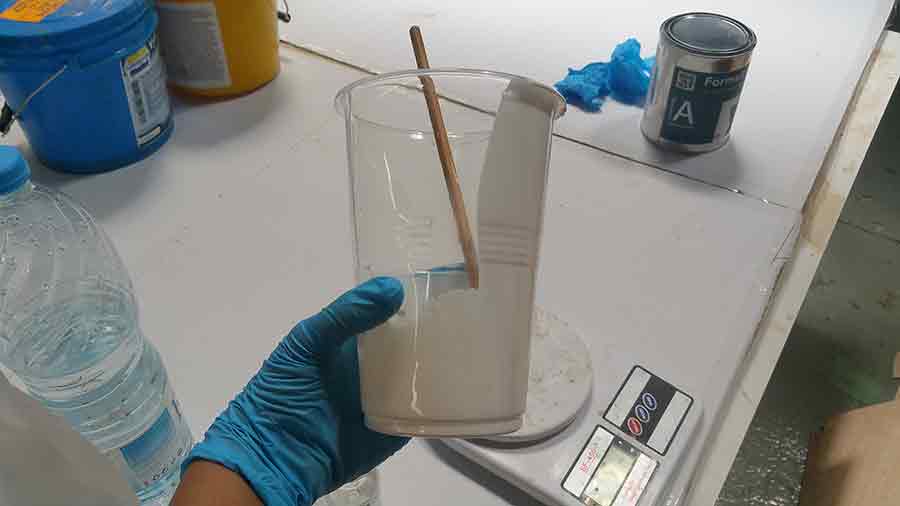
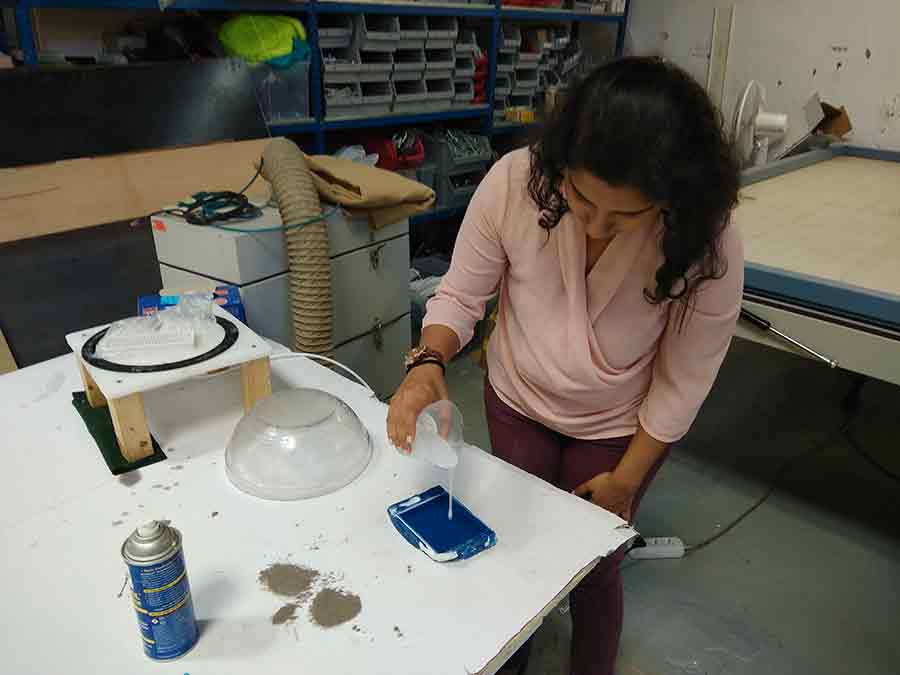
Then, I weighed in and made my silicon mix using FormSil 25.
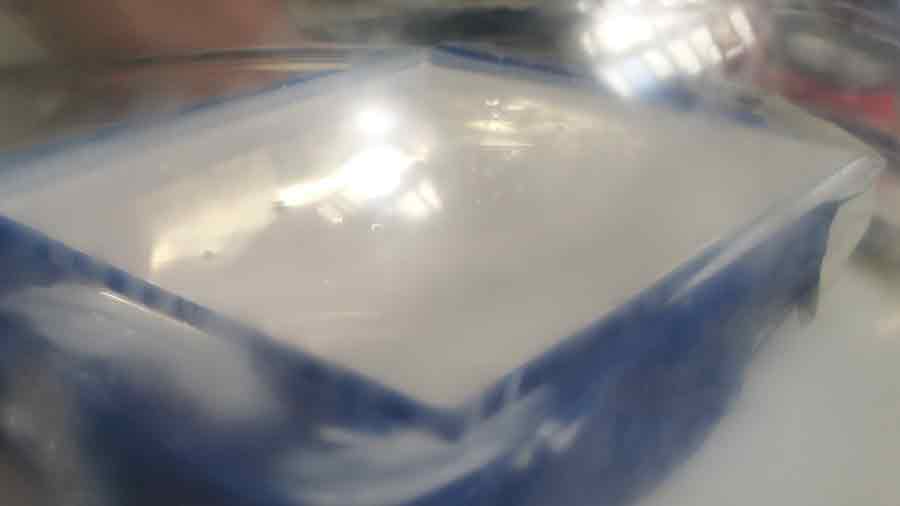
After pouring my mix carefully from a reasonable heights, so that the bubbles are lesser, I put the mold in the vaccum container to remove all the bubbles. We need patience with this process in order to remove as many air bubbles as possible.So I did at a few times and waited for the bubbles to settle.
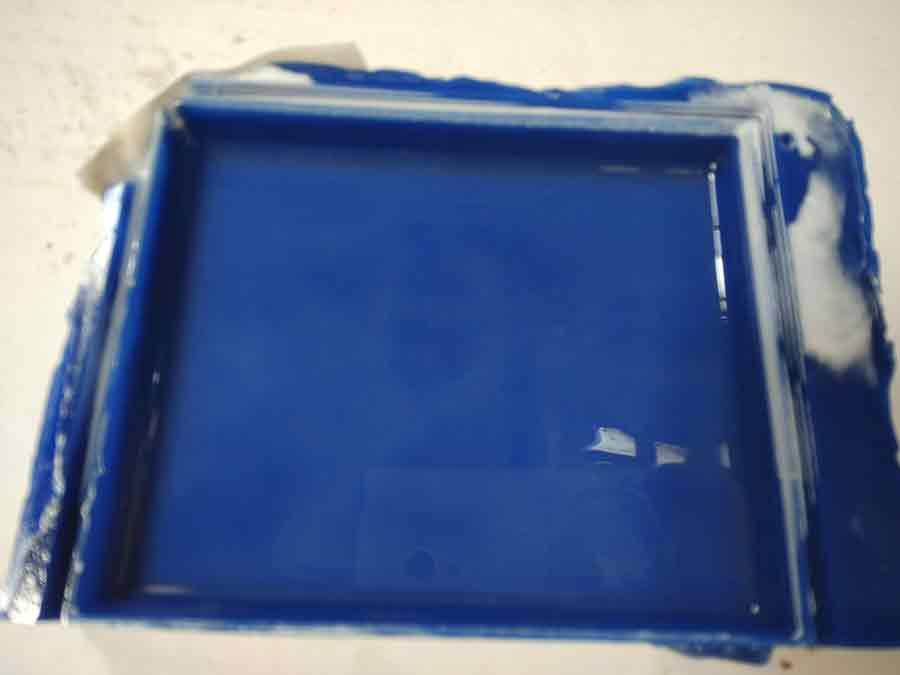
I made an error while mixing the silicone mix, and added less catalyst than I was supposed to. That small error of a few lesser drops of catalyst made my mold to dry very late. so , basically, it took longer to dry because there was lesser catalyst. My mold looked like this , once it was dried.
Once I had this mold, I realised , due to the smaller scale of this prototype, it is better to cast in another material directly on the wax mold in order to get the details. opted for transparent casting material this time, and decided to do it in Soft robotics material.For this, I have used, Eco Flex as my casting material.

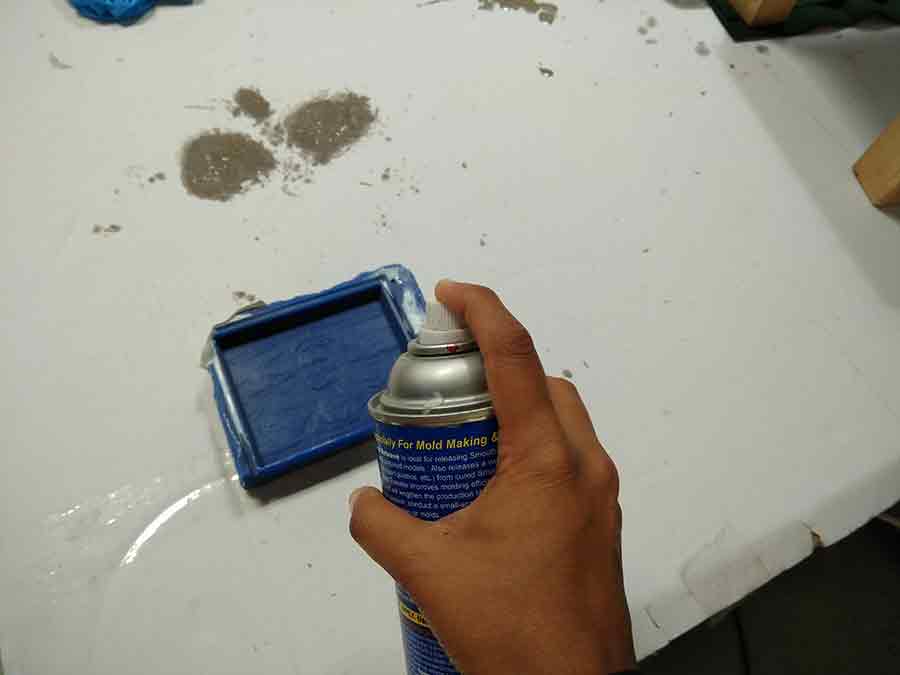
I mixed this in equal parts and cast it in my wax mold. This mixture dried up pretty quickly.But in order to cast it directly in the was, I spareyed the was mold with some hair spray so the cast comes out of them old easily.
The final cast had better details of the face, as this was a thin tranparent cast. This allowed for analysing the details with eyes closed which was my first concept and also, as another option, I could use it with light at the background to be able to see the details better.
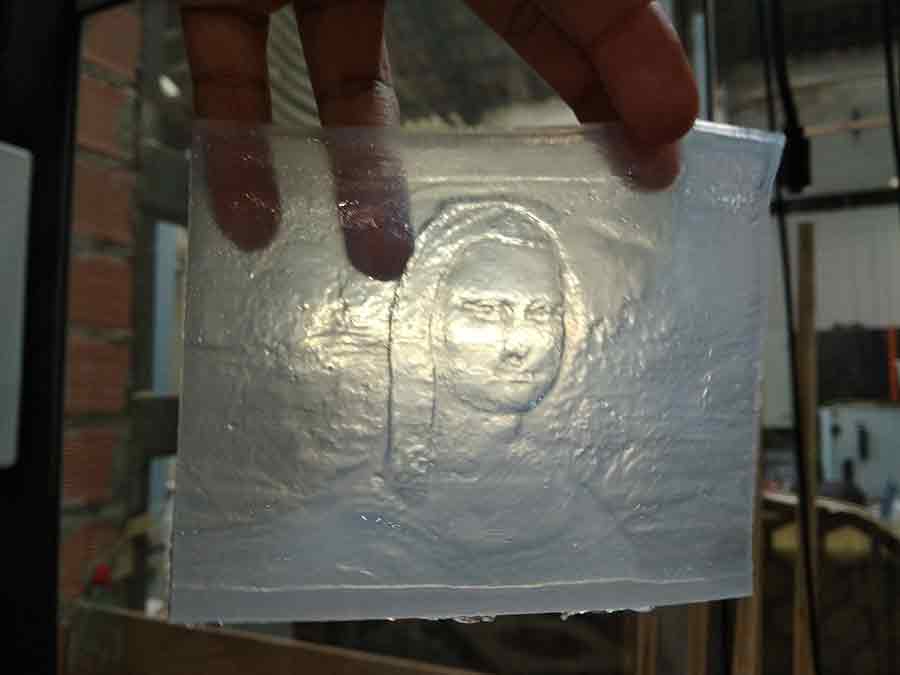
After the process, I was pretty happy with the results and the details I got at this prototype scale. In order to have better details, so , with the possibility of the blind feeling the model to understand the painting, the same process wpould definately work on a larger scale.
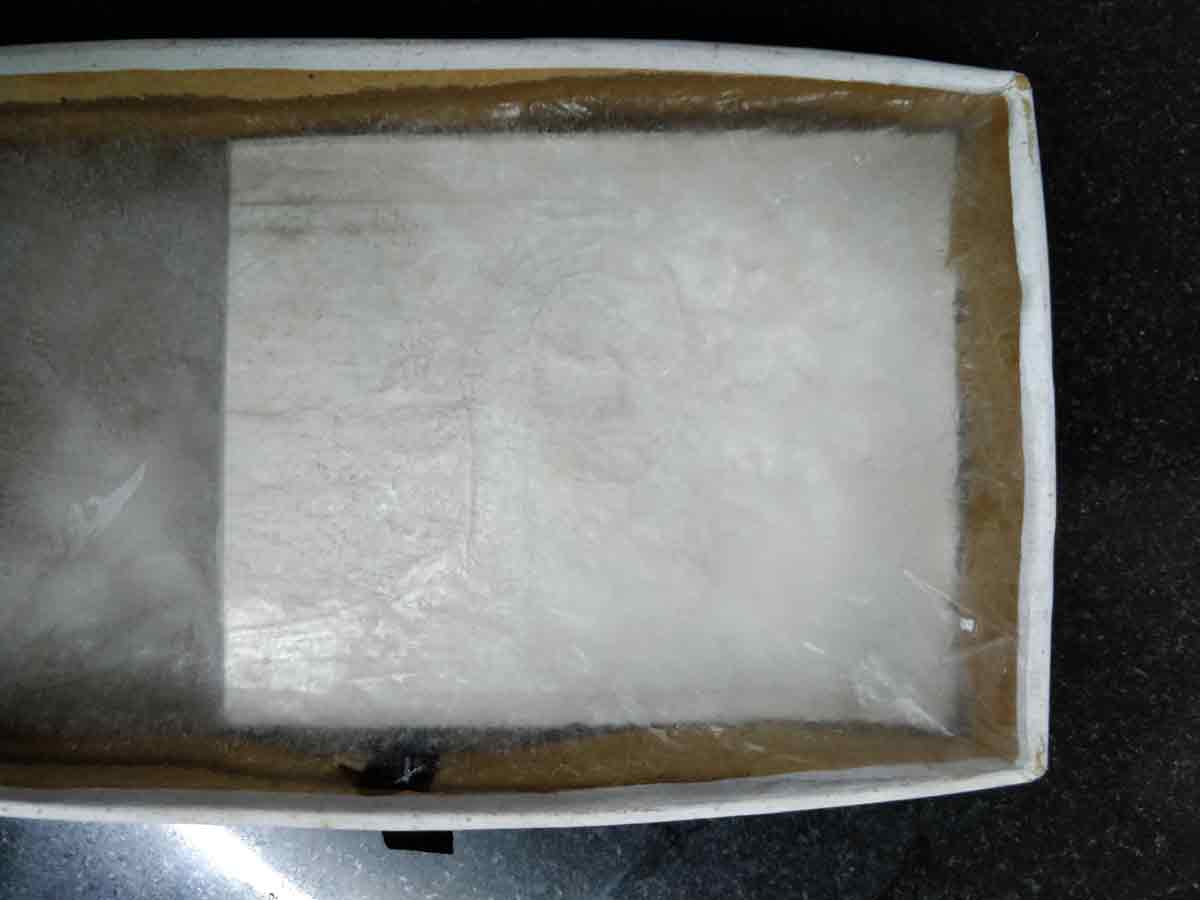
In order to finish the 3 step molding process of, making the mold, casting the flexi mold in the was mold and casting on to the flexi mold, here I tried to cast the flexi mold of the mona lisa to make a large mona lisa ice cube. So I put the mona lisa flexi mold in a card board box and filled it with water inorder to make a slab of mona lisa ice.

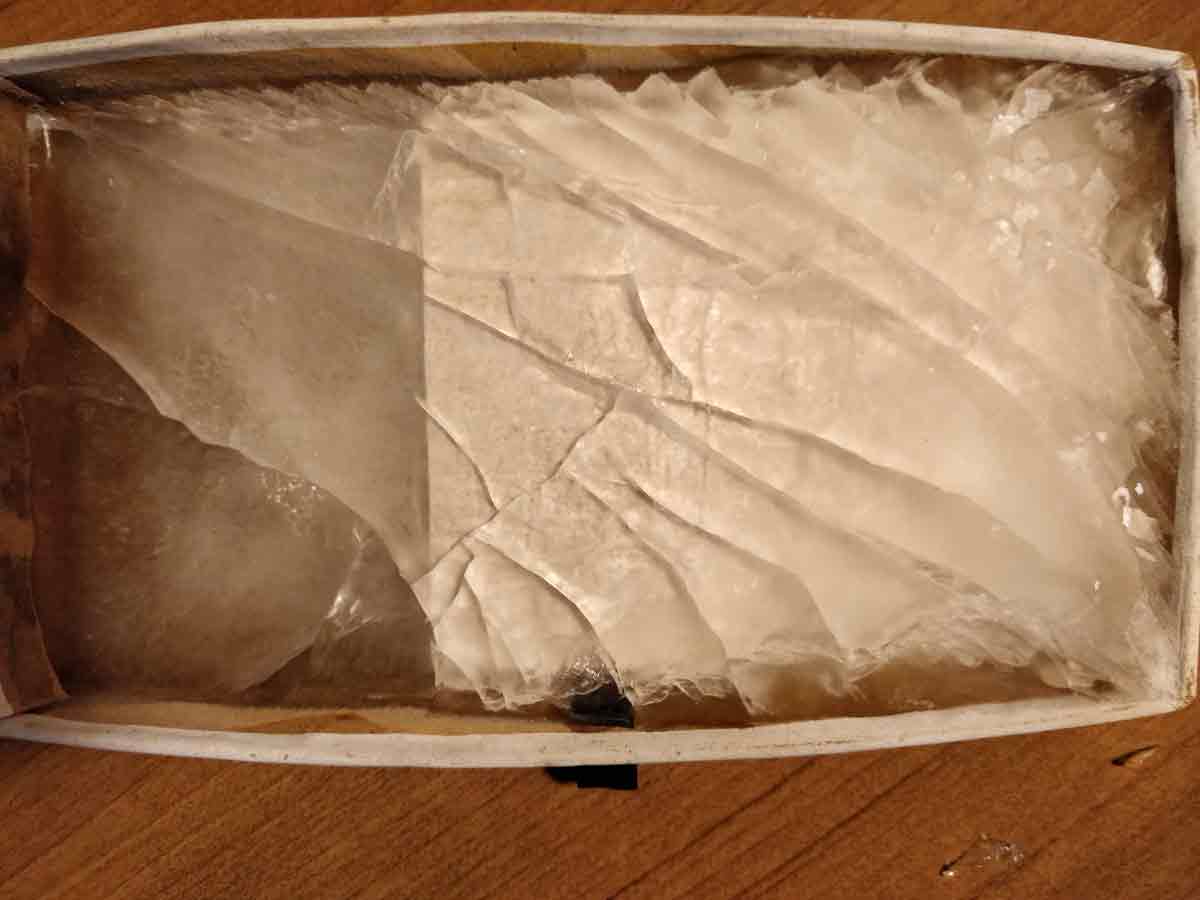
I inteded on getting a big slab of mona lisa ice cube, but when I tried to break it from the mold, the ice cube broke and I got pieces of mona lisa's face ice molds!
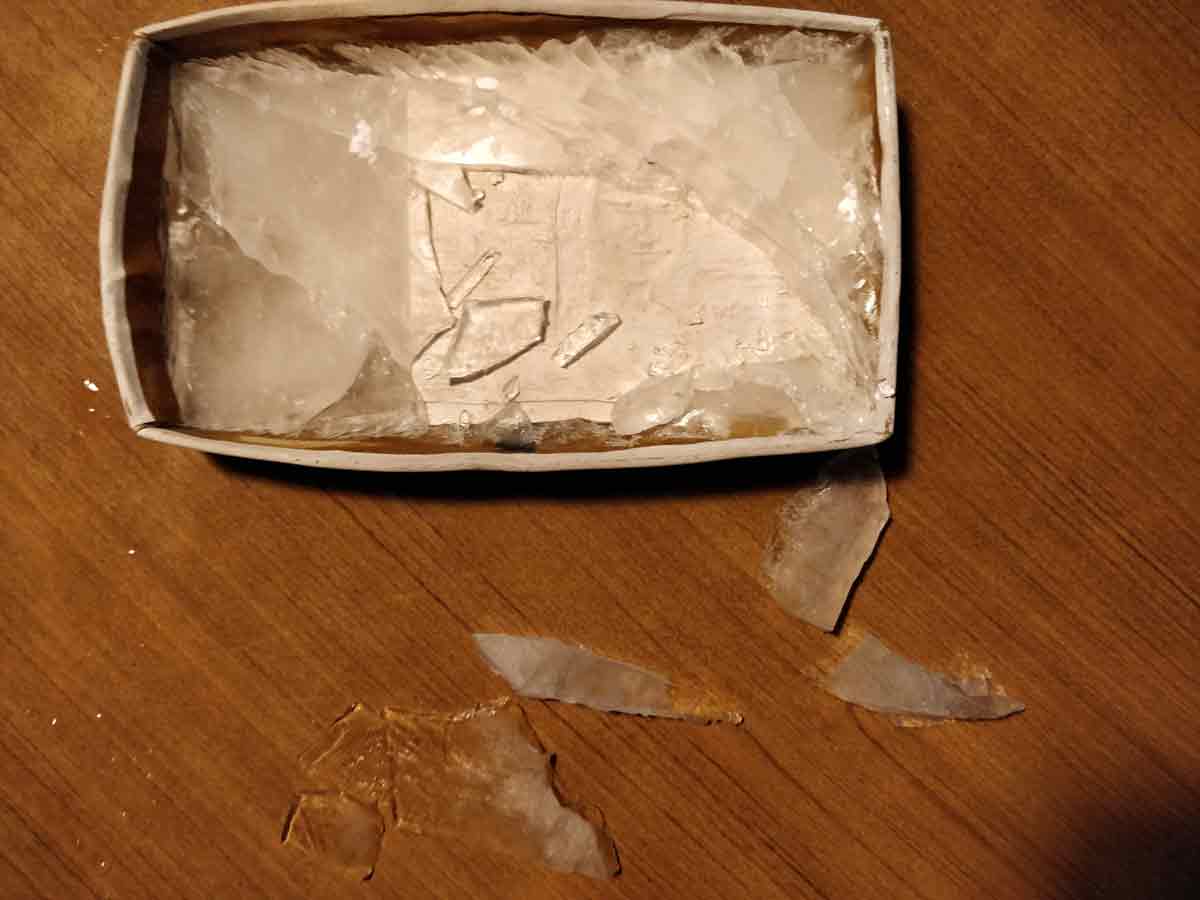
Because the depth of the flexi mold of the face details is so tiny, even when I did get the peices out after it was set and tried putting it together, the details melt with the temperature of my body when I just hold the peice of ice. But It has been an interesting experiment, and I have learnt a lot.
To view and download files click HERE
To download files click HERE