Week 05 : 3D Printing and Scanning
This week's agenda for Fab academy was :
3d scan an object
Design and 3d print an object and understand the limitations and working of a printer.
3d Scanning homosepians
The scanning assignement was super fun, as we decided to scan ourselves. I scanned Trinidad and she scanned me in turn using the Kinect.It is amazing to see how this instrument has the ability to give a 3d detail scan on your body, we almost felt like doctors handling special instruments but alas, it was only a body scan and the process was super fun and easy.
In this scanning assignement, we use the kinnect, and a program called Skanect
Once you download the software, I downloaded the one for non commercial use and that version is free, you see this window when you open the software
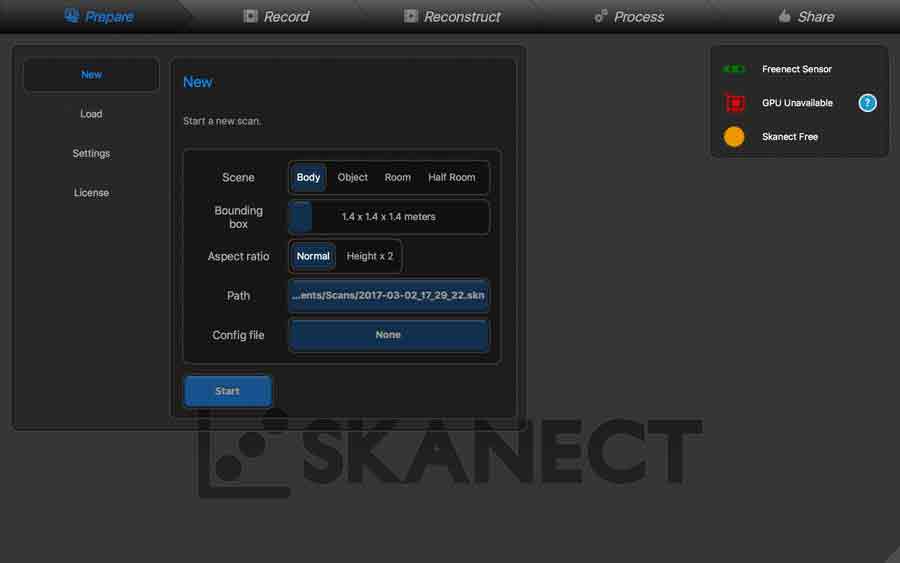
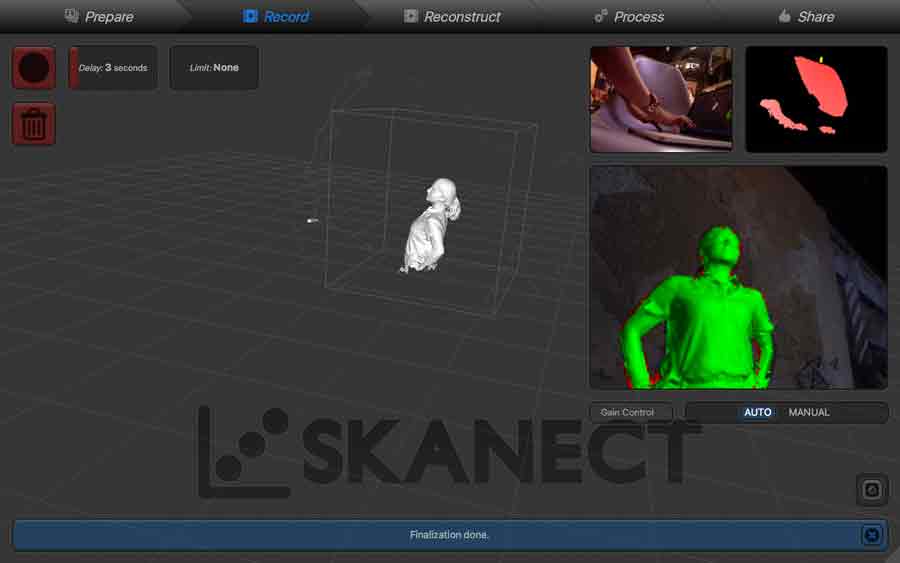
Set the parameters, and connect the Kinnect to the computer.Once you set the parameters, you see the following screen with the view from the kinnect camera on the right top corner, when you are all set, hit record and go over slowly around the object to be scanned. A RUSHED SCANNED will give you bad results.Here, it definately stands true- haste makes waste. so , go slow, over, depending on the size of the object, maybe go around a couple more rounds. Here, as we were scanning our top body, we went over thrice. once to scan the body, then from the top cause otherwise there is a hole in the scanned model on the head part! and then to cover the details of the neck etc. we were just making sure everything is scanned in detail.

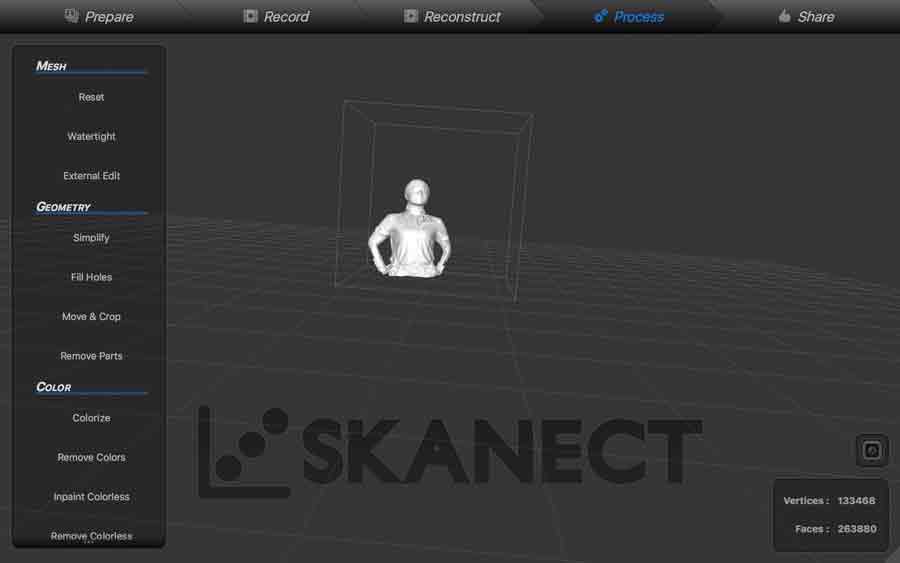
Once we finished the scan, this is how it looked after finalising the process
If you dont want a very heavy file, its better to simplify the geometry, else you might end up with many surfaces, unless that is what you desire.

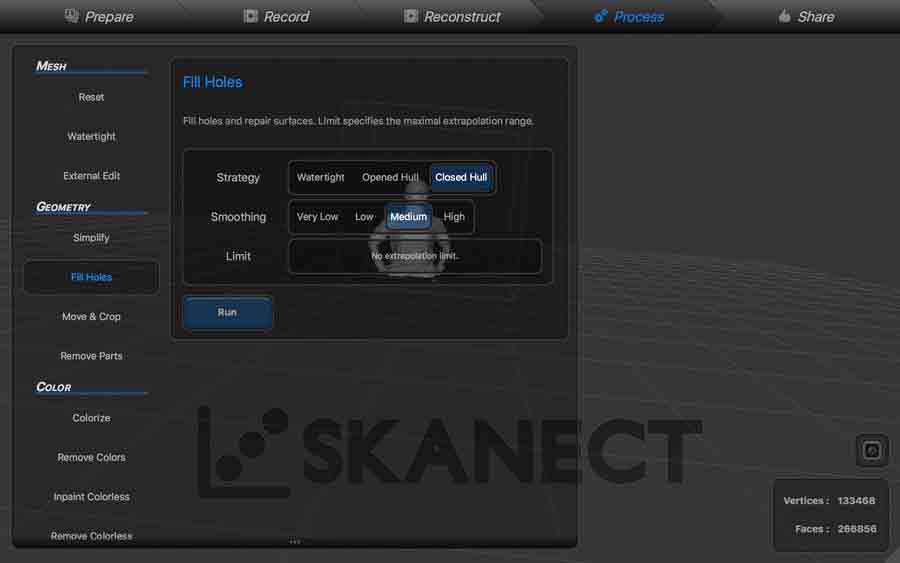
Once that is done, select to fill the holes. This helps to make your model more complete incase it has any missing links or faces
Then, I removed any smaller parts that were not required.
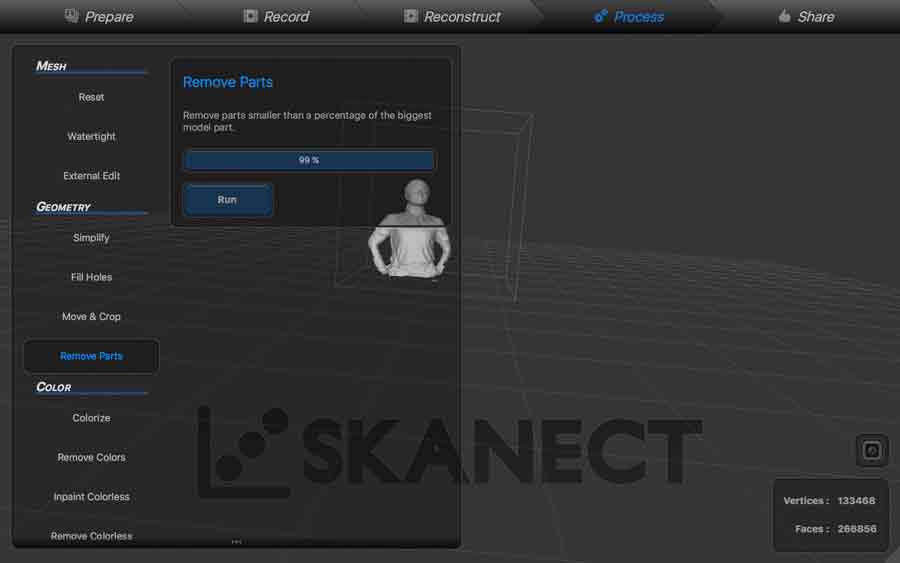
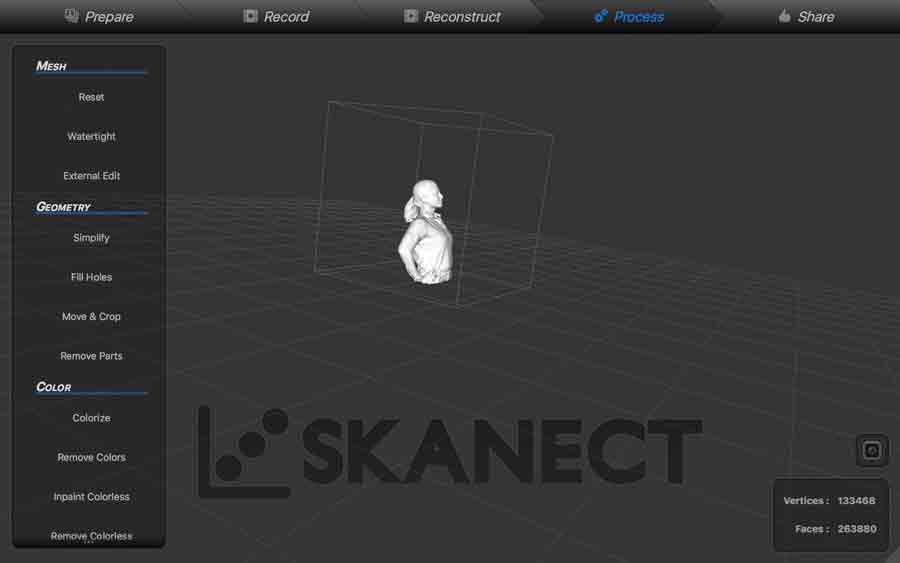
This was the final scan.
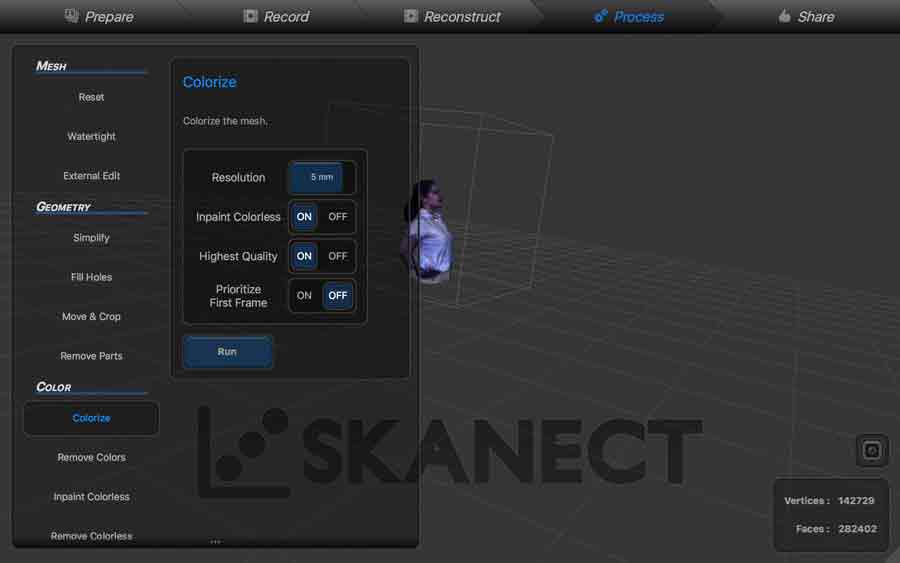
If you wish, you can also colourise it by chosing the option.
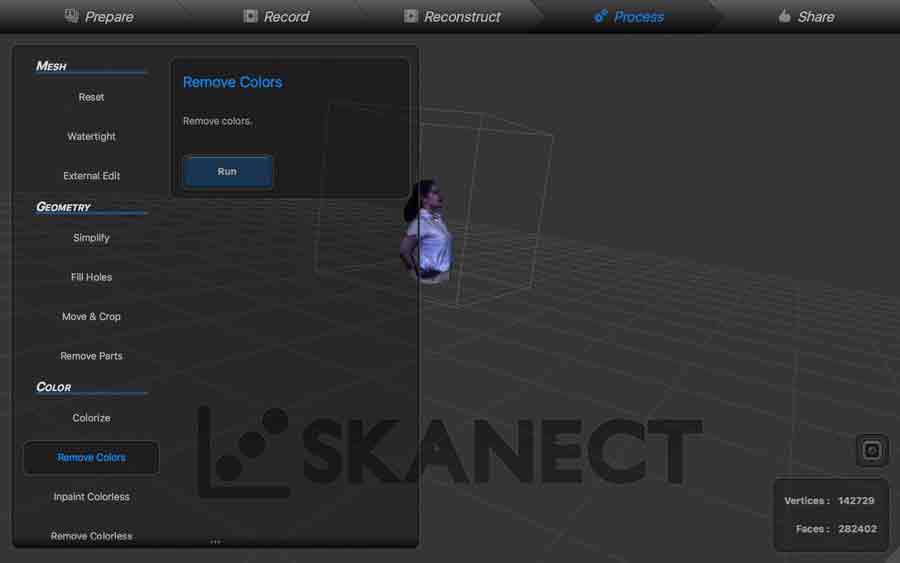
But, if, like me, you realised you like it better without the colour, then you can also remove the colour.
Once the scan is done, I exported it as an OBJ, and opened it on rhino.Either to print it out in the future using 3dprinting or just saving it , incase something happens to me, people can keep this in the memorial! A photo is too old school now :)
3d Printing assignement
First we started off the 3d printing exercise with the group experiment. We learnt about the various tollerences and factors that affects the output of the 3d printed object. In this 3d printing group assignment web page, you will find our tests and results in detail.

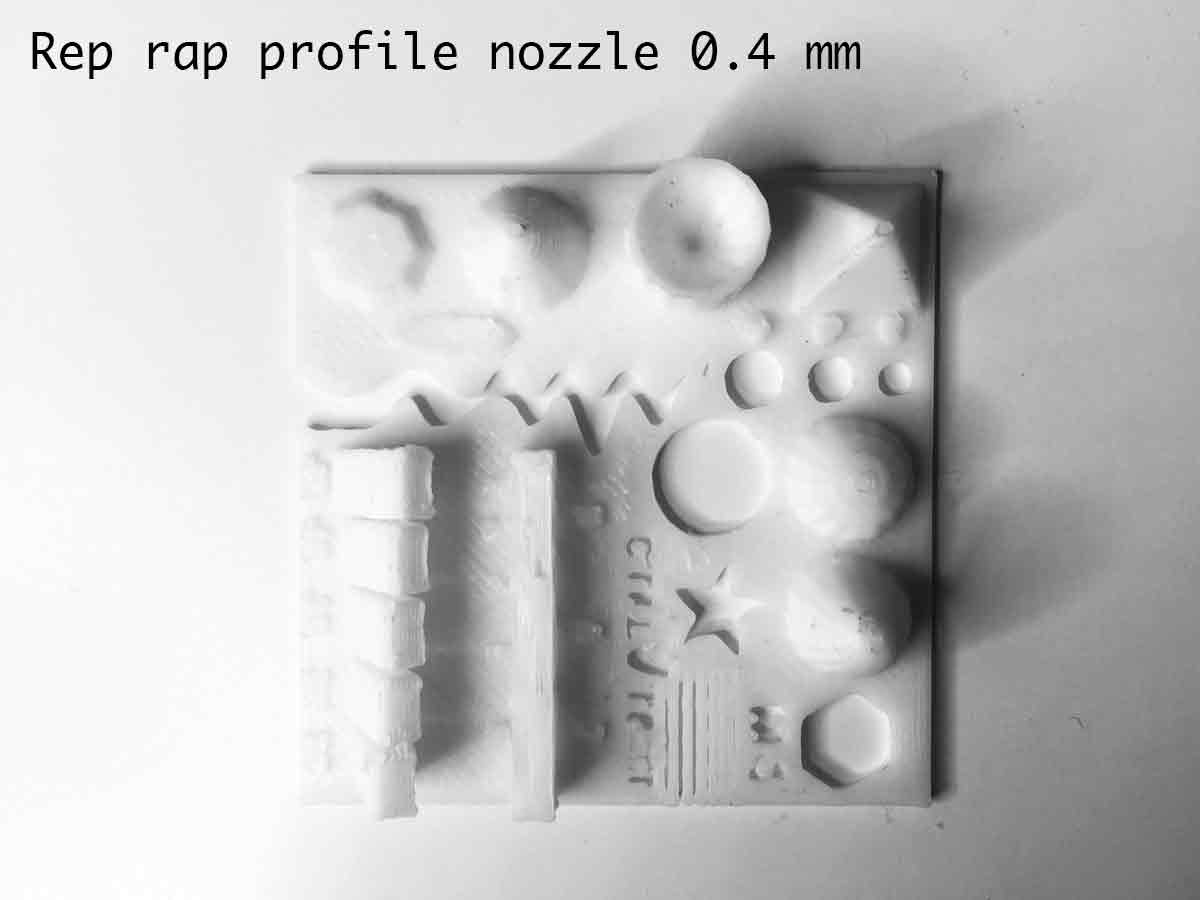
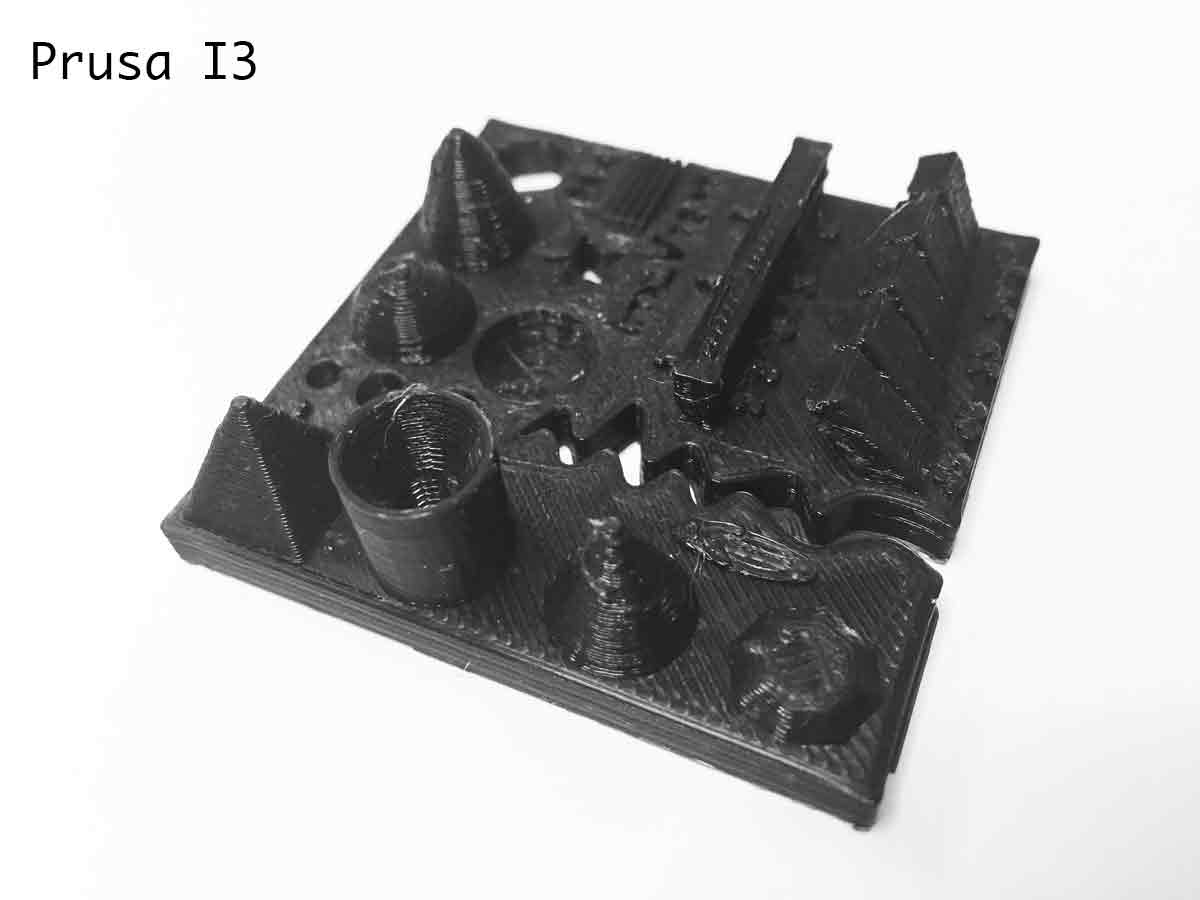
This exercise was ver useful because,
In conclusion, these aspects were very useful, as I experimentd on my own design trying to 3d print a ring, and trying out various techniches and specification myself, and you can follow it below.
Trying to 3d print this ring has been a long and a educational journey!I say this because, I made many trials before i could even get close to the design model I made using Rhino.As I take you through my trials and errors , you will understand what has been the understandings.
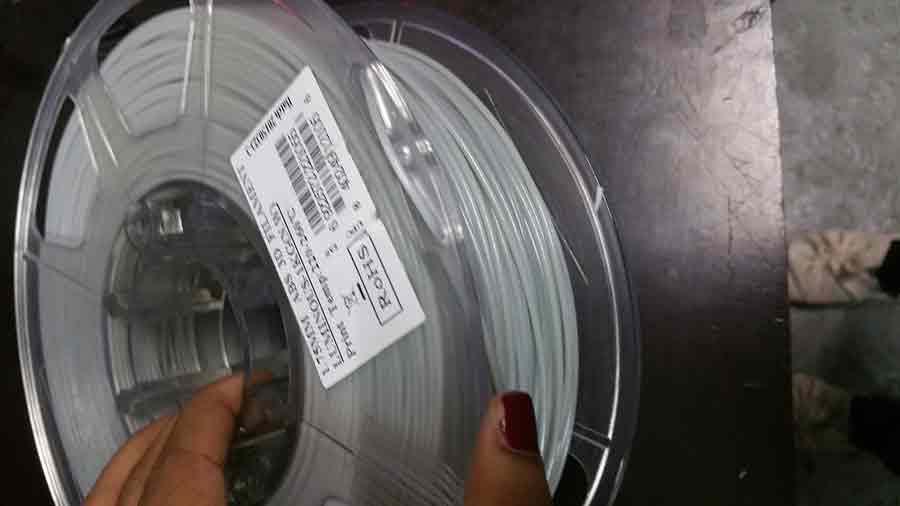
First , to talk about the filament, that is the material which is used to 3d print.There are many types of filaments in the market and it is very interesting to understand the properties and what each one can do.In this Link about the types of filaments , you get a fair idea about the number of options out there.For this assignement, I used the filament which glows in the dark.Its called luminous.And the details of the temperature to print this material at, the diameter etc is usually wriiton the package.
In my first trial, I added the supports on the software. We use a software called cura at the lab, a software for the Ultimaker printers. It is quite simple, You export from Rhino as an STL file, import it to cura and take it from there. Here, in the first trial, you see that the thickness of the designed diameter is so small, that the supports stuck to the ring and refused to come off it without having to break it!
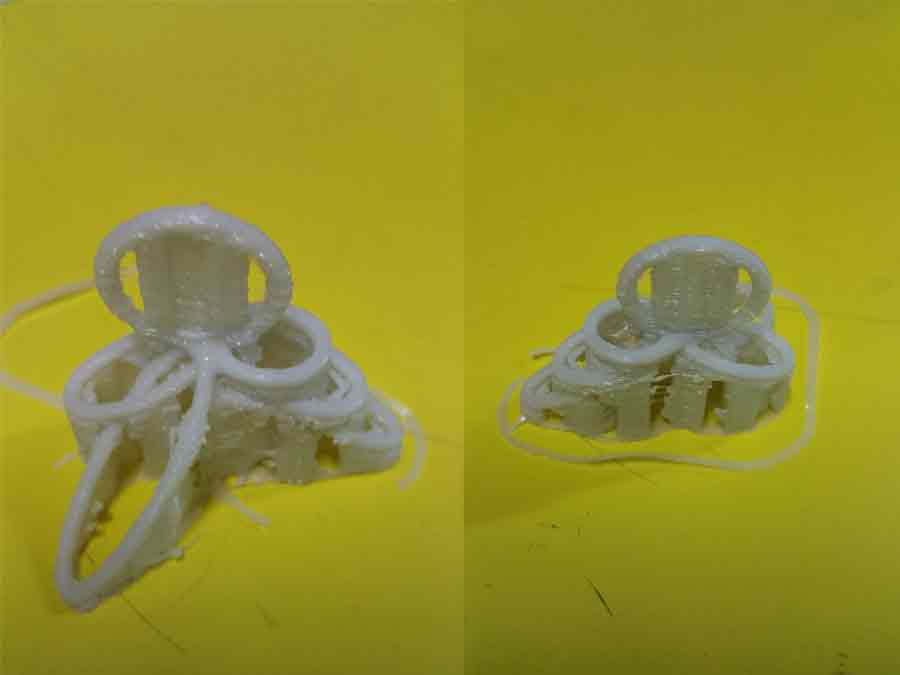
From this, I learnt that its better to design the supports in the rhino file which can later be broken from the file. The angles in the design, make it hard for the print to be supported while printing in a printe rlike the ultimaker.Here are more trials , in this one the supports were thin, so the supports came off the base and was struck to the extruder and i had broken prints!
In the next attempt, we changed to a different printer with a smaller nozzle of the extruder. The advantage of this is , since the design is small, basically the diameter is small and if it is more bigger than that, it would look humungus, so maybe the smaller nozzle will extrude less material and the supports will be able to hole the material in place. Also in this attempt, the supports were increased just a bit in size. But at all times, the supports could not be so big that it over powers the delicate ring and cant be broken off the ring without breaking the ring itself!
For now, I accepted this output, but honestly, after more investigation, such delicate designs would be great to print on a resin printer, its called Stereolithography and a printer like the Form Lab Printer would be best to use for this design.
To view and download files click HERE
To download files click HERE