14 - composites
Week 14 is the week in which we learned to make composites and how to use them.
A composite is a material that is a combination of a fiber based material with a resin. This can be any combination as long as the fiber based material absorbs the resin well to create a strong bond.
Being a bit of an airplane geek I was excited to learn that airplane fuselages are made primarily with this technique.

To make a composite you need four things:
1 - mold or internal structure
2 - fiber based material to combine with resin
3 - resin
4 - force or pressure to compress the composite as it cures
THIS WEEK’S PLAN
I wanted to use the Shopbot to mill a 3D mold that I had designed, lay the composite in it and use the other side of the mold I designed in combination with clamps to put pressure on the composite to create a strong piece.
To make the mold I had prepared a piece of rigid foam, but then disaster struck…
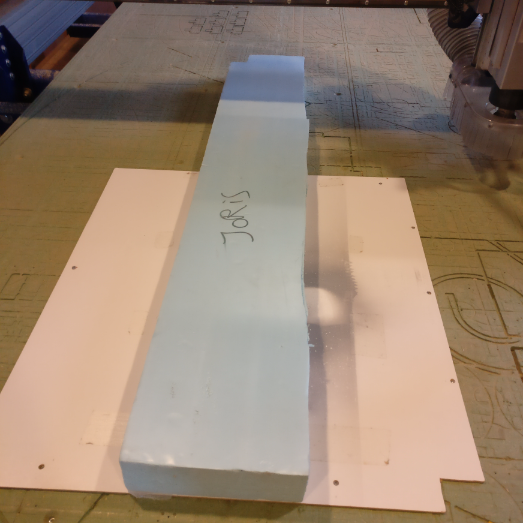
The Shopbot broke down due to a faulty power switch!
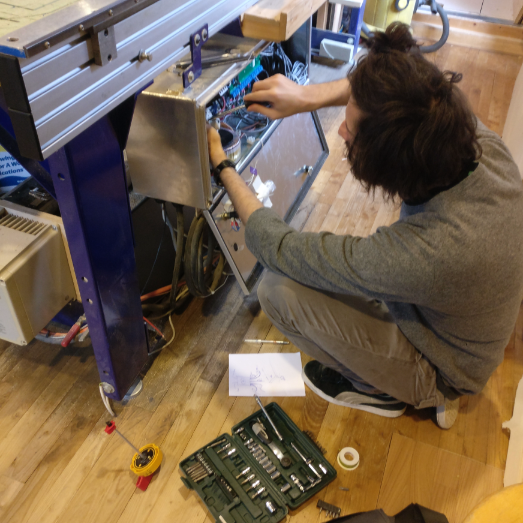
Unable to make a big mold on the small milling machine, we had to get creative and come up with a solution quickly. I decided to take this opportunity to freestyle in Fusion and make a completely random organic shape to see how that would translate to a composite piece.
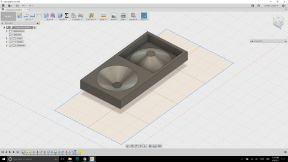
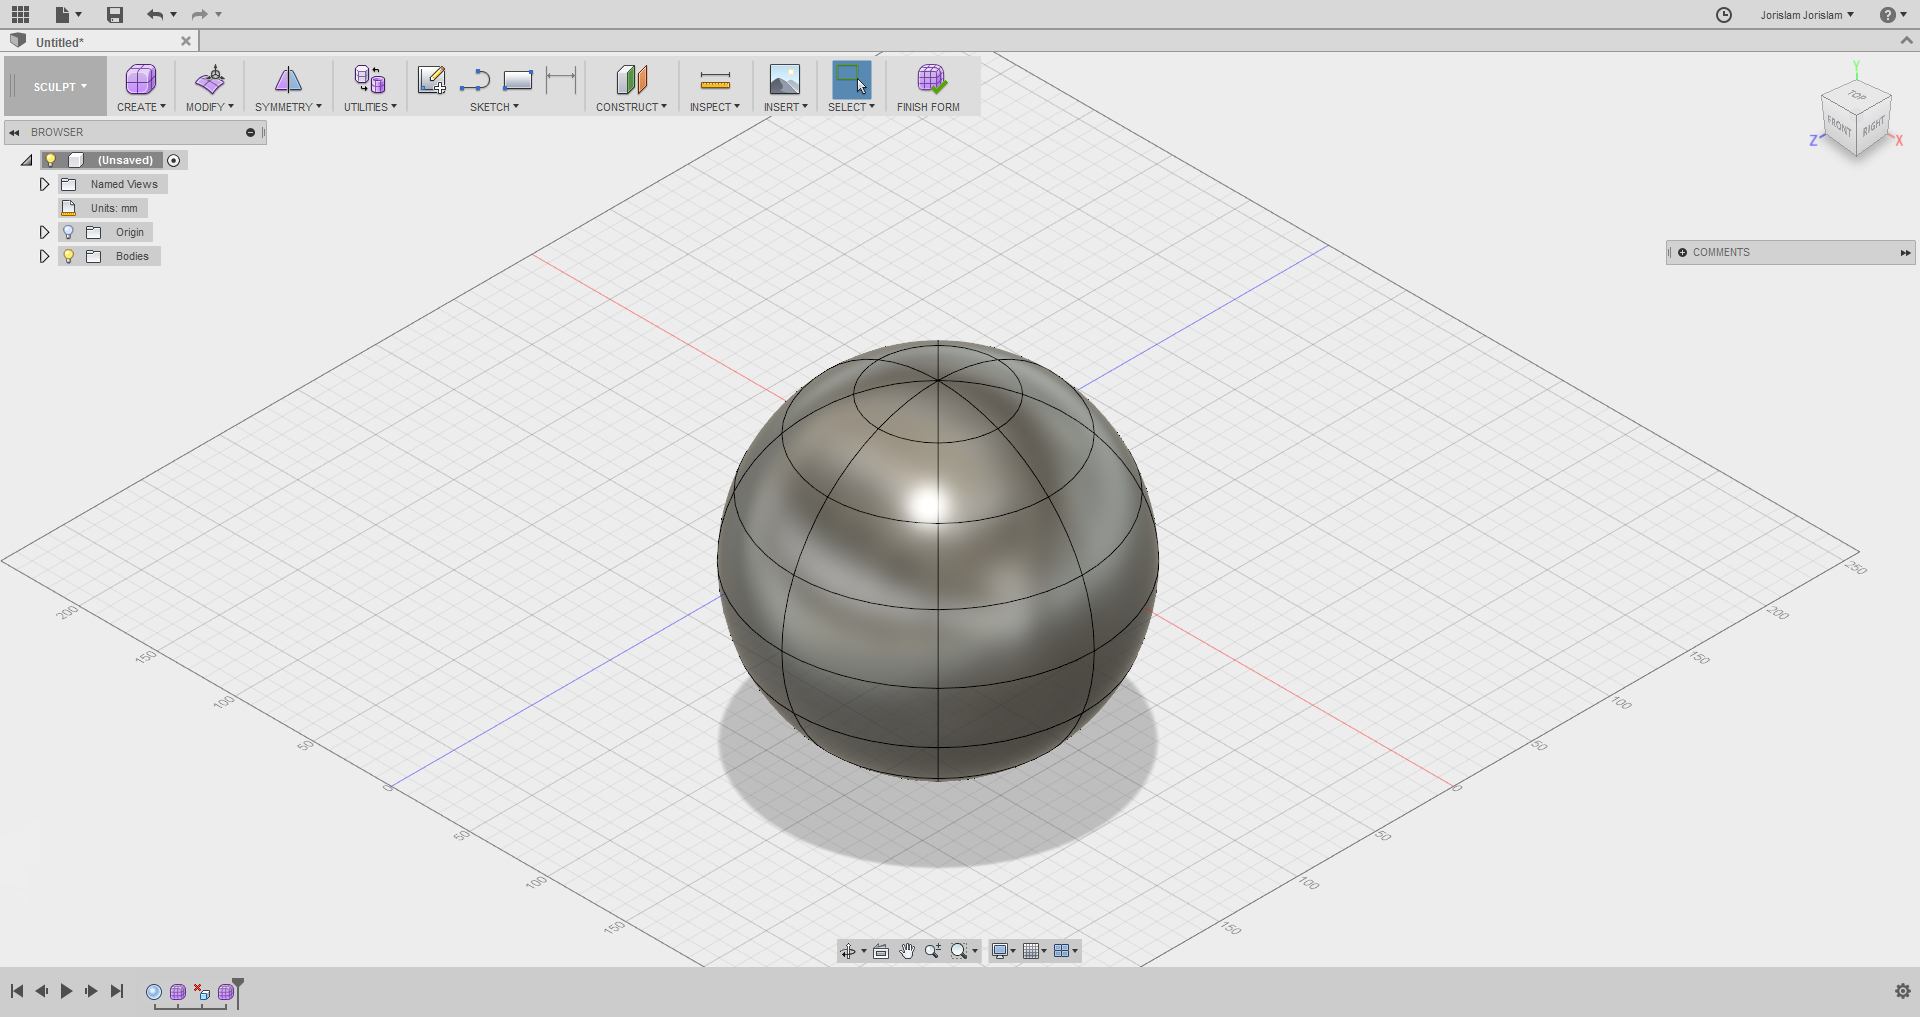
First, I created a sphere.
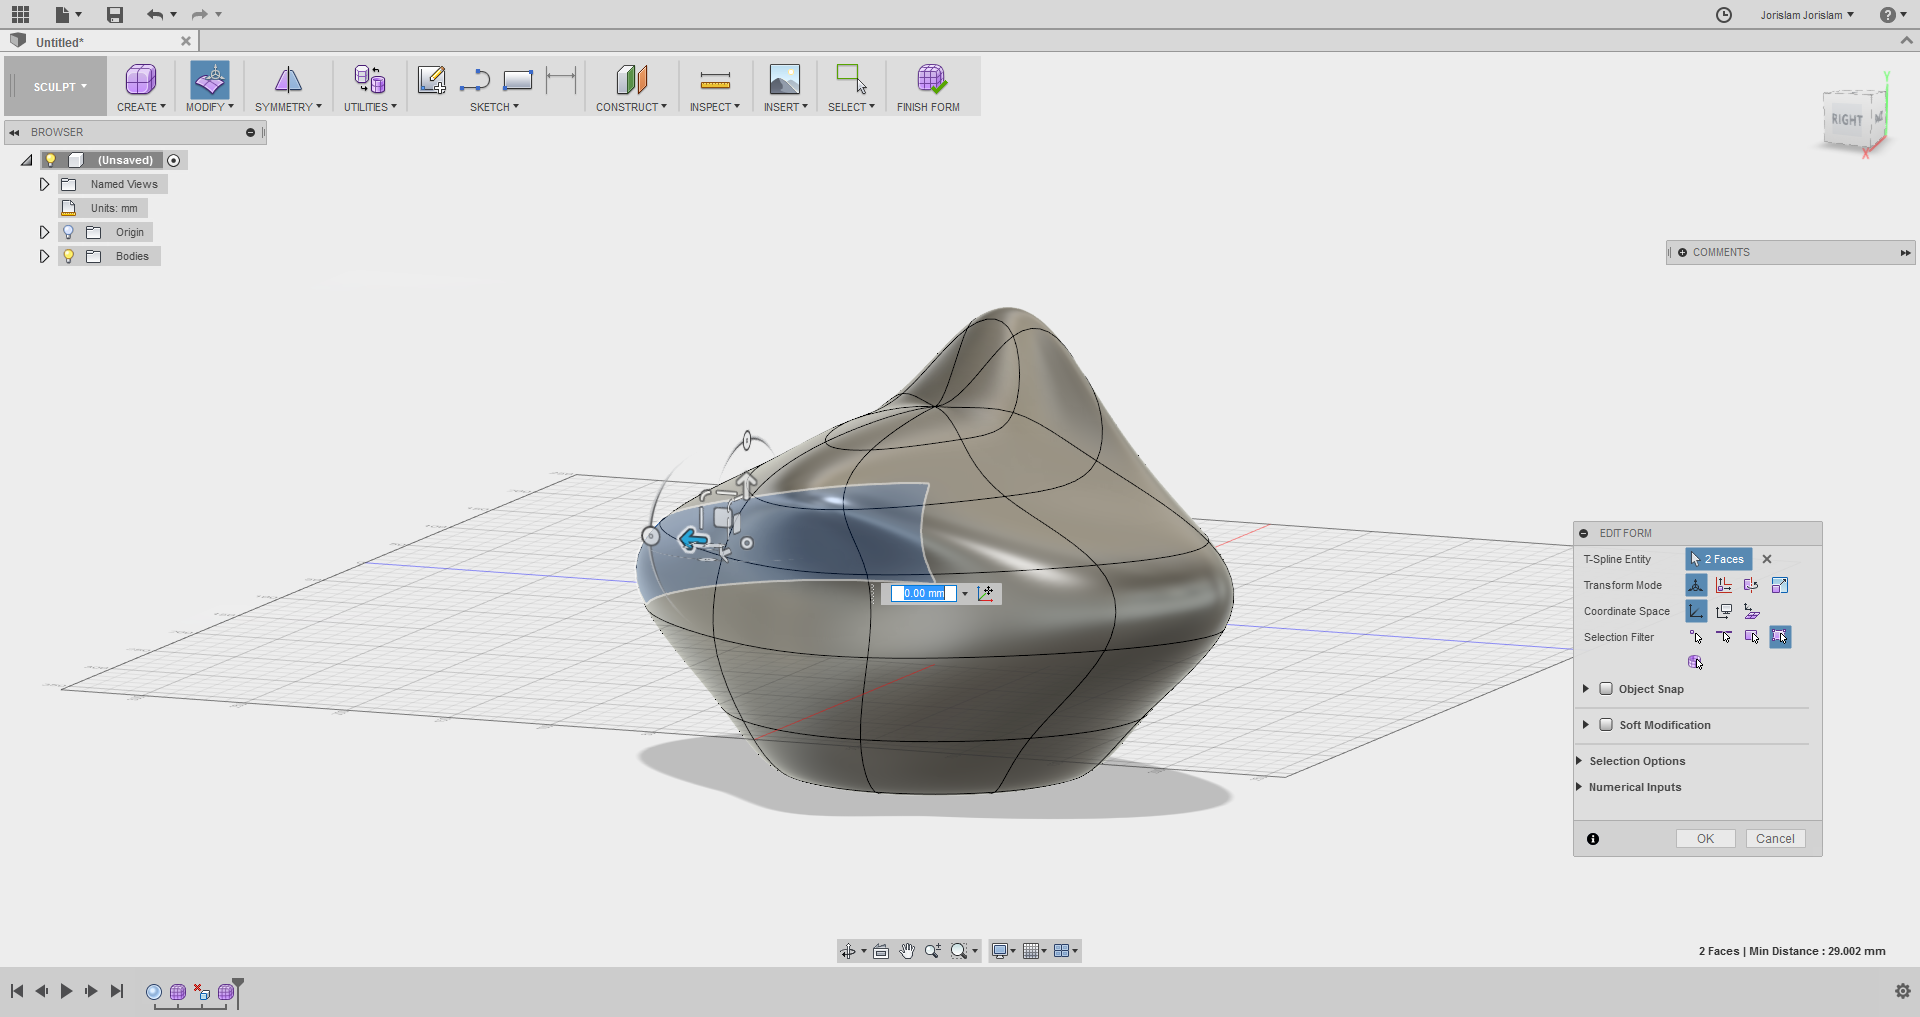
Then I used the ‘create form’ function in Fusion to be able to manipulate the shape and create something a little funky.
The 3D model measures approximately 31 by 27 centimeters.
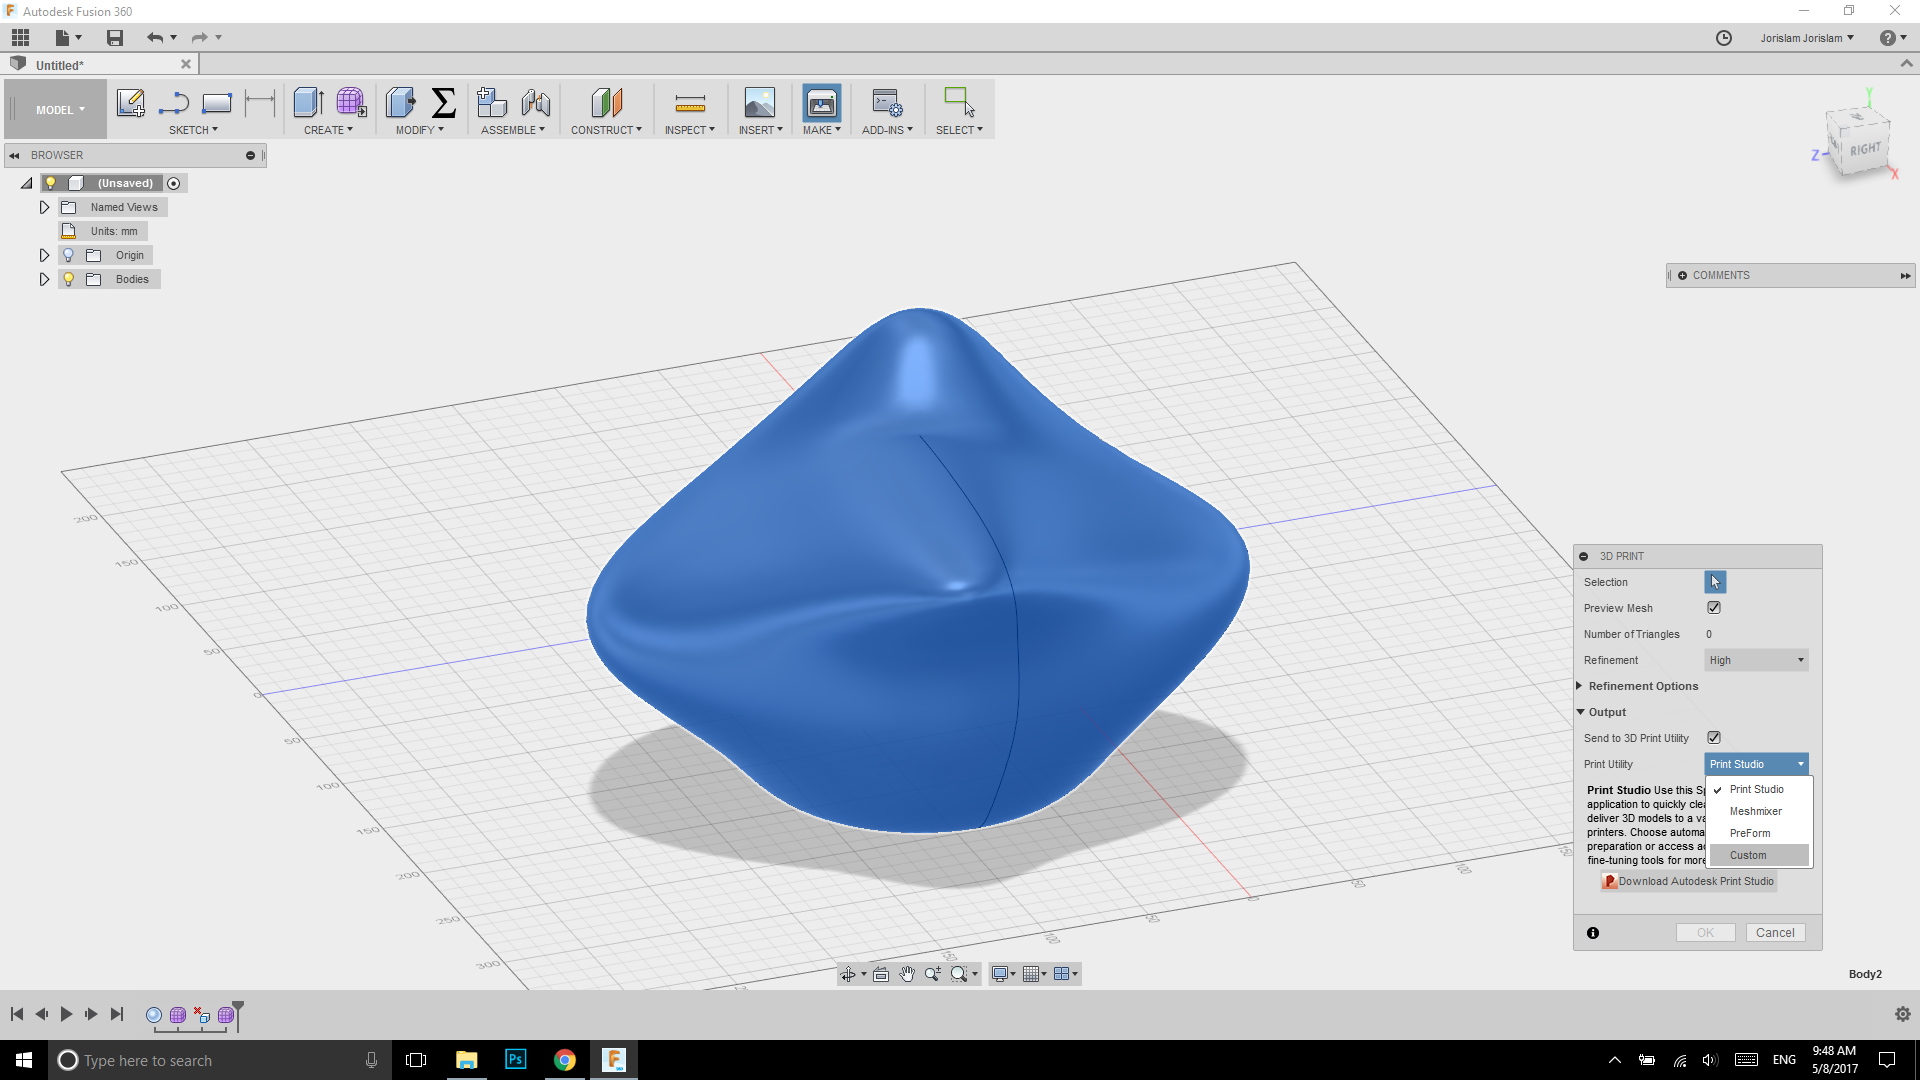
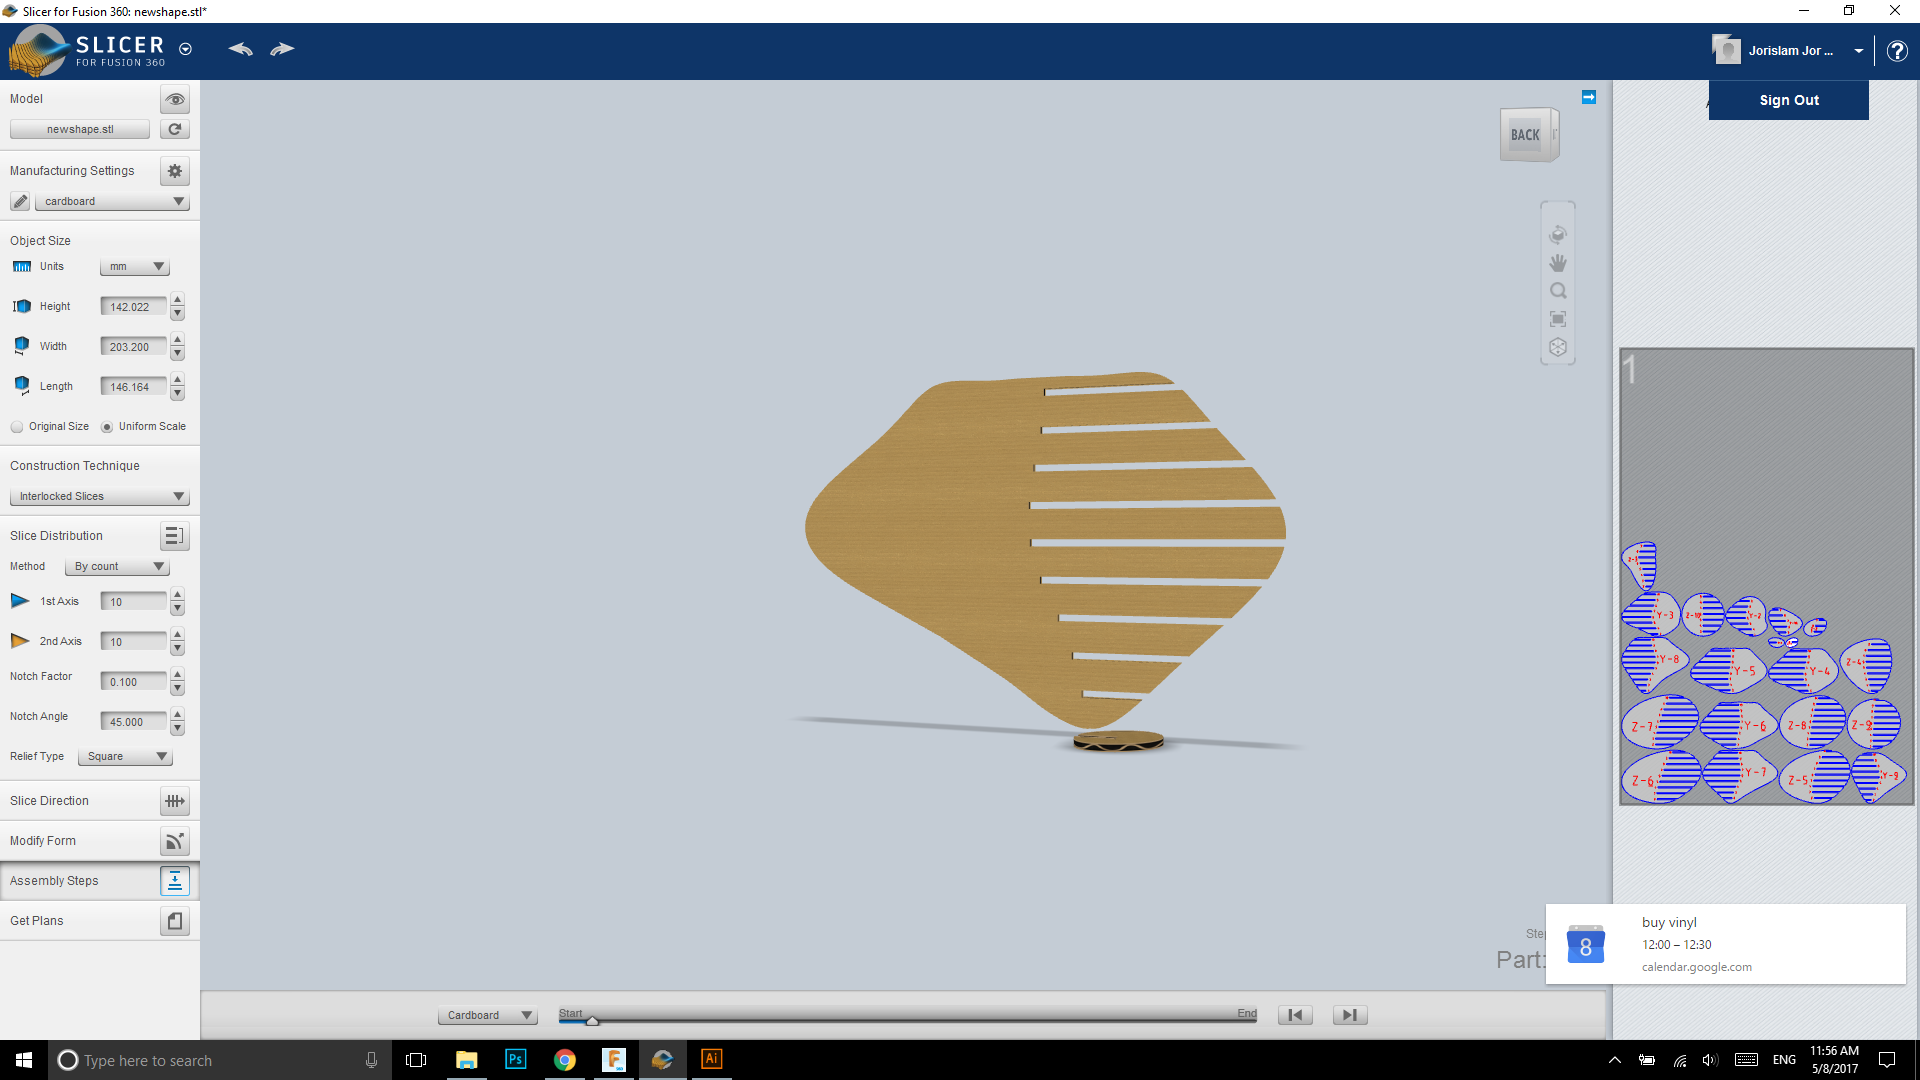
To turn this into something that can be made/covered with composites I turned this into a cardboard structure using Slicer, formerly 123D make. This standalone compiled program called Slicer turns 3D objects into construction kits that you make out of 2D materials like cardboard or wood. To do this, first you make an STL from your model.
Then you import the model into Slicer, you can also do this straight from Fusion, but I did it the old-fashioned way by exporting and importing.
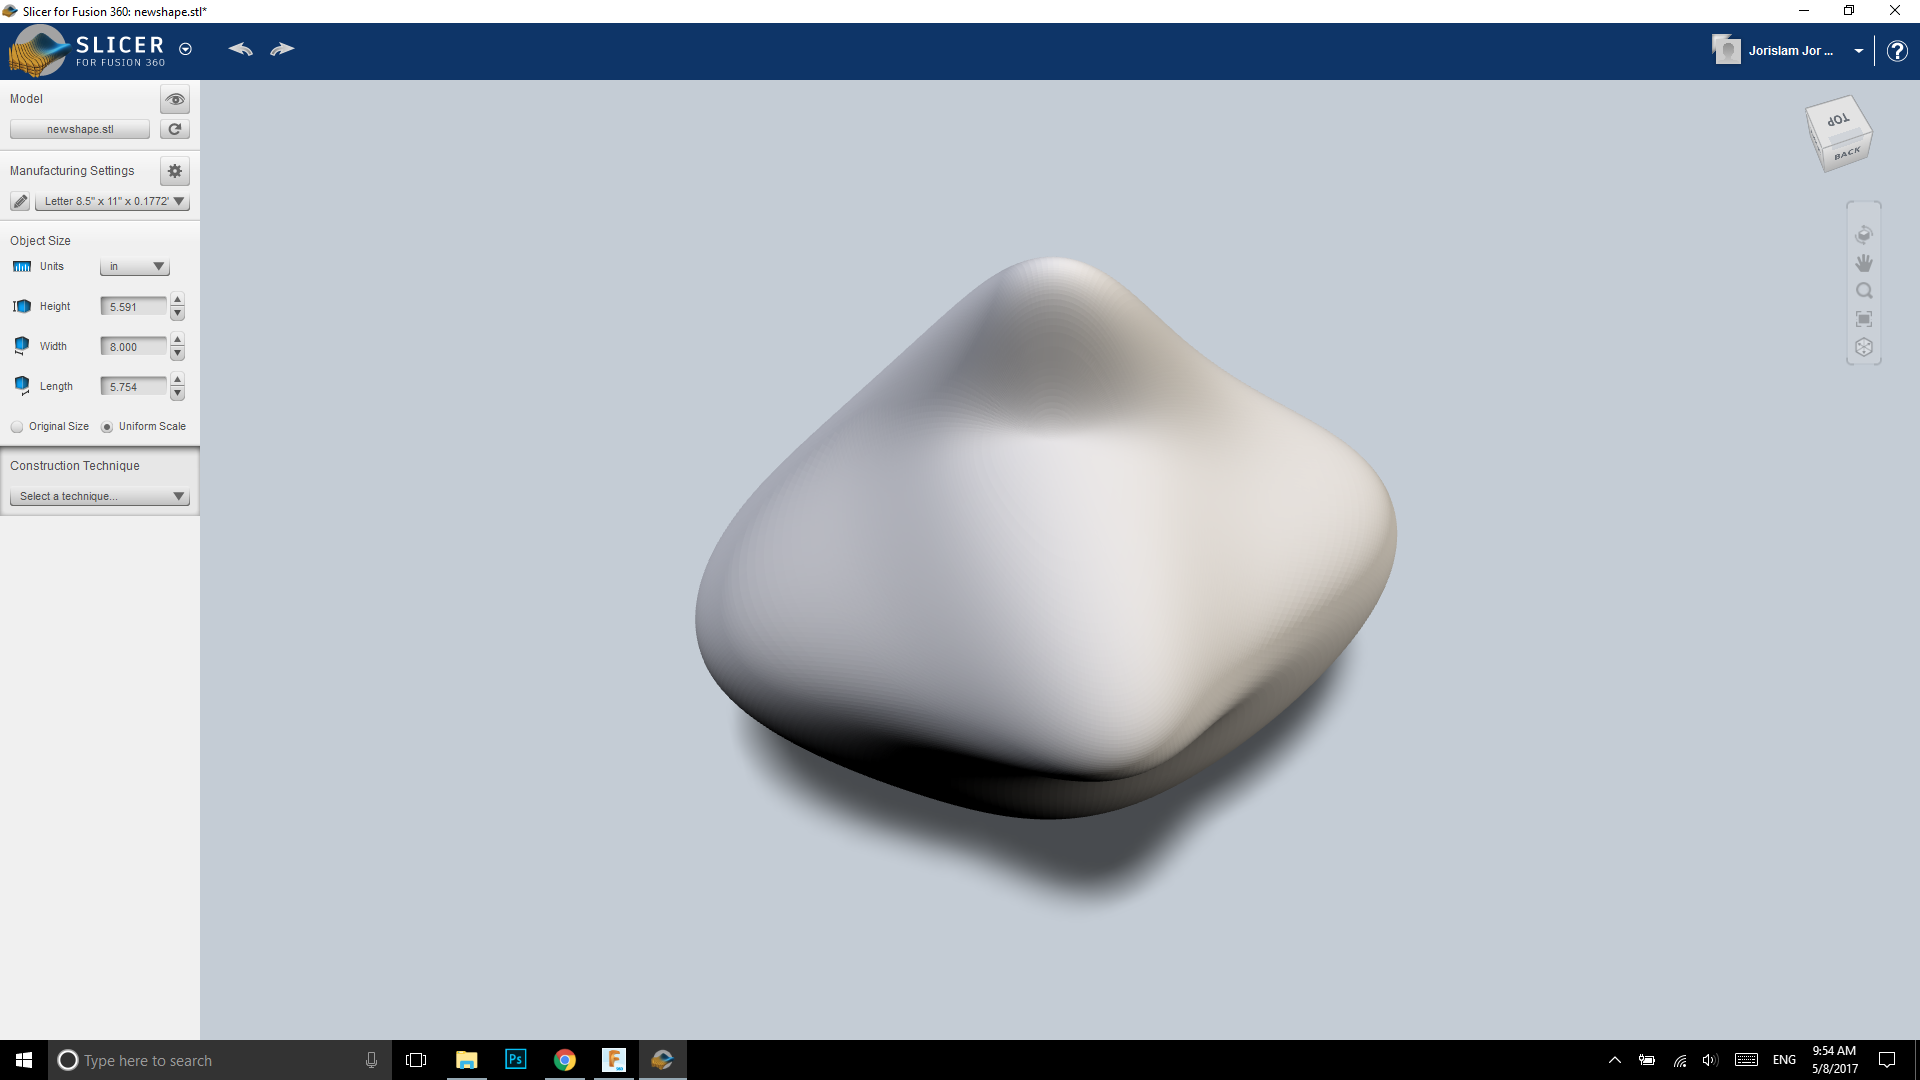
In Slicer there are many different options to turn your model into a 2D DXF, but the most important setting is the one where you specify your material properties.
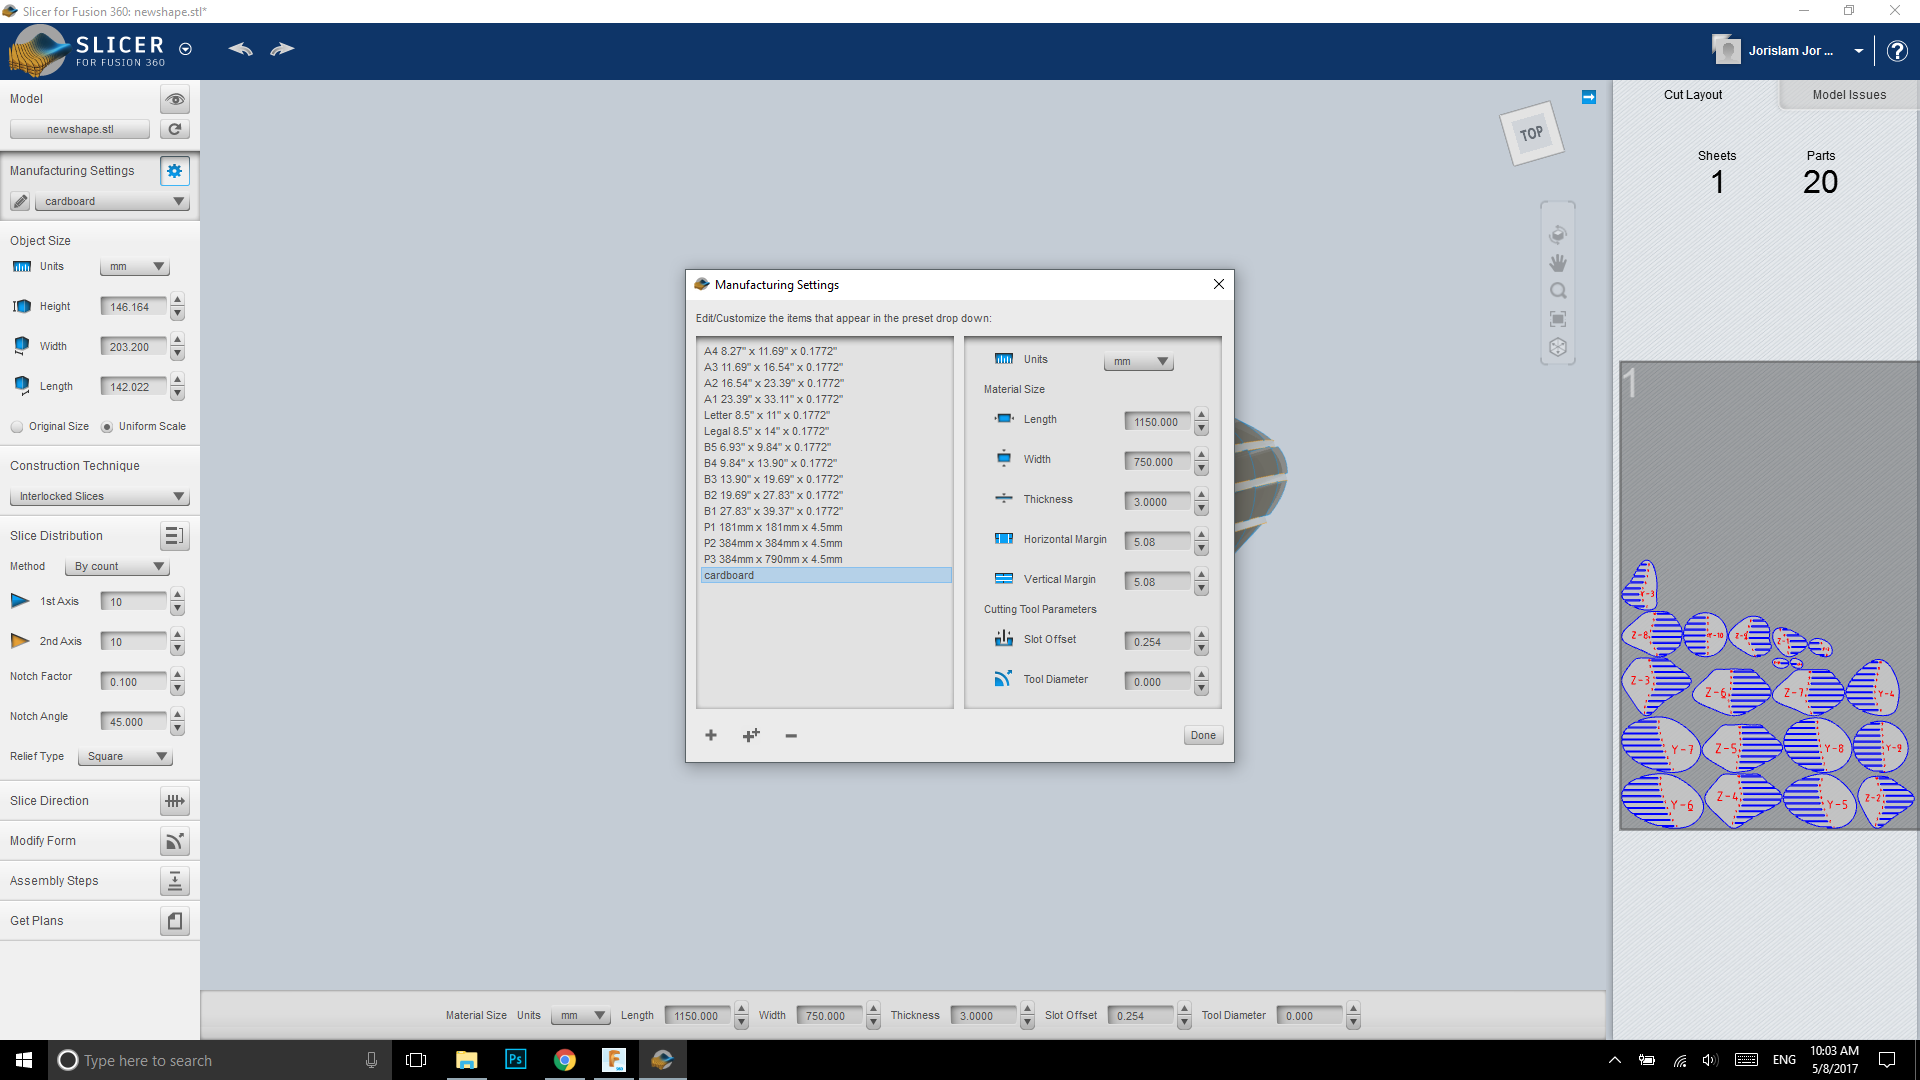
I made a new material that I named cardboard and gave it the dimensions of the stock we have and a thickness of 3mm.
Once you have made your model you can download the DXF file straight from Slicer and it provides an animation to tell you how to assemble your model.
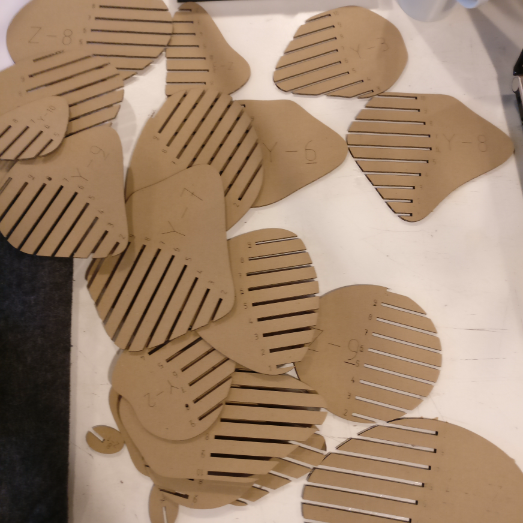
I used the laser cutter to cut all the pieces, which came out like this, good thing they are numbered!
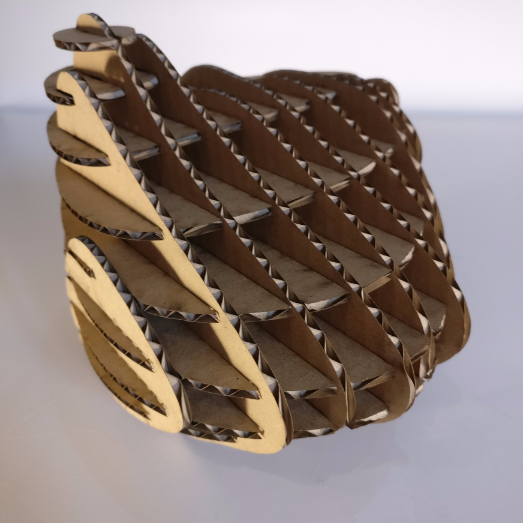
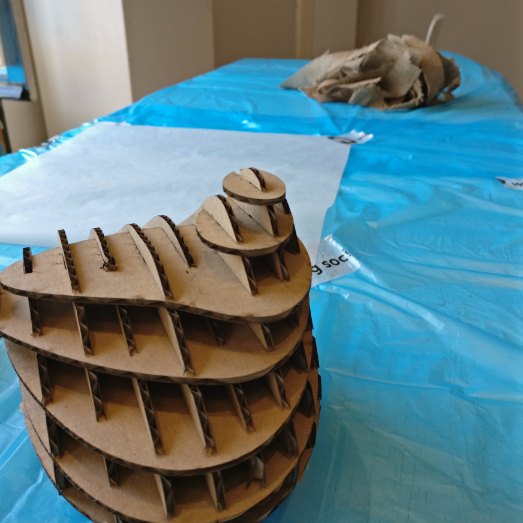
When assembled the core structure for the composites looked like this.
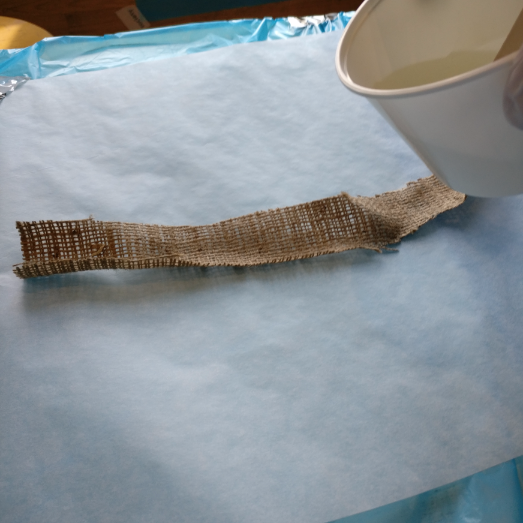
To make the composite I chose jute as the fiber material, in hindsight I should have opted for a more flexible material, but more on that later.
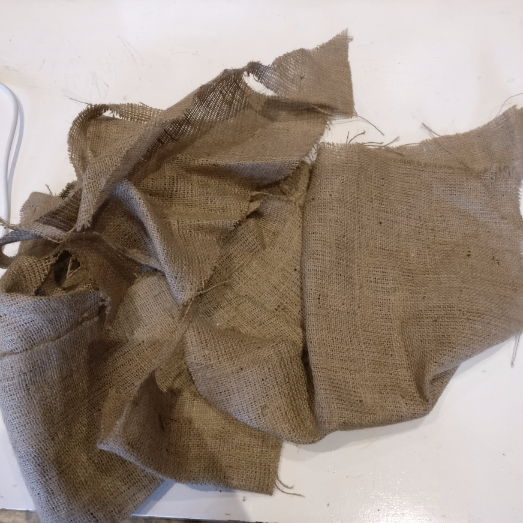
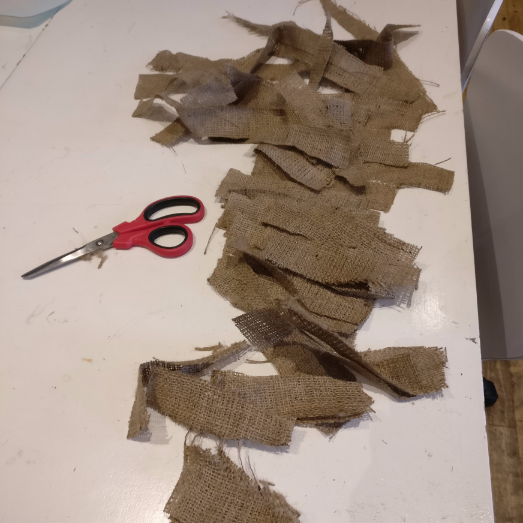
Because my shape has so many humps and bumps, I figured big sheets of fabric would create too much overlap, so I cut the fabric into smaller strips and pieces.
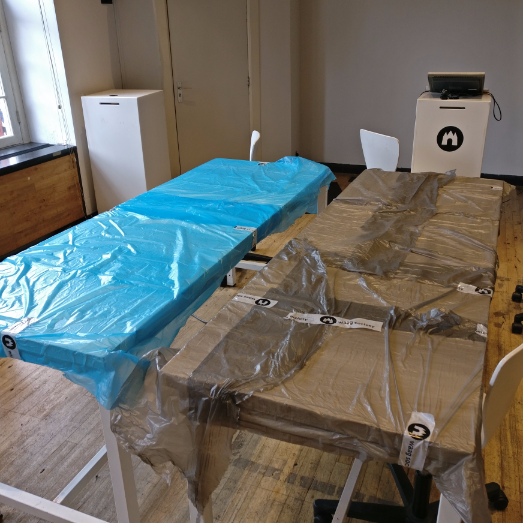
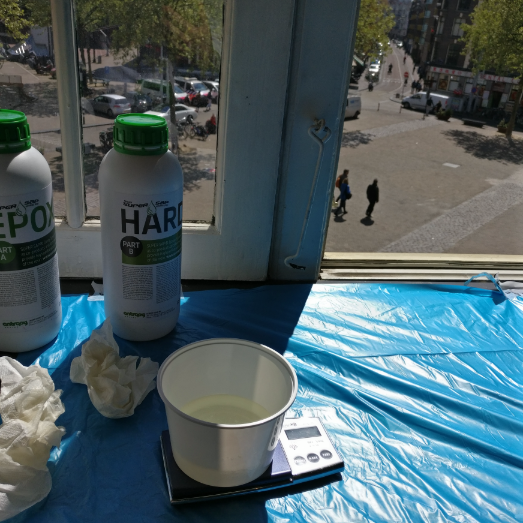
Once I had all the pieces, I went on with safety measures to protect myself and the Fab Lab from the resin, first I covered the tables in plastic.
I also covered myself with respiratory protection, a lab coat and gloves.

Before starting I read the datasheet for the Super Sap epoxy from Entropy Resins. This is a bio-based resin so only a little bit of ventilation is necessary. I mixed the resin next to an open window and worked with all the windows open in addition to wearing the mask.
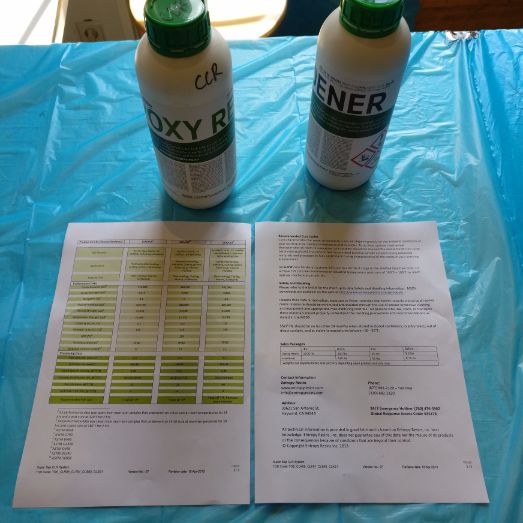
In the datasheet is also the mixing ratio between part A and part B, for the combination I used, this ratio is 100:47 based on weight. This is an important distinction, because you can also determine the ratio based on the amount of liquid, in that case the ratio is different.
I used a scale to measure the amount of resin I poured. First I poured part A in a cup, and then using the ratio added the right amount of part B.

When the resin is mixed, I was ready to start creating the composite and covering the cardboard structure.
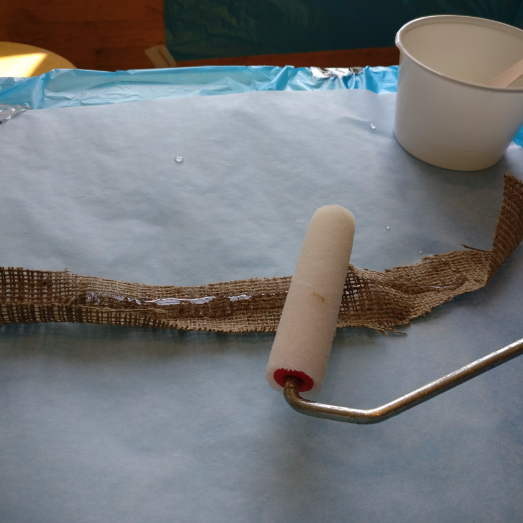
To do this, I put a strip of fabric on oven paper, poured resin over it and used a paint roller to brush the resin into the fabric.
After I did two layers the piece looked like this:
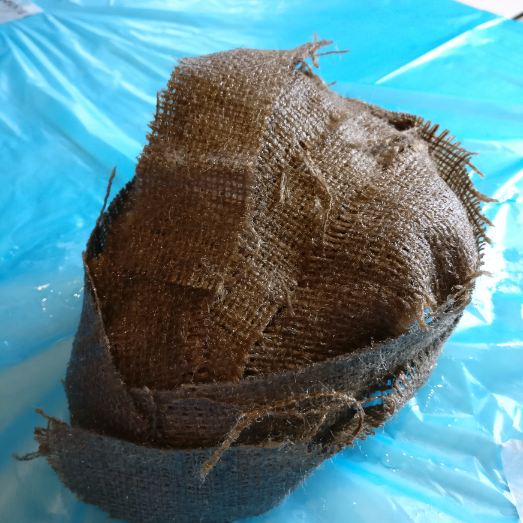
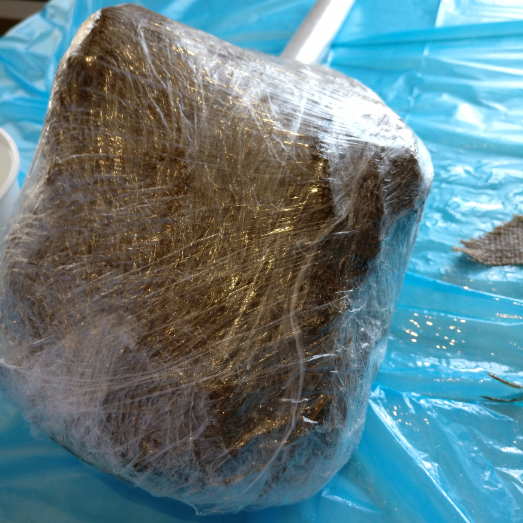
It was becoming increasingly harder to keep all the pieces of fabric in place, and it became very hard to apply the third layer. This is where I made a mistake, I wrapped the two layers in cling film and to keep them in place and then applied the third layer. However, what I didn’t think about was the fact that the film would separate the layers.
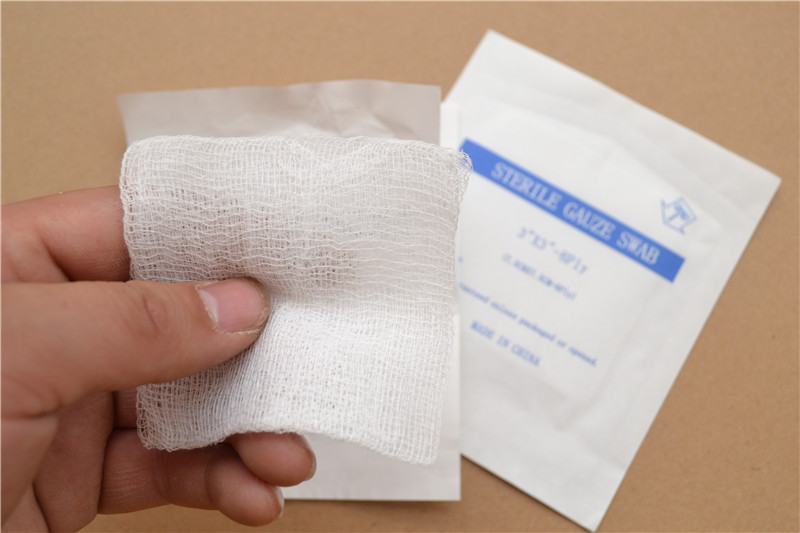
I did this because I needed to keep the applied composites in place and in shape and prevent pieces to fall off while still applying a new layer. Looking back at it I think next time I will try to use something like medical gauze which will allow the resin to pass through but still keep things in place.
But I didn’t, I just used cling film after two layers, applied a third layer and then wrapped the whole thing in cling film again before putting it into the vacuum bag.
Another thing I didn’t do properly was put vaseline on the clingfilm before wrapping the composite, as you will see later this resulted in the film becoming a part of the composite.
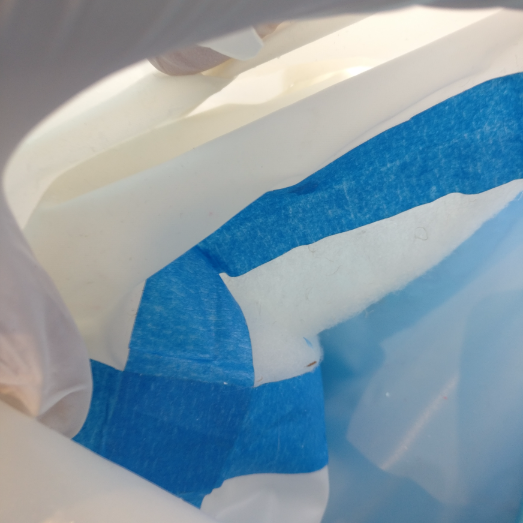
Inside the vacuum bag, the previous user had placed a foam breather layer around the the seal.
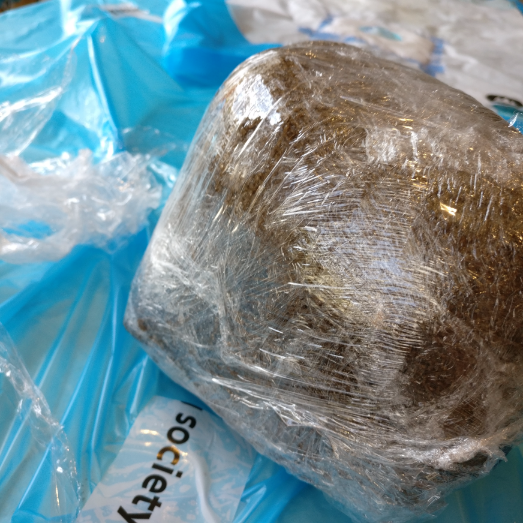
I placed the entire thing wrapped in cling film inside the vacuum bag.
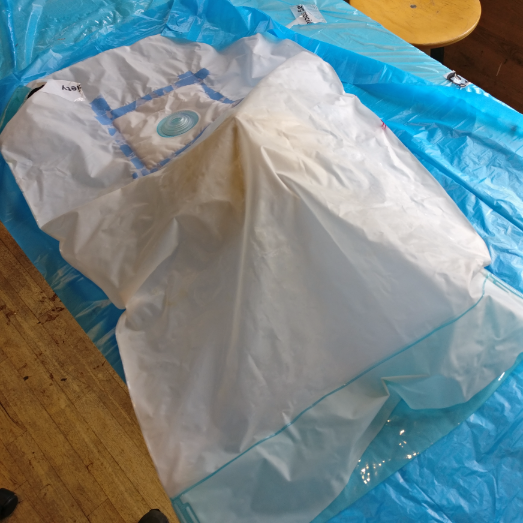
After creating a vacuum using a vacuum cleaner, I sealed the bag with tape.
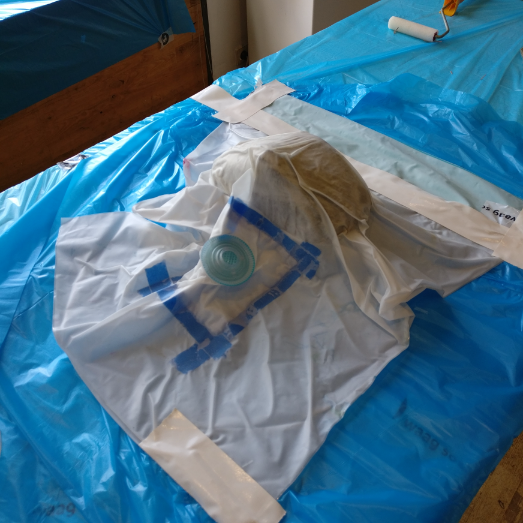
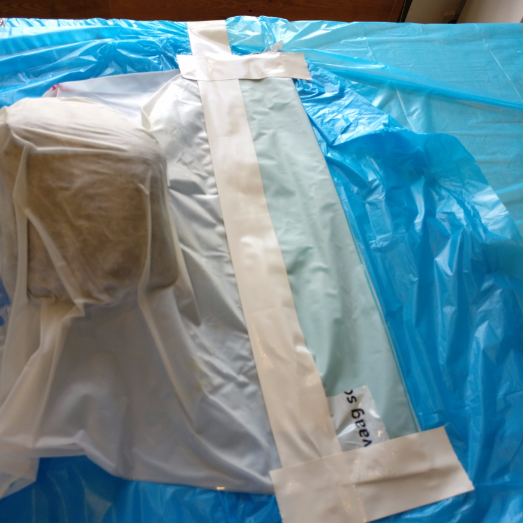
When I returned the next morning the vacuum didn’t hold and there was air in the bag, luckily I did wrap the cling film very tight so the composite did retain its shape.
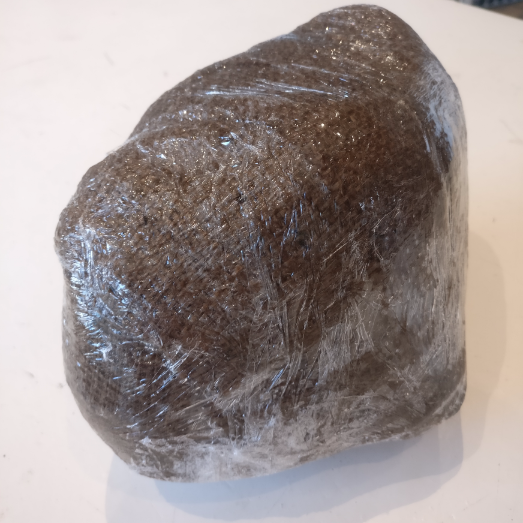
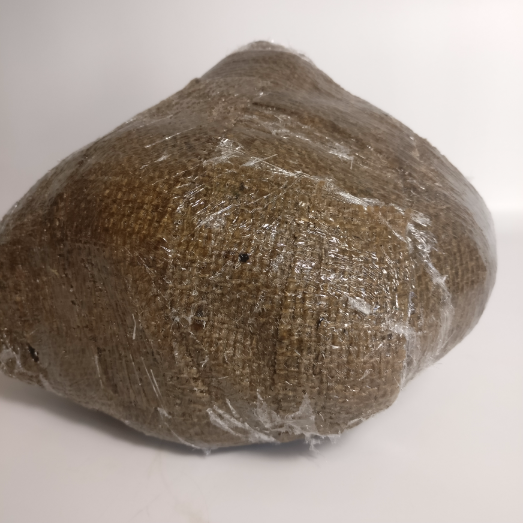
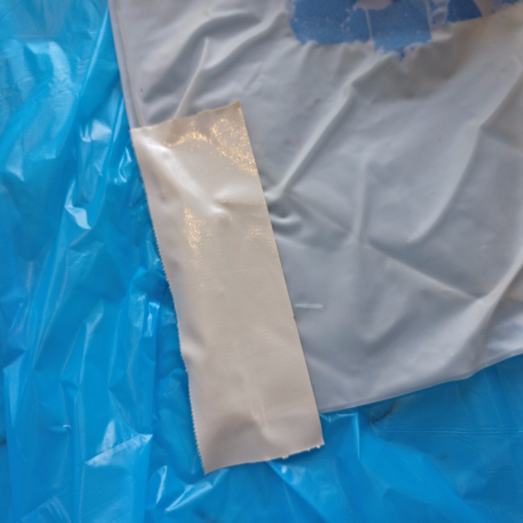
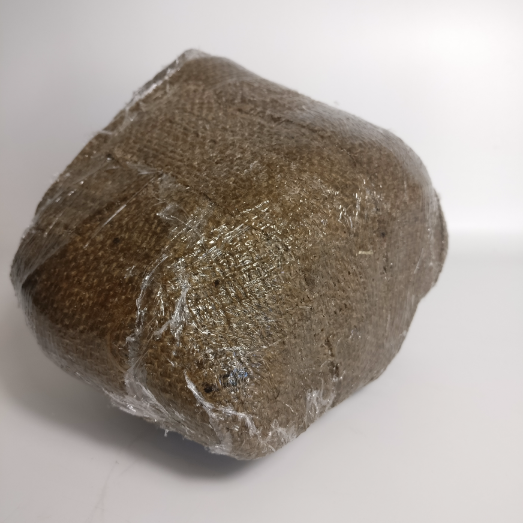
But, because I didn’t use enough vaseline on the film, it fused with the composite, making it impossible to fully remove it. This is the final result:

LEARNINGS AND CONCLUSION
First of all, a lot of lessons learned about the use of cling film. It is definitely not a good idea to use it while still applying another layer of composite. In my case it came out quite alright because the thin layer just fused with the other layers of composite, but next time I will try to use the gauze. Another cling film conclusion is, do not hesitate to put a lot of petroleum jelly onto it! I just used a little bit and it still fused the cling film with the composite. Despite this, making a 3D model with the help of slicer and composites works really well and the shape of my composite piece is identical to the 3D design, the only difference is that the slope of the curves is a little less because it’s made up of multiple layers.
3D model