12 - molding and casting
12 - MOLDING AND CASTING
In the molding and casting I week I wanted to try to recreate a LEGO brick out of a clear material and enhance it with electronics. I encountered quite a few problems this week, so this documentation will contain a lot of mistakes that I made so that others don’t have to make them again.
There are many ways to mold and cast objects, but the assignment this week was to mill a mold for a mold, and then cast it. To do this, you need three materials:
1 - machinable wax for the first mold
2 - flexible mold material like silicone
3 - final casting material
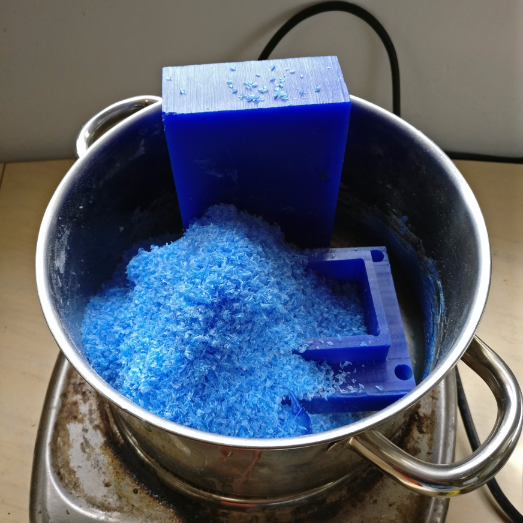
For the first step, I melted machinable wax and let it set in a pre-made box to give a nice square piece of stock to work with.

MILLING WAX MOLD
Once I had the piece of wax and it’s dimensions(it shrinks quite a bit after cooling down), I could start making a 3D design to mill. The steps to take in the design are:
1 - cut your design in half
2 - create pockets around it
3 - create a box around it the size of the wax
4 - include extrusions and holes that keep the two halves together when casting
5 - include a tunnel for the material to be poured through
This is a short clip of my design process:
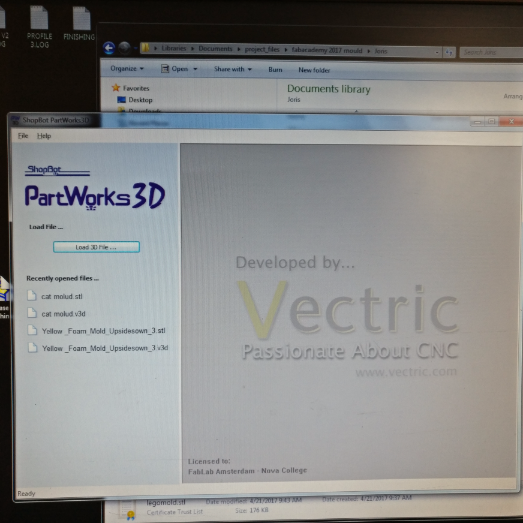
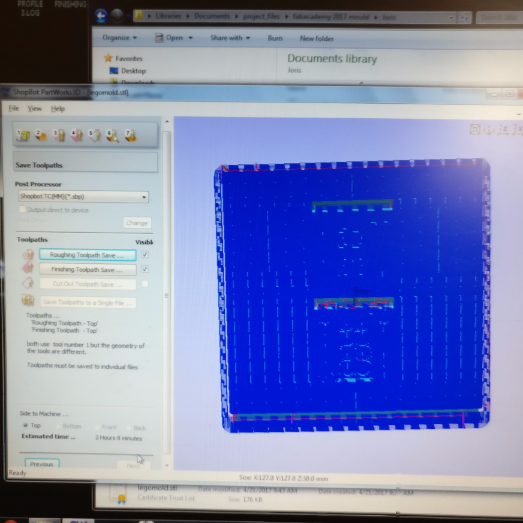
After exporting the design as an STL, I opened it in PartWorks 3D to create the toolpath.
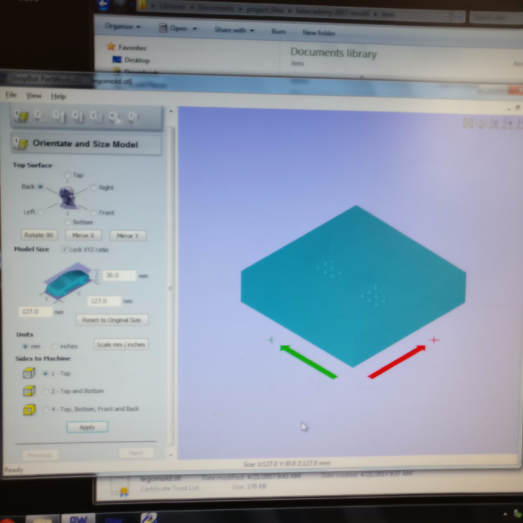
In the first window you choose the orientation, dimensions and from which side to machine. I had to turn my design 90 degrees.
The next window is for the roughing toolpath, this is where the machine cuts away the biggest chunk of material with a relatively big end mill.
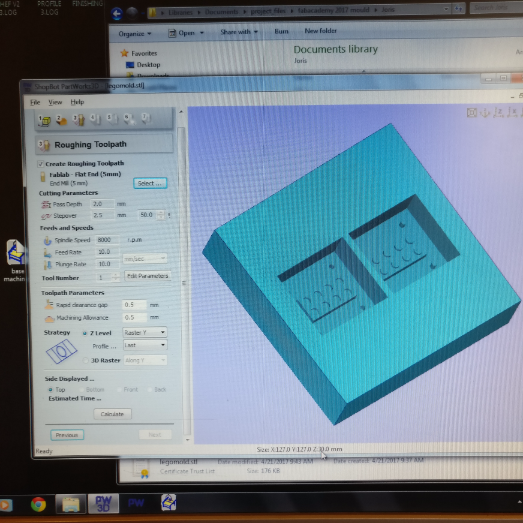
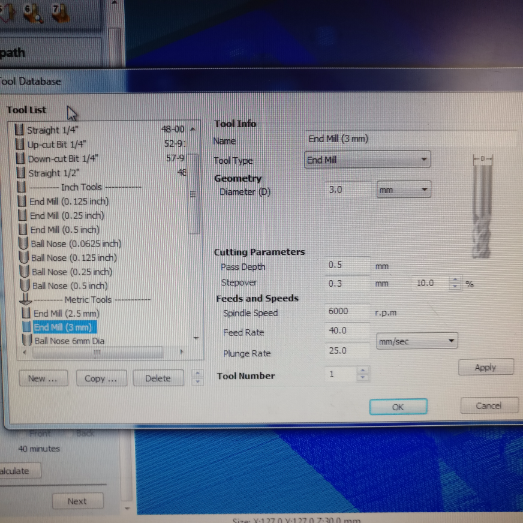
For this job I chose a flat 3mm end mill with the following settings:

After roughing comes the finishing toolpath window, for the details and finishing of the job. By default it was set to a ball end mill which is good for round and curvy shapes. I selected it but when I saw the preview I was a little afraid that for my sharp corners it would give a bad result.

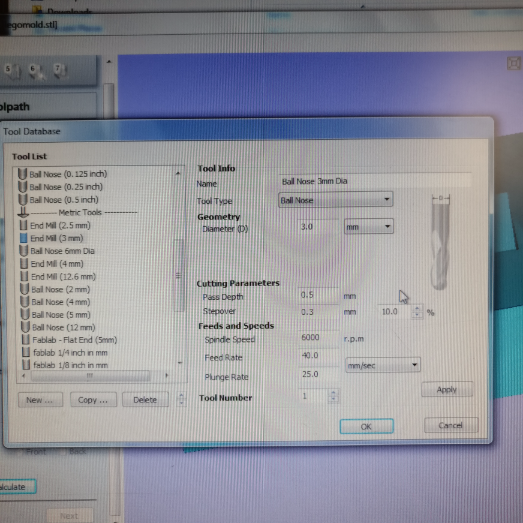
Because the LEGO brick has sharp edges, I decided to change the end mill to a flat 3mm.
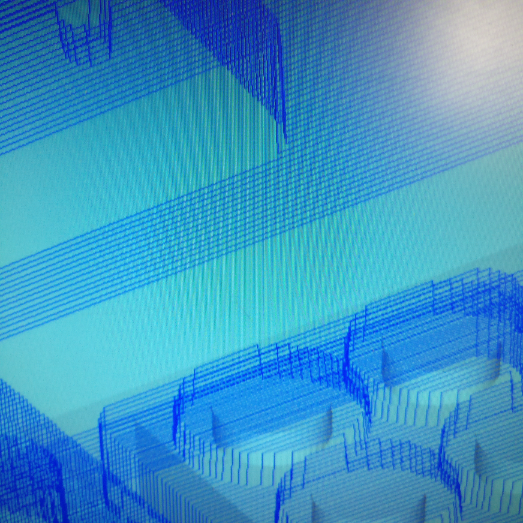
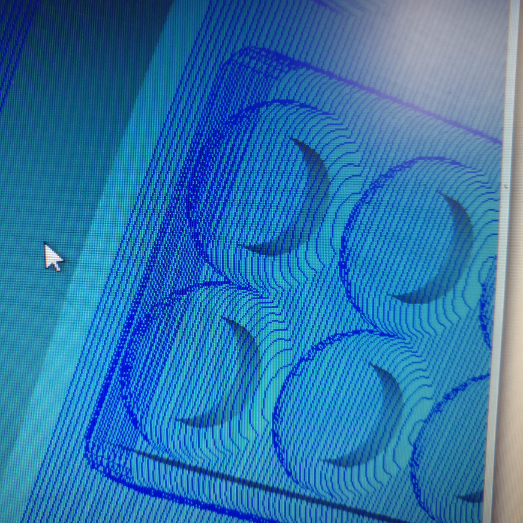
After I set the finishing toolpath the software gives a preview of the job
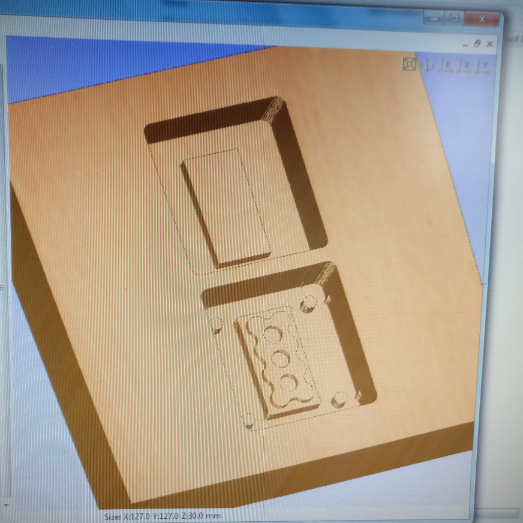

I noticed that the holes for alignment where not included in the final toolpath, this was due to the fact that I had designed them to be exactly 3mm in diameter, the same as the tool. To fix this problem I had two options, to redesign the 3D model or to trick the machine a little by specifying a smaller tool size in the finishing toolpath. I did the latter and changed the tool size to 2.8mm even though the tool is still 3mm and then the holes showed. up.

After saving both toolpaths to the computer it’s time for the preparation of the material on the machine. I used a piece of wood with a smooth surface finish to fix the material to the bed. I screwed the wood onto the bed, used double sided tape to stick the wax to the wood and included two extra pieces of wood to keep it in place.
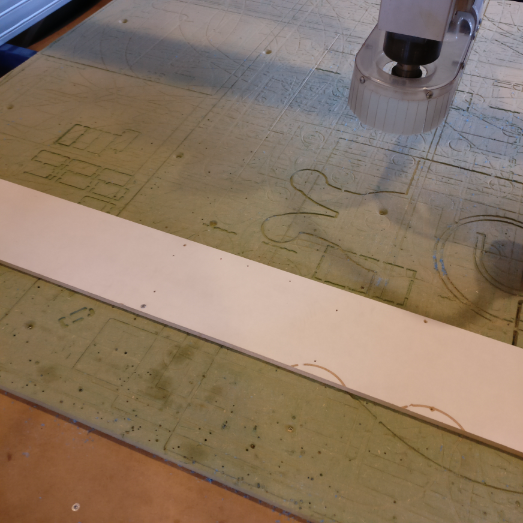

In PartWorks 3D I specified that the X and Y zero point would be in the middle of the material, so with a ruler I drew two diagonal lines on the material to determine the center.
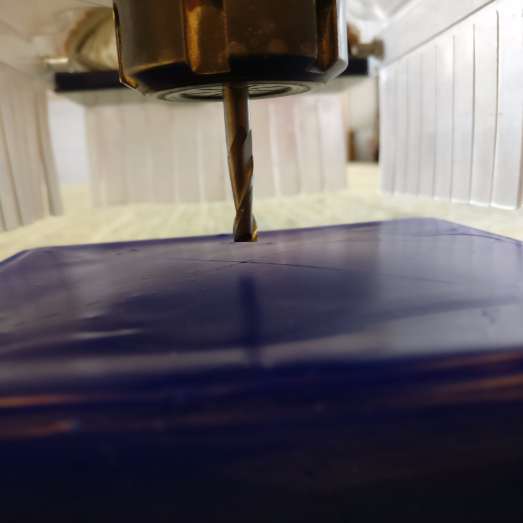
Once the Shopbot was set up and the axis calibrated I ran both jobs through the Shopbot software. One problem I ran into during the second job was that the pockets where too deep for the length of the end mill causing the collet to touch the material slightly in the corners. I knew this was going to happen so after consulting our lab manager we decided to let it happen as the wax is a very safe and soft material. You can see on the wax where the collet hit the material.

PROCESSING AND FIXING WAX MOLD
After the wax was machined, I used floor wax and a microfiber cloth to smoothen the mold.

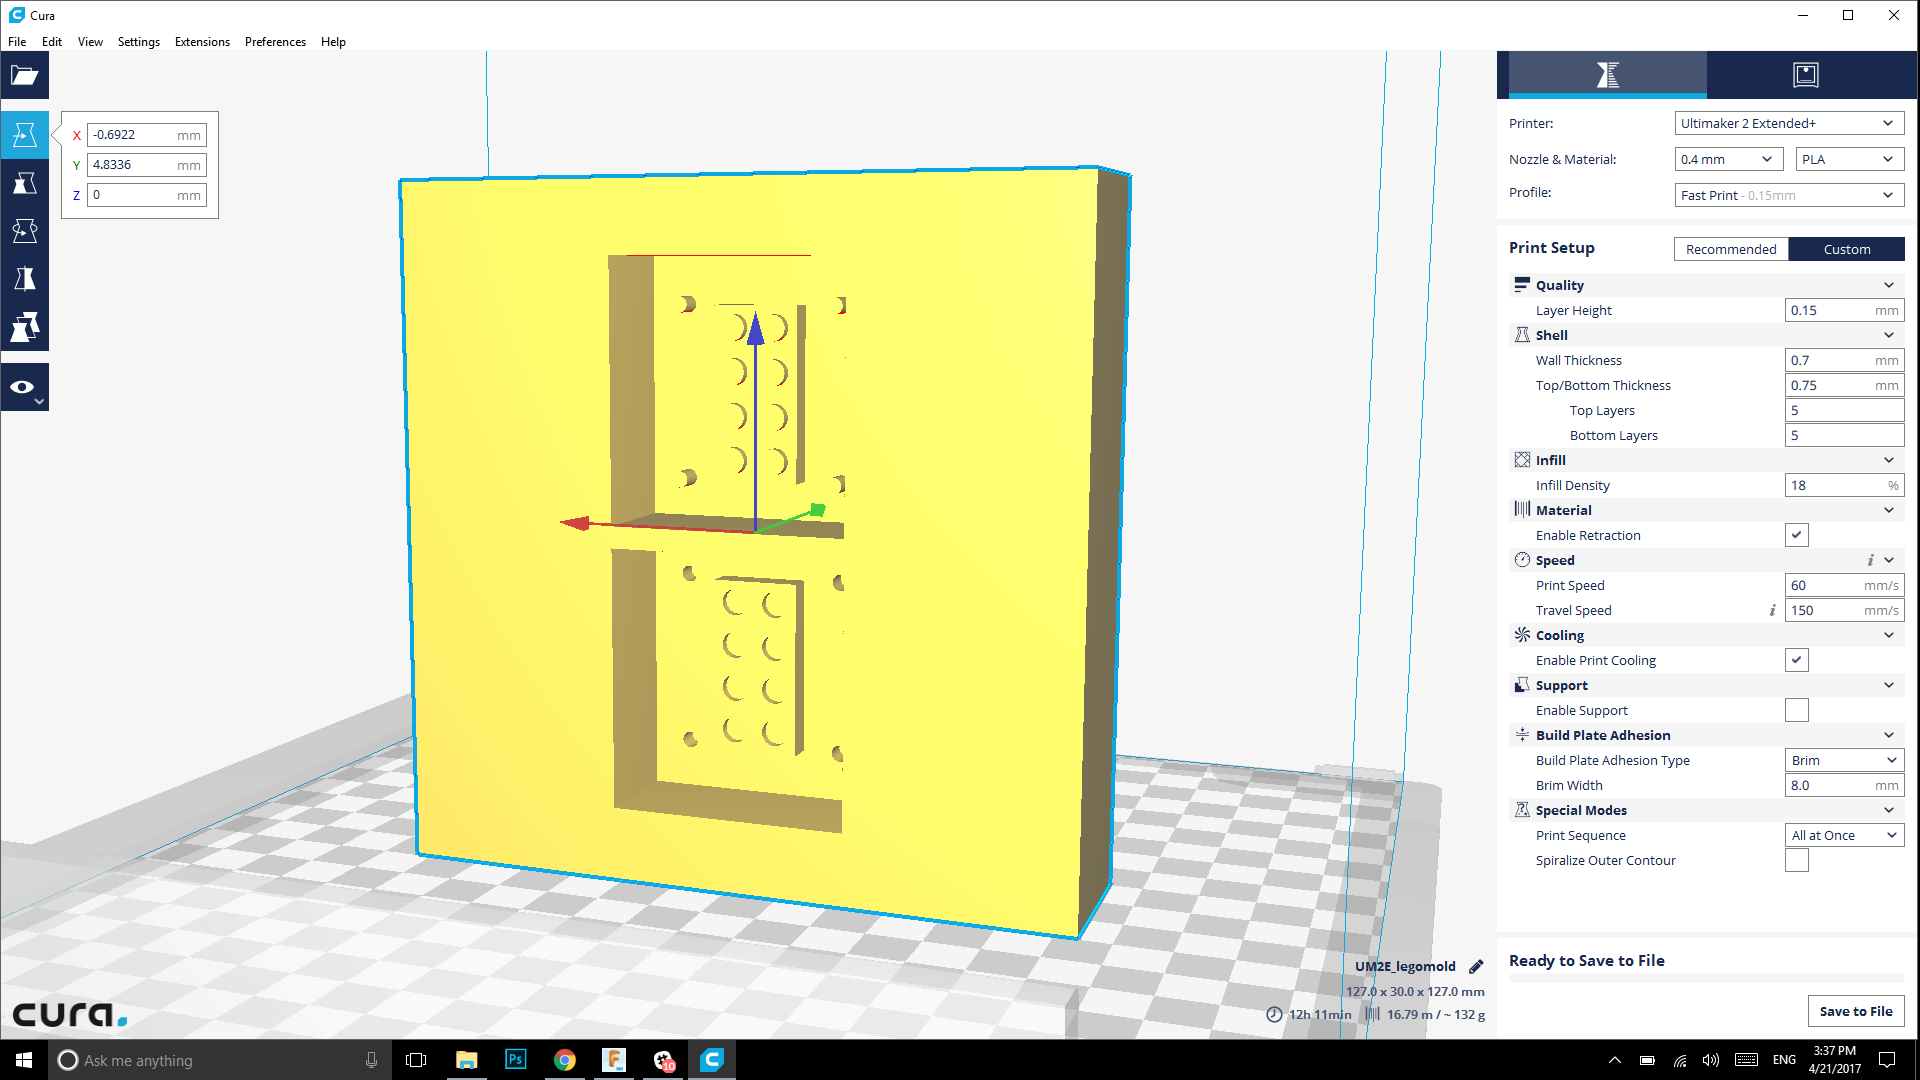
When I was working with the mold I noticed something was missing in the mold, the tunnel to pour the material. I was a bit shocked that I only noticed this after the mold had been machined for a good three hours, and I found out that there was a bug/glitch/error when exporting the STL. I checked the STL in Cura and saw that indeed that part was missing.
I solved the problem by taking a small plastic tube that I found in the lab and putting it in the place of the tunnel, which doesn’t make much difference once casting it in silicone.
Then I treated the wax mold with this spray to make sure the silicone will come out easier.

Because I didn’t have a material safety datasheet for this spray, I did this in the ventilated casting booth we have at the lab.

MAKING THE SILICONE MOLD
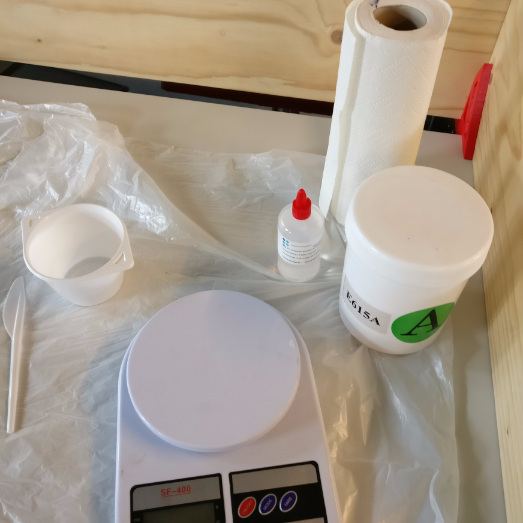
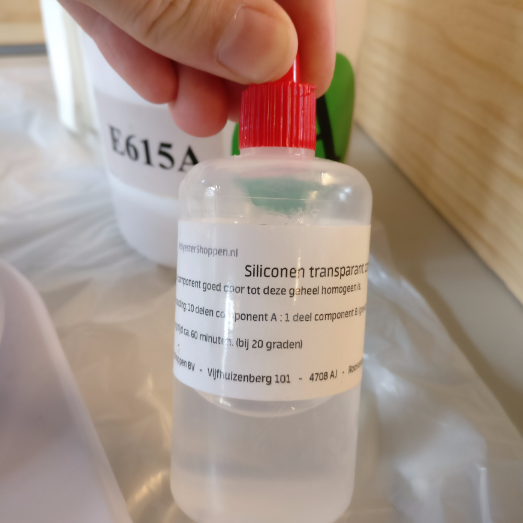
To make the silicone mold from the wax mold I used a brand of silicone from a local vendor in the Netherlands called Polyestershoppen.nl. I’ve worked with their silicone before and always found the results very satisfactory. The kind I used is marked as Shore 15, which means it is the more flexible silicone from their line. These are the tools I used to make the silicone:
Before starting I read the material safety data sheet to find out if I should take any special precautions.

This datasheet(in Dutch) states that this silicone is labeled as ‘non hazardous’ under section 2.1.

In section 8.2.1 it states that working with this material does not require any respiratory protection, but it does state it requires gloves and safety goggles.
Because I’ve worked with this material many times I consider the risk of getting it in my eyes extremely small so I knowingly chose to ignore this warning. Because there are no indications for respiratory hazards and no statements about requirements for the work environment I know it is safe to use this material as a table top product without the need for a ventilation cabinet.
The silicone comes as two components, the main container and a small bottle of hardening agent.

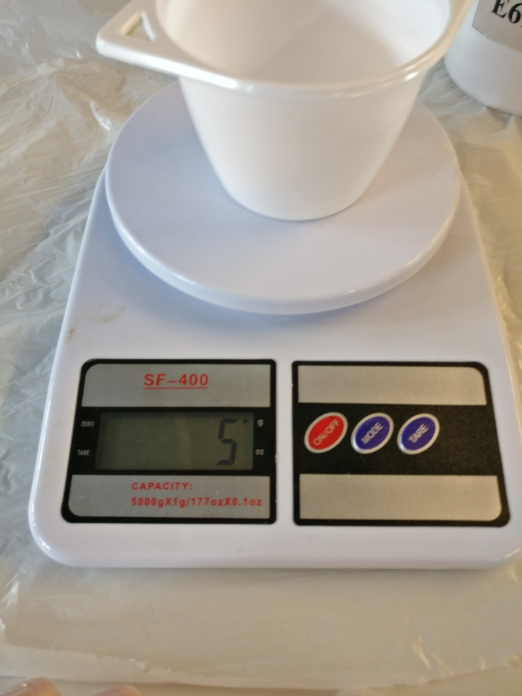
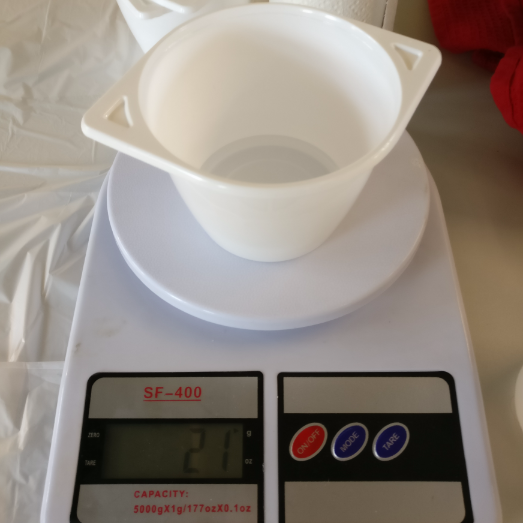
The ratio should be 10 parts of silicone to one part hardener. To measure this, I placed a disposable cup on my digital scale, and set the scale to zero with the empty cup on it.

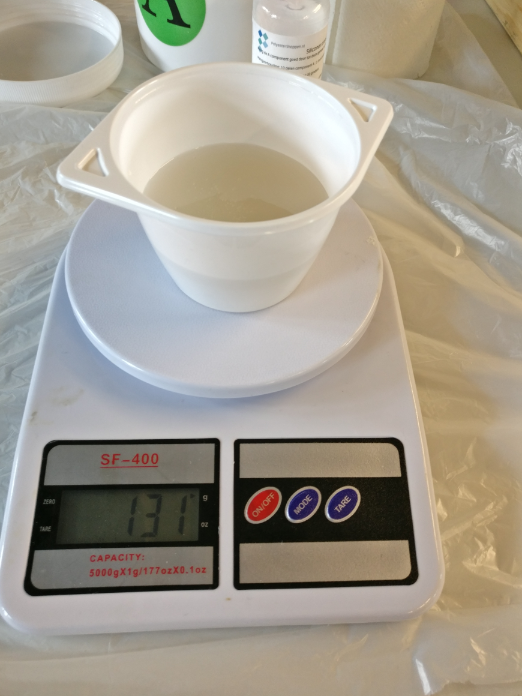
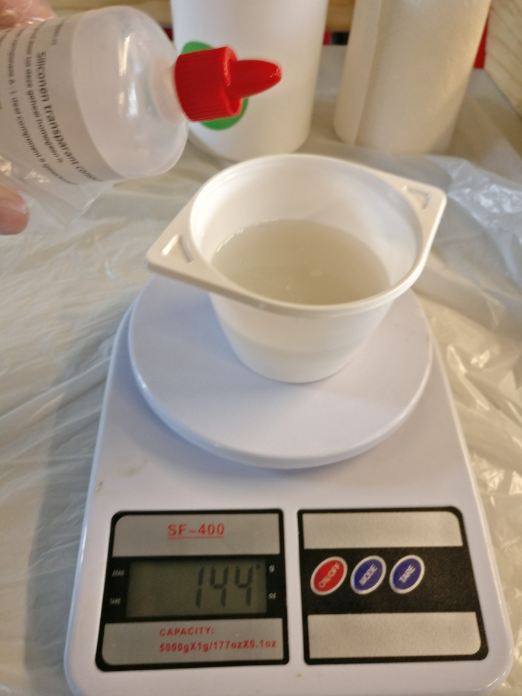
I poured 131 grams of silicone into the cup, which means that I should add 13.1 grams of hardener. Because of the different viscosity of both liquids I prepare everything in the same cup, this means I pour hardener into the cup until it reaches 144 grams.
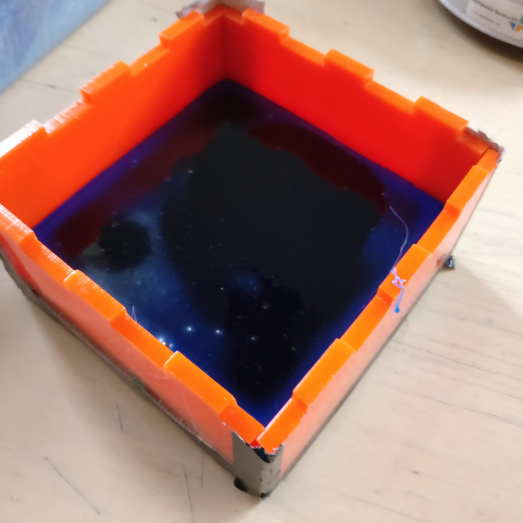
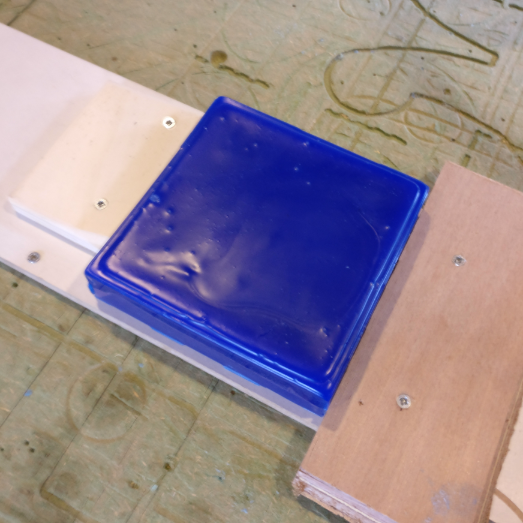
After carefully mixing it for about a minute the mixture was ready to pour and I poured it into the wax mold.
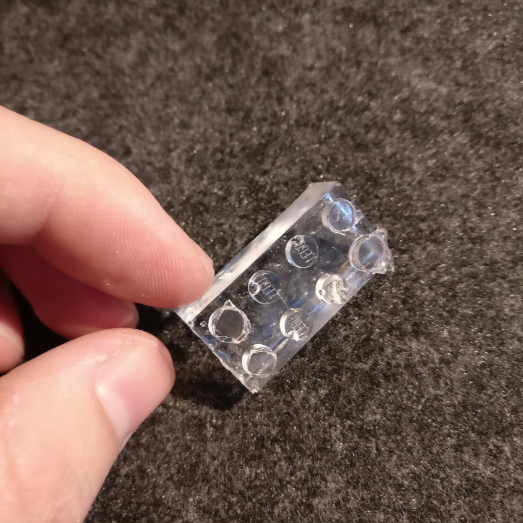
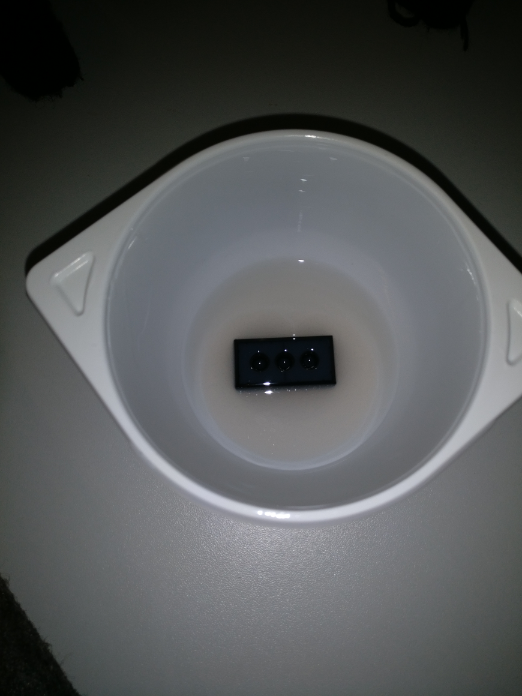
I had some spare silicone that I didn’t want to waste so I put a LEG brick into the cup and poured silicone into the back of the brick as an experiment to see what the inside of a brick looks like. When it hardened and I took the silicone out of the brick I got a very interesting look at an inverted 3D model of a brick, which taught me a lot about how they are designed.

The datasheet for the silicone states that the material cures in 60 minutes, however, I found that in reality it didn’t fully cure for about 12 to 24 hours. This is probably mainly due to the ambient temperature in my office.
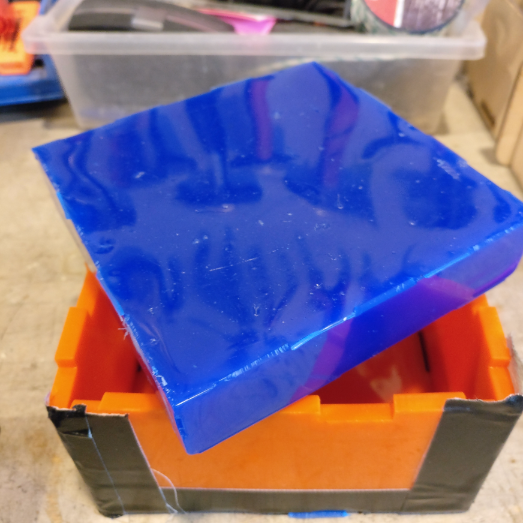
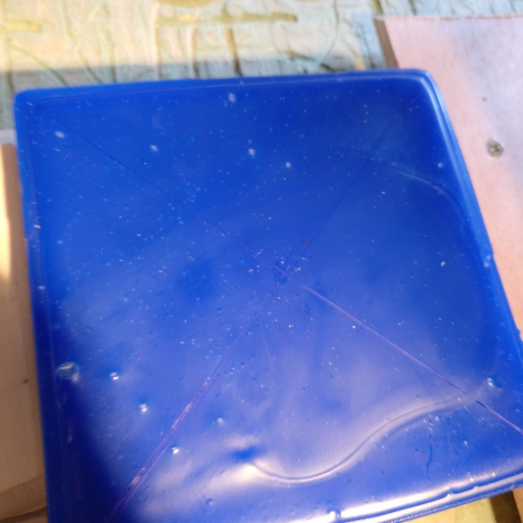
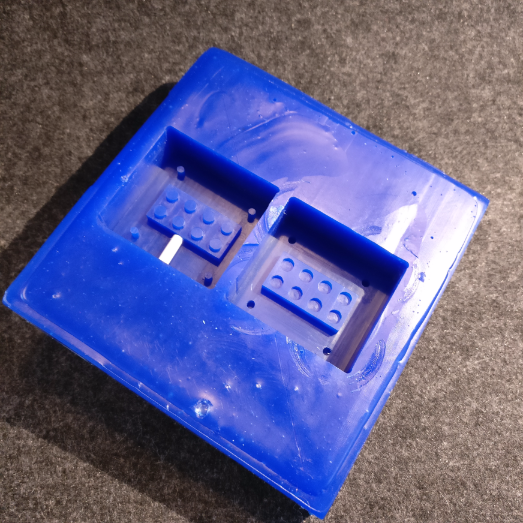
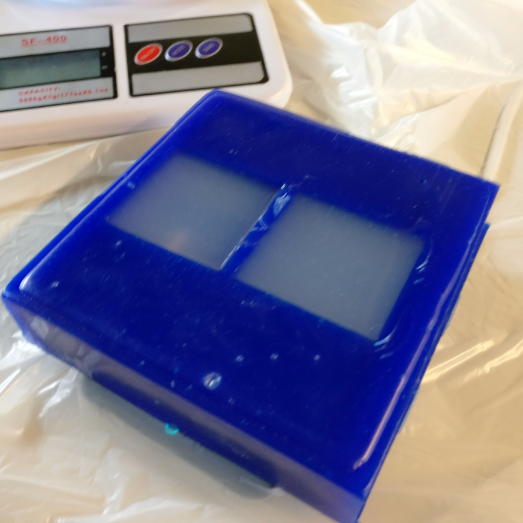
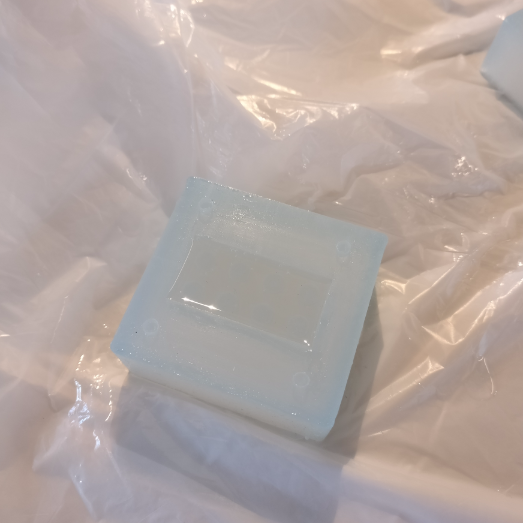
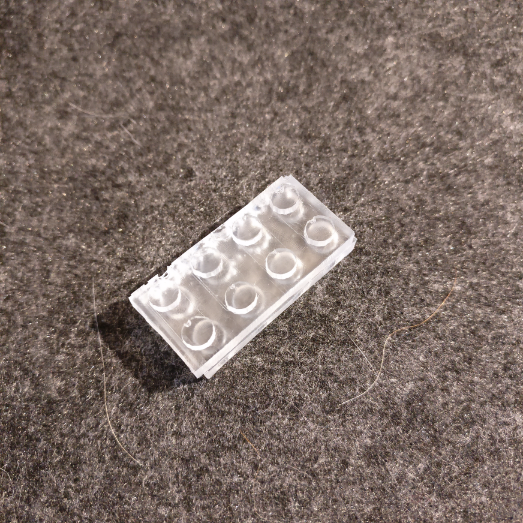
When I came back the next day I took out the silicone molds

They came out really nice with good detail and the material was not sticky and without any major bubbles. The only problem was that the position reference holes and extrusions I designed were too small(3mm) resulting in silicone not having filled these holes.

I used this spray to put a thin film on the mold that prevents the resin from sticking to the mold.

CASTING RESIN
I wanted to make my cast using clear resin and make a clear LEGO brick. I also wanted to try and see if I could cast LEDs inside. Disclaimer, a lot didn’t work out as I hoped.
The resin I used is a clear resin that cures in 24 hours from Polyestershoppen.nl, the same local vendor I used for the silicone. I like this resin because it is odourless, stays very liquid quite long so it’s easy to handle and pour and it doesn’t produce harmful fumes.
Before working with it I inspected the material safety data sheet, under section 8.2 the data sheet states all the personal protection that is required for working with this material. It states that safety goggles are required, but respiratory protection is not required ‘when used normally’. Further down it states that a ventilation cabinet is not required if there is sufficient ventilation in the work area. Because my office has a very powerful and new hvac system that continuously refreshes and filters the ambient air I feel confident that this is sufficient for the small batch of resin I am making and curing.
I applied the same technique as I did when making the silicone, which is making the mix in the same cup. Again, because I’m making such a small amount, I feel like too much would stay behind in each cup if I made two separate cups.
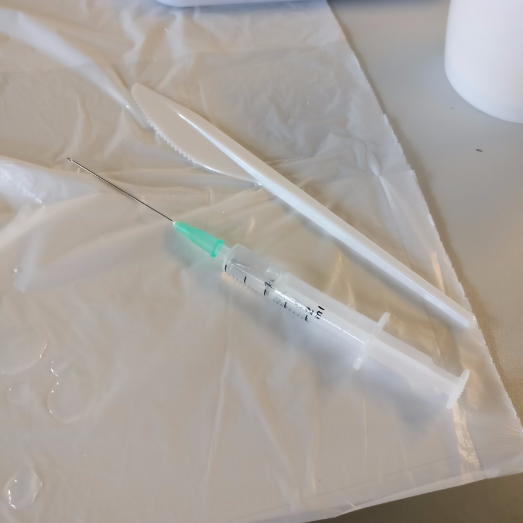
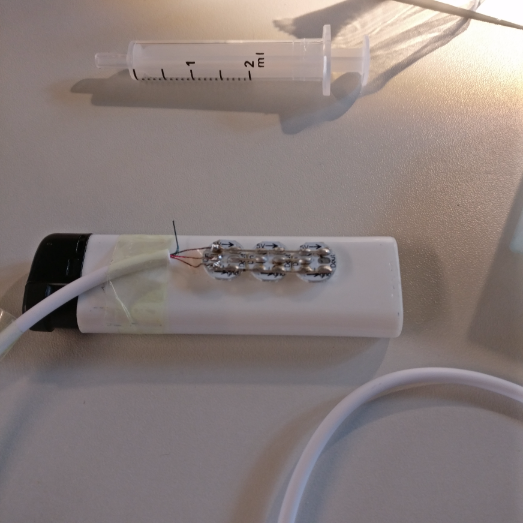
To stir the resin, I used a disposable knife. I also used a disposable syringe to get resin into hard to reach places in the mold. Because this resin is extremely liquid it can be pushed through a thin needle, which is both an advantage and a disadvantage because it easily escapes the mold.
Because I use 24 hour resin I let a little bit cure in the mold before putting the electronics in. While the first layer of resin is in the mold, I made the LEDs to go inside the cast.

I took three Neopixels on breakouts and soldered them to an audio cable which is the system I will be using in my final project.
Because it turned out to be too tricky to have the electronics inside the two molds and pour it at the same time, I decided to cast the two halves separately and put them together later when the resin has cured a little.

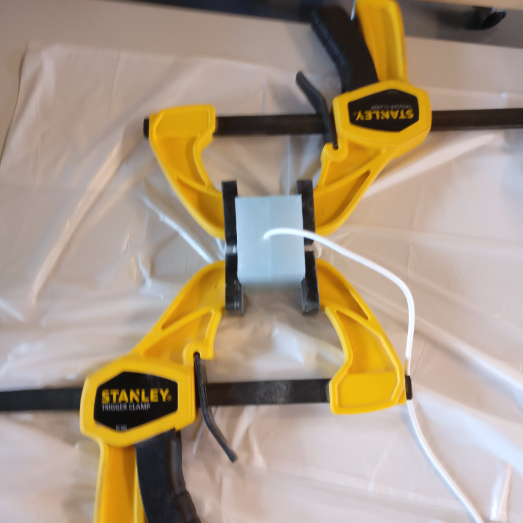
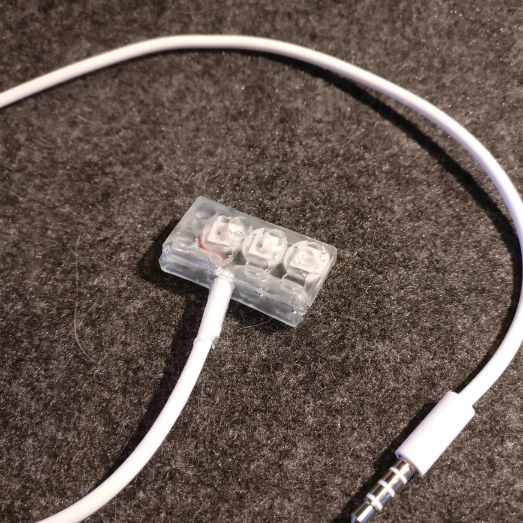
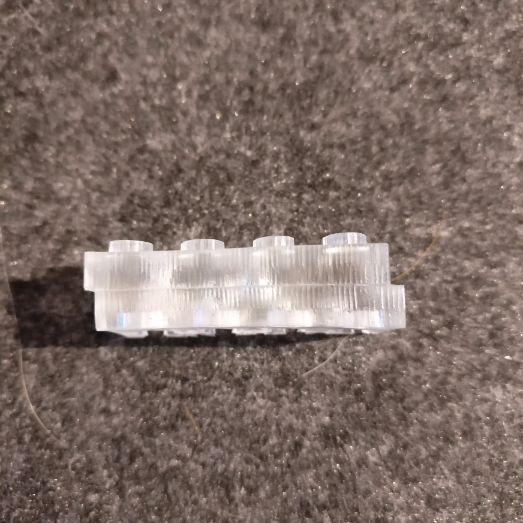
It turns out I misaligned the two halves of the mold which made the final result a little bit uneven, however it did hold the LEDs nicely and the resin cured well.
I cast it a second time without electronics, but this time I really misaligned the mold and the part came out misaligned too.
I also poured resin in a mold I made with some excess silicone by just pressing a LEGO brick into it, and it didn’t come out too bad.
The big difference I noticed between casts from my machined mold and from molds made with an actual LEGO is that the cast made from a LEGO piece is completely clear and smooth, whereas the machined mold gives the piece a texture that makes it look frosted.
Just for fun I also poured some resin in a silicone brick mold I bought online, and the results are not bad except for bubbles in the studs.

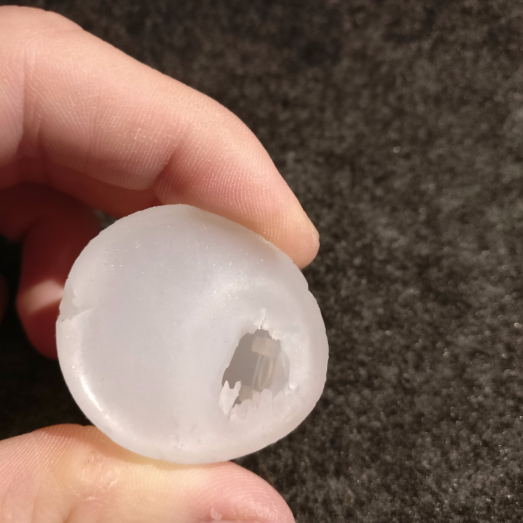
I also experimented with some excess silicone that in which I submerged a LEGO piece completely and that I later cut open from the top. The result was quite good except for the fact that the top from where it was filled never filled up right leaving a hole.

wax mold STL