Molding and Casting
Week 12
molding and casting
Tasks
design a 3D mold, machine it, and use it to cast parts
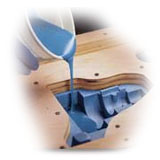
The Mold
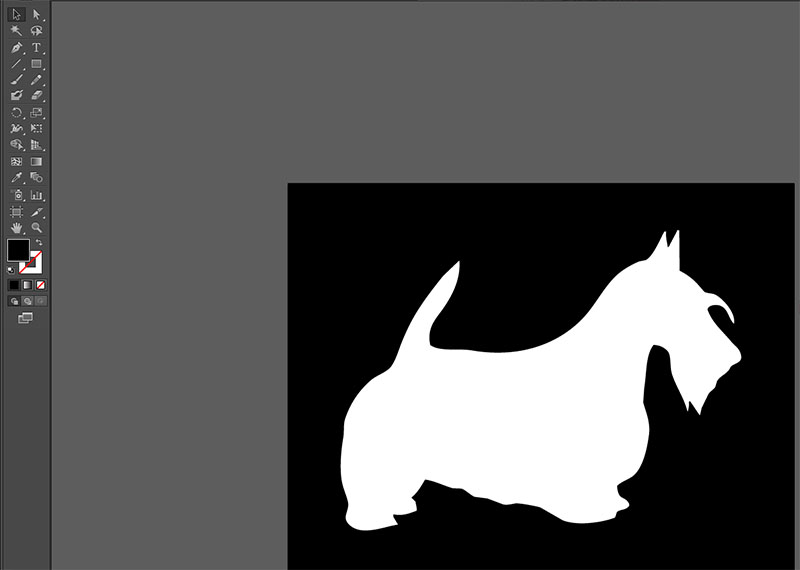
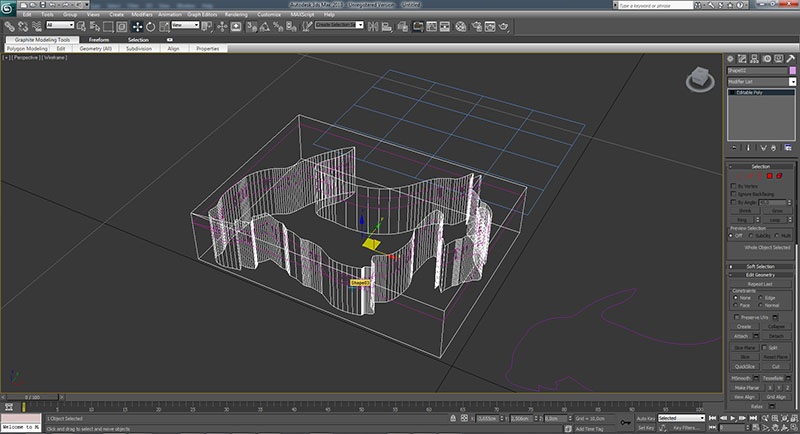
I started to think about what i would make and i decided to mold one of my favourite dogs, wich i own, scottish terrier, called Anis. I got a picture of my dog and started editing in illustrator to vectorize it, both the superior and inferior mold. I modelled on 3d studio max and this was how it went:
Photo of my good old friend

Vectorizing the mold in Adobe Illustrator
modelling in 3d Studio Max
final renders
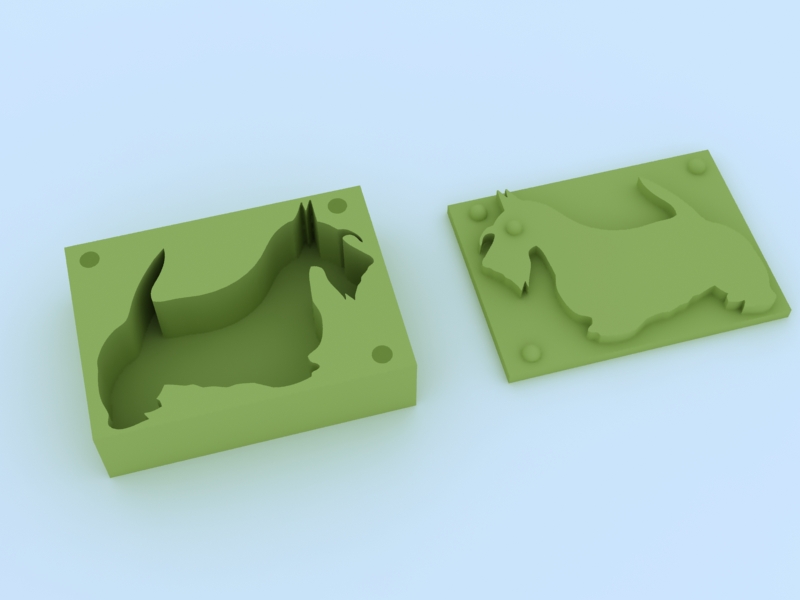
I realized i did'n't needthe negative mold because my shape is simple, it has only an eye on the superior mold. Then i started to work with the modella. We used paraphine bars to mill and used the 1mm end mill.
I decided not to make the finishing process and i didn't regret because the paraphine was perfect and there was no 3d curves to smooth the final model. I just retouched it with a little brush.
machining the model in the modella
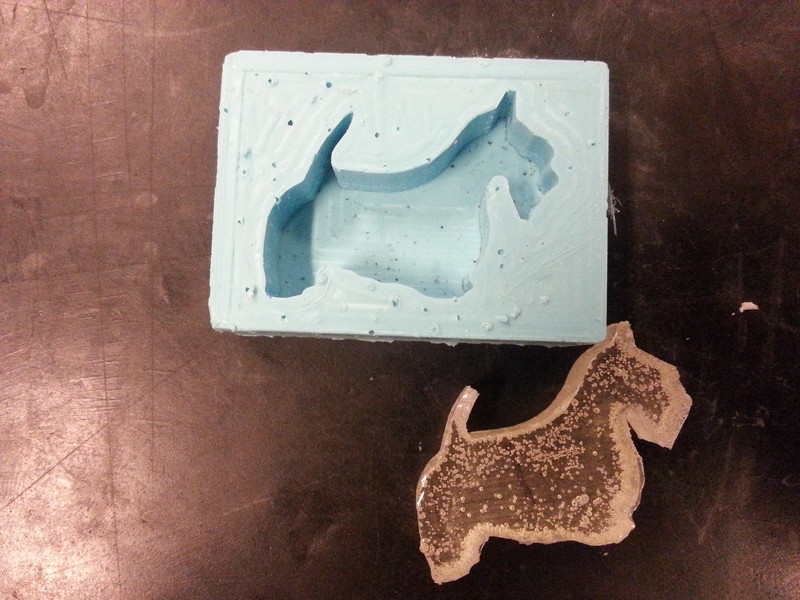
final mold
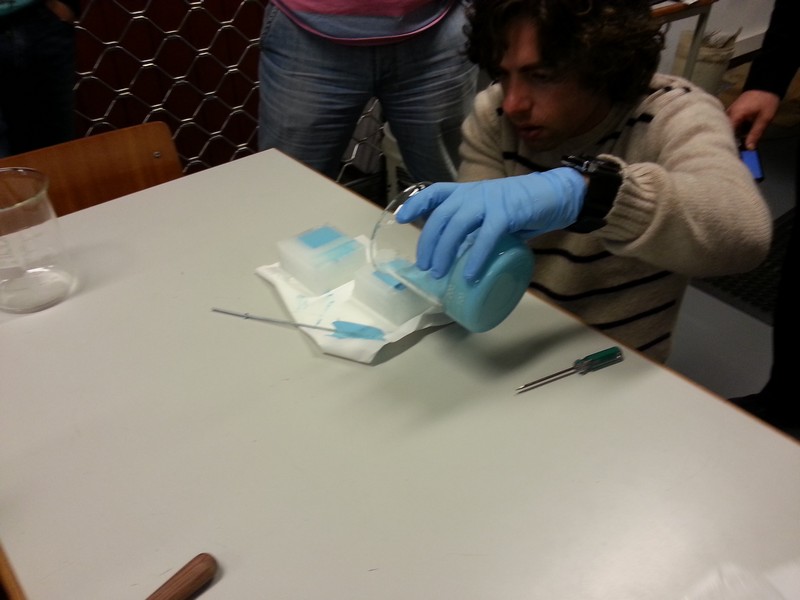
Then the resine composing started. After reading the security instrucions, i put a pair of gloves and start mixing the liquid rubber for making the negative mold.
Rubber mold creation
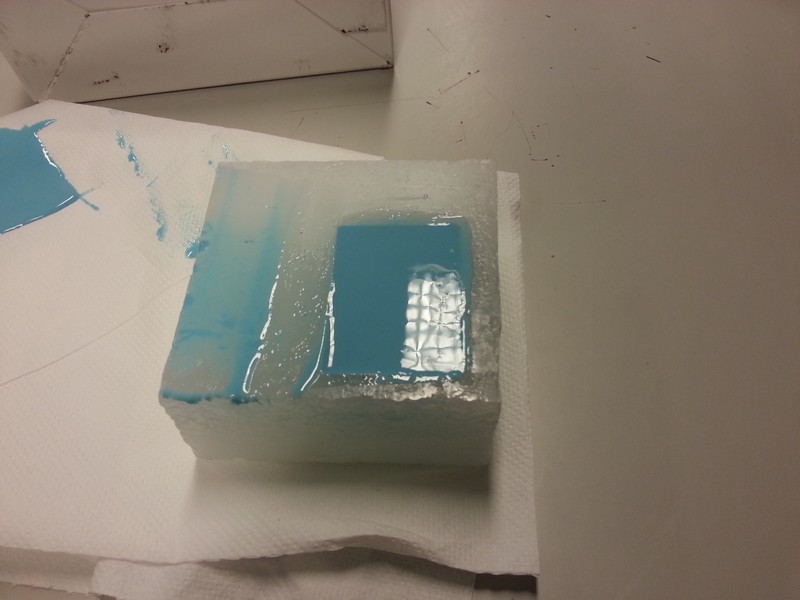
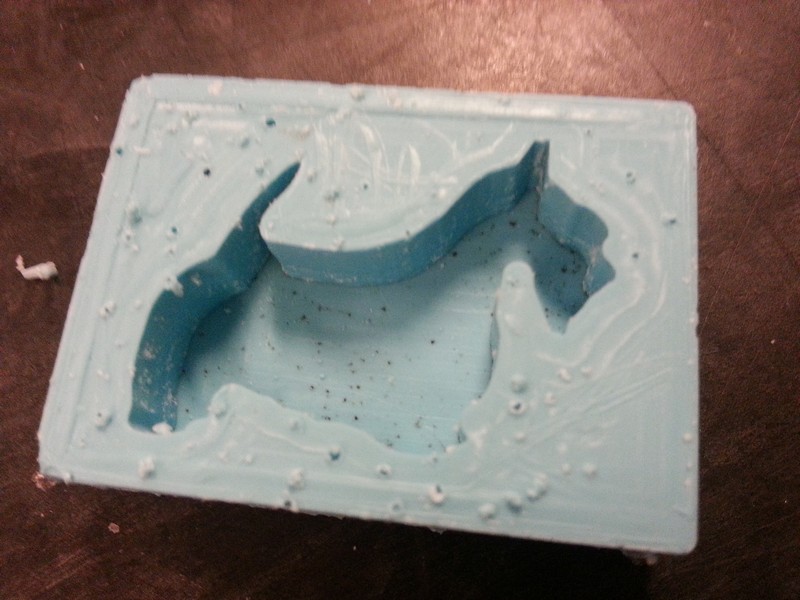
I had to wait aprox. 1 day for the negative mold to dry and was ready to receive the transparent plastic. I filled the negative mold wit it and waited aprox. 3 hours. Here's the final result:
Casting process
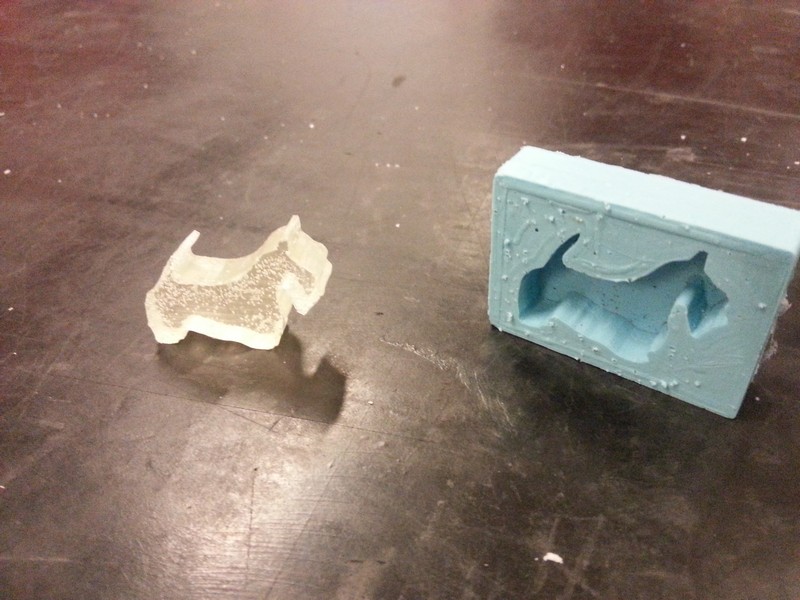
I realized ther were lots of bubbles in both the molds, wich compromises the final quality of them. So next time we better use the vacuum pump to take all the air inside de resins.
All files
UPDATE 08-07-2017
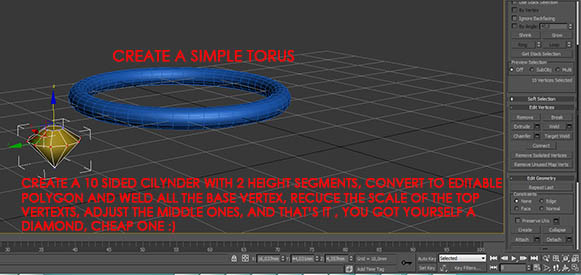
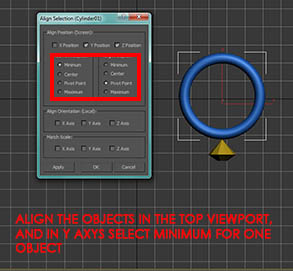
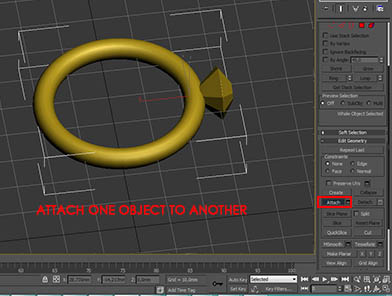
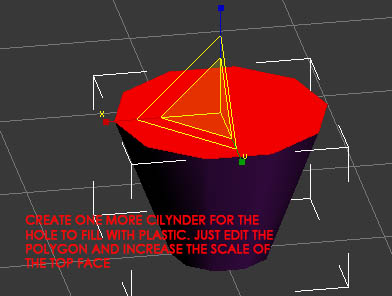
I decided and was advised by my evaluator to improve my molding and casting assignment. I decided to make a wedding ring, because i'm getting married soon and i want to test how things work in this area at the lab :). I started to 3d model in max. I started to model primitives, a torus with a ring diameter and a cilynder. Edit them like this:
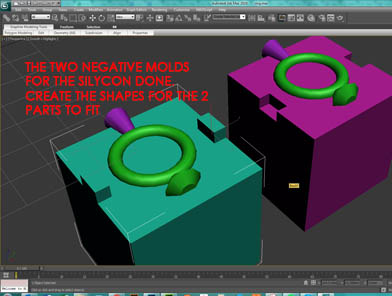
Now you have the ring, lets create molds with positive space for the ring and use it to fill with silycon rubber compound.
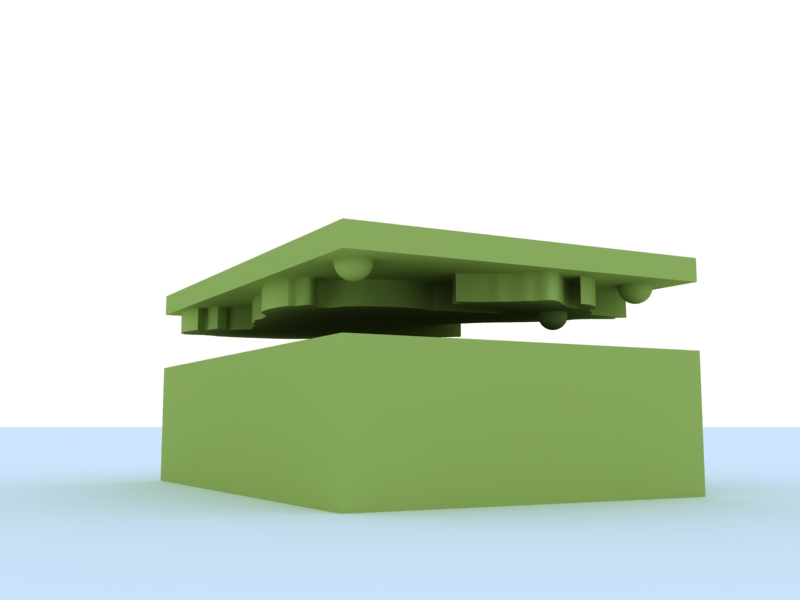
Starting to model the mold parts
Final Mold
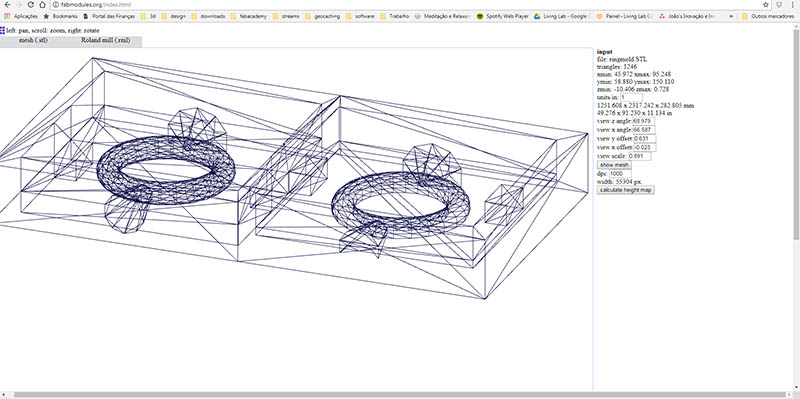
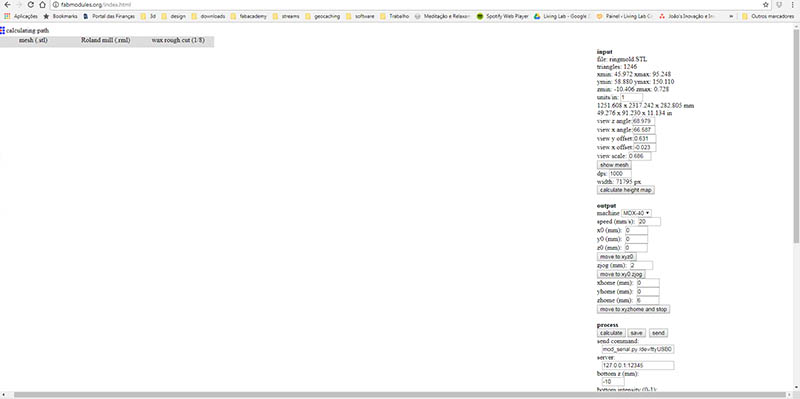
Let´s do the machining process. I grab my stl file, sent it to fabmodules, load it, process it to roland modella MDX 40-A, and froze. Keep calculating, calculating, i quit...
Working in fabmodules
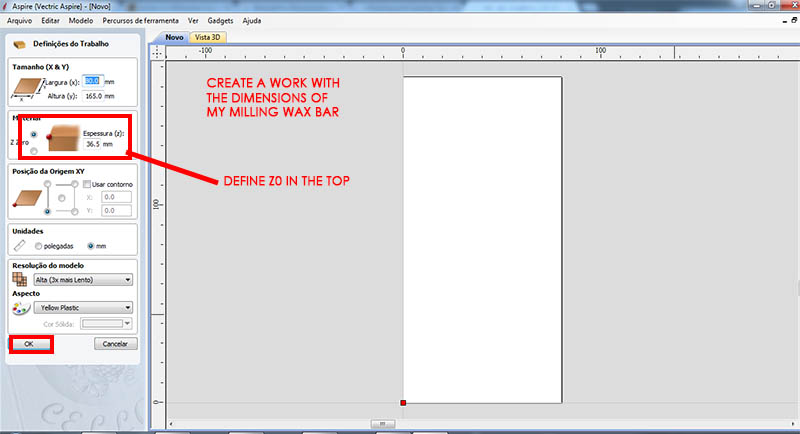
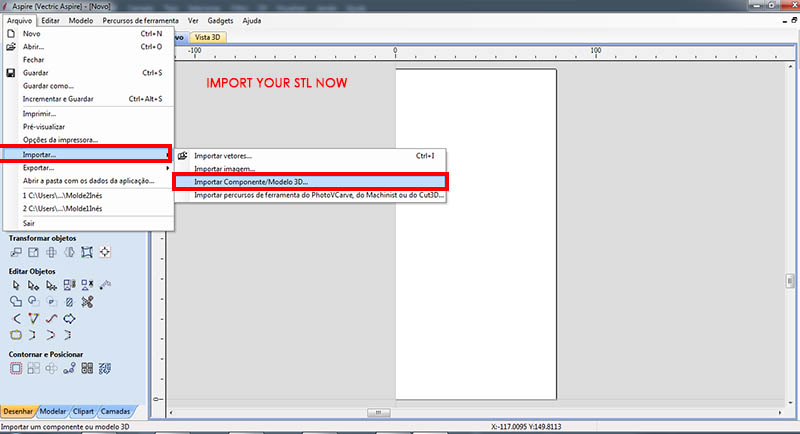
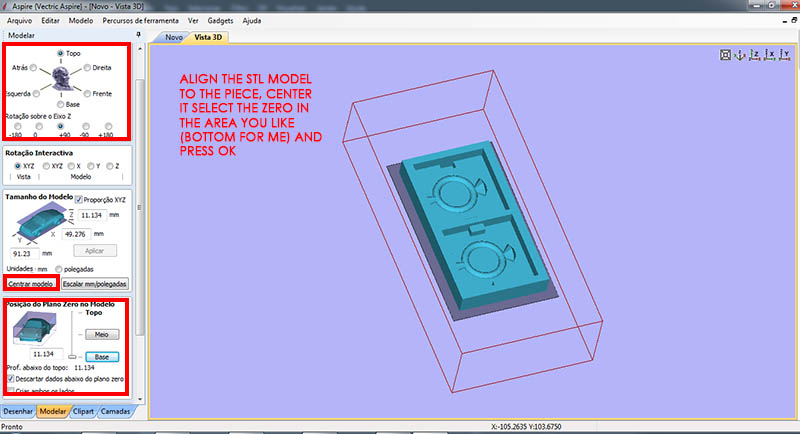
I went to aspire, and then:
CAM Software
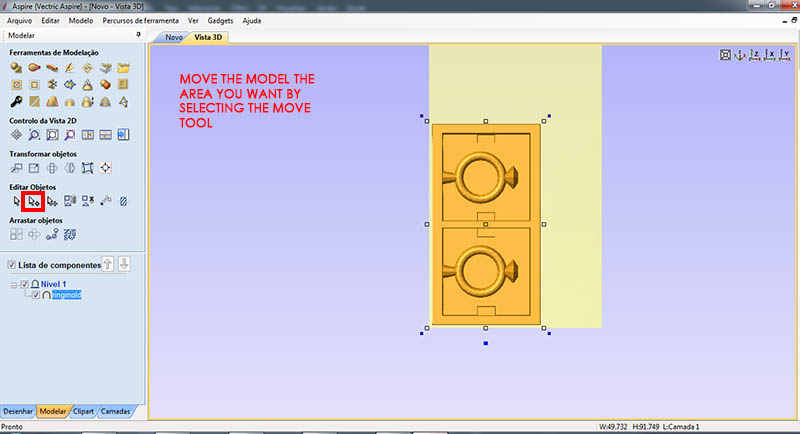
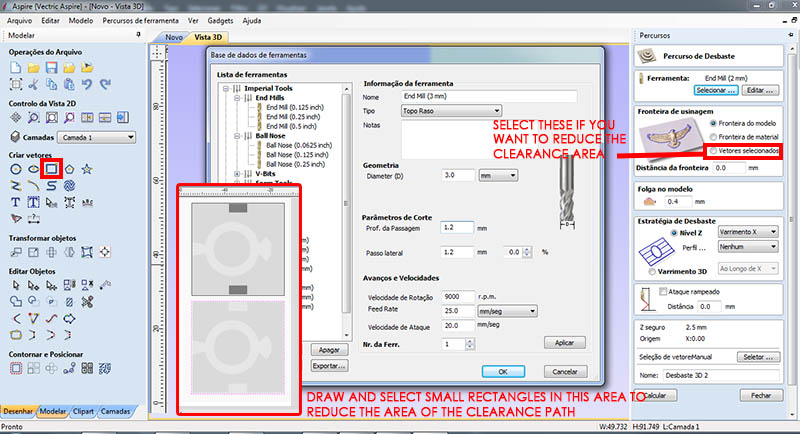
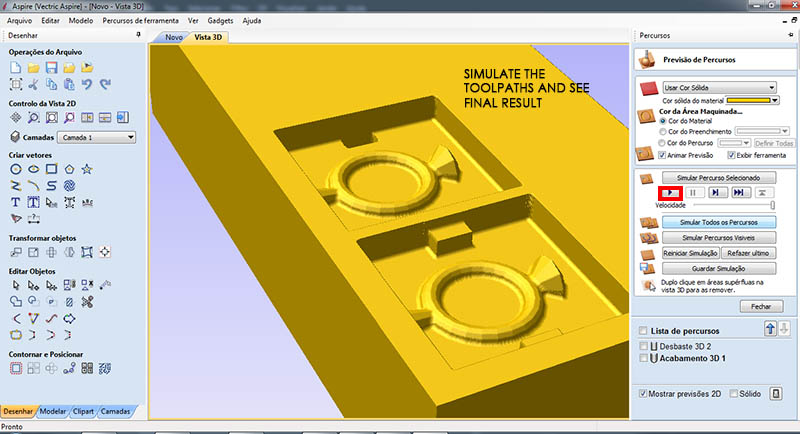
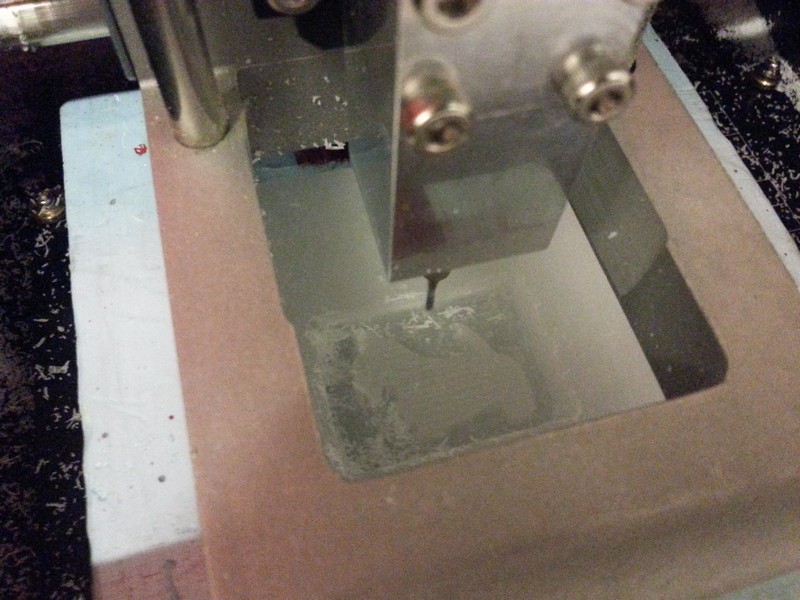
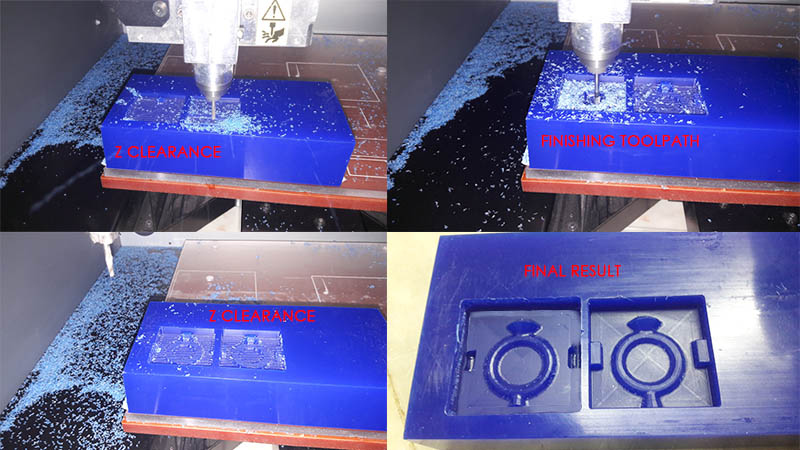
And that's how went machining:
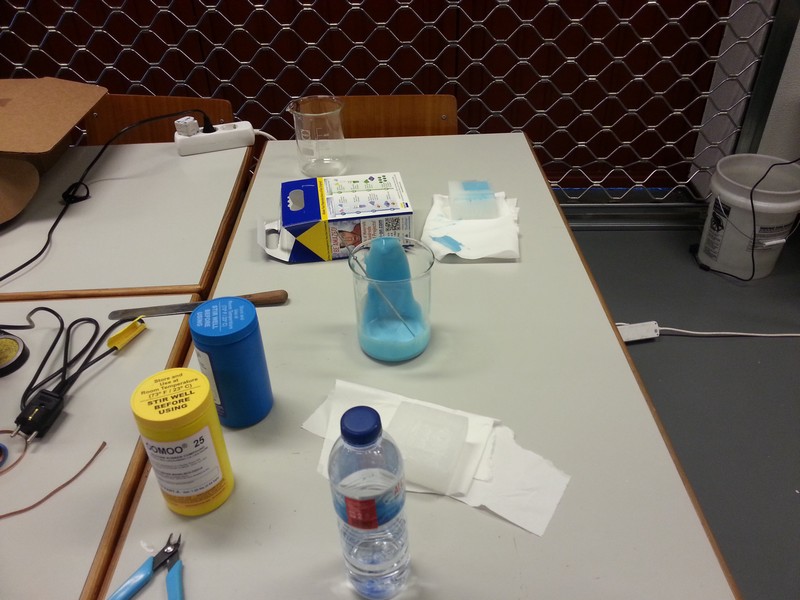
Now let's work with the silycon, Mold Max 30 from Smooth-On
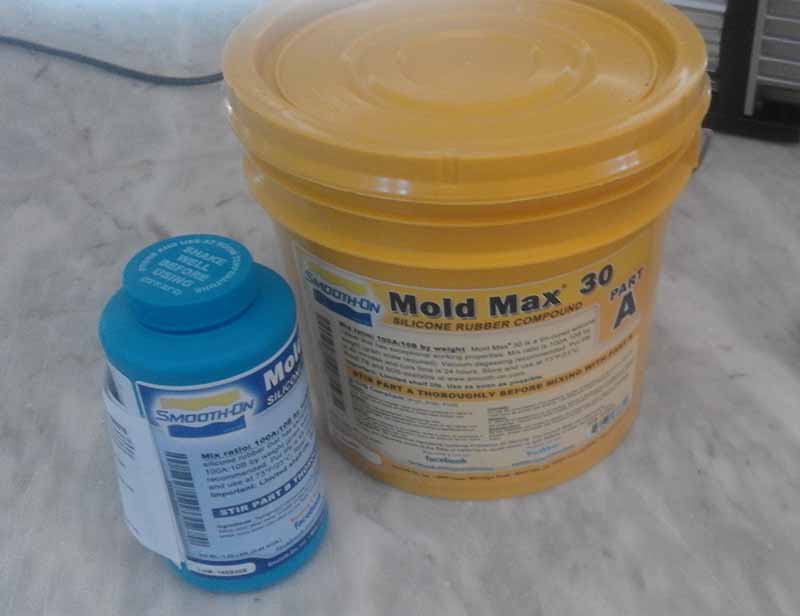
This Mold Max is a tin-cured silicone rubber compound, its a 10A to 1B mix (by weighting)
after mixing it with caution, i put my mold glass into cup into the Vacuum degassing chamber. I didn't havemore hands to record a video but you can see here how it works
Vacuum chamber
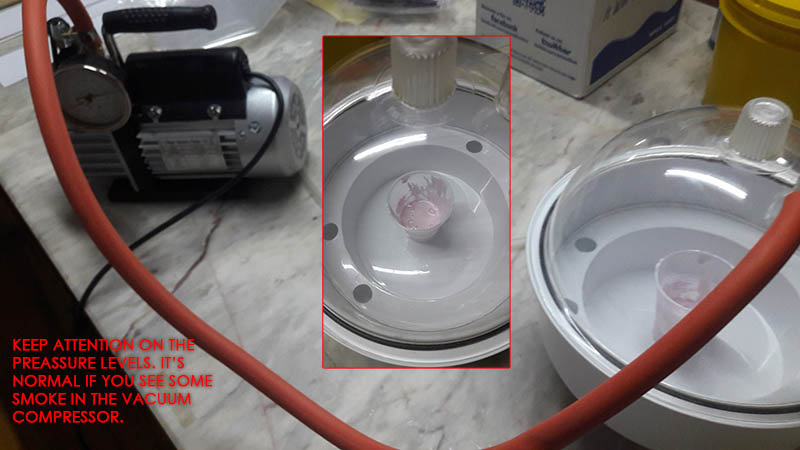
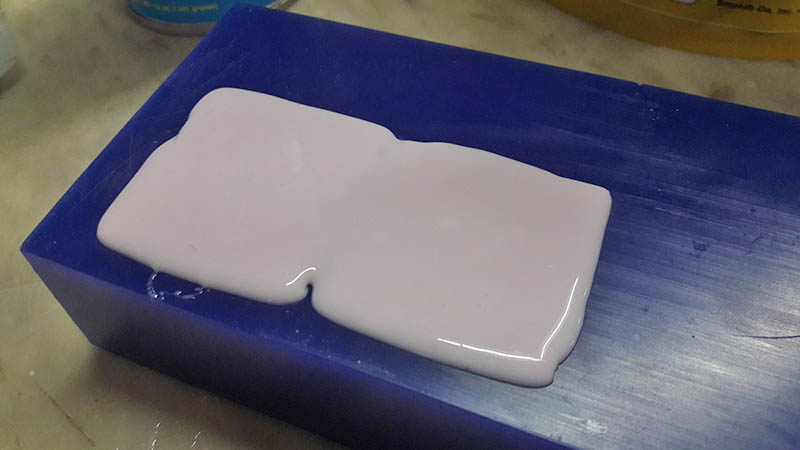
After grabbing all the air inside the moisture, i finally inserted the rubber silycon inside my wax mold. i had to wait 1 day, time i hadn't.
Put your silycon into the wax molds and wait (at least 16 hrs)
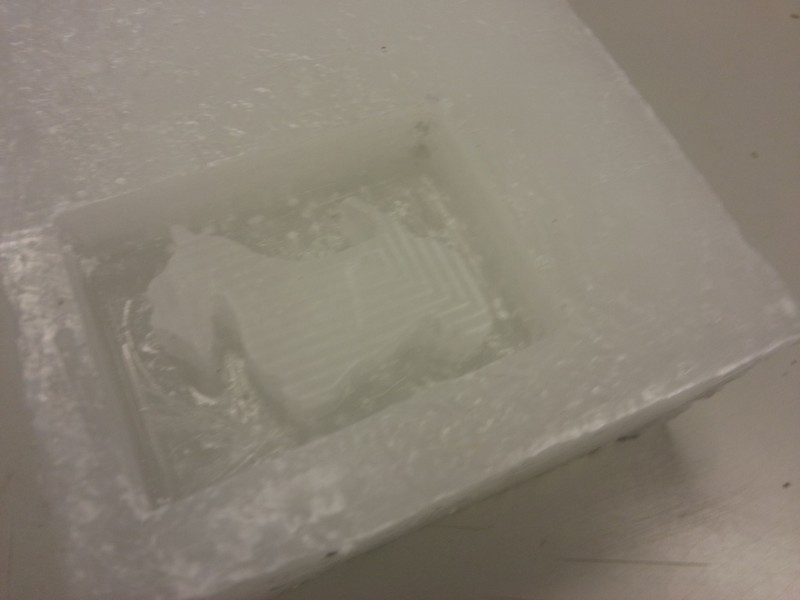
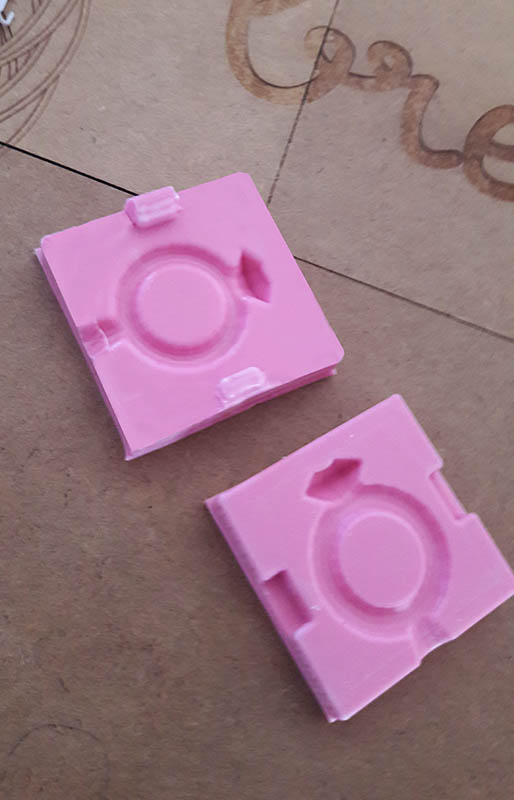
After the cure process, that didn't went so well at the first time, i hadn't a precision scale during the weekend, i had to make the silicon mold again, this time with better results:
silicon mold final result and preparing the mold
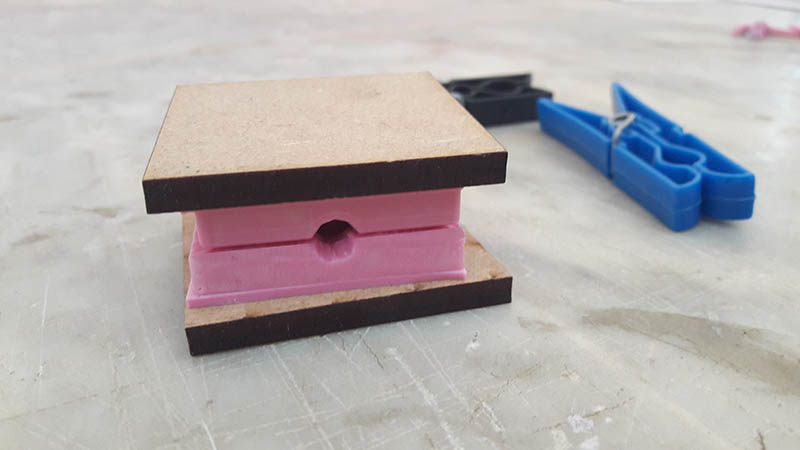
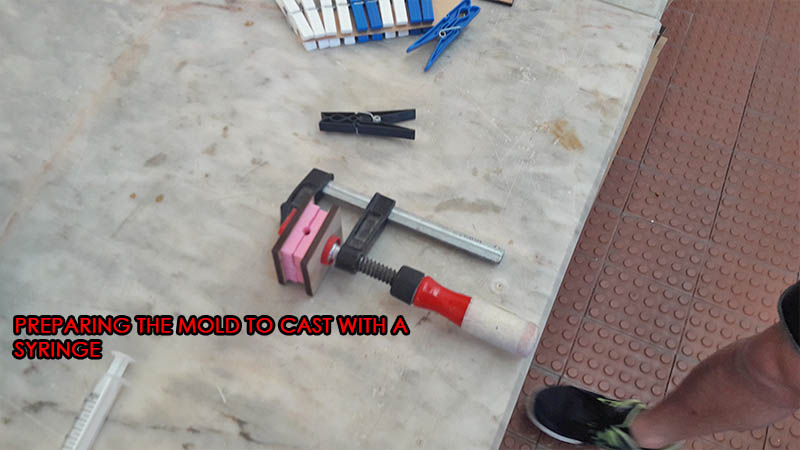
Next step is to make the plastic resin to cast. I used Smooth cast 300

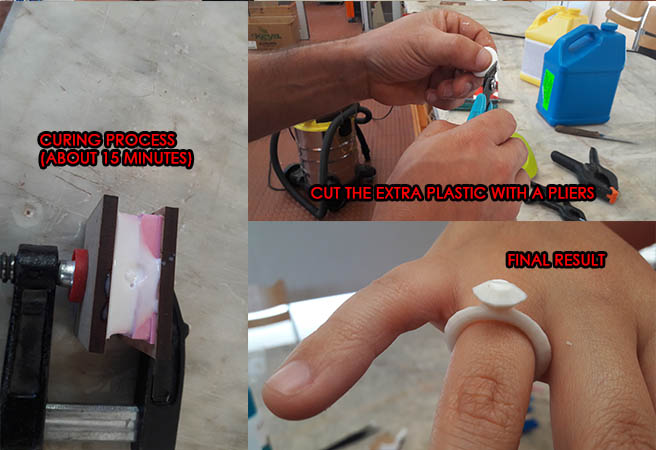
Remember to put the mix slowly for the air get out. Let cure about 15min.
FILES
Vetric, stl and 3d max files