
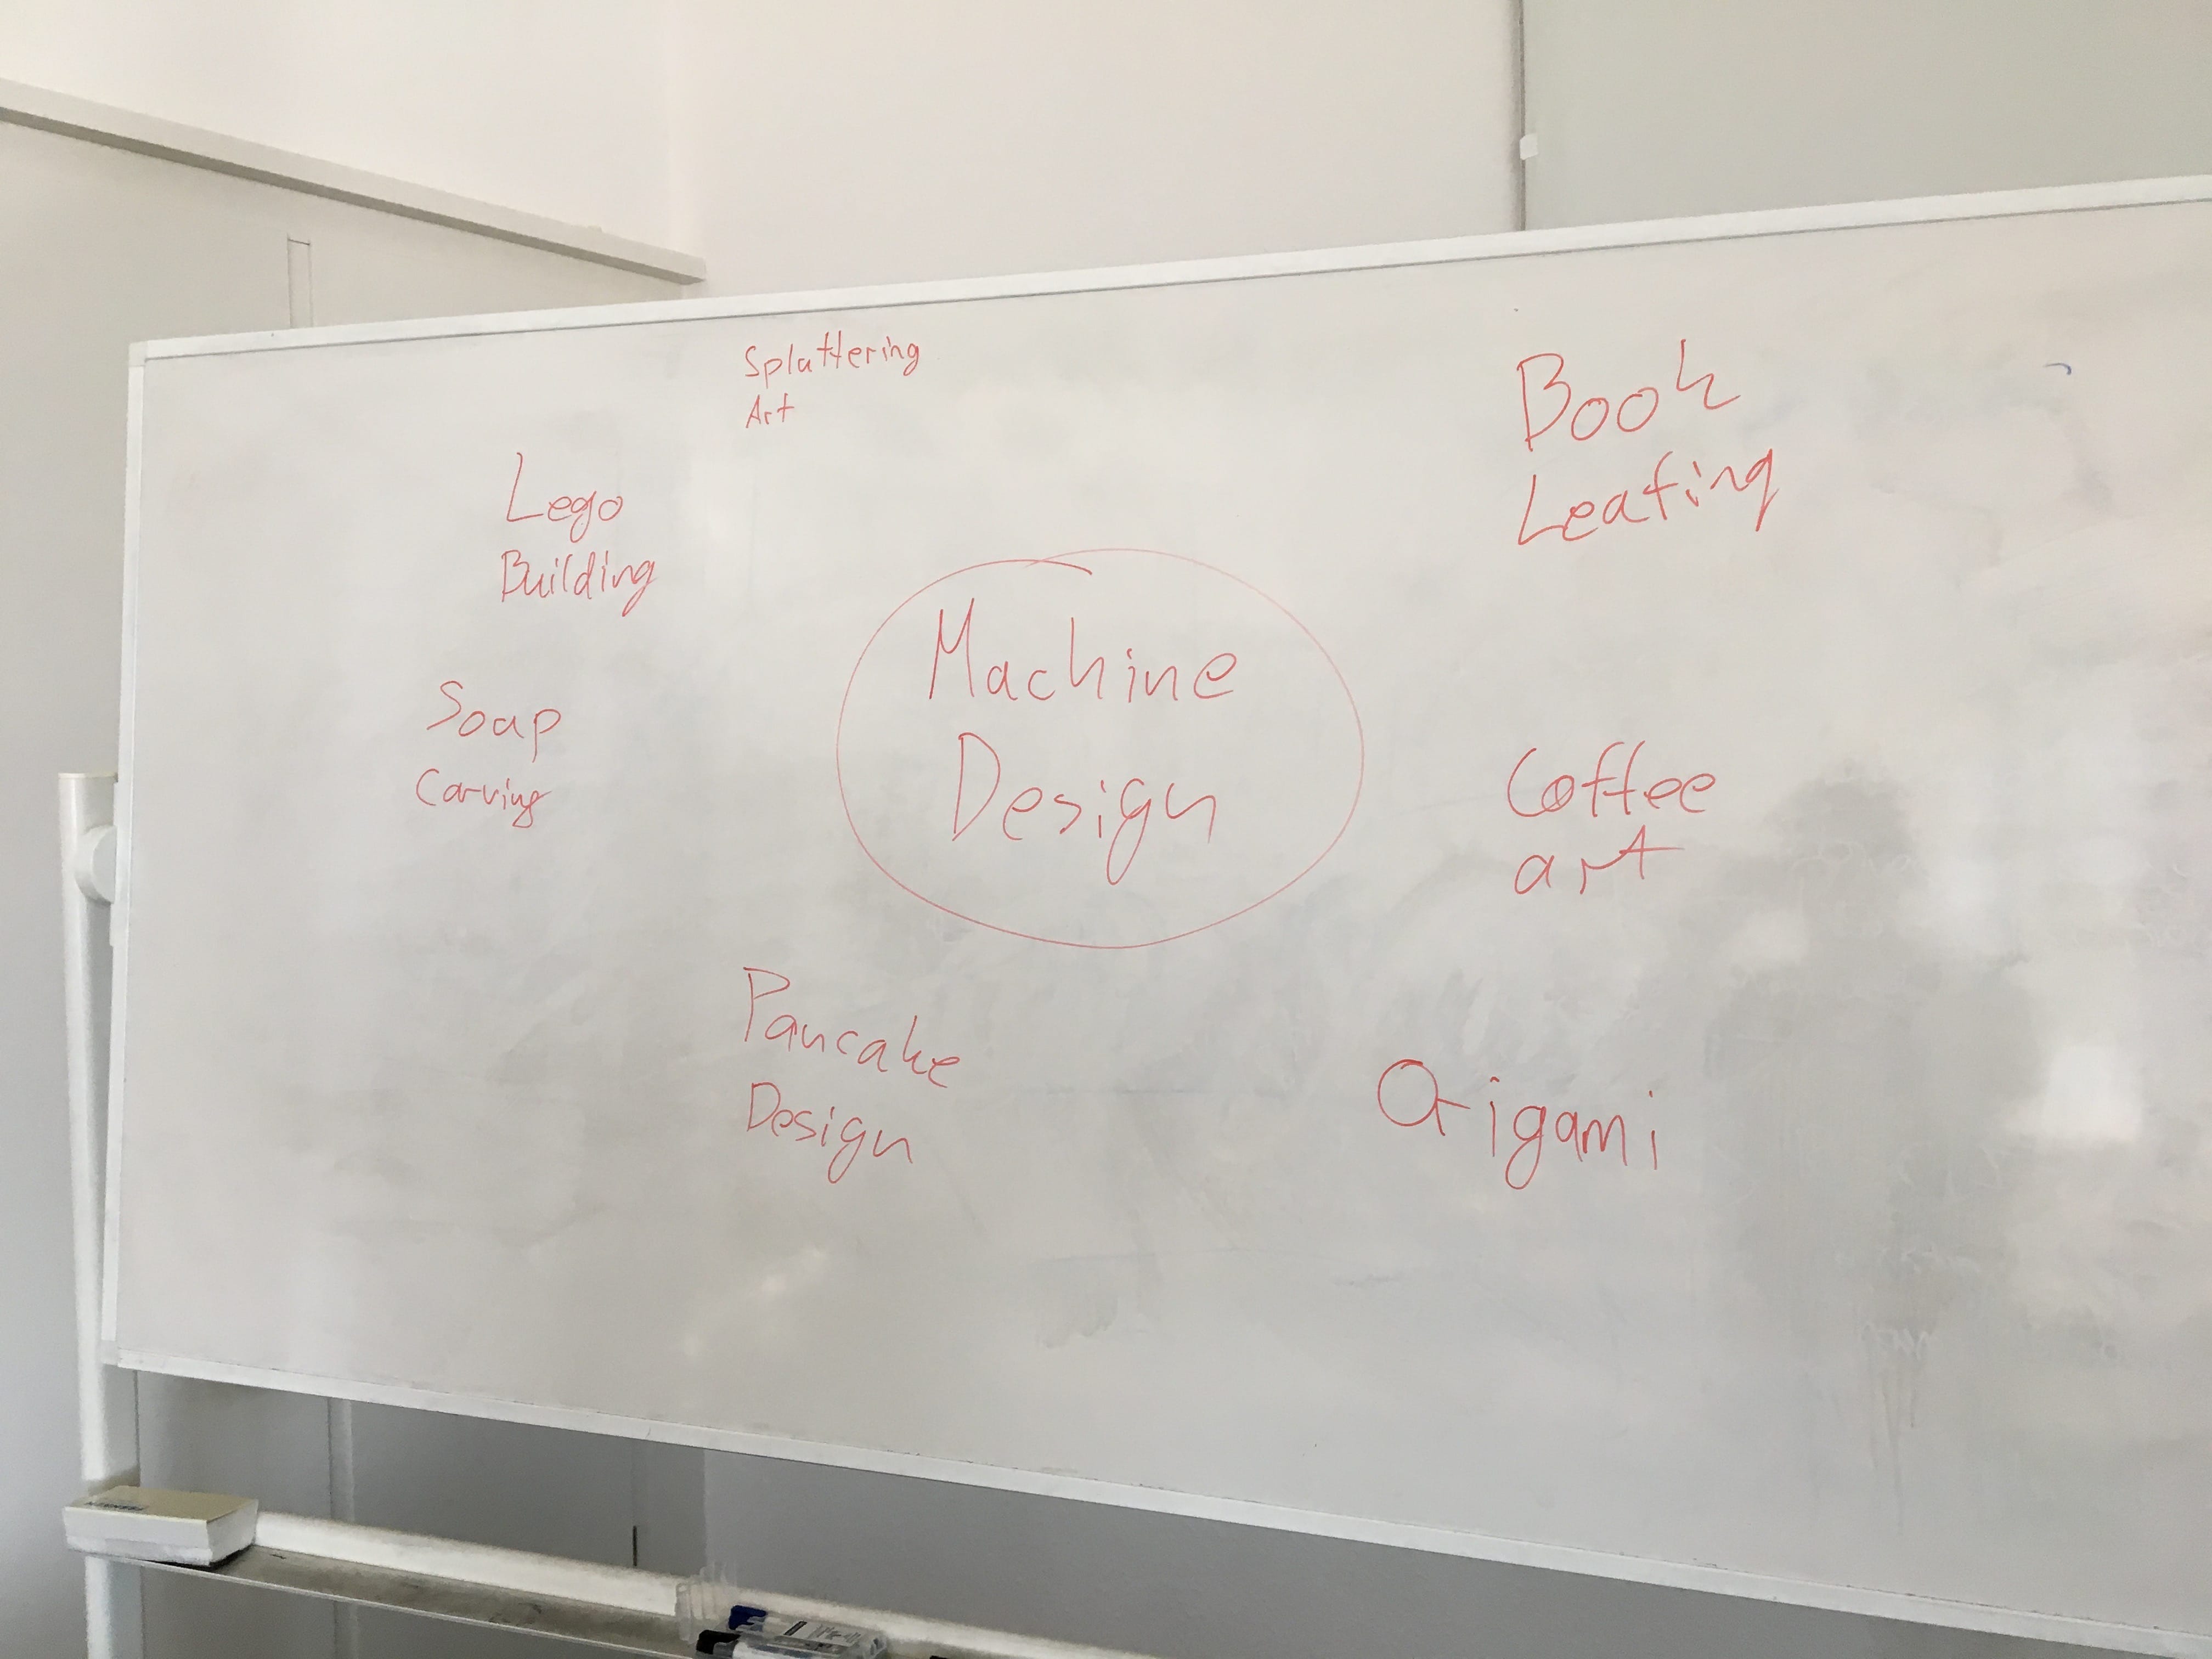
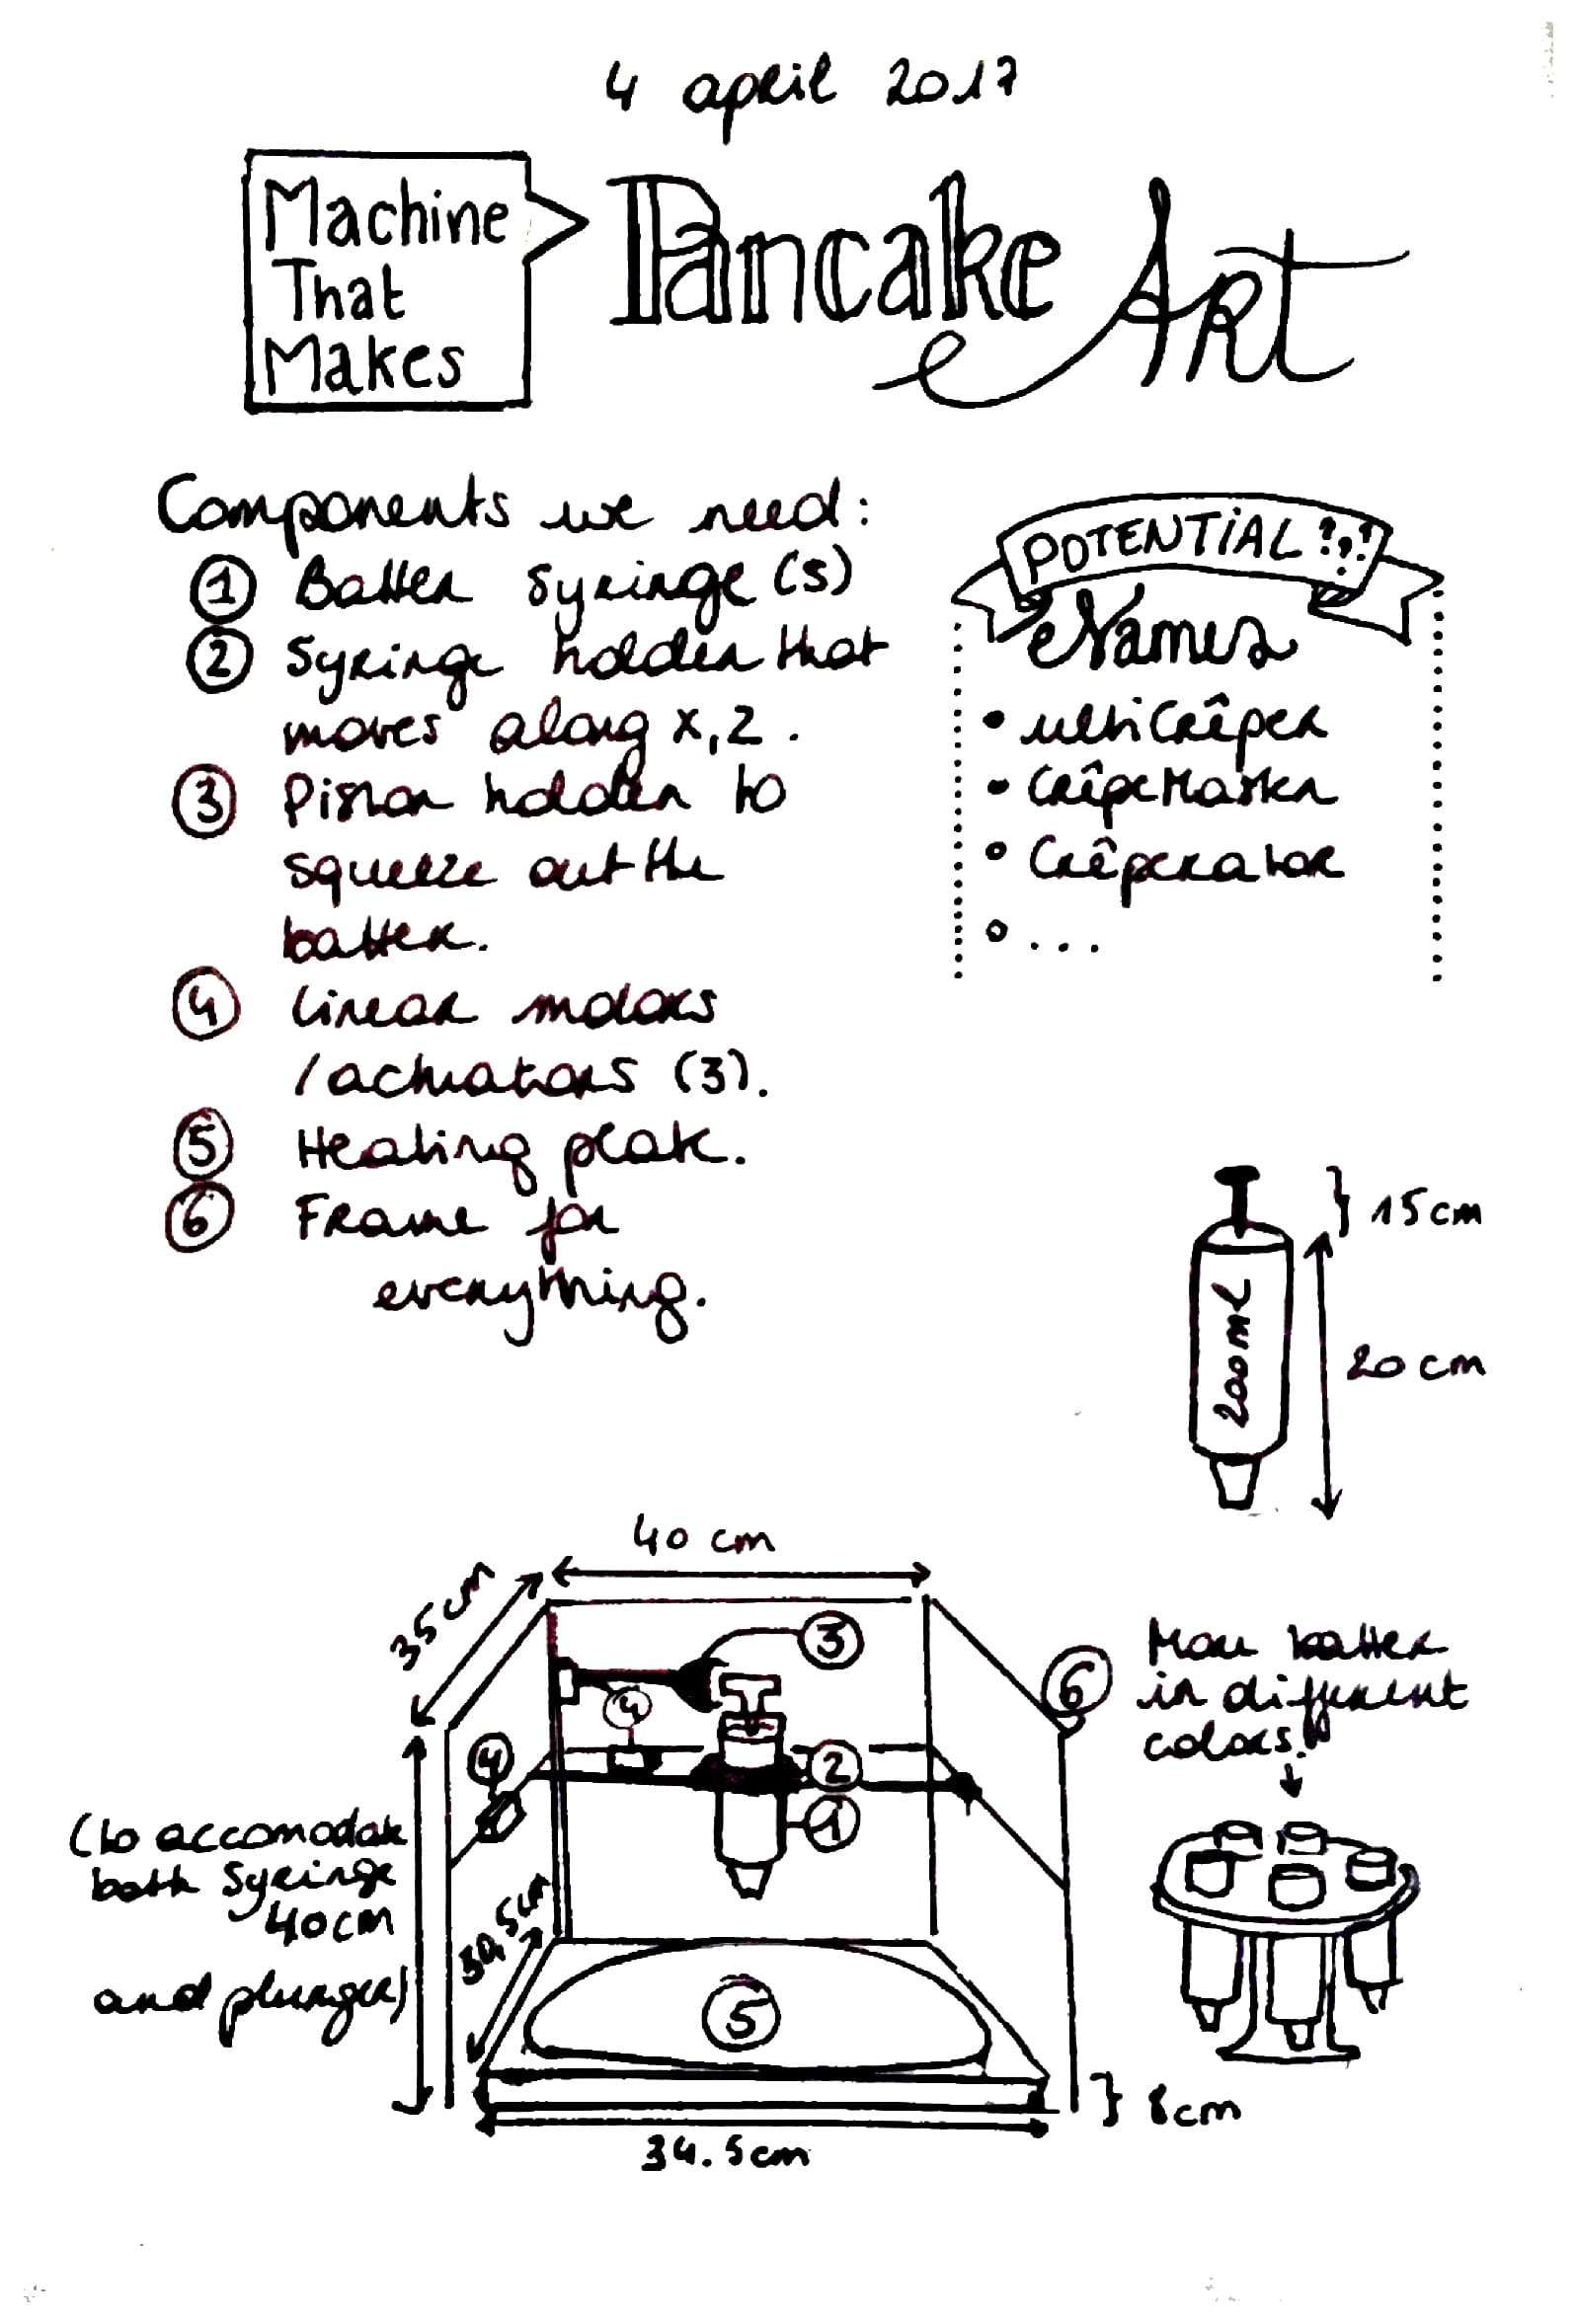
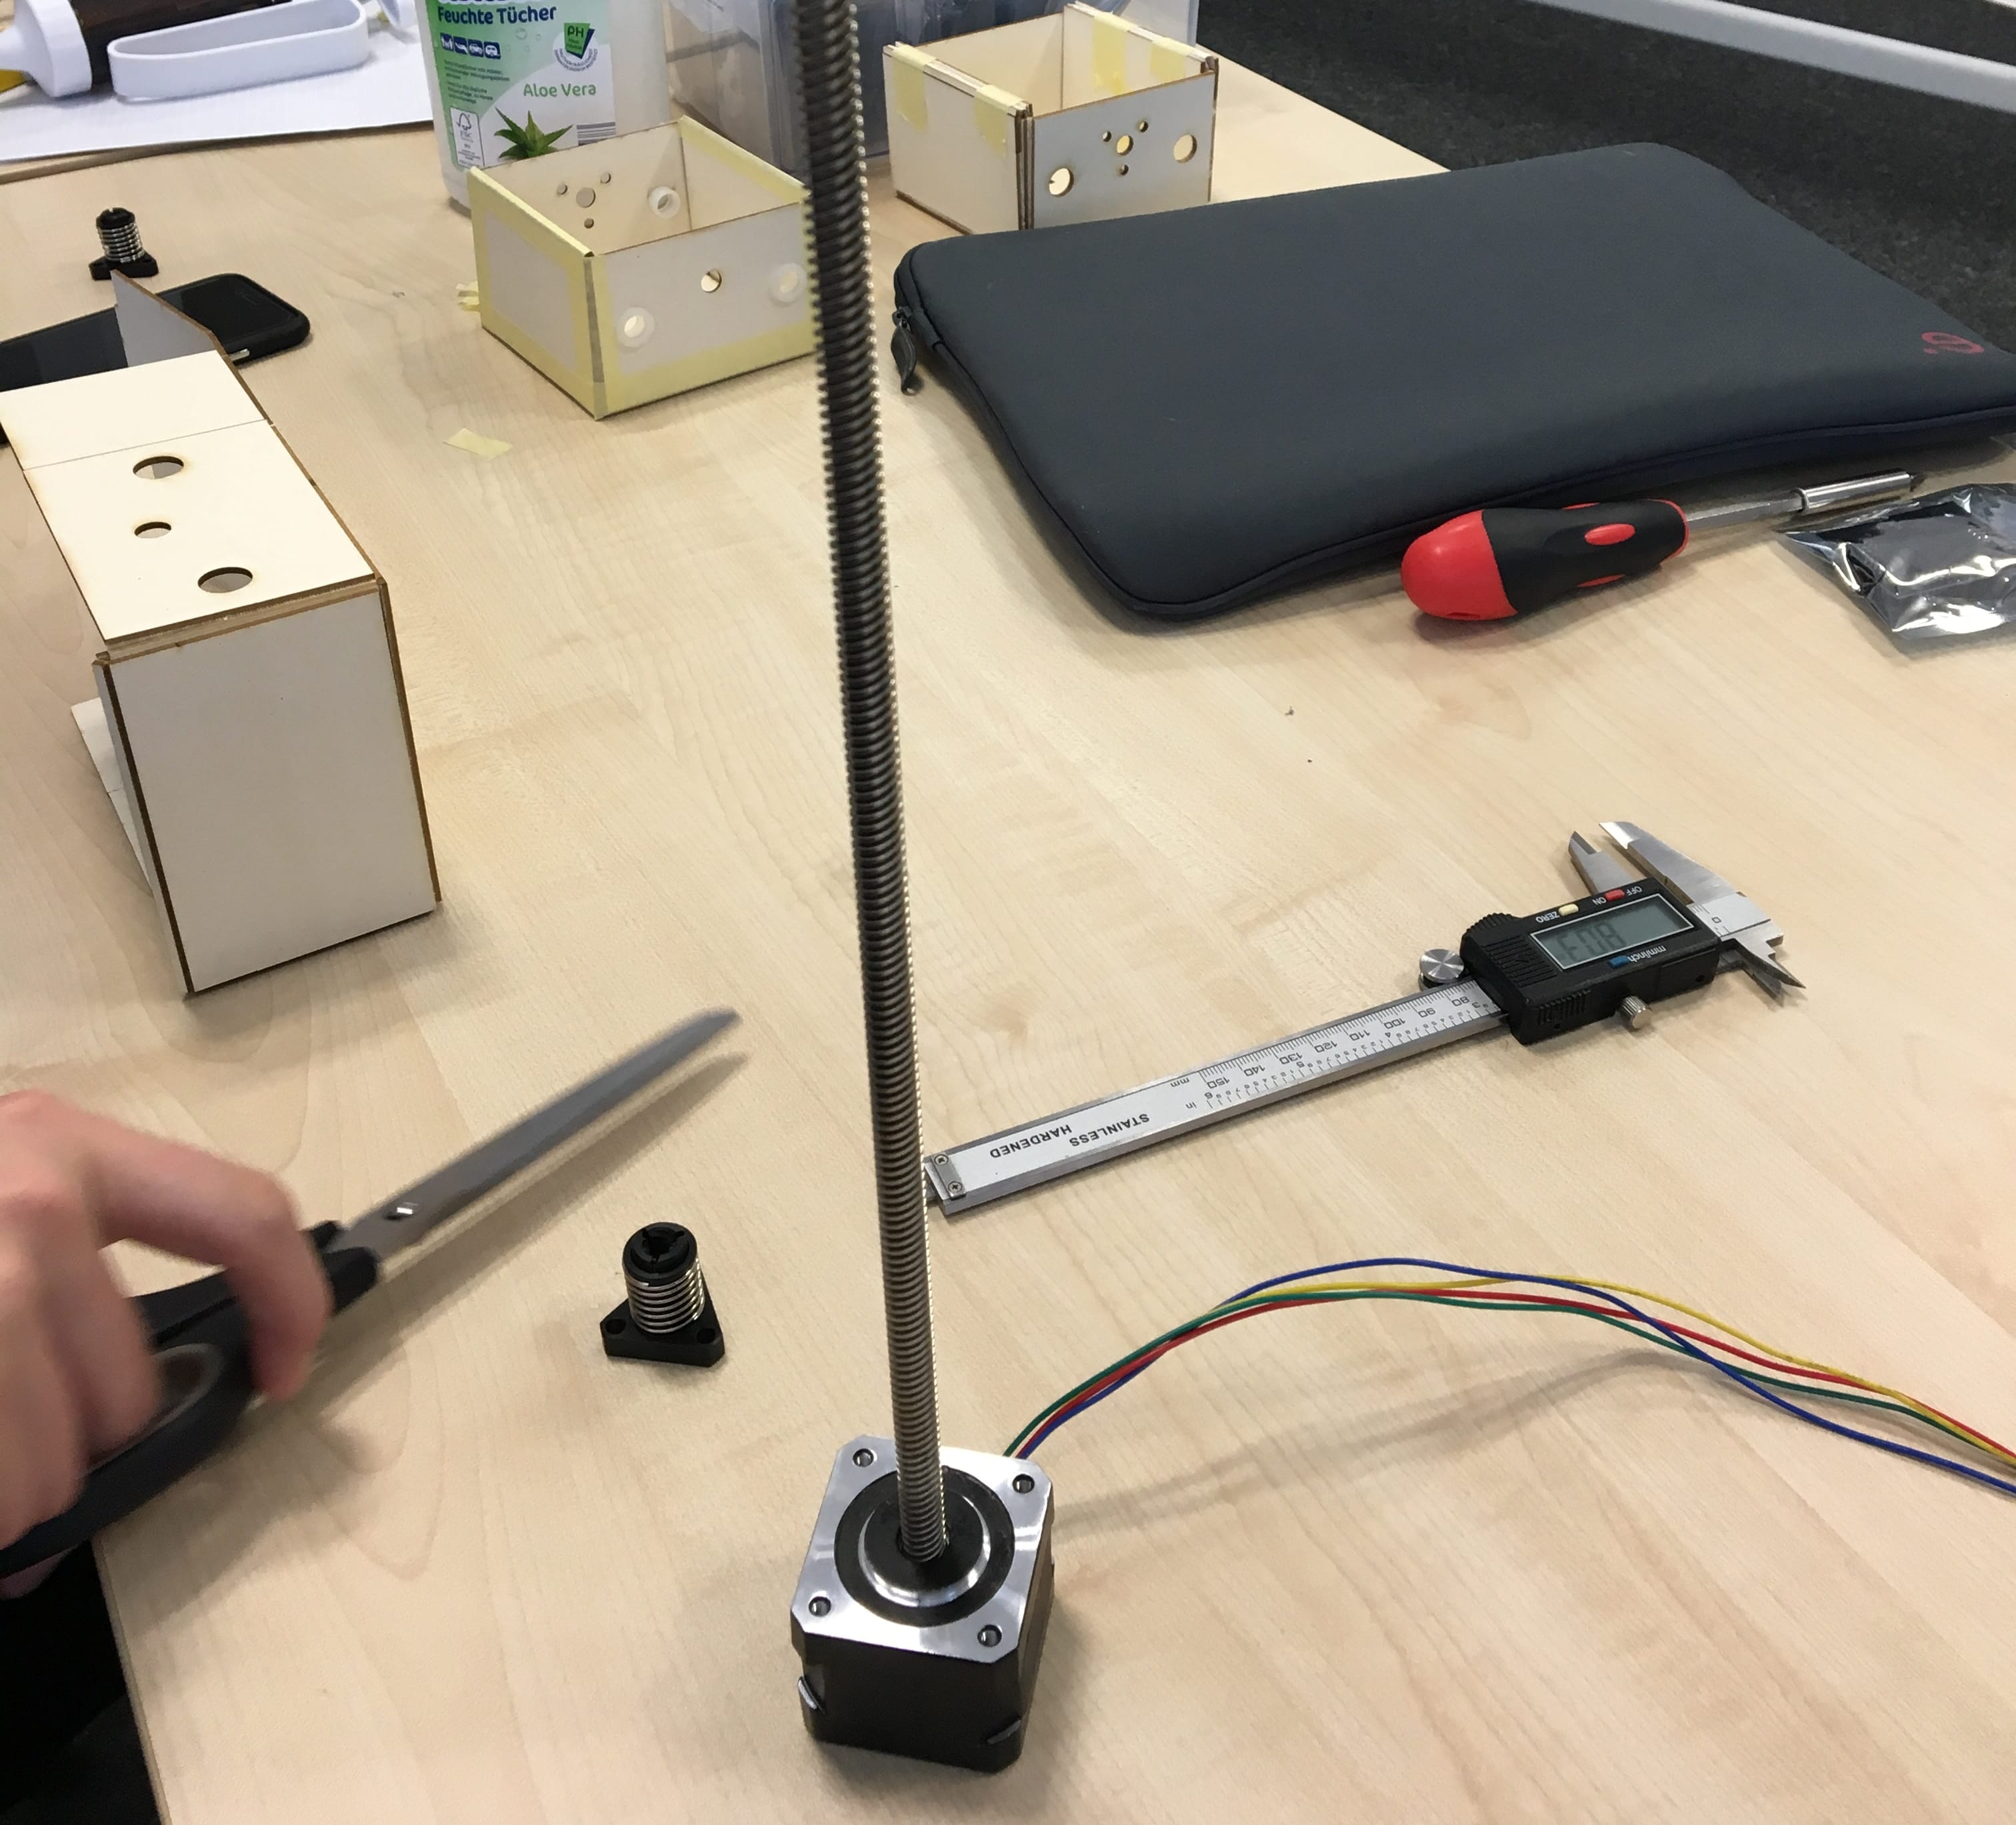
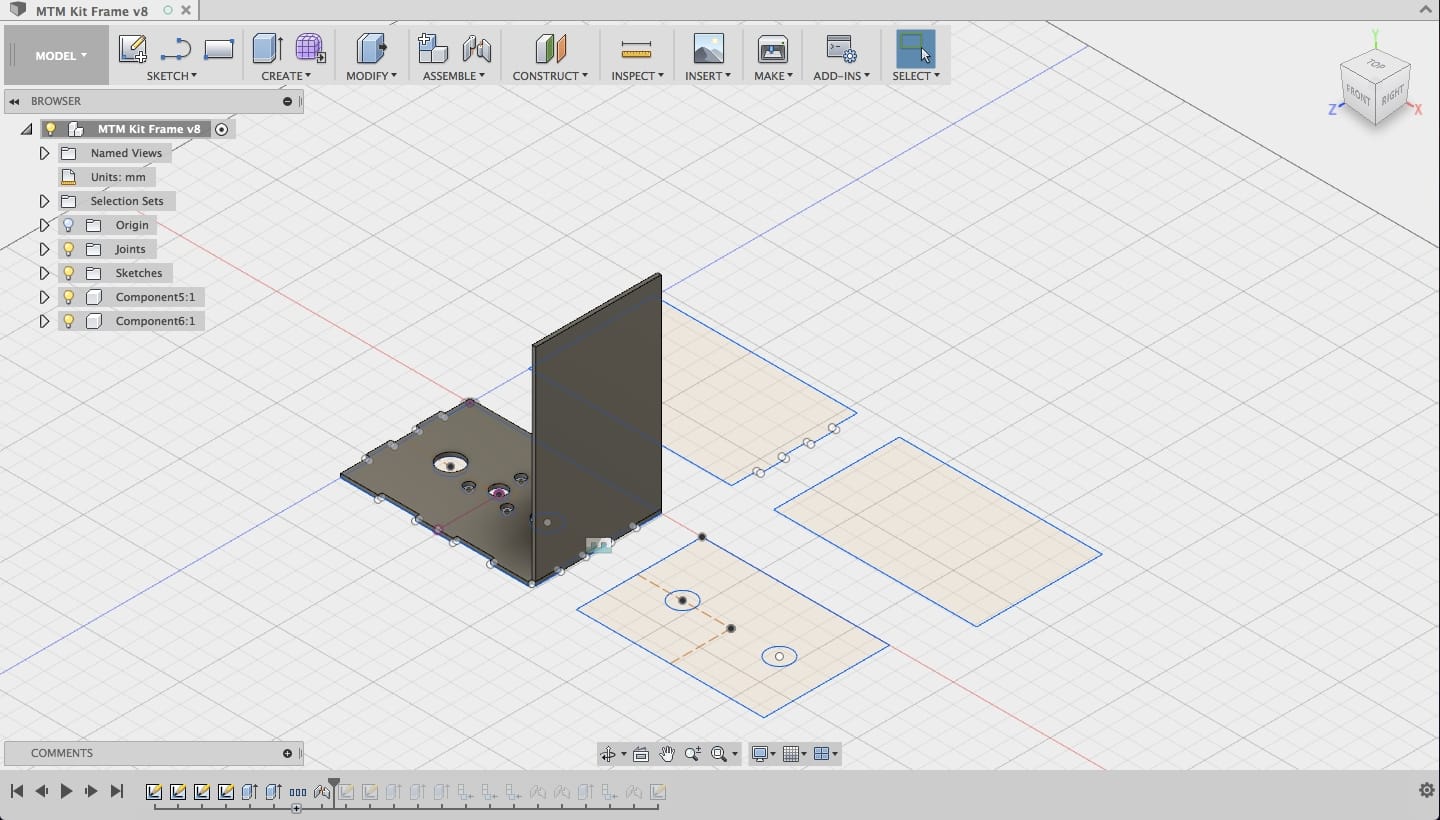
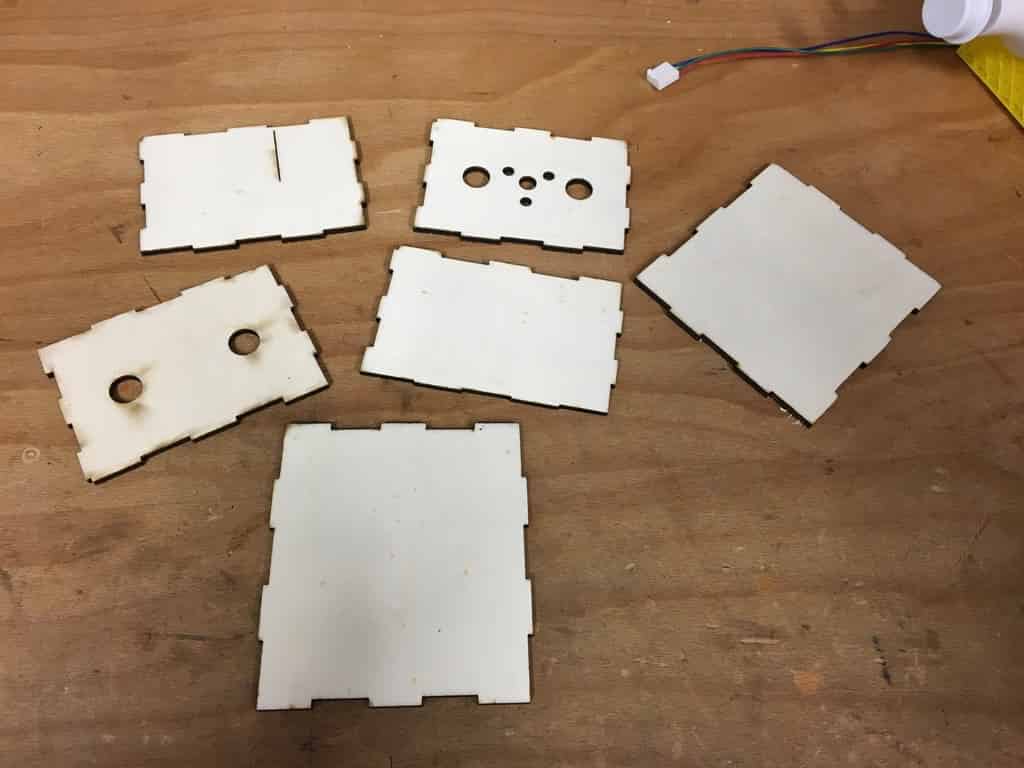
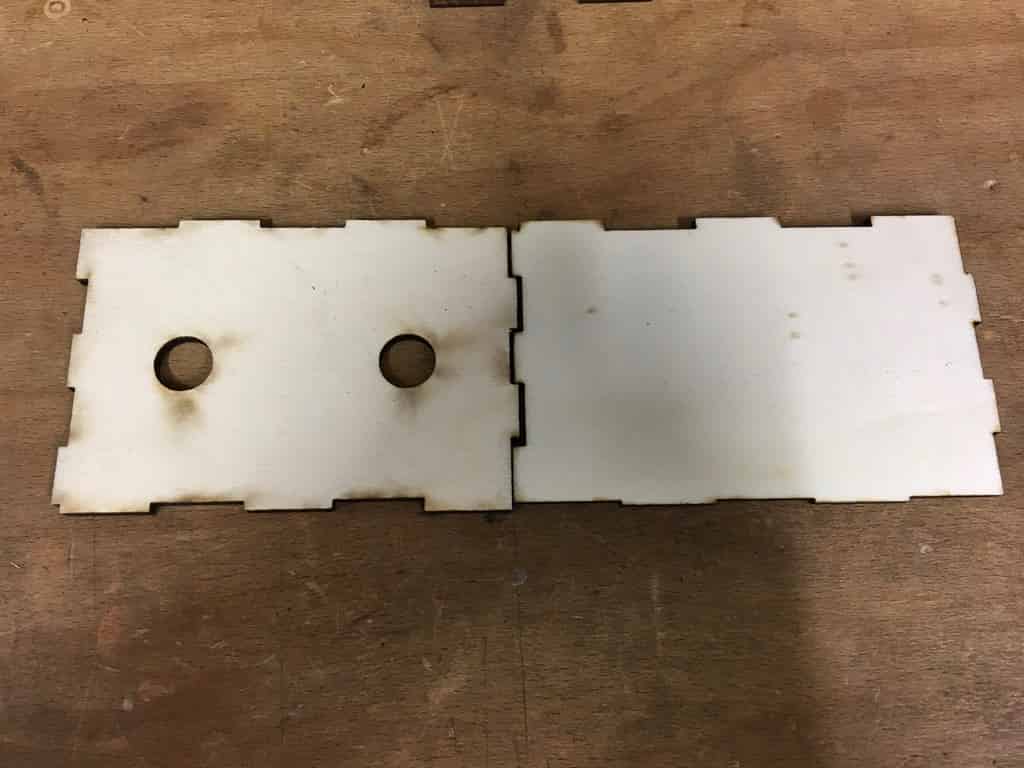
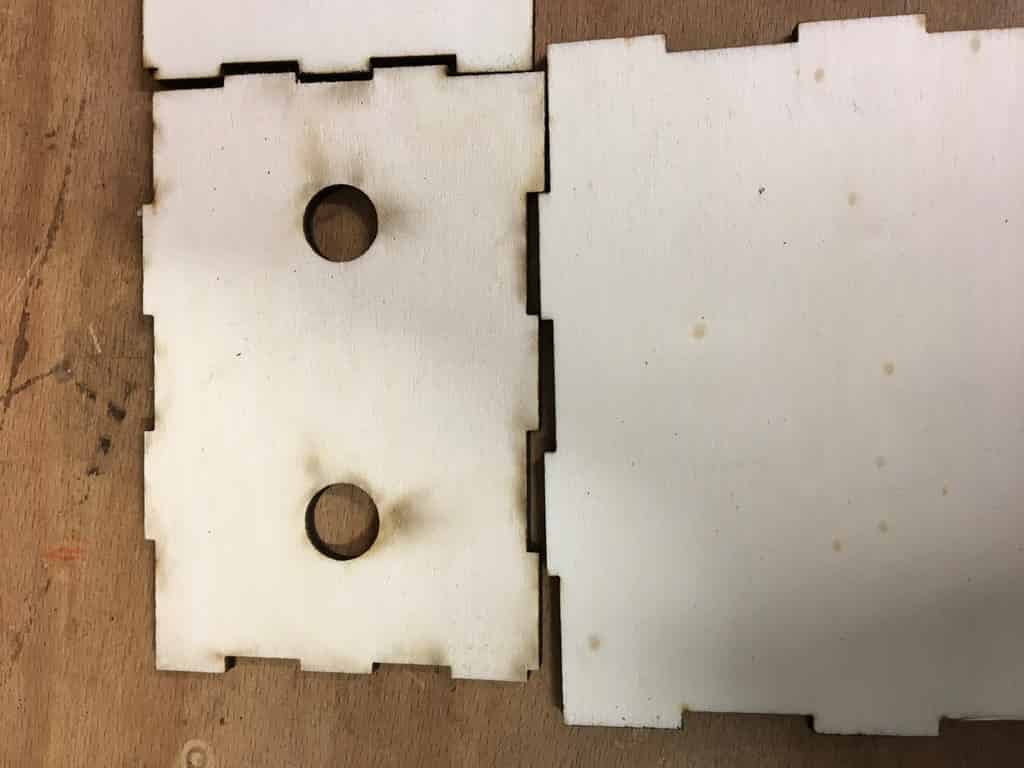
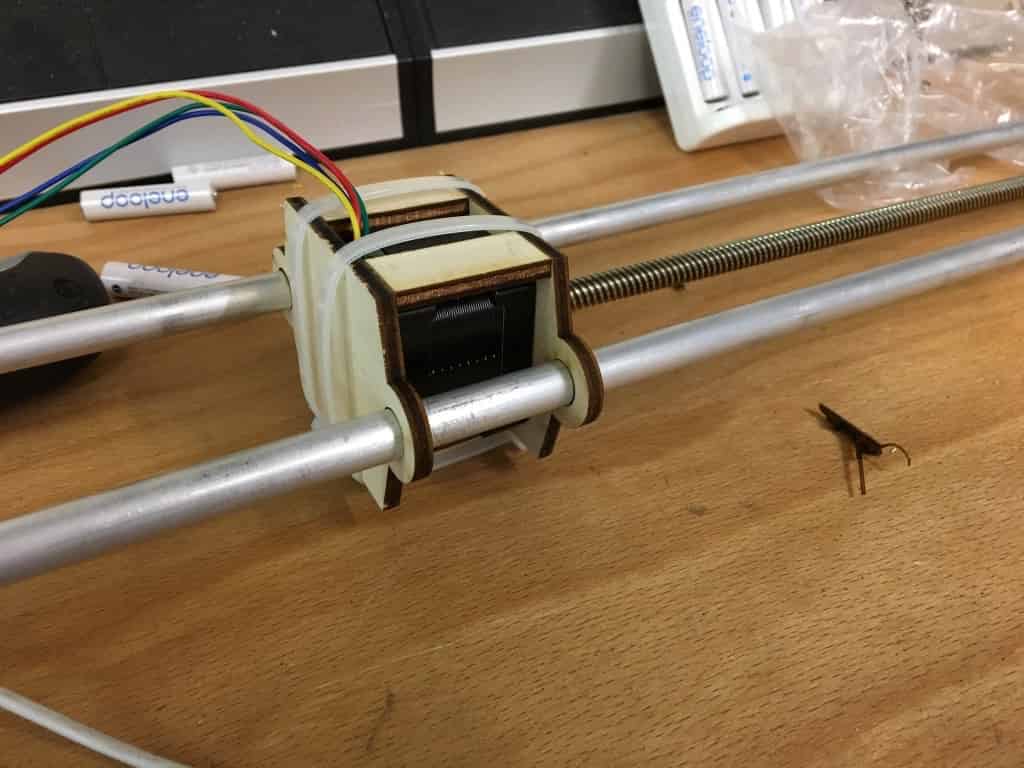
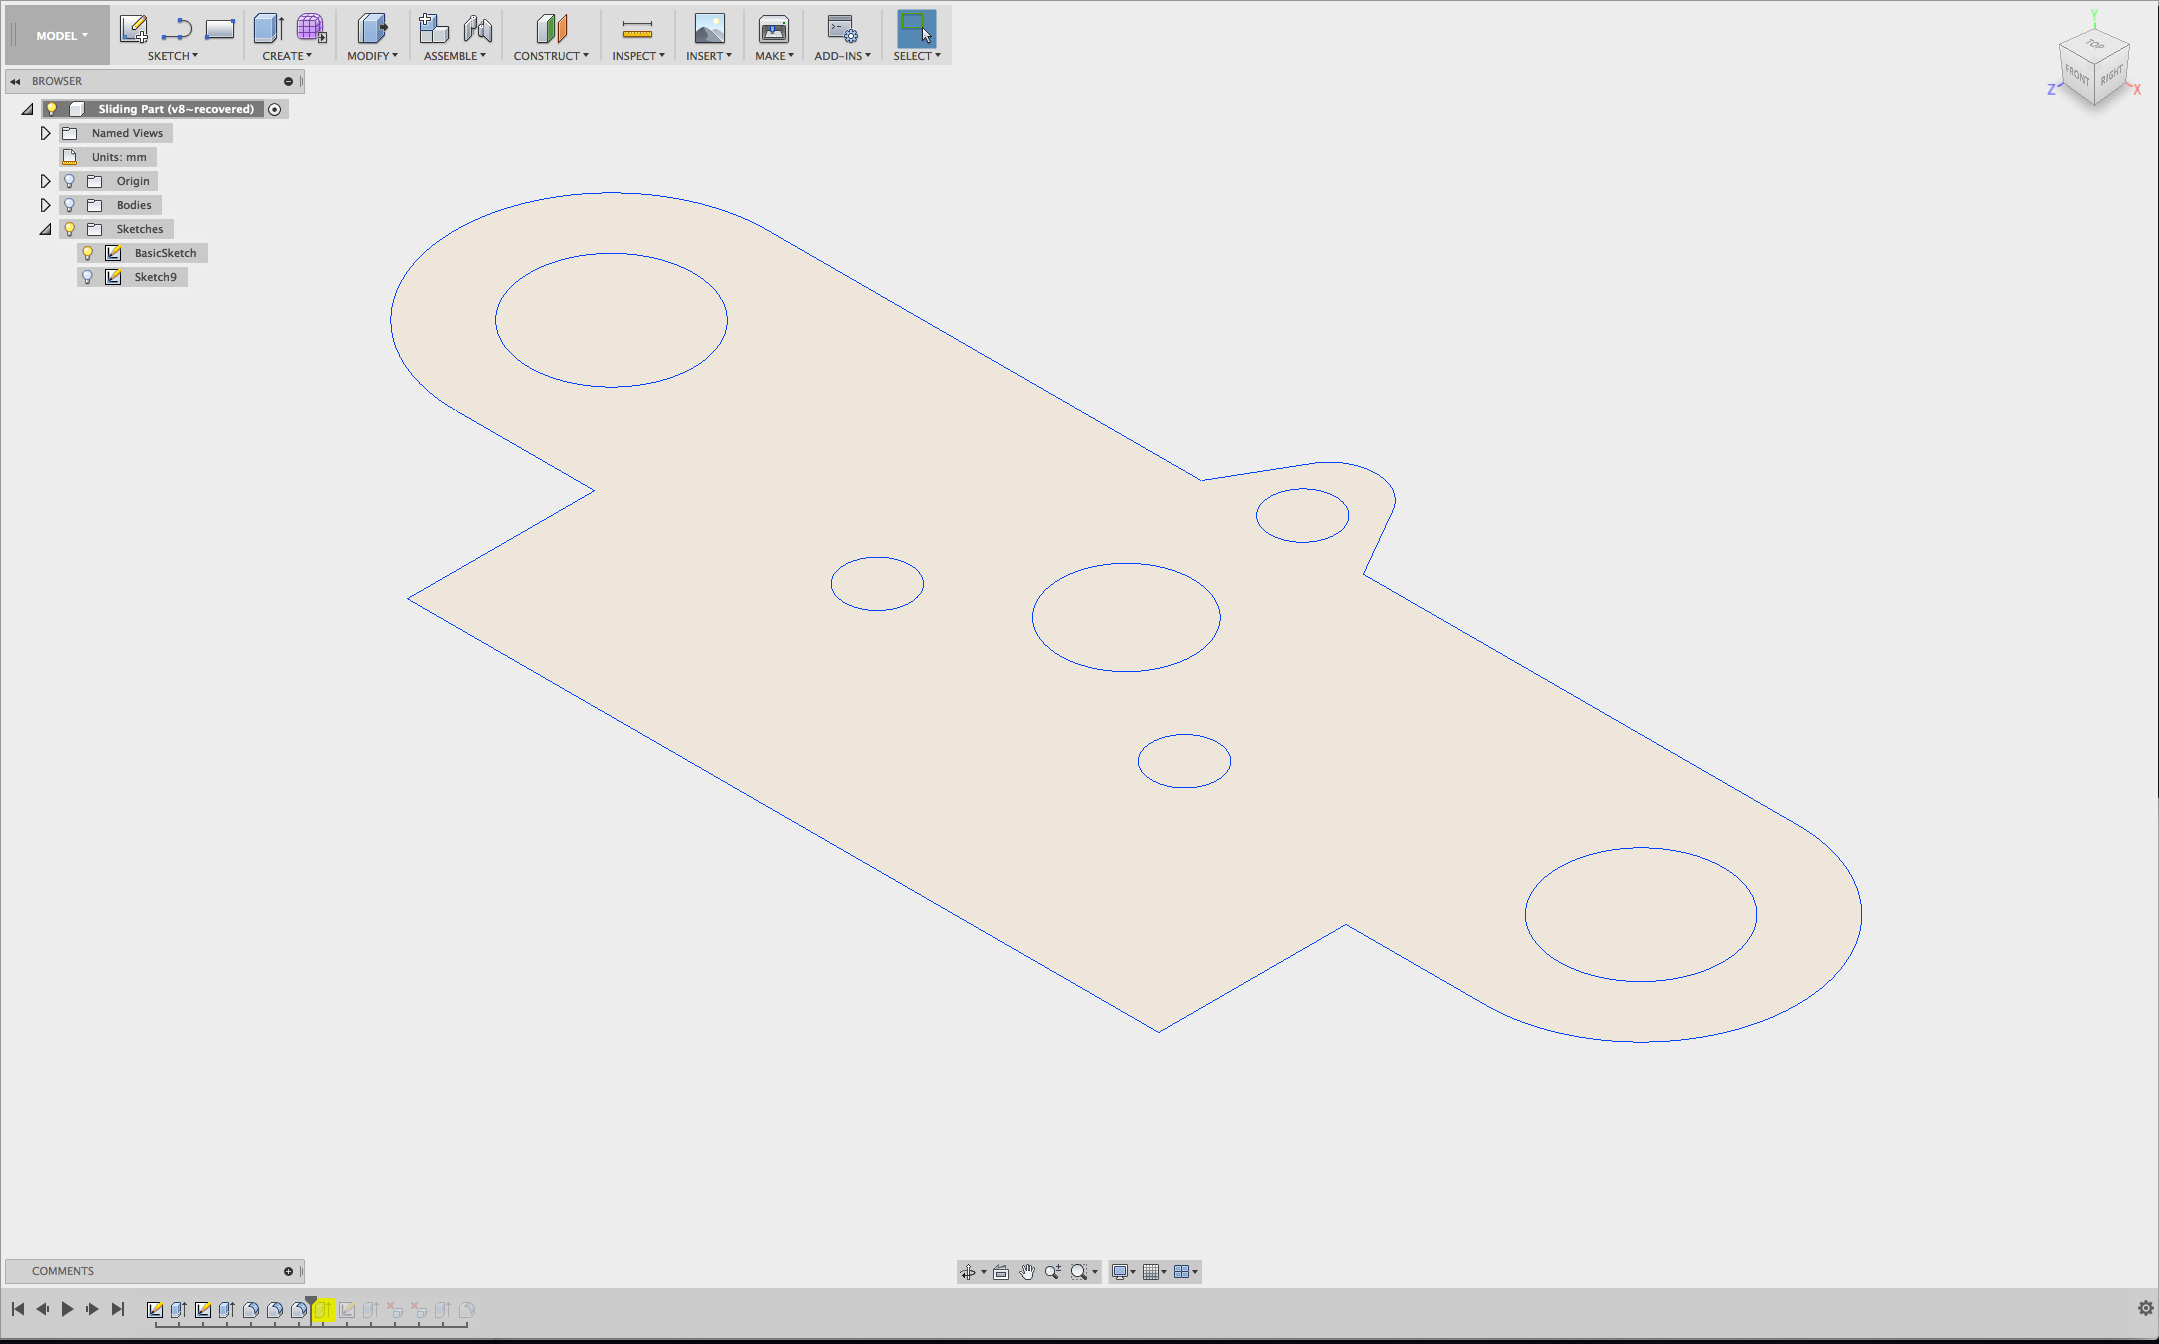
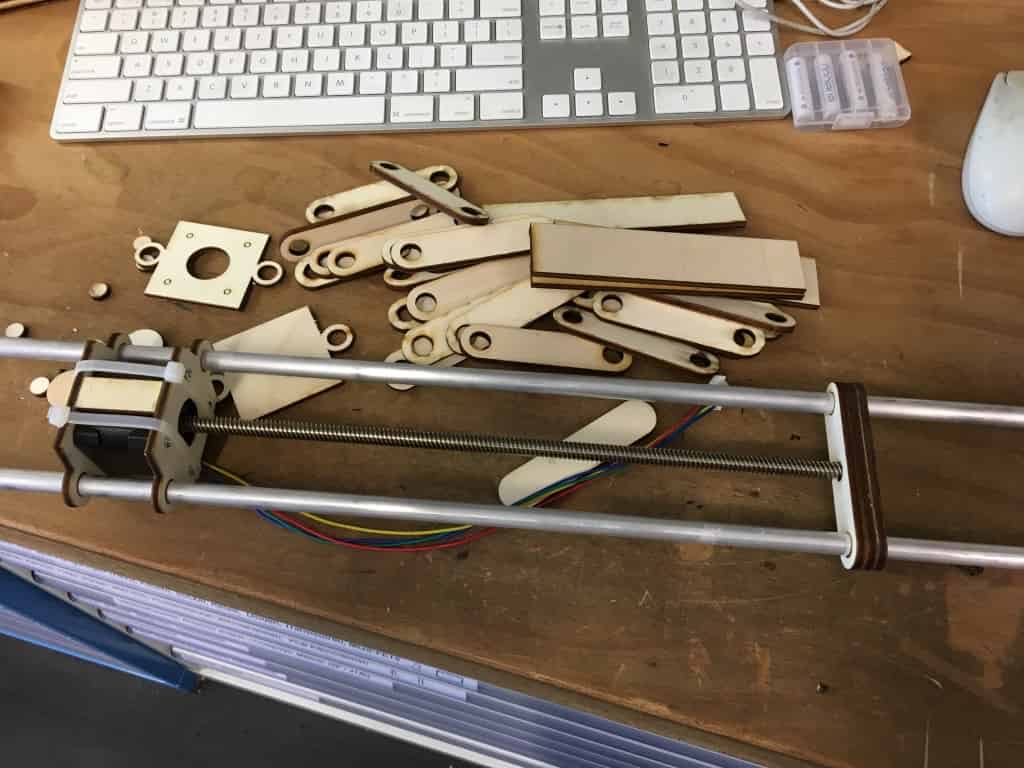
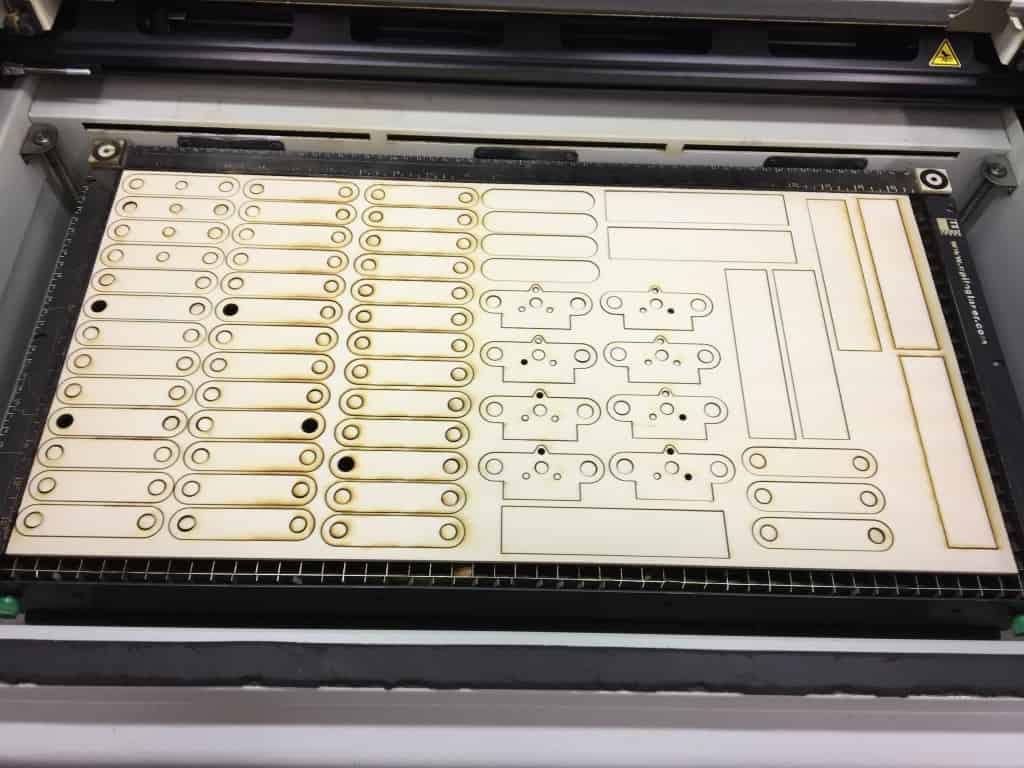
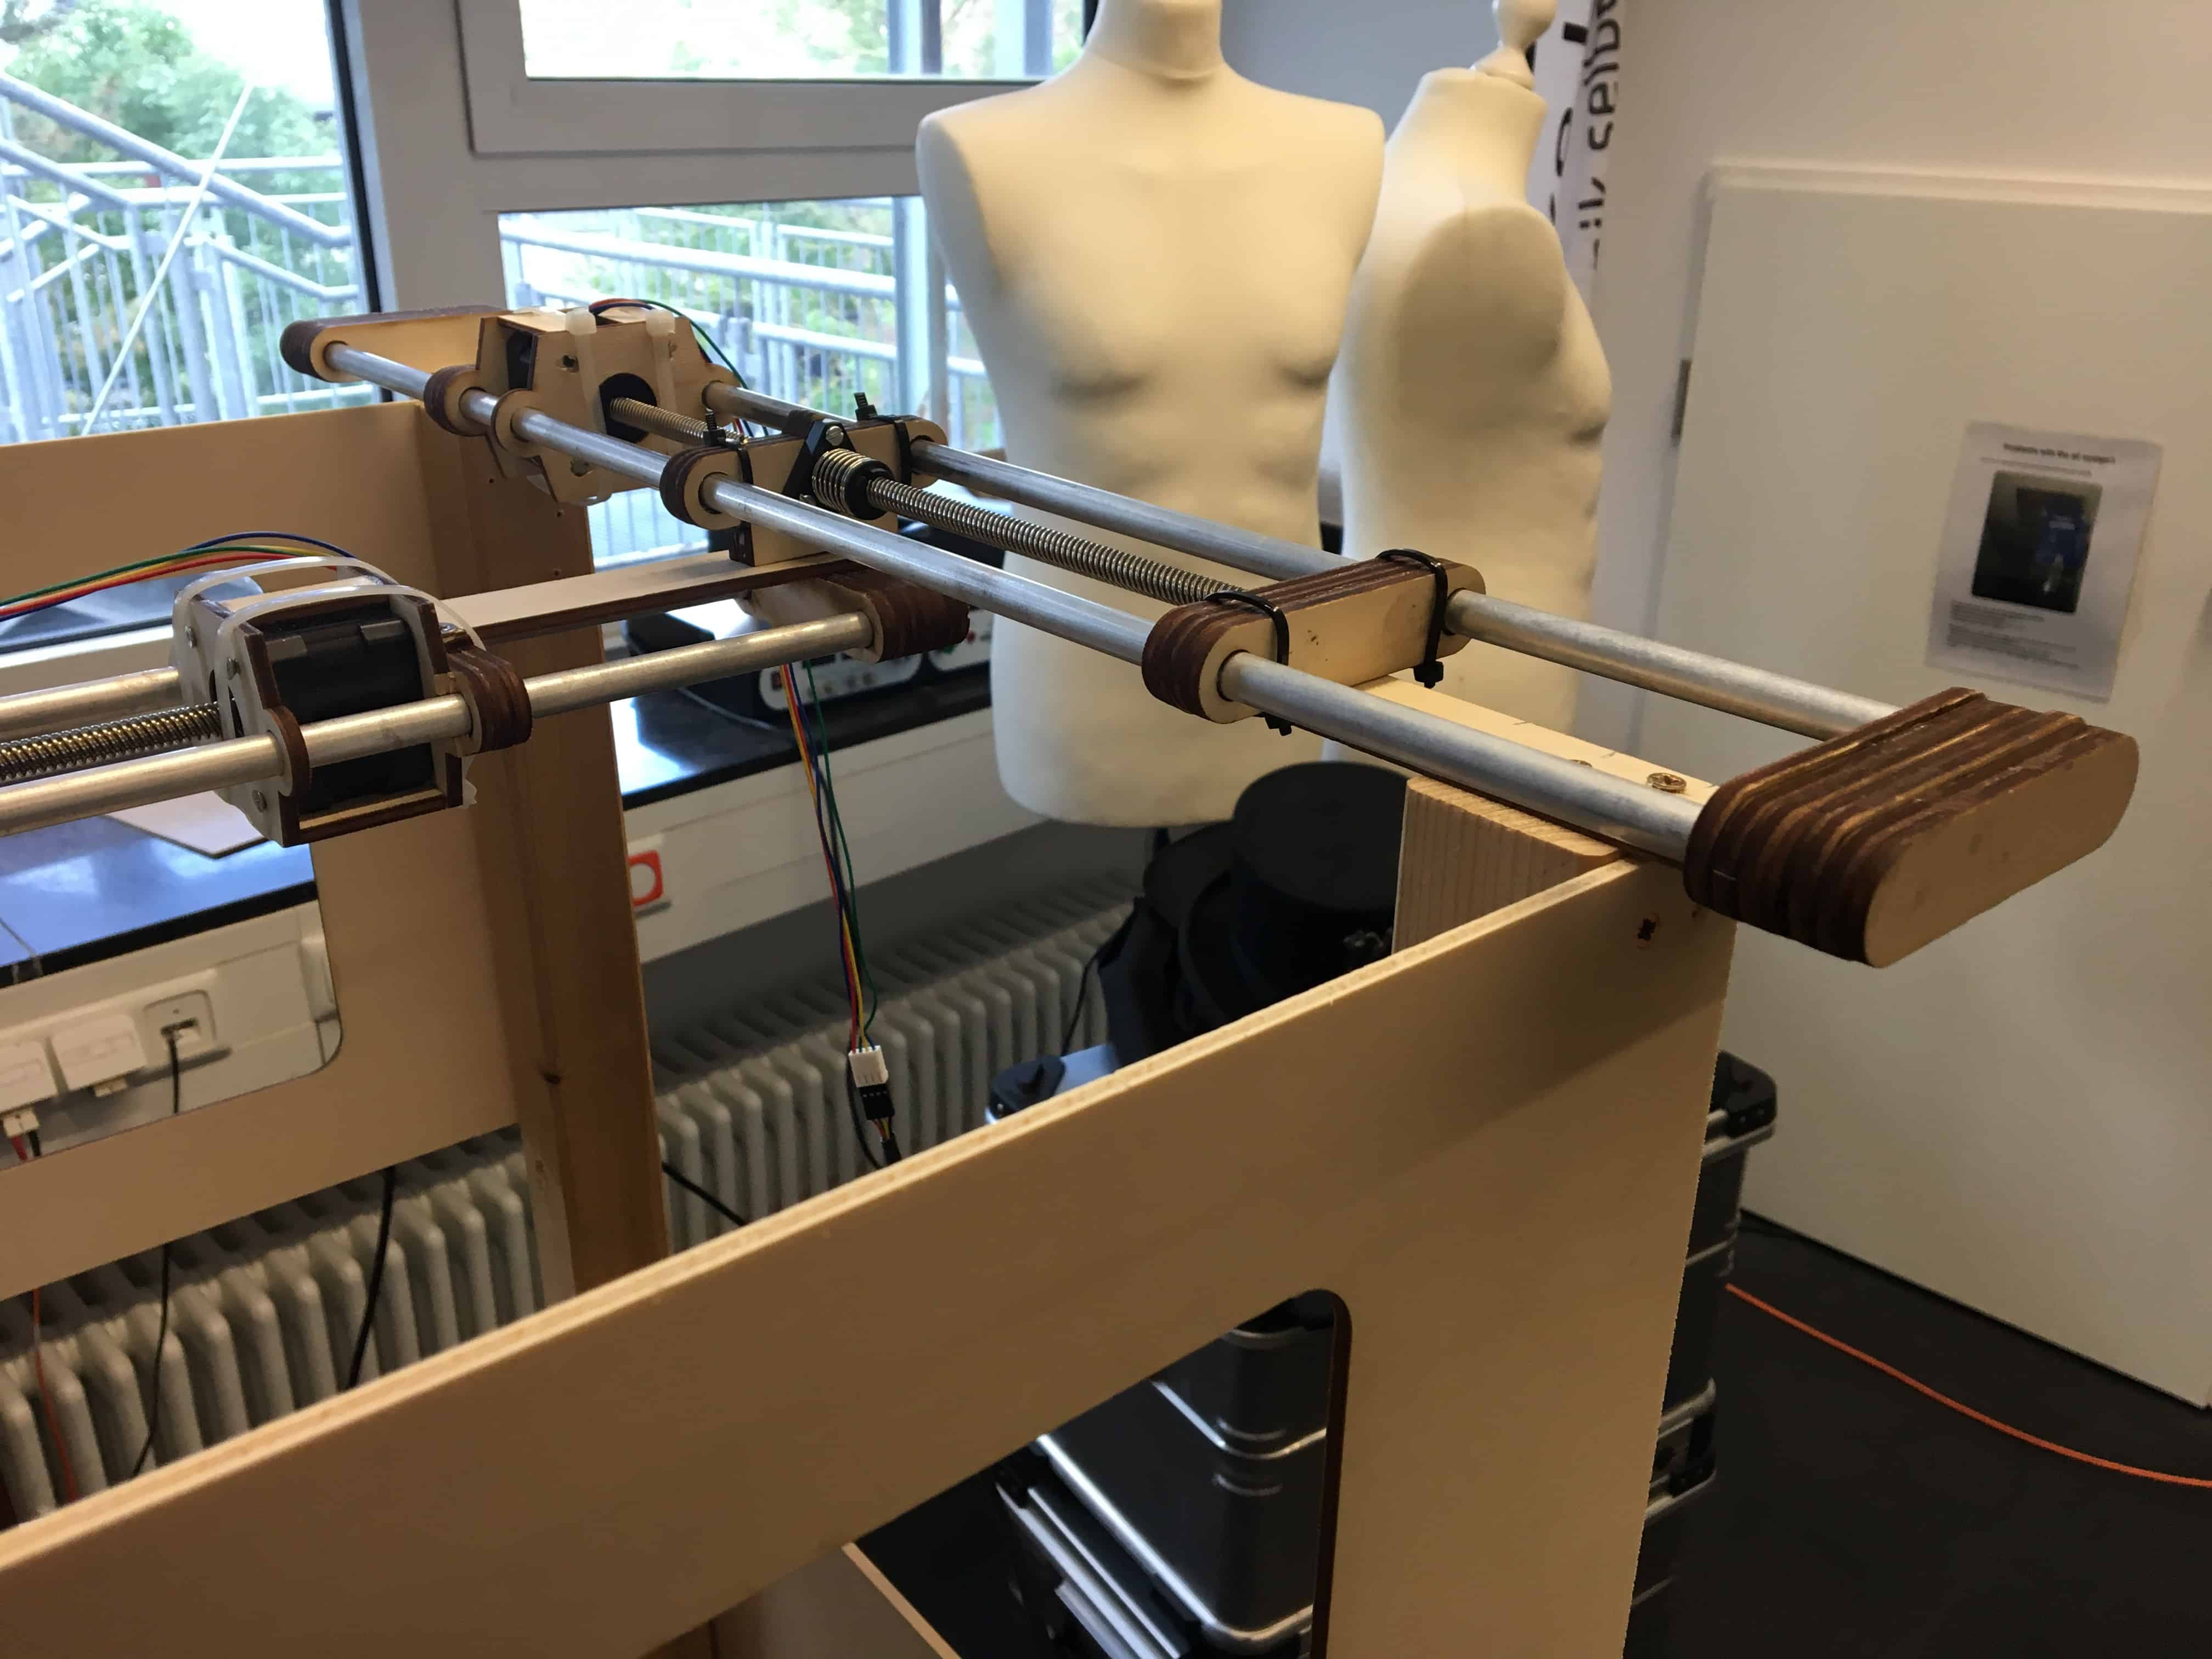
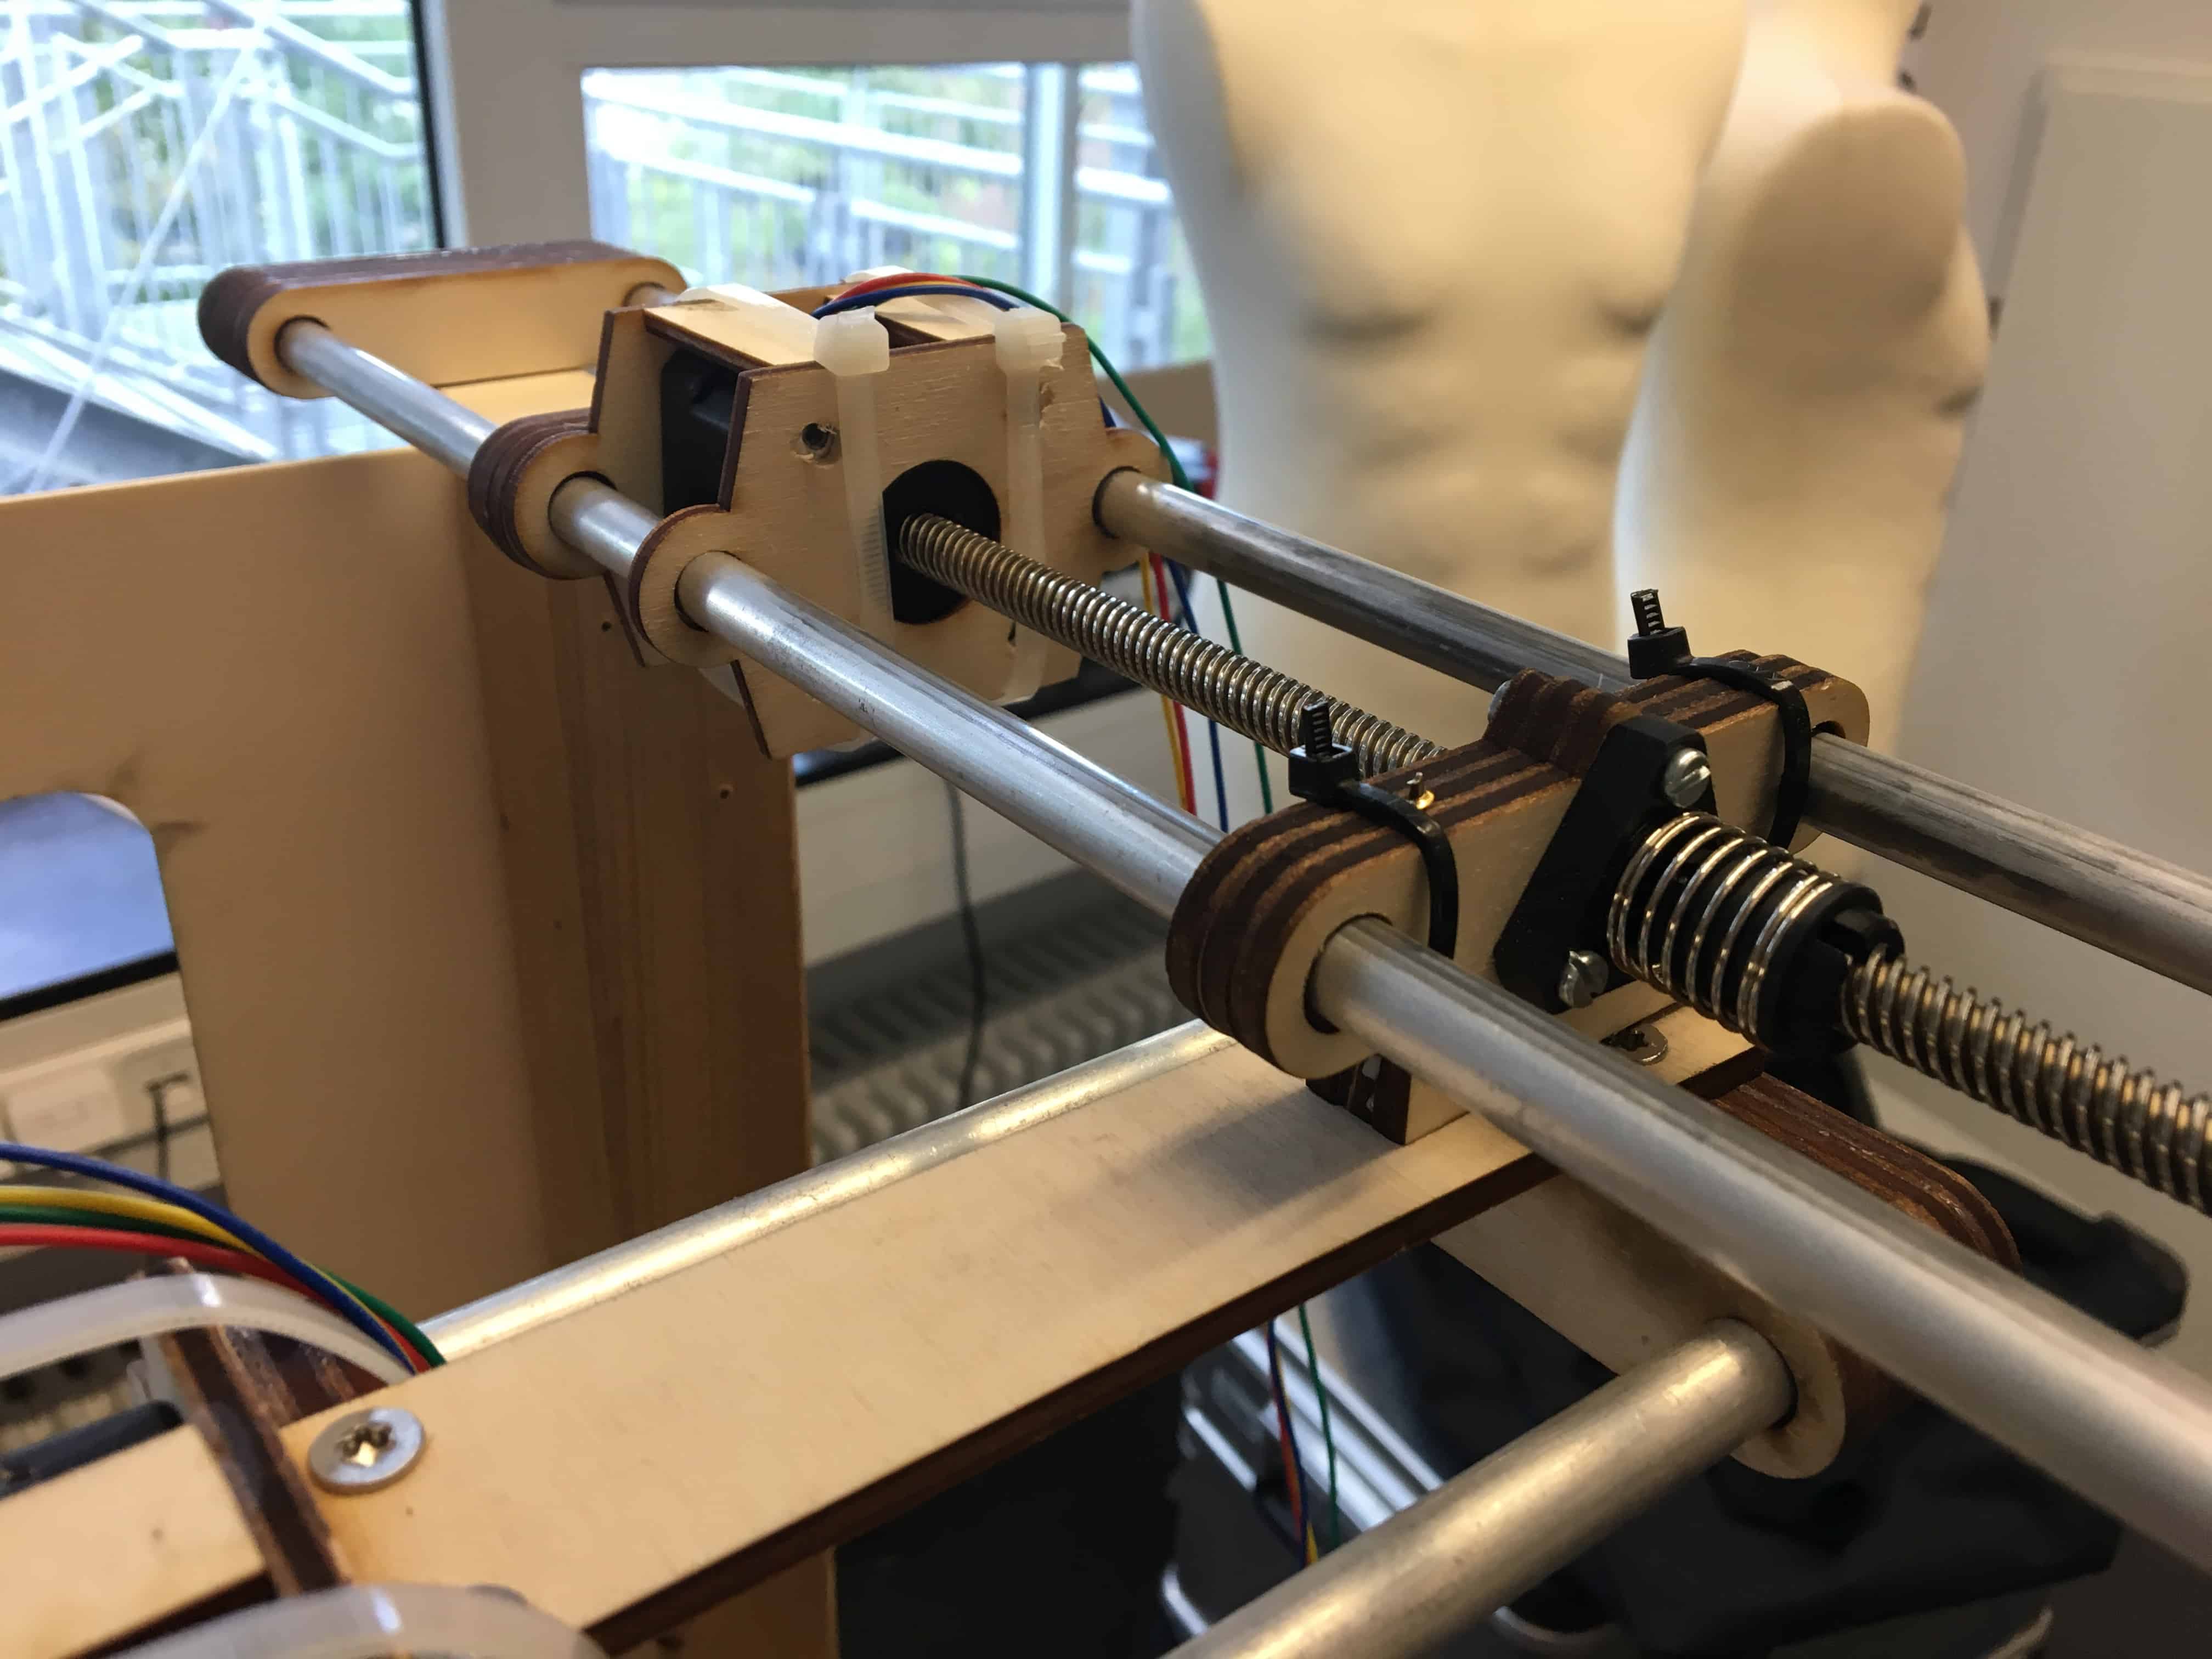
This week we got the following tasks:


/*
  Using a Pololu A4988 or StepStick Stepper Motor Driver with FabScan-Shield.
*/
#define MS_PIN   A5 //HIGH for 16 microstepping, LOW for no microstepping

#define EN1_PIN   2
#define STEP1_PIN 3
#define DIR1_PIN  4

#define EN2_PIN   5
#define STEP2_PIN 6
#define DIR2_PIN  7

#define EN3_PIN   11
#define STEP3_PIN 12
#define DIR3_PIN  13

#define EN4_PIN   A0
#define STEP4_PIN A1
#define DIR4_PIN  A2

int x;
boolean done;
int curDIRx;
String forwards;
String backwards;
String left;
String right;
String down;
String up;
int pumpx;

void setup()
{
  pinMode(EN1_PIN, OUTPUT);
  pinMode(EN2_PIN, OUTPUT);
  pinMode(EN3_PIN, OUTPUT);
  pinMode(EN4_PIN, OUTPUT);

  digitalWrite(EN1_PIN, HIGH); //deactivate driver (LOW active)
  digitalWrite(EN2_PIN, HIGH); //deactivate driver (LOW active)
  digitalWrite(EN3_PIN, HIGH); //deactivate driver (LOW active)
  digitalWrite(EN4_PIN, HIGH); //deactivate driver (LOW active)

  pinMode(DIR1_PIN, OUTPUT);
  pinMode(DIR2_PIN, OUTPUT);
  pinMode(DIR3_PIN, OUTPUT);
  pinMode(DIR4_PIN, OUTPUT);

  digitalWrite(DIR1_PIN, LOW); //LOW or HIGH
  digitalWrite(DIR2_PIN, LOW); //LOW or HIGH
  digitalWrite(DIR3_PIN, LOW); //LOW or HIGH
  digitalWrite(DIR4_PIN, LOW); //LOW or HIGH

  pinMode(STEP1_PIN, OUTPUT);
  pinMode(STEP2_PIN, OUTPUT);
  pinMode(STEP3_PIN, OUTPUT);
  pinMode(STEP4_PIN, OUTPUT);

  digitalWrite(STEP1_PIN, LOW);
  digitalWrite(STEP2_PIN, LOW);
  digitalWrite(STEP3_PIN, LOW);
  digitalWrite(STEP4_PIN, LOW);

  pinMode(MS_PIN, OUTPUT);
  digitalWrite(MS_PIN, LOW); //no microstepping


  x = 0;
  done = false;
  forwards = "FRONT";
  backwards = "BACK";
  down = "down";
  up = "up";
  left = "left";
  right = "right";
  pumpx = 0;
}

void setDirX(String dir)
{
  if (dir == "FRONT") {
    digitalWrite(DIR2_PIN, 0); //LOW or HIGH
    digitalWrite(DIR3_PIN, 0); //LOW or HIGH
  } else {
    digitalWrite(DIR2_PIN, 1); //LOW or HIGH
    digitalWrite(DIR3_PIN, 1); //LOW or HIGH
  }

}

void moveX(String dir, int n) //maximum 6000 back and forth from front or back position
{
  while (x < n) {
    digitalWrite(EN2_PIN, LOW); //activate motor
    digitalWrite(EN3_PIN, LOW); //activate motor
    setDirX(dir);
    digitalWrite(STEP2_PIN, HIGH);
    digitalWrite(STEP3_PIN, HIGH);
    delay(2);
    digitalWrite(STEP2_PIN, LOW);
    digitalWrite(STEP3_PIN, LOW);
    delay(2);
    digitalWrite(EN2_PIN, HIGH); //deactivate motor
    digitalWrite(EN3_PIN, HIGH); //deactivate motor
    x++;
  }

  x = 0;

}

void setDirY(String dir)
{
  if (dir == "left") {
    digitalWrite(DIR1_PIN, 0); //LOW or HIGH
  } else {
    digitalWrite(DIR1_PIN, 1); //LOW or HIGH
  }
}


void moveY(String dir, int n)
{
  while (x < n) {
    digitalWrite(EN1_PIN, LOW); //activate motor
    setDirY(dir);
    digitalWrite(STEP1_PIN, HIGH);
    delay(2);
    digitalWrite(STEP1_PIN, LOW);
    delay(2);
    digitalWrite(EN1_PIN, HIGH); //deactivate motor
    x++;
  }

  x = 0;

}

void setDirPump(String dir)
{
  if (dir == "down") {
    digitalWrite(DIR4_PIN, 1);
  } else {
    digitalWrite(DIR4_PIN, 0);
  }
}

void resetPump(){
  while (pumpx > 0) {
    digitalWrite(EN4_PIN, LOW); //activate motor
    setDirPump(up);
    digitalWrite(STEP4_PIN, HIGH);
    delay(2);
    digitalWrite(STEP4_PIN, LOW);
    delay(2);
    digitalWrite(EN4_PIN, HIGH); //deactivate motor
    pumpx--;
  }
}

void pumpIt(String dir, int n) //maximum 3000 units up or down
{

  if(pumpx == n){
    resetPump();
  }

  while (pumpx < n) {
    digitalWrite(EN4_PIN, LOW); //activate motor
    setDirPump(dir);
    digitalWrite(STEP4_PIN, HIGH);
    delay(2);
    digitalWrite(STEP4_PIN, LOW);
    delay(2);
    digitalWrite(EN4_PIN, HIGH); //deactivate motor
    pumpx++;
  }

}
void drawPat(int a) { //One Unit is 4000 by 4.5cm distance to the plate edge

  moveX(forwards, a);
  moveY(right, a - 500);

  moveX(backwards, a - 500);
  moveY(left, a - 1000);
  pumpIt(down,1000);

  a = a - 500;

  while (a >= 1000) {
    moveX(forwards, a - 500);
    moveY(right, a - 500);

    moveX(backwards, a - 500);
    moveY(left, a - 1000);
    a = a - 500;
  }

}
void loop()
{
  while(!done){
    drawPat(4000);
    done = true;
  }

}