This week I started by sudying from the beginning the "AVR Programming" by Elliot Williams. I'm totally new to these issues so I felt I needed some introduction lectures to better understand how to menage the programming assignment.
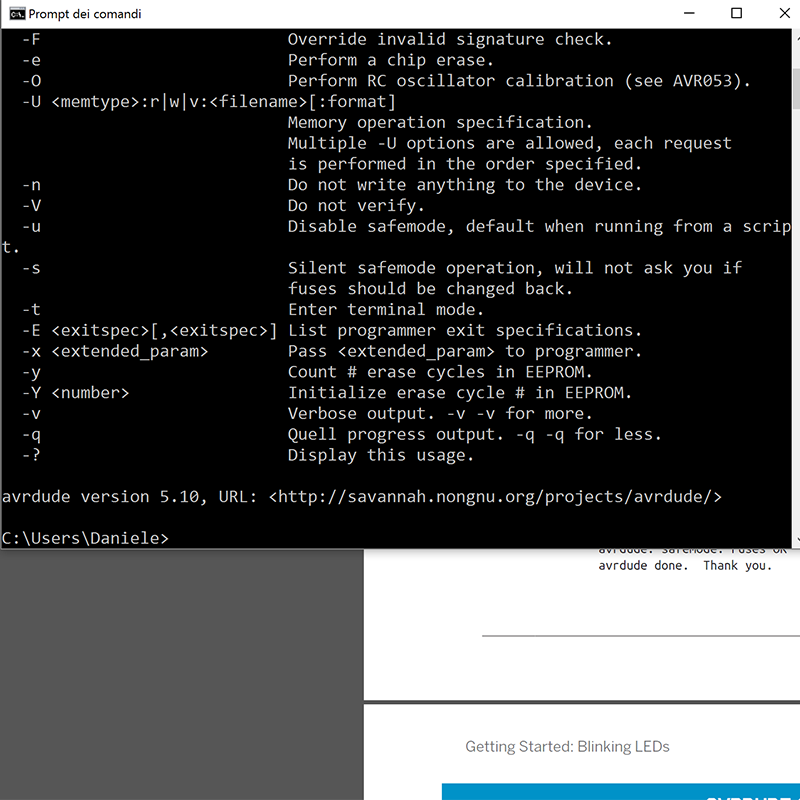
I started installing AVRdude on my computer and I tried to detect the Led+button board I made two weeks ago.
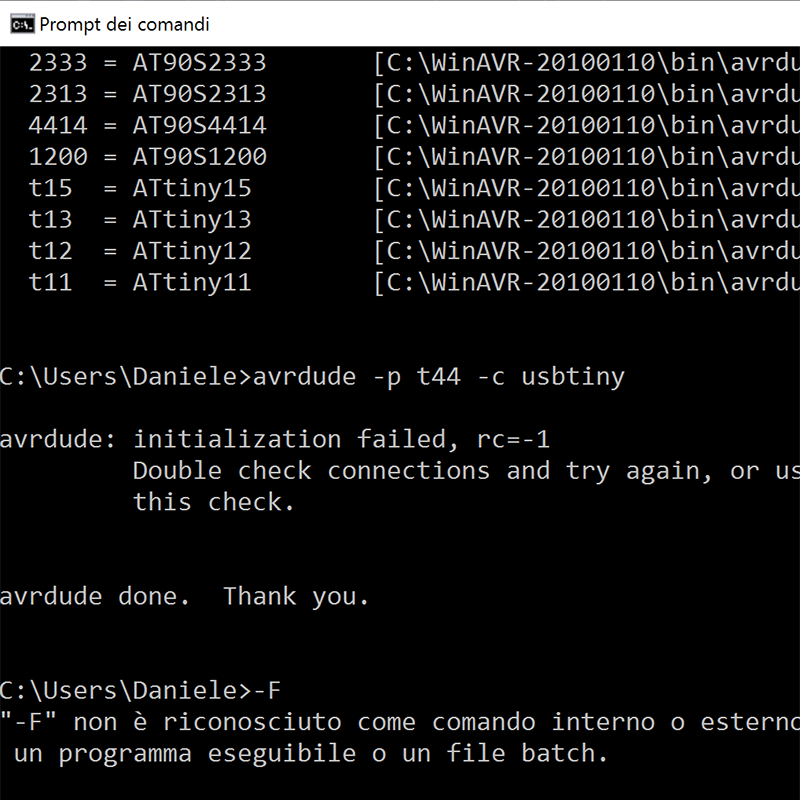
I called for my programmer with "avrdude -p t44 -c usbtiny" command but I stopped almost at the beginning because my programmer wasn't able to detect my led+button board.

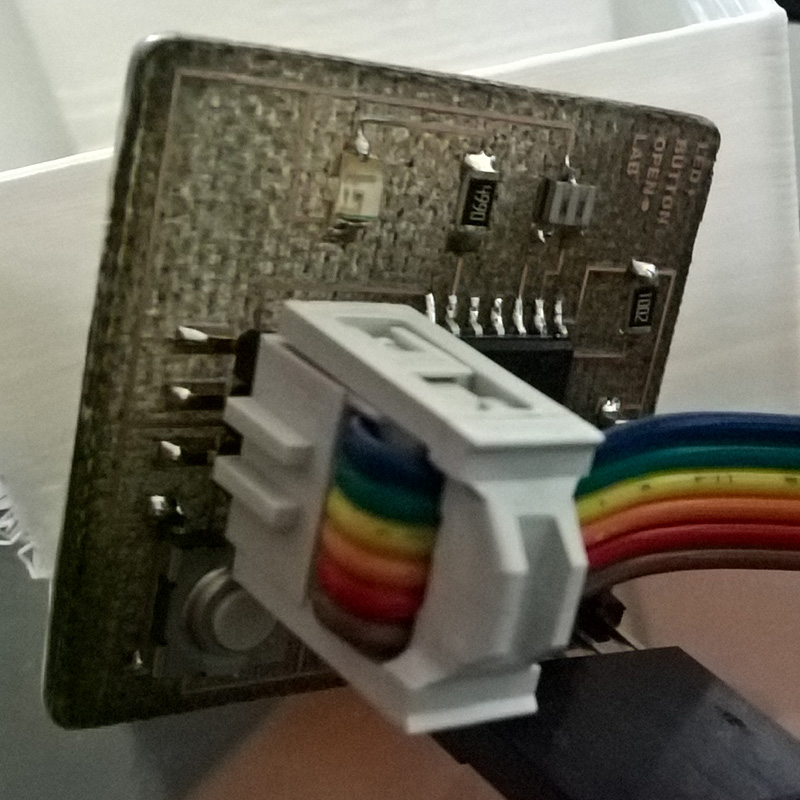
Here is the connection settled (without power supply). I checked if the rainbow wire was correctly made, and it was. So the problem is probably due to some soldering mistake in the led+button board.
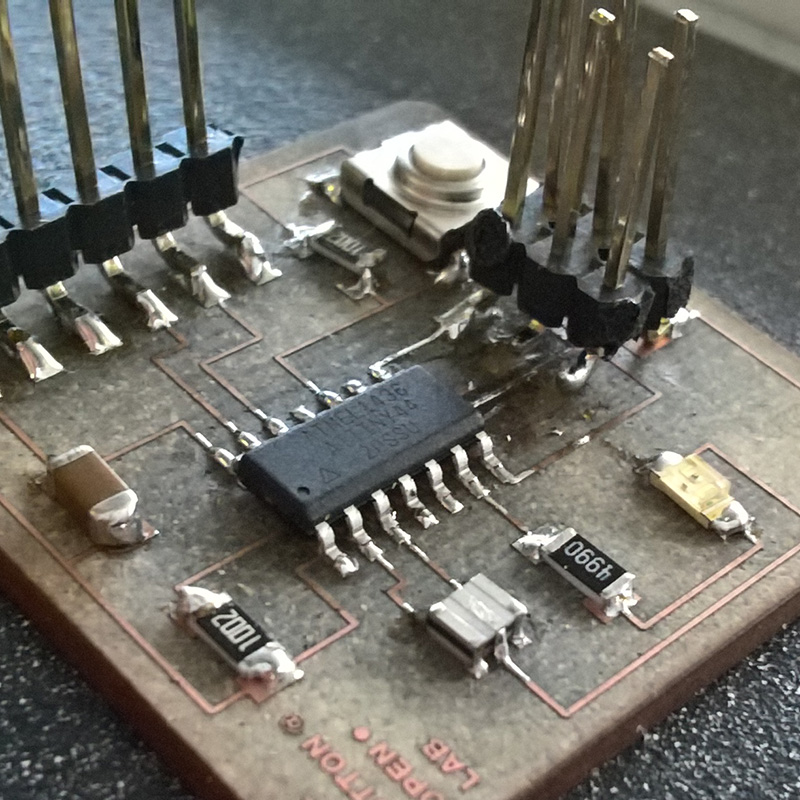
Trying to fix soldering problems I destroyed my board on the 6 pin connection. It's seems this week I need to do a lot more soldering practice.
This is the second version of the Button+Led board. This time I tried a new composite material. The copper layer is on a glass fiber bed. It tooks more laser passages to engrave and cut this material. Previous regular composite material had a smoother surface. This time the board worked!!

As you can see my programmer is ready to communicate with the new device.

I decided to program it using the Arduino IDE, according to my team mates here at opendot this is the easiest way to start from. The first step was to add the ATtiny architecture package to the board manager. File>Preferences>Additional Boards Manager URLs: https://raw.githubusercontent.com/damellis/attiny/ide-1.6.x-boards-manager/package_damellis_attiny_index.json
Than Tools>Board>Boards Manager and select the atTiny architecture.
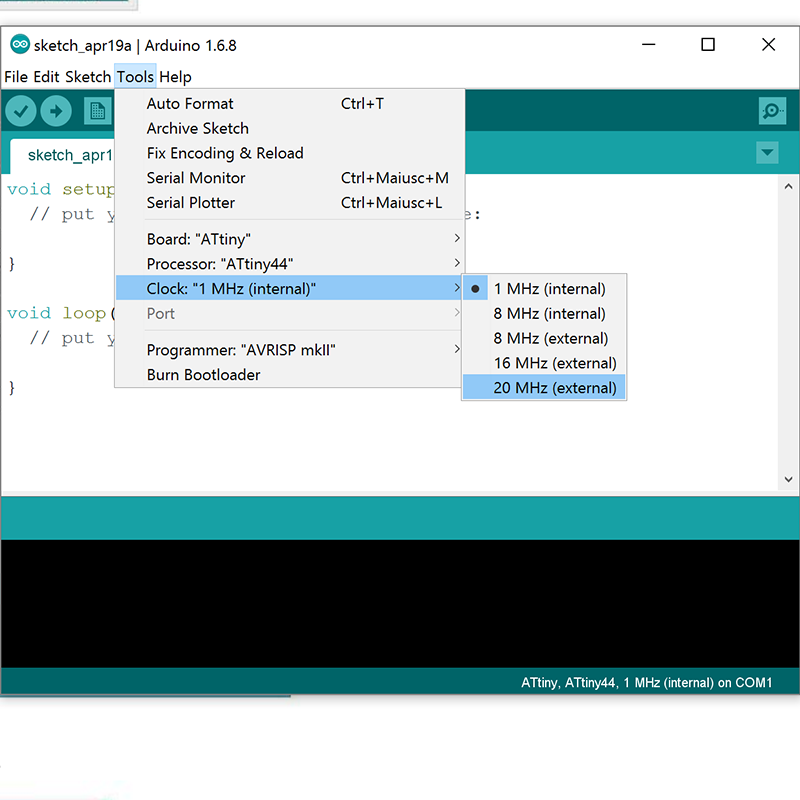
In the image above you can see how to select all the specifications for an ATtiny programmer with a 20MHz resonator as mine one.
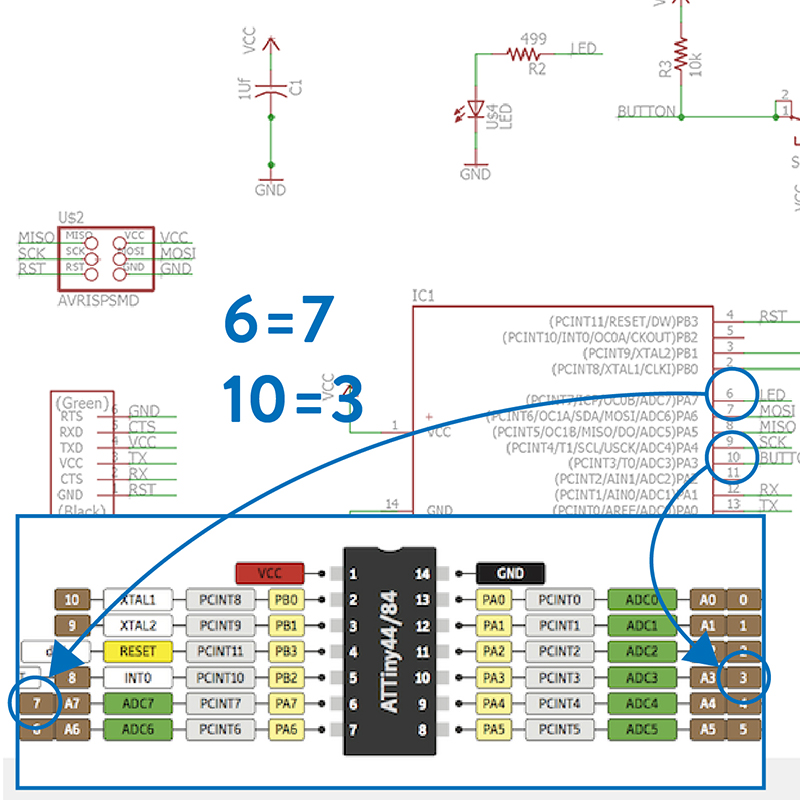
I started looking at Saverio's exercise from last year class here in Opendot. I checked my Led+Button design just to be sure to correctly assign pins. My LED is on pin 6 equal to an Arduino's 7, my BUTTON is on pin 10 equal to an Arduino's 3.
We had the same board design so his code works perfectly and my LED start blinking.

Than I changed a bit the program to have an interaction with my board. I setted the Button as an input device and related the led blink to it.
Now the LED shuts down when the button is pressed.

Than I changed again to have the LED always enlighted and blinking on button pression.
And this is the final program. All this took me a while to understand but now I'm really happy to start interacting with electronic devices. My final project is getting closer!