
The first idea is to produce a sandwich window with a moving camera built-in
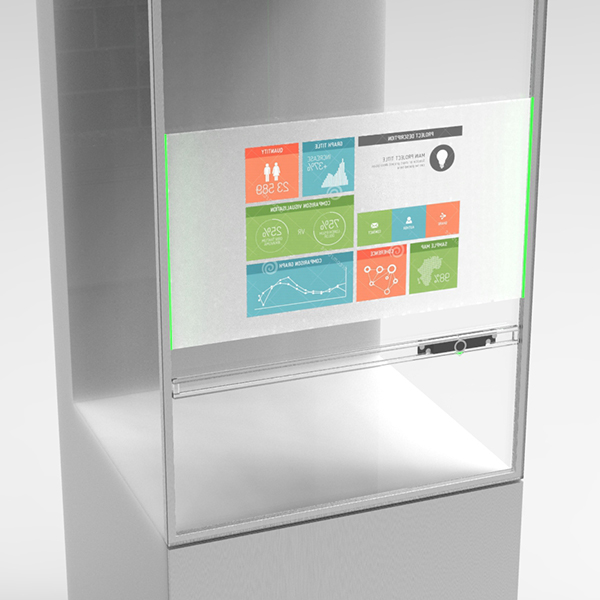
The camera would provide image content to a user connected remotely to the device. In this old rapresentation I 've integrated a monitor to the glass as well

The user should be able to move the camera and zoom.
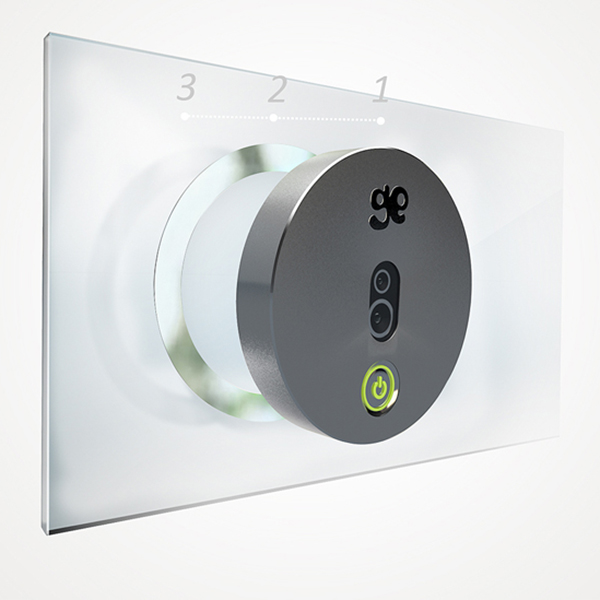
Inspiration: GekoEye is a security camera sticked to a window

Inspiration: tiny camera sensor i will need for the module
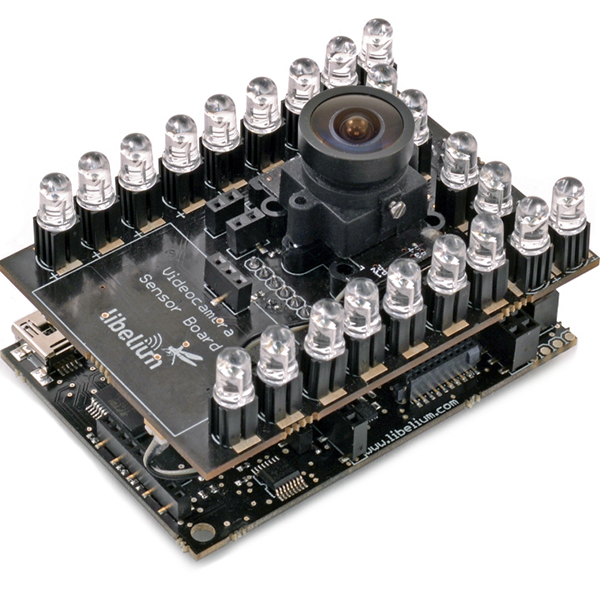
Inspiration: camera module provided with led
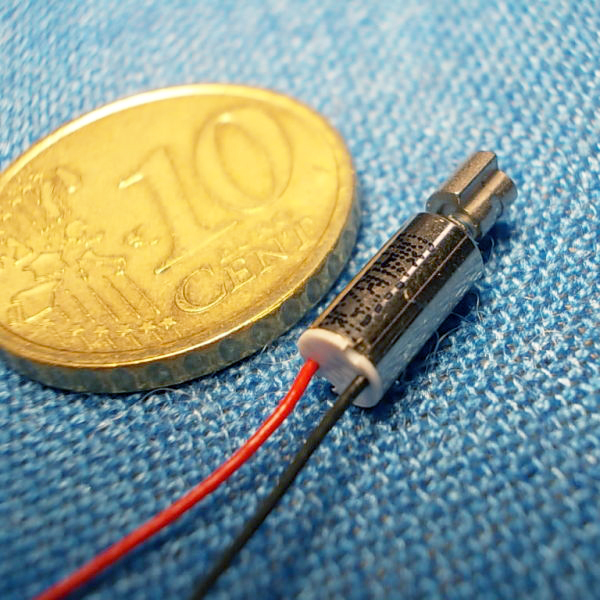
Inspiration: exemple of micro-motor
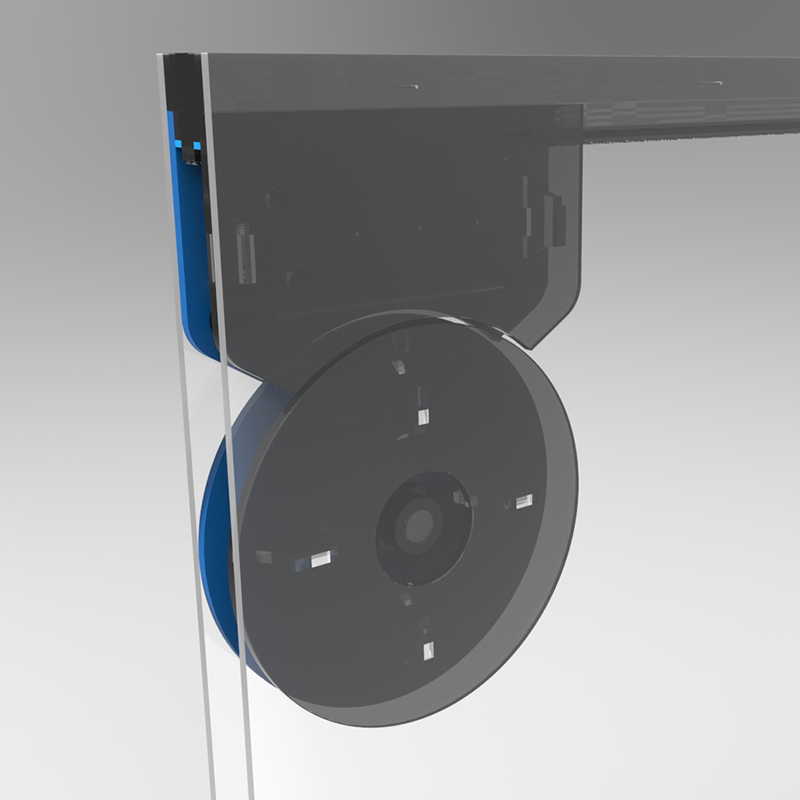
the eye stick to its guide
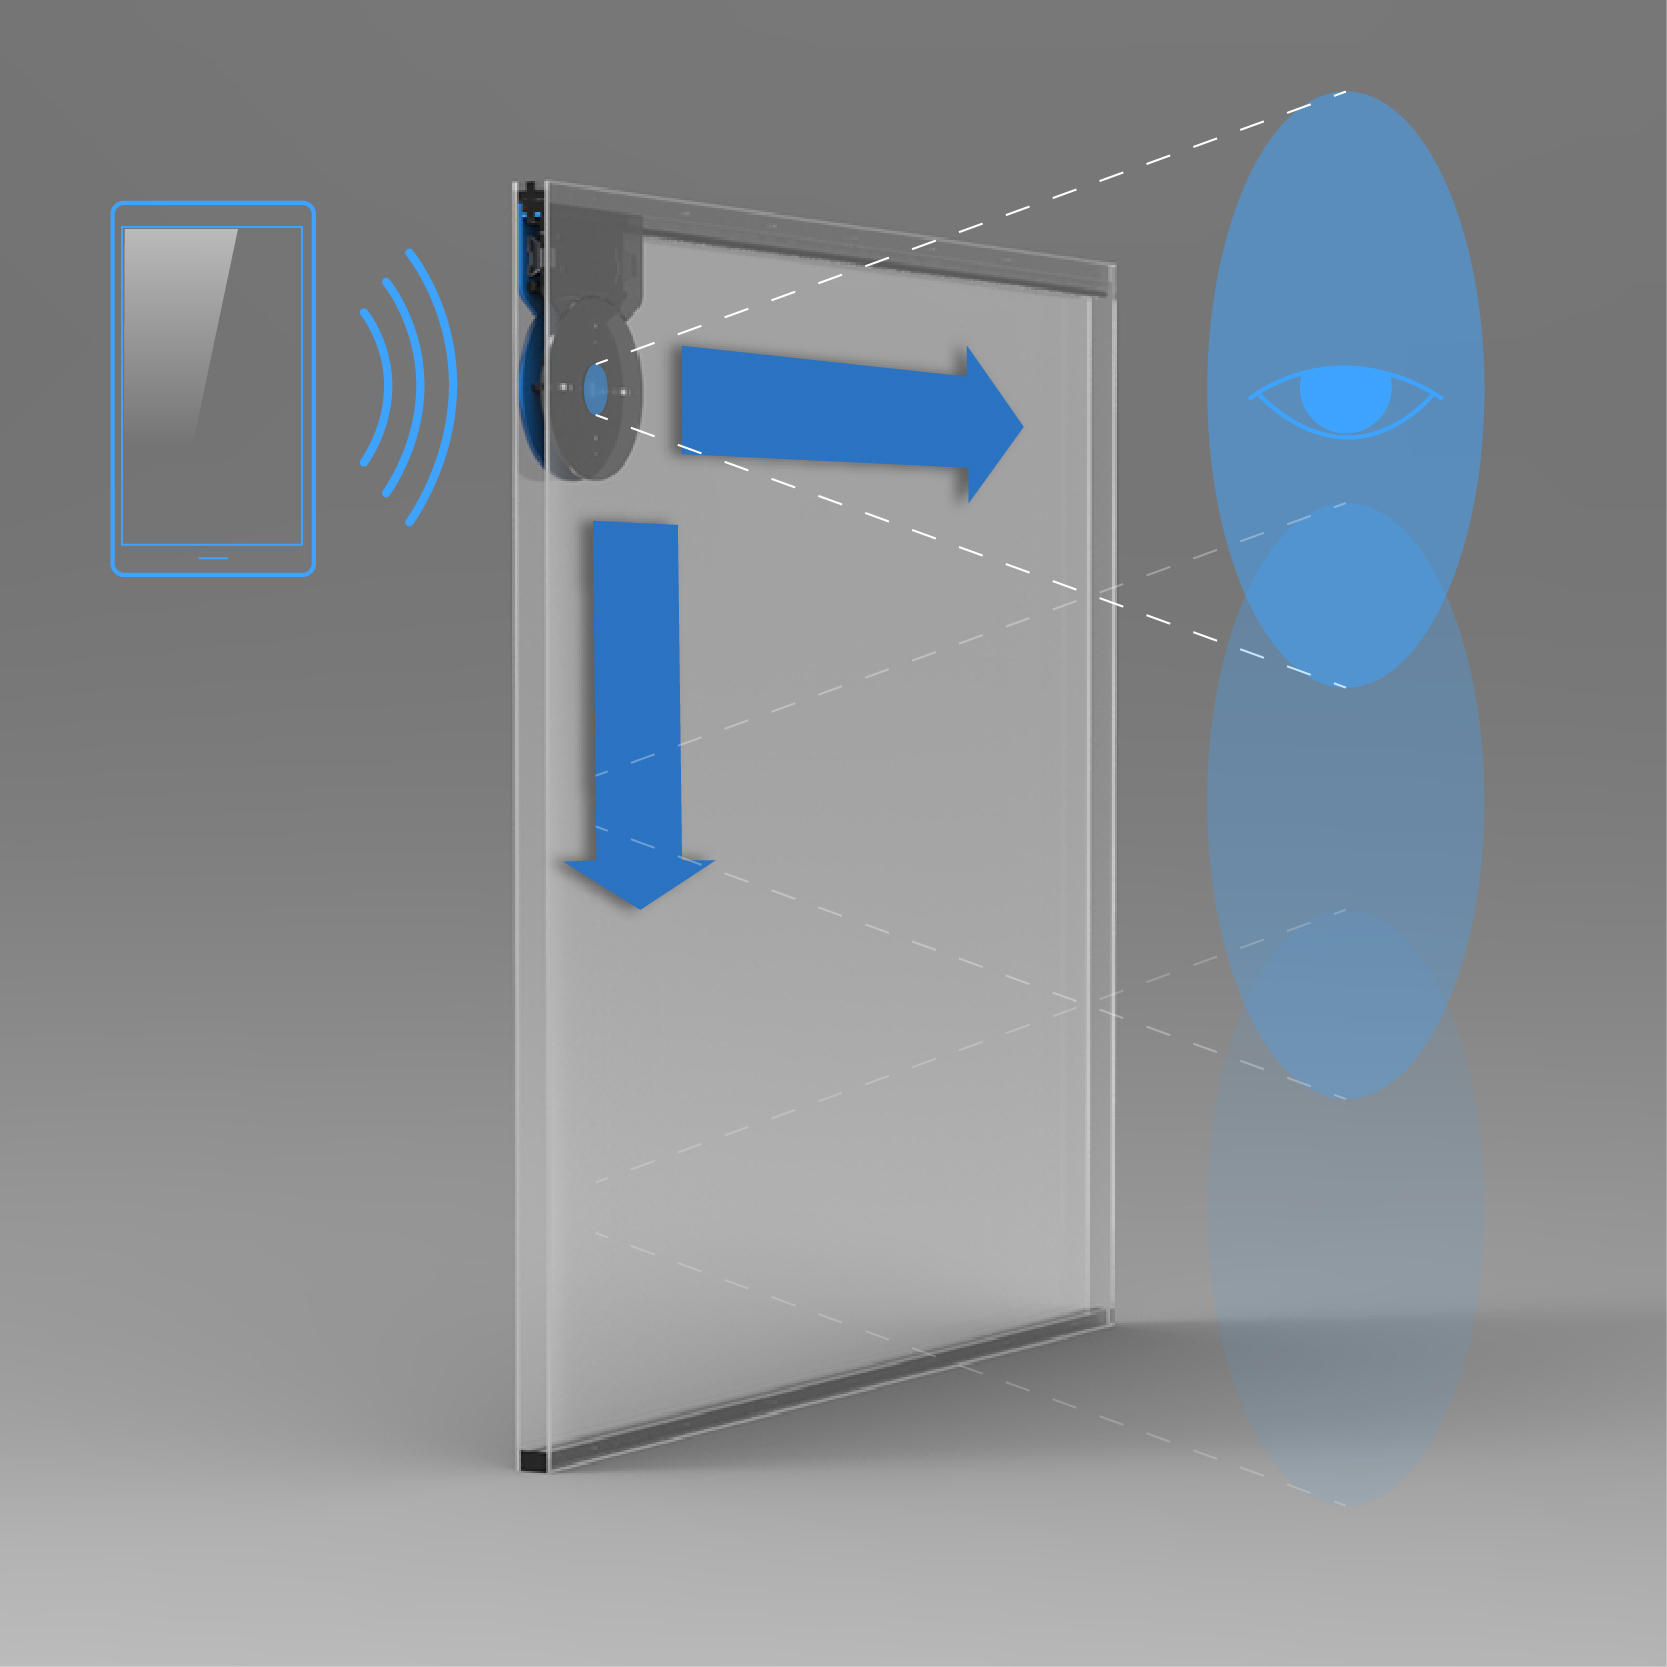
the eye is controlled remotely and the user can guide his.
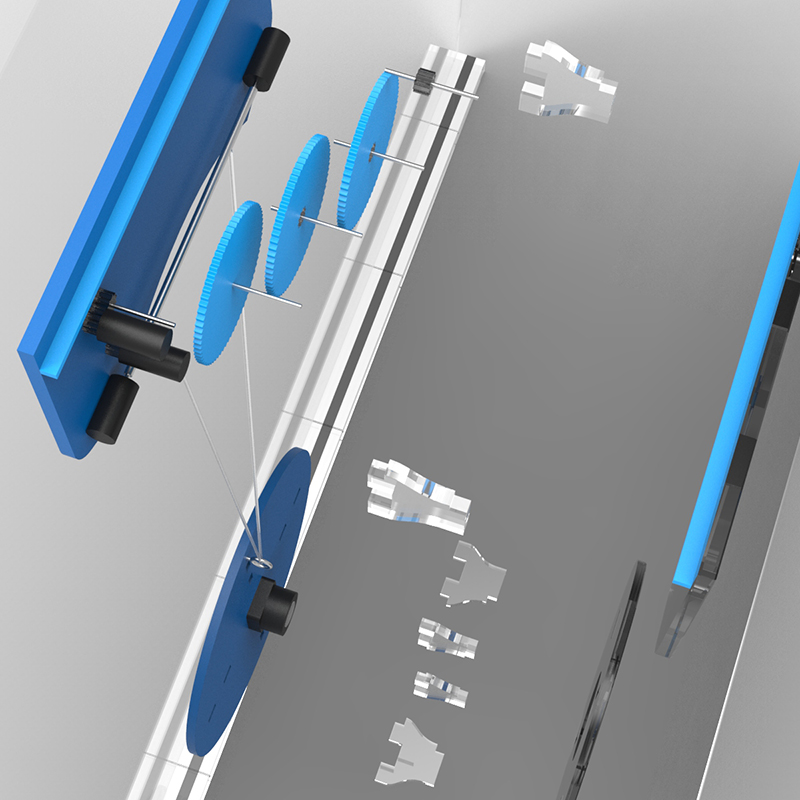
Assembly explosion of the parts
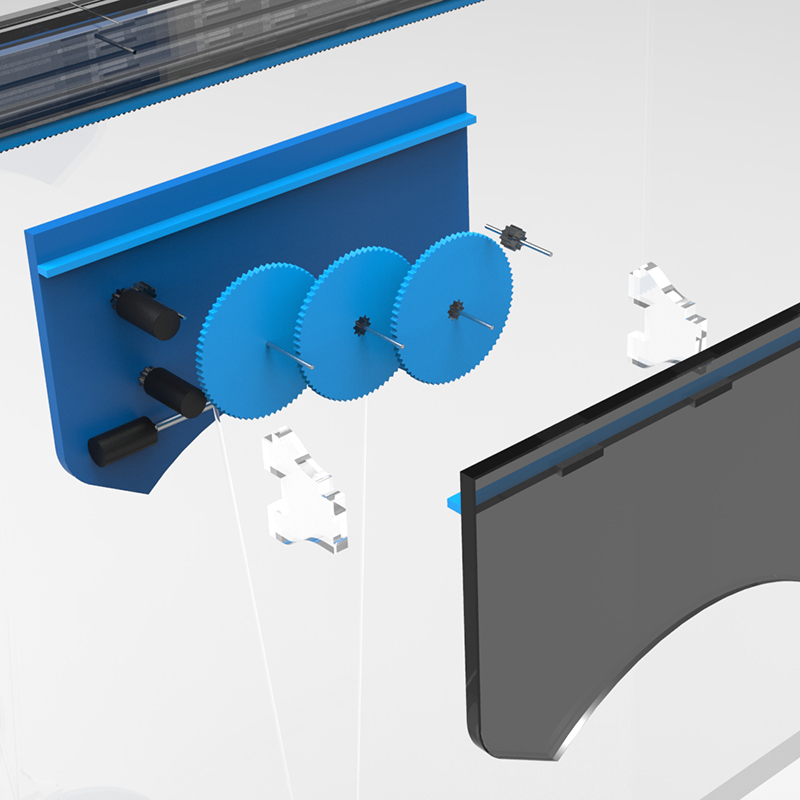
Assembly explosion of the parts
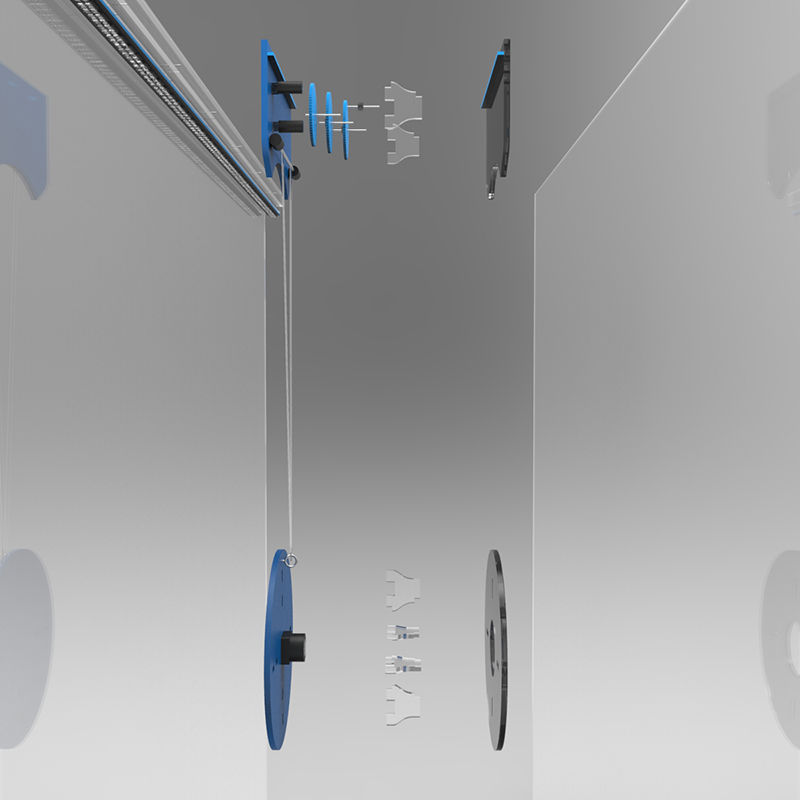
Assembly explosion of the parts
FINAL PROJECT: Spore
I than decided to change completely the final project. I did this because I wanted something I could handle better and a project to challenge myself on the physical production more than electronic. Than i wanted the aesthetical aspect to be dominant in my project.
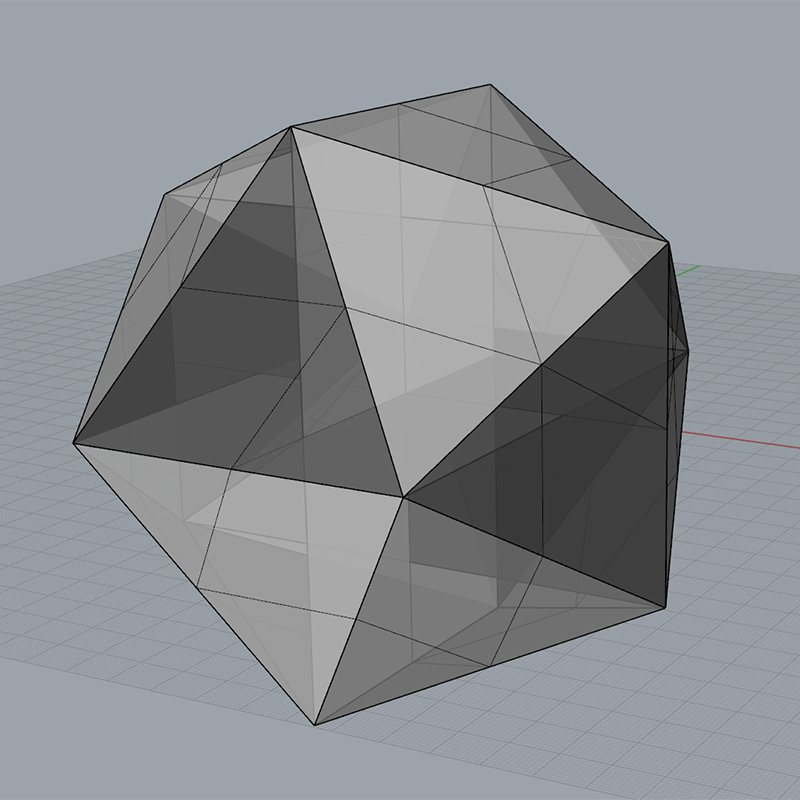
I than decided to change completely the final project. Keeping think to it I came out with a spore (star) shaped lighting system. Here I started designing the core geometry.

Each polygon face has a piramid built on. Than tubolar edges are added for the structure.
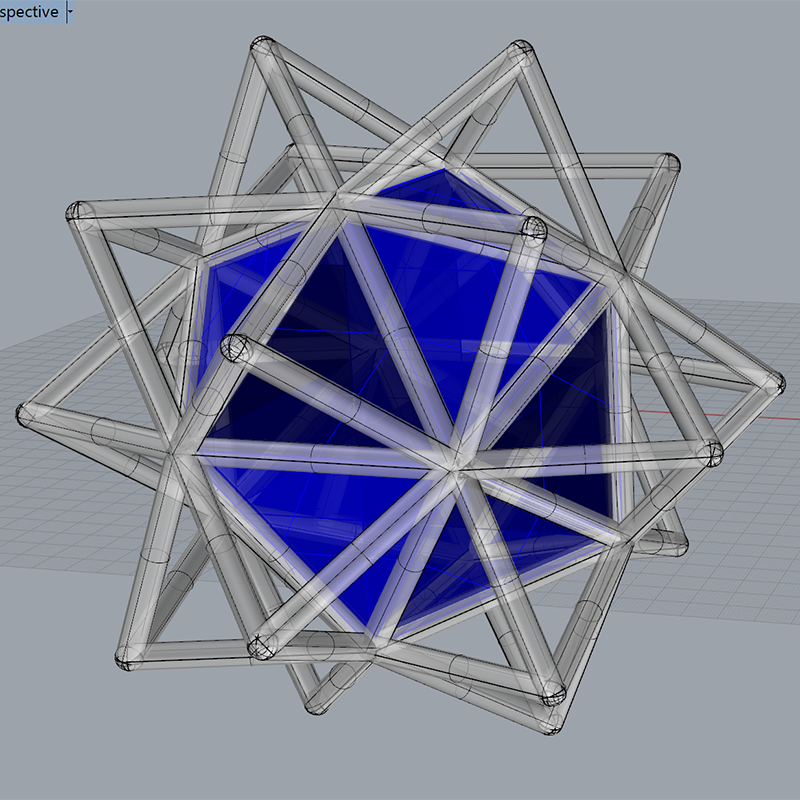
The core is here blue colored
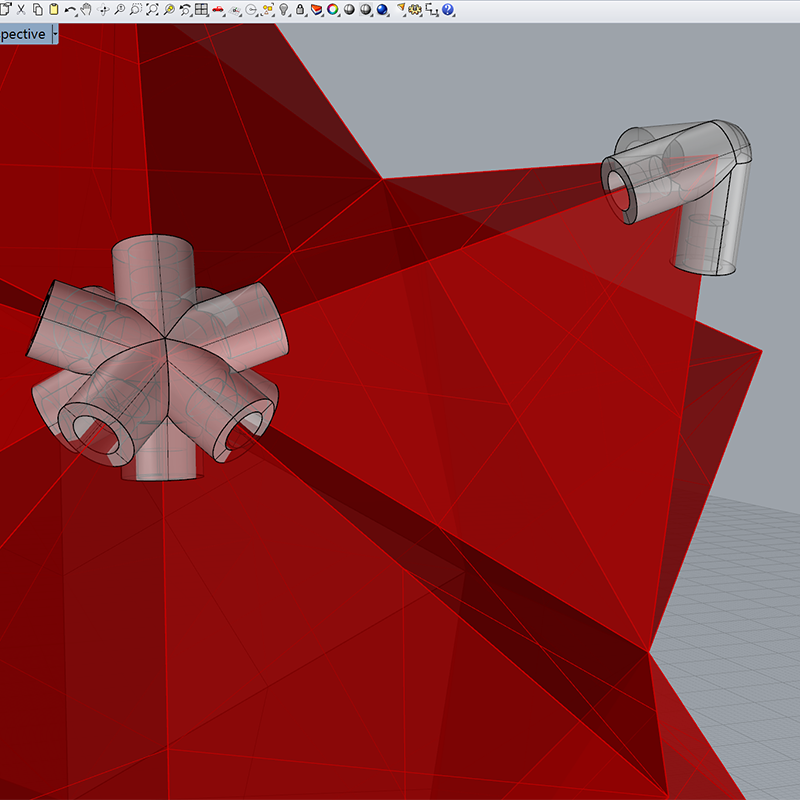
Angular joint for tubes structure are complex shapes and will be 3D printed.

Here the view of the whole product
Size of sensors are essential to verify that they can be placed inside joints
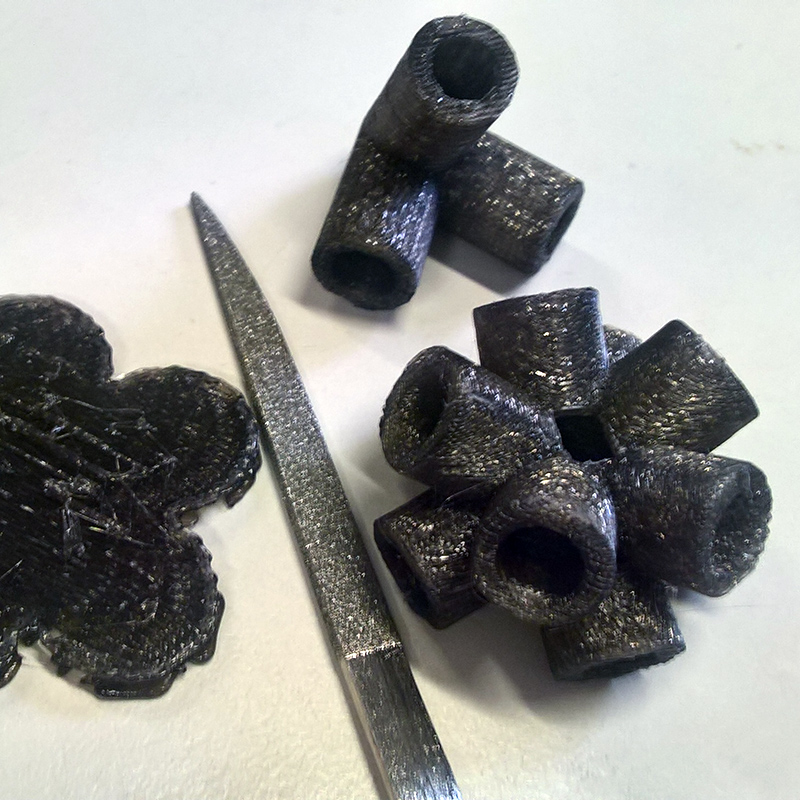
Joints are than 3D printed. The small hole for movement sensors are visible on the top of the piece.

A final render realized with keyshot using transparencies and emitting materials. I would like a sporelight that can detect your presence and open up whenever approached.
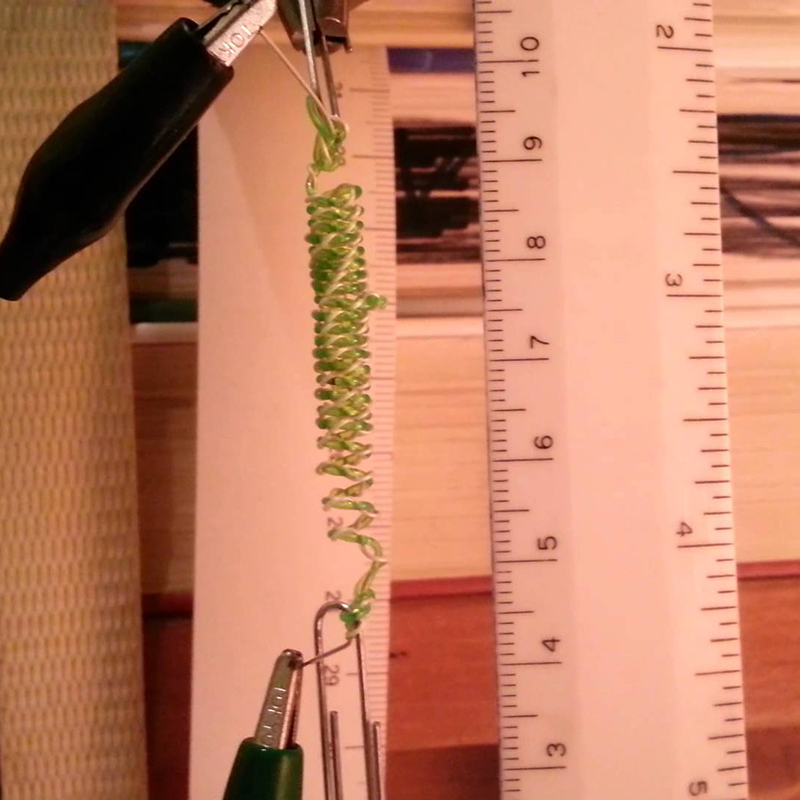
The first idea to make parts open and close is to use simple artificial muscles made with fishing rope and heating resistors.

Turning the nylon wire is obtained a "spring" that enshort itself if heated.

Since I had no luck in producing a syntetic muscle I'magain serching for another solution.

I decided to try with micro motors. These are really tiny and should fit nicely inside the aluminium bars of the structure.I bought those but found out that the pins are really tiny and is not possible for me to produce a proper circuit manually.
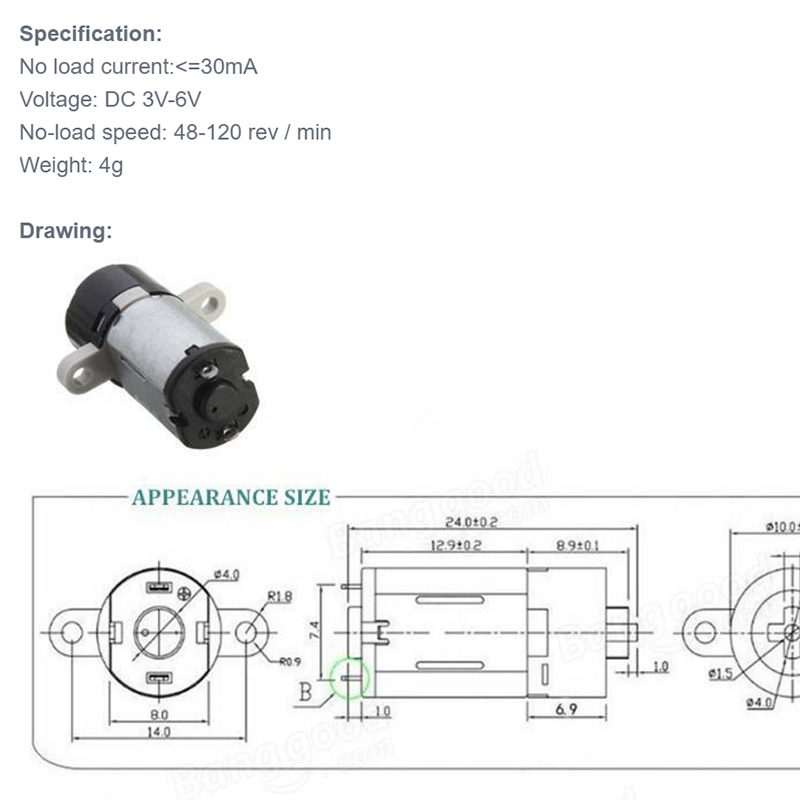
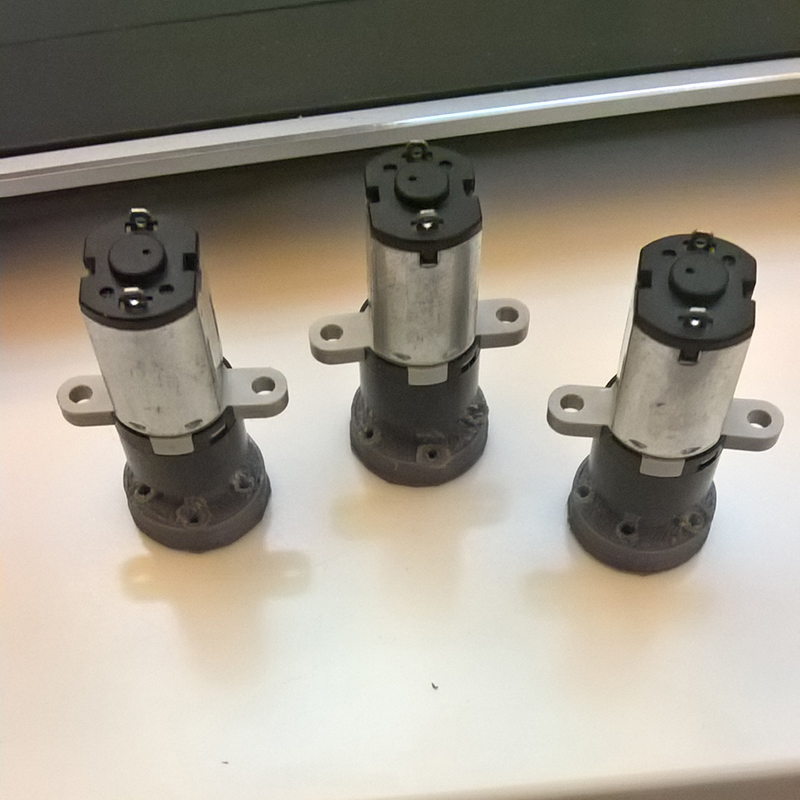
I selected bigger DC motors I can fit inside the structural tubes of the lamp. These work up to 6V.

I produced via 3D printing the components to make the tendons twist on each others and to fit the motors inside the tubes
I first attached twisting discs...
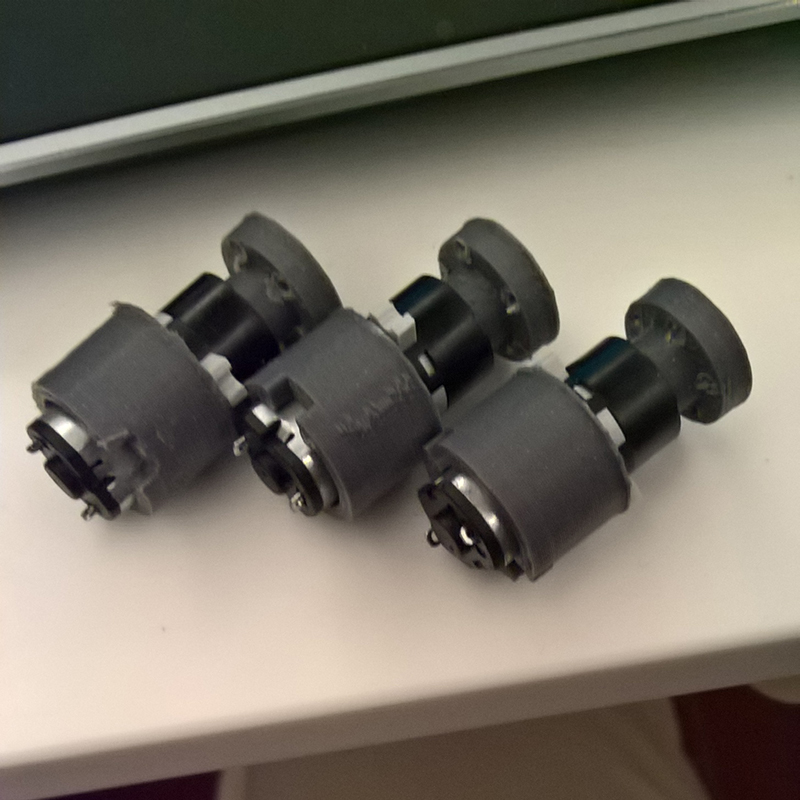
...and than the fitting parts.

in the meanwhile i cutted all the alluminium tubes 13cm long. Tose are for the core structure of the lamp.
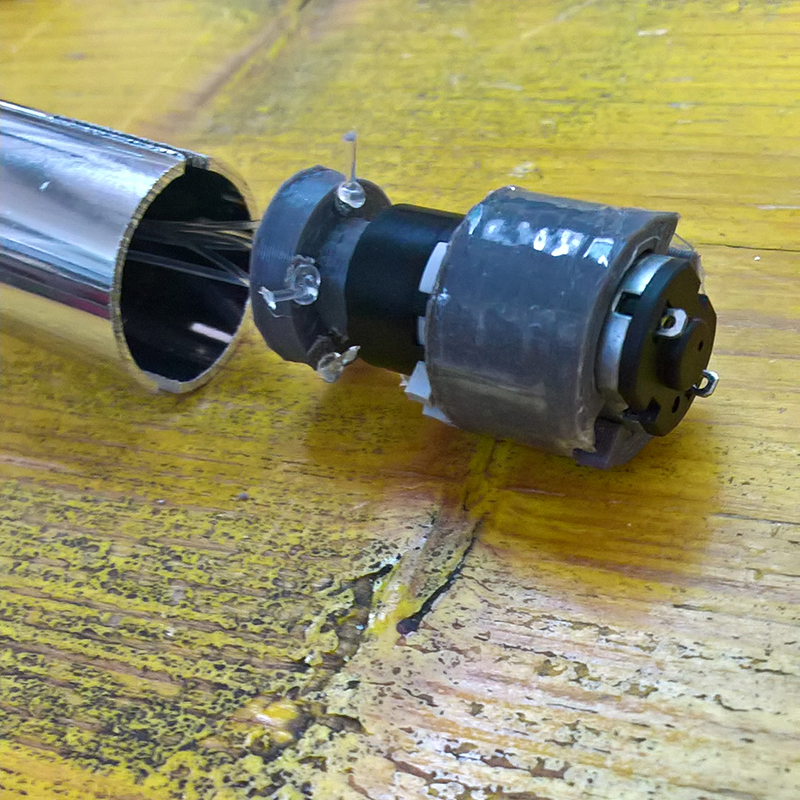
Than I attached the tendons and fit each motor inside a tube.
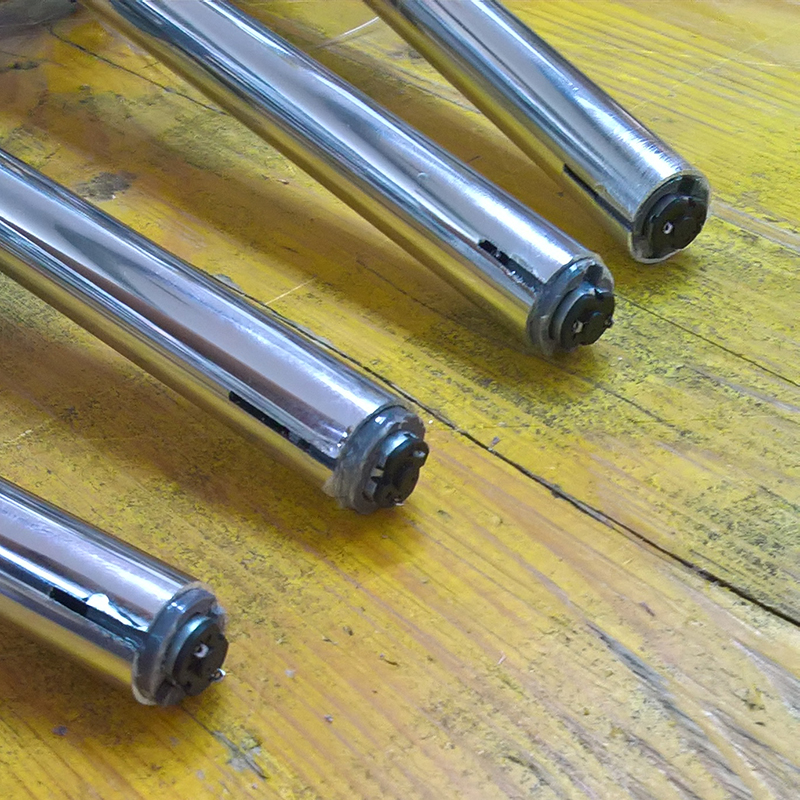
These are all the motors inside all the structural tubes.
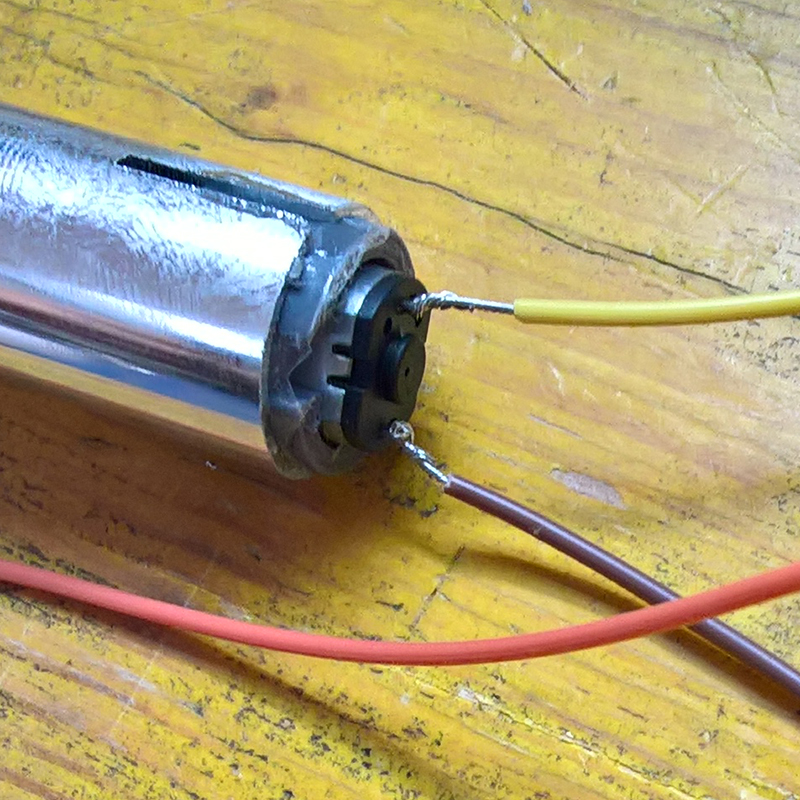
Every one is than provided with electric wire.

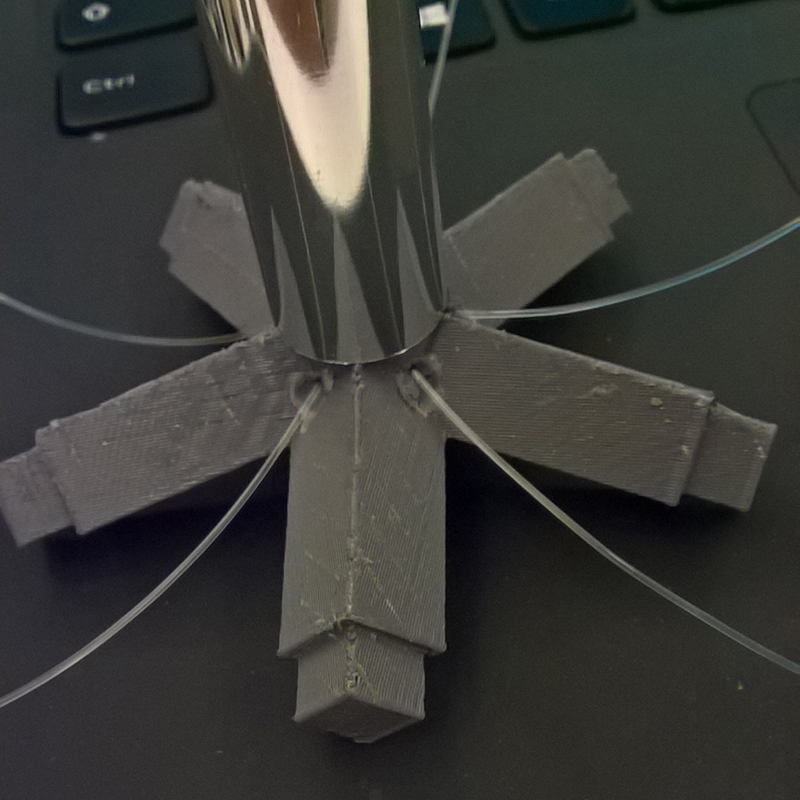
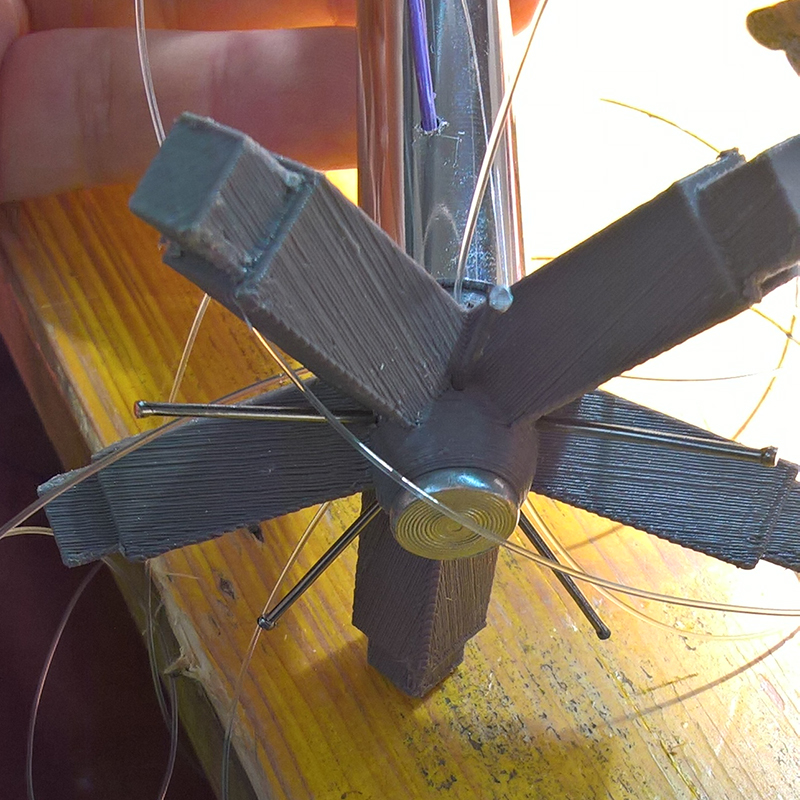
Than I produced the star shaped joint to be placed on the external side of the structure

Every one has his own set of nails. Those will wedge the transparent flaps to the structure.

Each one of this have tendons passing through and is attached to structural tubes.
As you can see in this way all he mechanical actuators are well hidden inside the structure of the lamp.
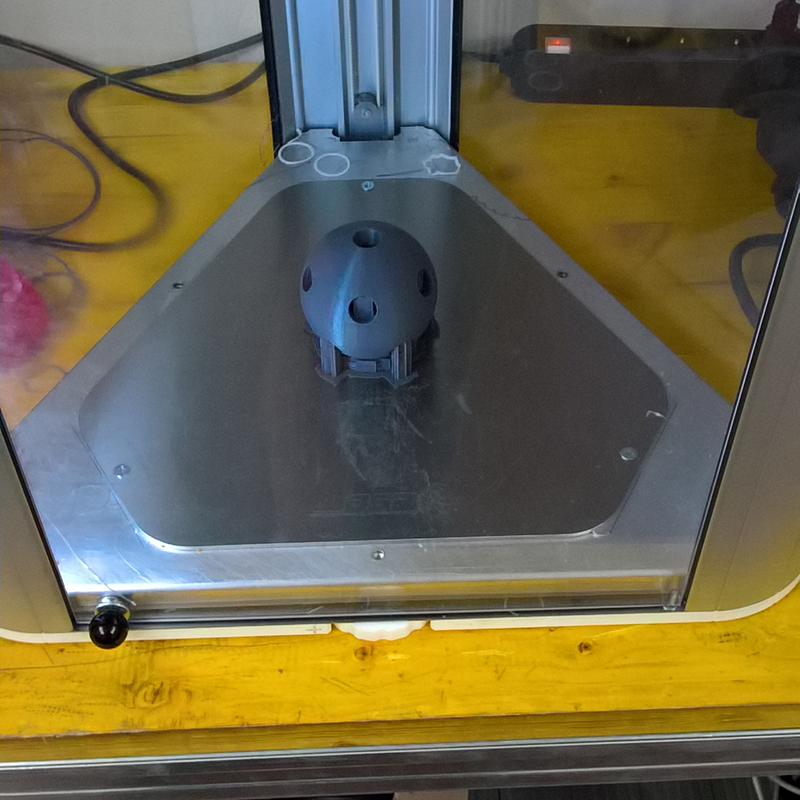
I than produced the very core of the structure. It's a central node spherical shaped that keep every tube togather.
The 3d printing was very smooth and precise.
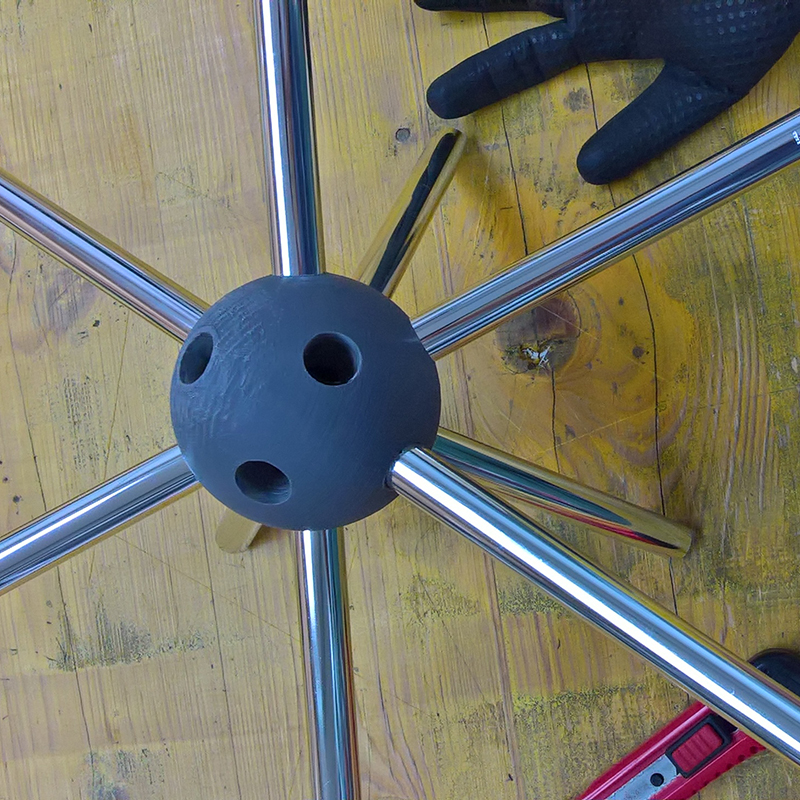
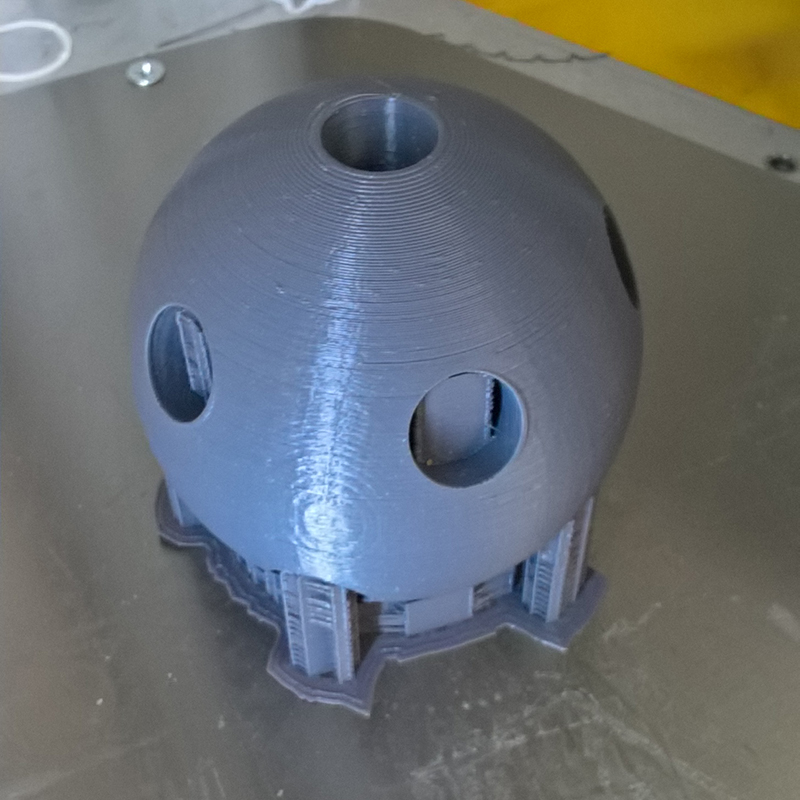
After a brief cleaning the part is ready to host structural tubes.

Each couple of wires from DC motors pass inside the core and come out from the cenral hole on the top

Now everything is ready to be assembled.These are the tips of the spore...

...every joint is attached to five of them.

Build in progress.

I produced a little fissure to help flaps stick properly to the structure.

Every tendon coming from a DC motor is than attached to each flap.
This is the final presentation video I show on 15th June 2016.
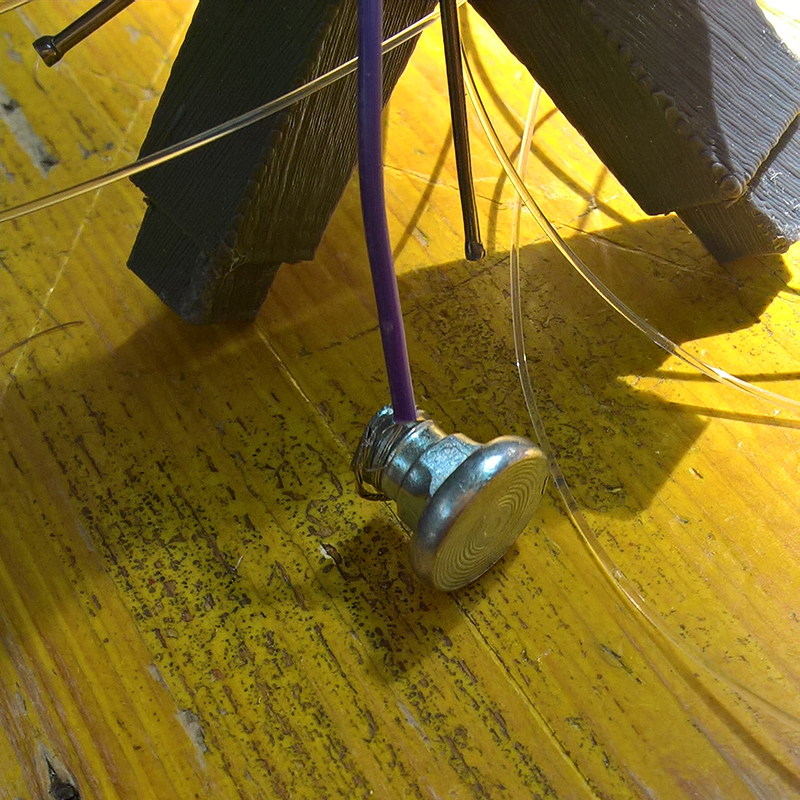
The last part still missing is the capacitive sensor I produced with a simple steel piece attached to a wire.
The piece is fixed on the hole of every star shaped joint. As you can see the wire comes from the tube right after to avoid troubles with internal tendons.

All the material is ready.

and the final building starts.
All the structure is wired and complete.
This is the final presentation video I show on 15th June 2016.

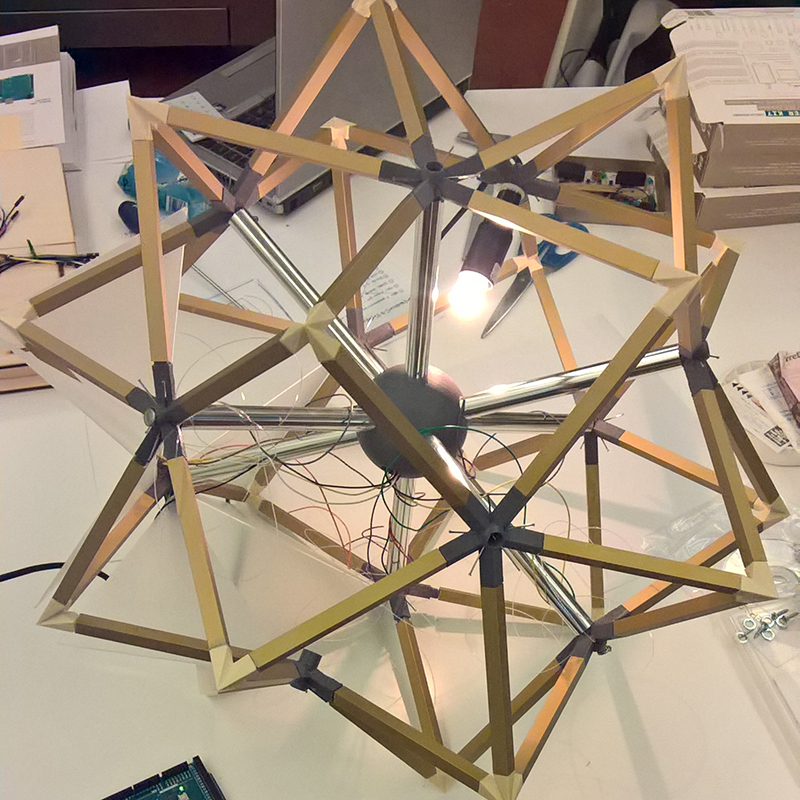
Once placed all flaps as well, the spore lamp is finished.

Here is a scenographic shot.

I than started fabricating the electronic brain of the lamp. First I started with a concept diagram of hte circuit. I have to provide 9V to motors and 5 to the satshakit I used as controller. Using h-Bridges to provide full voltage to motors I can control them with capacitive sensors.
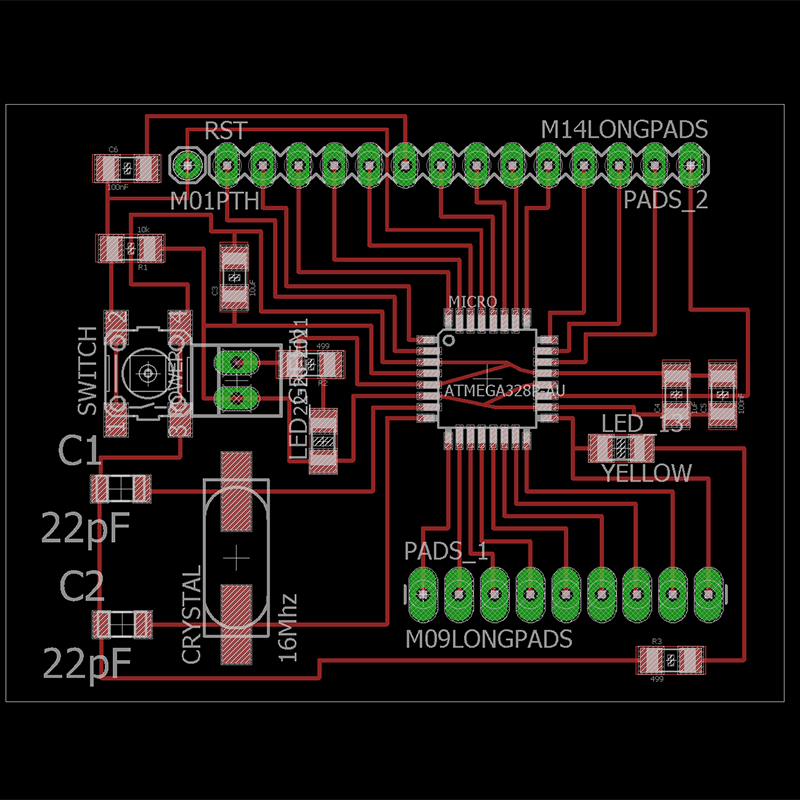
Firstly I used the board design of a regular satshakit (Daniele Ingrassia made last year here in Opendot).
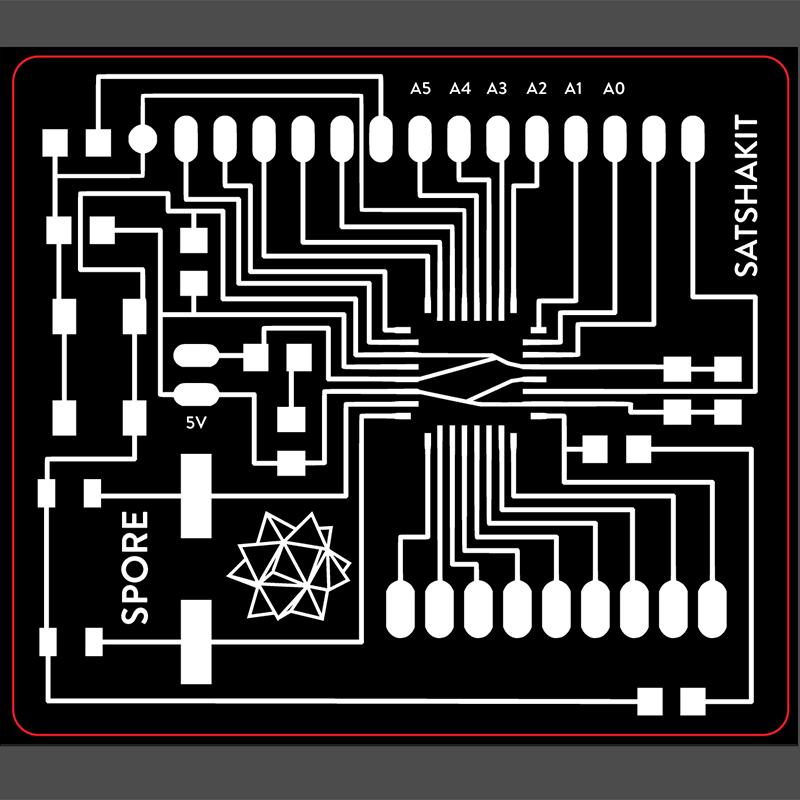
I just added some personal features.
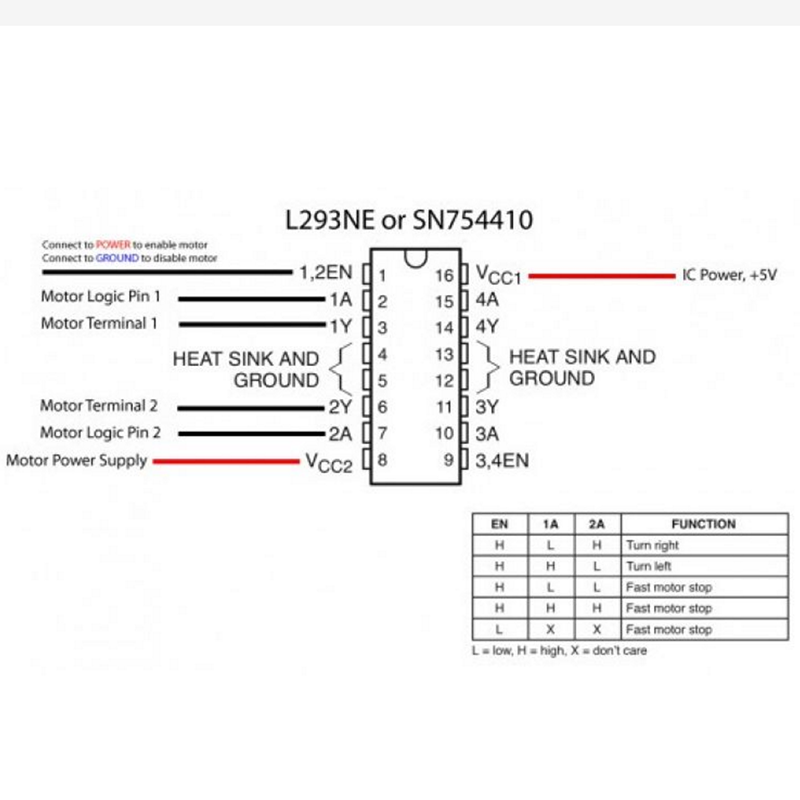
This is the data sheet of the h-bridge part I used.

than I tried to design a all in one circuit provided with h bridges and pins for motors and sensors.
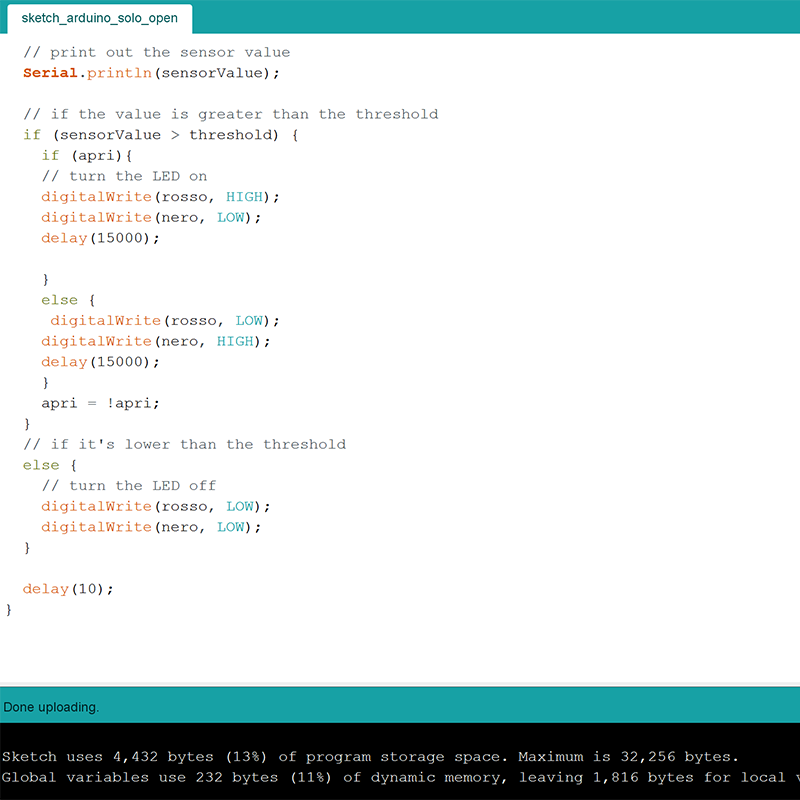
I used Arduino Ide to program my satshakit...

and a variable voltage power supplier.
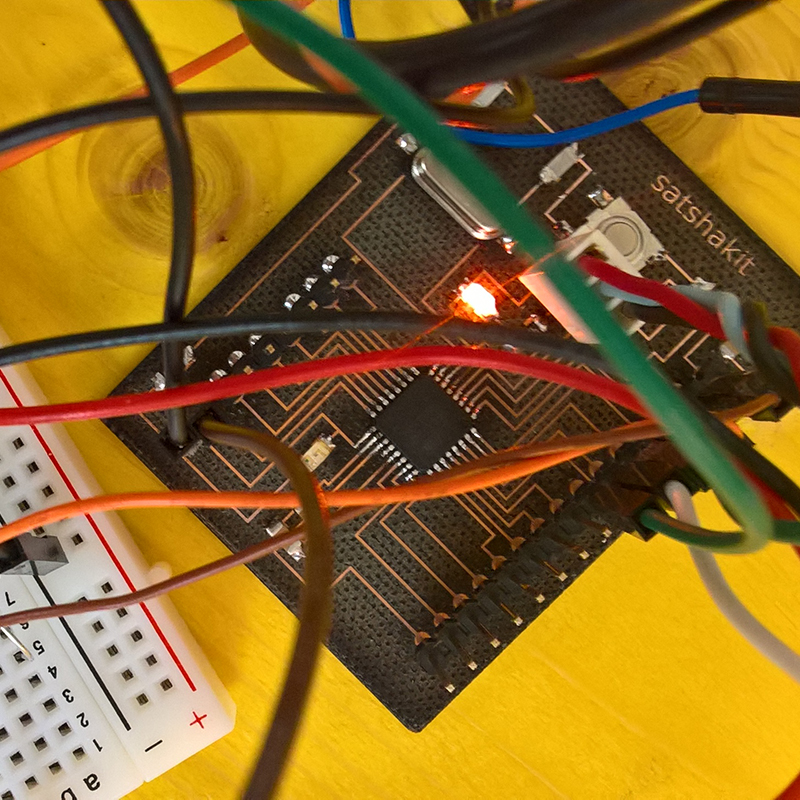
My satshakit works perfectly and give my lamp a little smartness.
This is the final presentation video I show on 15th June 2016.the project is Creative Commons Share Alike term so can be reused and improved.
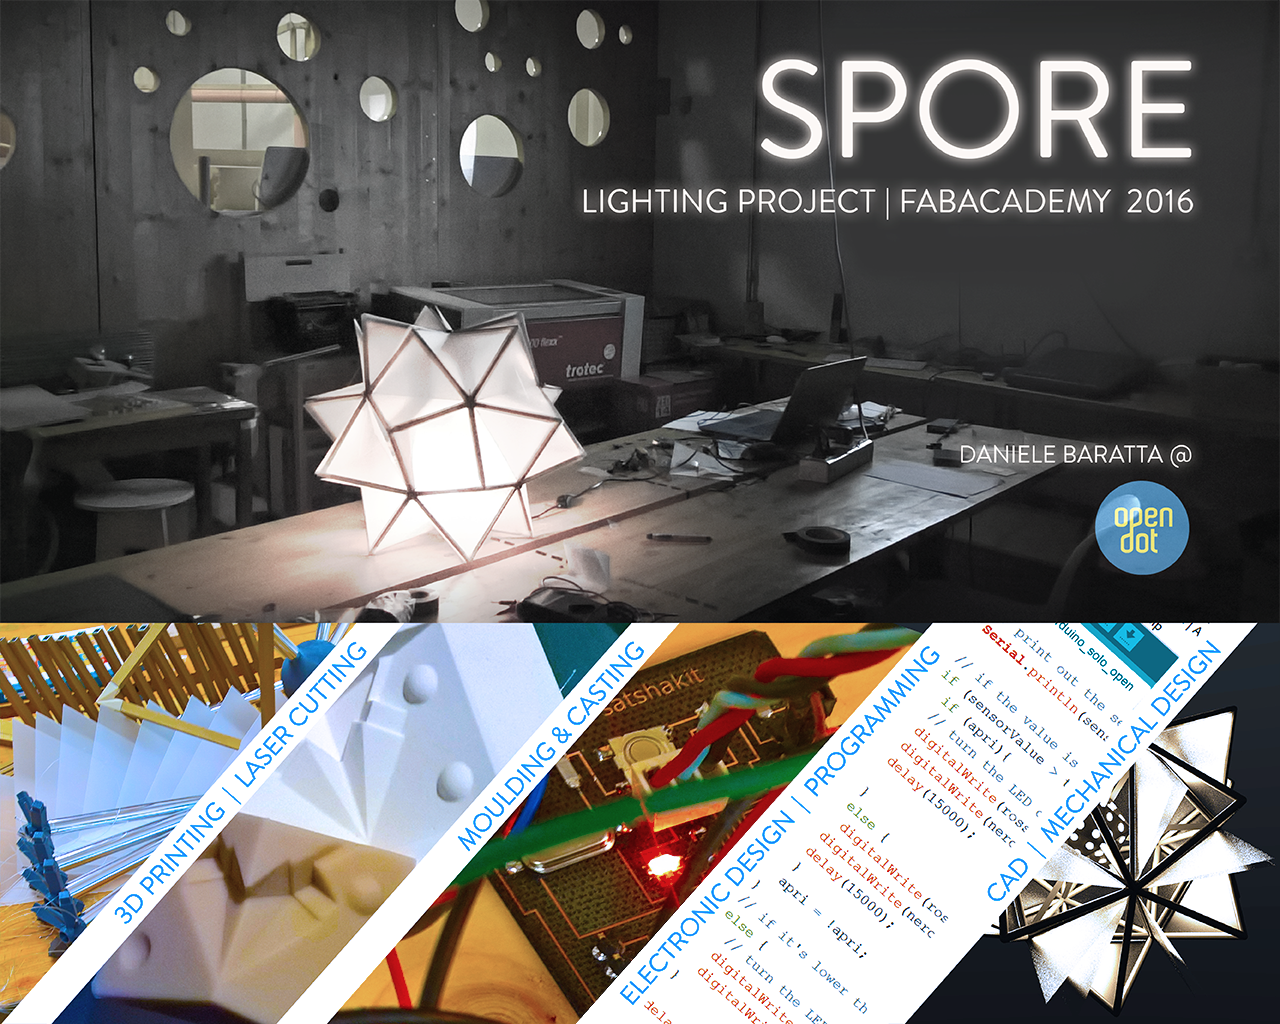
Here is the final presentation poster.